Ragnarok
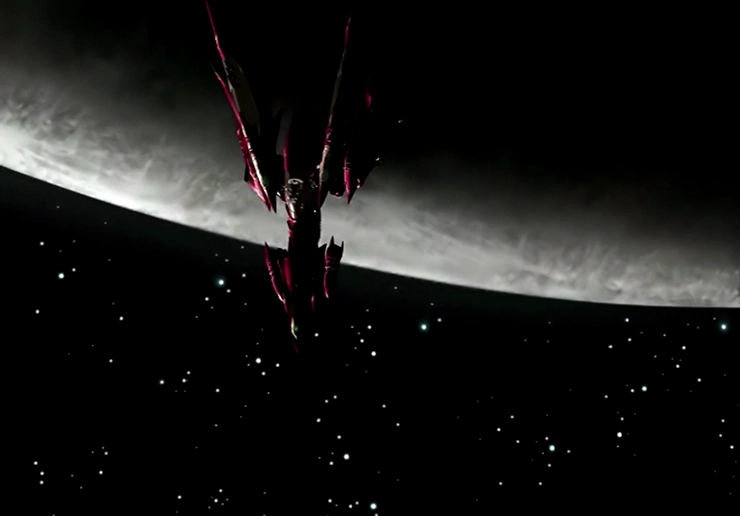
The first thing you should do is save your game at the ![]() Save Point, obviously! While some people might enjoy that lengthy cinematic love scene, at least the first time, absolutely nobody wants to go through the torture of having to re-watch it again.
Save Point, obviously! While some people might enjoy that lengthy cinematic love scene, at least the first time, absolutely nobody wants to go through the torture of having to re-watch it again.
Helpful Hint
This is another good opportunity to remind you that, if you are playing a modern remaster, you can press the button to increase the speed of the game (including the dialog and scenes) by up to three times.
This does not impact in-game timers, but it can help you skip unnecessarily long portions of the game, especially if you have seen them already and died, forgot to save, or just aren’t interested in watching them.
The Helpful Hint mentioned above is intended primarily to be used if you accidentally have to go through this part of the game again. You should not use it while you are running around inside the Ragnarok, as there are a few times while you are exploring the ship where you will need to be very quick and not run into the wrong area. It is recommended that you turn it off for this section of the game.
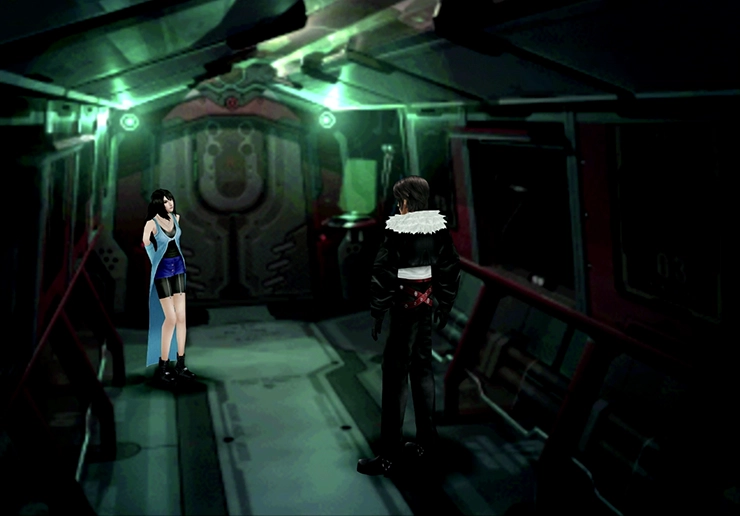
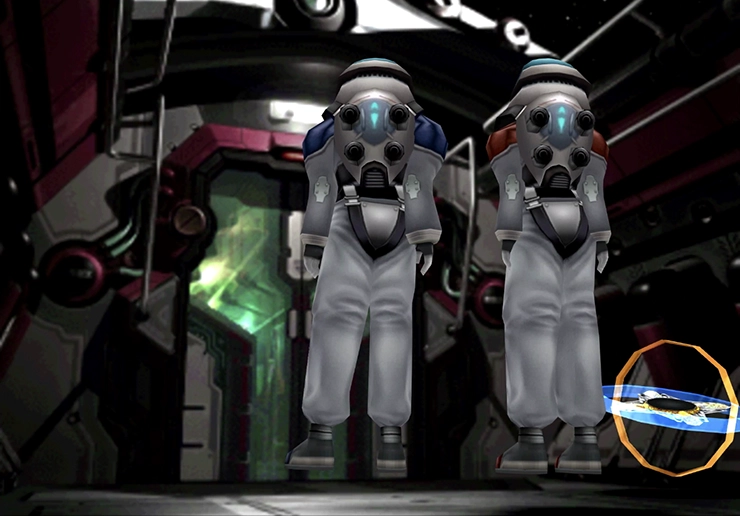
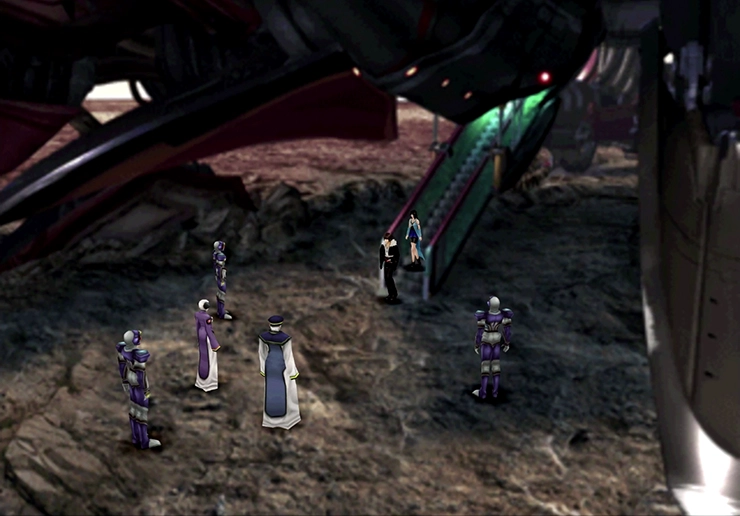
Go through the doorway and into the airlock room. Squall and Rinoa will remove their spacesuits and, after a bit more talking, you can walk through the door on the far side of the room. As you move forward across the walkway, you will be shown a gigantic alien-like creature roaming the hallways below.
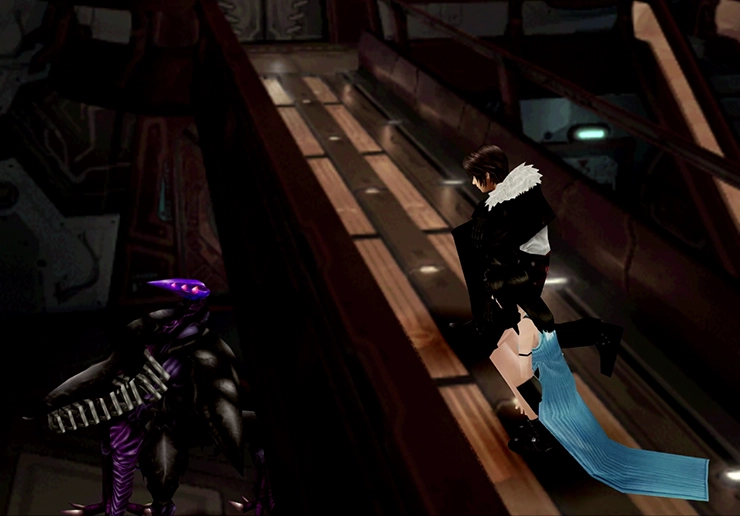
These giant aliens are called Propagators, and they are pretty easy to defeat, but still, you should make sure that both Squall and Rinoa are properly equipped and junctioned with Guardian Forces and magic.
The premise of the battles against the Propagators is very simple. There are a total of 8 Propagators running around the ship—2 red, 2 green, 2 yellow, and 2 purple. If you kill a Propagator, it will automatically respawn unless you kill both colors at the same time.
In other words, killing the purple Propagator and then the second purple Propagator will permanently kill them and prevent them from respawning. Killing purple, then red, then purple will cause both of the purple Propagators to come back.
As mentioned above, the Propagators are not hard to kill, and they don’t require any complex strategies to defeat. They are not immune to ![]() Sleep magic, so consider equipping
Sleep magic, so consider equipping ![]() Sleep status to your weapons using
Sleep status to your weapons using ![]() ST-Atk-J.
ST-Atk-J.
Start by walking down the stairs in the back right section of the screen and fight the purple Propagator that you saw wandering around below.
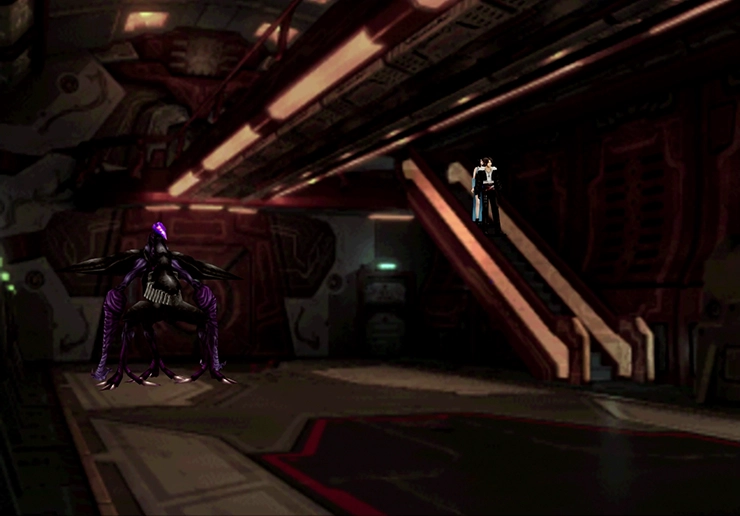
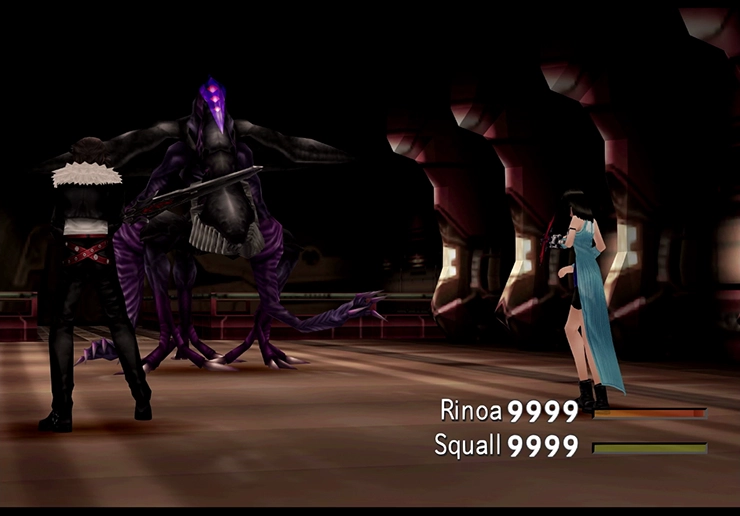
After you defeat it, there are two doors on the far wall, one large one and one small one. Before you go through the large door, be aware that a Propagator is going to run at you as soon as the screen loads. You need to run forward and left into the opening before it reaches you, so run quickly!
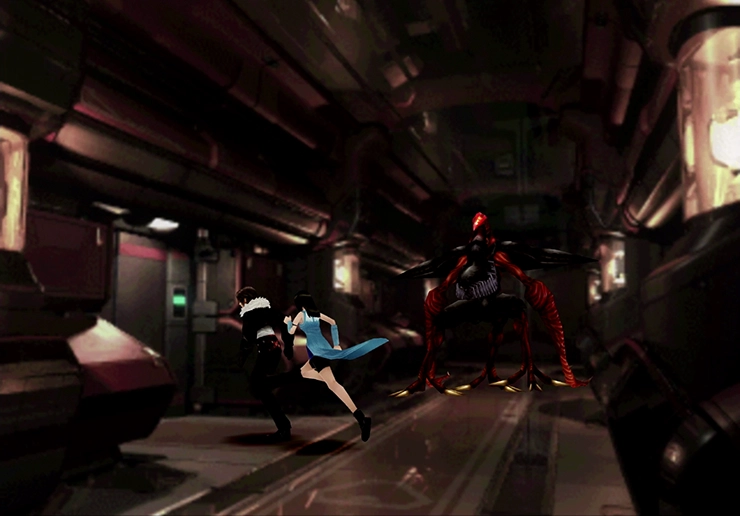
Go through the large door when you’re ready. The second purple Propagator is in this next room.
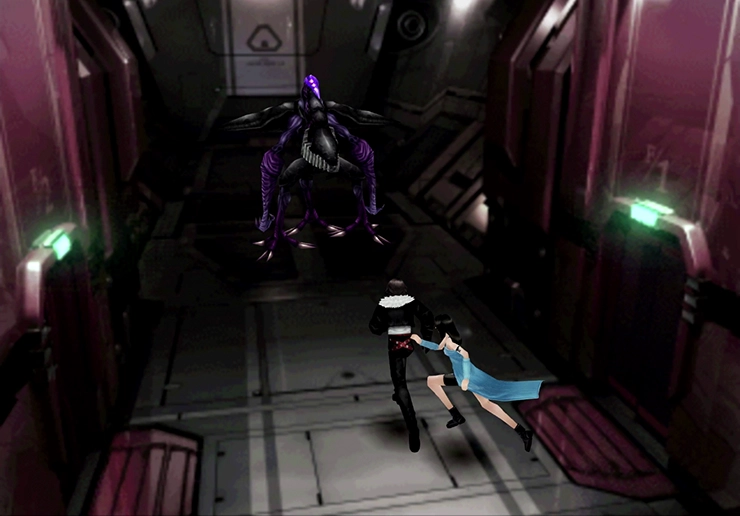
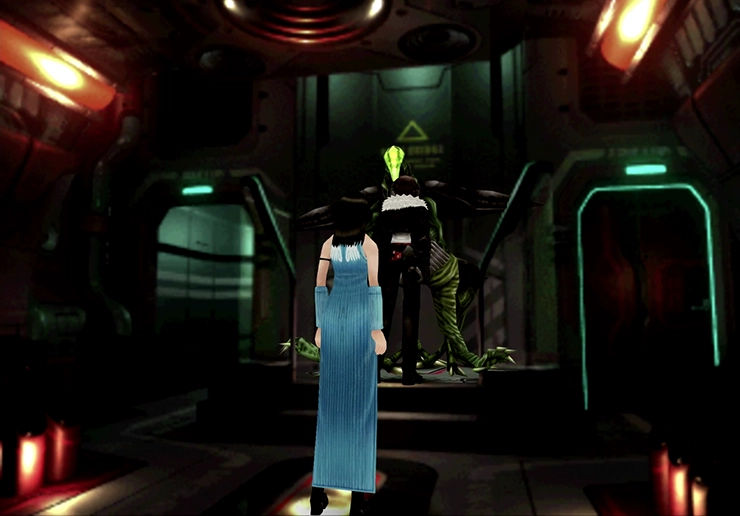
Go back to the previous room and kill the red Propagator. Return to the room where you killed the second purple Propagator and head left one more time. Ignore the green Propagator standing there on the elevator and walk straight towards the screen. You will see a note pop up on the screen stating “[Security Lock Released].”

Move forward, towards the screen, and the second red Propagator in the next room will charge straight at you. That’s one more pair down.

Go back into the previous room and kill the green Propagator that’s just chilling there.
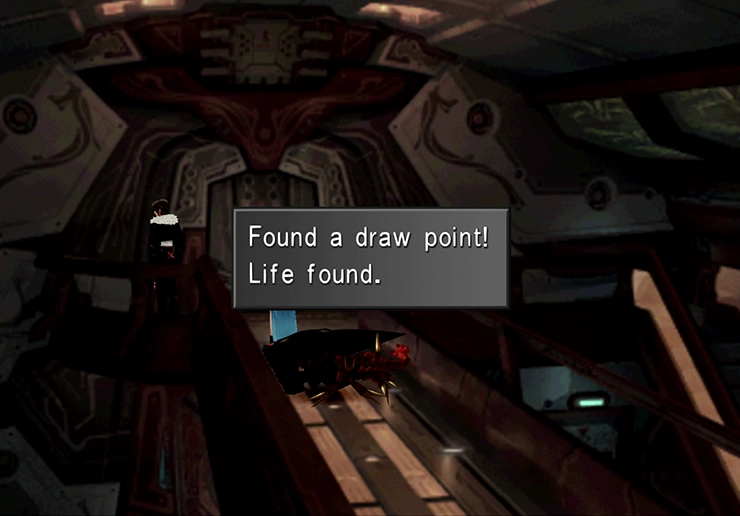
Return to the previous room where you killed the second red Propagator, grab the ![]() Life Draw Point if you want to, and head down the stairs on the right.
Life Draw Point if you want to, and head down the stairs on the right.
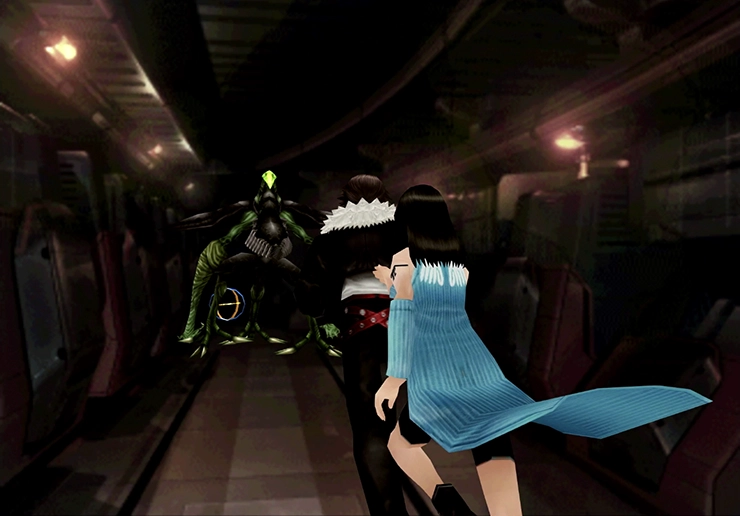
This puts you back in the room where you killed the very first purple Propagator. This time, though, go through the tiny little door on the right back wall. Kill the green Propagator in here.
That’s one more pair down and one more left to kill! Save your game at the ![]() Save Point if you’d like to, and then head back out to where you killed the first purple Propagator.
Save Point if you’d like to, and then head back out to where you killed the first purple Propagator.
Go up the stairs and take the pathway towards the screen, back towards the airlock where you entered the ship. In this room, you will now find a yellow Propagator (which you should engage and kill).
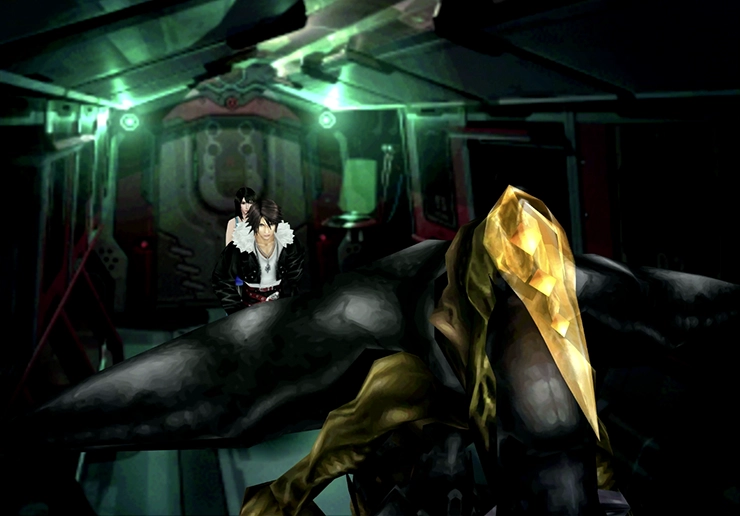
Go north past the Draw Point and take the doorway on the left side of the elevator (where the green Propagator was standing), and you will find the very last yellow Propagator, which will push you out of the room as it charges at you.
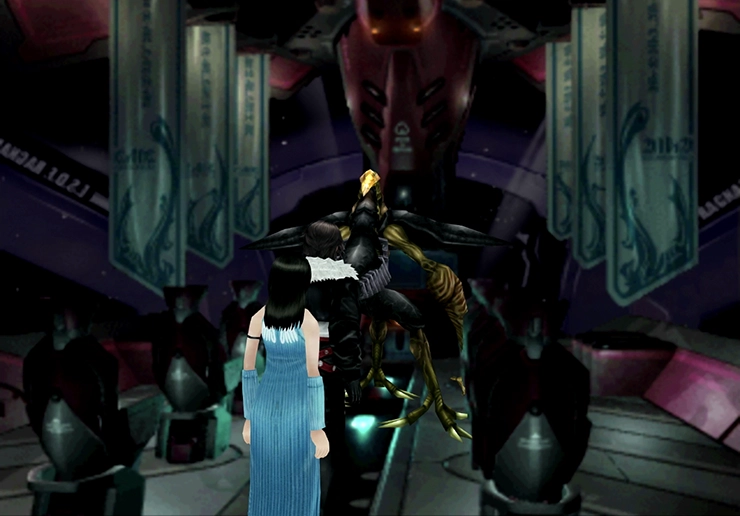
Note that this last Propagator (no matter which one ends up being the last one you kill) is just a little bit tougher than the previous ones, but not tough enough that you need to prepare any overly complex strategy. It just hits a little harder and a little quicker.
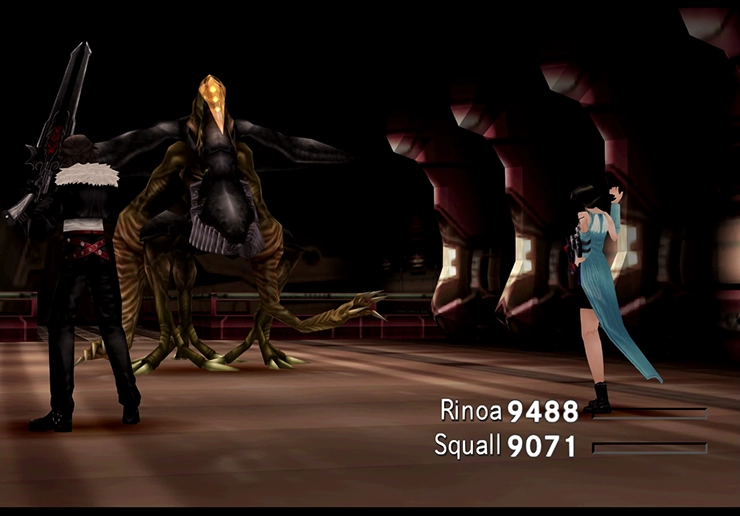
Once the last yellow Propagator is defeated, you should be back in the previous room with the elevator, since it pushed you out of the room when it charged. Ride the elevator in the middle room up to the cockpit of the ship.
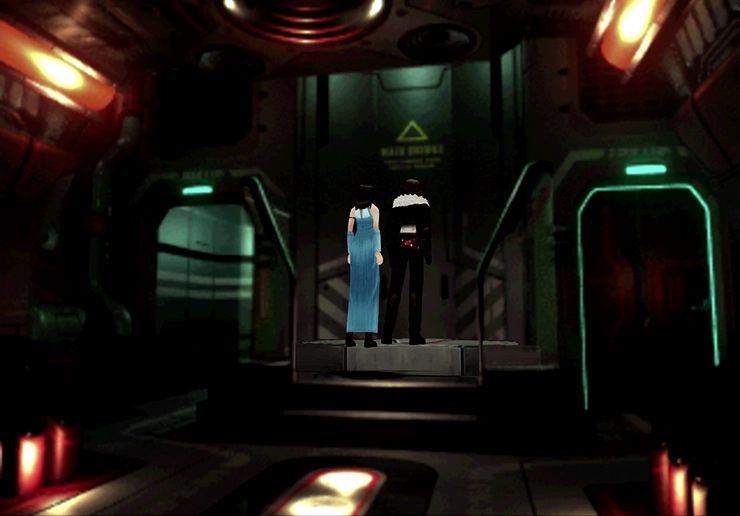
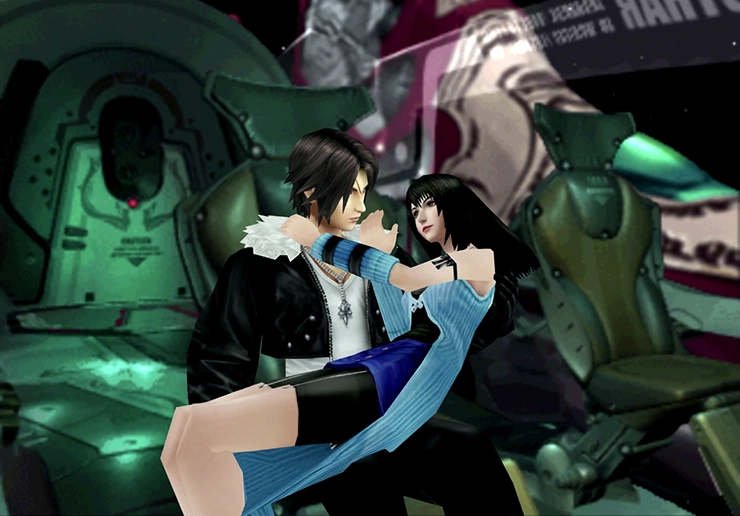
The Ragnarok is now yours! (After a ton of dialog and some cheesy story, of course…). Take Squall back into the ship and walk into the passenger area (not the cockpit, where the last Propagator charged you) after all the talking. Entering this area will continue the story and have the rest of your team join you on the ship.
Achievement/Trophy
You will receive the  Ragnarok Achievement/Trophy once you have cleared the Propagators out of the Ragnarok and gone up to the bridge.
Congratulations! You can now fly around the world map of Final Fantasy VIII in your brand-new fancy ship, the Ragnarok. There are lots of side quests that you can complete now that you have the ship, which are outlined on the next page.

