Ragnarok and Final Preparations
As noted on the previous page, there are a ton of side quests you can complete now that you have access to a flying ship. The very first thing you should do now that you have (nearly) all of your team members back is to set up your Guardian Forces and magic junctions.
Even though Rinoa is not on your team, if you plan on putting her back on your team, set up the Guardian Forces and magic on another character and then do an exchange when you have her back (which will be very soon).
Here is a potential recommended setup for the distribution of your Guardian Forces, but there is lots of flexibility with how you set up your junctions, so these are just suggestions and not requirements:
Character 1:
Equip the following Guardian Forces:
Ifrit
Carbuncle
Leviathan
Alexander
Doomtrain
Character 2:
Equip the following Guardian Forces:
Shiva
Siren
Diablos
Pandemona
Character 3:
Equip the following Guardian Forces:
Quezacotl
Brothers
Cerberus
Tonberry
Helpful Hint
You may already have the ability learned, but if not, make sure to have Diablos learn ![]() Enc-None (which becomes available after it learns
Enc-None (which becomes available after it learns ![]() Enc-Half). Equipping this ability to one of your characters will allow you to travel around the world map without being thrown into random battles while you are exploring.
Enc-Half). Equipping this ability to one of your characters will allow you to travel around the world map without being thrown into random battles while you are exploring.
Esthar Sorceress Memorial
There are two more things you should take care of before you jump into any of the side quests. Most importantly, though, is to get Rinoa back on your team. Fly over to the Esthar Sorceress Memorial.
You can have the Ragnarok automatically fly you to locations around the world map by pressing the button until the world map appears, hovering over one of the cities, selecting it, and then selecting the “Yes” option when it appears.
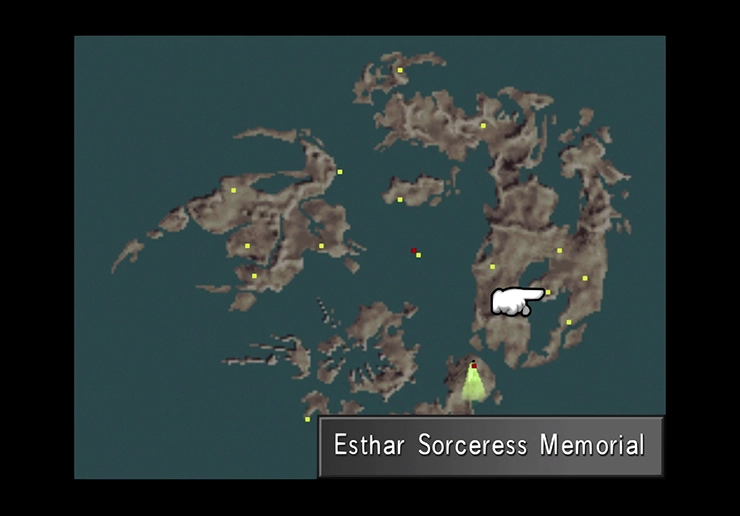
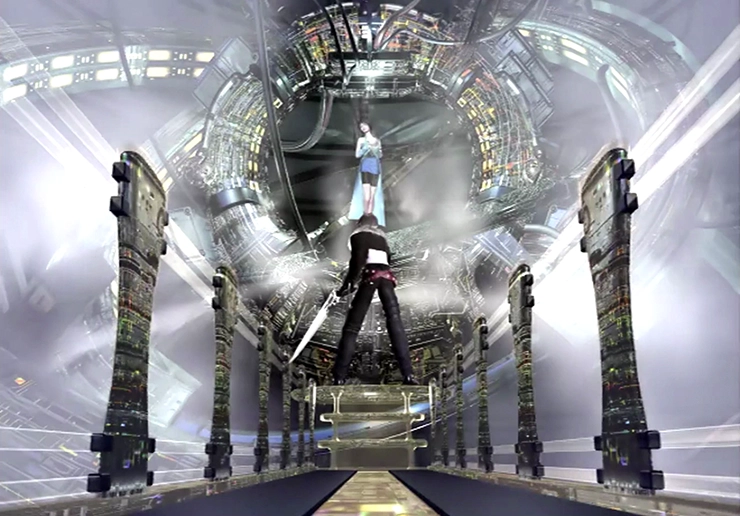
Rescuing Rinoa is as simple as entering the building and pushing through the dialog and short cutscenes. Squall will push his way into the building, break Rinoa free, and help her escape with the rest of the team.
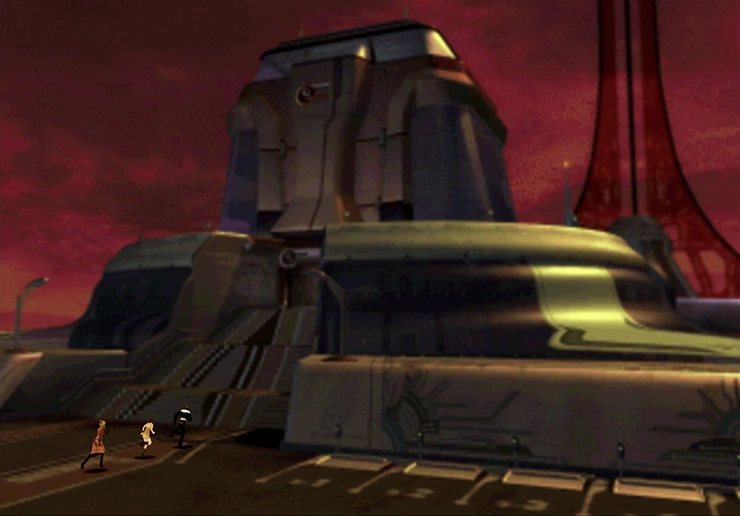
The group will be ambushed by several guards when they leave the Sorceress Memorial, but will be allowed to pass through unencumbered by a man that Squall is sure he recognizes… don’t worry, the mystery will be revealed very soon.
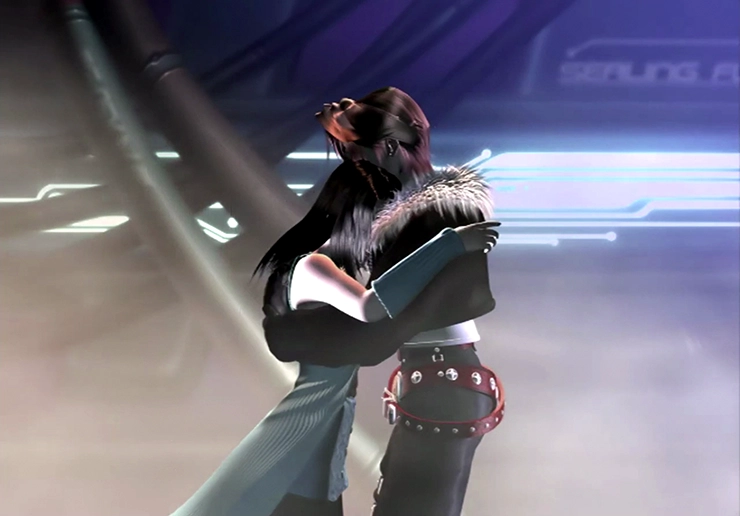
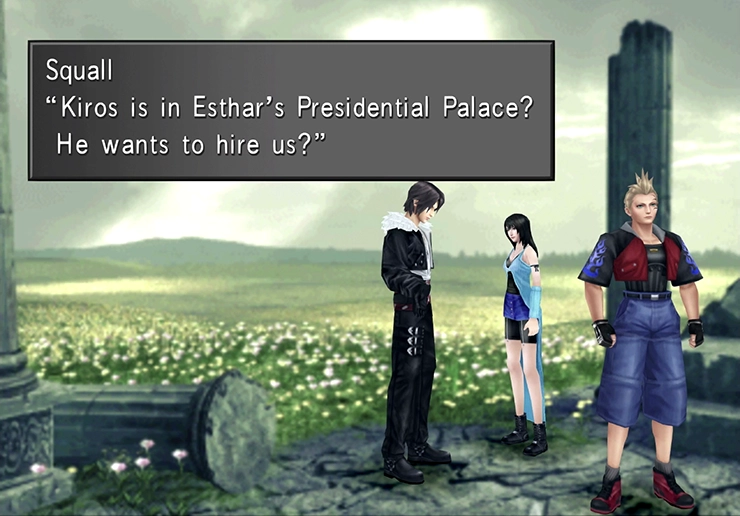
The team will decide where to head next and settle on returning to Edea’s House. Once again, bring up the world map and have the Ragnarok fly you over automatically. Follow Angelo off to the left side of the screen when you arrive to continue with a ton more dialog.
Helpful Hint
Your party will automatically consist of Squall, Rinoa, and Zell when you leave Edea’s House this time. Rearrange your team if you need to as soon as you leave.
Edea will accost you on your way out with some more expository dialog, but then it’s time to make your way back over to Esthar. Again, you can do this by opening up the world map and selecting “Esthar/Airstation”.
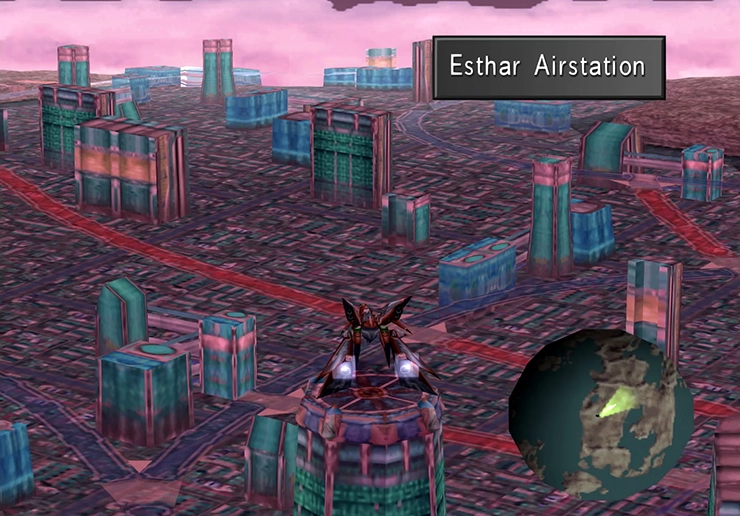
Hover the Ragnarok over the landing pad and press to have the ship land directly inside the city.

Helpful Hint
Esthar is the first place you visit that has its own dedicated landing pad for the Ragnarok. You don’t need to land your ship outside the city and walk in.
Two other locations also have landing pads: Fishermans Horizon (FH) and the Deep Sea Research Center (more on this coming up soon).
Esthar
The city of Esthar is currently under siege! You can now encounter random monster battles while running through the city. Consider using Diablos’ ![]() Enc-None ability to make traveling through the city easier (although all of the monsters in the city are easy to defeat).
Enc-None ability to make traveling through the city easier (although all of the monsters in the city are easy to defeat).
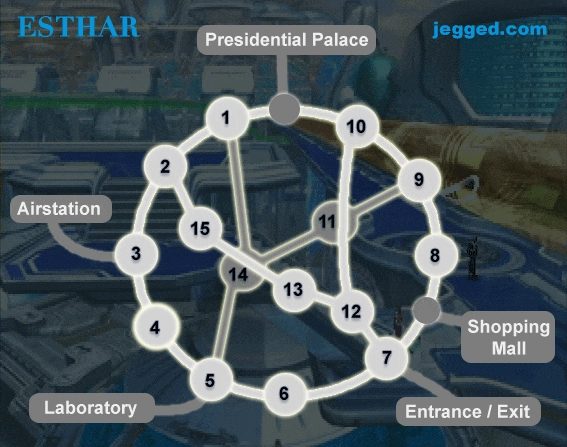
Travel to the Esthar Presidential Palace by referring to the Esthar Map below or following the instructions that follow.
City Map
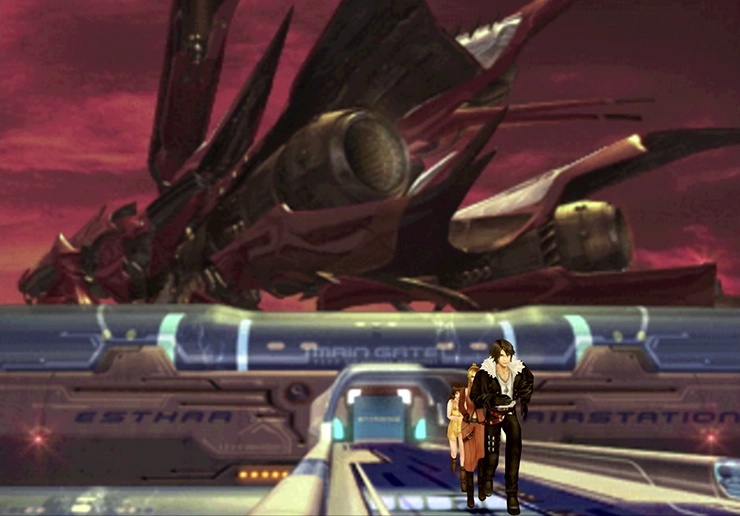
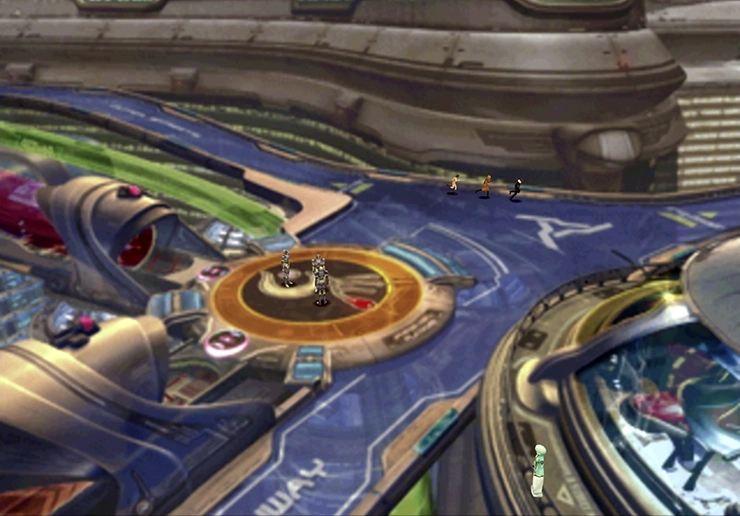
From the Airstation, head right, and you will start in Area (3). Exit out the back of the screen into Area (2). Continue heading down the path and take the far back exit into Area (1). Go all the way right from here to arrive at the Presidential Palace.
Esthar Presidential Palace
Step off the elevator and into the next screen. Continue running left through this next hallway, then left through one more hallway, and proceed through the doors guarded by the two Esthar Soldiers.
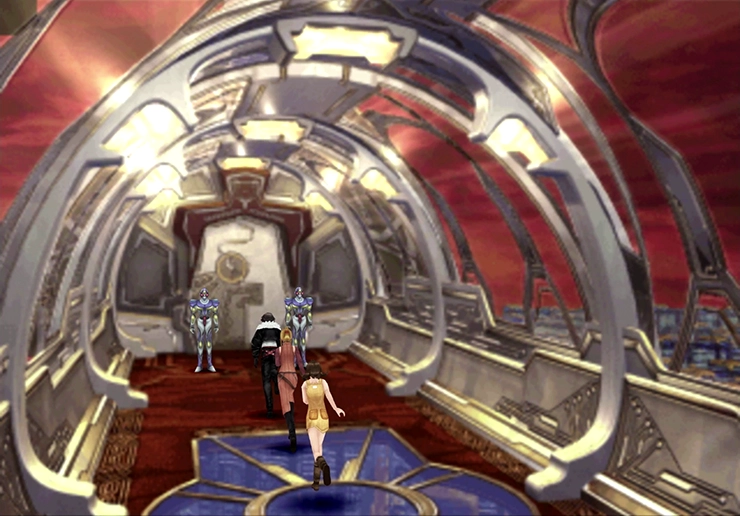
You have quite a bit more dialog to work your way through! Have Laguna and his crew explain the current situation: the mission to defeat Ultimecia, where Ellone can be found, about Raine, and how Laguna found himself becoming the president of Esthar.
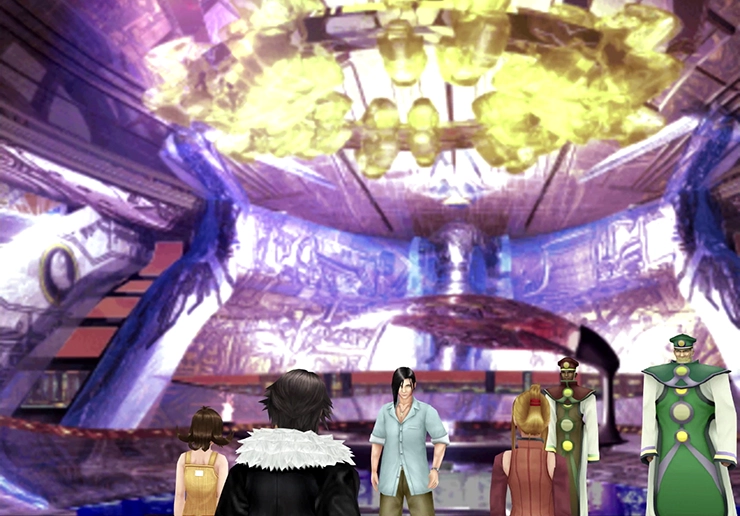
Laguna, Kiros, and Ward will follow Squall and his crew out to their new ship and will accompany you on the rest of your journey in the passenger section of the Ragnarok. More importantly, though, it’s time to get back on the road and get rolling with some of these side quests.
Helpful Hint
Not all Final Fantasy VIII players are looking to fully complete every aspect of the game. For those of you who are interested in skipping the side quest portions of the game and want to get things rolling with the story, head to the next page and make your way directly over to the Lunatic Pandora to continue with the main story.
Side Quests
For the rest of us who are interested in completing all the side quests and challenges that Final Fantasy VIII has to offer, continue reading below. There are quite a few new side quests that have opened up now that you have access to a flying ship.
But before you even step foot off the ship, consider challenging Laguna to a game of Triple Triad. You can find him inside the Ragnarok.
Triple Triad Card Game
The ![]() Squall Card is a one-of-a-kind, rare card, and it is the best Triple Triad card in the game (at least raw stat-wise). Make sure that you don’t accidentally spread the Lunar rules anywhere else. Those rules were wacky and terrible! Make sure you decline the game every time that Laguna asks to combine the rules, and then have Squall take his own card from Laguna.
Squall Card is a one-of-a-kind, rare card, and it is the best Triple Triad card in the game (at least raw stat-wise). Make sure that you don’t accidentally spread the Lunar rules anywhere else. Those rules were wacky and terrible! Make sure you decline the game every time that Laguna asks to combine the rules, and then have Squall take his own card from Laguna.

Obtain Doomtrain (GF)
There are a total of 3 new Guardian Forces (GFs) that you should pick up. First things first, though, if you did not have the proper raw materials (namely 6 Steel Pipes and 6 Malboro Tentacles) to create Doomtrain, you should do so now. Check out the Doomtrain section for more information:
Side Quests
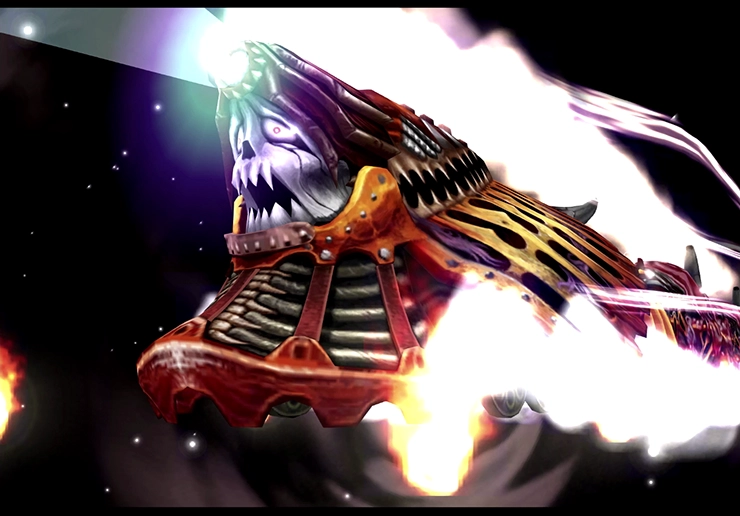
The complete steps for obtaining Doomtrain, including information on the various raw materials that you will need. You can complete it now if you missed it earlier.
Upgrading Your Weapons
Next, before you start trekking through some of these side quests, consider making sure that your characters have their most powerful weapons. Check out the Best Weapons section for more information:
Tips and Tricks
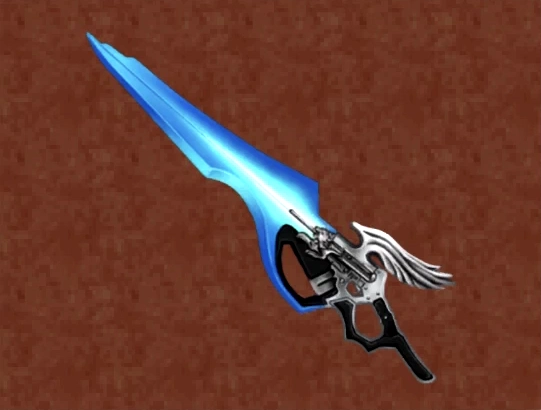
A list of each character’s best weapons, as listed in the Weapons Monthly magazines, and instructions on how to construct each of them.
Obtain Cactuar (GF)
The next Guardian Force to acquire is one that you have probably seen before while you were leveling up your other Guardian Forces near Cactuar Island. This Guardian Force, of course, is the Jumbo Cactuar (or just Cactuar when you get it). Check out the section below for more information:
Side Quests

This section provides a comprehensive guide to obtaining Cactuar from Cactuar Island, including instructions on countering its offensive and defensive tactics.
Deep Sea Research Center Quests
With Jumbo Cactuar on your team, it’s time to make your way out to the Deep Sea Research Center. There are two new Guardian Forces that you can pick up in this area, along with several other great items.
Side Quests
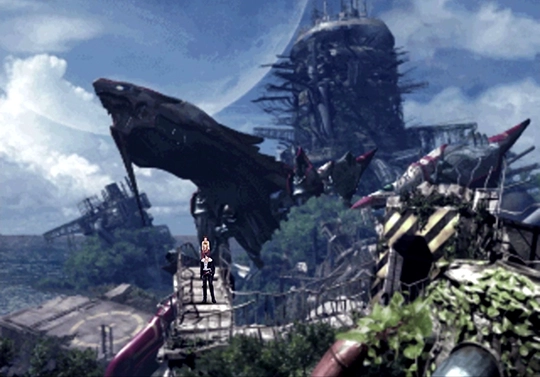
Information on how to travel through the Deep Sea Research center, including how to obtain your new Guardian Force, Bahamut, defeating unlimited Tri-Faces to stock up on Curse Spikes, and defeating Ultima Weapon.
While you are down there, you may wish to take the opportunity to stock up on some ![]() Curse Spikes. Check out the following section for more information:
Curse Spikes. Check out the following section for more information:
Tips and Tricks
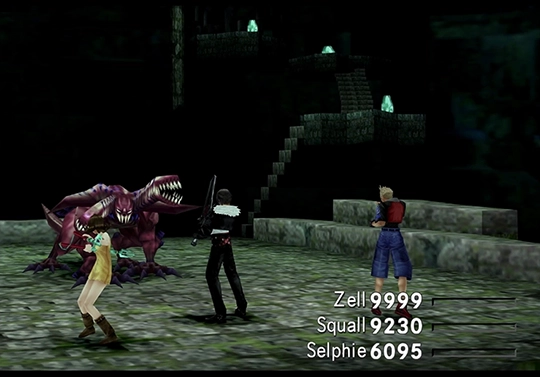
Battling against Tri-Face enemies to stock up on Curse Spikes, which serve as an important ingredient and material for creating and refining all kinds of useful stuff.
Make sure you have checked the bottom of that page and have a good idea of whether you have gathered the number of ![]() Curse Spikes that you want before proceeding to defeat Ultima and obtaining Eden. Information on how to do this is at the bottom of the Deep Sea Research Center page:
Curse Spikes that you want before proceeding to defeat Ultima and obtaining Eden. Information on how to do this is at the bottom of the Deep Sea Research Center page:
Side Quests
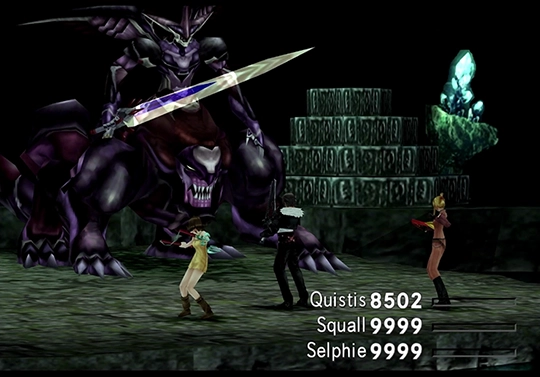
Battle and defeat Ultima Weapon in the basement of the Deep Sea Research Center. Some players opt not to defeat Ultima Weapon as it removes the ability to farm Tri-Faces for Curse Spikes.
Track Down the UFO
The next side quest that you can complete involves tracking down a small UFO and meeting up with PuPu the alien. Use the link below for more information:
Side Quests
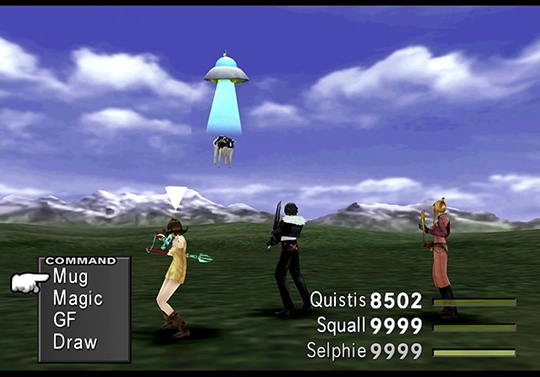
Track down the UFO in various areas across the world and provide some Elixirs to PuPu to get its card and complete your Triple Triad card set.
Complete the Queen of Cards Quest
You can now complete the last remaining steps of the Queen of Cards side quest. Note that the page below walks through all the various interactions you have with the Queen of Cards, but the steps you need to complete now are those mentioned in the “After Ragnarok” section.
Side Quests
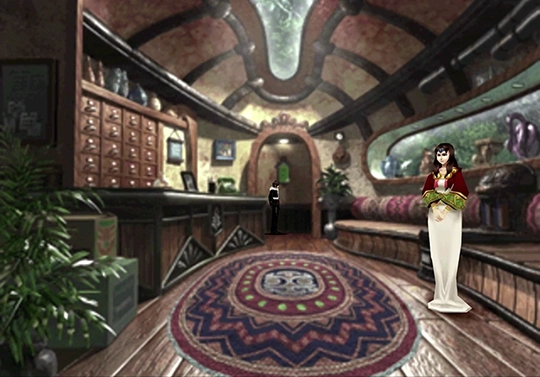
Finishing up the Queen of Cards side quest, which includes obtaining the Doomtrain Card, the Phoenix Card, and resetting the Queen of Cards in preparation for Disc 4.
Obel Lake
The next quest to complete is the Obel Lake side quest. This small, mini-quest offers some fairly meagre rewards, but it’s very easy to complete:
Side Quests
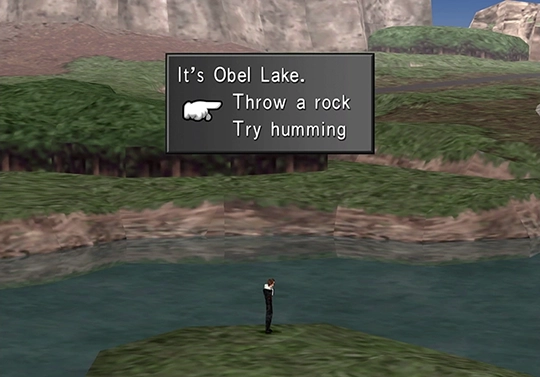
The rewards aren’t great, but there is an Achievement/Trophy you can obtain from completing the Obel Lake side quest.
Stockpiling Energy Crystals
Take this opportunity to stock up on some ![]() Energy Crystals using the Fixed Encounters trick:
Energy Crystals using the Fixed Encounters trick:
Tips and Tricks
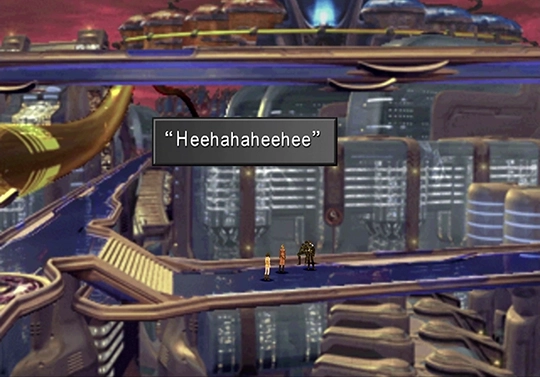
Battling against Elnoyles to stockpile Energy Crystals, which you can convert into Pulse Ammo and Ultima magic.
Stocking up on Magic
The previous section will have given you all the ![]() Energy Crystal you need to manufacture enough Ultima magic for your characters, but there are all sorts of other high-level magic that is worth collecting to power up your characters. Check out the section on the “Best Magic” for more information:
Energy Crystal you need to manufacture enough Ultima magic for your characters, but there are all sorts of other high-level magic that is worth collecting to power up your characters. Check out the section on the “Best Magic” for more information:
Tips and Tricks
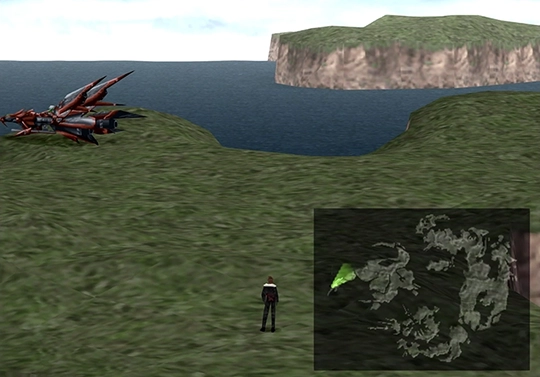
Where to Draw and stockpile the best magic spells in the game. This magic is helpful for improving the junctions your characters are set up with.
Finally, now that you have all of your Guardian Forces, go back to Cactuar Island to level them up.
Tips and Tricks
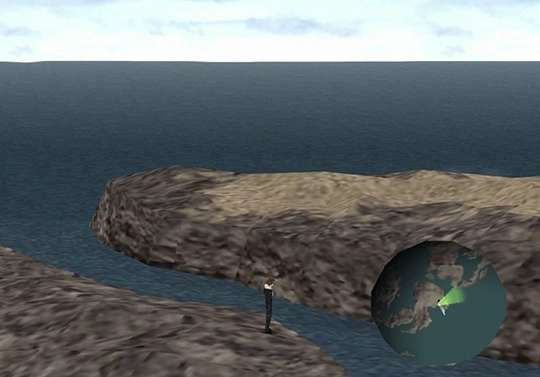
Traveling to Cactuar Island to quickly level up your Guardian Forces, earn them a ton of Ability Points, and have them learn all their Guardian Force abilities.
You’re now ready to get back to the main story. The story continues at the Lunatic Pandora.


