Cúchulainn, the Impure
“Scion created to rid the world of its impurities by swallowing them within himself, in opposition to Nabriales the Majestic, scion of light.
The world, however, was more filled with impurity and corruption than even the gods dared imagine, and having swallowed it all, the once beautiful Cúchulainn was transformed into a hideous thing, a deity of filth, and so did he turn against his creators.
Wherever his feet should fall, there all life withers to dust.”
Cúchulainn is located in the Garamsythe Waterway and requires a few movements of the Waterway Controls in order to get the Esper to appear. It becomes available after you have reached the Ozmone Plain during a regular playthrough. The fight can be fairly difficult at that point in the game though.
This strategy guide recommends completing it after you reach the Phon Coast.
You will need to have completed Hunt 04: Waterway Haunting (Wraith – Rank I) and Hunt 06: Lost in the Pudding (White Mousse – Rank V) in order to gain access to the Garamsythe Waterway.
Location
You can take a shortcut to reach the Garamsythe Waterway if you just recently defeated Zalera in the Barheim Passage. Take the west exit out of Terminus No. 7 which leads into the East Sluice Control area of the Garamsythe Waterway. From there, travel back to the Central Waterway Control area.
Start off by activating the No. 3 and No. 10 Waterway Controls. There is a good chance that the No. 10 Waterway Control is already activated (which means that the orb is lit up and that the sluice gate is down, preventing the flow of water) so just activate the No. 3 Waterway Control if that is the case.
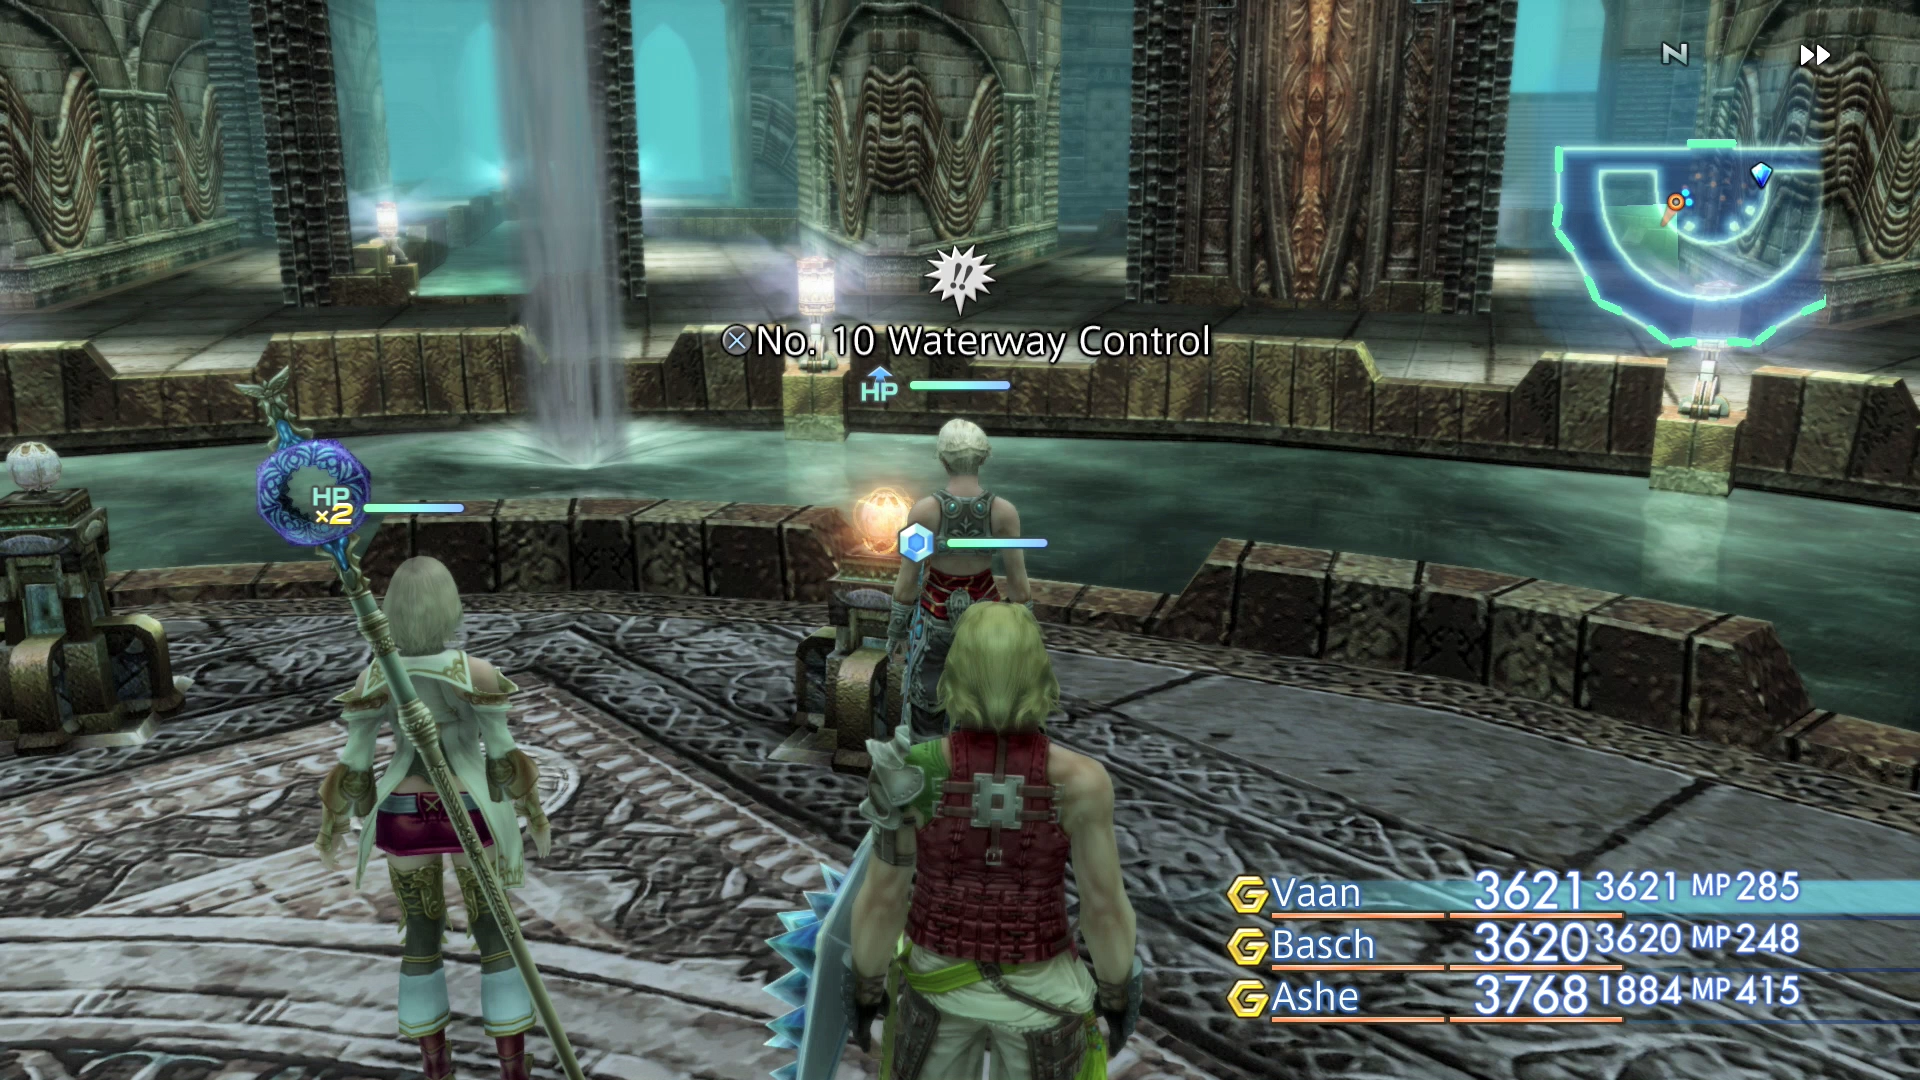
Travel southwest into the No. 3 Cloaca Spur area which can now be reached. It may not appear on your map yet if you have not traveled through this area yet but it is located directly in front of the No. 3 Waterway Control.
Continue along until you locate another switch along the path – the No. 1 South Waterway Control. Activate the switch and then head back out to the Central Waterway Control area.
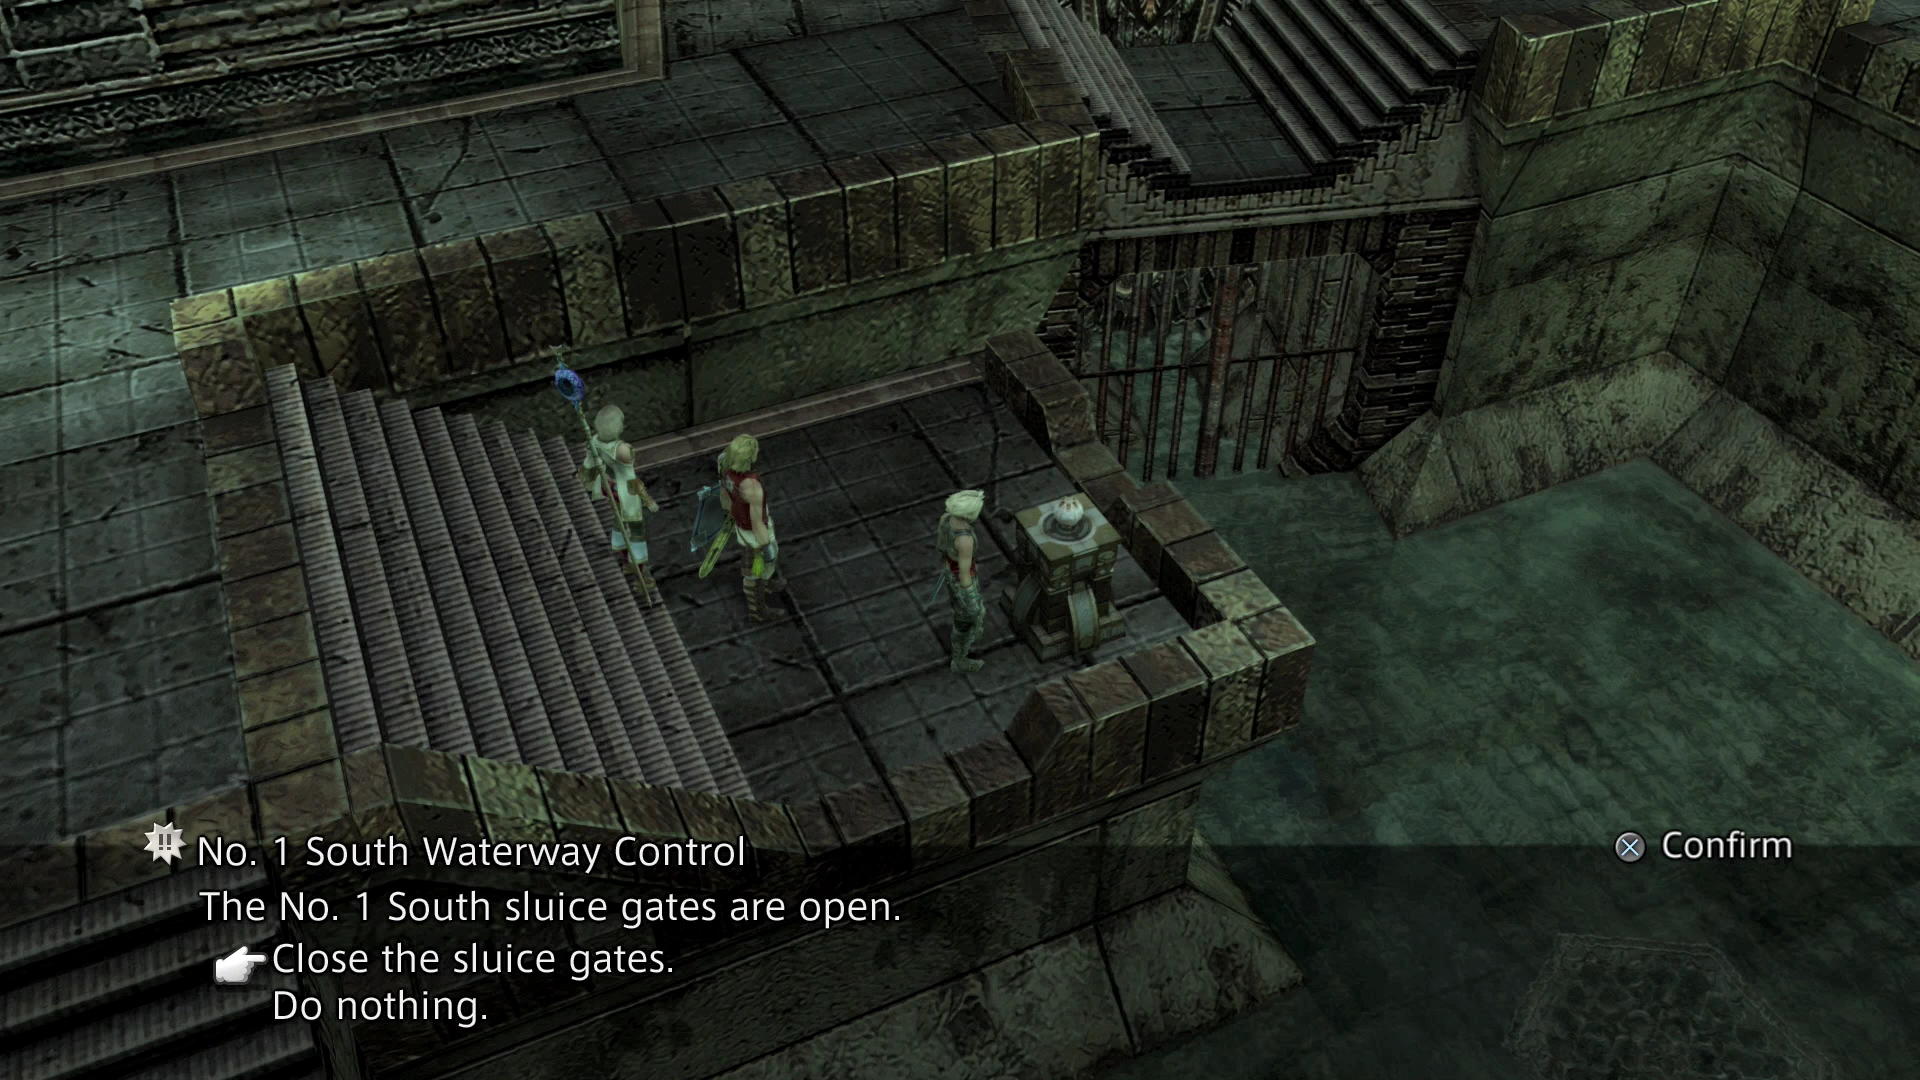
Deactivate the No. 3 and No. 10 Waterway Controls this time and activate the No. 11 and No. 4 Waterway Controls. Travel southeast into the No. 4 Cloaca Spur area and search for another switch.
This time it is for the No. 1 North Waterway Control. Activate the switch and head back out to the Central Waterway Control again.
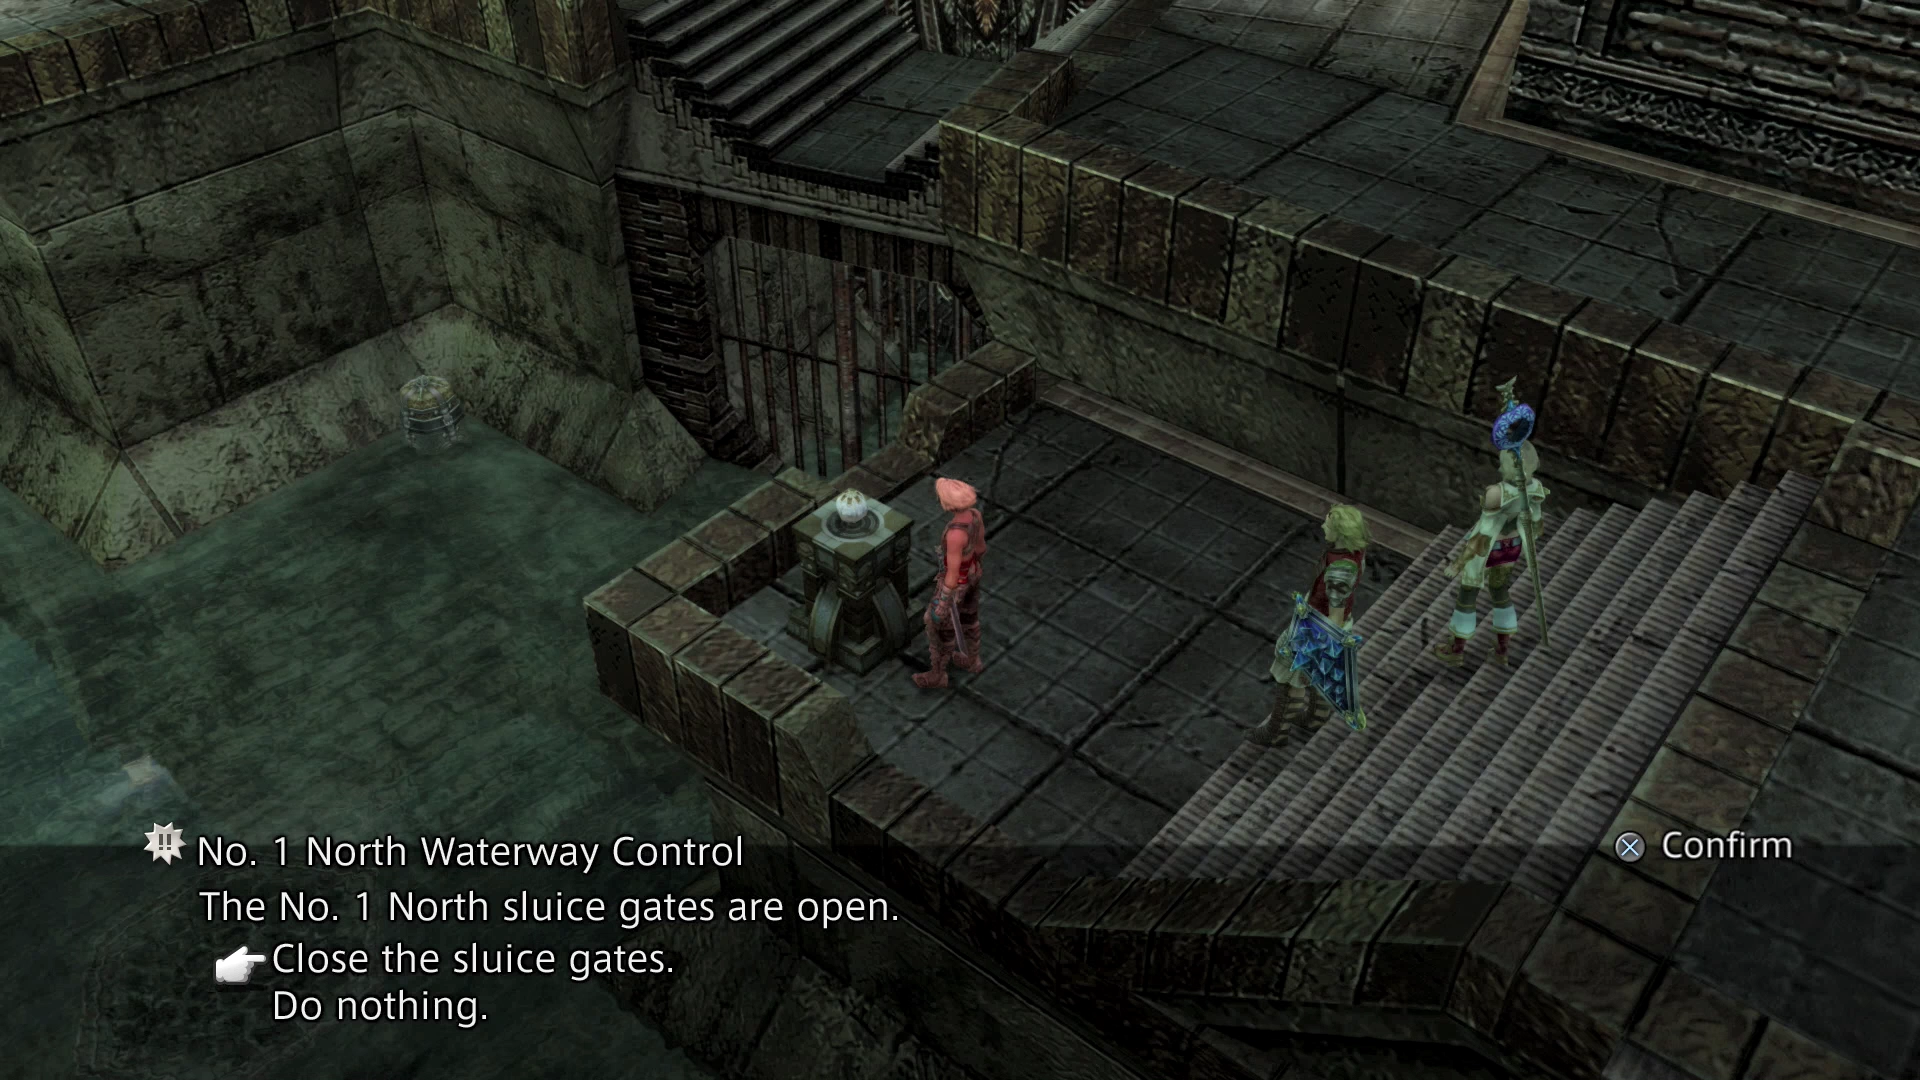
Deactivate the No. 11 Waterway Control and activate the No. 3 Waterway Control. You should now have No. 4 and No. 3 activated; the two southernmost switches. Save your game at the Save Crystal before you proceed. Cúchulainn is located directly south in the No. 1 Cloaca area down in the bottom of the pit.

Esper Battle
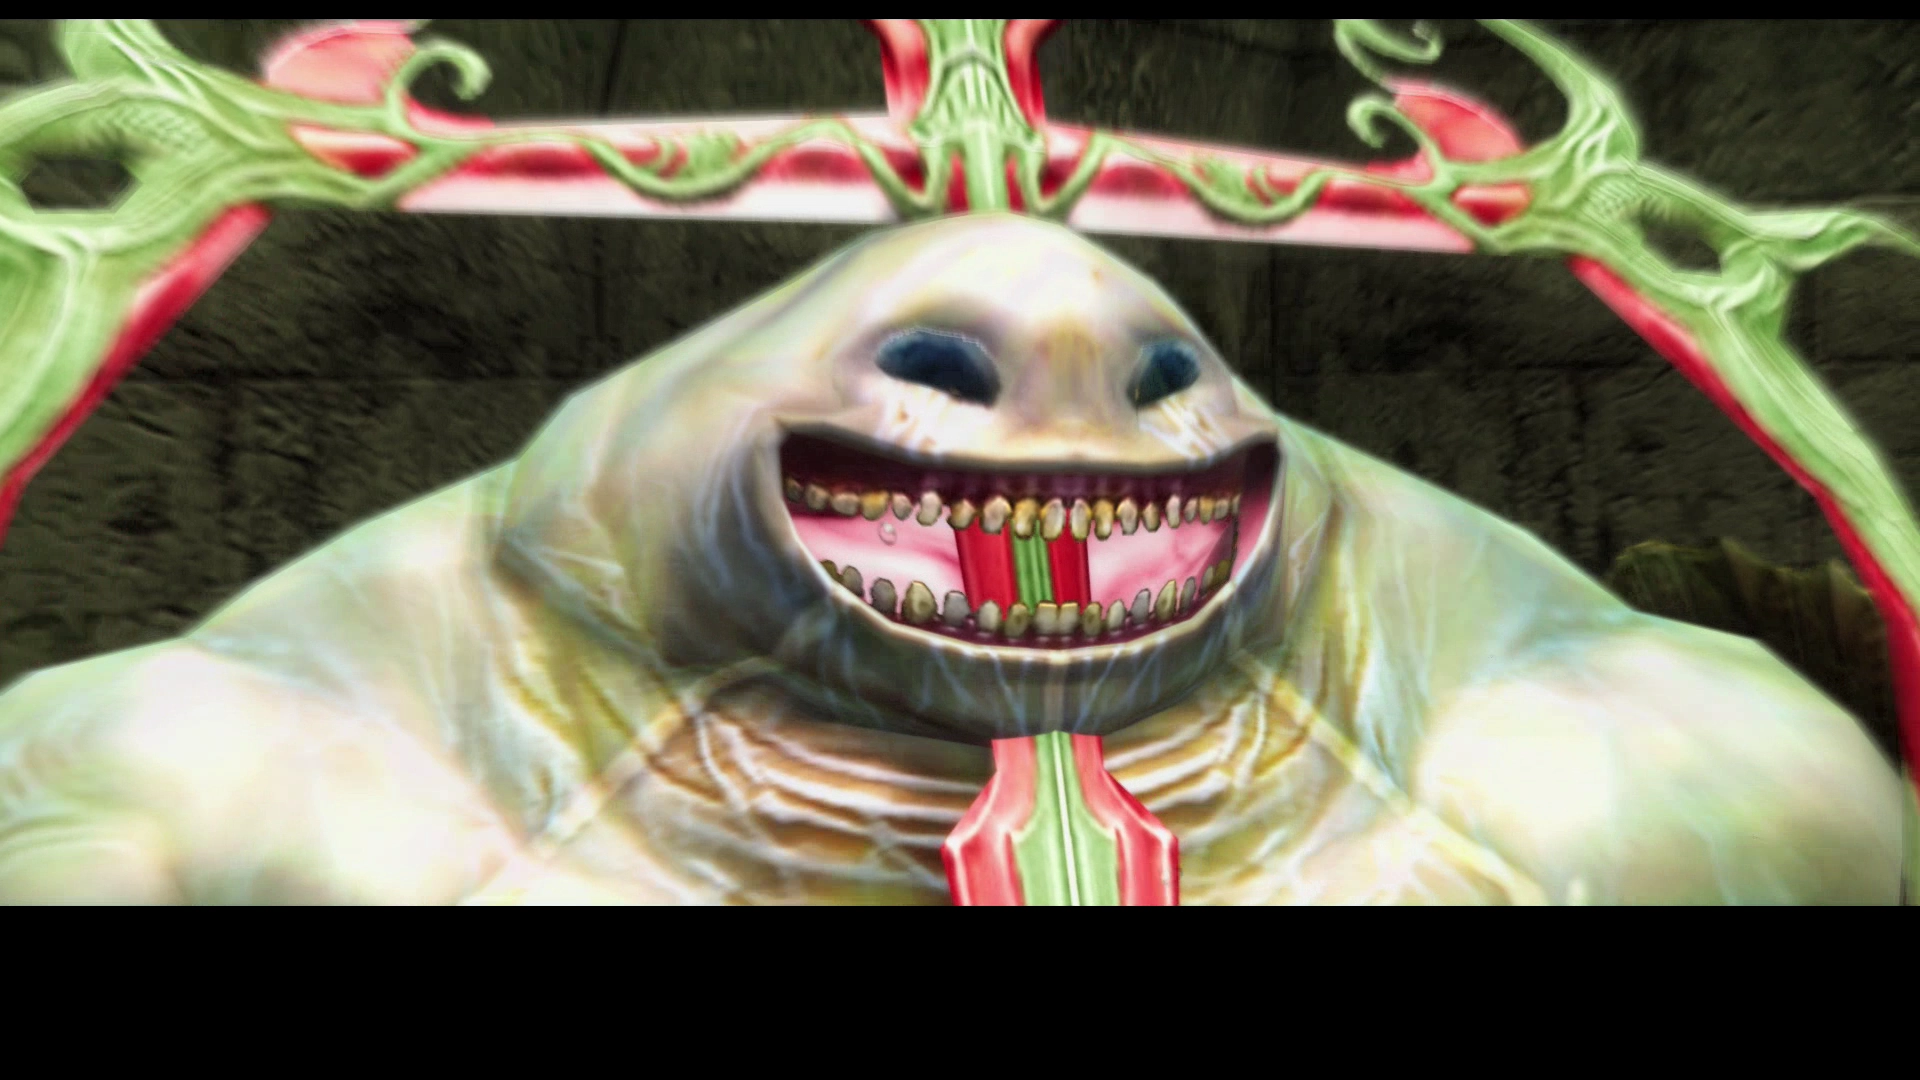
Level: 45
HP: 126,165
Steal: ![]() Scorpio Gem (55%),
Scorpio Gem (55%), ![]() Elixir (10%),
Elixir (10%), ![]() High Arcana (3%)
High Arcana (3%)
There are two key aspects to this fight that are game enders that need to be contended with. First and foremost is that there is an aura that permeates the battlefield that will slowly drain your party members HP throughout the course of the fight. There is no way to prevent this but there are ways to counteract this which are detailed below.
The second difficult aspect are the status effects that you will be hit with, the worst of those being Disable from Cúchulainn’s Disablega attack. This is an instant Game Over if it affects all of your party members. We will start with this aspect as it is the easiest to contend with. Make sure that you have one (or more, ideally) of your party members equipped with a ![]() Black Belt and be sure to have that (or those) characters setup with an
Black Belt and be sure to have that (or those) characters setup with an ![]() Esuna Gambit to remove the status from other party members who are impacted.
Esuna Gambit to remove the status from other party members who are impacted.
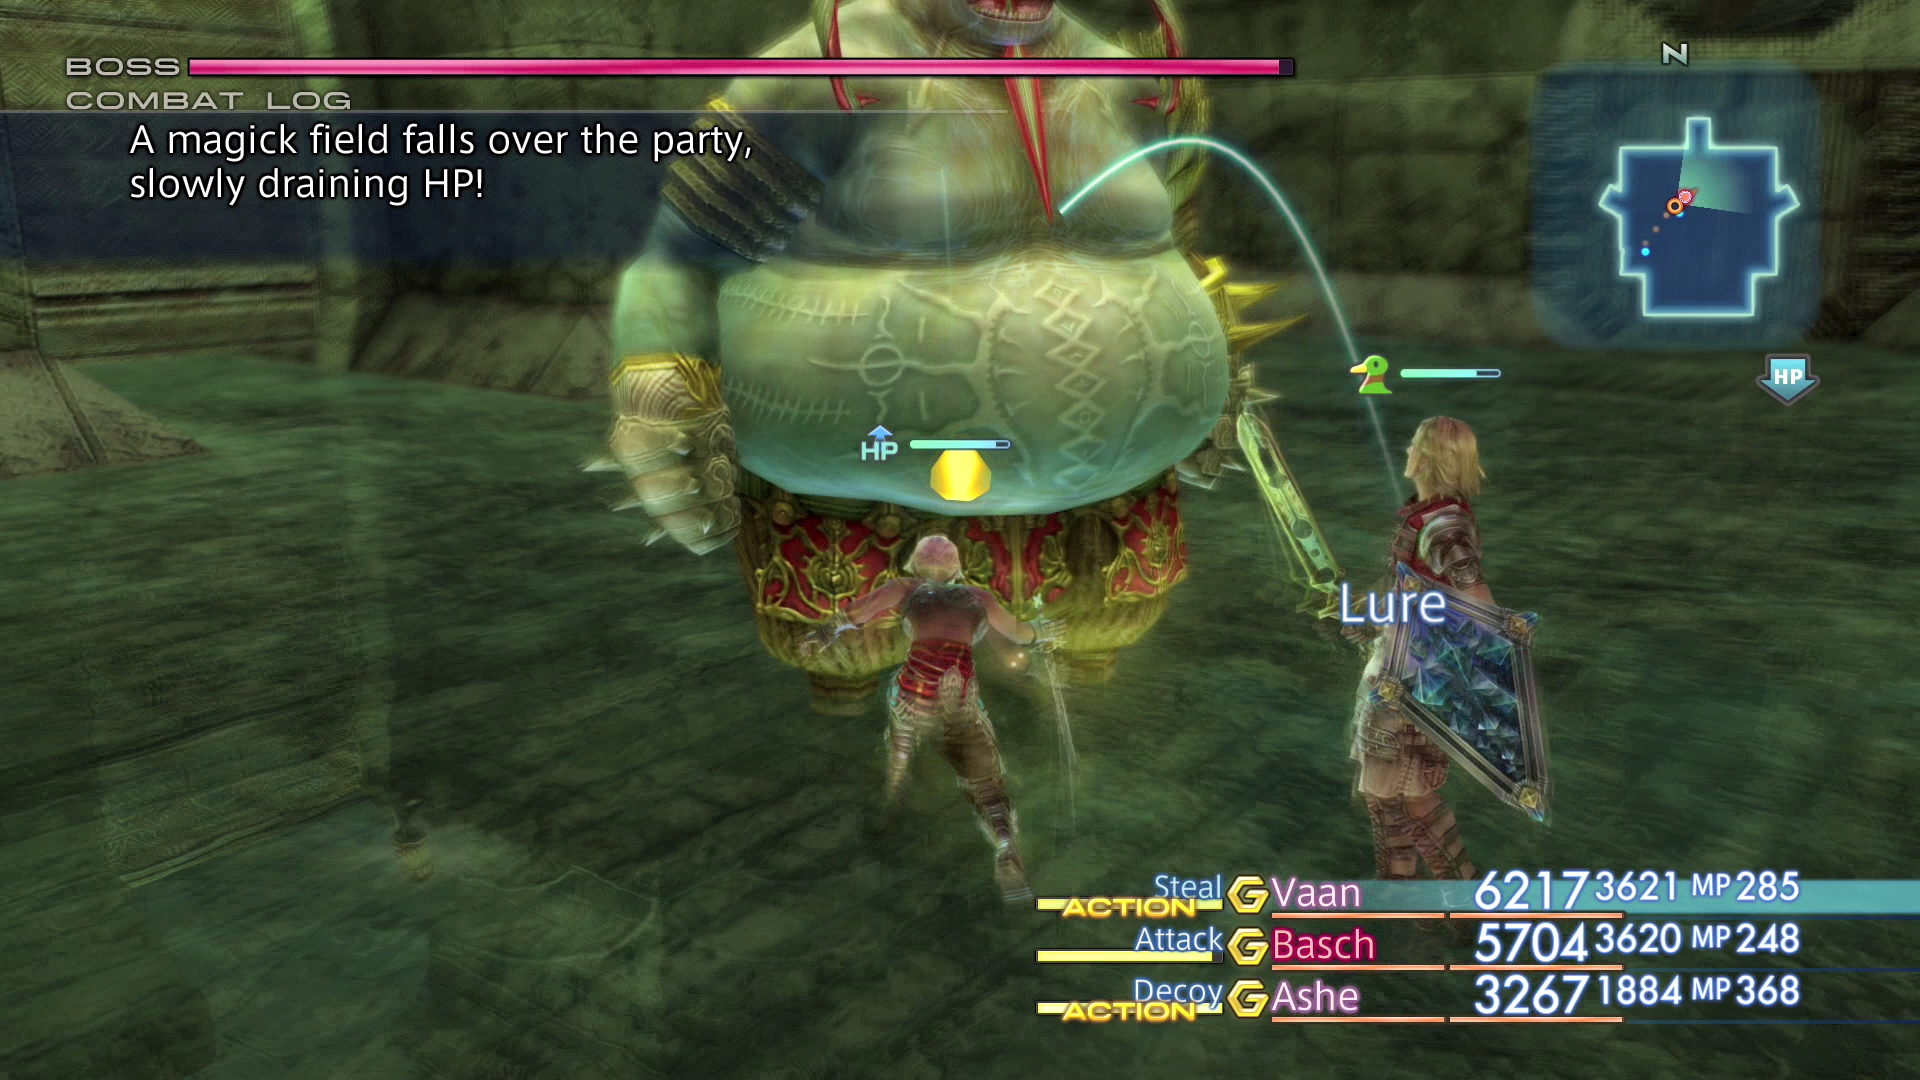
Dealing with the constant drain on HP during the fight is a little bit more difficult. For starters, you may wish to have one of your party members, most likely the tank, equipped with a Bubble Belt. It is also advisable to have a Bubble Gambit setup on your other party members who do not have a Bubble Belt equipped.
Healing becomes the primary focus of your healer for this fight simply due to the shear volume of damage-over-time that they will be receiving. Normally, most players would have a ![]() Regen Gambit setup for outside of combat, but it is highly advisable to alter the Gambit for this fight so that Regen is being cast on any character who has less than 100% HP as a counteractive measure. Therefore, your healer’s Gambits should be as follows:
Regen Gambit setup for outside of combat, but it is highly advisable to alter the Gambit for this fight so that Regen is being cast on any character who has less than 100% HP as a counteractive measure. Therefore, your healer’s Gambits should be as follows:
Make sure that you enter the battle with ![]() Regen already cast, as well as all of your other beneficial status buffs. Stand near the Save Crystal in the Central Waterway Control, buff your characters and then immediately run to the No. 1 Cloaca, cast Regen just before you head down the stairs and then initiate the fight.
Regen already cast, as well as all of your other beneficial status buffs. Stand near the Save Crystal in the Central Waterway Control, buff your characters and then immediately run to the No. 1 Cloaca, cast Regen just before you head down the stairs and then initiate the fight.

Don’t be afraid to help your healer out by having other characters contribute with healing Magick and all characters should be setup to assist with ![]() Esuna to deal with the Sap and Bio spells.
Esuna to deal with the Sap and Bio spells.
Stand back at the beginning of the fight and make sure that your healer is not getting hit by the Foobar enemies that join Cúchulainn for this fight (either by using Lure or taking control of them and running away from them). The Foobar enemies should be defeated before you start attacking the Esper.
Here is a demonstration of the battle:
Congratulations—you now have Cúchulainn as an Esper which you can use in battle!
Cúchulainn can be summoned during a fight. It will use an attack called “Malaise,” which will slowly cause damage over time to an enemy. It will also use an attack called “Blight” as its ultimate attack which does regular damage to an enemy.
Esper Locked Licenses
Unlocking Cúchulainn on the License Boards of certain jobs will unlock additional License Boards:
- Bushi:
 Stamp
Stamp - Foebreaker:
 Shades of Black
 - Knight:
Battle Lore - Machinist:
Magick Lore - Red Battlemage:
Black Magick 9 ( Firaga,
  Thundaga), Black Magick 10 (
 Blizzaga,
  Sleepga)
 - Shikari:
White Magick 12 ( Protectga,
  Shellga)
 - Uhlan:
 Wither
 - White Mage:
 Libra
Libra
The optimal choice in this case is to give your Shikari the White Magick 12 spells for Protectga and Shellga so that more than one party member can be responsible for casting those spells. Alternatively, you can add more Black Magick spells to your Red Battlemage.

