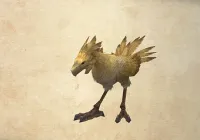
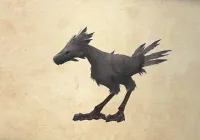
Ozmone Plain
“Wide region of plains in Bancour, bordering Dalmasca. Mostly tall grasses, though here and there can be seen volcanic rock formations.
In the past, a great battle was fought in the skies over Ozmone Plain. The decaying airship wrecks punctuating the plains monuments to the carnage once wrought there.”
Field of Fallen Wings
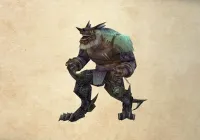
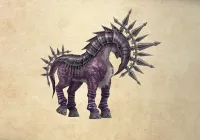
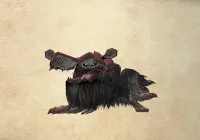
There are three optional Espers which you can fight and obtain now that you have reached the Ozmone Plain. It should be noted that these fights are extremely difficult at this stage of the game and it is recommended that you do not attempt any of these three fights just yet and save them for later.
This strategy guide will include recommendations later on for when it is more realistic to attempt these fights. For informational purposes though, or for those that want an extremely difficult challenge, the three fights are listed below:
Esper
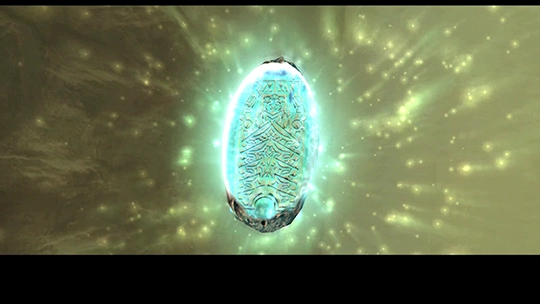
The first optional Esper which can be found in the Zertinan Caverns.
Esper

The second optional Esper located in the depths of the Barheim Passage.
Esper
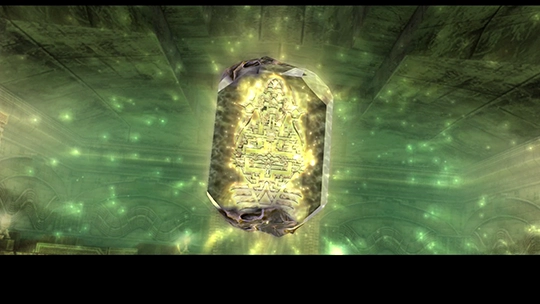
The third optional Esper hiding in the canals of the Garamsythe Waterway.
The Ozmone Plain is located directly south of the Giza Plains and the first area that you will enter is called the Field of Fallen Wings. The area is full of a number of flying-type enemies which cannot be hit with regular weapon attacks.

Take some time to set up some Gambits on your characters that will cause them to switch to different attacks when faced with a flying enemy. Check out the Flying-Type Enemy section of the Gambits section for more information.
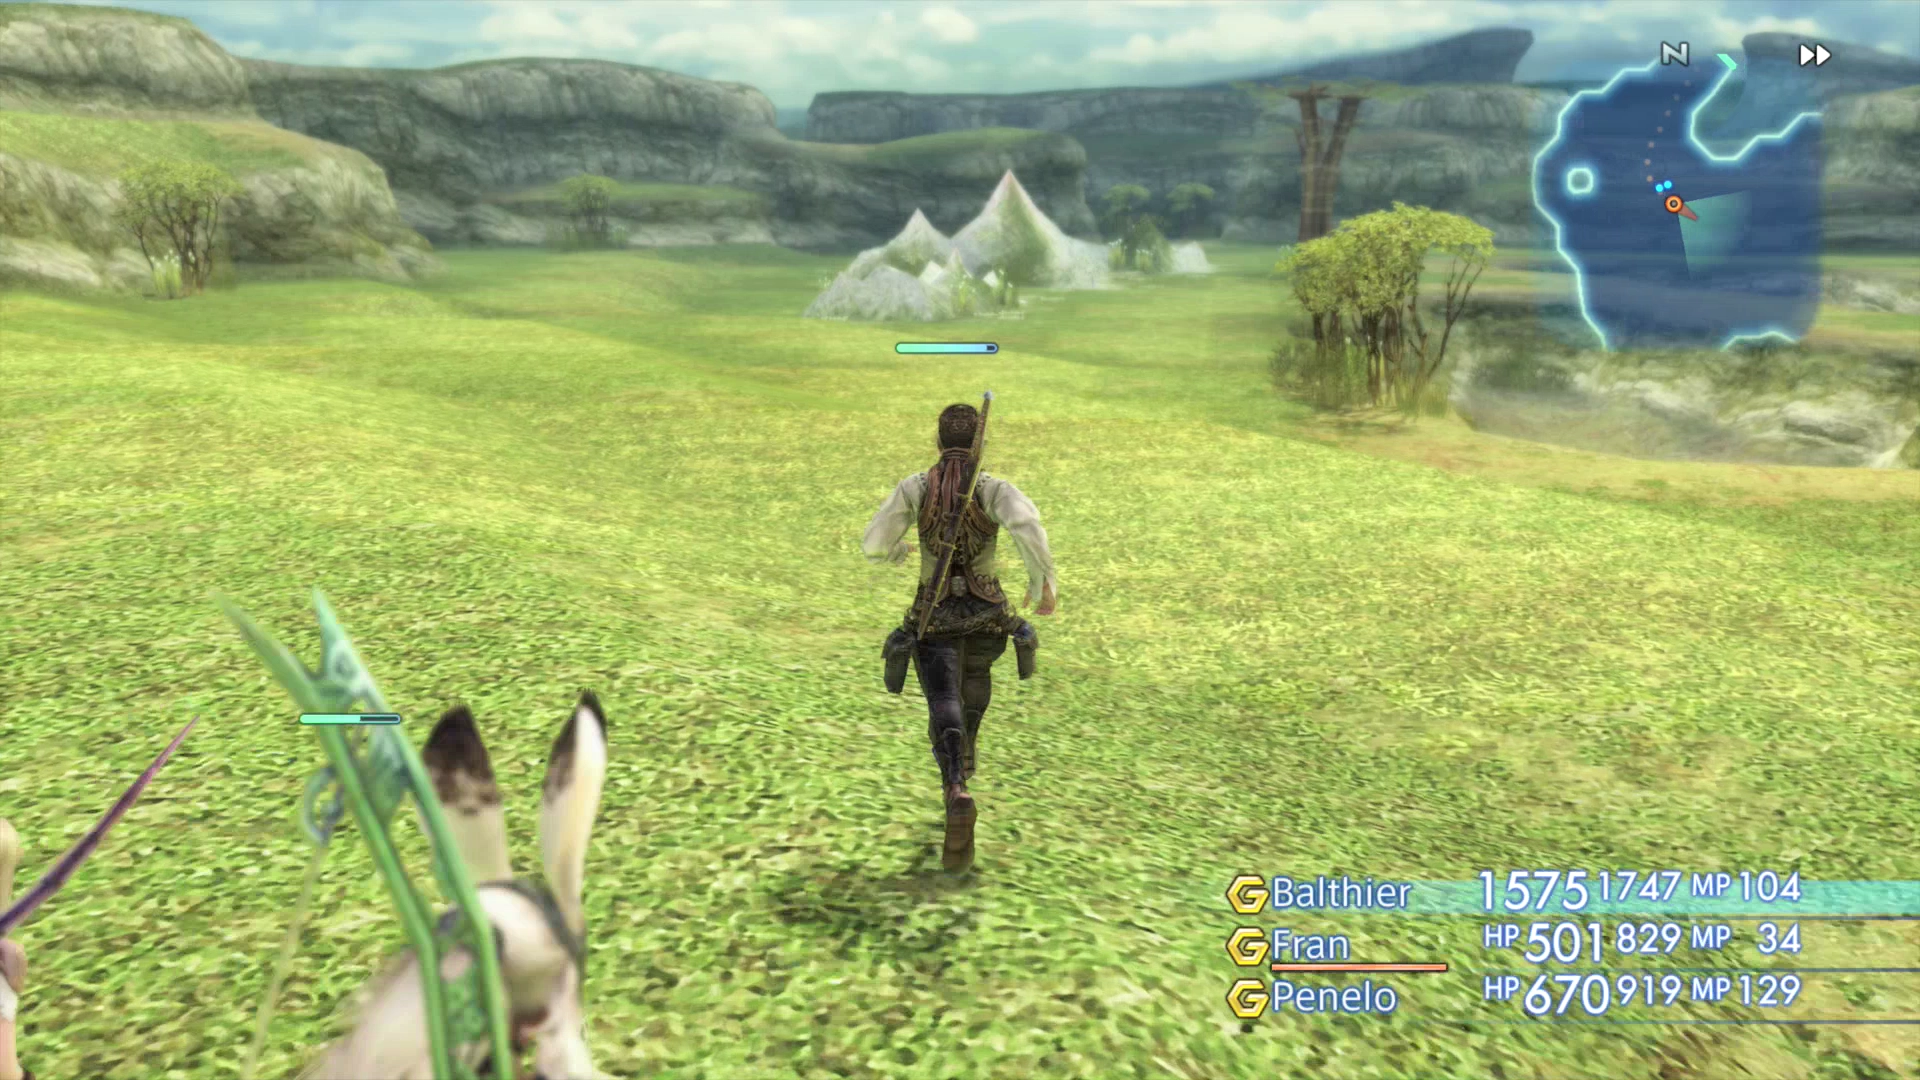
Use the map below to help you navigate your way through the Ozmone Plain – the general direction that you should be headed is to the south into The Switchback and then south one more time into an area called the Haulo Green. Travel west when you reach the Haulo Green area towards Jahara.
Warning
Do not venture into the cave that can be found in the southeast area of the zone (which leads into the Henne Mines) as this area is home to an Esper and powerful enemies that will make quick work of your team.


