
Stages 81 to 90
Tips on how to complete each of the Stages and a list of the items that can be picked up from treasure chests or stolen from the enemies. Note that you need to have ![]() Diamond Armlet equipped in order to obtain the treasure listed. Opening the treasure chest without a Diamond Armlet will result in you receiving consumable and expendable items.
Diamond Armlet equipped in order to obtain the treasure listed. Opening the treasure chest without a Diamond Armlet will result in you receiving consumable and expendable items.
Zeromus
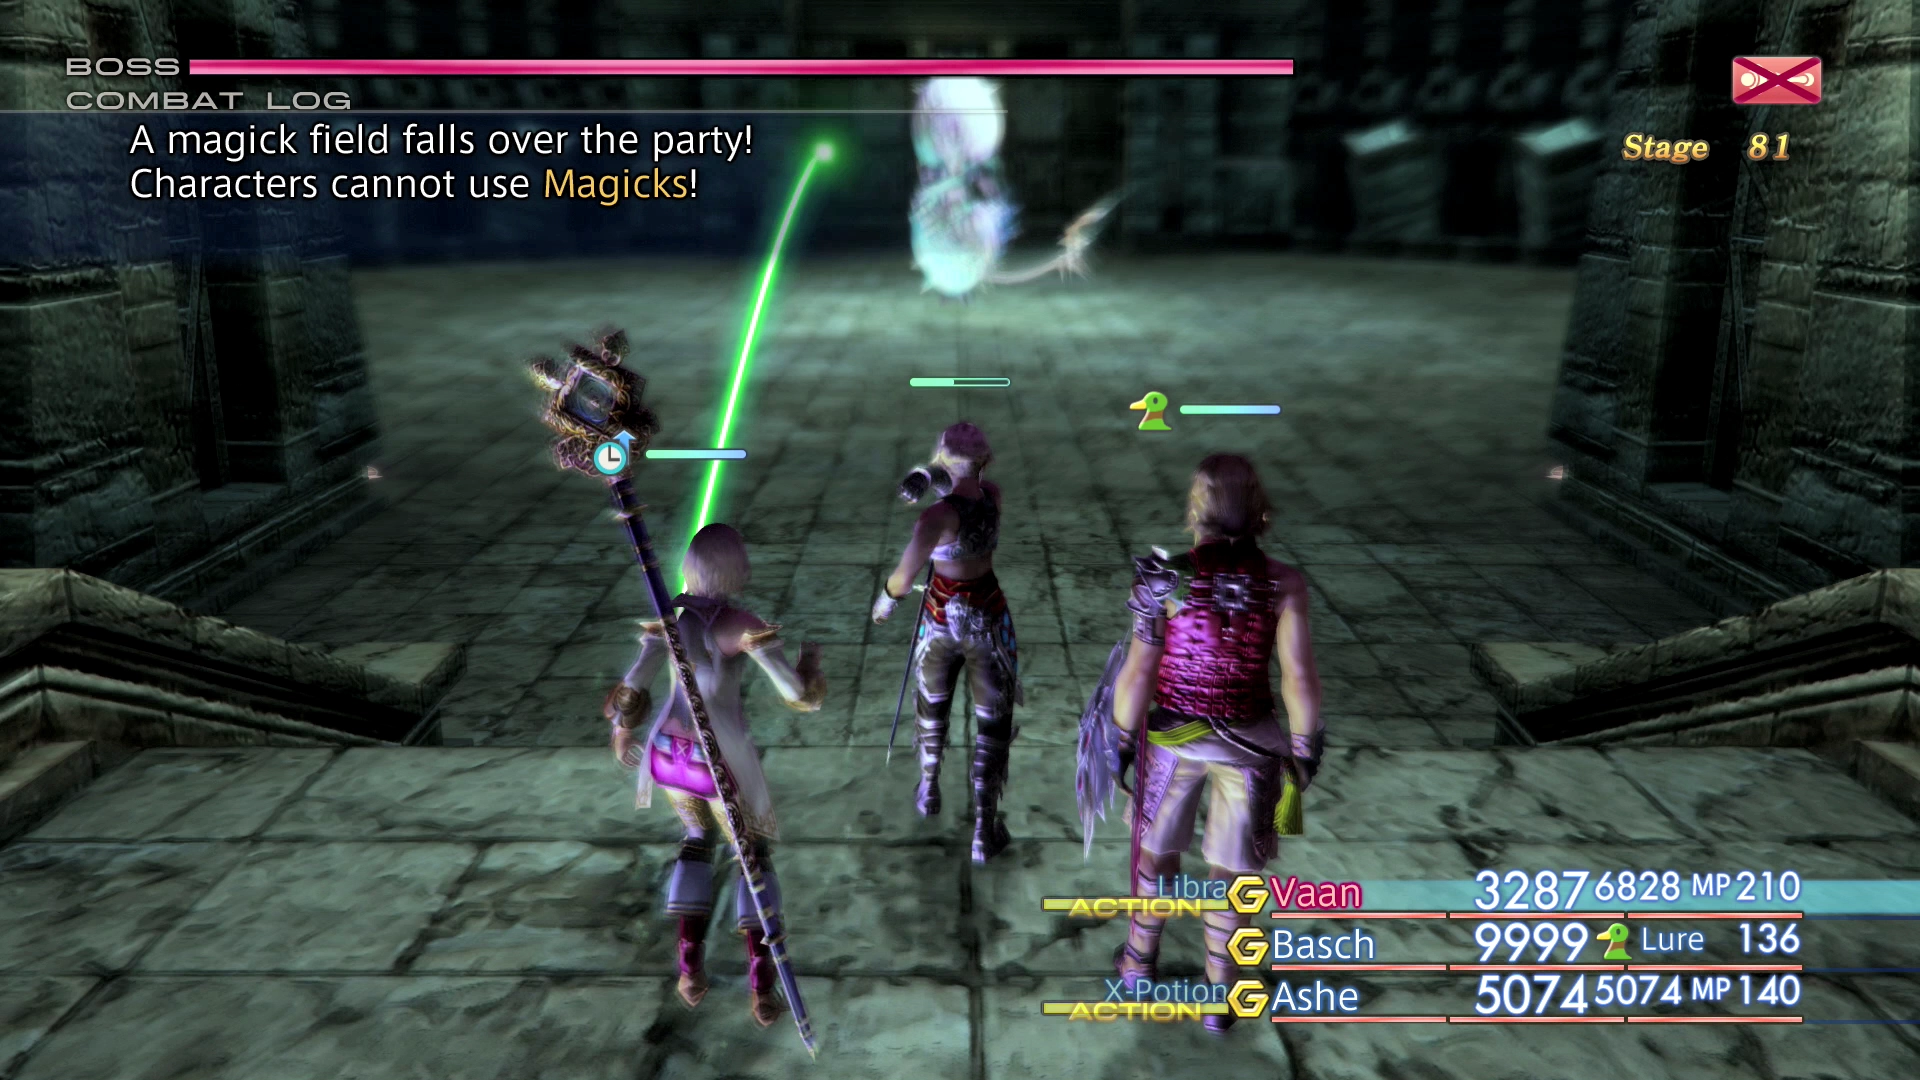
This battle is similar to the fight against Zeromus when you obtain him as an optional Esper in the Stilshrine of Miriam. Dark Lords will spawn continuously during this battle and you will not be able to use Magicks so switch all of your healing Gambits to using ![]() X-Potions and switch your
X-Potions and switch your ![]() Esuna Gambits to use
Esuna Gambits to use ![]() Remedy items.
Remedy items.
Set up a Gambit to target Undead enemies or enemies with the lowest HP so that you don’t become overwhelmed by all the Dark Lords that spawn. All the enemies are weak to Holy-type Magick. Have your White Mage cast ![]() Holy and switch to using
Holy and switch to using ![]() Excalibur.
Excalibur.
It can be easy to be overwhelmed during this fight, so don’t be afraid to use some of your more powerful healing items such as ![]() Elixirs and
Elixirs and ![]() Megalixirs. Also keep in mind that the more Dark Lords you defeat and chain together the more likely they will start dropping higher level loot which can heal your party members and cast beneficial status effects on them.
Megalixirs. Also keep in mind that the more Dark Lords you defeat and chain together the more likely they will start dropping higher level loot which can heal your party members and cast beneficial status effects on them.
Stolen from Zeromus:
Treasure Chests:
High Reaver (x2), Reaver (x2), Crystal Knight
This is a standard battle and the Reaver enemies do not require any particular strategy to defeat.
You can make a Crystal Knight spawn if you stand in the center of the zone.
Stolen from Crystal Knight:
- Uncommon:
 Euclid’s Sextant
 - Rare:
 Golden Skullcap
Treasure Chests:
Giruveganus (x3)
This is a standard battle and the Giruveganus enemies do not require any particular strategy to defeat. They may occasionally use an attack called “Crushing Fangs,” which has a chance to instantly KO one of your party members – there is no way to prevent these potential KO’s so be prepared to revive your party members
Treasure Chests:
Chaos, Wind Chaosjet, Earth Chaosjet, Fire Chaosjet, Water Chaosjet
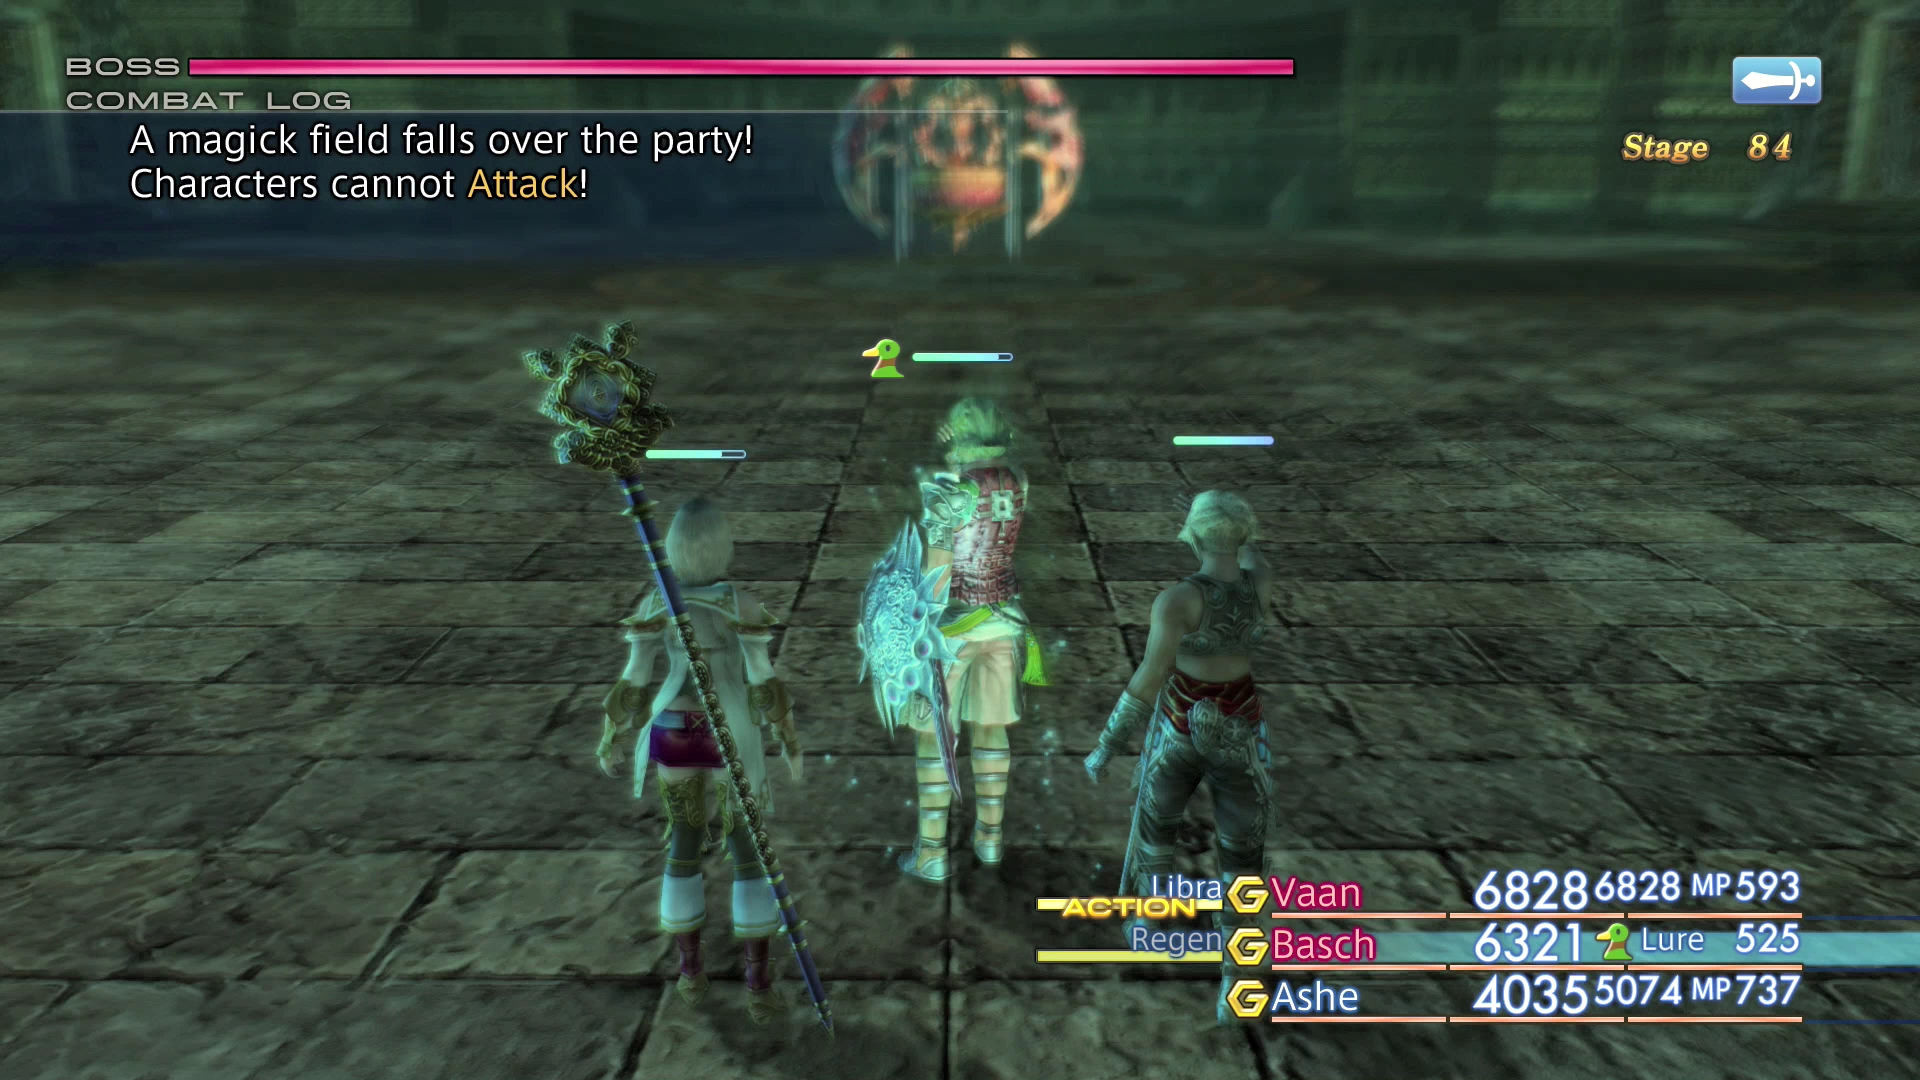
This battle is similar to the battle against Chaos when you attempt to defeat him inside the Necrohol of Nabudis. The Attack command will be disabled so adjust your party accordingly or switch to having your physical party members use Technicks (such as ![]() Telekinesis, which can be used against non-flying enemies as well).
Telekinesis, which can be used against non-flying enemies as well).
Target and defeat the four Chaosjet enemies first and use Magick attacks to bring down Chaos quickly.
Stolen from Chaos:
- Common:
 Elixir
 - Uncommon:
 Glimmering Robes
 - Rare:
 Sage’s Ring
Stolen from Chaosjet:
- Rare: Elixir
Treasure Chests:
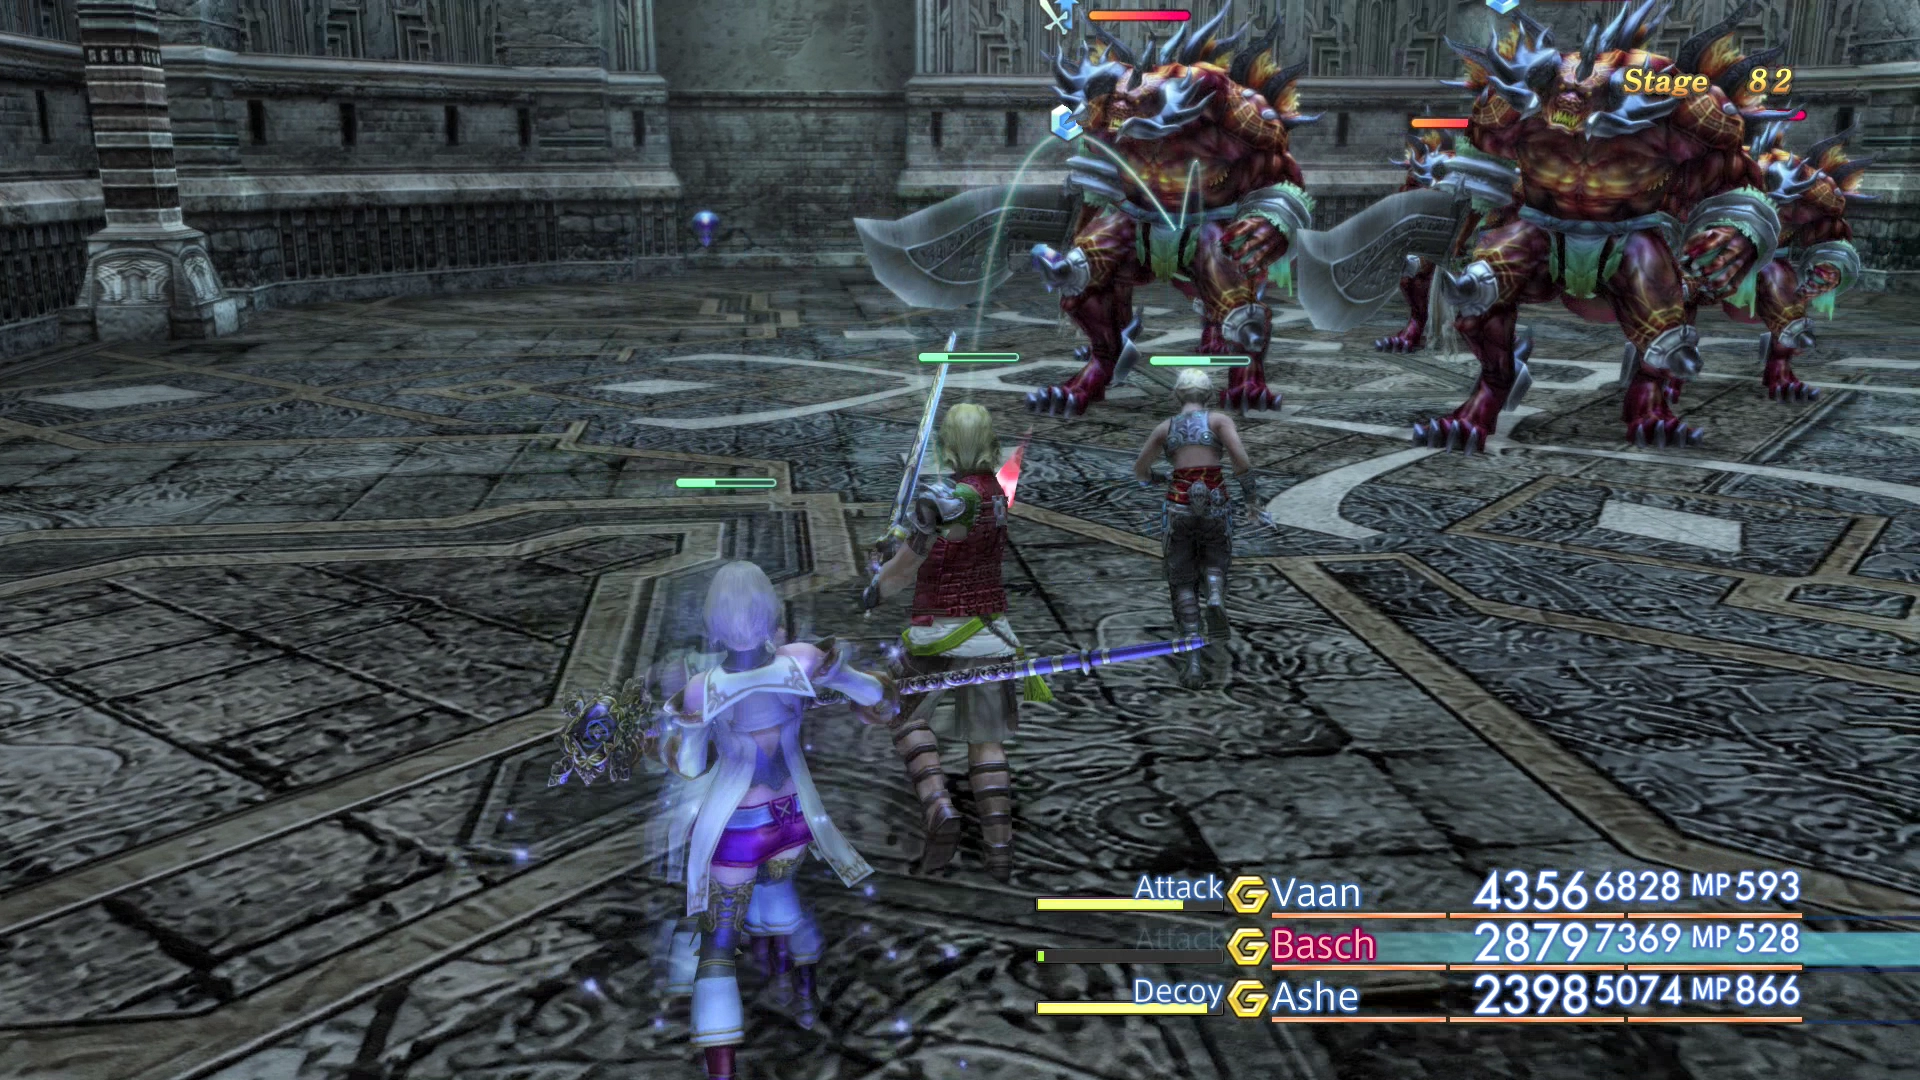
Pylraster, Abelisk, Terror Tyrant
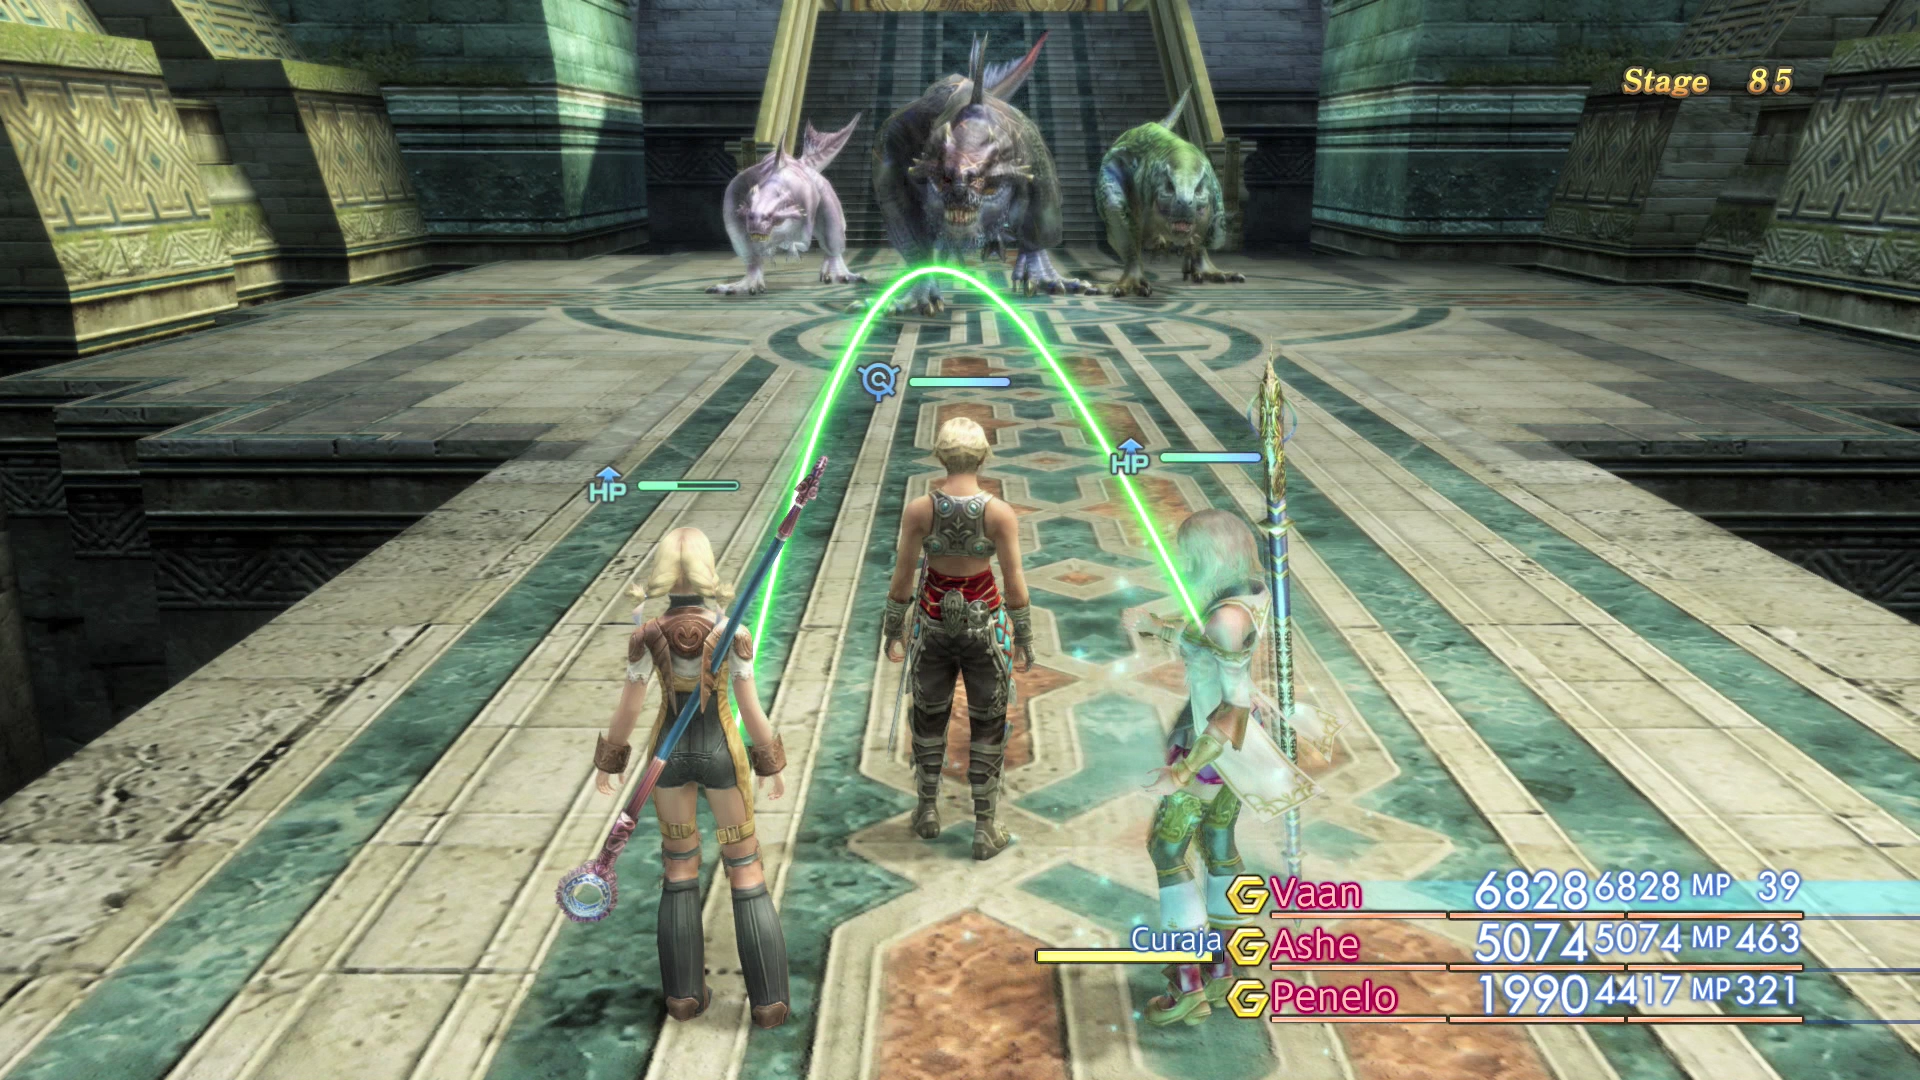
This is a battle against three Tyrant-type enemies. Interestingly enough, due to their size, they likely will not all be able to reach your party and attack them at the same time, which means that you can take them down one at time.
Remember that Pylraster will double in level once its HP falls below 50% making it the hardest Tyrant to defeat. As such, you may want to focus on taking Abelisk and Terror Tyrant out first to reduce the overall amount of damage that your party takes.
Stolen from Pylraster:
- Uncommon:
 Renewing Morion
 - Rare: Brave Suit
Stolen from Abelisk:
- Rare:
 Maximillian
Stolen from Terror Tyrant:
- Rare:
 Magepower Shishak
Poached from Terror Tyrant:
- Rare: Grand Helm
Treasure Chests:
Rikken, Elza, Pirates (x6)
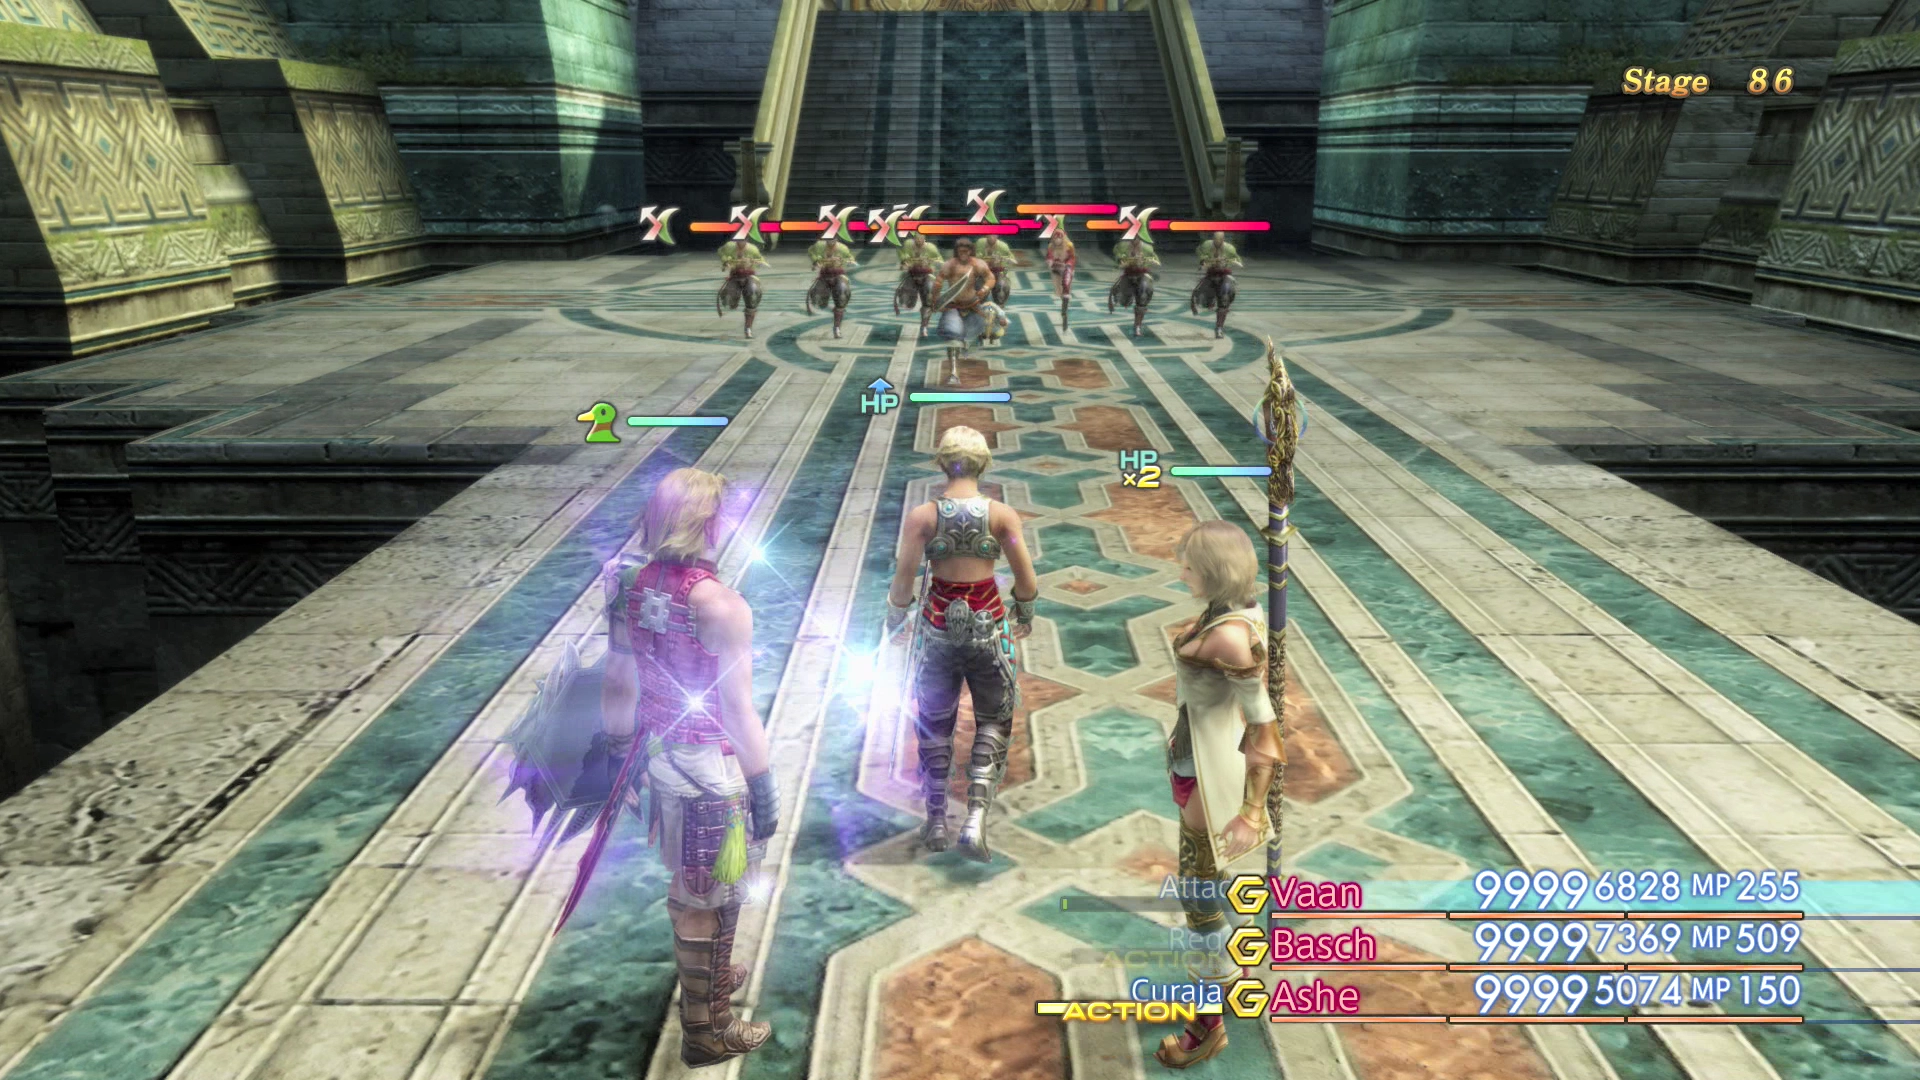
This is the first battle that is extremely difficult no matter what level you are and requires a great deal of strategy in order to complete successfully. The key to this battle is to not underestimate the amount of damage that the 8 party members are going to do to your entire team and to focus on taking out one or two of the Pirates as quickly as possible.
Start off by equipping all of your party members with armor that provides the most defense. This means switching your White Mage, Black Mage, Red Battlemage and Time Battlemages over to using Heavy Armor for the duration of this fight. Have your melee classes use Shields if they can equip them and have all of your party members use a ![]() Bubble Belt (or make sure to keep
Bubble Belt (or make sure to keep ![]() Bubble cast on them). Additionally, have
Bubble cast on them). Additionally, have ![]() Protectga cast on all of your party members at all times and keep
Protectga cast on all of your party members at all times and keep ![]() Decoy active on your tank (or your strongest party member).
Decoy active on your tank (or your strongest party member).
The Pirates can inflict the Silence status effect so make sure that you have a Gambit ready to go to use ![]() Echo Herbs. Rikken and Elza will also cast Reverse on one another which can make them extremely difficult to finally defeat. Have your White Mage cast
Echo Herbs. Rikken and Elza will also cast Reverse on one another which can make them extremely difficult to finally defeat. Have your White Mage cast ![]() Dispel on them when they use Reverse by setting up a Gambit as follows: Foe: status = Reverse > Dispel.
Dispel on them when they use Reverse by setting up a Gambit as follows: Foe: status = Reverse > Dispel.
Stolen from Rikken:
Stolen from Elza:
Stolen from Pirates:
Poached from Pirates:
Treasure Chests:
Hell Wyrm

This battle is similar to the one against Hell Wyrm in the Hall of the Wroth God in the Sochen Cave Palace. The dragon does a fair amount of damage so set your party members up with ![]() Bubble Belts or cast
Bubble Belts or cast ![]() Bubble on each of them. You should also make sure that one of your party members has either a
Bubble on each of them. You should also make sure that one of your party members has either a ![]() Power Armlet or a
Power Armlet or a ![]() Ribbon equipped so that all of your party members are not hit with the Stop status effect at the same time. Set up a Gambit to use a
Ribbon equipped so that all of your party members are not hit with the Stop status effect at the same time. Set up a Gambit to use a ![]() Chronos Tear on the remaining party members.
Chronos Tear on the remaining party members.
You can easily nullify Hell Wyrm’s strongest attacks by equipping your party members with ![]() White Masks or a
White Masks or a ![]() Sage’s Ring. Keep all of your beneficial status effects, such as
Sage’s Ring. Keep all of your beneficial status effects, such as ![]() Protect,
Protect, ![]() Haste,
Haste, ![]() Shell and
Shell and ![]() Bravery, active for the duration of the fight. You should also make liberal use of the
Bravery, active for the duration of the fight. You should also make liberal use of the ![]() Expose Technick to increase the amount of damage done to Hell Wyrm but, more importantly, you should use the
Expose Technick to increase the amount of damage done to Hell Wyrm but, more importantly, you should use the ![]() Wither Technick to reduce Hell Wyrm’s attack power and significantly reduce the amount of damage that it does.
Wither Technick to reduce Hell Wyrm’s attack power and significantly reduce the amount of damage that it does.
Stolen:
- Uncommon:
 Jade Collar
 - Rare:
 Excalibur
Treasure Chests:
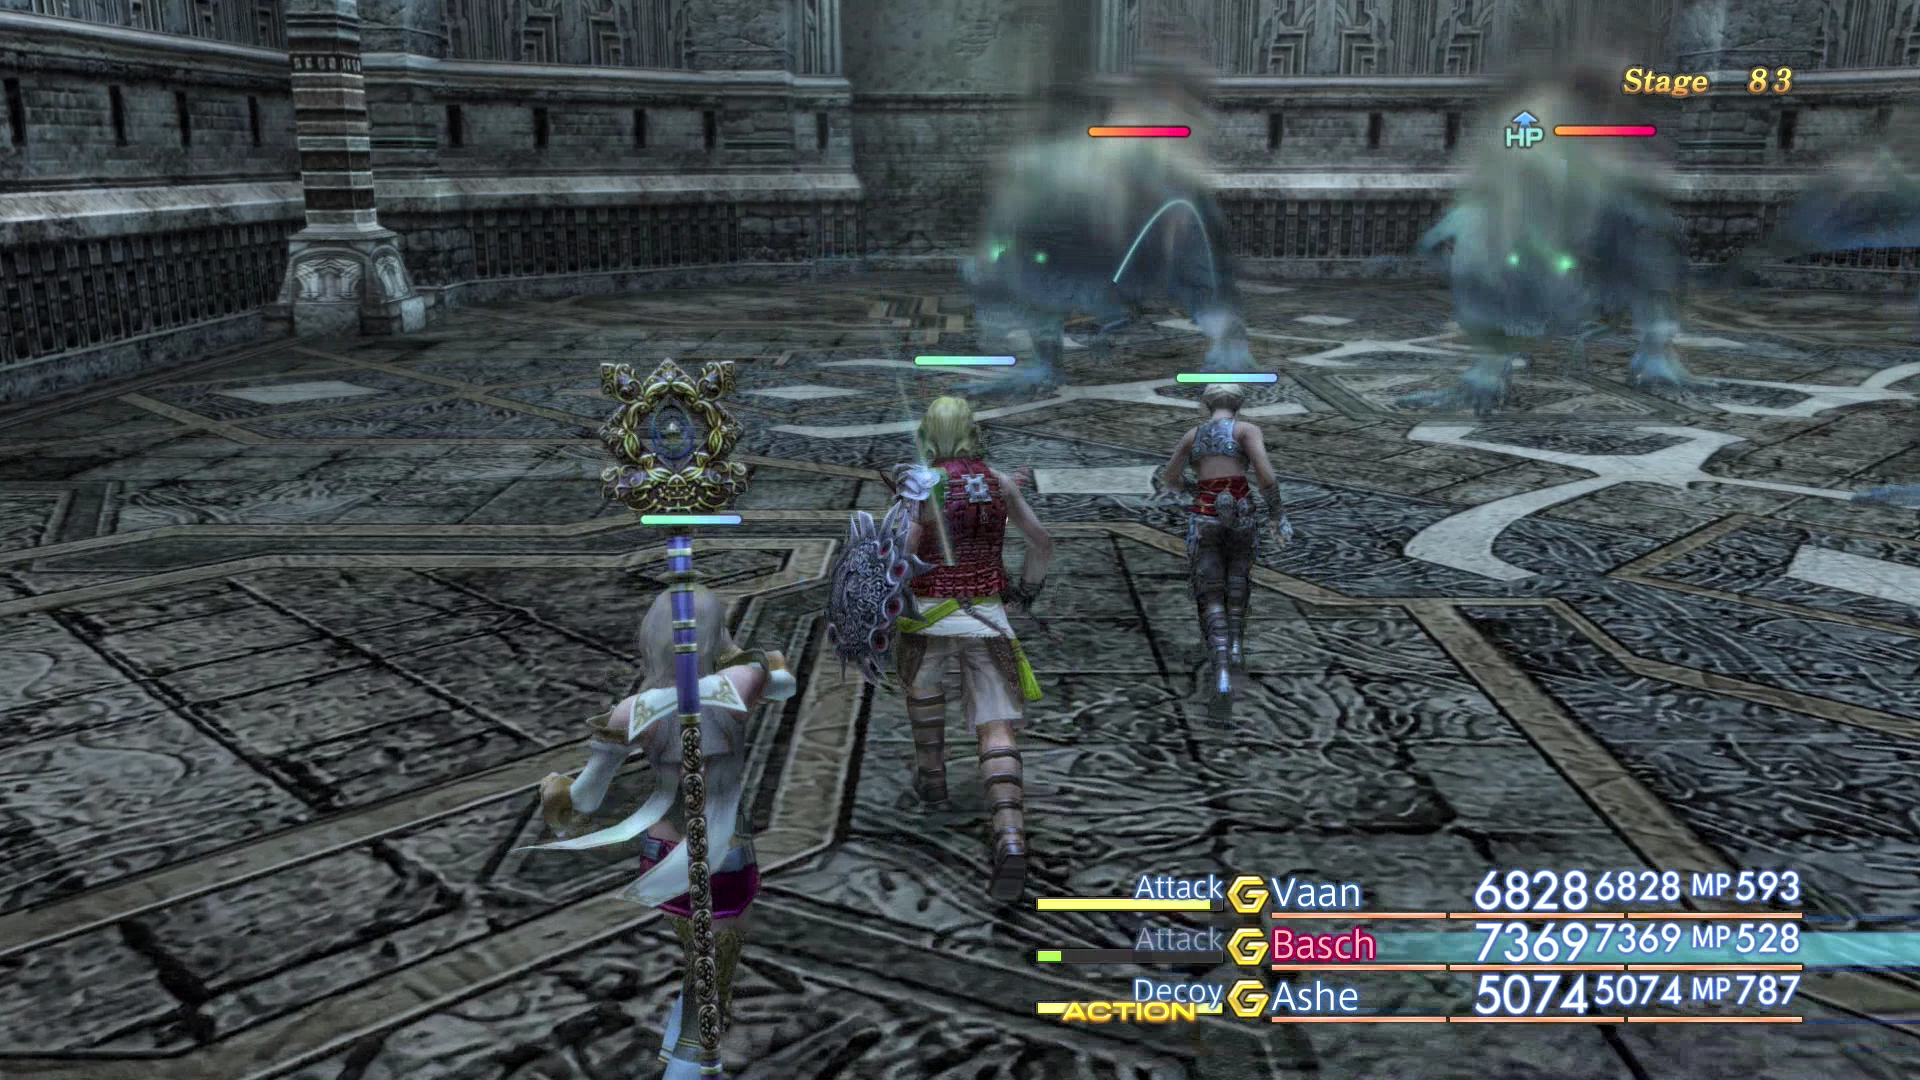
Disma
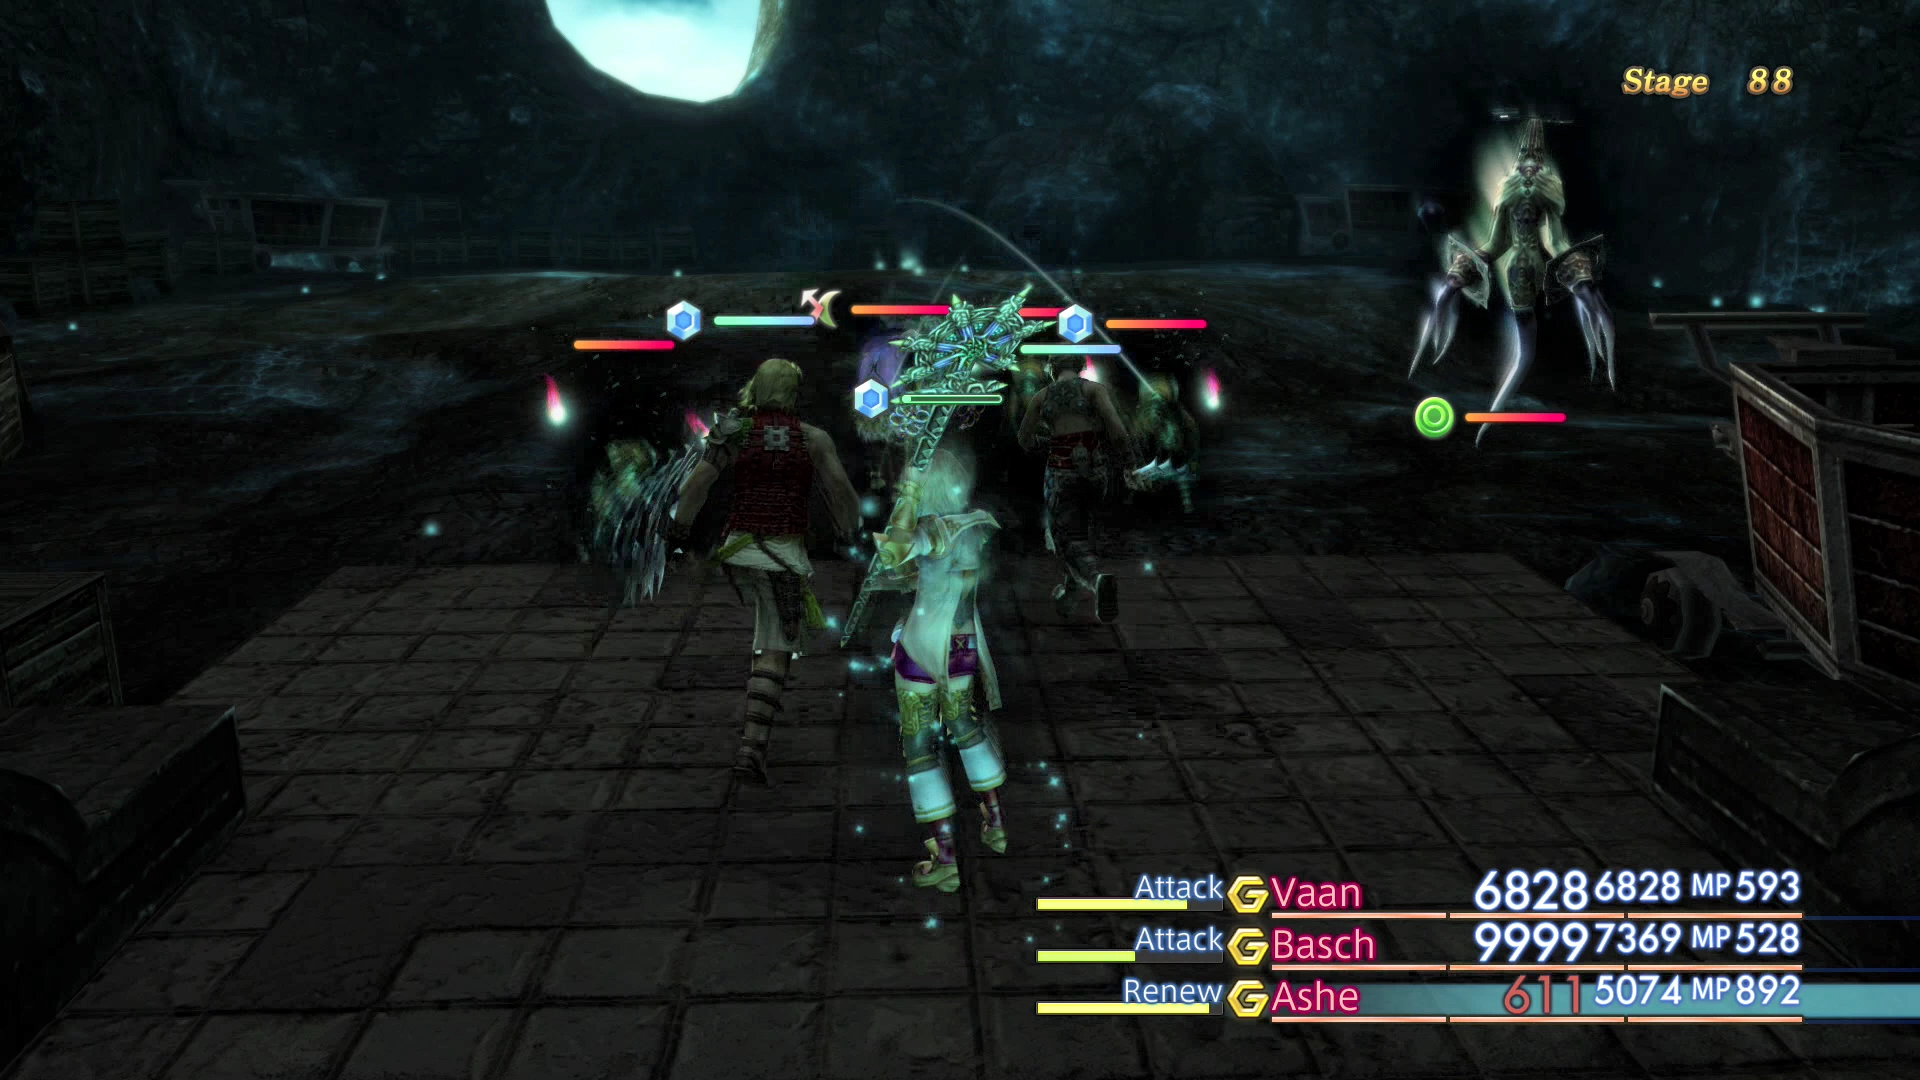
Forbidden enemies and Evil Spirits will spawn throughout this fight. Make sure you take them down quickly to avoid being overrun. You will need to equip your party members with a ![]() Ribbon or a
Ribbon or a ![]() Rose Corsage in order to deal with the Silence status effect. You will also need to have a
Rose Corsage in order to deal with the Silence status effect. You will also need to have a ![]() Chronos Tear Gambit setup (or
Chronos Tear Gambit setup (or ![]() Esuna) to deal with the Stop status effect again. Have your White Mage casting
Esuna) to deal with the Stop status effect again. Have your White Mage casting ![]() Holy and equip one of your party members with the
Holy and equip one of your party members with the ![]() Excalibur sword as all these enemies are weak to Holy damage but make sure to either
Excalibur sword as all these enemies are weak to Holy damage but make sure to either ![]() Dispel Disma’s Reflect status effect first or prevent your White Mage from casting Holy on Disma directly.
Dispel Disma’s Reflect status effect first or prevent your White Mage from casting Holy on Disma directly.
Stolen from Disma:
- Common:
 Demon Shield
 - Uncommon: Aegis Shield
- Rare: Ensanguined Shield
Drops from Evil Spirits:
- Very Rare: Elixir
Stolen from Evil Spirits:
- Common:Demon Shield
- Uncommon: Sage’s Ring
- Rare:
 Shikari Nagasa
Treasure Chests:
Fafnir

This battle is the same as when you defeat Fafnir during Hunt 31: Wyrm Wrath’s Renewal. Make sure that you keep casting ![]() Dispel on it as it has a number of beneficial status effects that need to be removed and it will recast them throughout the fight. Have one of your party members cast
Dispel on it as it has a number of beneficial status effects that need to be removed and it will recast them throughout the fight. Have one of your party members cast ![]() Slow on it and cast
Slow on it and cast ![]() Scourge or
Scourge or ![]() Bio on it early to inflict a heavy amount of damage over time. Then focus on using
Bio on it early to inflict a heavy amount of damage over time. Then focus on using ![]() Wither and
Wither and ![]() Addle, followed by
Addle, followed by ![]() Shear and
Shear and ![]() Expose, to greatly reduce the amount of damage done to your party members and increase the amount of damage done to the dragon.
Expose, to greatly reduce the amount of damage done to your party members and increase the amount of damage done to the dragon.
There are a number of negative status effects, such as Silence, Stop and Sleep, that you will have to watch out for. Have your characters equipped with ![]() Power Armlets,
Power Armlets, ![]() Rose Corsages,
Rose Corsages, ![]() Black Belts or
Black Belts or ![]() Ribbons to prevent them from all being hit with the same status effect at the same time and set up an
Ribbons to prevent them from all being hit with the same status effect at the same time and set up an ![]() Esuna Gambit to remove negative status effects from one another.
Esuna Gambit to remove negative status effects from one another.
Stolen:
- Rare: ![]() Grand Helm
Grand Helm
Poached:
Treasure Chests:
Behemoth King

This battle is the same as the battle against the Behemoth King in the Feywood that you need to defeat in order to complete Hunt 42: Truth Shrouded in Mist. Cast ![]() Dispel on Behemoth King at the beginning of the fight and set up a Gambit to keep casting Dispel on Behemoth King as required. It will recast beneficial status effects throughout the fight. You will also need to be prepared for some negative status effects, such as Stop, that could impact your entire party. Make sure that one party member has a
Dispel on Behemoth King at the beginning of the fight and set up a Gambit to keep casting Dispel on Behemoth King as required. It will recast beneficial status effects throughout the fight. You will also need to be prepared for some negative status effects, such as Stop, that could impact your entire party. Make sure that one party member has a ![]() Power Armlet or a
Power Armlet or a ![]() Ribbon equipped.
Ribbon equipped.
Use ![]() Wither and
Wither and ![]() Addle to reduce the amount of damage that Behemoth King does to your party and then use
Addle to reduce the amount of damage that Behemoth King does to your party and then use ![]() Expose and
Expose and ![]() Shear to increase the amount of damage that your party does. Behemoth King will also set up a ‘paling’ during the fight which will make it immune to physical attacks. Cast the
Shear to increase the amount of damage that your party does. Behemoth King will also set up a ‘paling’ during the fight which will make it immune to physical attacks. Cast the ![]() Arise spell on Behemoth King twice and the paling will switch from protecting against physical attacks to protecting against Magick attacks.
Arise spell on Behemoth King twice and the paling will switch from protecting against physical attacks to protecting against Magick attacks.
Stolen from Behemoth King:
- Uncommon: Grand Helm
- Rare: Grand Armor
Treasure Chests:
You will receive an additional set of rewards upon completion of Stage 90 that includes:
- 9,000 Gil
- Megalixirs x2
 Remedies x15