Golmore Jungle
There are a number of additional side quests that can be completed at this point in the game now that you have the Lente’s Tear Key Item. These should be done before continuing with the remainder of the storyline but you can skip past to the optional quests by scrolling down to the “Golmore Jungle” section below.
Rabanastre
Travel back to Rabanastre and make a visit to the Clan Hall. Speak to Montblanc to receive a reward of 900 Gil for defeating Tiamat. Go back to the Sandsea and examine the Notice Board to find Bill No. 11 for Ixtab (Rank II). This hunt can be completed immediately:
Clan Primer
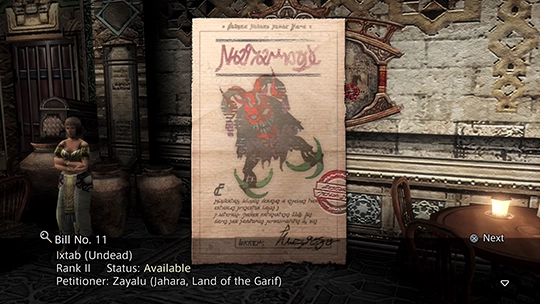
Venturing back into the Henne Mines to destroy the evil spirit plaguing the Garif tribe - Ixtab (Rank II).
You can also attempt another side quest that involves tracking down and destroying the Earth Tyrant. This is a side quest though and not a Hunt, and it will be one of the more difficult battles you have faced thus far in the game.
There is no shame in leaving this fight until later on in the game if preferred, but with preparation, it can be completed now.
Side Quests
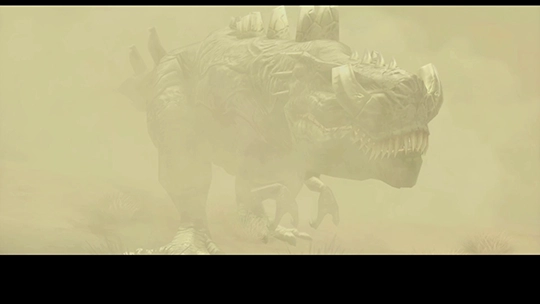
Helping Rimzat deal with the creature causing all the sandstorms in the Dalmasca Westersand.
Make sure that you have purchased all the items that you need from Tetran in Eruyt Village including the new Magick that are available and a ![]() Rose Corsage for one of your Magick users to deal with the Silence status effect if you do not have one already.
Rose Corsage for one of your Magick users to deal with the Silence status effect if you do not have one already.
Golmore Jungle
It is now time to begin traveling through Golmore Jungle and to continue with the story. Return to the Golmore Jungle by exiting through Eruyt Village (warp there using an orange Save Crystal if necessary).
The Needlebrake
Go back up the stairs on the path and head east towards the barrier that blocks the way.
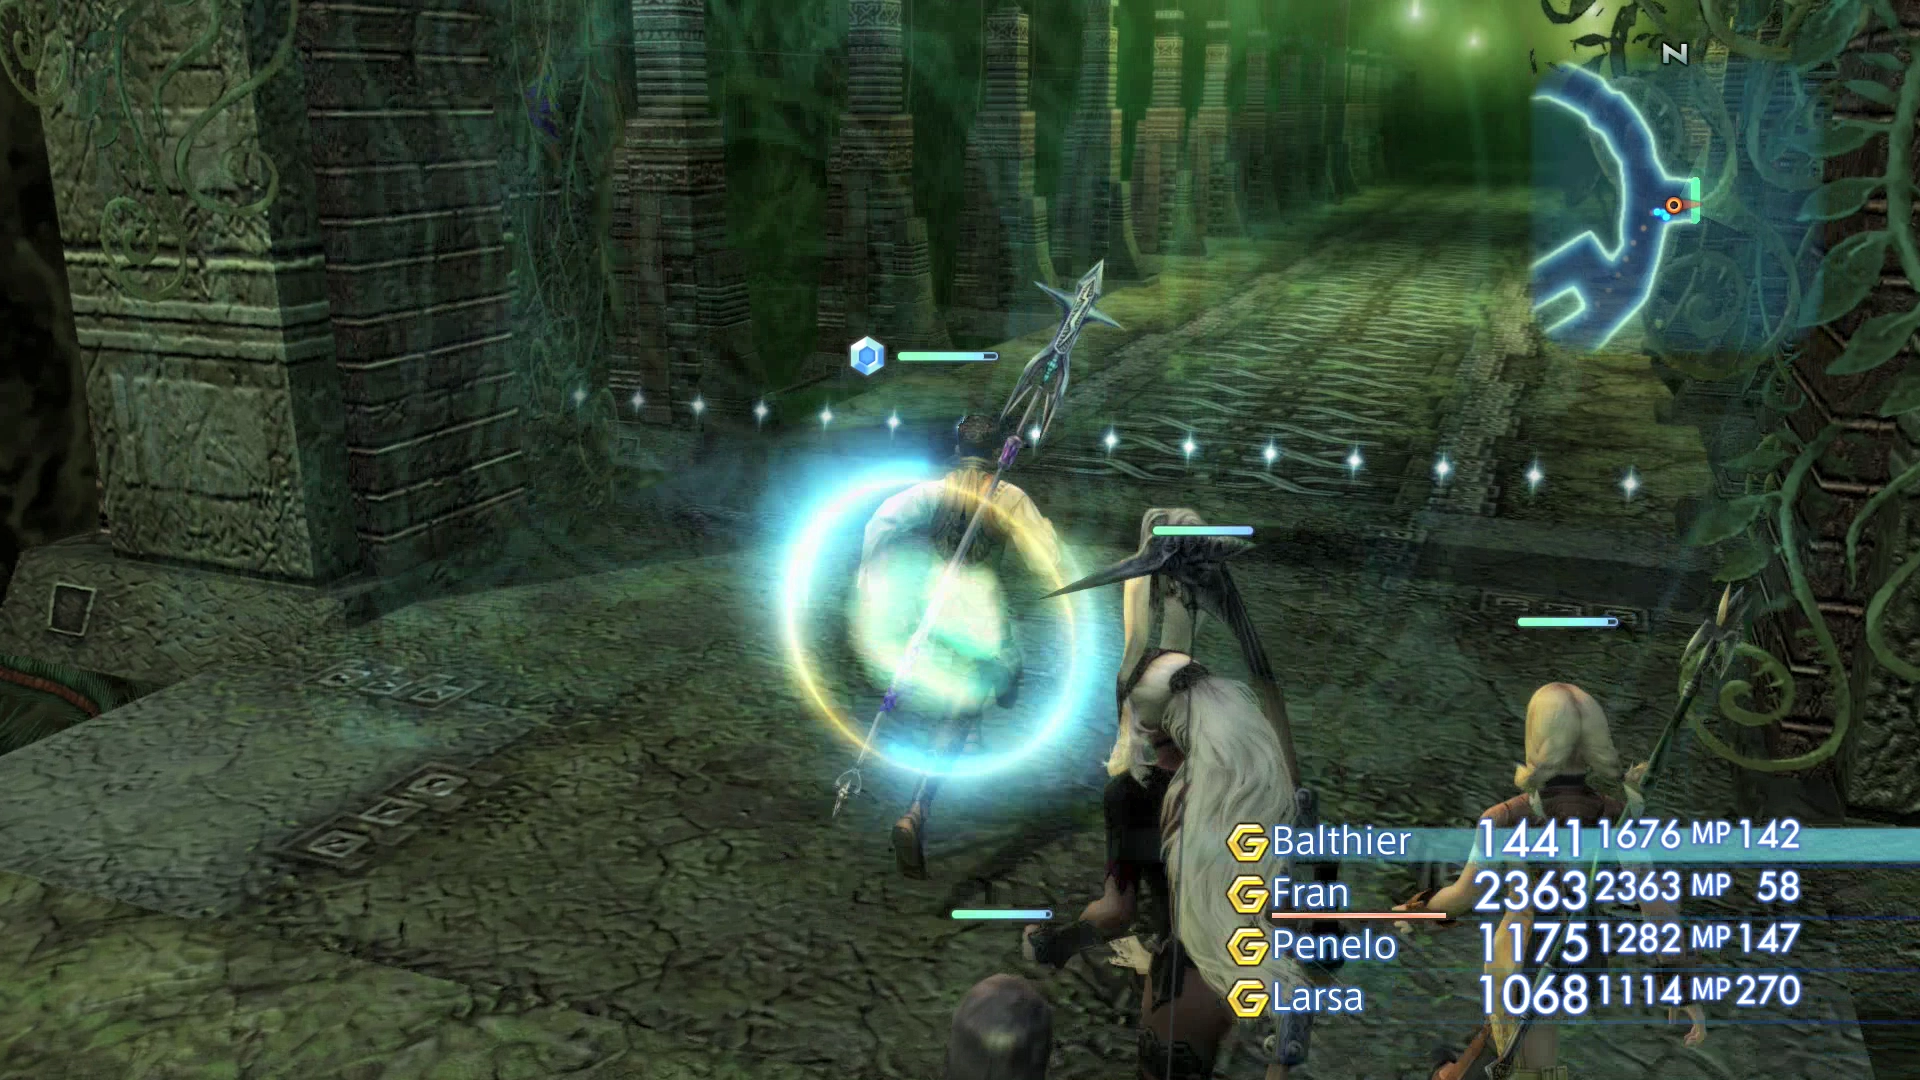
Walk through the barrier and into the next zone.
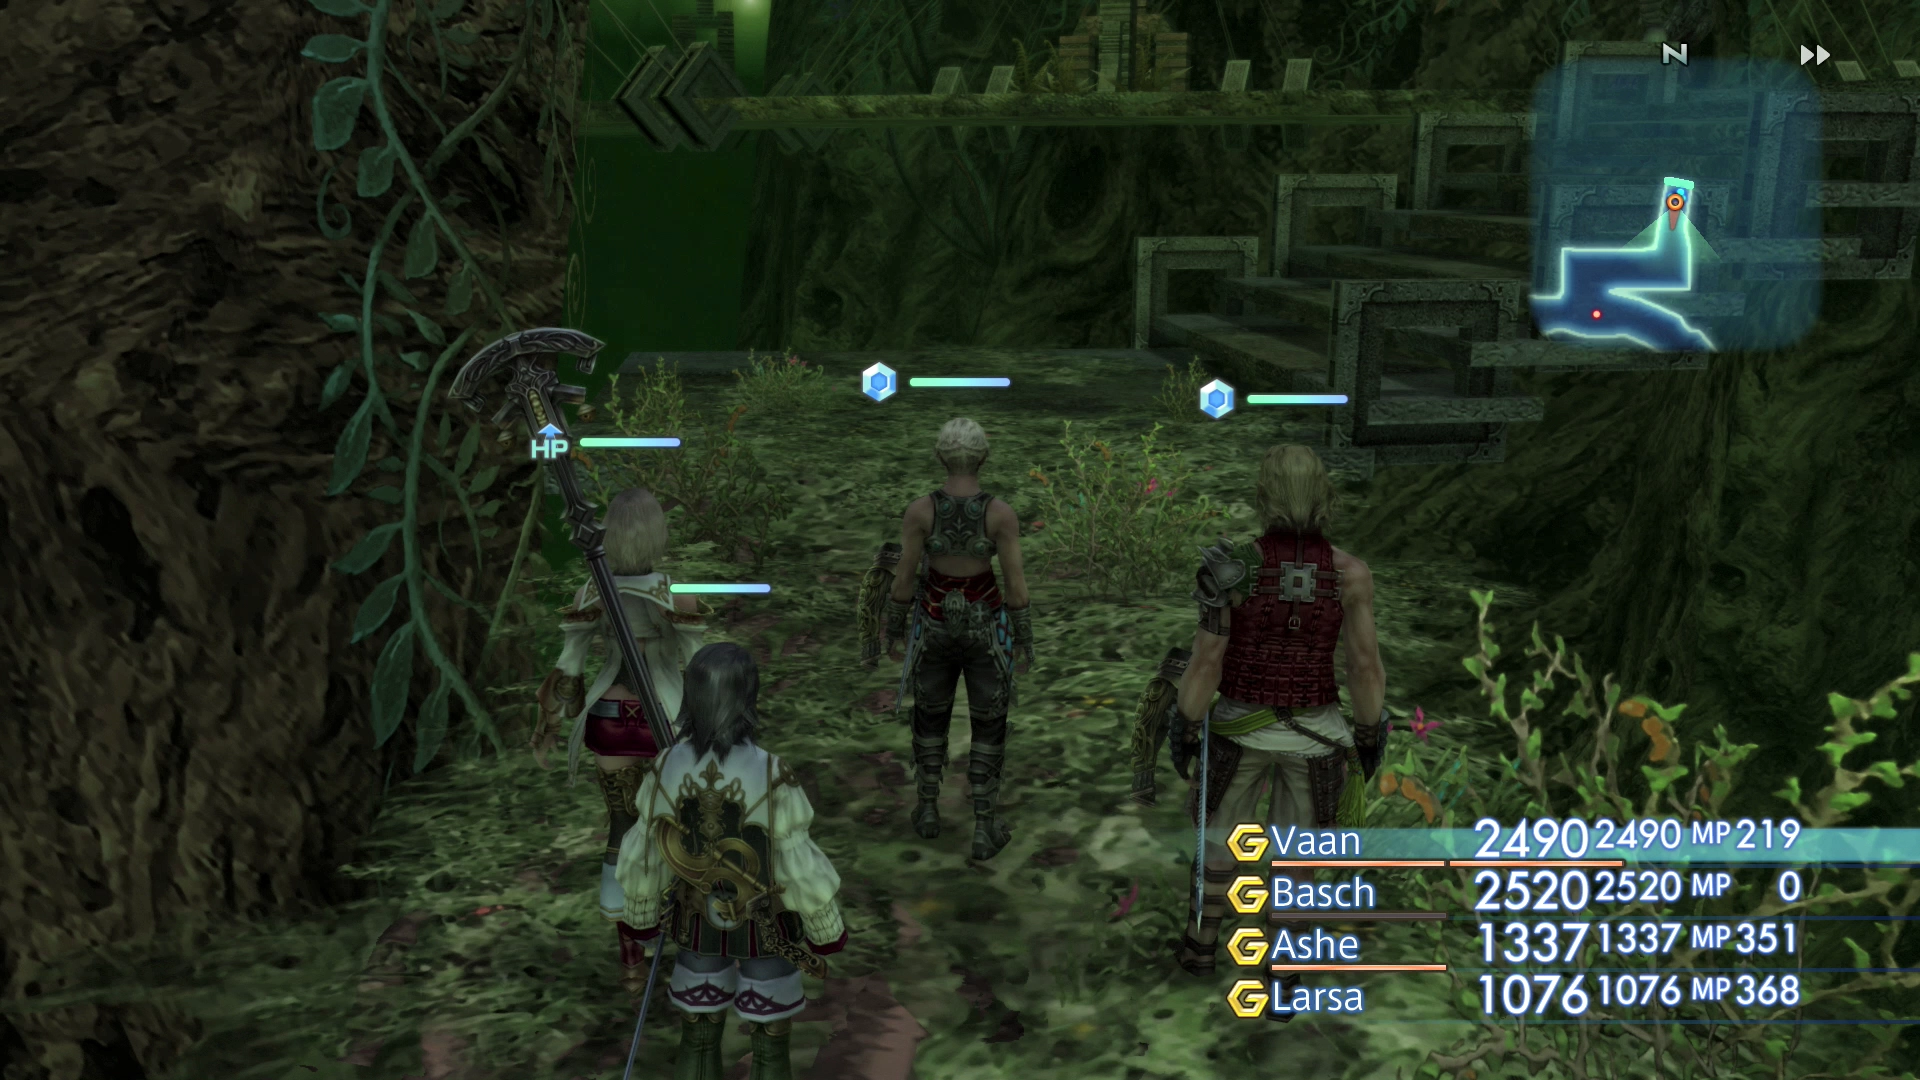
Whisperleaf Way
Continue walking down the pathway. There are a few Gargoyles and Malboros along the path.
The Parting Glade
This area contains an orange Save Crystal. Save your game before continuing. There is an upcoming boss fight in the next area but it is actually an optional fight.
Rather than fight this boss, you have the option of going south from the Needlebrake zone through the Rustling Chapel and into an area called The Feywood. From here, you can go east to enter the Paramina Rift and skip the fight altogether.
This method actually takes much longer so it is recommended that you fight the ‘optional’ boss instead of attempting to avoid it.
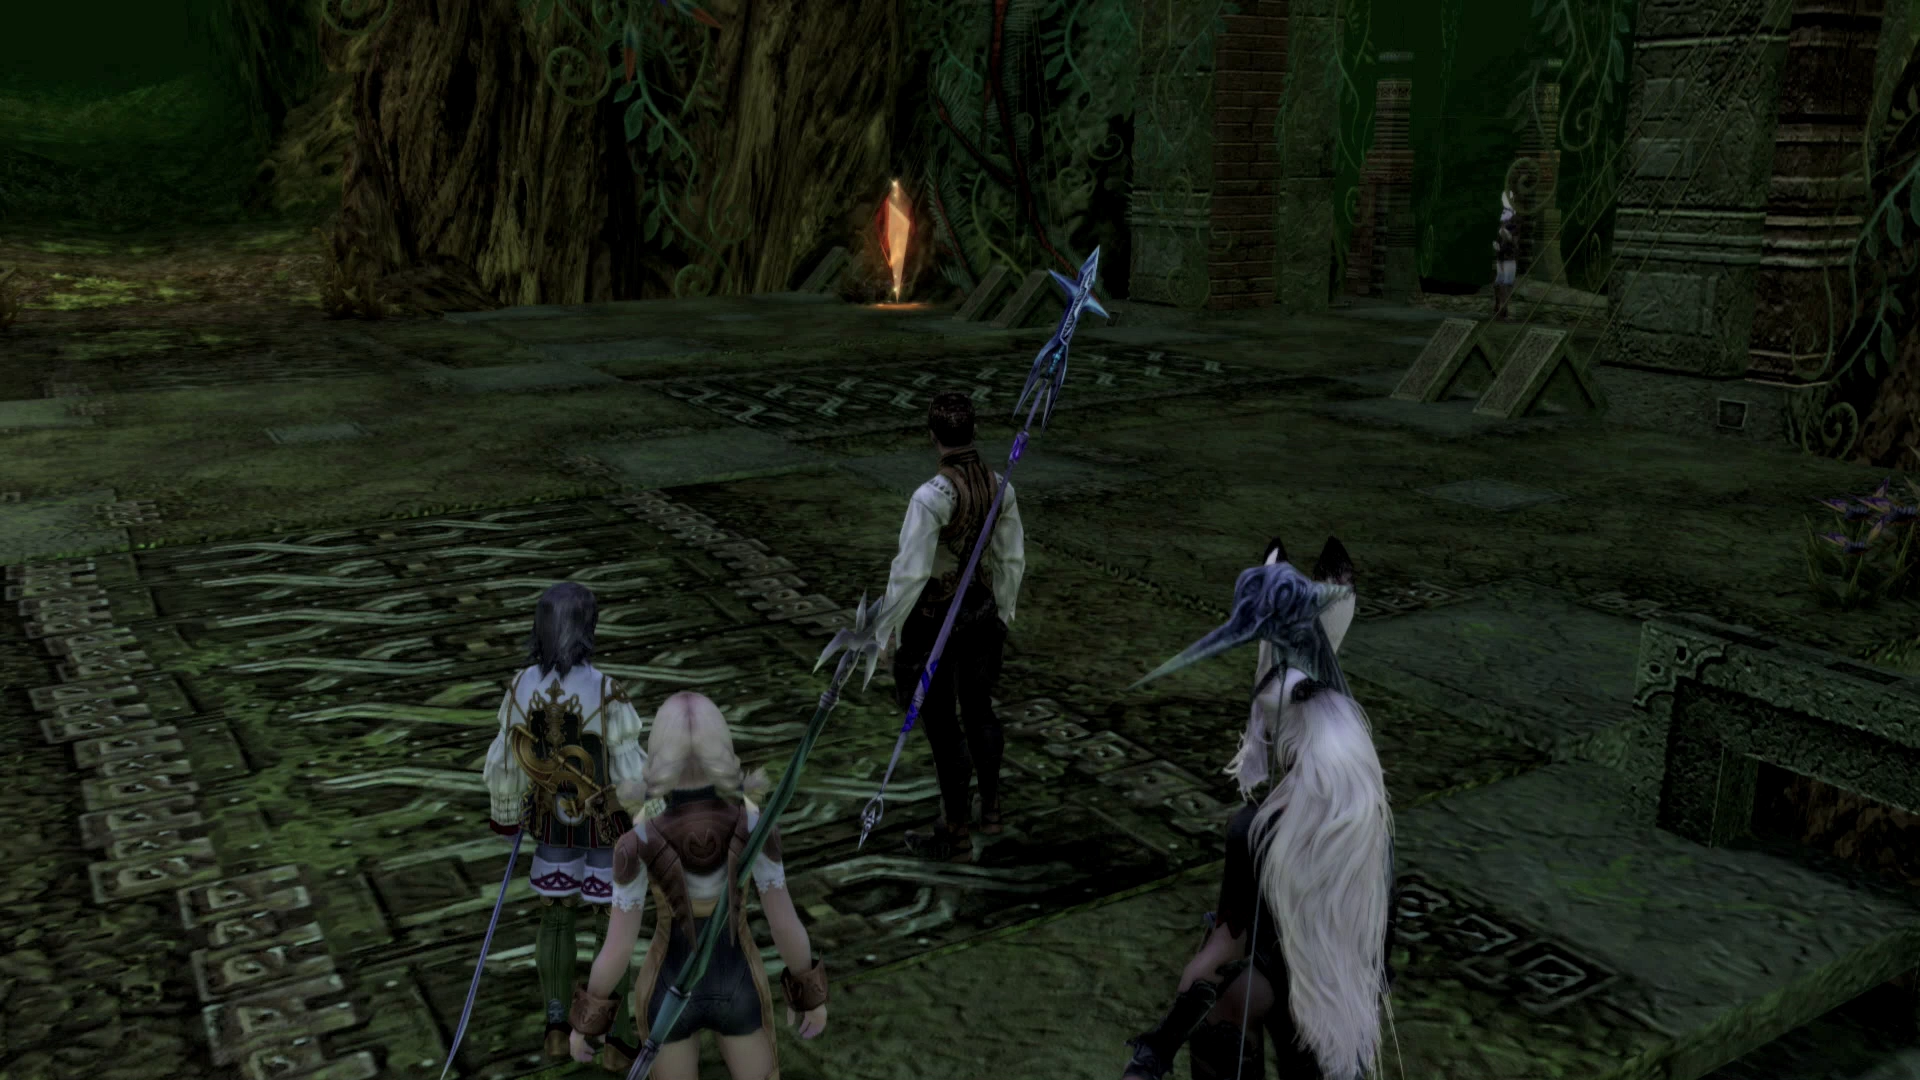
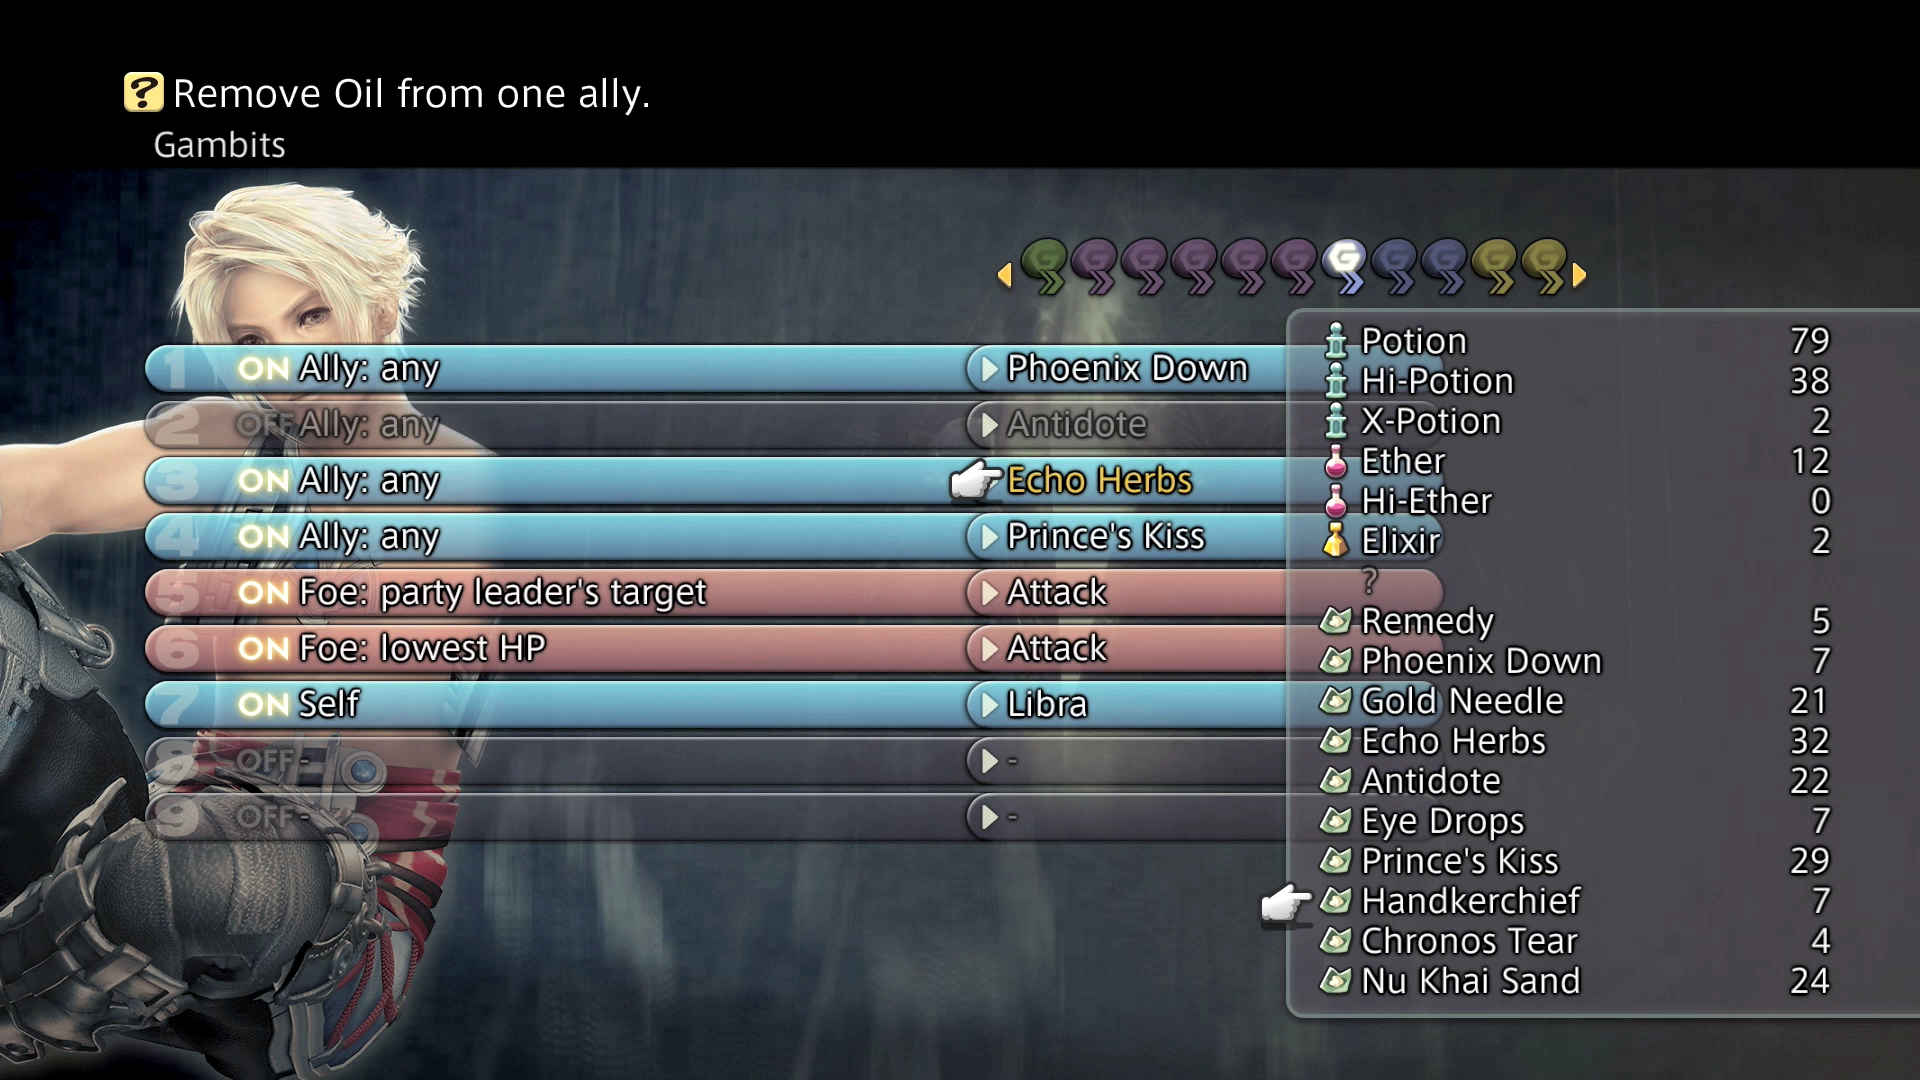
The upcoming boss fight involves dealing with a ton of negative status effects. Make sure that you have one, or ideally more than one, party member set up with a Gambit to cast ![]() Esuna on all allies.
Esuna on all allies.
Set up another Gambit to use ![]() Handkerchief on your party members to deal with the Oil status effect as that one cannot be removed with
Handkerchief on your party members to deal with the Oil status effect as that one cannot be removed with ![]() Esuna. Lastly, equip one or more of your party members with a
Esuna. Lastly, equip one or more of your party members with a ![]() Rose Corsage so that they cannot all be Silenced at the same time.
Rose Corsage so that they cannot all be Silenced at the same time.
Dell of the Dreamer
A brief cutscene begins as you enter the Dell of the Dreamer and then the next boss battle begins.
Boss Battle
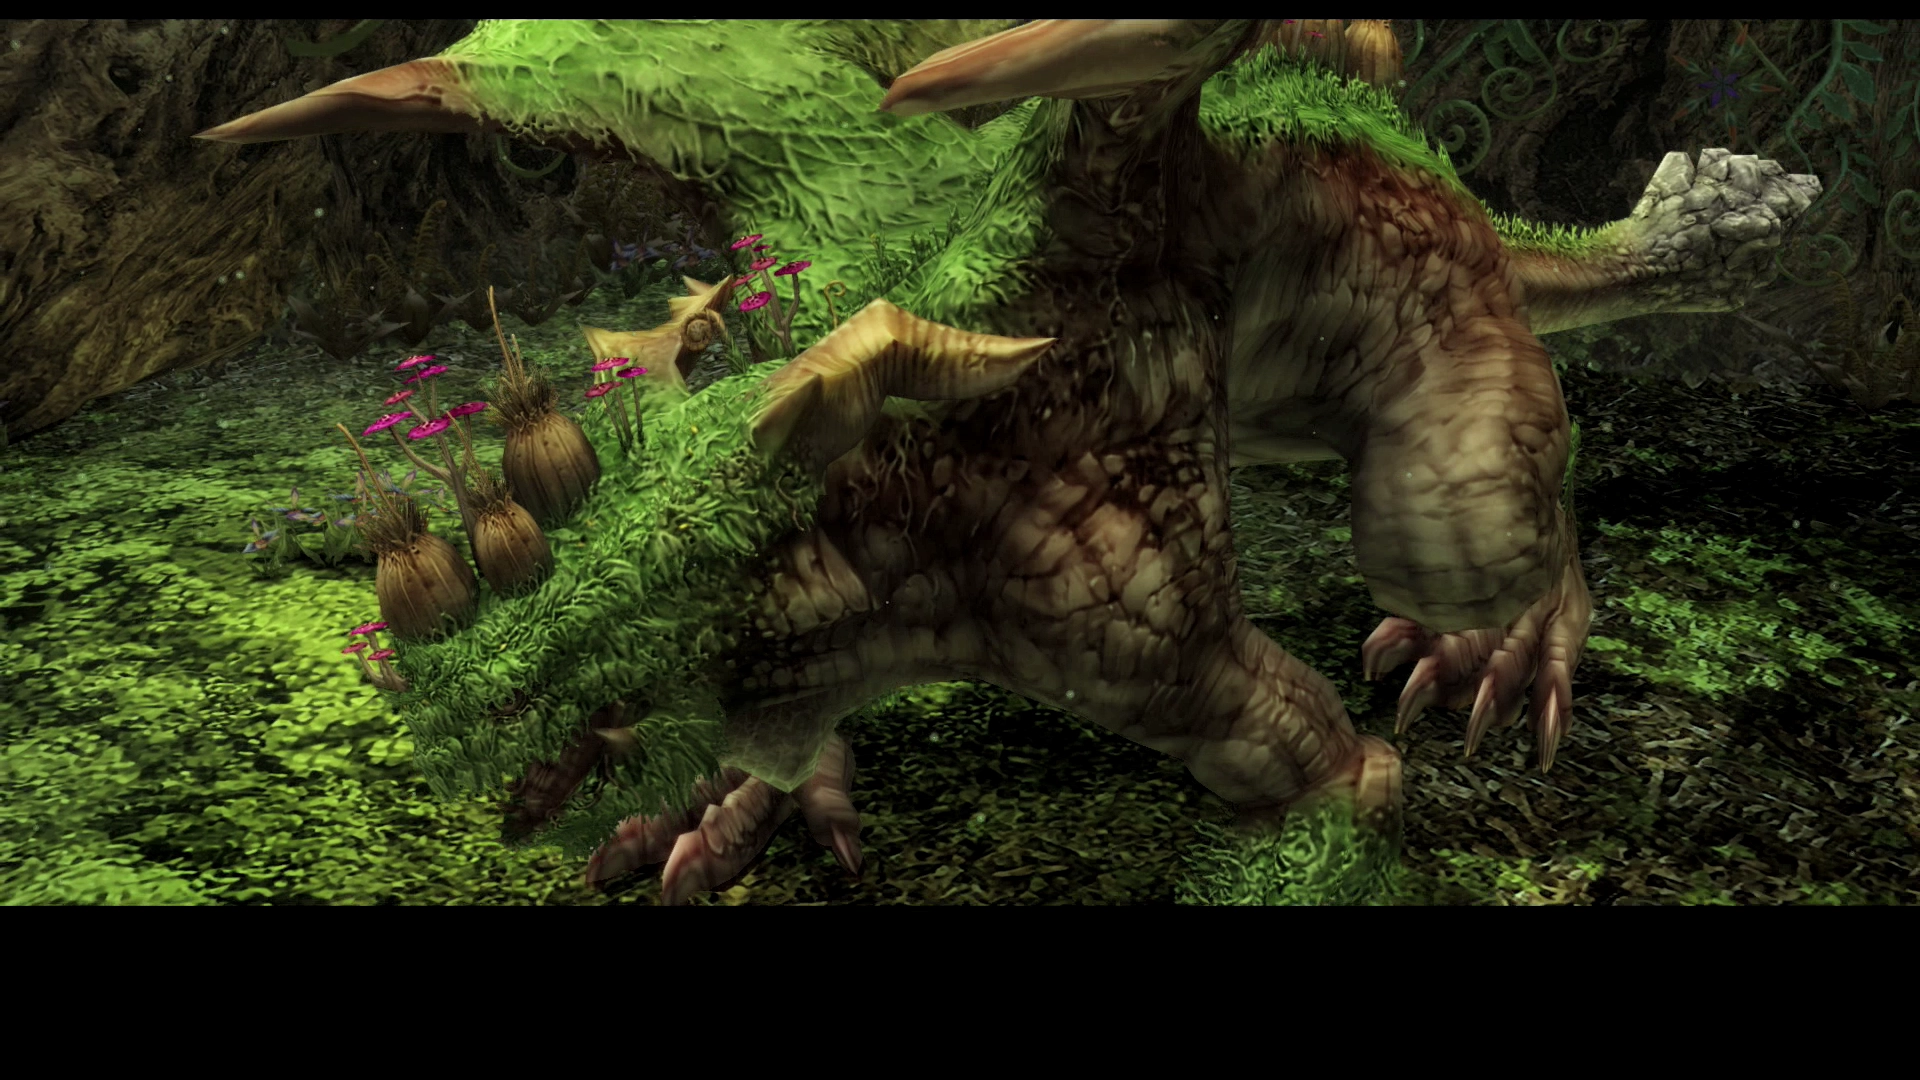
Level: 23
HP: 71,692
Steal: ![]() Succulent Fruit (55%),
Succulent Fruit (55%), ![]() Feystone (10%),
Feystone (10%), ![]() Emperor Scale (3%)
Emperor Scale (3%)
The first thing that you should do is destroy the two Treant enemies that join in on the battle against the Elder Wyrm. They go down relatively quickly and then they will not interfere with party members in the back attempting to cast spells.
As mentioned above, the primary concern for this fight is being prepared for and dealing with all the negative status effects that Elder Wyrm can inflict.
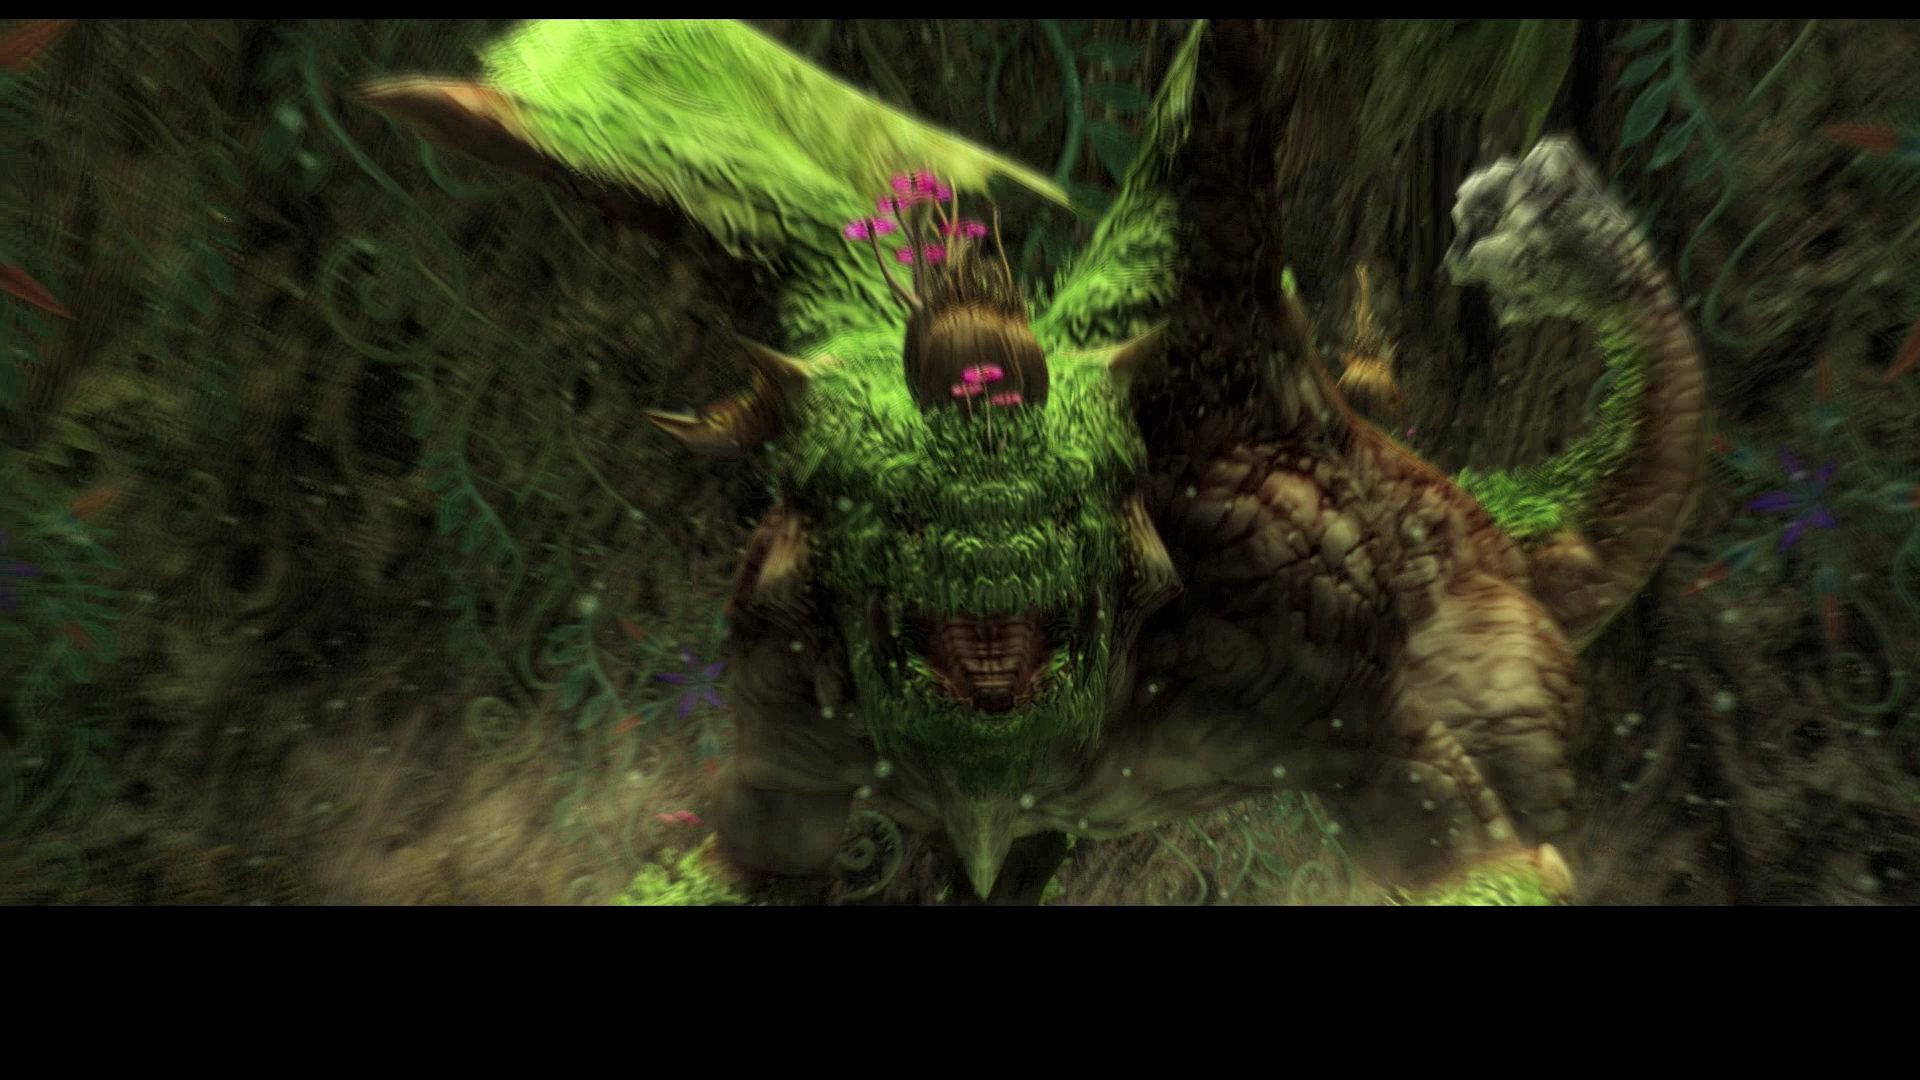
During the battle there will be the odd cutscene that takes place whenever Elder Wyrm uses an attack called “Sporefall.” This move can inflict ![]() Confuse,
Confuse, ![]() Oil,
Oil, ![]() Poison, and
Poison, and ![]() Blind. Other moves that it uses can cause the
Blind. Other moves that it uses can cause the ![]() Slow,
Slow, ![]() Sleep and
Sleep and ![]() Silence status effects.
Silence status effects.
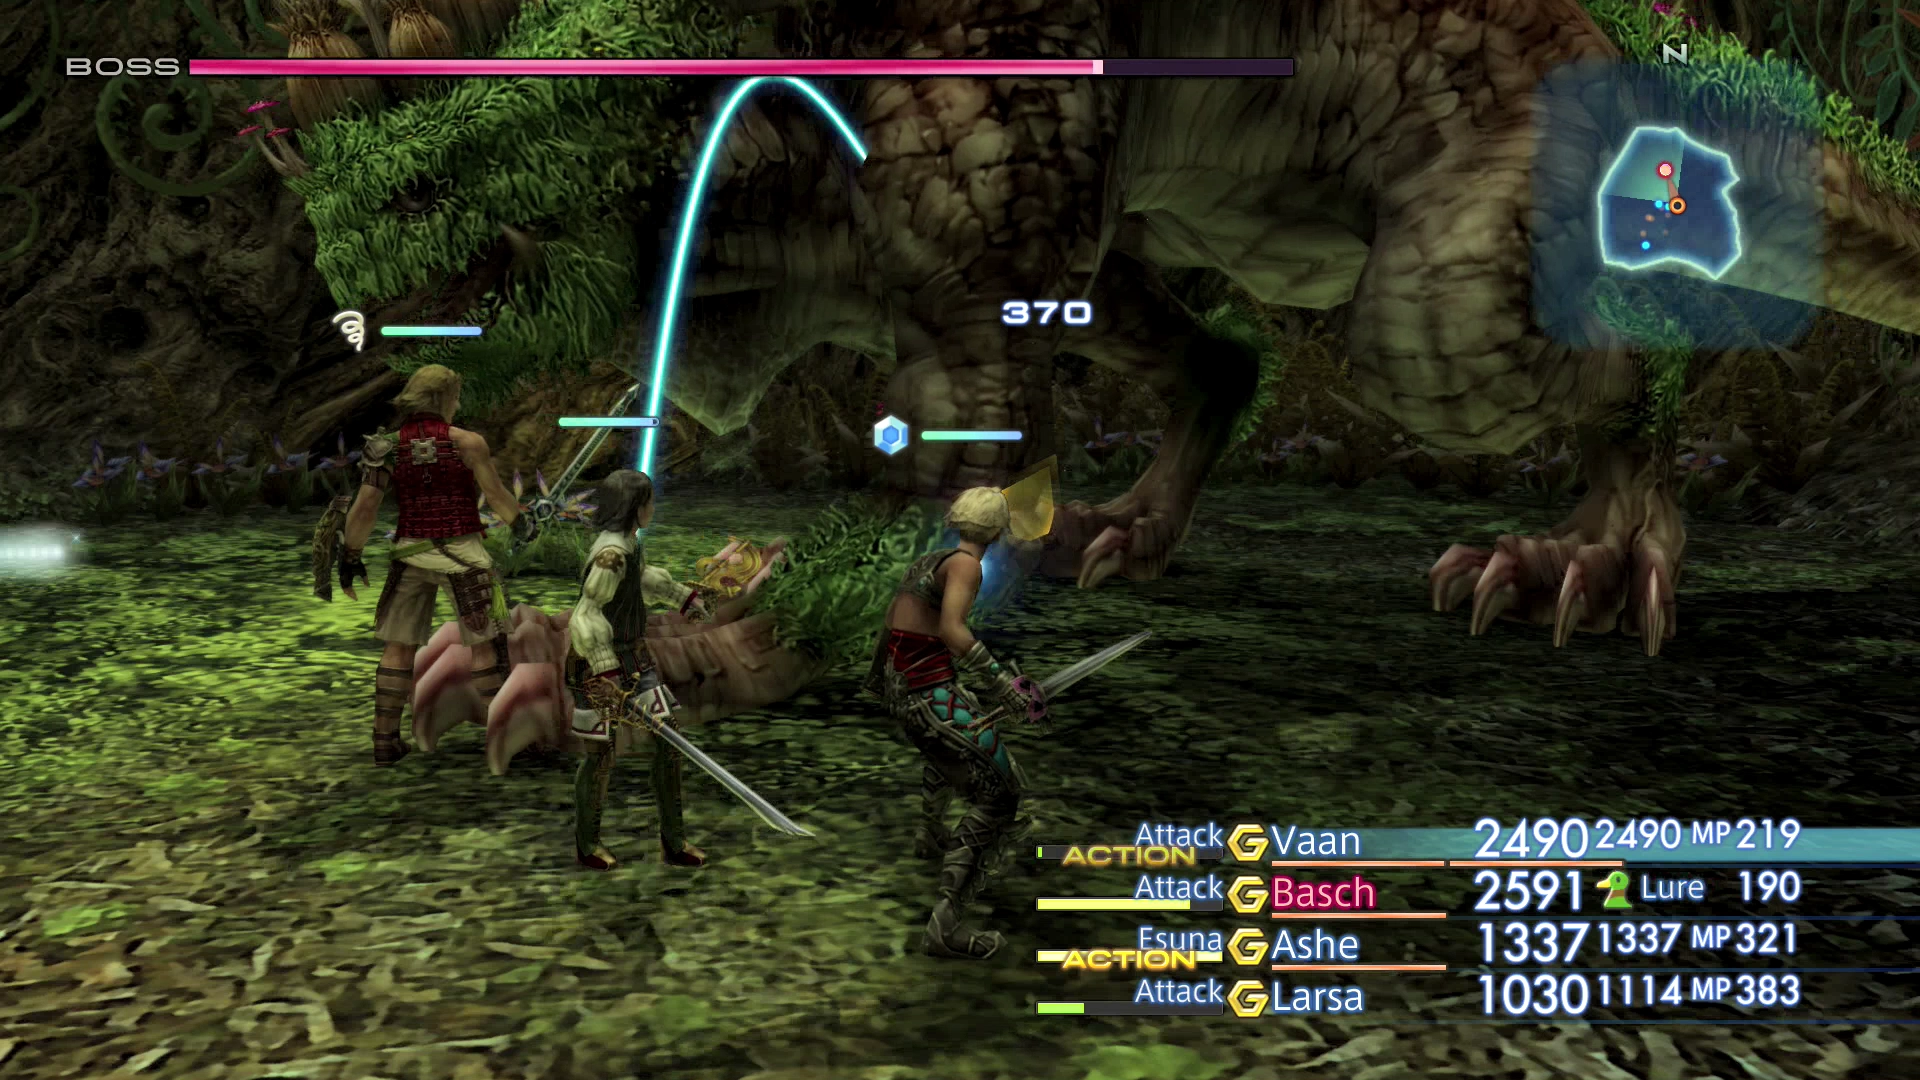
Set up one, or ideally one and a backup, party member with a Gambit to cast ![]() Esuna. Have one party member ready to use
Esuna. Have one party member ready to use ![]() Handkerchief on party members who are hit with the “Oil” status effect. Alternatively,
Handkerchief on party members who are hit with the “Oil” status effect. Alternatively, ![]() Remedies can be used to cure many of the status effects, especially if one of your party members has the Remedy Lore 1, 2 or 3 Licenses. Just make sure that you have the party member with those Licenses use the Remedies. You can also use the
Remedies can be used to cure many of the status effects, especially if one of your party members has the Remedy Lore 1, 2 or 3 Licenses. Just make sure that you have the party member with those Licenses use the Remedies. You can also use the ![]() Haste spell to counteract the Slow status effect.
Haste spell to counteract the Slow status effect.
This is another fight where you can use the ![]() Nihopalaoa trick to throw some status effects right back at Elder Wyrm.
Nihopalaoa trick to throw some status effects right back at Elder Wyrm.
Remember that this is an optional boss (as mentioned above) so you can avoid the fight altogether if you are having difficulty.
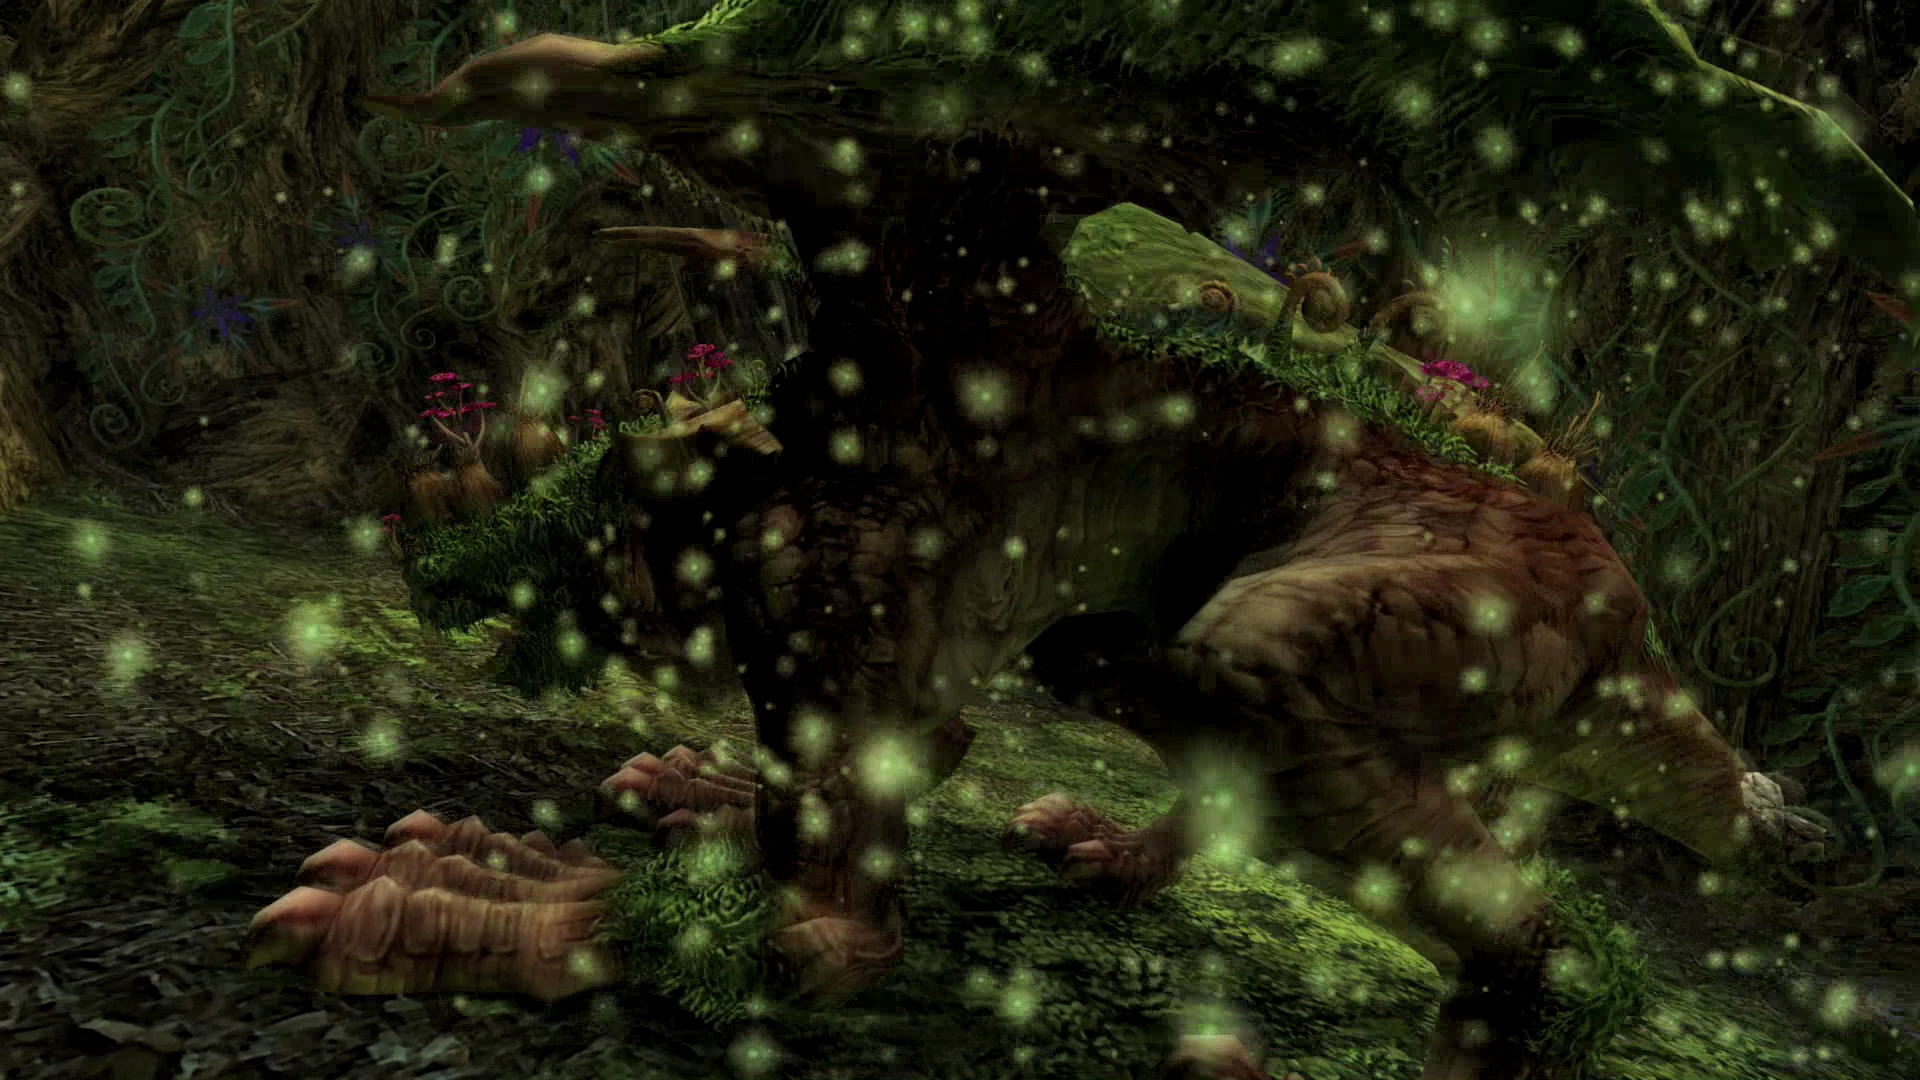
You can find a video of this battle in the Zodiac Age version below.
Go back and touch the Save Crystal (and save your game if you wish) back in the Parting Glade before continuing.
The Branchway
Keep moving east through this area and into the next.
The Greenswathe
Again, keep moving east and into the next zone.

Paramina Rift - Fading Vale
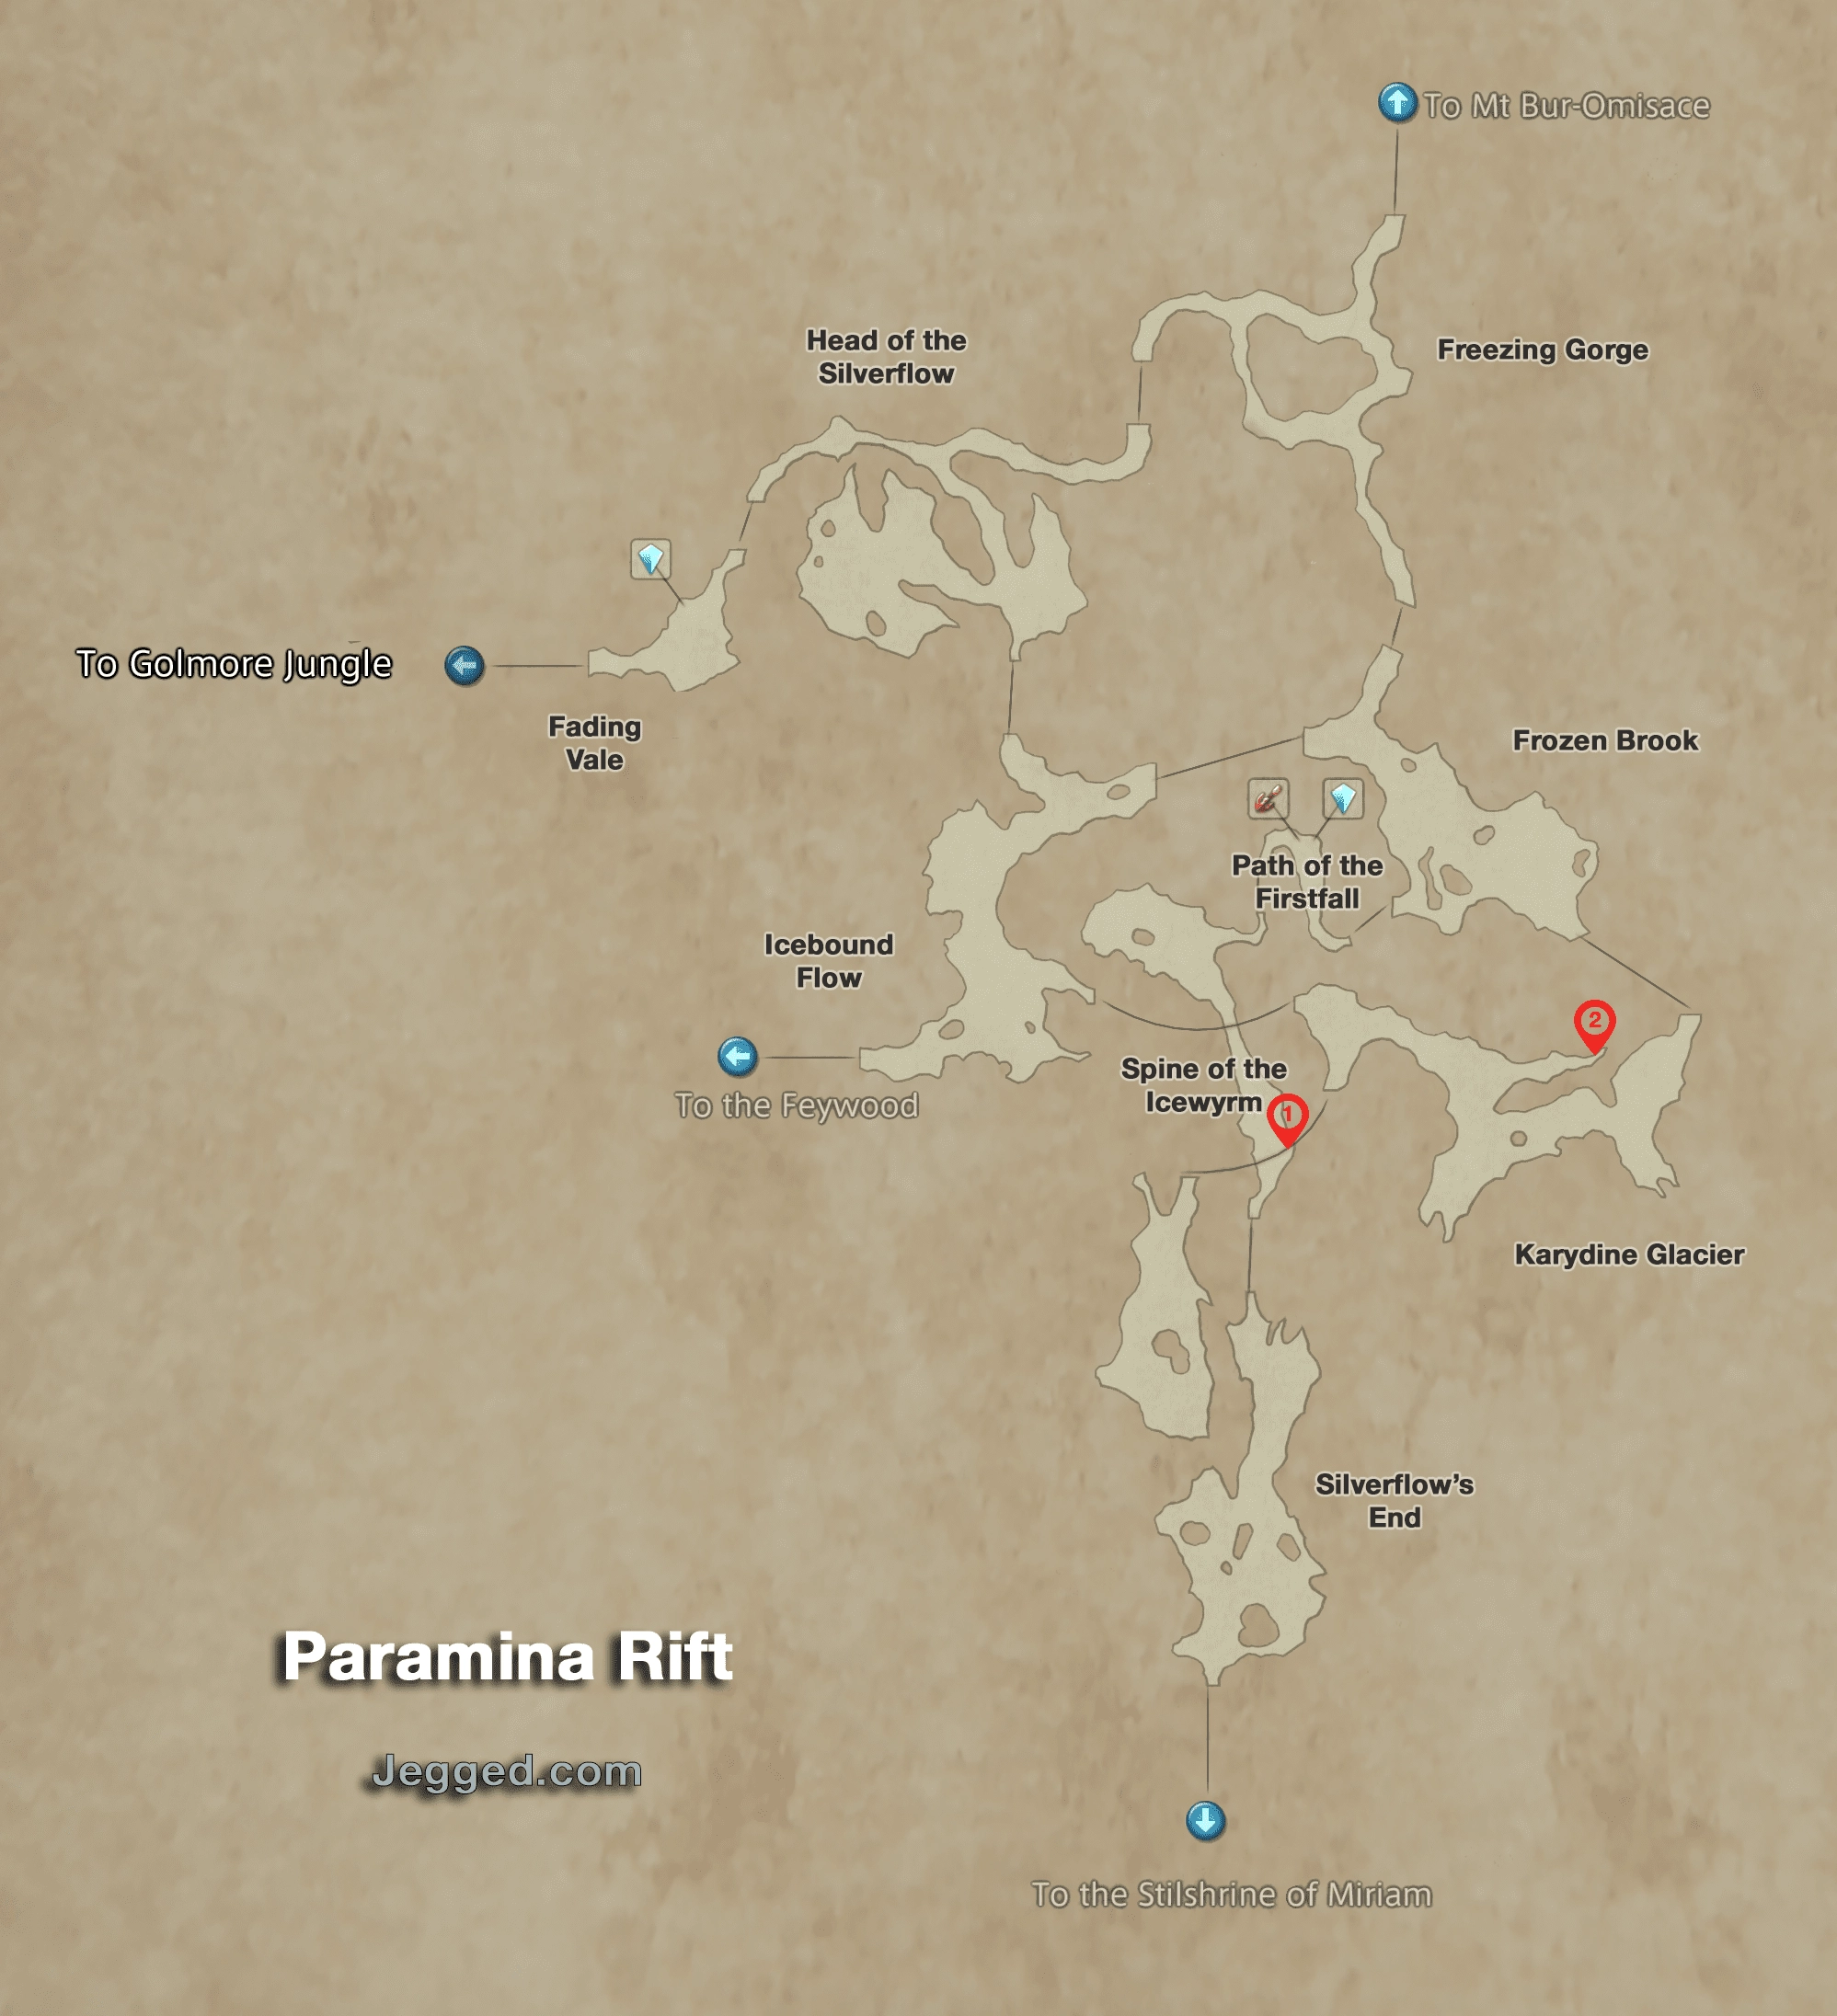
There is not much to do in the Paramina Rift just yet and you will only be traveling through (which is why this section of the guide is not its own page). Save your game at the Save Crystal and continue heading east.
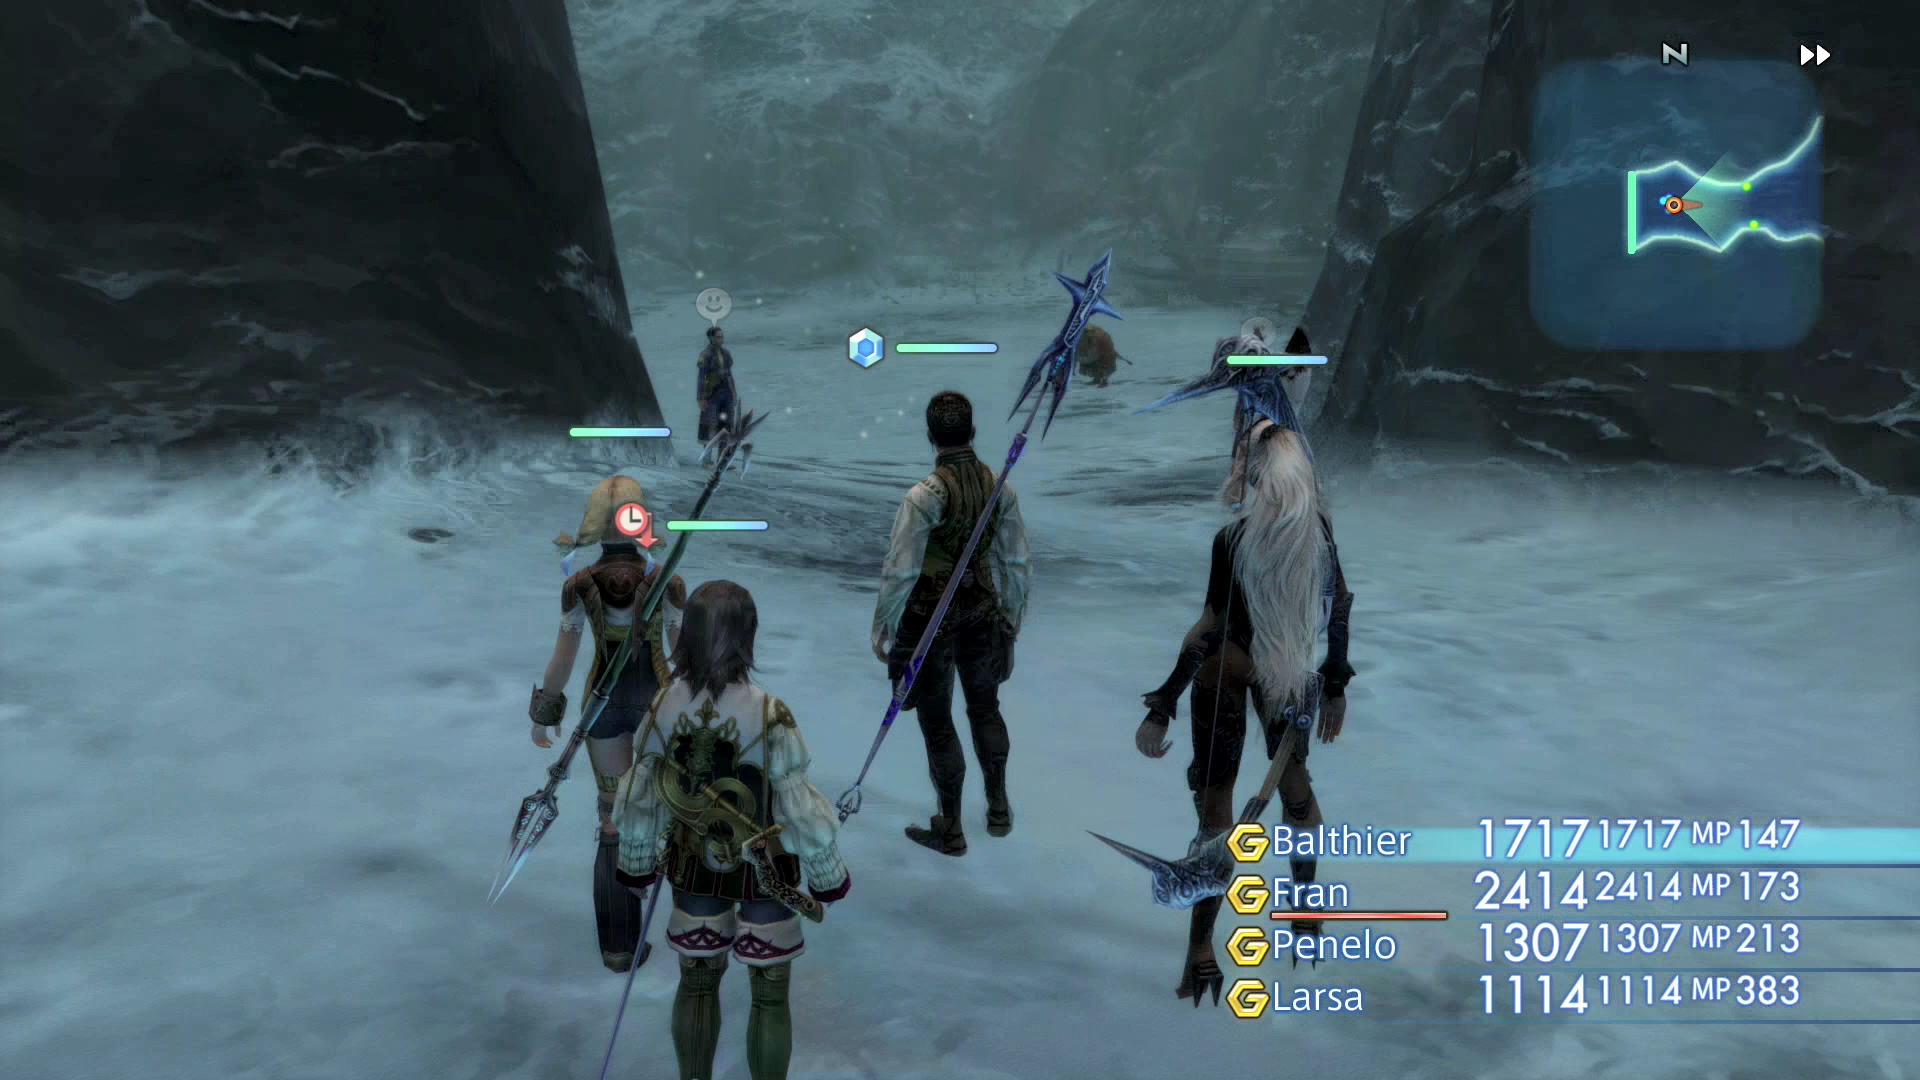
Head of the Silverflow
Continue making your way eastward (do not take the trail leading south) and into the next area.
Freezing Gorge
There is another quick cutscene as you enter this area. Balthier will express his unwillingness to believe that Larsa’s father, Emperor Gramis, will accept a peaceful resolution to the war. The scene will cut to a discussion between Lord Vayne and Emperor Gramis. Lord Vayne will suggest that they silence the senate in order to ensure the future of House Solidor.
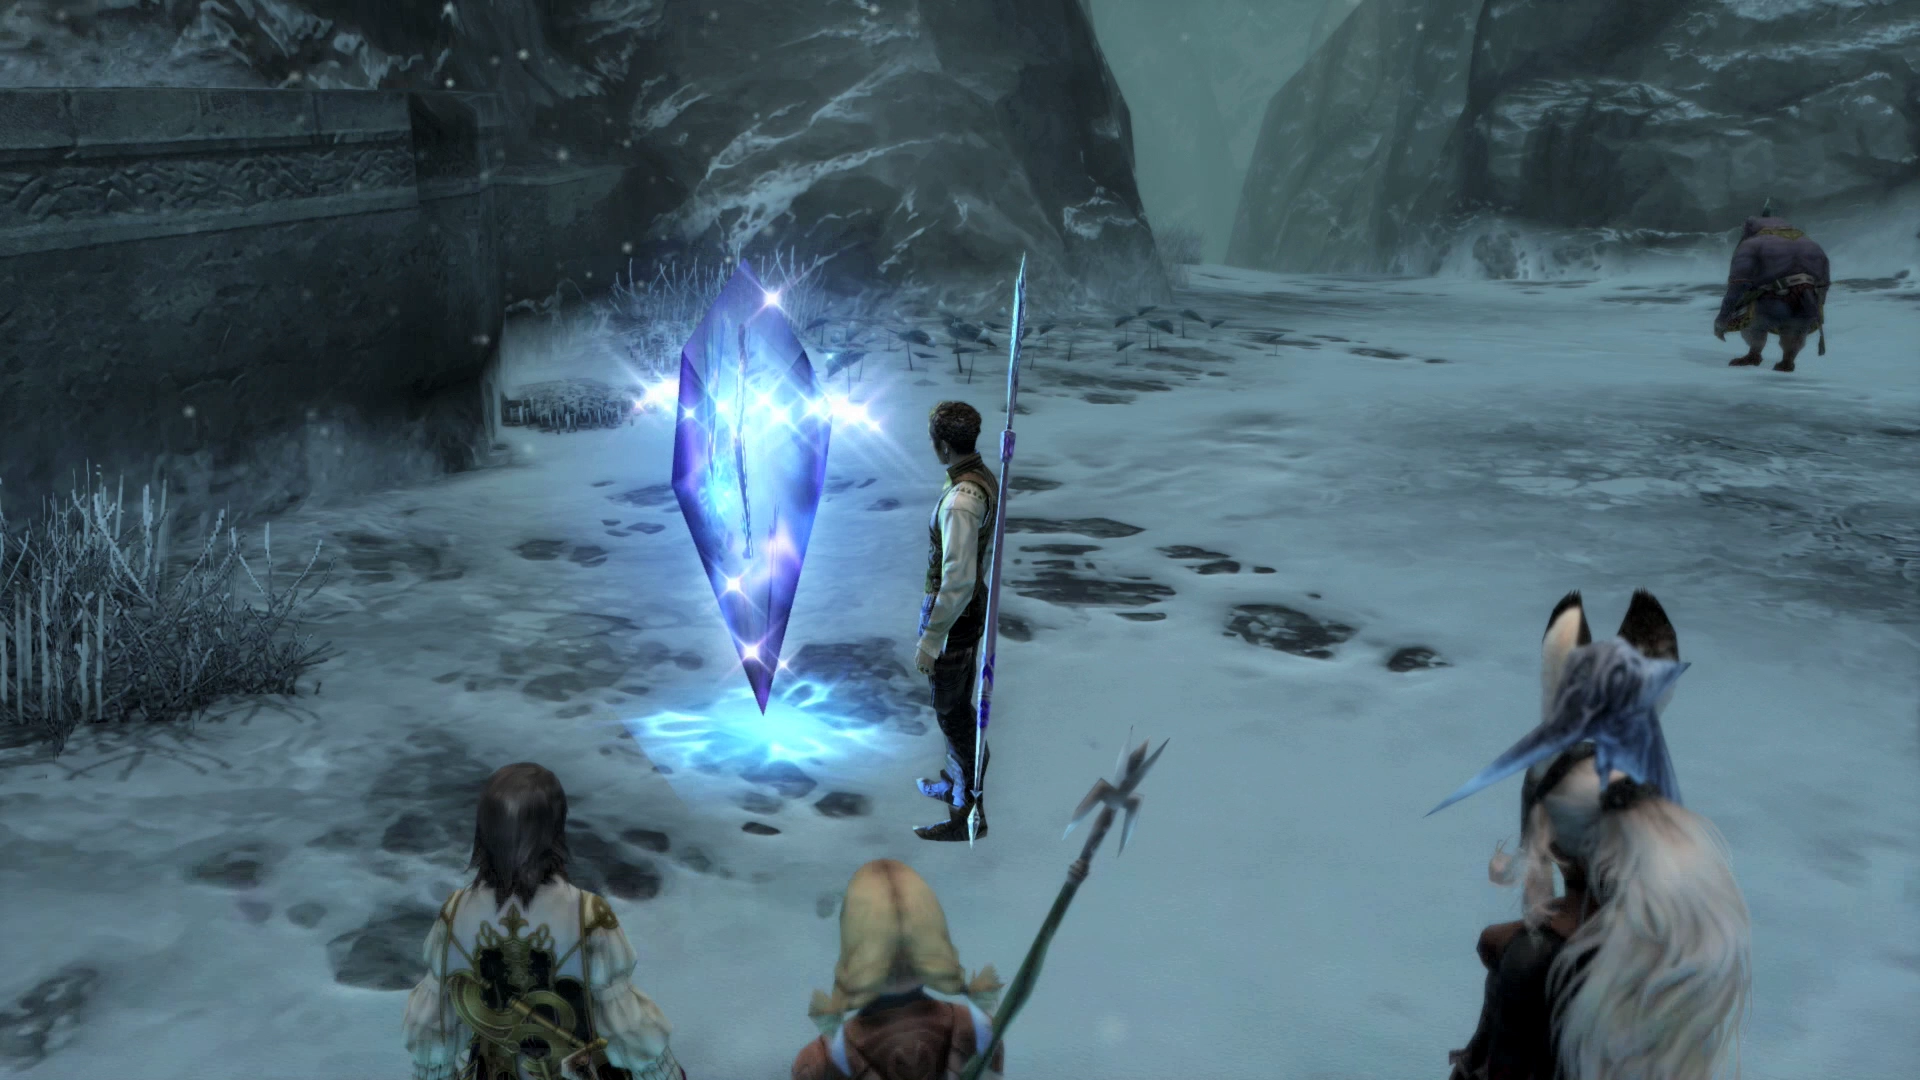
Continue east again and then north to Mt Bur-Omisace.
