The Tomb of the Unknown King
The Tomb of the Unknown King is located northeast of Deling City out on the peninsula. It looks like a small cave attached to a section of forest on the tip of the land out towards the sea.
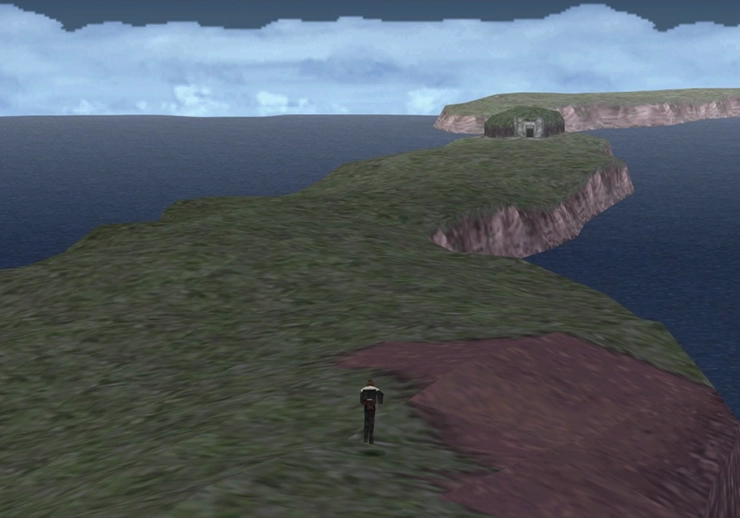
You should consider engaging in battles with some enemies on your way to the Tomb though as there are some important spells that you can pick up, including ![]() Float and
Float and ![]() Tornado, from Thrustaevis’ in the area.
Tornado, from Thrustaevis’ in the area. ![]() Float is a fairly important magic spell to have on hand for an upcoming boss battle so make sure you Draw a few.
Float is a fairly important magic spell to have on hand for an upcoming boss battle so make sure you Draw a few.
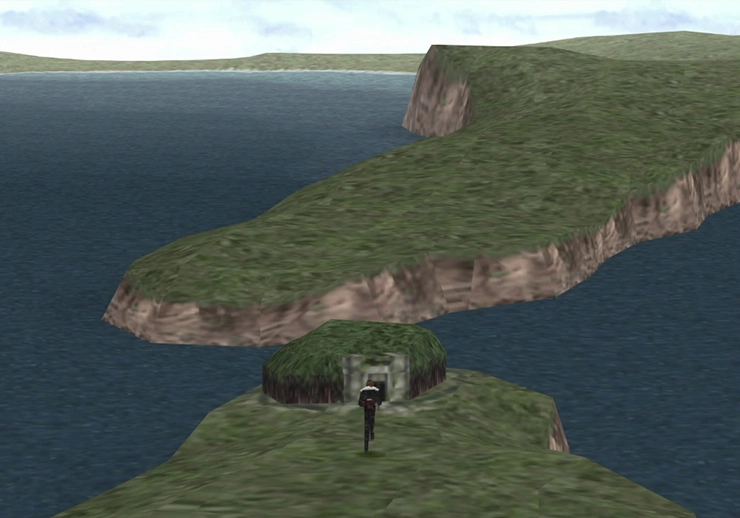
Enter the Tomb and use the Draw Point on the left side of the screen to pick up some ![]() Protect magic. Save your game using the Save Point on the right and then go inside the actual tomb.
Protect magic. Save your game using the Save Point on the right and then go inside the actual tomb.
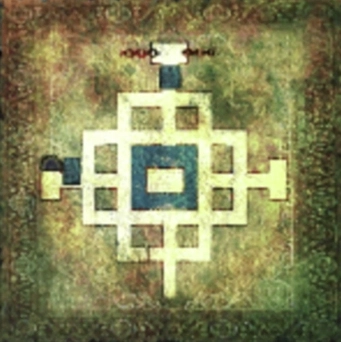
The layout for The Tomb of the Unknown King can be a bit of a challenge. You have a mini-map on hand which can make traversing through the corridors a bit easier, but it’s easy to get lost as the camera always resets itself to being behind you whenever you move to a new screen. Your best bet is to follow the instructions below exactly as they are listed to minimize the amount of time you spend in the dungeon.
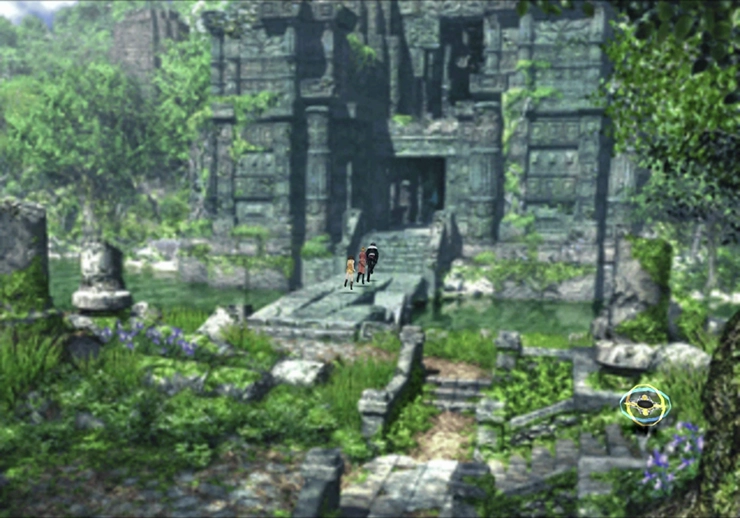
You should make sure to avoid asking for help or asking to be taken out of the Tomb though as both of these actions will cause a reduction of points towards your SeeD ranking. You can pull up the map using the button but there is no icon that you can use to help you locate exactly where you are on that map.
Make your way directly forward through a few of the rooms until you come across the gunblade on the ground and retrieve the number off of it.
Warning
Note that the three-digit number on the gun is different for each playthrough of the game so you will either need to memorize this number or write it down somewhere. The screenshots in this strategy guide show 162 but this number may be different you. Make sure you don’t forget the number!
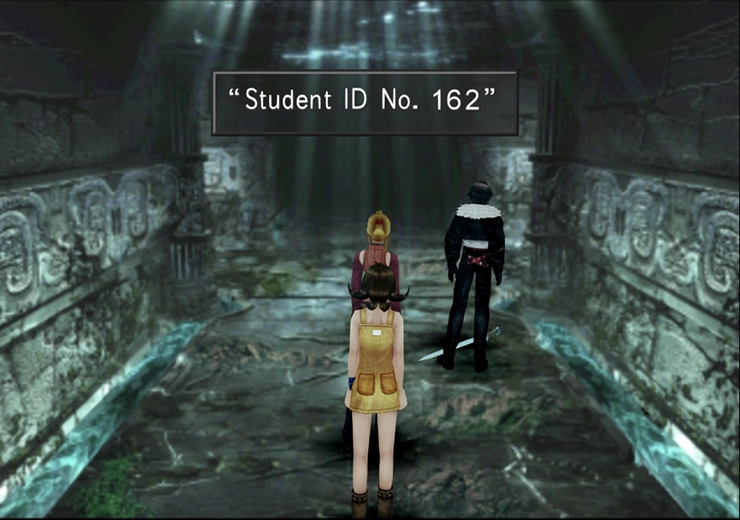
You are technically done all the ‘required’ parts of the dungeon and can move on if you choose, but there is actually a Guardian Force that you can obtain here if you follow a specific set of steps outlined below.
Whatever you do, make sure that you don’t use the menu option to portal out of the dungeon (on the map screen) as this will lower your SeeD ranking.
From the room with the gunblade, turn to your right and proceed forward a few screens until you are forced to take a left. After that, take a right and continue taking a right every opportunity that you get until you reach the room with a large statue. Walk up towards it and examine the statue and it will jump to life and start attacking you.
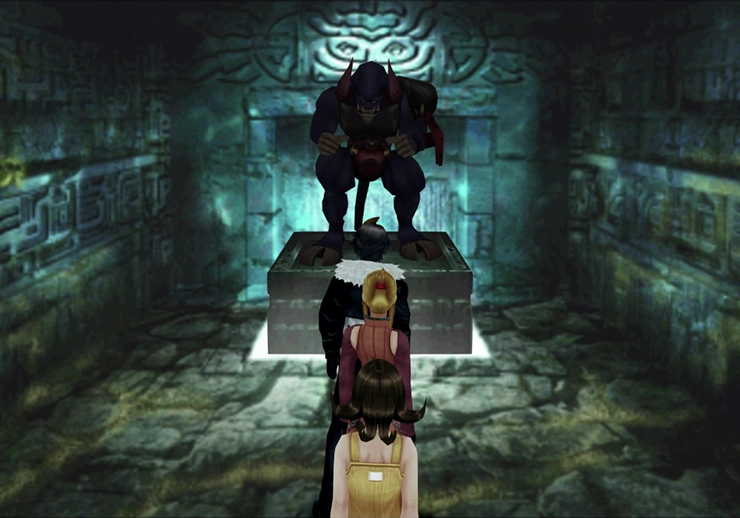
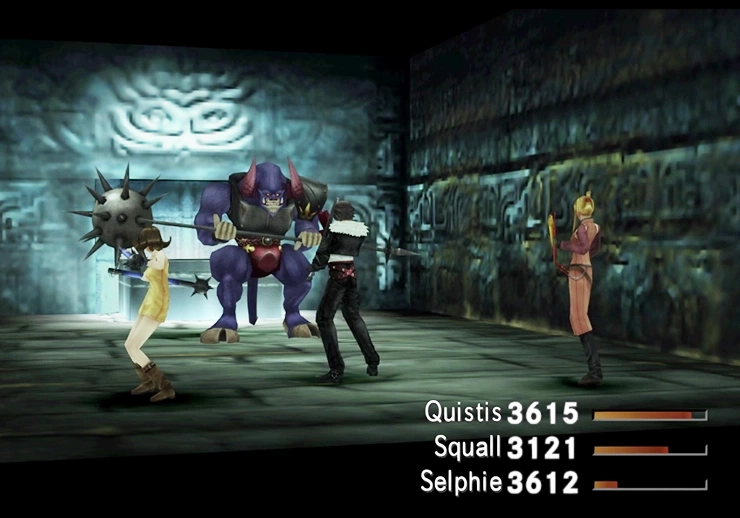
This first battle against the statue (Sacred) is extremely easy and does not require any strategy. Use regular attacks to bring him down and use ![]() Cure magic if your party member’s HP falls too low. Sacred will use
Cure magic if your party member’s HP falls too low. Sacred will use ![]() Regen on itself which will prolong the fight, but there’s not much you can do about this.
Regen on itself which will prolong the fight, but there’s not much you can do about this.
Head out of the room and take a right up ahead. Keep taking a right turn every time you are given the option until you arrive in the room with the water visible in the background through the window and the Draw Point on the left side of the screen.
Use the Draw Point to pick up some ![]() Float magic and then use the switch on the right side of the window to release the water into the Tomb.
Float magic and then use the switch on the right side of the window to release the water into the Tomb.
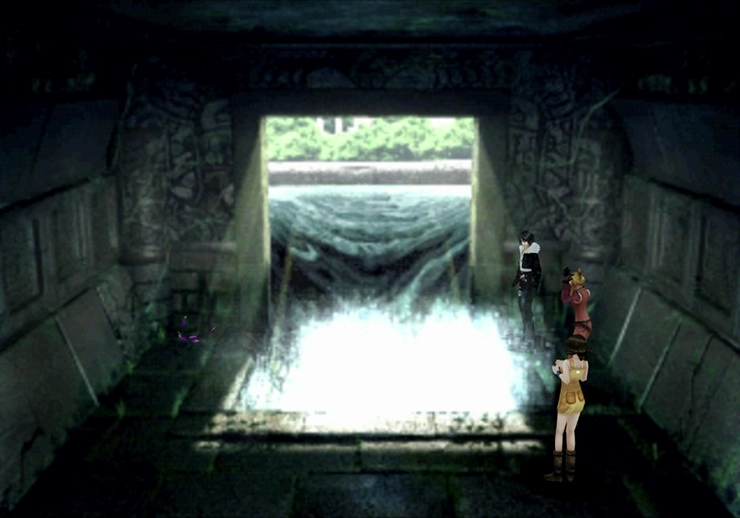
Once again, leave this room and continue to take a right every time you can until you reach another room that has a waterwheel at the back. There’s a Draw Point on the right side of the room that you can use to pick up some free ![]() Cure Magic, then grab the gear on the ground on the left side of the screen to have Squall reactivate the waterwheel. You’re done with this room and can exit back out to the Tomb.
Cure Magic, then grab the gear on the ground on the left side of the screen to have Squall reactivate the waterwheel. You’re done with this room and can exit back out to the Tomb.
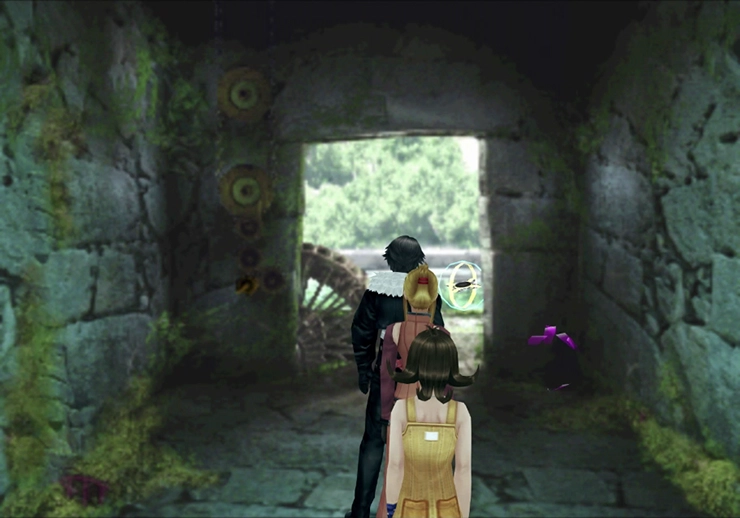
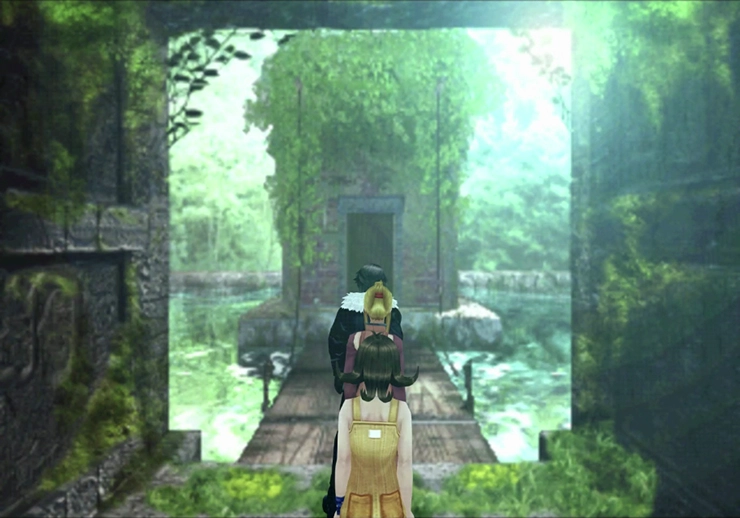
One more time, take every right turn as you come out of the room and you should arrive back at the entrance to the Tomb of the Unknown King. Use the ![]() Save Point to save your game and then head back into the Tomb. Go straight at every intersection until you reach the very center.
Save Point to save your game and then head back into the Tomb. Go straight at every intersection until you reach the very center.
Guardian Force Battle
In Game Description of Sacred: Earth GF in Tomb of the Unknown King. Recovers by the power of the earth. Attacks with a large steel orb.
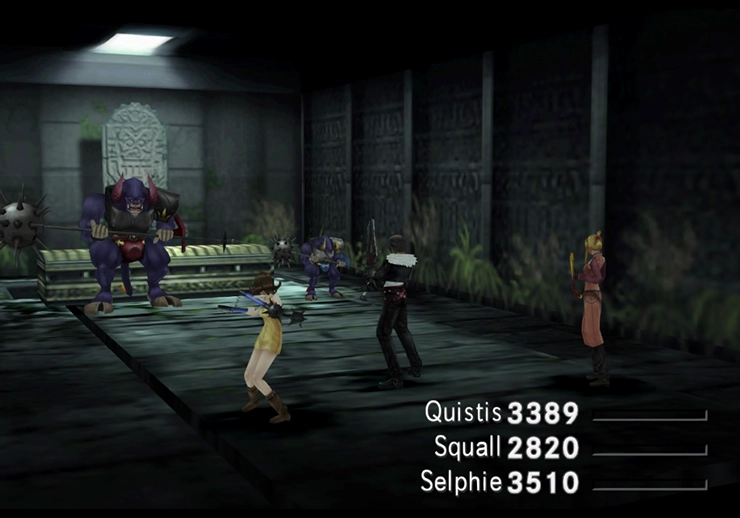
In Game Description of Minotaur: Sacred’s older brother. This Earth GF has healing ability, as long as his feet are on the ground.
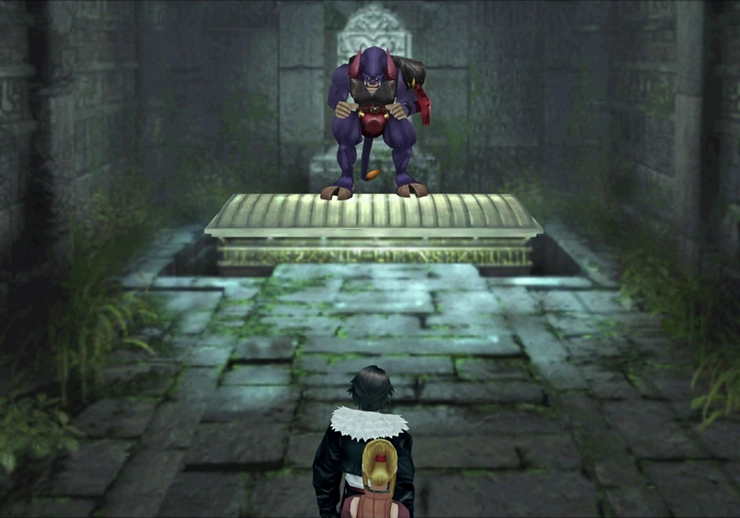
It turns out that Sacred’s big brother is actually much smaller than him!
Sacred and Minotaur are not all that tough, but you can make this battle even easier if you have your characters cast ![]() Float on themselves. This will negate most of Sacred and Minotaur’s hardest-hitting attacks which are all
Float on themselves. This will negate most of Sacred and Minotaur’s hardest-hitting attacks which are all ![]() Earth-based magic.
Earth-based magic.
Both of them will heal themselves automatically every few seconds. If this mechanic ends up causing you issues with defeating them just cast Shell on them to reduce the effectiveness of their regenerative healing spells.
Finally, you can cast ![]() Float on both Sacred and Minotaur to prevent them from casting any healing spells. Standard attacks are your most effective strategy for this fight, and Sacred is the weaker of the two brothers. He will go down the easiest.
Float on both Sacred and Minotaur to prevent them from casting any healing spells. Standard attacks are your most effective strategy for this fight, and Sacred is the weaker of the two brothers. He will go down the easiest.
Achievement/Trophy
You will receive the  Brothers Achievement/Trophy once you defeat Sacred and Minotaur in the Tomb of the Unknown King.
One of the rewards that you will receive for defeating Sacred and Minotaur and having them join you as a Guardian Force is the ![]() Sacred Card. You will also receive the
Sacred Card. You will also receive the ![]() Minotaur Card after a short cutscene and some dialog after the battle has concluded.
Minotaur Card after a short cutscene and some dialog after the battle has concluded.
Guardian Forces

Brothers is an ![]() earth-elemental Guardian Force that excels at boosting HP through its HP-J ability. It also provides the valuable HP+20%, HP+40%, and Cover abilities, making it an excellent choice for your frontline characters.
earth-elemental Guardian Force that excels at boosting HP through its HP-J ability. It also provides the valuable HP+20%, HP+40%, and Cover abilities, making it an excellent choice for your frontline characters.
Assign the Brothers Guardian Force (GF) to one of your characters. The best strategy is to assign Brothers to the character currently equipped with Quezacotl, as this will enable that character to eventually learn the other magic junctioning abilities that are missing.
Each of these abilities will prove extremely useful as you progress through the game.
Your Guardian Forces should now be evenly split between your characters. One character will have Quetzalcoatl and Brothers, one will have Shiva and Diablos, and the last will have Ifrit and Siren.
It is now time to make your way back to Deling City with the Student ID code.
Helpful Hint
Note that you can already craft Squall’s most powerful weapon at this point in the game. The materials for the weapon are as follows:
-
 Adamantine x1
Can be refined from your newly acquired Minotaur Card.
-
 Dragon Fang x4
These are stolen from the Grendel enemies in the Yaulny Canyon mentioned earlier in this guide. -
 Pulse Ammo x12
Pulse Ammo can be refined from Energy Crystal, which can be obtained by modding 20
  Elnoyle Cards.
Just head to any weapon shop and have the weapon crafted.
The requirements for obtaining the weapon are pretty steep at this stage of the game. It requires you to have won over 20 Elnoyle Cards, which takes a long time, and you have to use ![]() Card Mod on your new Minotaur Card. Don’t panic if you’re unable to (or unwilling to) create the weapon at this point of the game, as there will be plenty of opportunities later on to obtain the required materials.
Card Mod on your new Minotaur Card. Don’t panic if you’re unable to (or unwilling to) create the weapon at this point of the game, as there will be plenty of opportunities later on to obtain the required materials.
Triple Triad Side Quest

There are a few more steps of the Queen of Cards side quest that you can complete now as well. After leaving the Tomb of the Unknown King, walk back to the town of Dollet. Save your game using the Save Point near the Queen before you challenge her to a game. Remember that you need to have Siren’s ![]() Move-Find ability enabled for the Save Point to be visible.
Move-Find ability enabled for the Save Point to be visible.
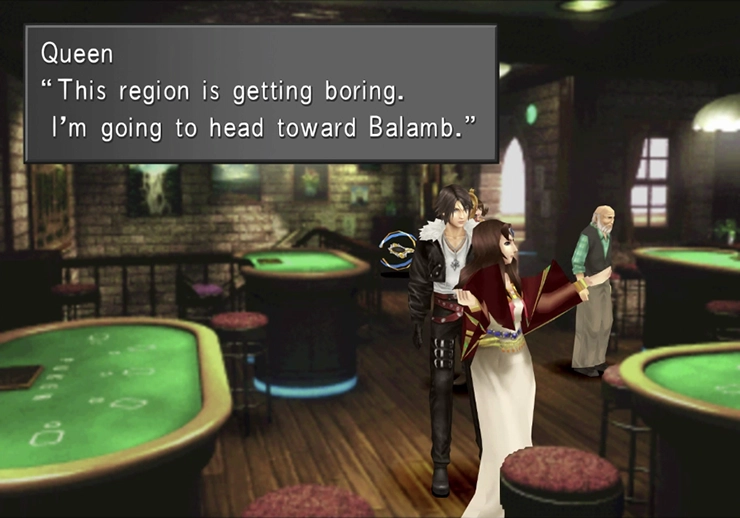
Purposefully lose the ![]() Sacred Card to the Queen of Cards and make sure that she indicates that she plans to travel to Balamb (and not Galbadia or Deling City). Reset the game if she plans to go anywhere other than Balamb.
Sacred Card to the Queen of Cards and make sure that she indicates that she plans to travel to Balamb (and not Galbadia or Deling City). Reset the game if she plans to go anywhere other than Balamb.
It has been reported that there are instances where she continually indicates Galbadia as her next destination, no matter how many times players reset their game. If this occurs, challenge some other players around town to a game of cards in the hopes that you will reset the RNG, and the issue should eventually be resolved.
It’s time to return to Deling City to meet up with the General.


