Besaid Village
As Wakka and Tidus enter the village, Wakka will ask Tidus whether he remembers the ‘prayer’. You will have two options: “I don’t remember” or “I don’t know any prayers.”
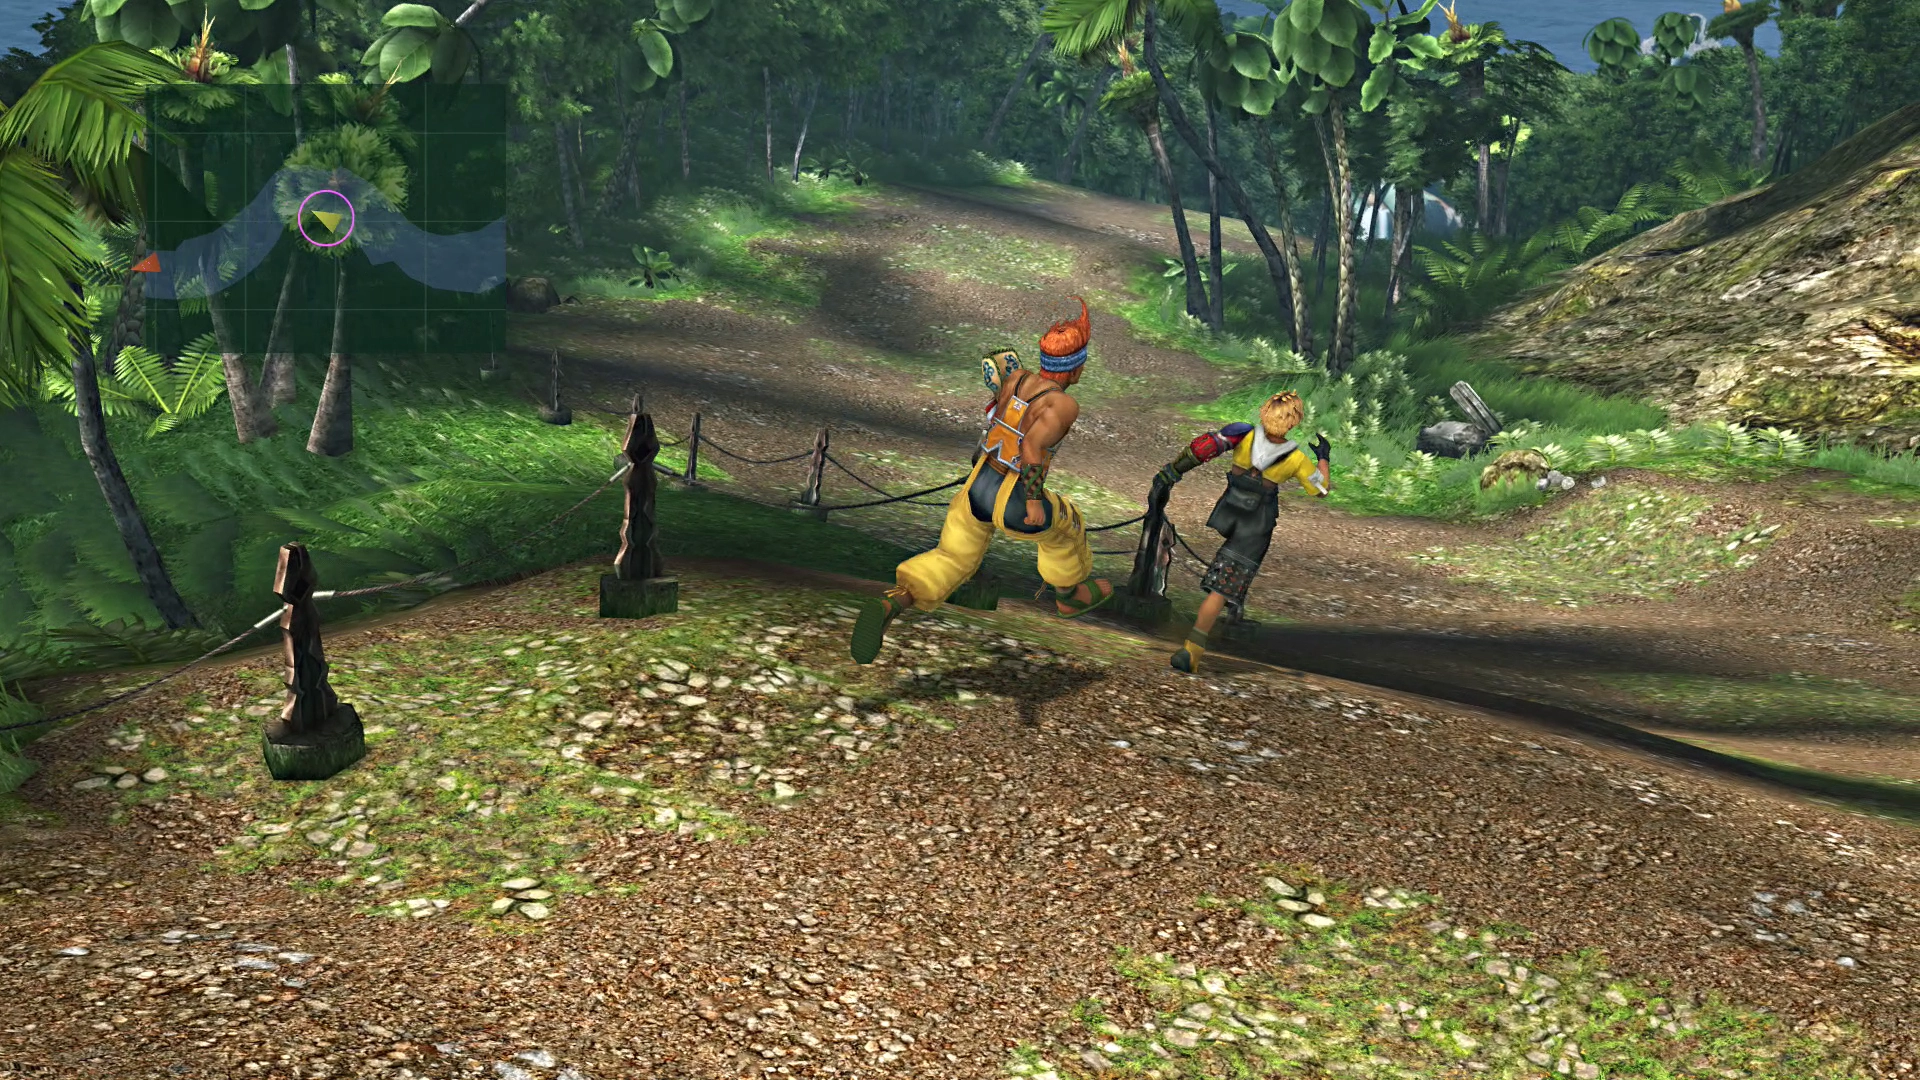
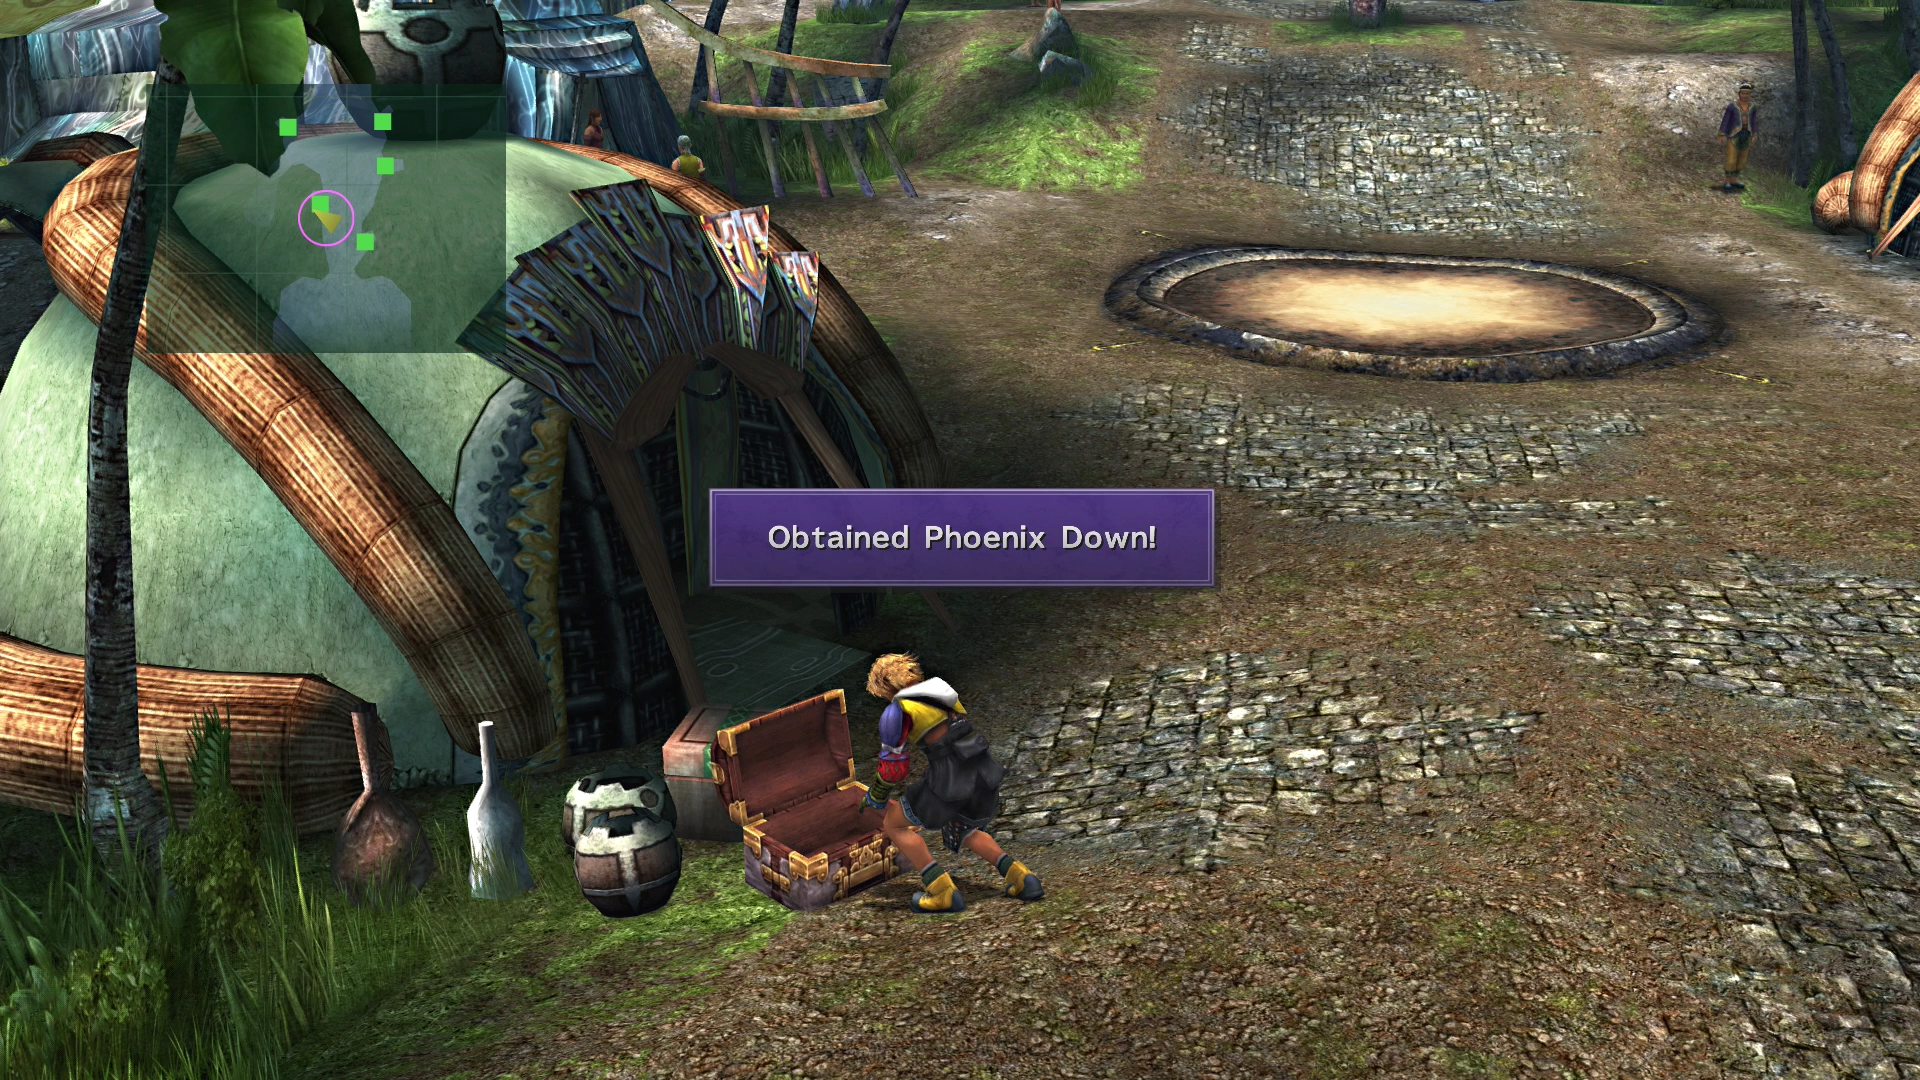
Wakka will show you the prayer regardless of your choice. Make sure you grab the treasure chest to the left of the starting area before you venture away from the entrance to Besaid Village. It contains a ![]() Phoenix Down.
Phoenix Down.
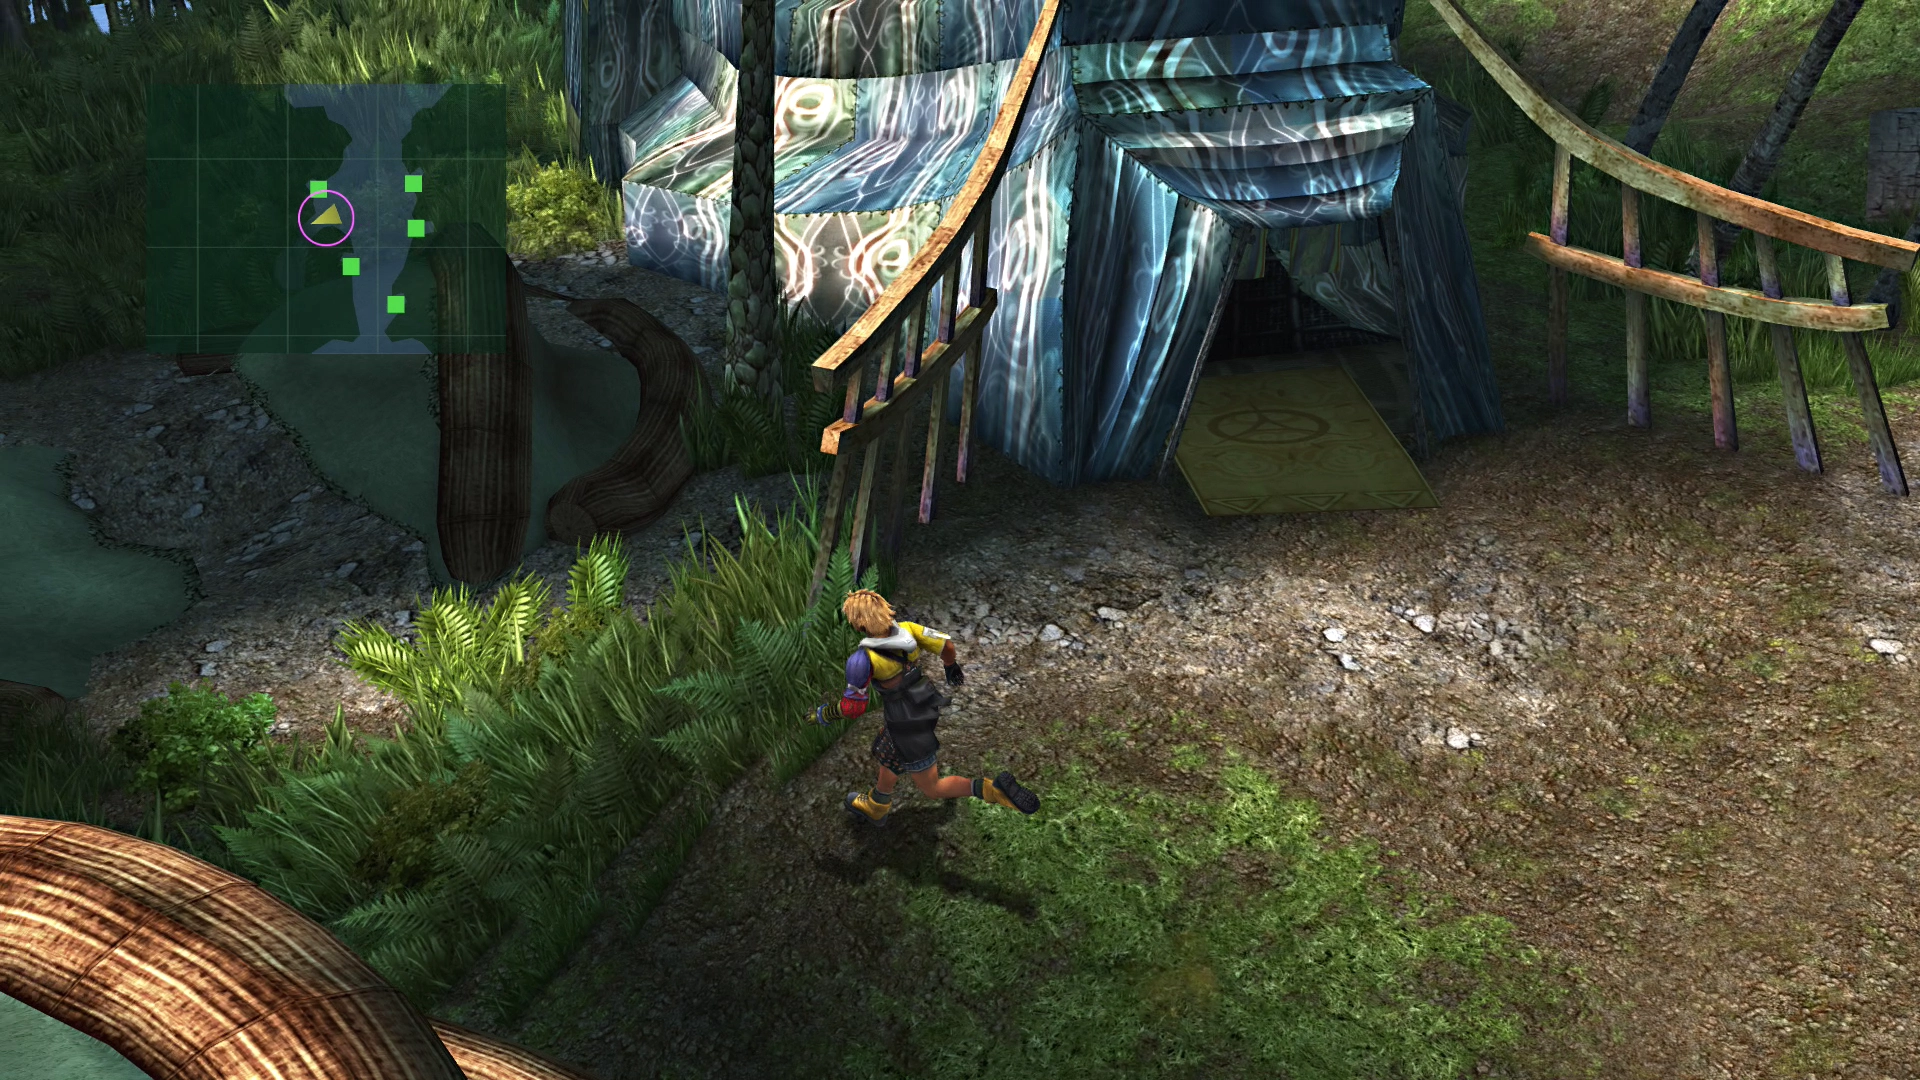
The next area to explore is the little alcove on the west side of town that is slightly faded out on the mini-map. Wander down there to find three chests collectively containing two ![]() Potions, one
Potions, one ![]() Hi-Potion, and 400 Gil.
Hi-Potion, and 400 Gil.
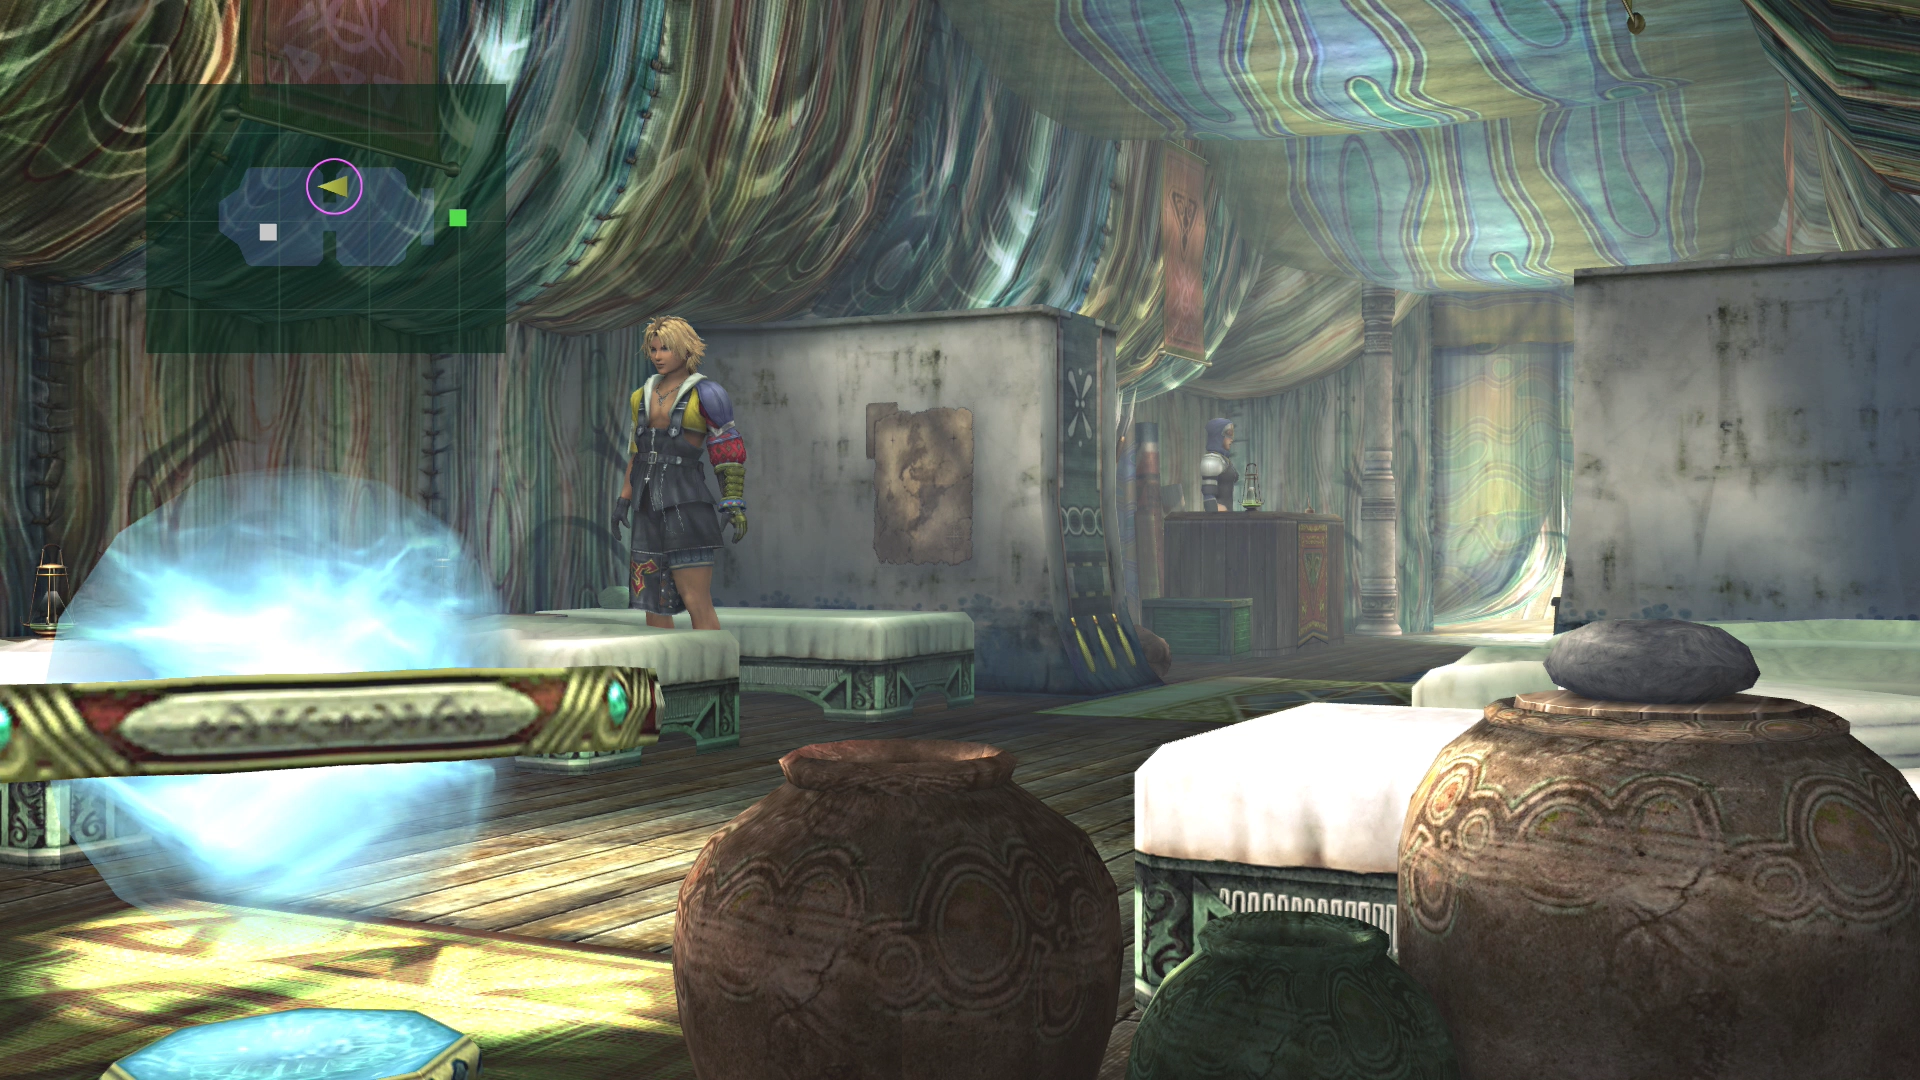
Don’t waste too much of your time exploring the village; however, you may want to investigate the Crusaders’ tent for more information about the Crusaders that Wakka spoke of if this is your first time playing the game.
There is a shop in one of the tents, but you don’t need to purchase any items at this point. Make your way into the temple at the north end of Besaid Village.
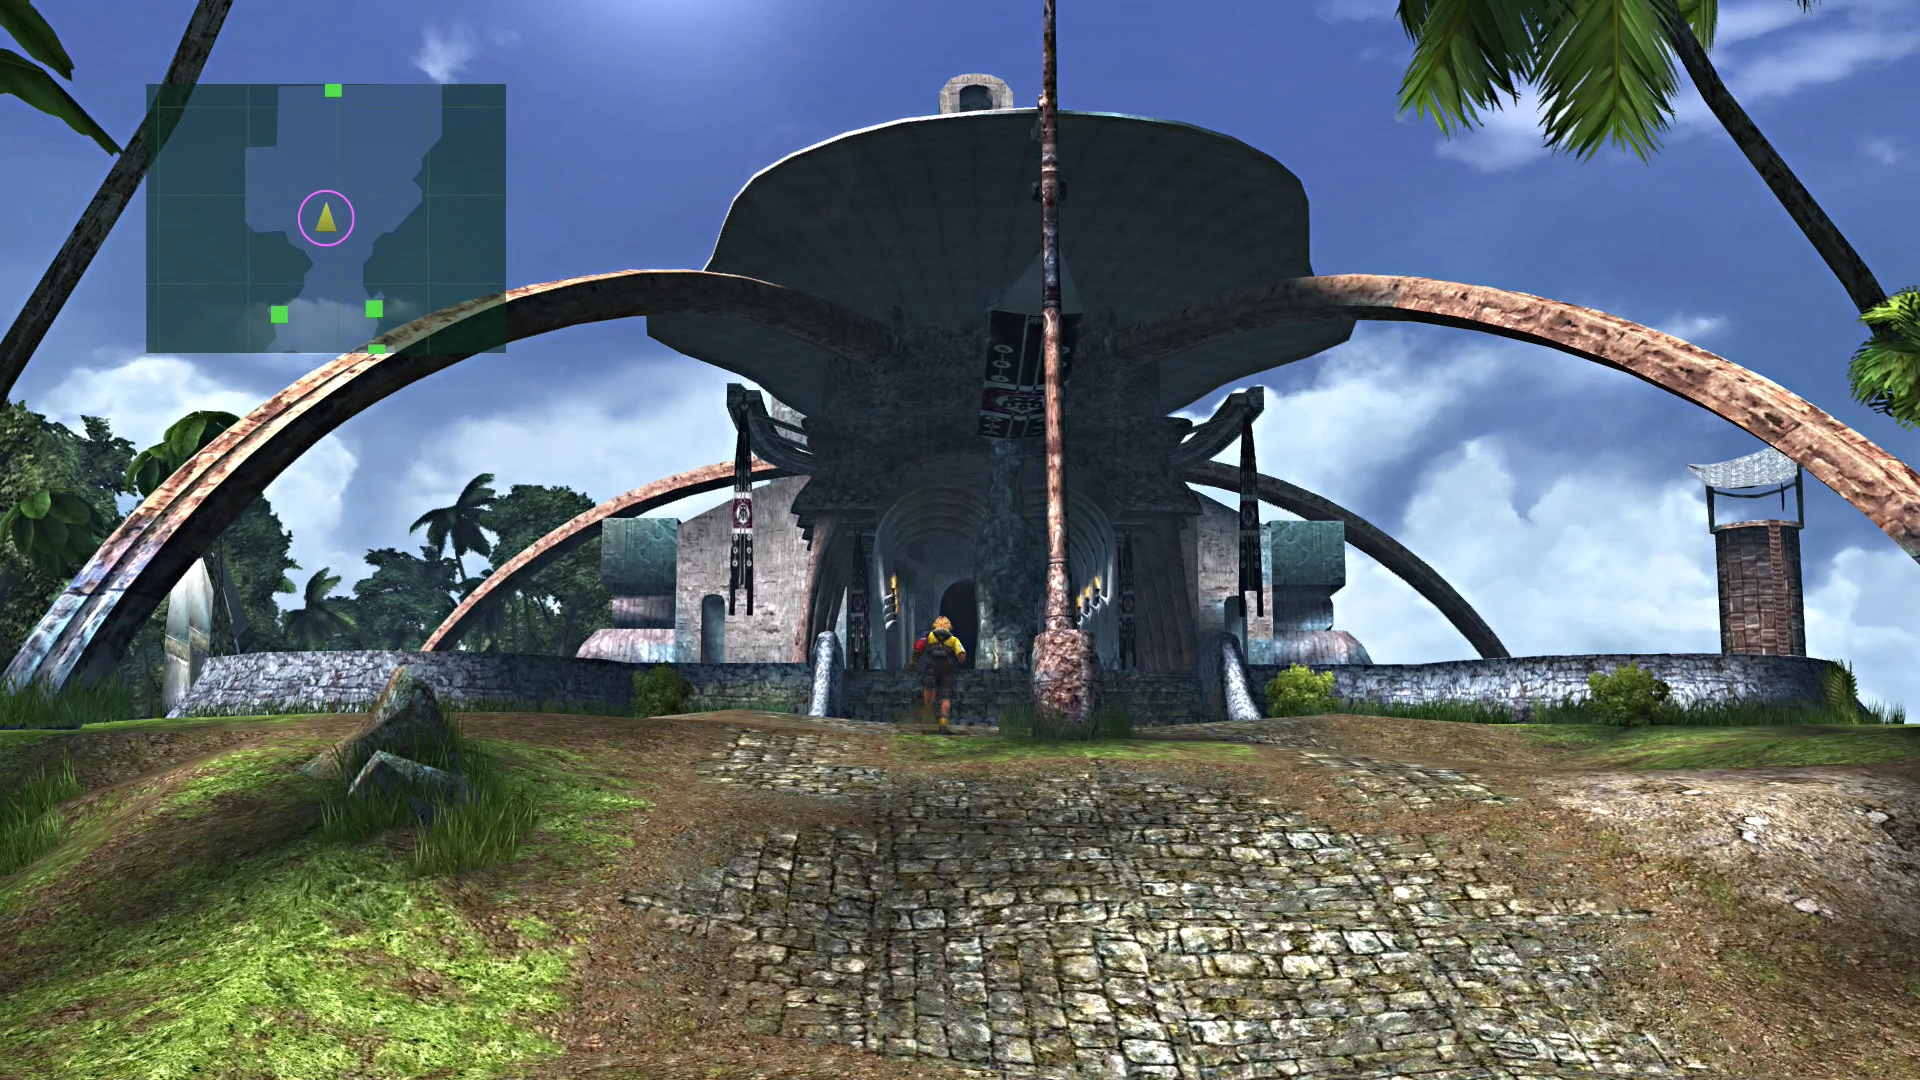
Besaid Temple
Walk towards the statues on the west side of the room, and the temple’s priest will speak to Tidus. He will give Tidus a brief explanation of what High Summoners are and their purpose in Spira.
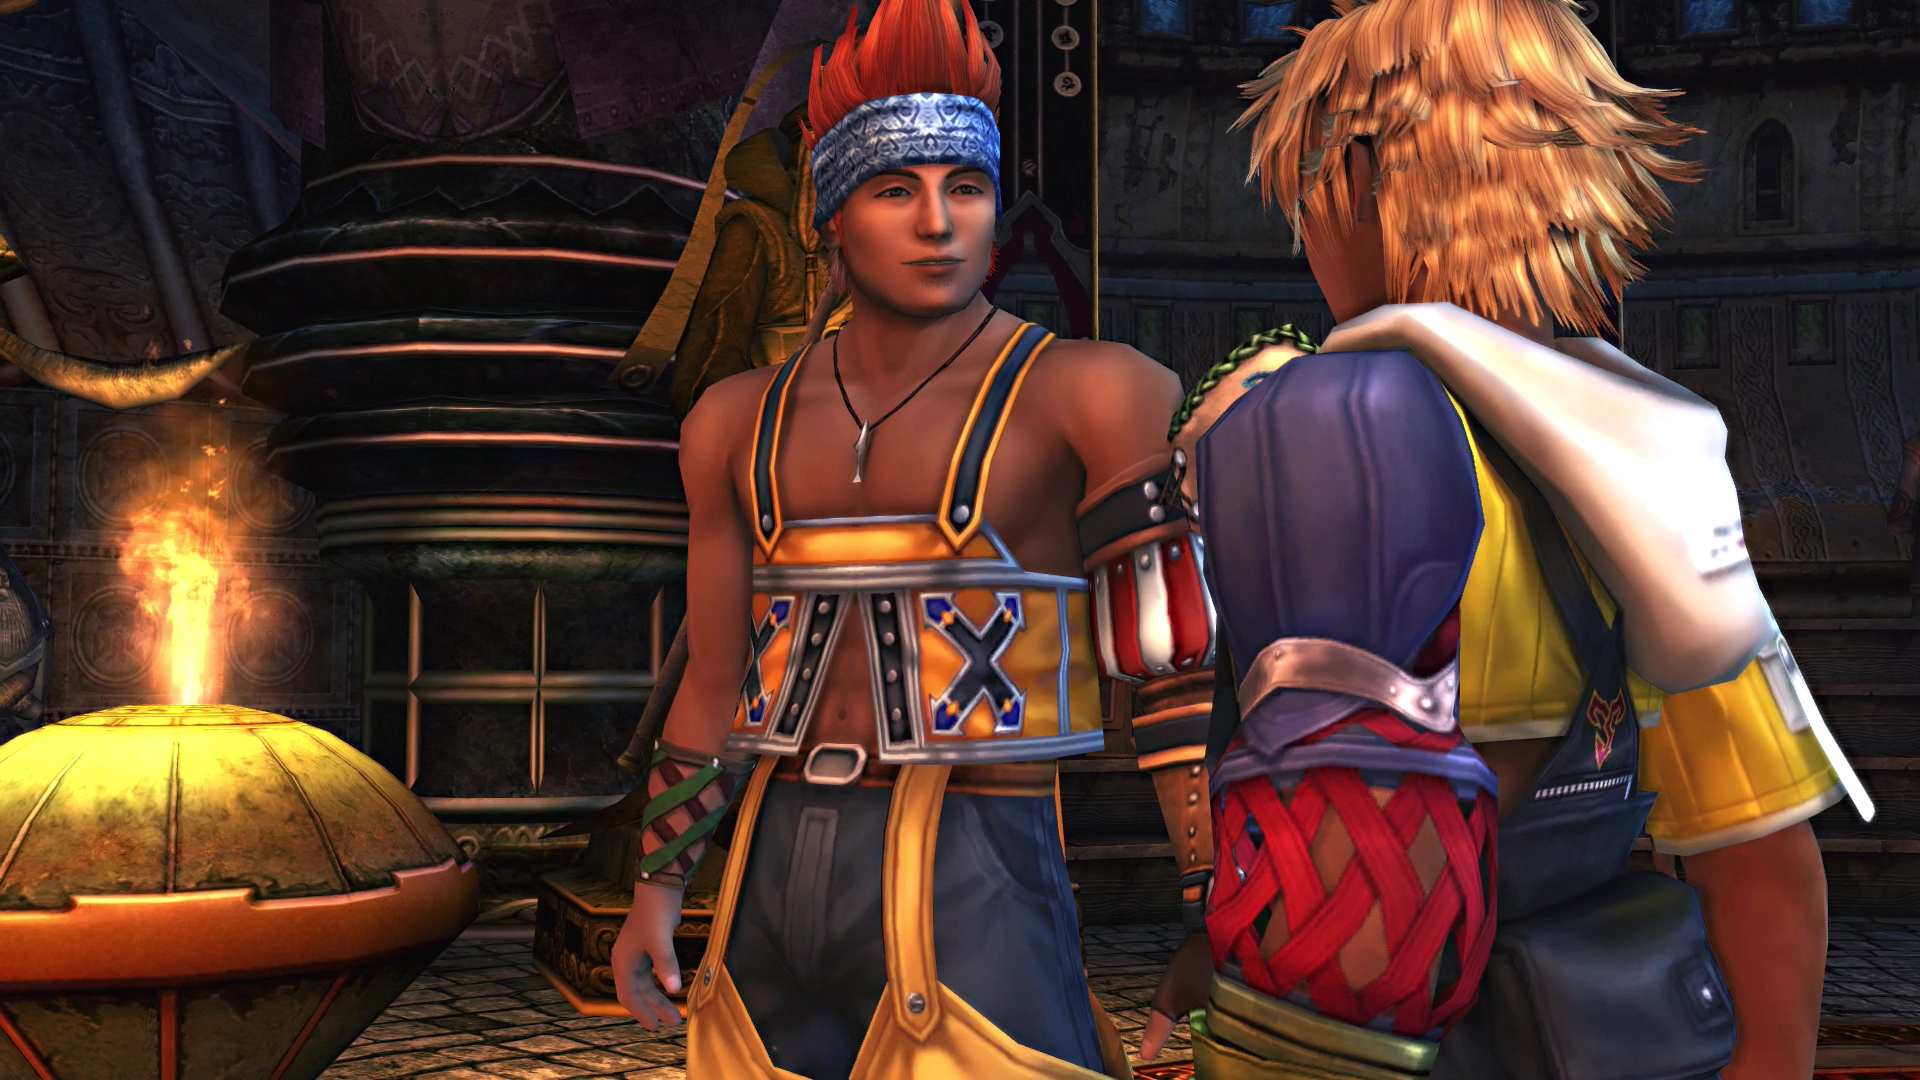
You can now leave the temple and head over to Wakka’s lodge. Wakka’s lodge is the middle hut on the right, shown in the screenshot below.
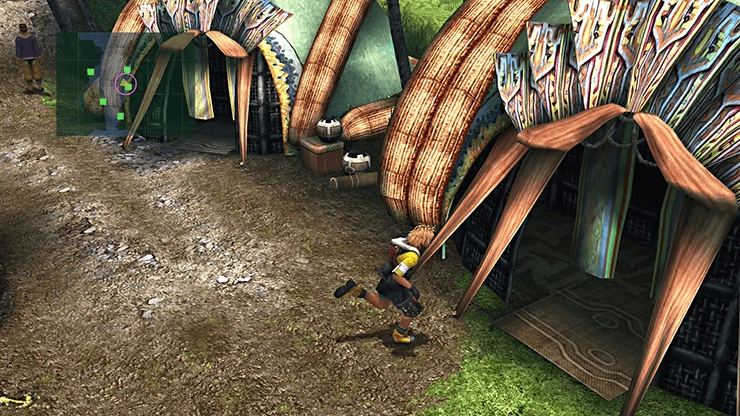
Besaid - House (Wakka’s lodge)
Speak to Wakka and then choose to take a rest when presented with that option. Tidus will experience some flashback scenes while he rests. The scenes involve Tidus and his mother back in Zanarkand as they discuss the fate of Tidus’ father, Jecht.
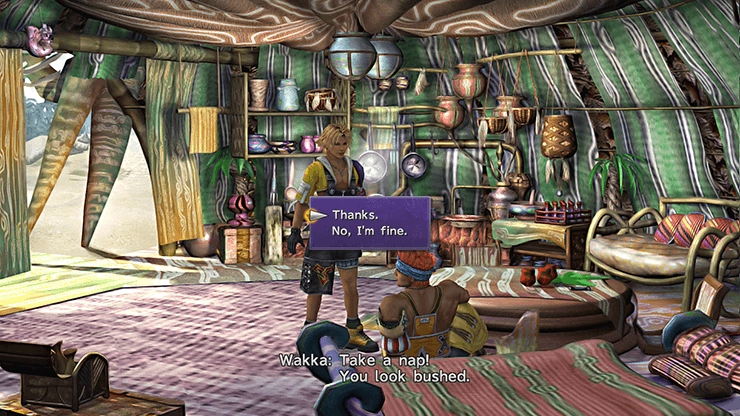
Tidus will wake up in Wakka’s lodge alone. Head back outside into the village.
There is now a small computer pedestal-type object in the Crusaders’ tent, which you can use to access all kinds of tutorials for the game. Read through these tutorial sections if this is your first playthrough of the game, as some tips and tricks it offers can be pretty helpful.
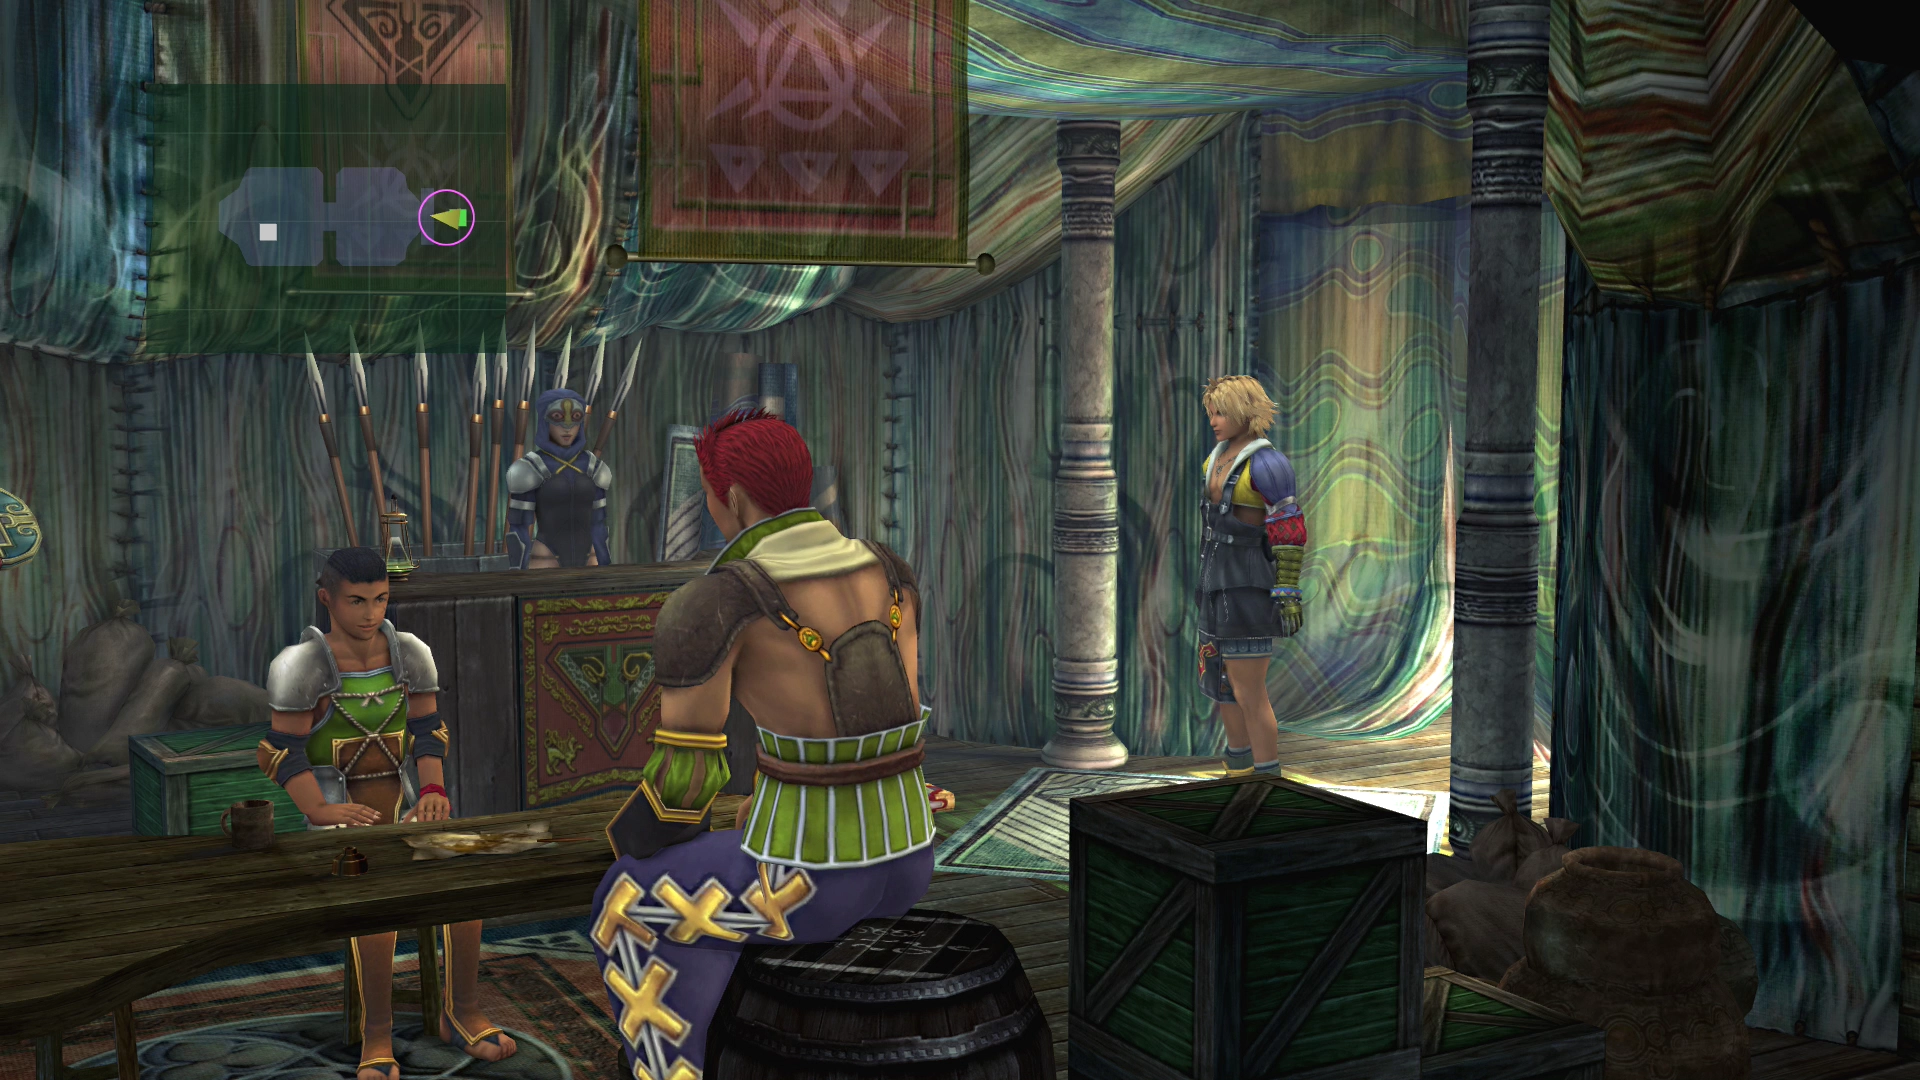
There is an ![]() Al Bhed Primer (Vol. II) to the right of the desk in the Crusader’s tent.
Al Bhed Primer (Vol. II) to the right of the desk in the Crusader’s tent.
Also, if this is your first playthrough of the game, you may want to consider checking out the Tips and Tricks section of this strategy guide. You will not need some sections until further on in the game, but it may be helpful to start familiarizing yourself with the game’s mechanics.
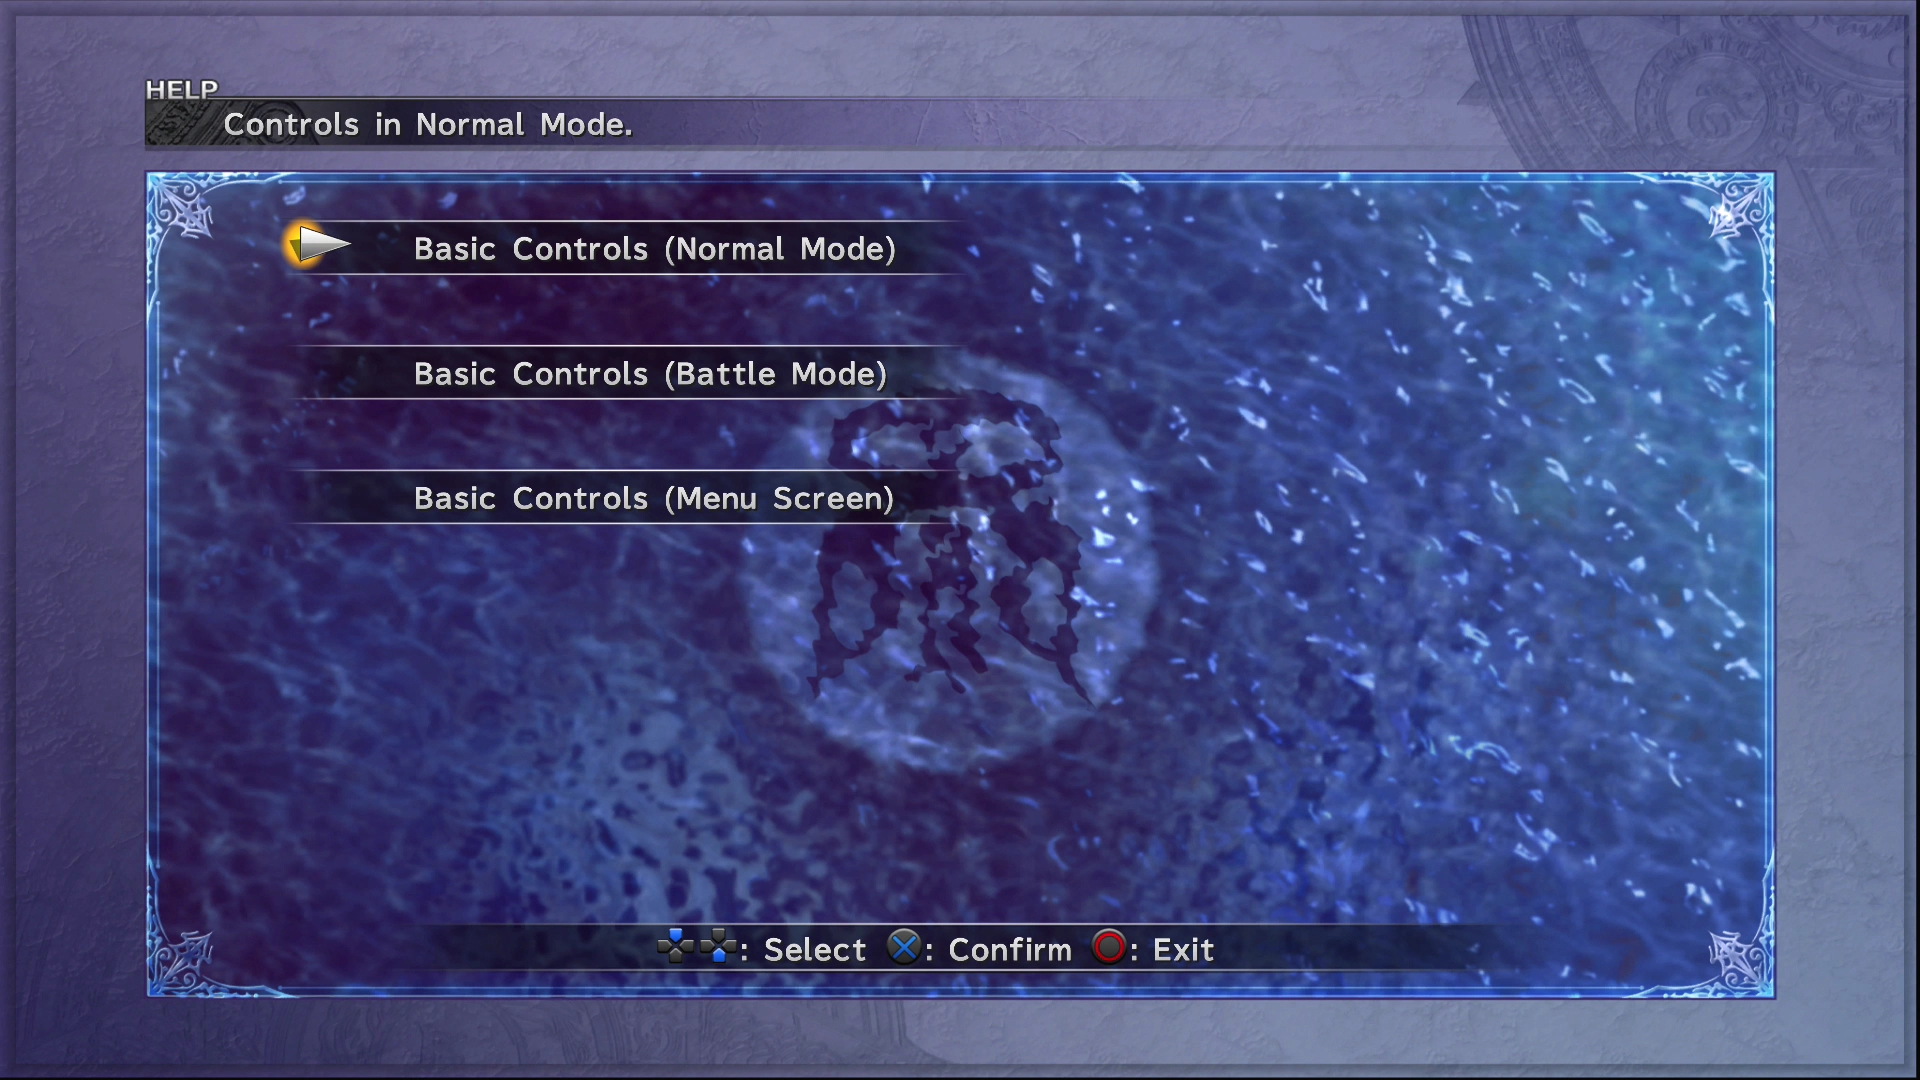
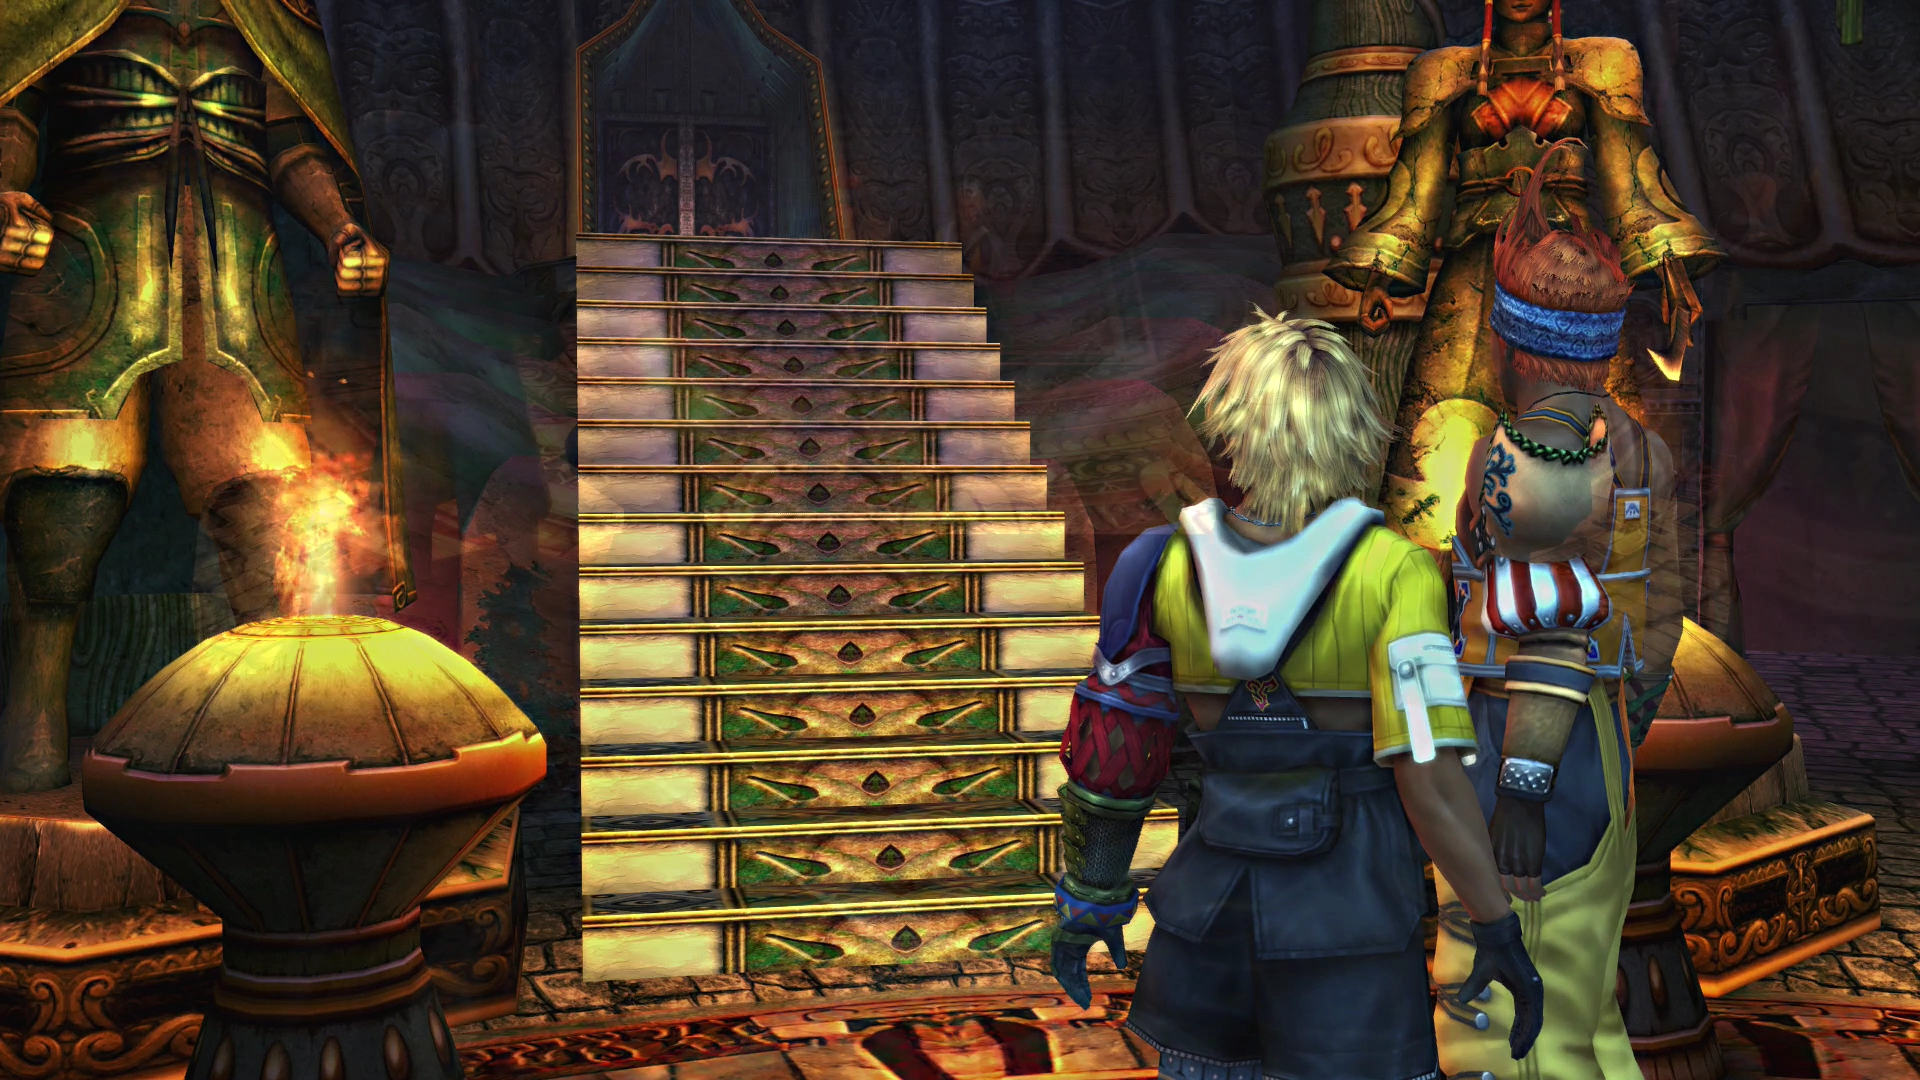
Go back inside the temple to find the priest and Wakka discussing the summoner and the Cloister of Trials. Tidus will ignore the priest’s directions not to go into the Cloister and will rush inside.
This back portion of the temple is the game’s first Cloister of Trials that you can now explore. There are several Cloisters that you will need to complete during your playthrough of the game. They are essentially a set of puzzles for you to complete.
Each Cloister of Trials section has a separate section in the Cloisters section of the strategy guide, and the link below will take you directly to the Besaid Cloister of Trials walkthrough section:
Cloister Walkthrough
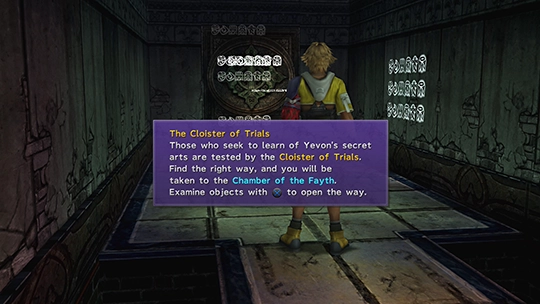
Completing the Cloister of Trials in the Besaid Temple. The reward for completing the Destruction Sphere portion of this Cloister is a Rod of Wisdom for Yuna.
Wakka will join Tidus as he reaches the end of the Besaid Cloister of Trials. He will explain that only guardians are allowed in the Cloisters and will tell Tidus more about summoners and guardians.
The two will enter the next room, and two more characters will introduce themselves. Both of these characters (Lulu and Kimahri) will eventually be joining your party.
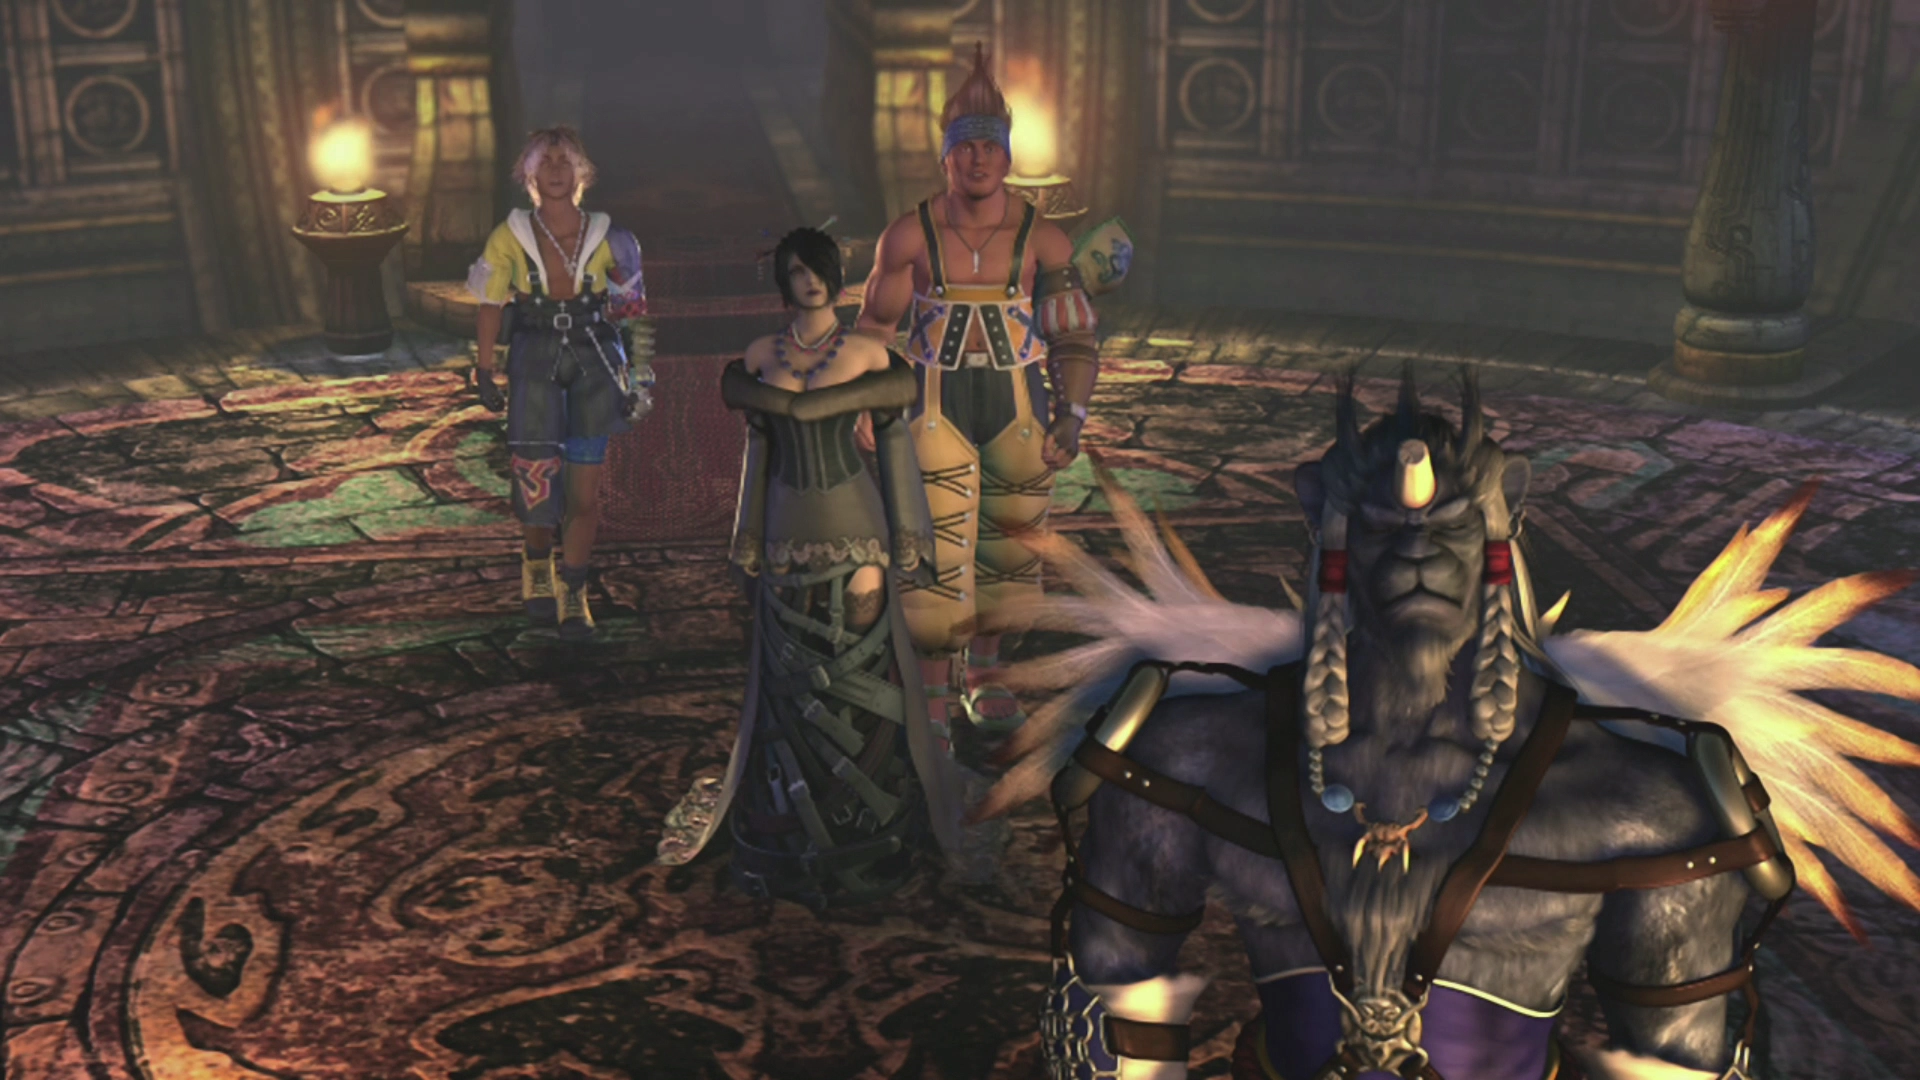
The group will discuss whether the summoner is alright before she eventually makes her exit from the Chamber of the Fayth (the back room of any temple). The summoner is Yuna, another character who will be joining your party, who will proudly announce that she has officially become a summoner.
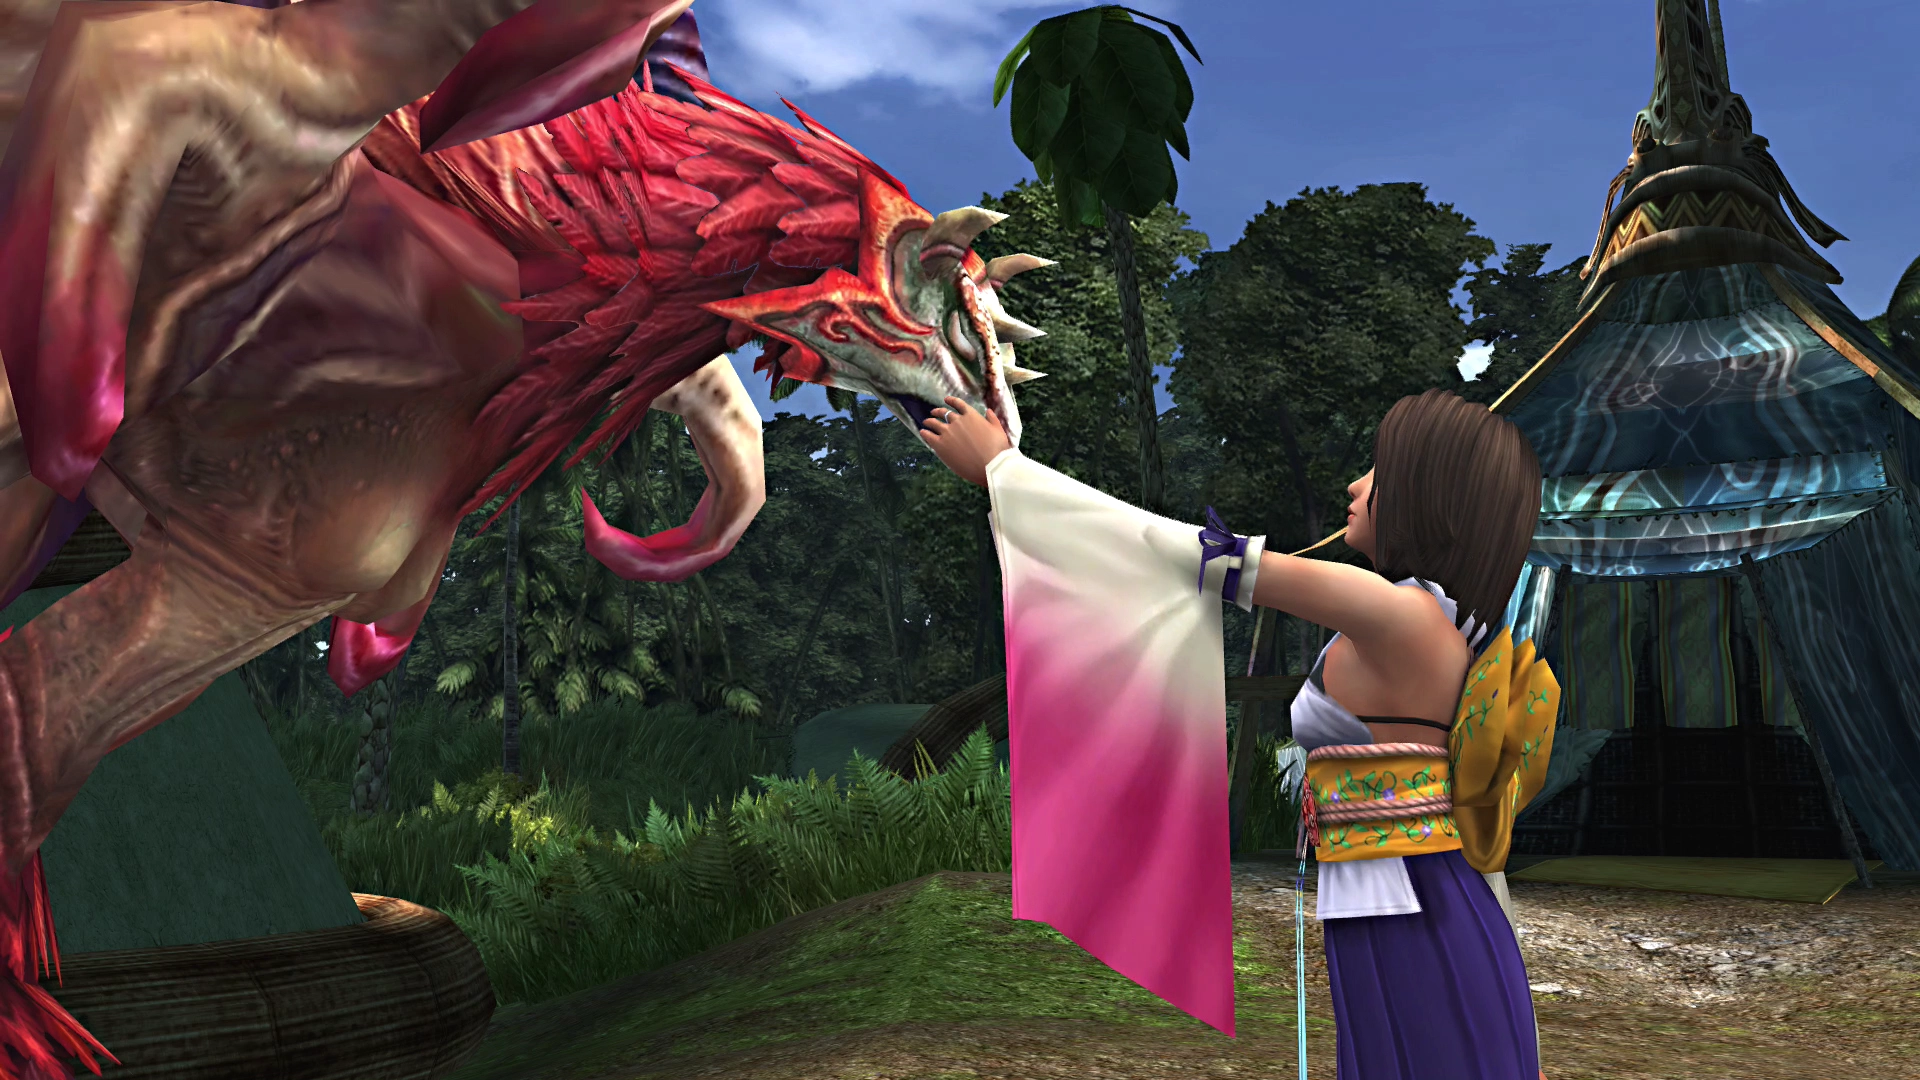
Follow the group out of the temple and back into the center of the village to watch Yuna complete her first summon. Have Tidus walk over to Yuna once the scene has concluded to have the two of them introduce themselves to one another (despite the loud protests of the people of the village).
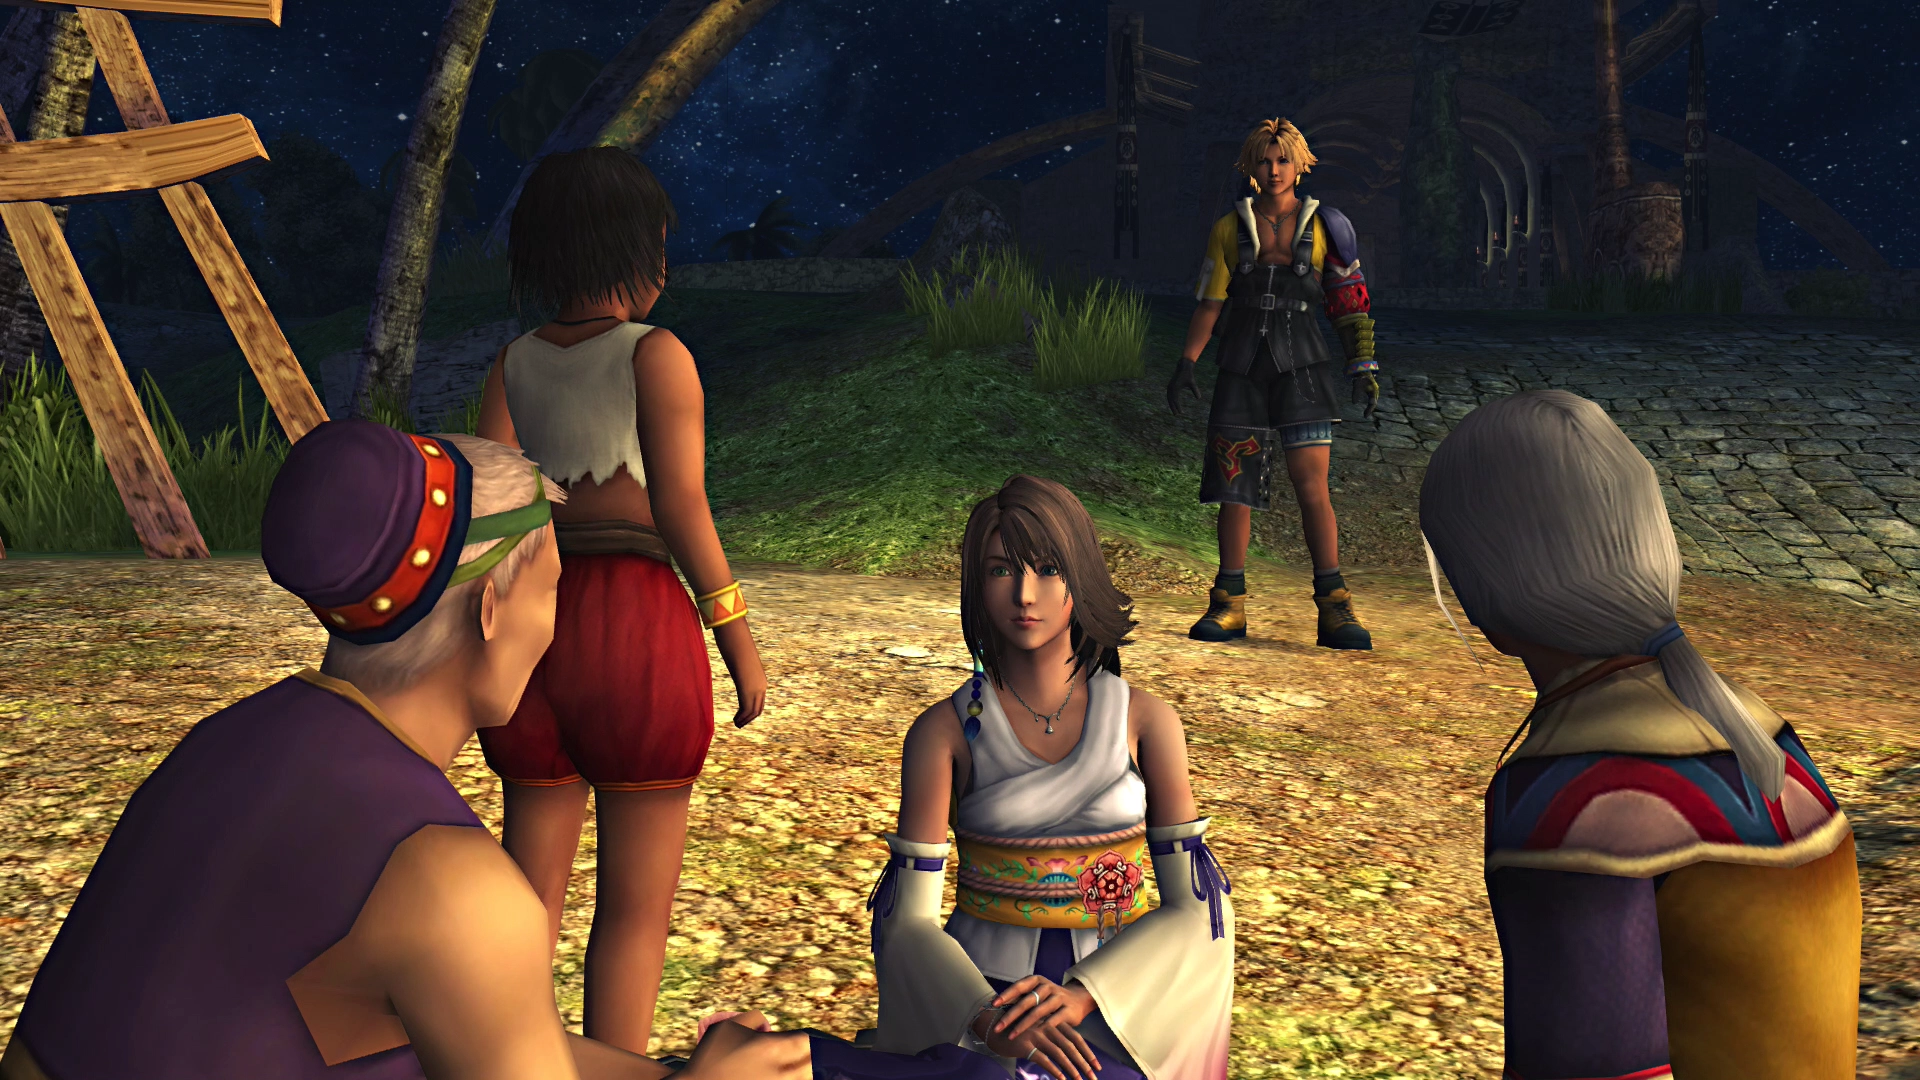
Talk to Wakka to ‘get some rest.’ Tidus will have some strange dreams before waking up to overhear a conversation between Wakka and Lulu. This conversation is the first time that the two of them will mention Wakka’s brother, Chappu. Wakka will tell Tidus a bit more about Chappu and the Crusaders when he re-enters the tent.
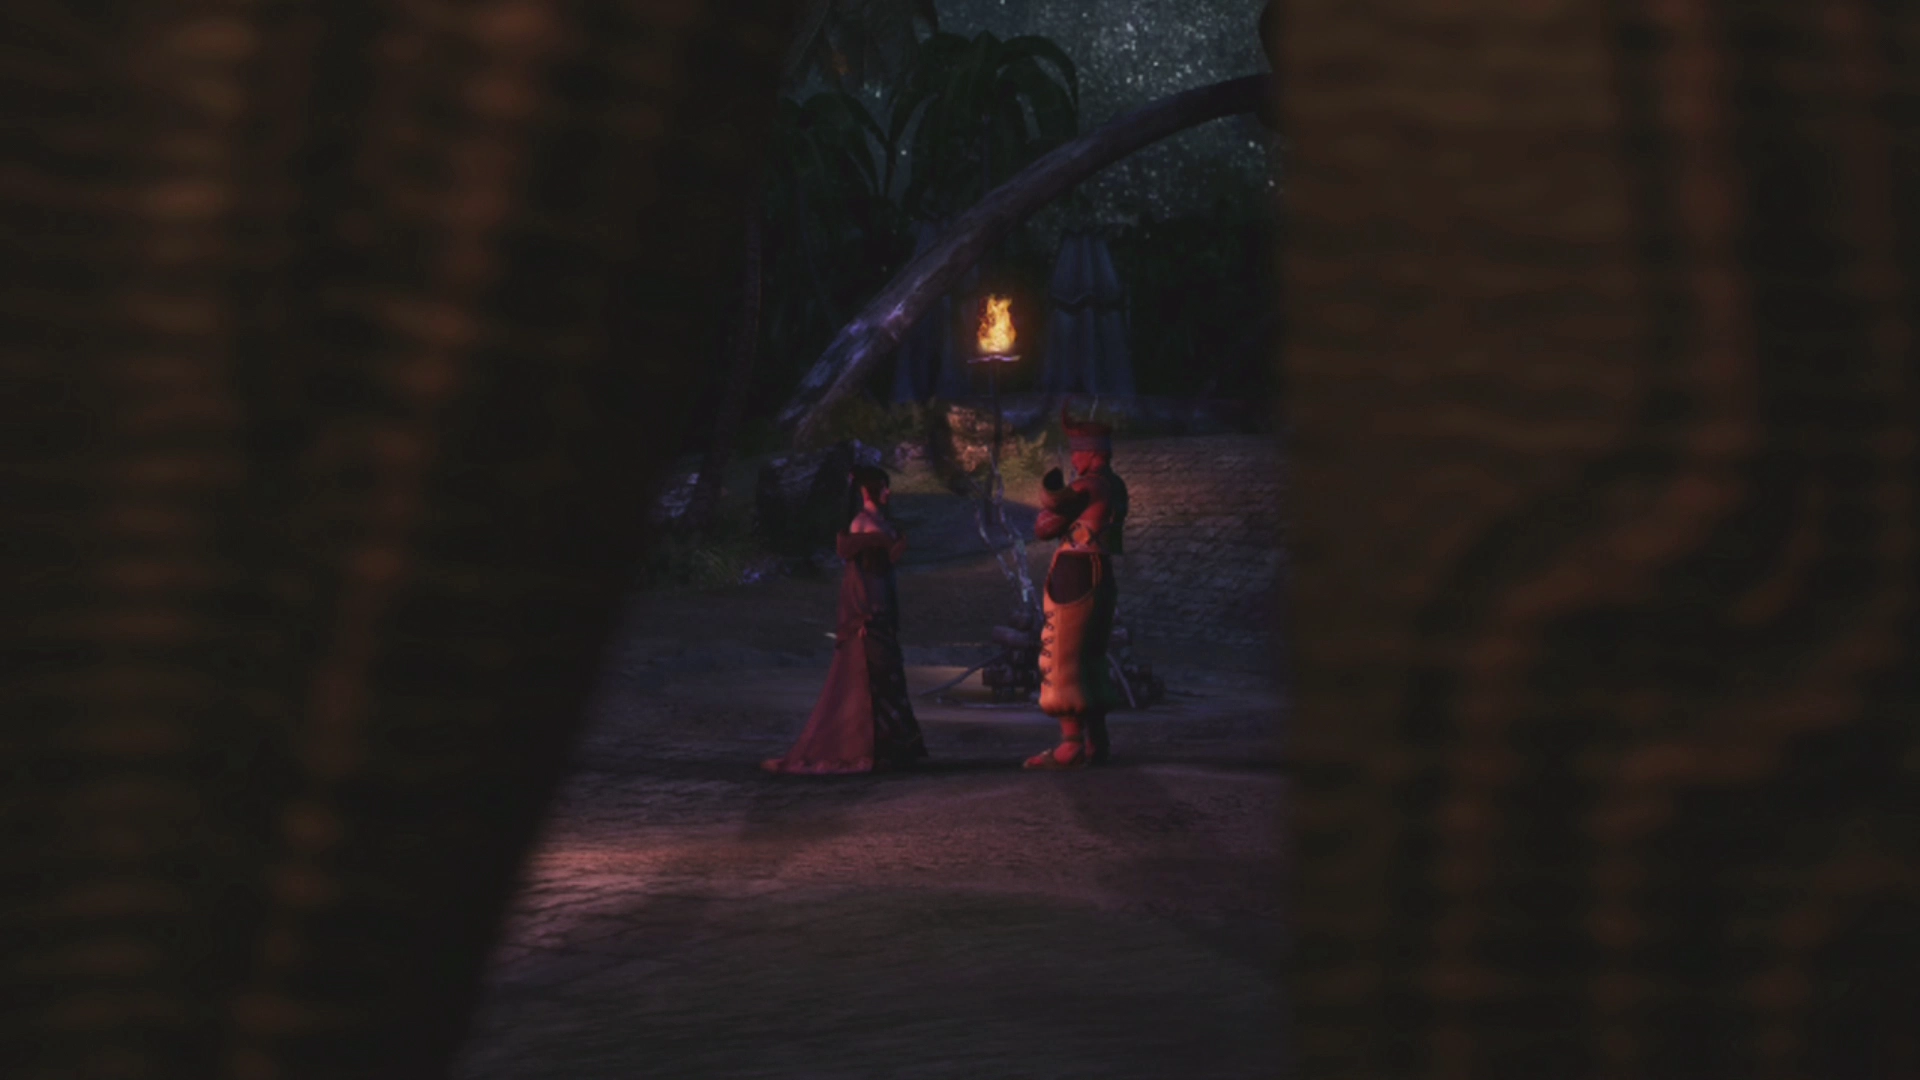
You will wake up inside Wakka’s tent after all the cutscenes. Don’t forget to use the Save Sphere before you continue.
Helpful Hint
Before leaving Besaid Village, look for the girl standing with a dog on the east side of the village square. Talk to her and she will give you an item that teaches Valefor the Energy Blast overdrive, a stronger alternative to Valefor's default Energy Ray.
This is easy to miss, and you will not be able to return to Besaid until much later in the game when you have access to the airship. Make sure to pick this up now.
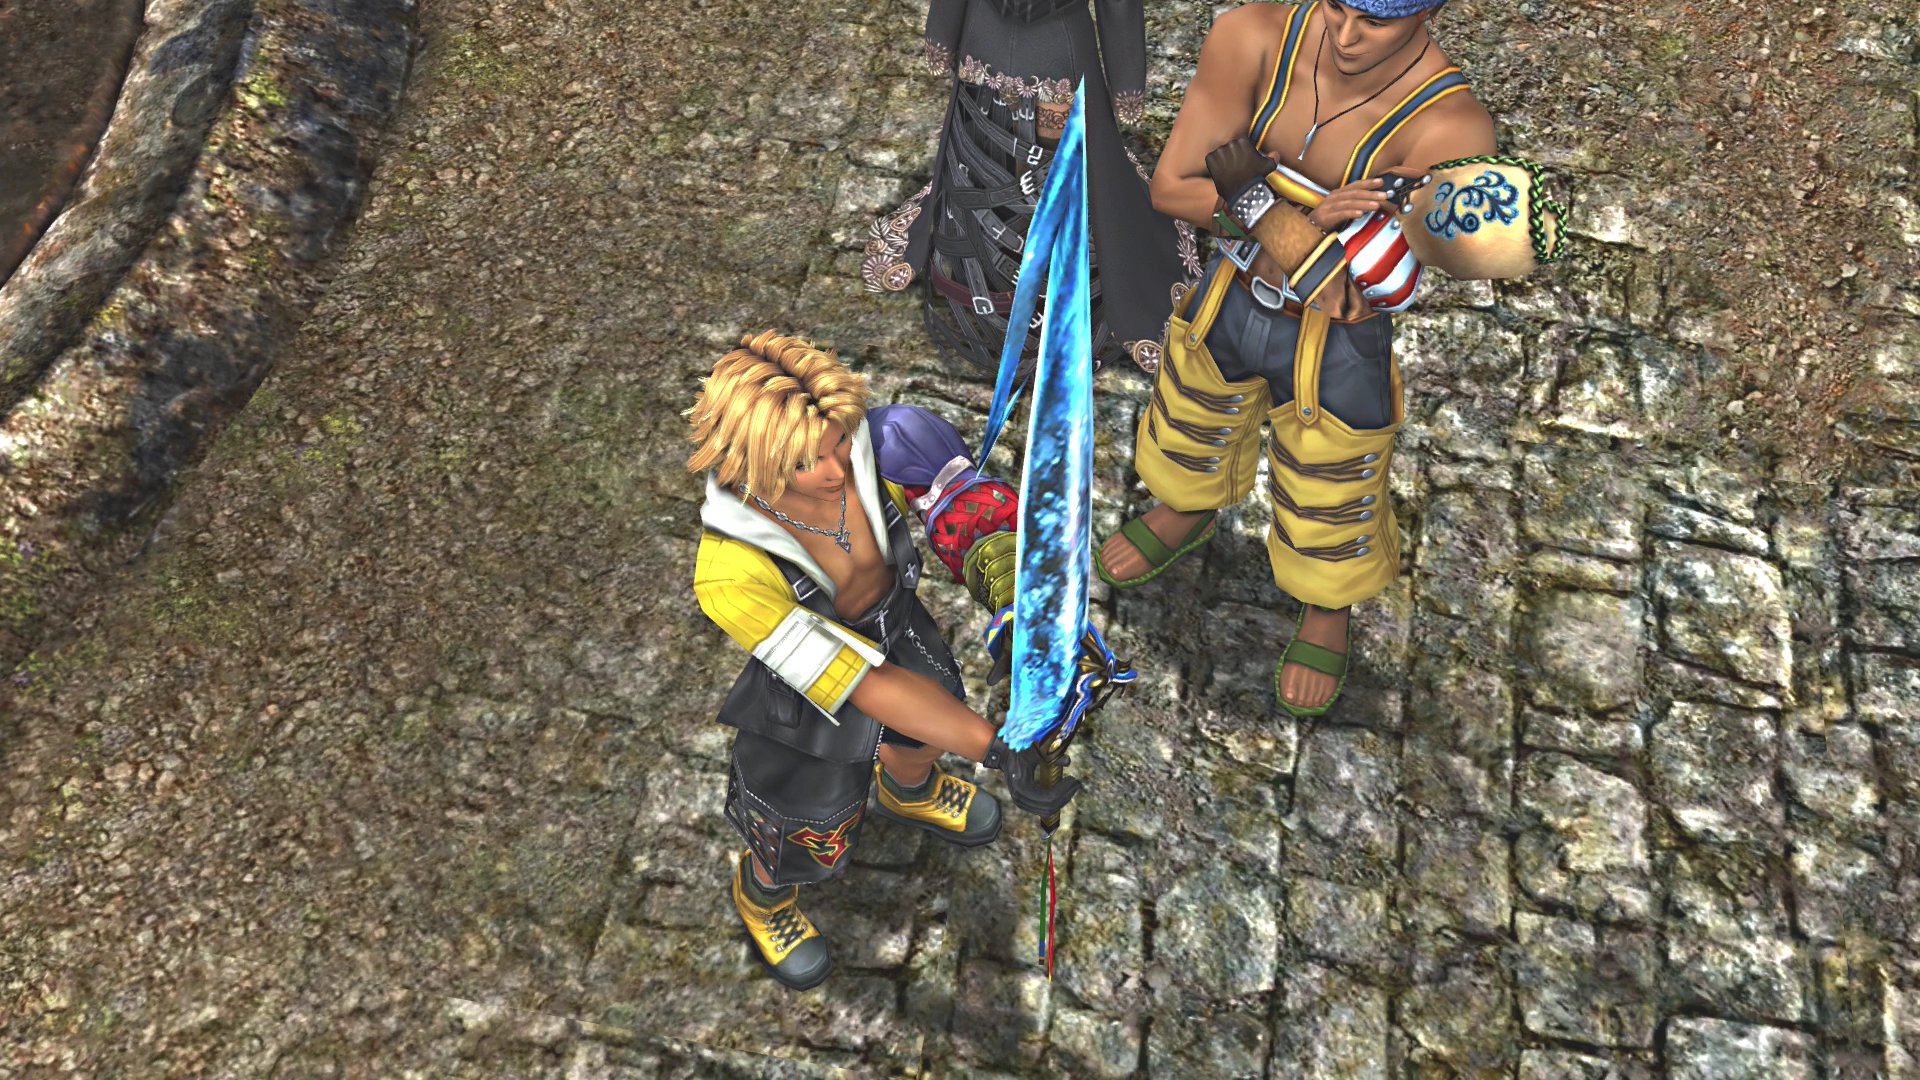
Exit the tent to meet up with Wakka and Lulu. Wakka will give Tidus his first actual sword: ![]() Brotherhood. Tidus will automatically equip this sword.
Brotherhood. Tidus will automatically equip this sword.
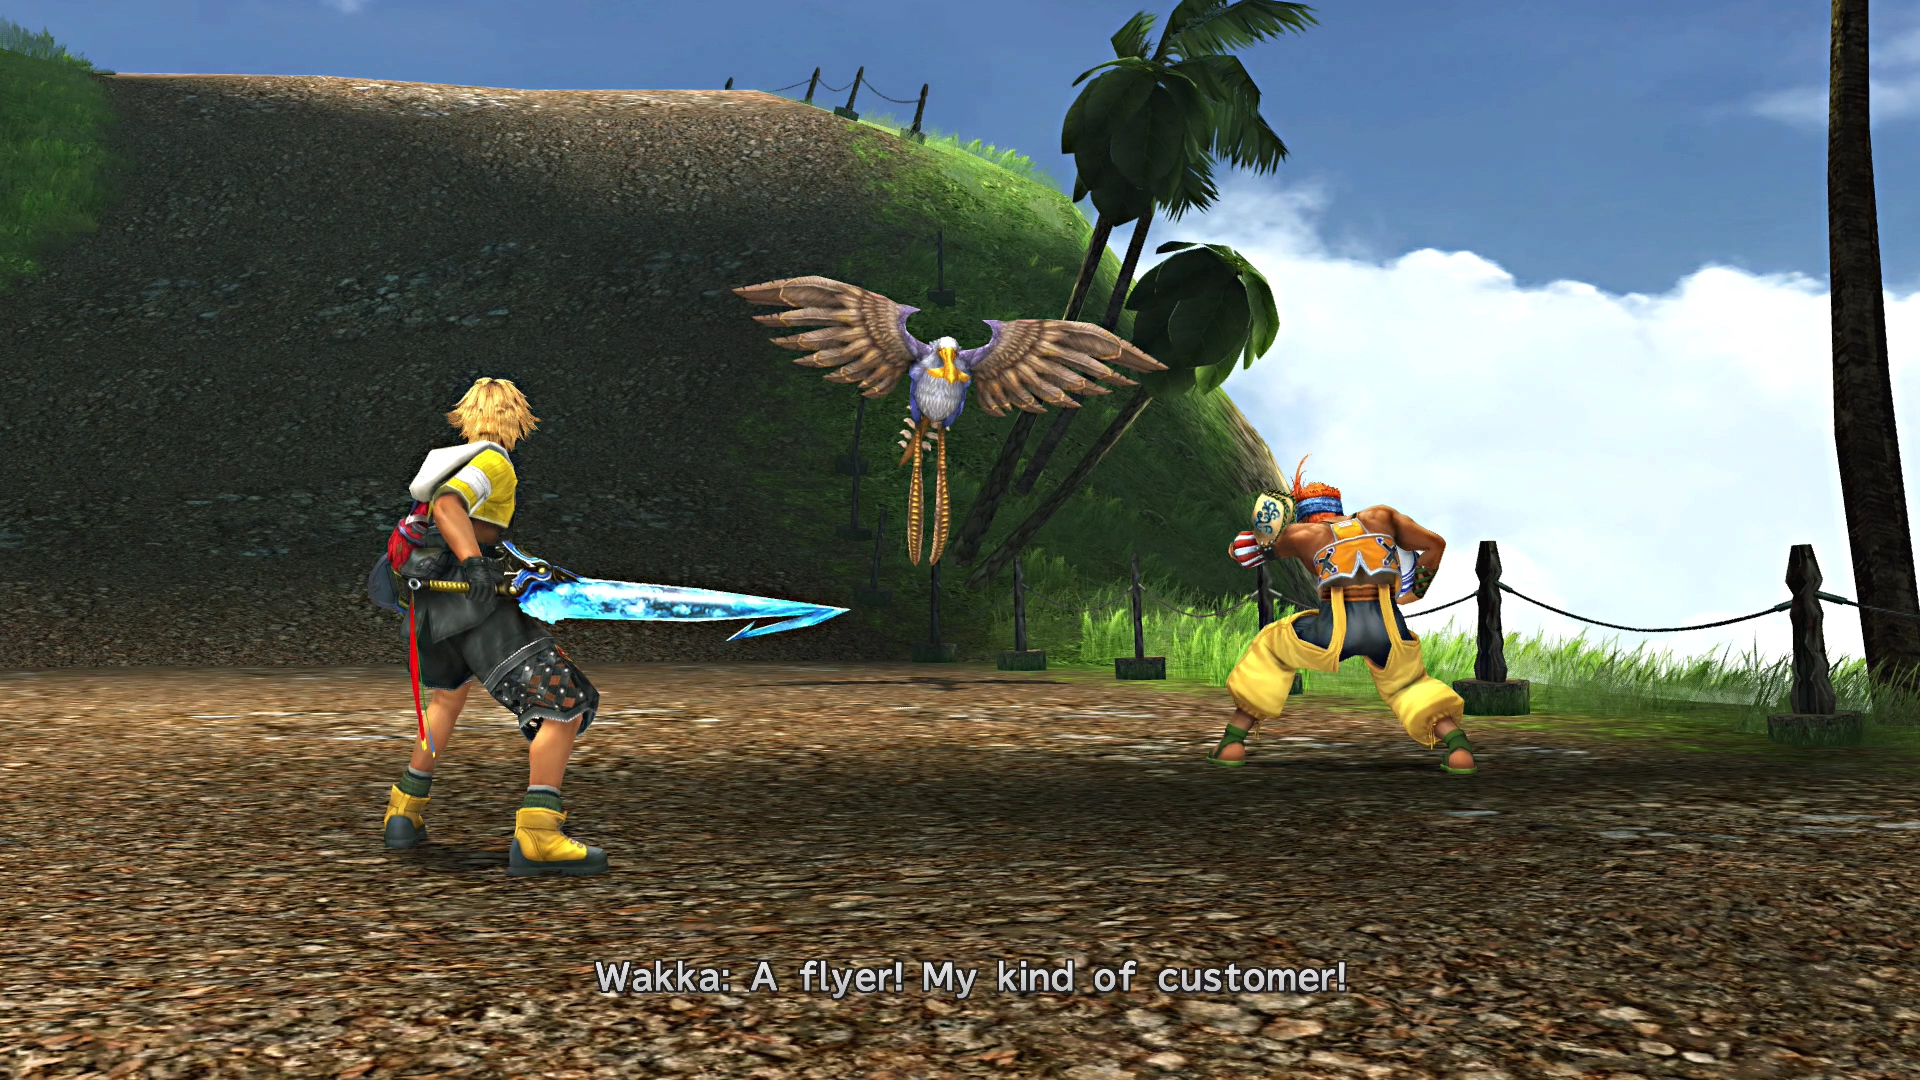
As you proceed along the trail, you will be forced into a couple of scripted battles. These fights offer you an introduction to the battle techniques that you will need to utilize throughout the game.
The first tutorial just has Tidus attacking with his new sword, but you should already be familiar with how his attack functions from the game’s prologue. In the same fight, however, you'll get a brief introduction to Wakka’s attacks.
Characters

Wakka is your first permanent party member. Check out the Wakka page in the Characters section for more information on his Sphere Grid, Strengths, Weaknesses, and Overdrive.
Also, as you work your way along the trail, don’t forget to level up your characters using the Sphere Grid as you progress through the game. You will need to learn new abilities and gain additional stats to progress through the more difficult fights. Check out the Sphere Grid section for more information.
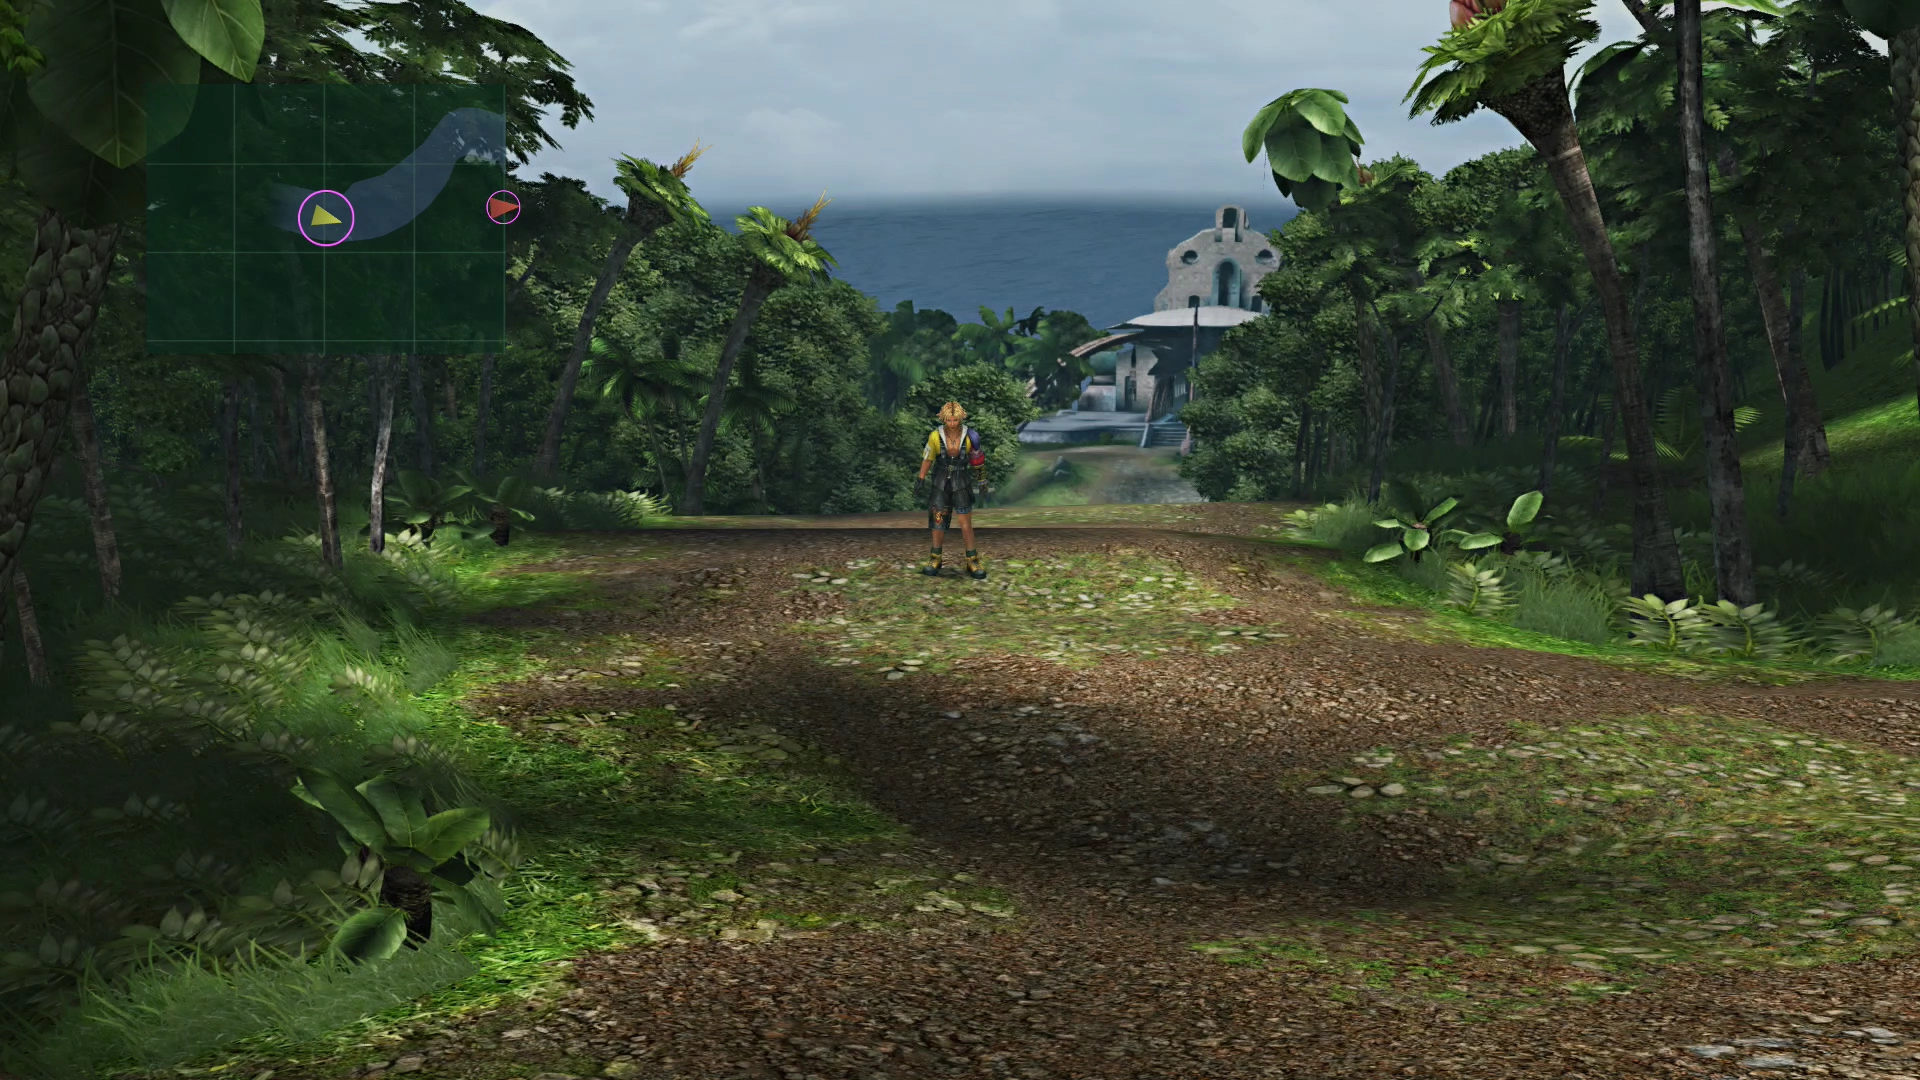
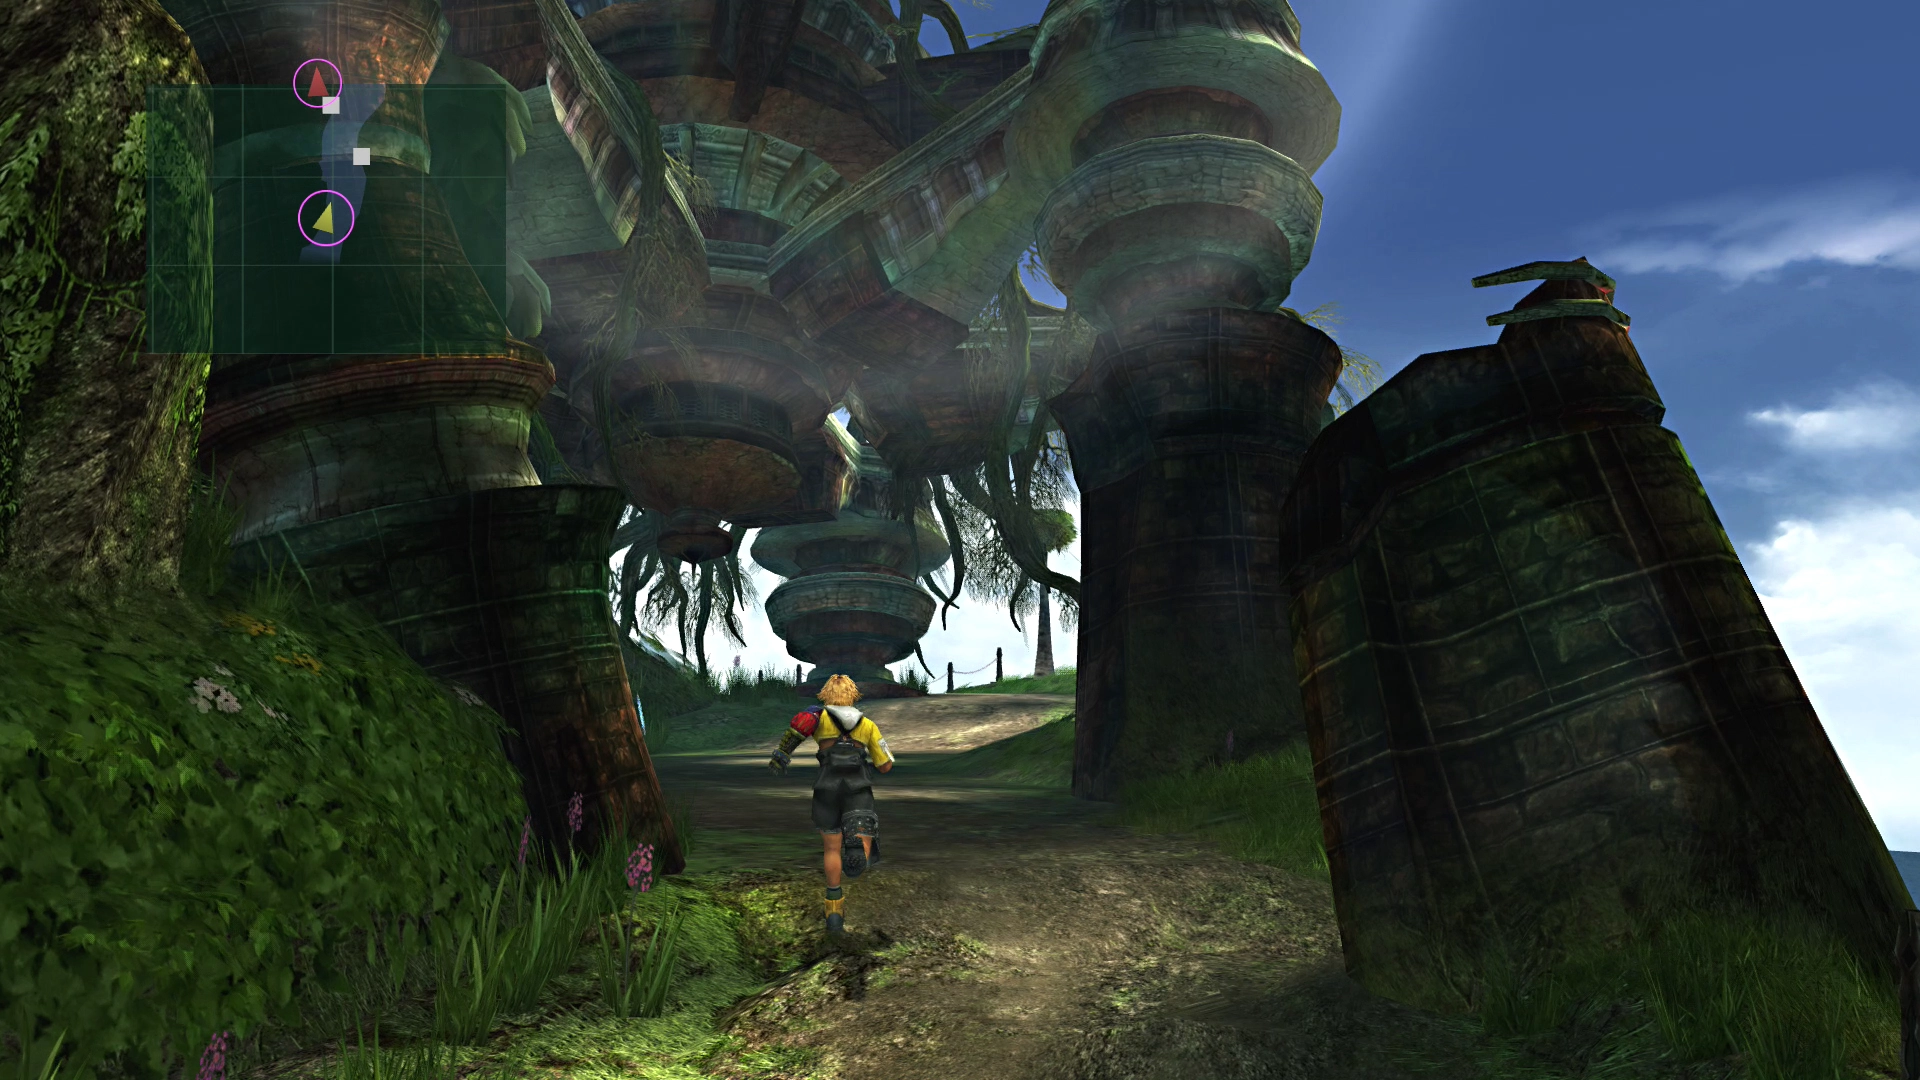
Follow the pathway using the red arrows on the mini-map. Once you get far enough along, you will be thrown into the second battle.
The second fight involves an introduction to your other new party member, Lulu, and teaches you how to use her magic spells. Follow Lulu’s instructions and use ![]() Thunder magic against Water-based enemies.
Thunder magic against Water-based enemies.
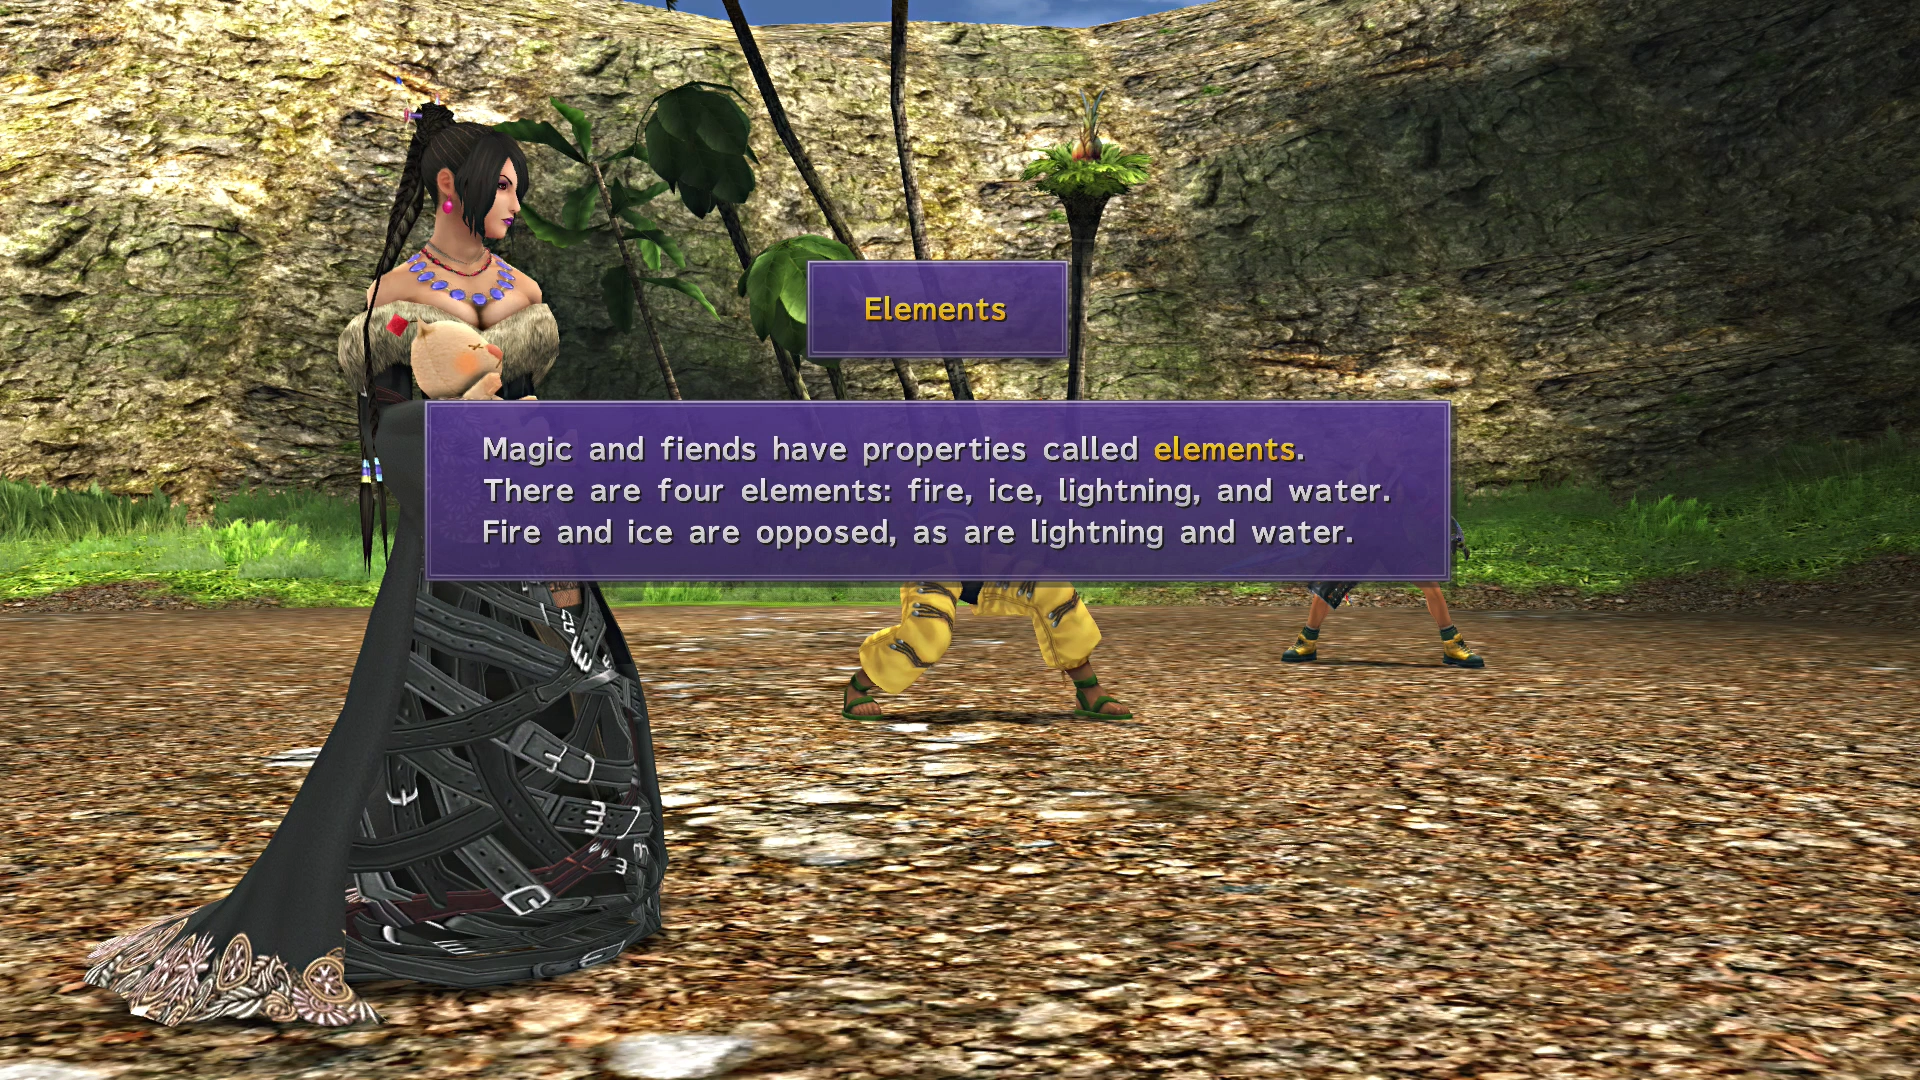
Characters
Lulu is the second permanent party member who joins you from this point forward. Check out the Lulu page in the Characters section for more information on her Sphere Grid, Strengths, Weaknesses, and Overdrive.
Final Fantasy X is a unique entry into the series from a battle mechanics perspective. It is the first game that actively encourages players to swap different characters into and out of the battle during the middle of the fight, a feature that was not even possible in most of the other games.
Because of this, while you may have a “primary party” of go-to team members that you prefer to use, there are circumstances where you will want to use nearly every character in battle during different sections of the game.
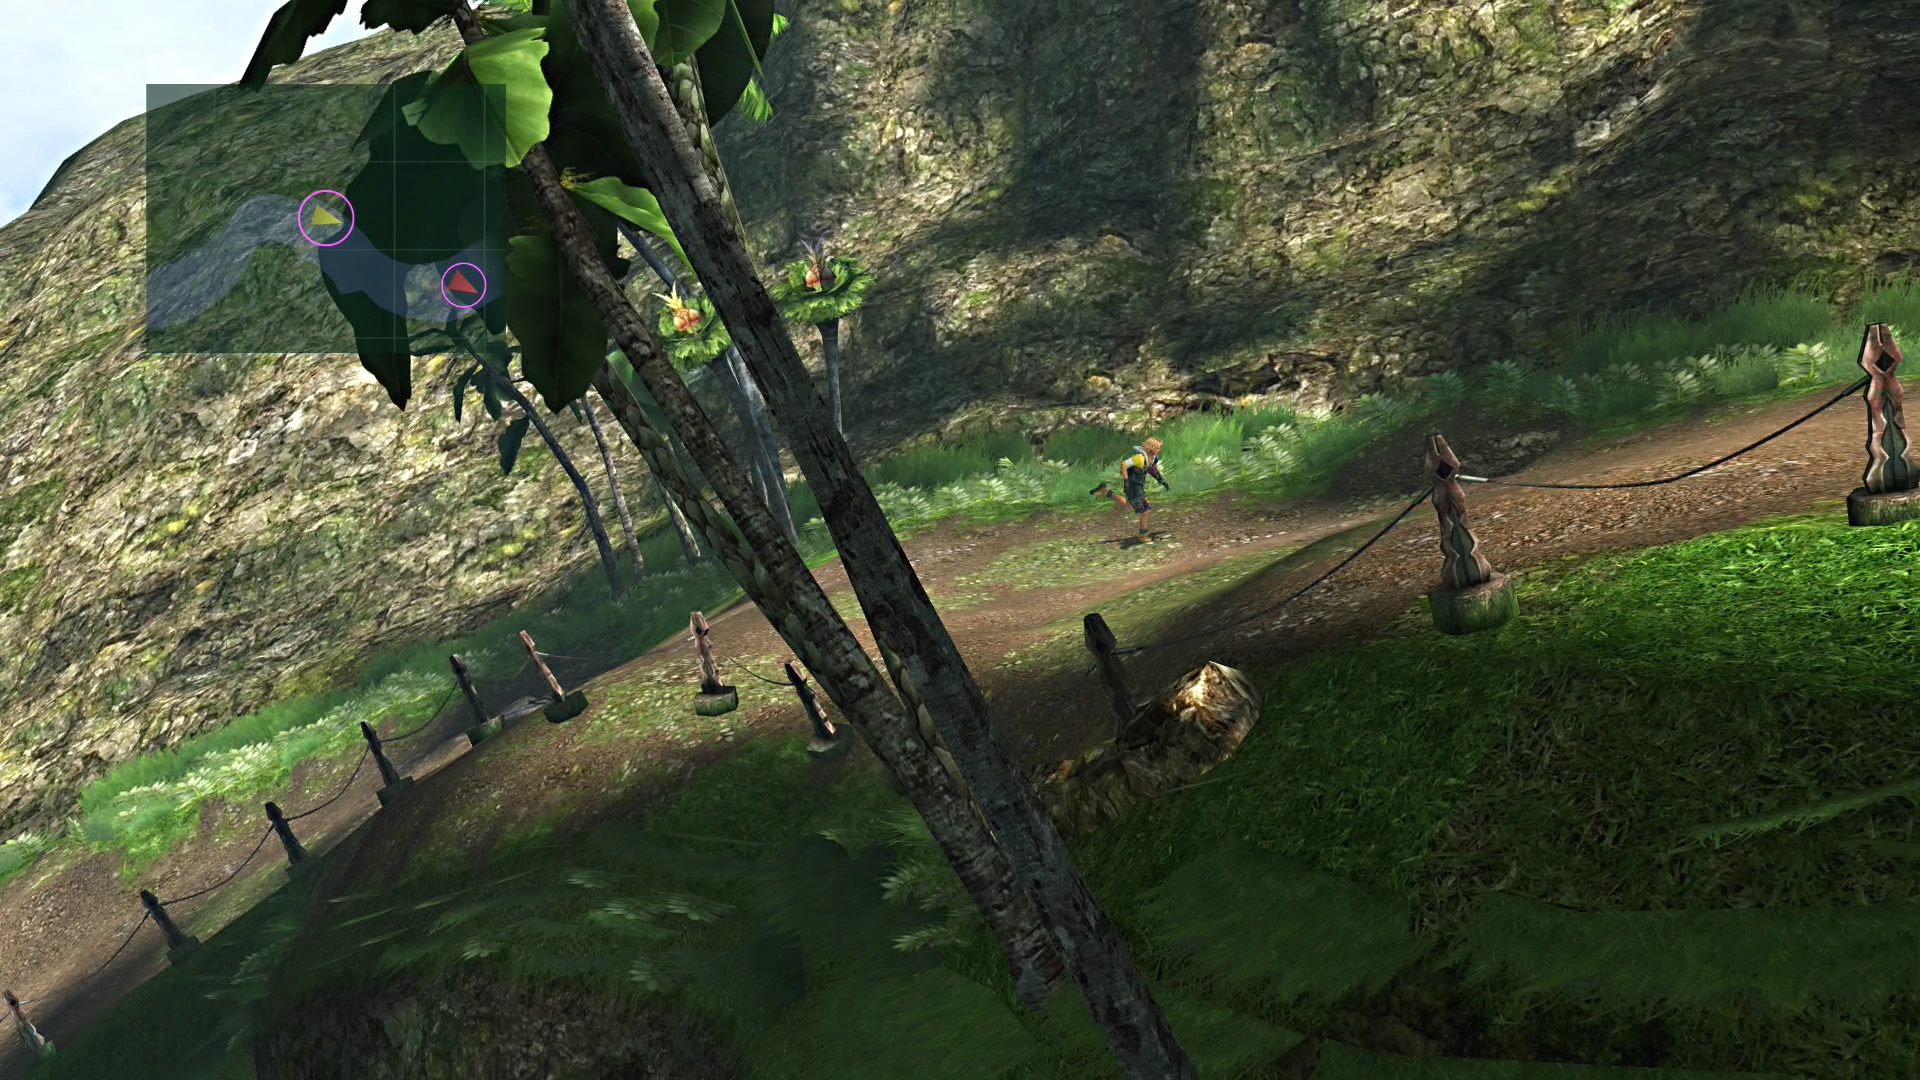
Walk over to Wakka once you reach the top of the hill, and you can choose either to “Pray” or to “Just Watch.” Choose whichever option you wish, as it has no impact on the story.
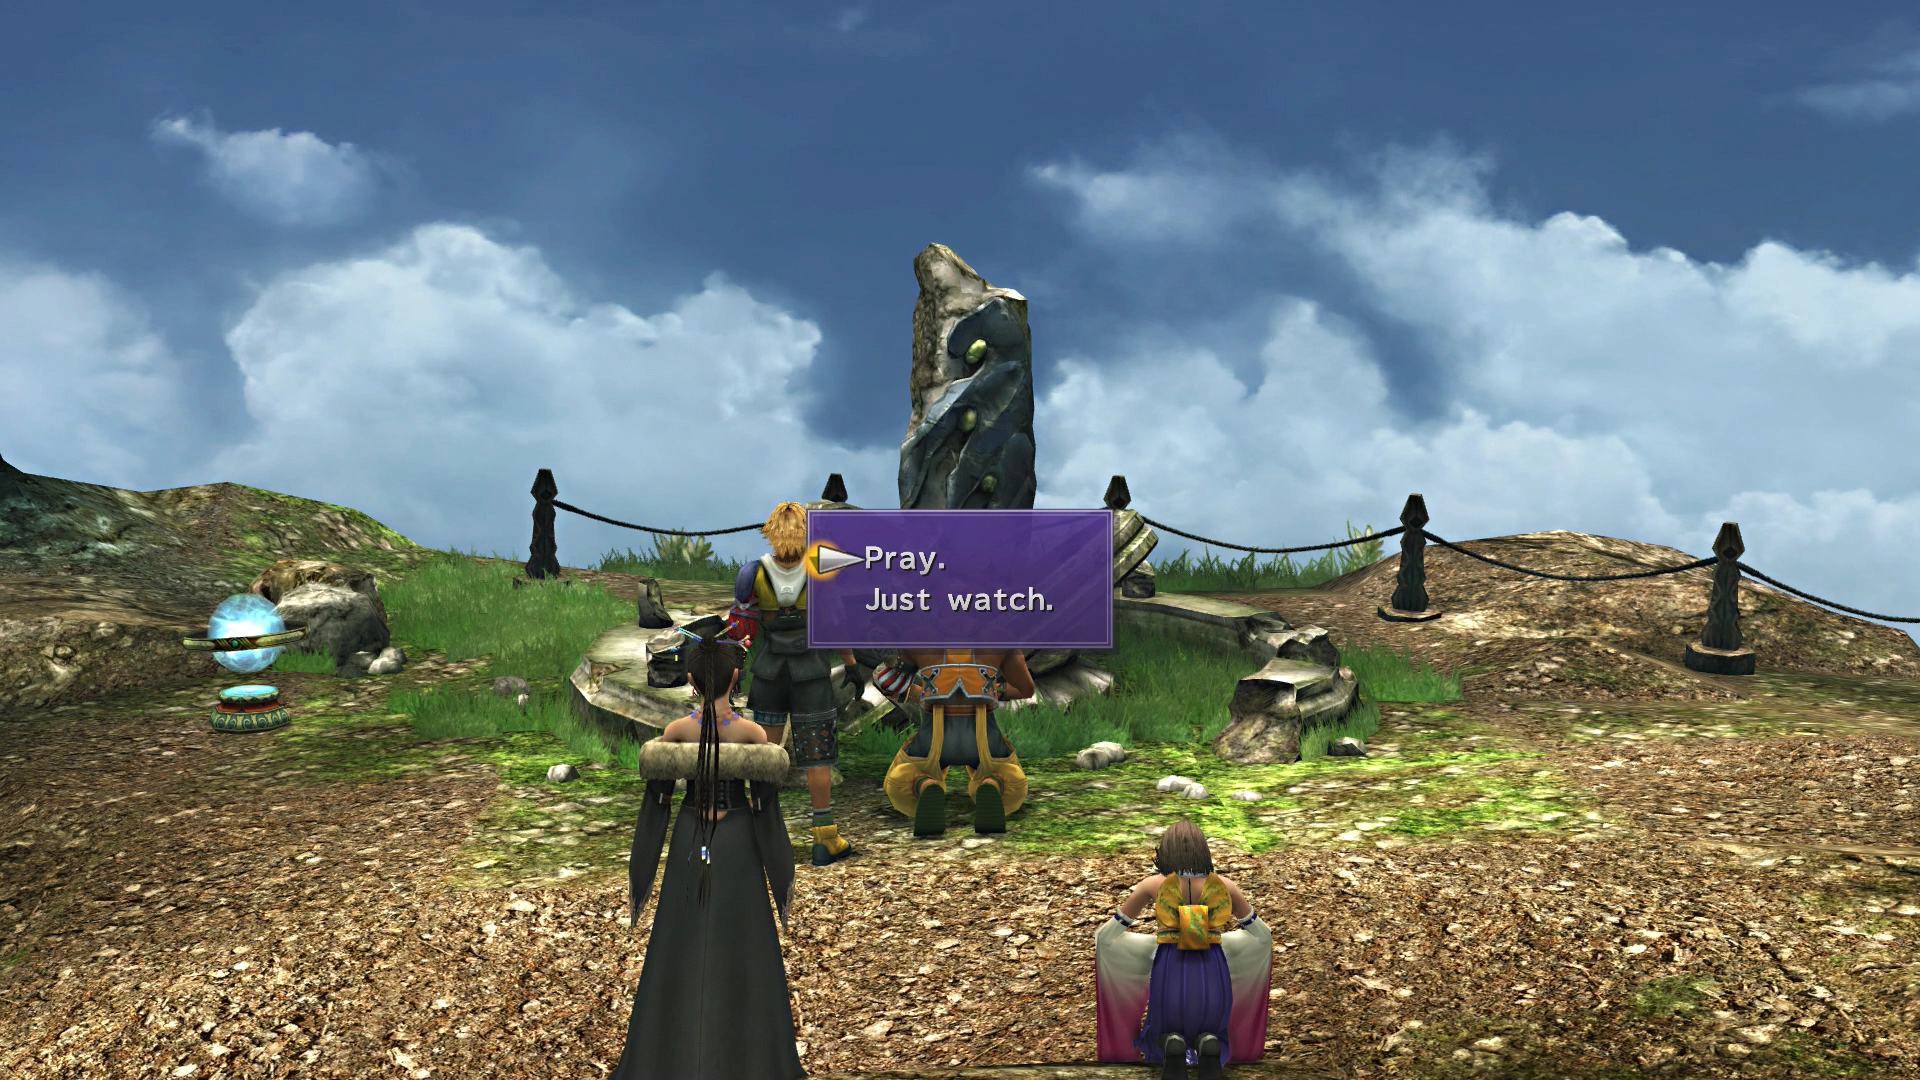
Save your game at the Save Sphere and continue down the pathway until you encounter Kimahri.
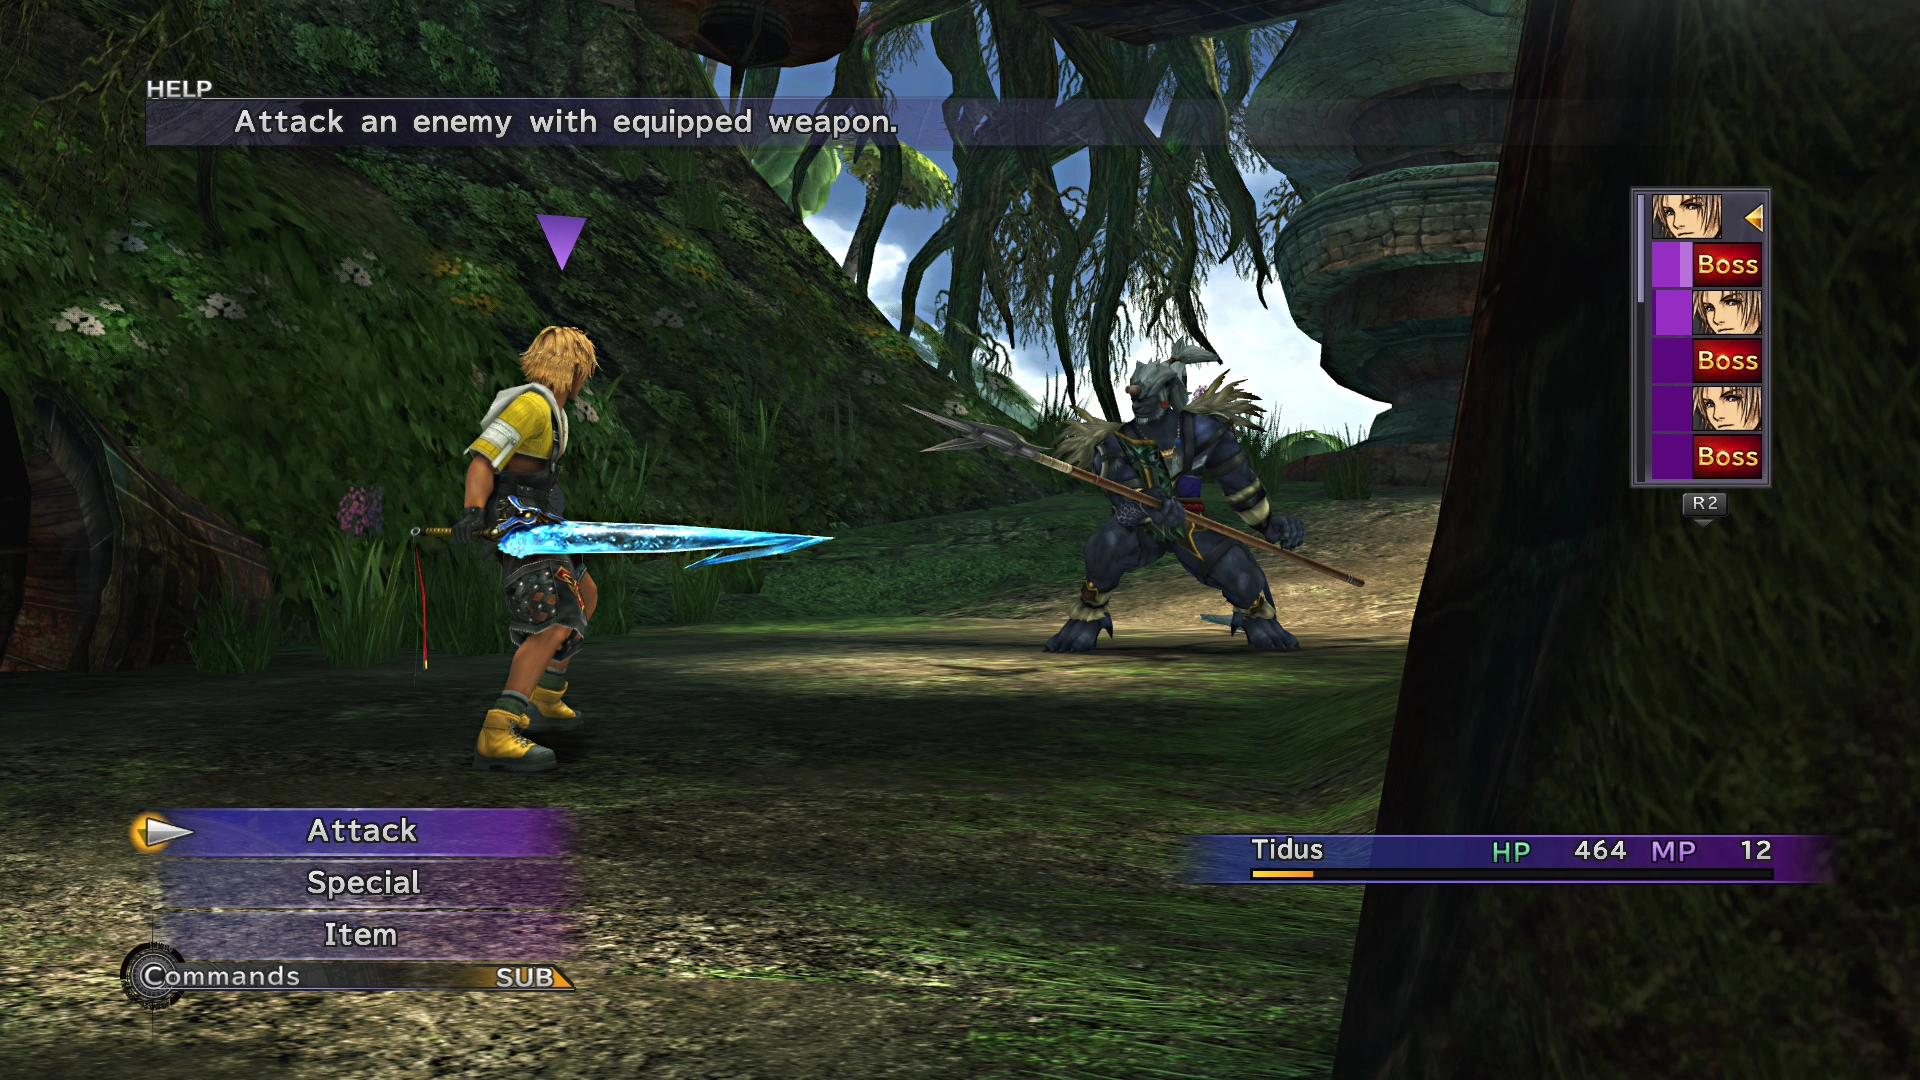
Boss Battle
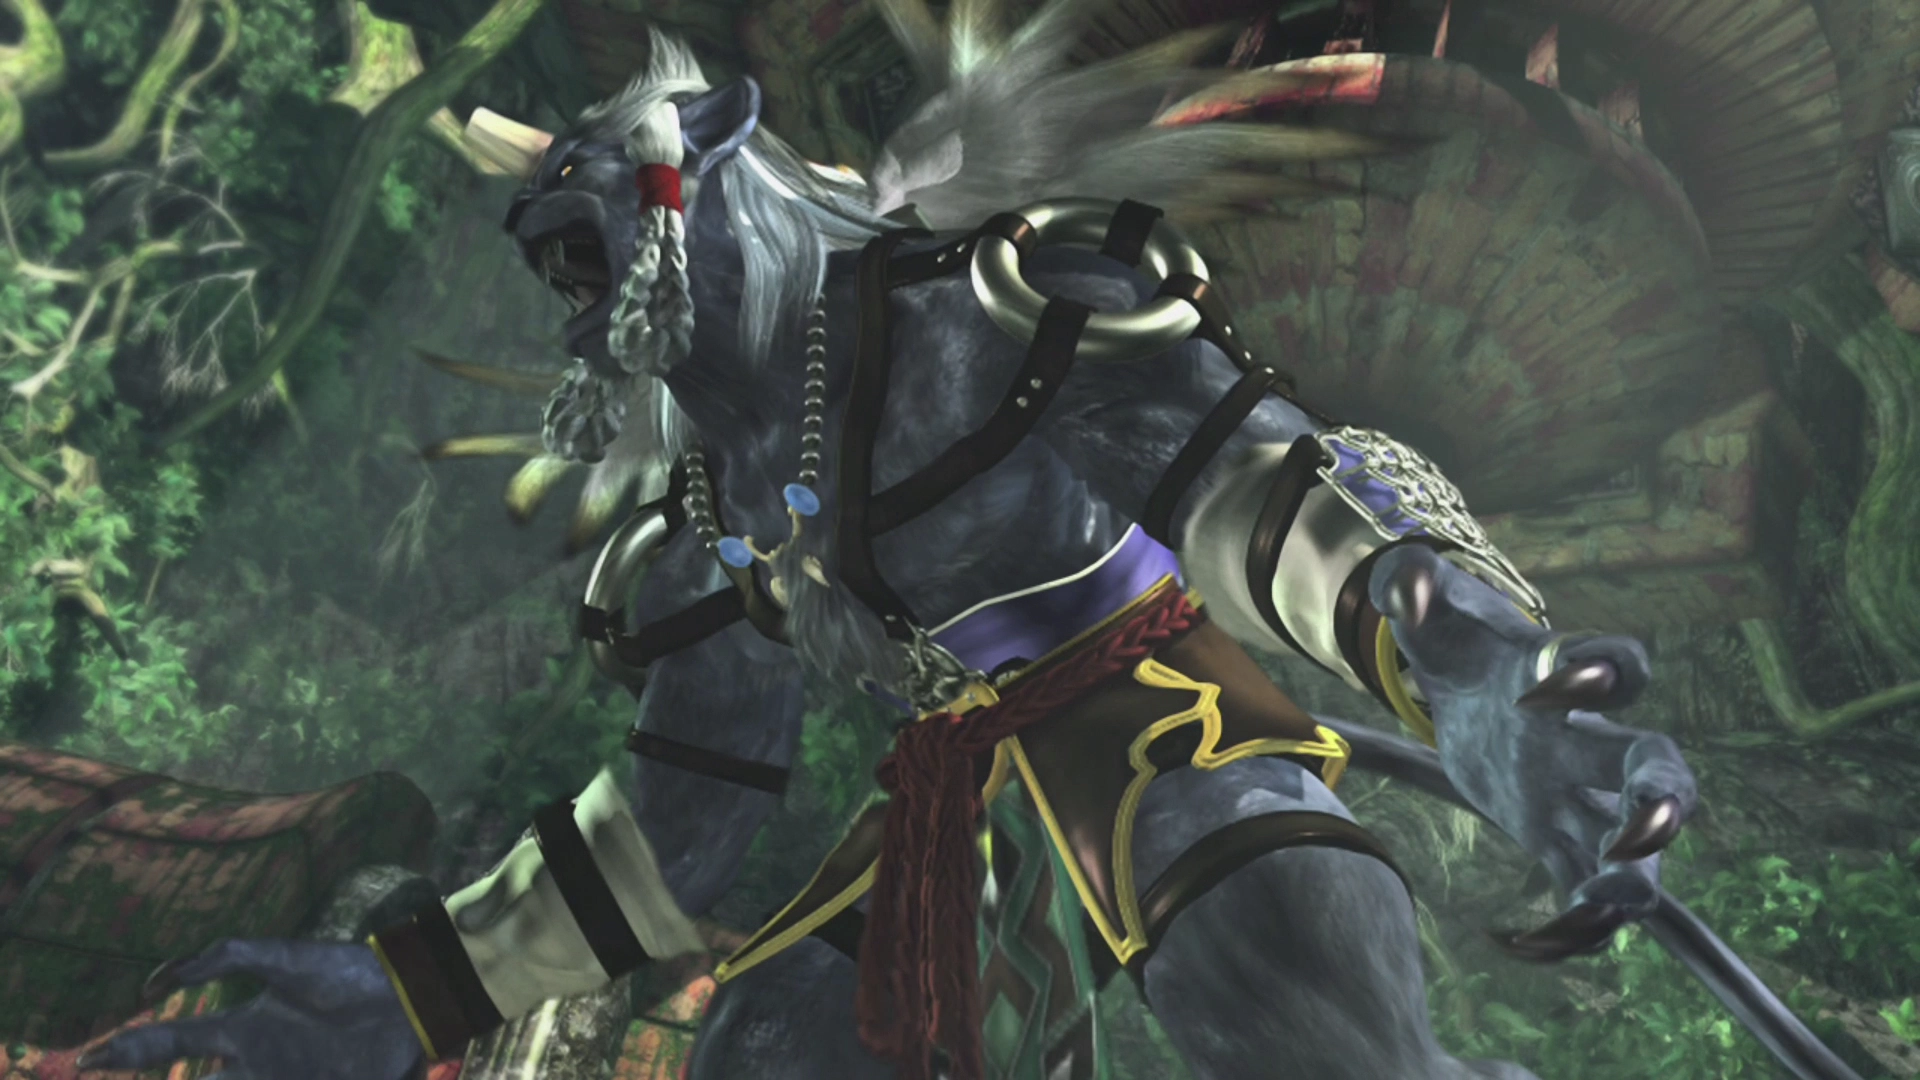
HP: 750
This next mini-boss battle is against a character who will be joining your team shortly.
Start by using Tidus’ ![]() Cheer ability to make this battle a little easier. Cheer will raise Tidus’ strength and defense stats.
Cheer ability to make this battle a little easier. Cheer will raise Tidus’ strength and defense stats.
Kimahri is not hard. Just continue to attack him and use ![]() Potions if you need to until you have depleted enough HP and ended the fight.
Potions if you need to until you have depleted enough HP and ended the fight.
Steal:
- (None)
Drops:
After the battle, Wakka will step in and explain that Kimahri is one of Yuna’s guardians. Kimahri doesn’t say much, but he will now be joining your party as a permanent member.
Characters
Kimahri permanently joins your party from this point of the game forward. Check out the Kimahri page in the Characters section for more information on his Sphere Grid, Strengths, Weaknesses, and Overdrive.
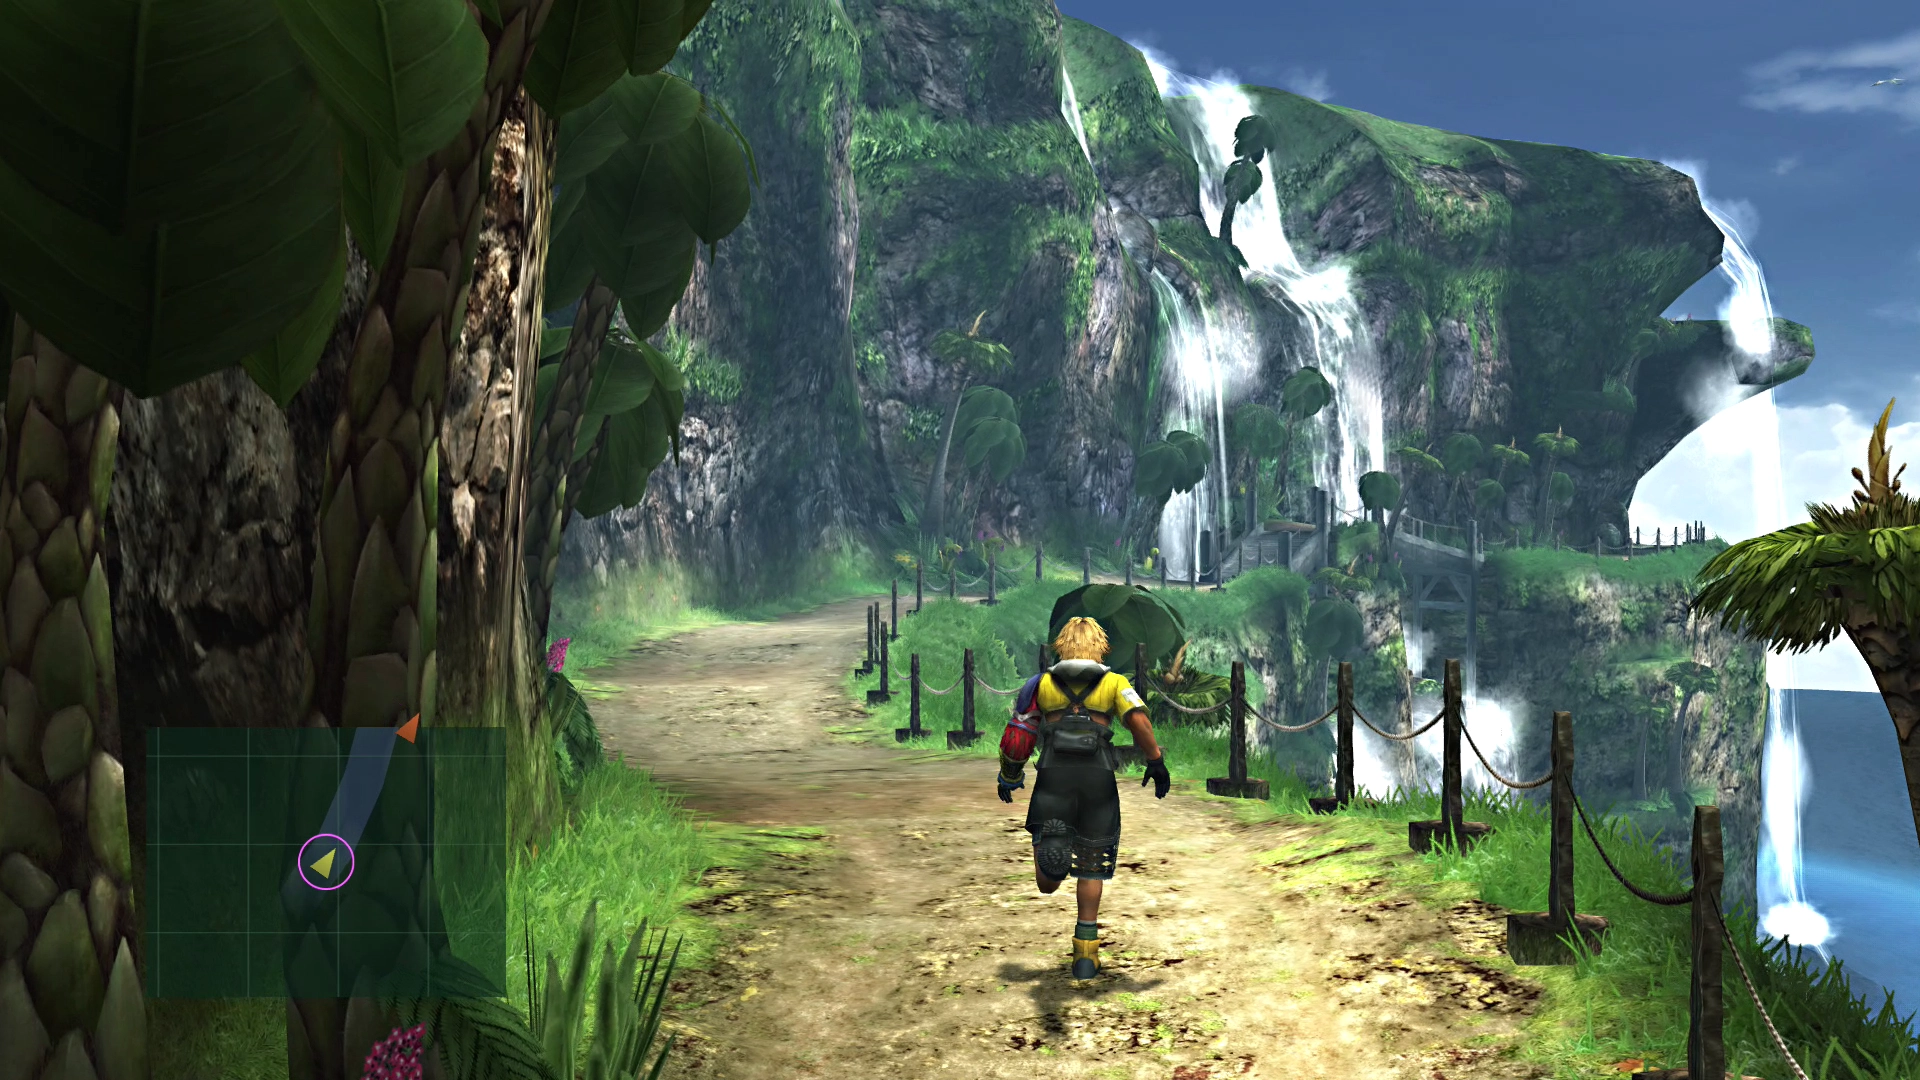
Besaid - Waterfall Way
Continue working your way down the pathway and going through each of the tutorials as they come up.
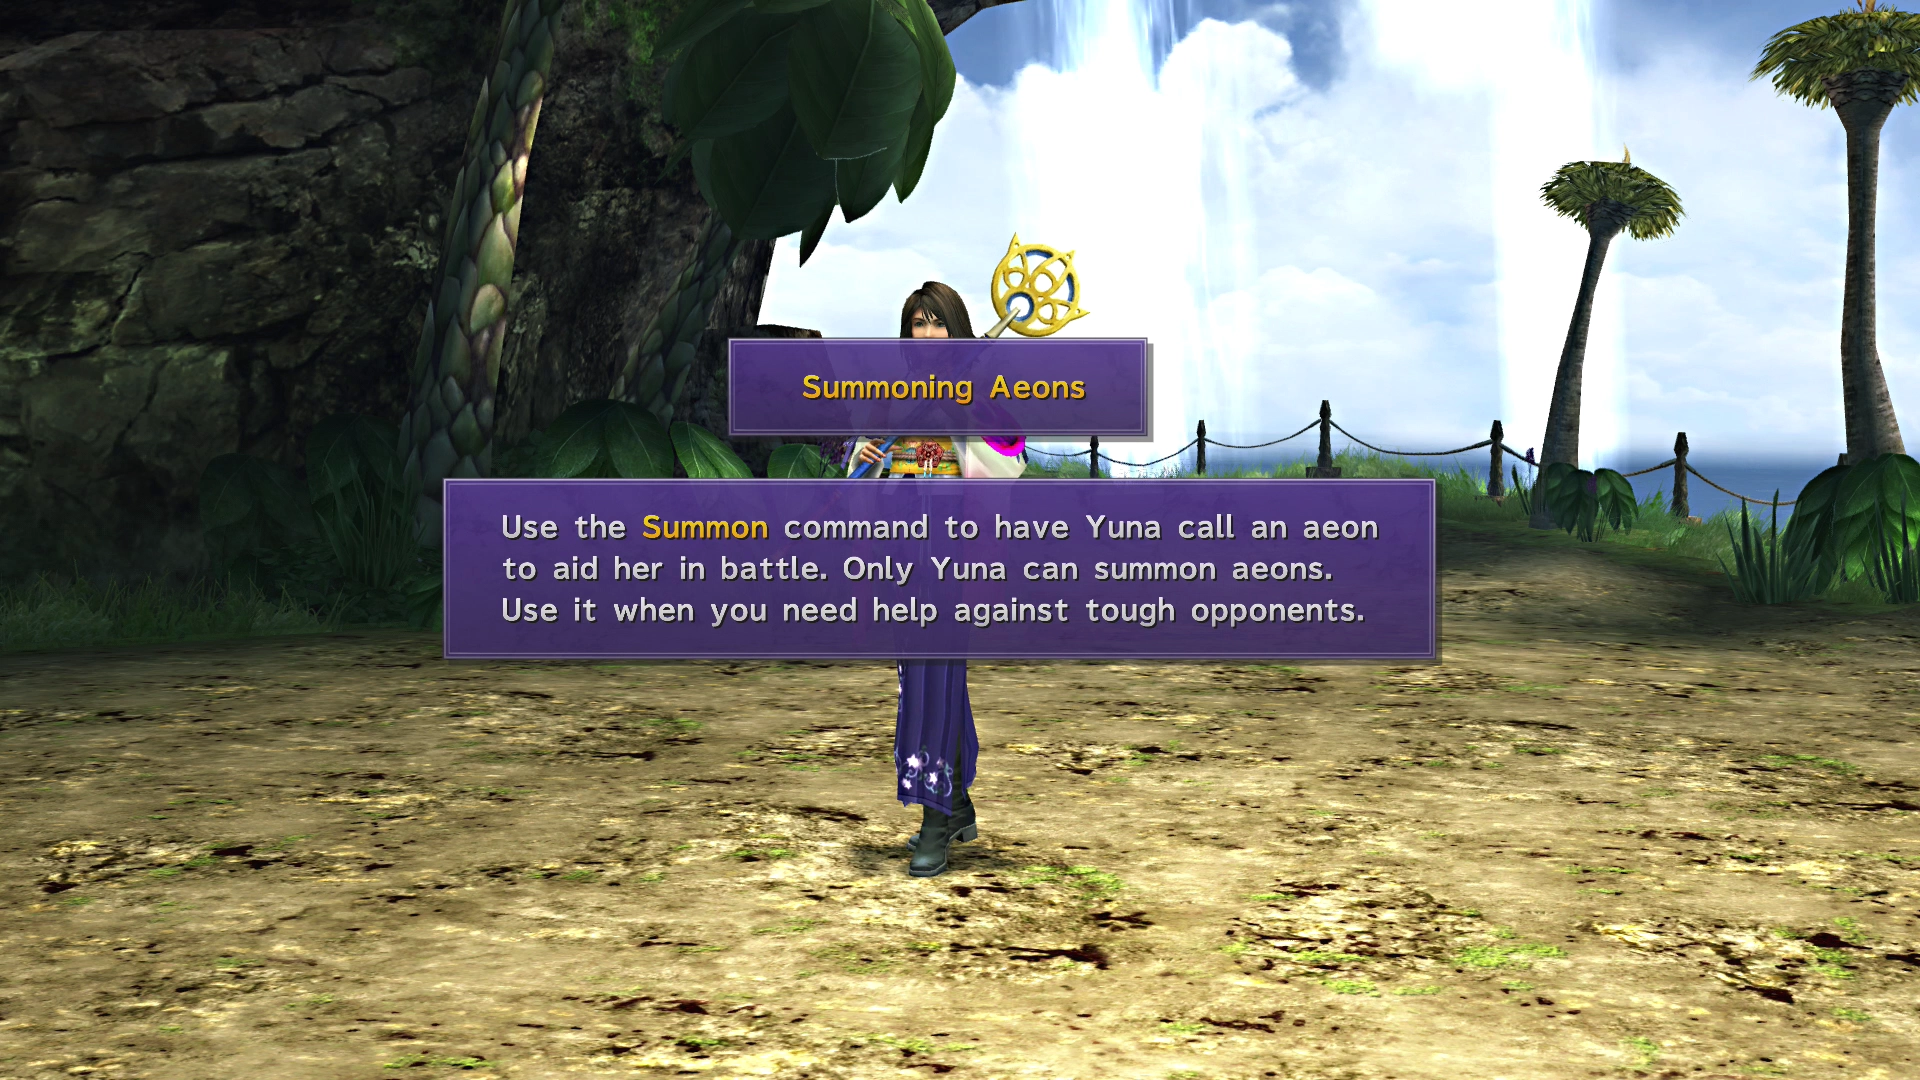
The next tutorial involves an explanation of how Yuna’s summoning works. She’s technically been following the group around as you travelled around Besaid Island, but you can now swap her in as an active party member as well.
Characters

Yuna is the third character from Besaid to join your party permanently from this point forward. Check out the Yuna page in the Characters section for more information on her Sphere Grid, Strengths, Weaknesses, and Overdrive.
You will eventually arrive back at the beach where Tidus and Wakka first met. Save at the Save Sphere once again and then head over to the docks.
Talk to all the people in the crowd to receive a multitude of items, including a ![]() Seeker’s Ring, an
Seeker’s Ring, an ![]() Ether, 400 Gil, and three
Ether, 400 Gil, and three ![]() Phoenix Downs. Speak to the boy on the wooden plank twice to receive a
Phoenix Downs. Speak to the boy on the wooden plank twice to receive a ![]() Remedy as well. Step onto the boat to head on to the next section of the journey.
Remedy as well. Step onto the boat to head on to the next section of the journey.
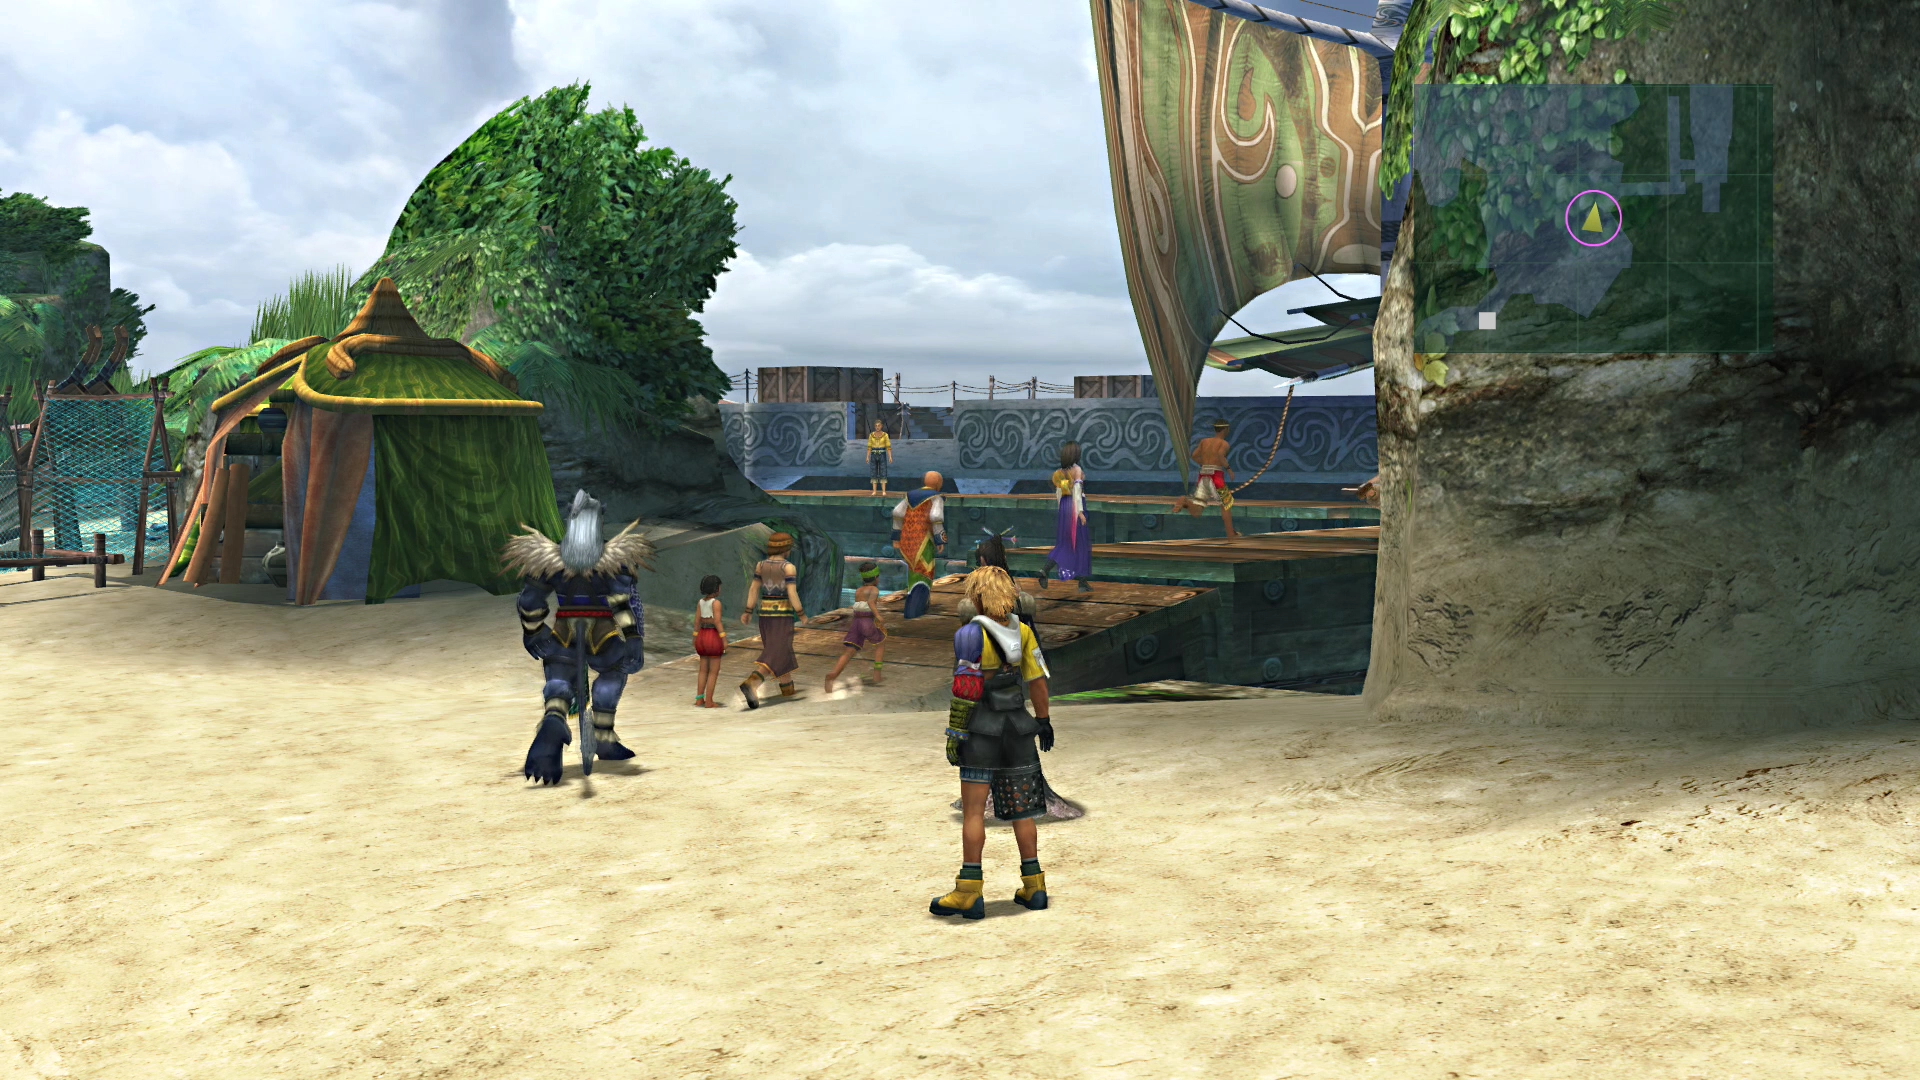
The next part of the story takes place on the S.S. Liki.

