Mi’ihen Highroad (Agency/Newroad)
This page contains details for the second half of the Mi’ihen Highroad. Navigate back to the previous page (using the link above) if you’re at the start of the Mi’ihen Highroad and have just exited Luca.
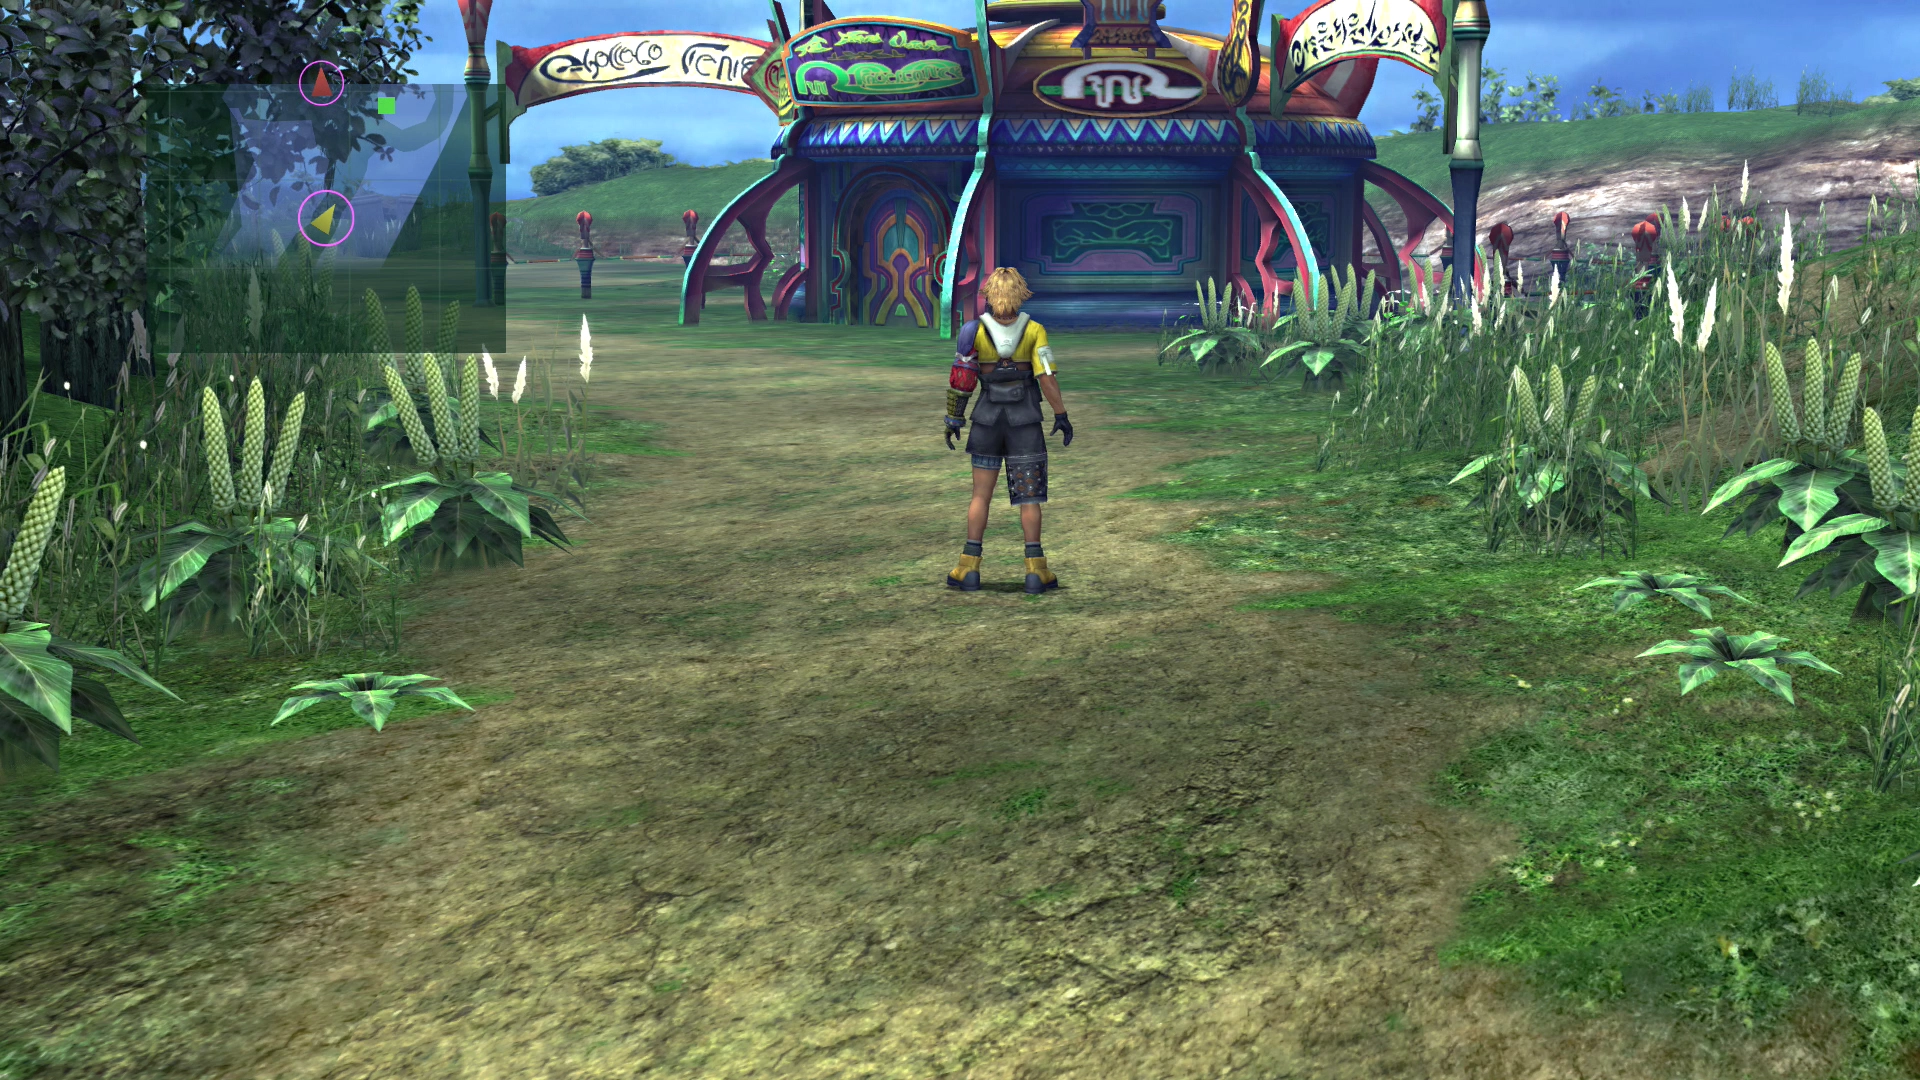
Highroad - Agency, Front (Rin’s Travel Agency)
Save your game at the ![]() Save Sphere after the short cutscene outside the Agency. There is an Al Bhed Compilation Sphere available at the bottom of the screen.
Save Sphere after the short cutscene outside the Agency. There is an Al Bhed Compilation Sphere available at the bottom of the screen.
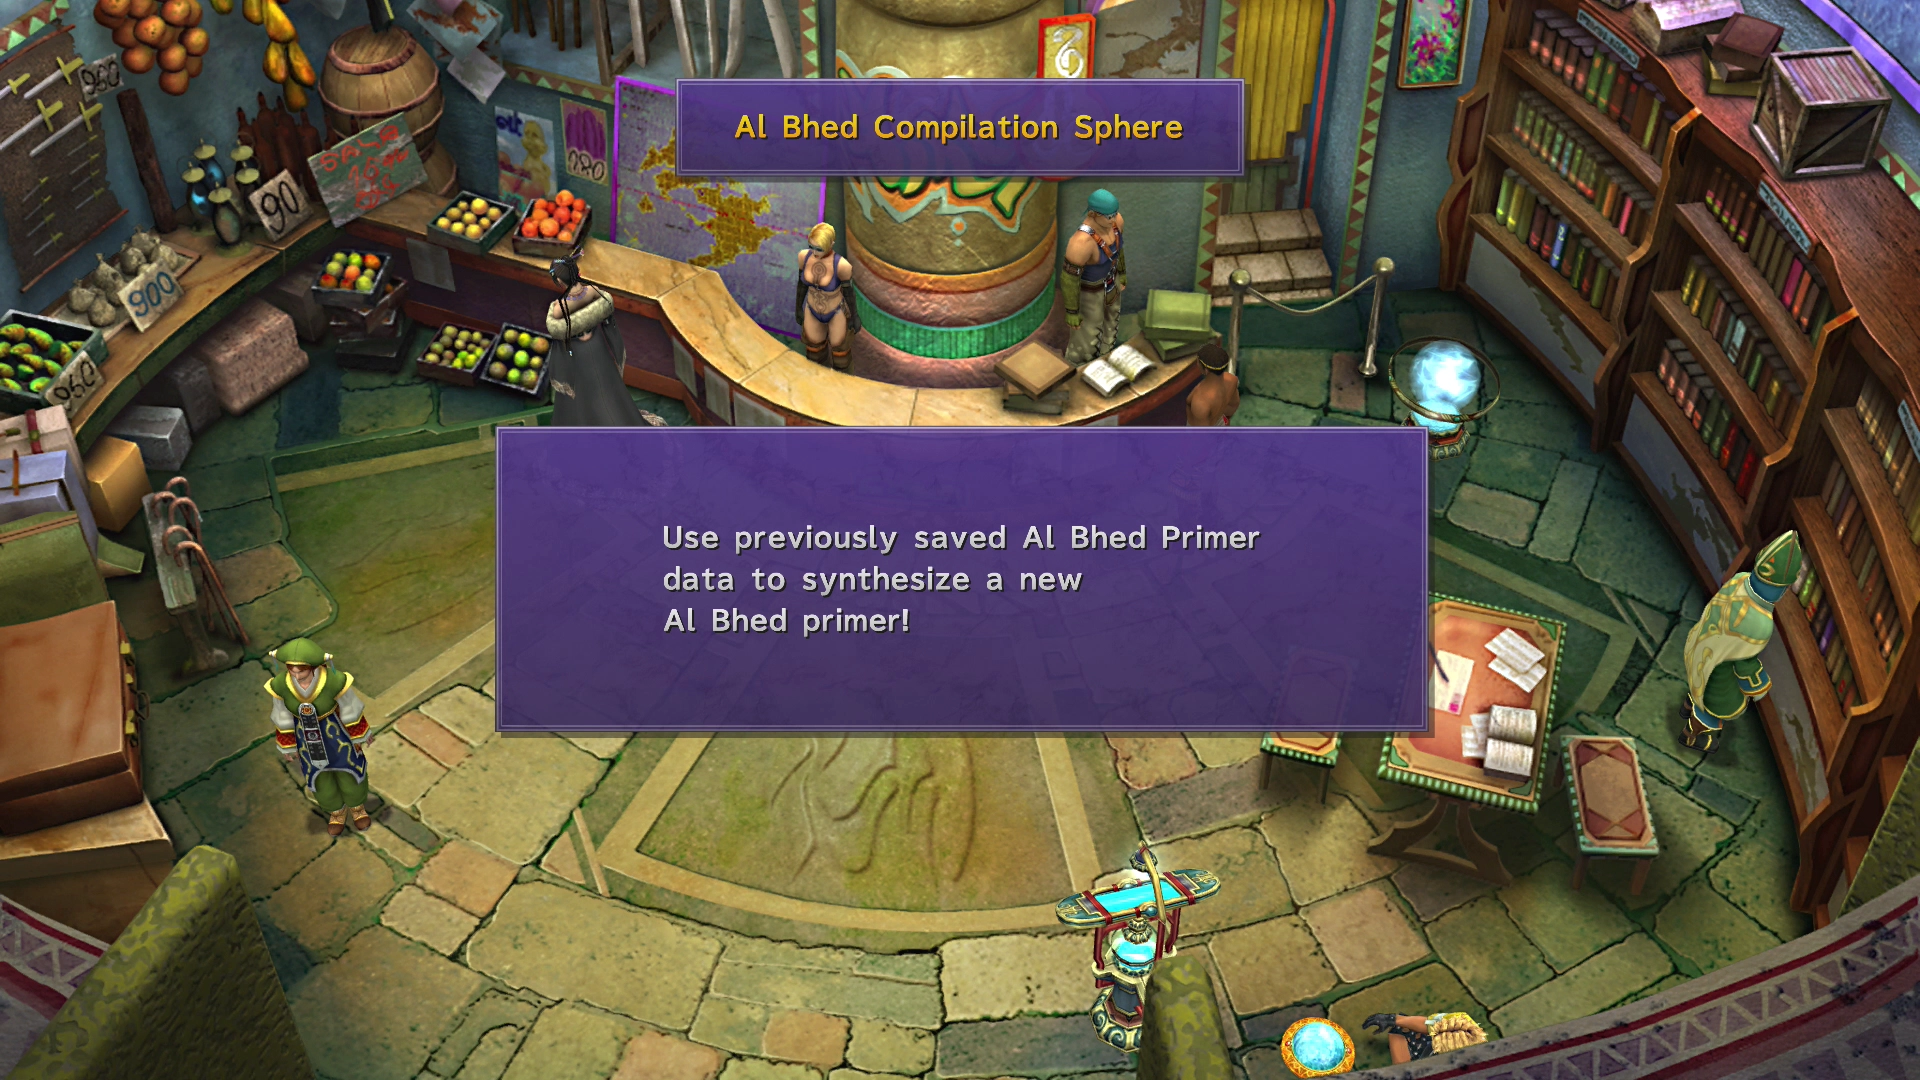
You can use the Al Bhed Compilation Sphere to load Al Bhed Primer data from a previous game into your current game. If you have previously played through the game and have gathered some (or all) of the ![]() Al Bhed Primers, you can use them in this game to understand what the Al Bhed are saying much earlier on.
Al Bhed Primers, you can use them in this game to understand what the Al Bhed are saying much earlier on.
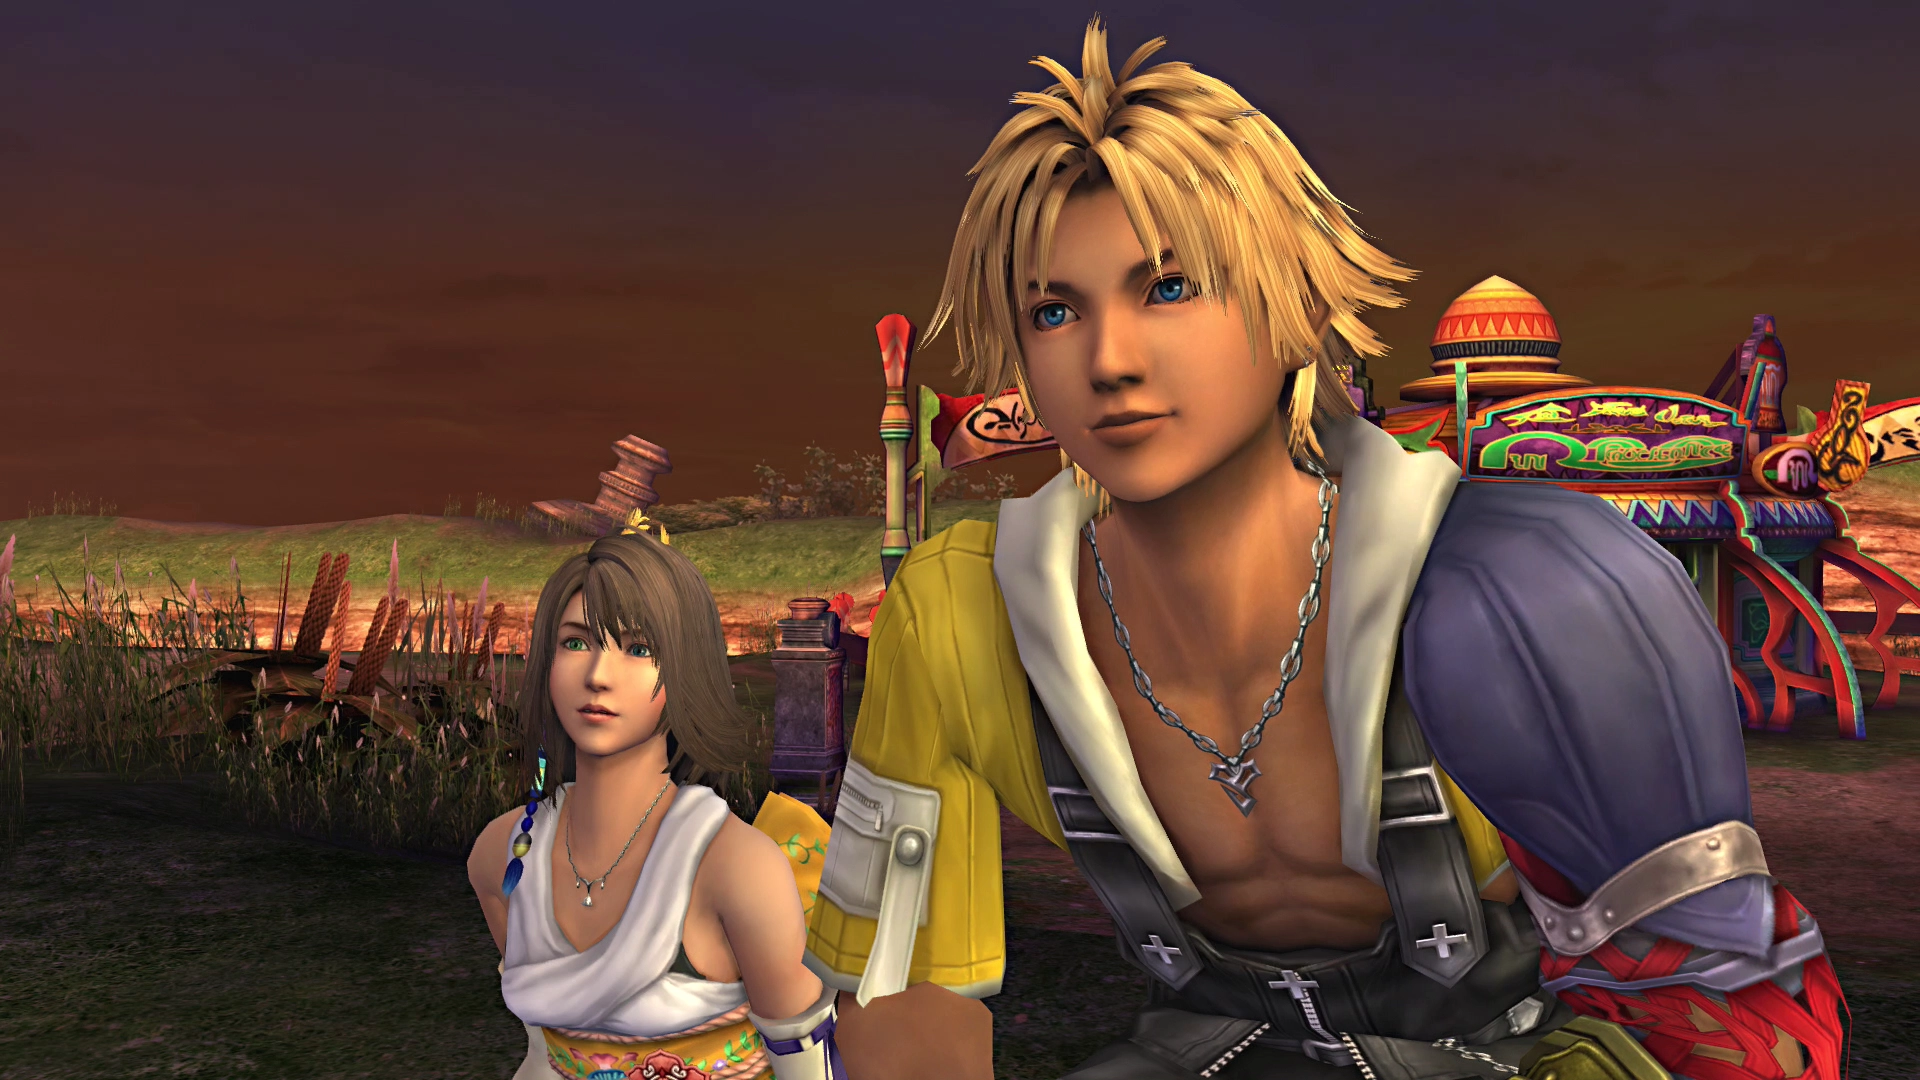
Exit the Agency for a quick cutscene with Yuna and Auron in front of the sunset, still near the Agency.
The story kicks off again inside Rin’s Travel Agency. As you move towards the exit, a young man will give you your second ![]() Lv. 1 Key Sphere, which you can use to break through a Lv. 1 Lock blocking a pathway on the Sphere Grid. For more information, check out the Sphere Grid section.
Lv. 1 Key Sphere, which you can use to break through a Lv. 1 Lock blocking a pathway on the Sphere Grid. For more information, check out the Sphere Grid section.
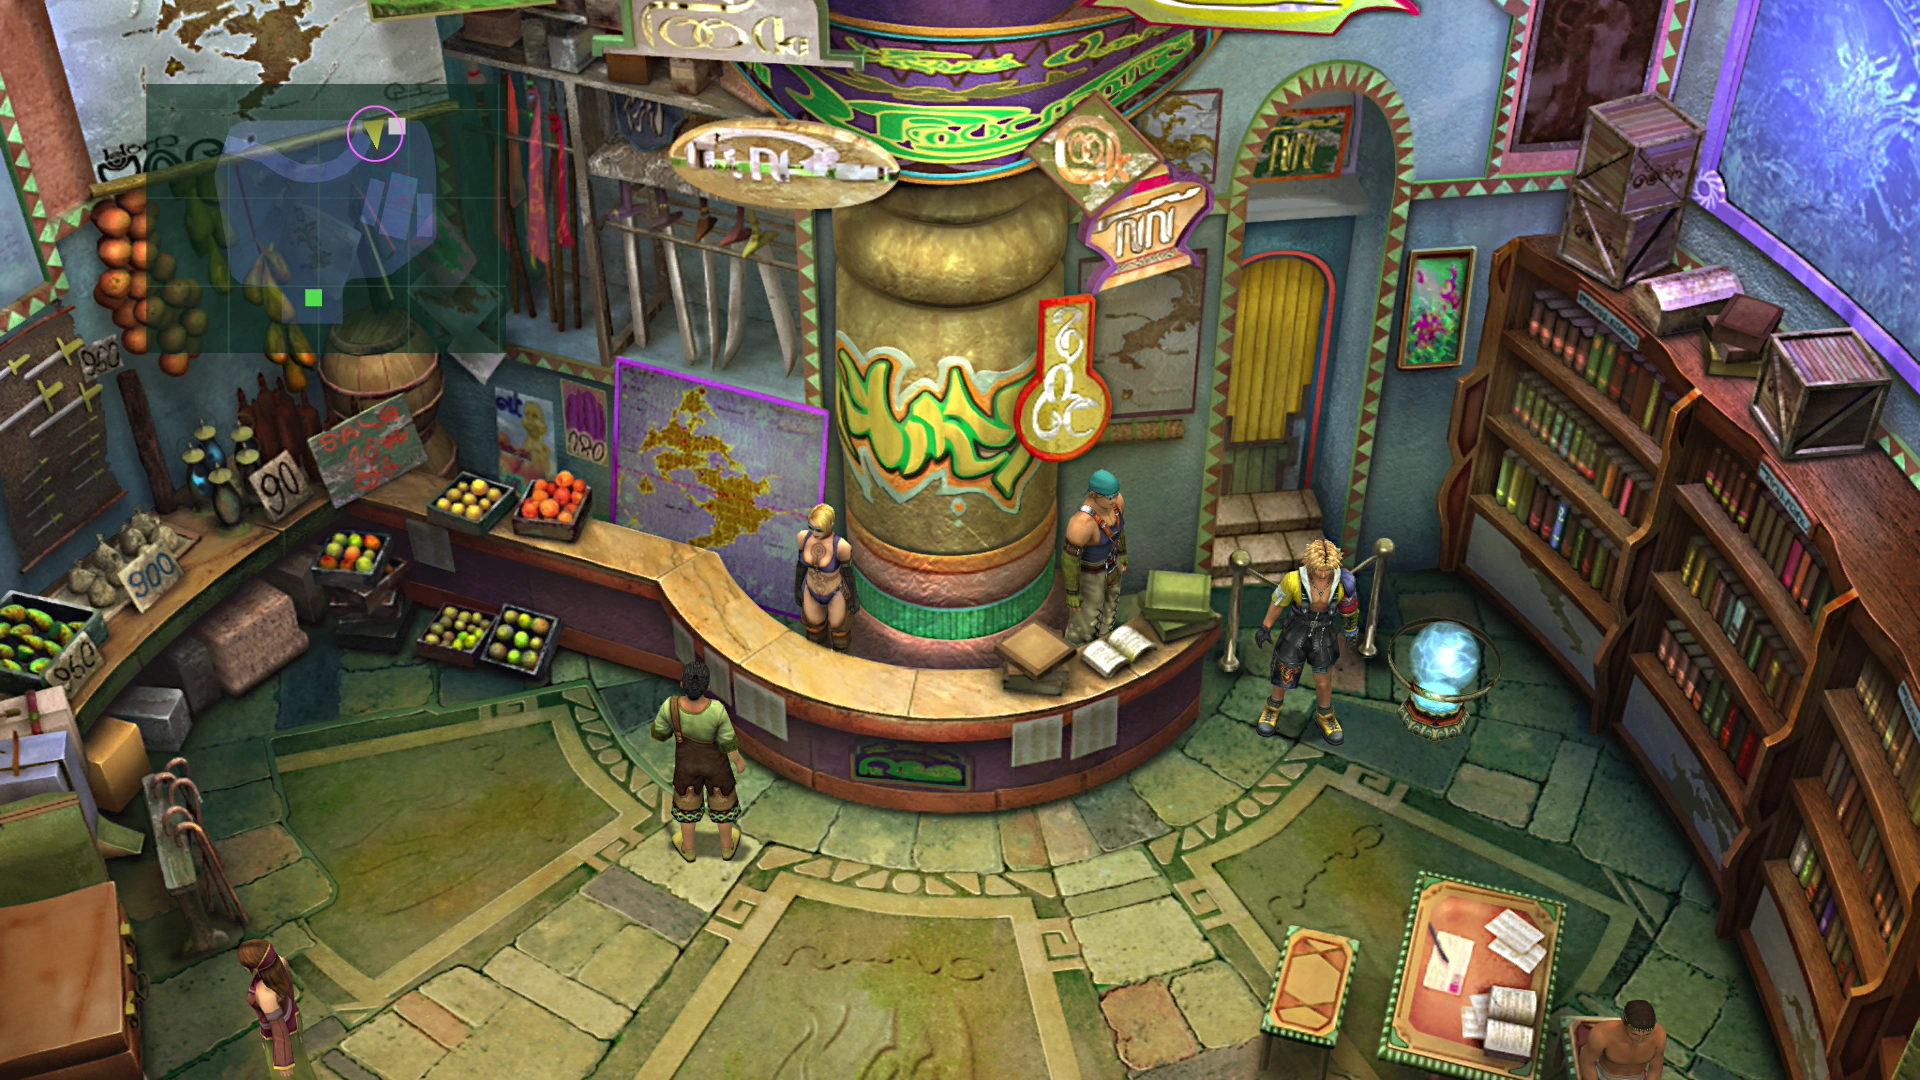
You will meet Rin as you are trying to leave the Agency. He will introduce himself and will give you a quick explanation about how Al Bhed Primers work. He will also give you ![]() Al Bhed Primer (Vol. VIII).
Al Bhed Primer (Vol. VIII).
Helpful Hint
If you have extra Gil, consider stocking up on ![]() Maps and
Maps and ![]() Grenades from Rin’s Shop. These items will come in handy later on as ingredients for a party member’s Overdrive ability.
Grenades from Rin’s Shop. These items will come in handy later on as ingredients for a party member’s Overdrive ability.
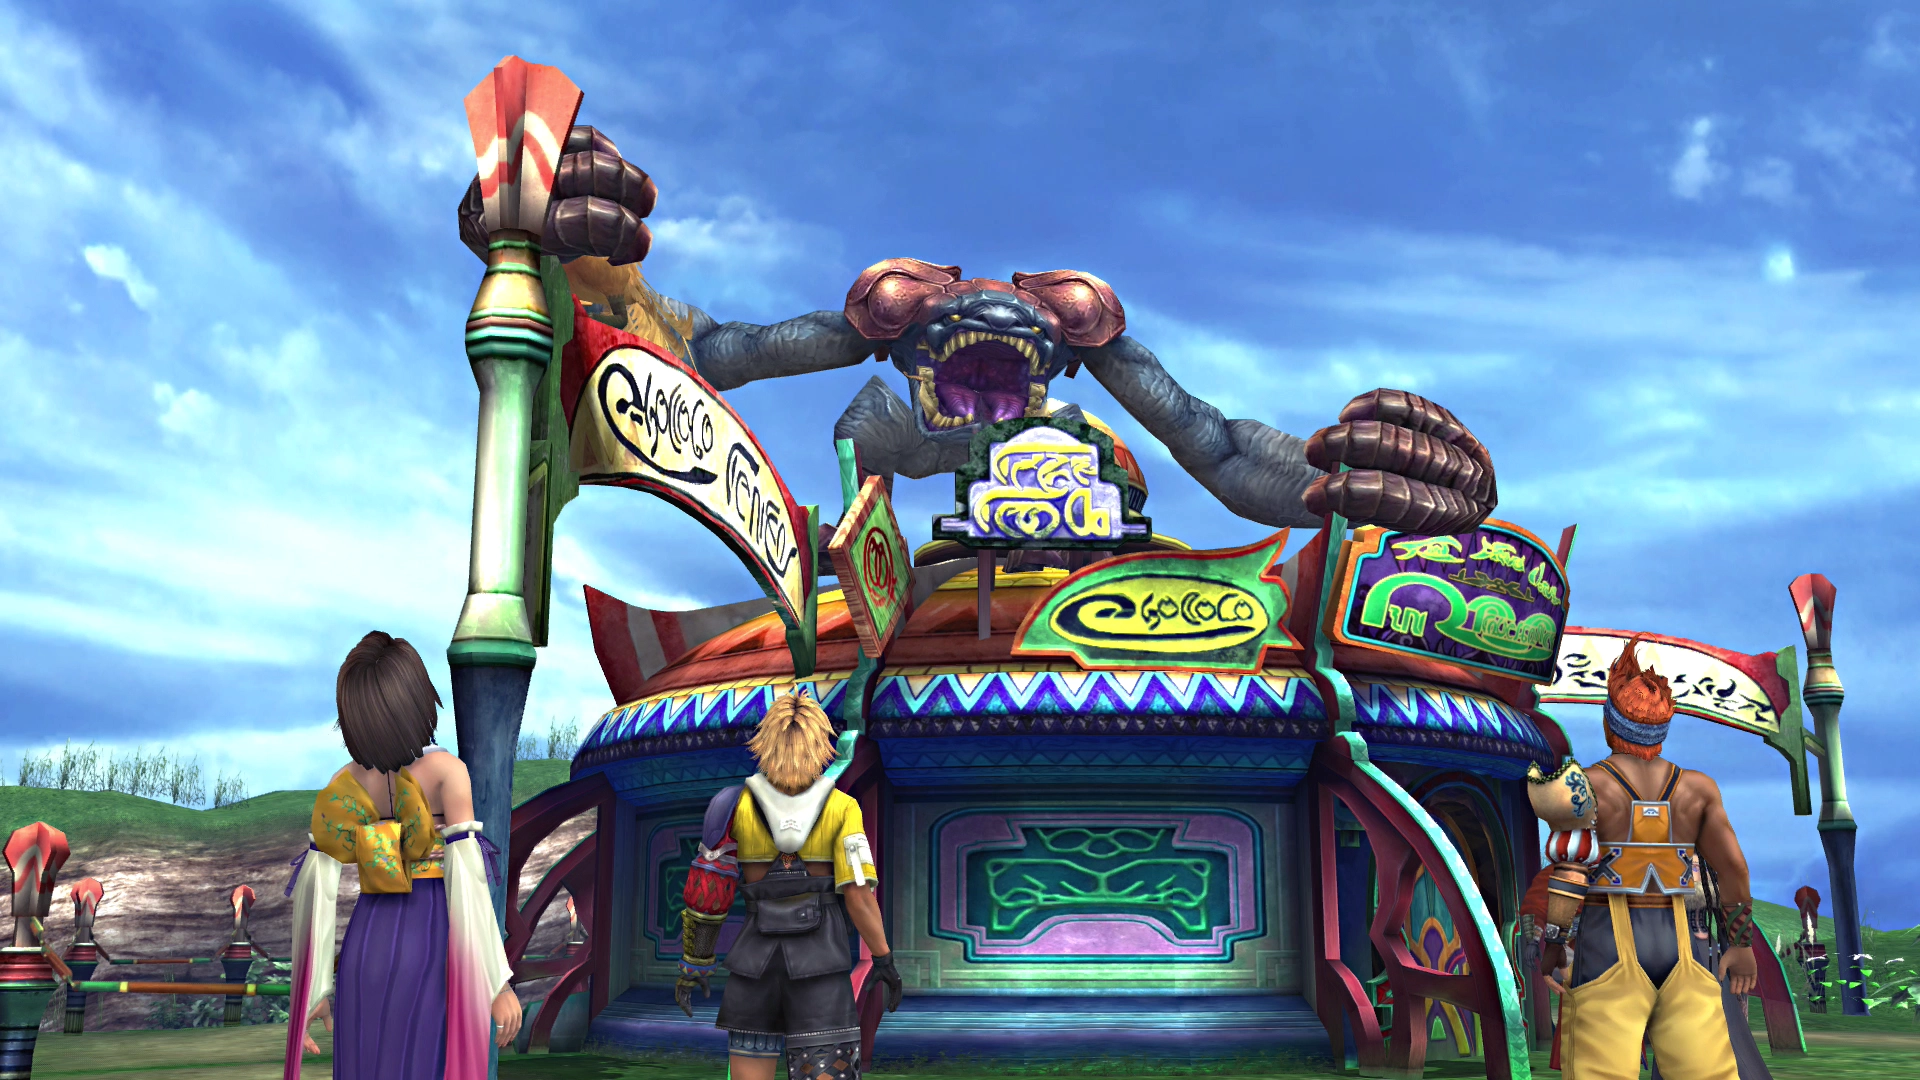
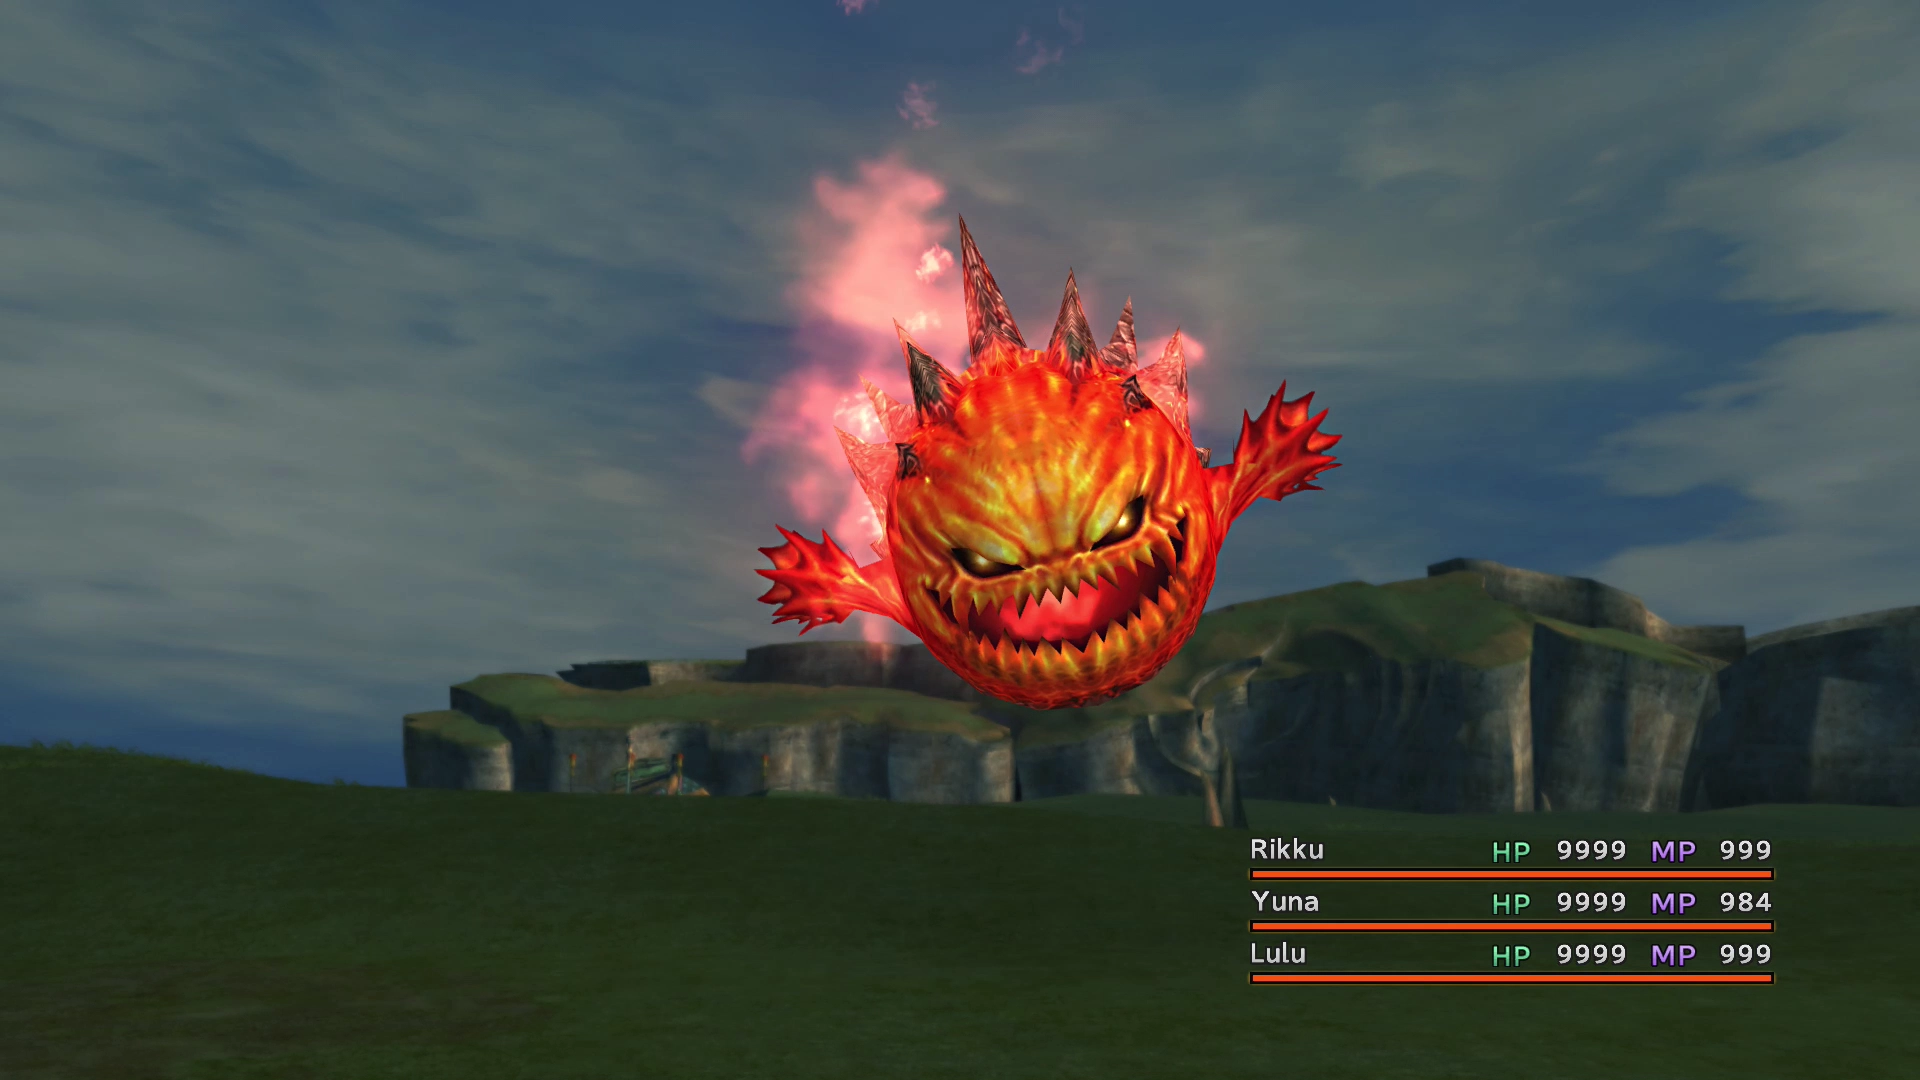
It is now time for a battle against the Chocobo Eater. Move forward into the next screen away from the Agency to initiate the fight.
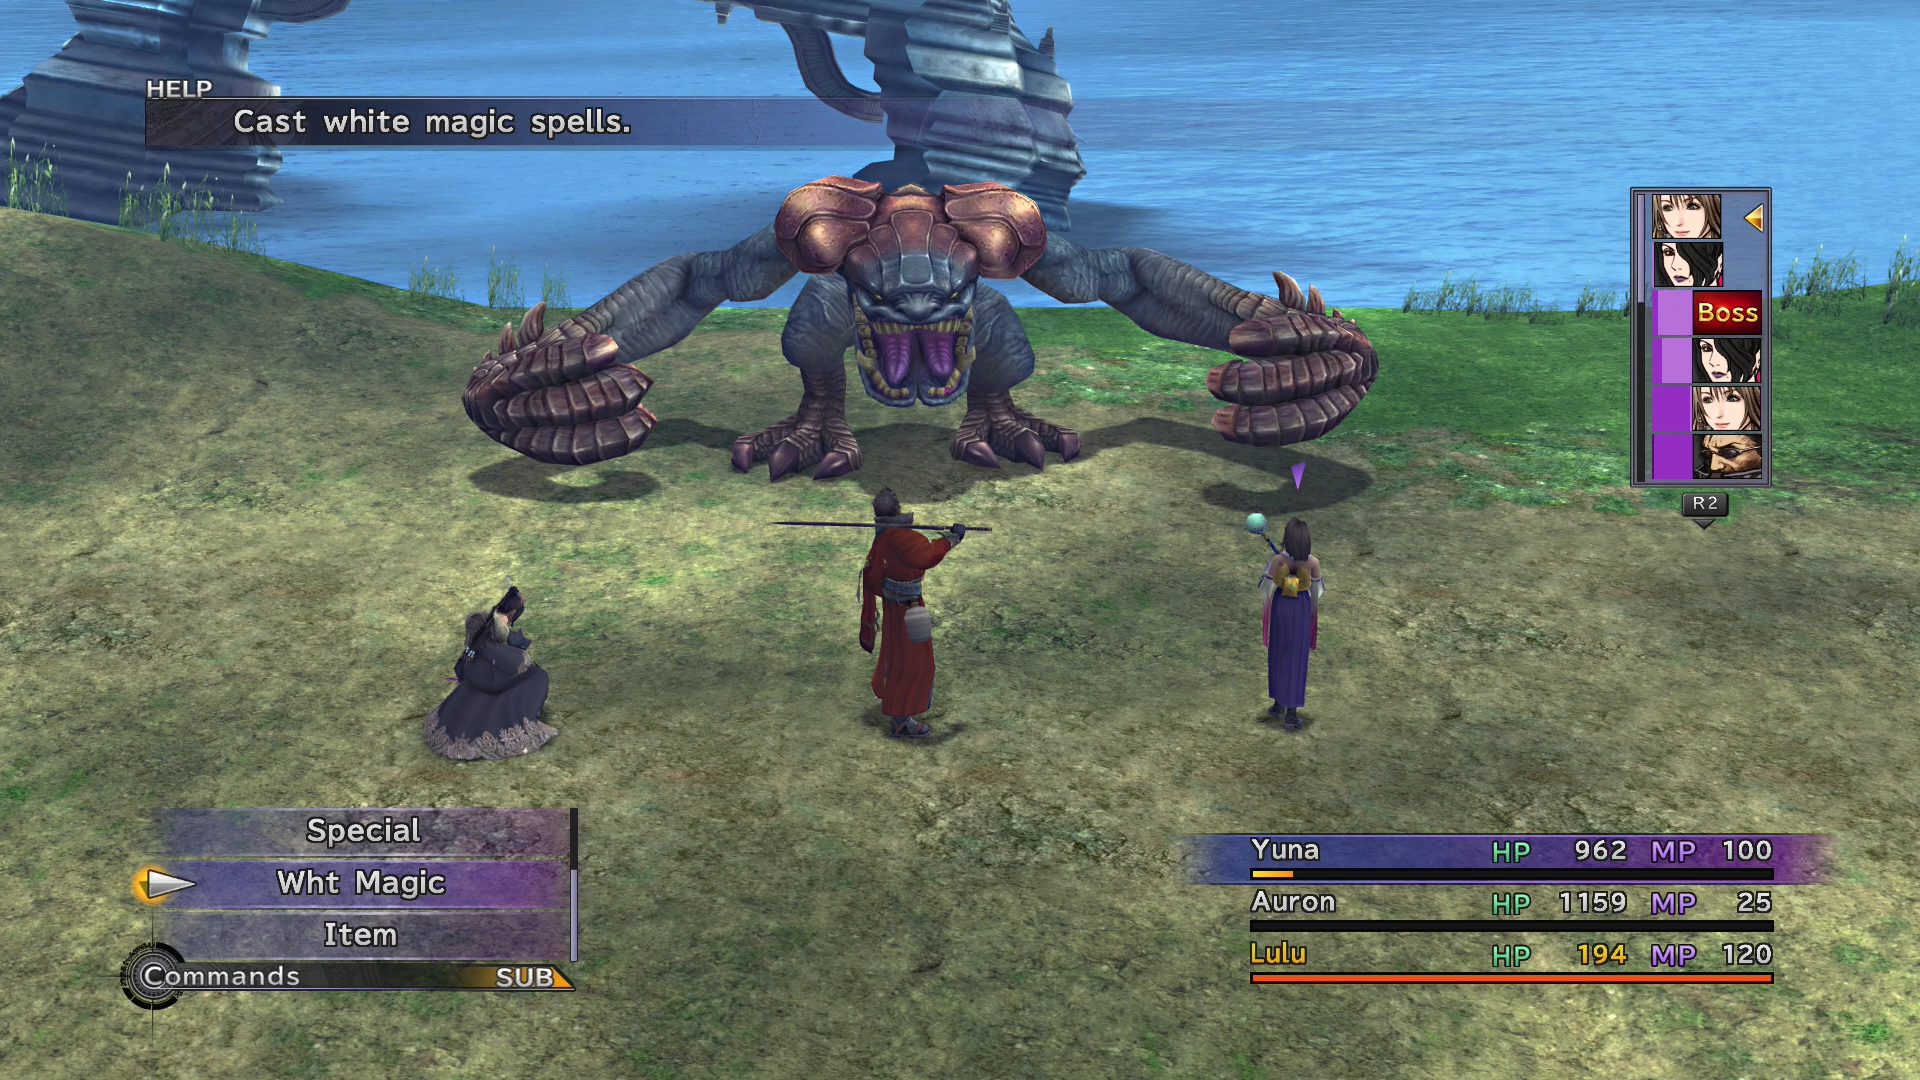
Boss Battle
In Game Description: Stick with piercing weapons until you knock him over. After he says ‘You’re next!’ he’ll unleash a powerful attack. Casts Blizzard when HP is low, so stay warm with NulFrost.

HP: 10,000
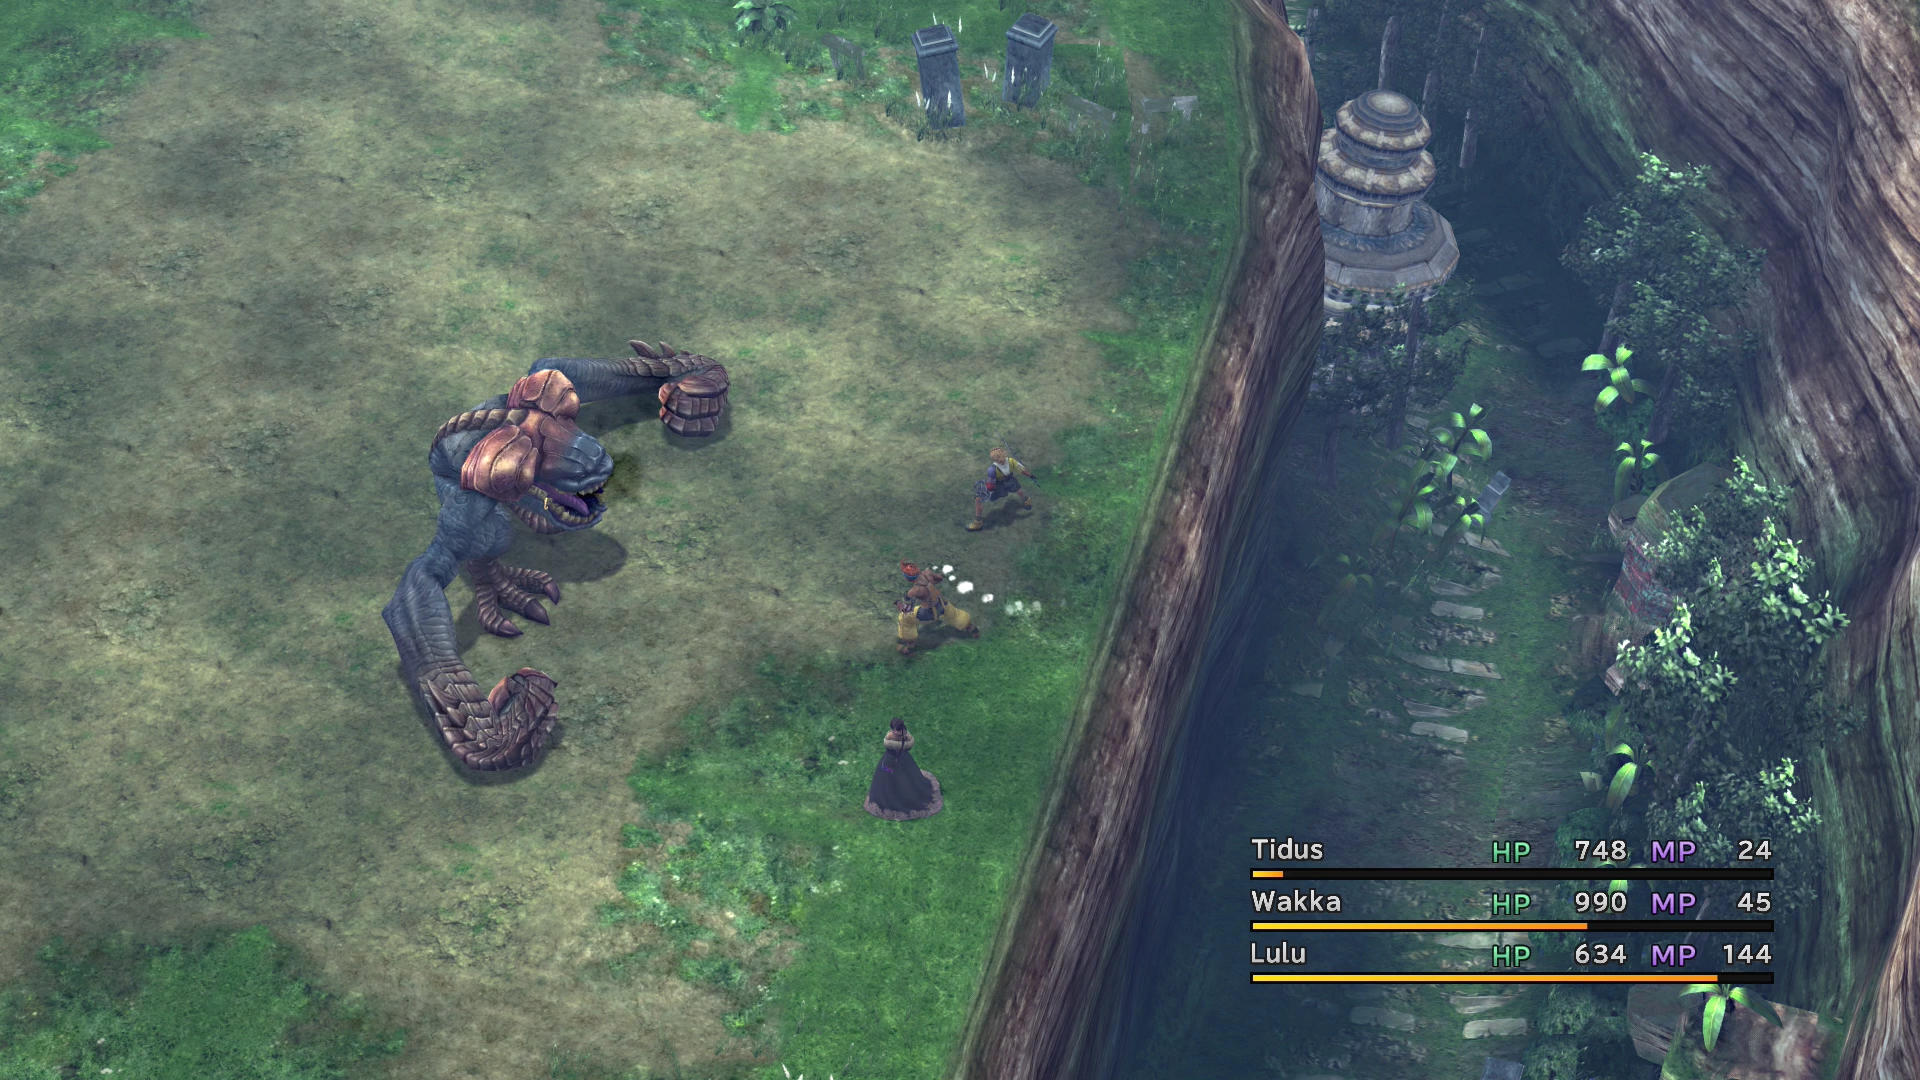
You can win the Chocobo Eater battle using two different methods. The first method is to push the Chocobo Eater off the cliff. The second method is to defeat the boss, usually by depleting all of its HP.
You will receive two ![]() Lv. 1 Key Spheres if you defeat the Chocobo Eater by pushing it off the edge. You will receive the experience and AP points (but no Key Spheres) if you defeat the Chocobo Eater by depleting its HP.
Lv. 1 Key Spheres if you defeat the Chocobo Eater by pushing it off the edge. You will receive the experience and AP points (but no Key Spheres) if you defeat the Chocobo Eater by depleting its HP.
![]() Lv. 1 Key Spheres are a nice item, but they are pretty standard, especially later on in the game, so you can choose either option.
Lv. 1 Key Spheres are a nice item, but they are pretty standard, especially later on in the game, so you can choose either option.
If you want to try the push method, it helps to know how the battlefield works. The arena is split into four sections, with a drop on either side: the cliff behind the Chocobo Eater and the ledge behind your party. Dealing around 1,200 damage will knock the Chocobo Eater over onto its back, and while it is down, every additional 500 damage or so shoves it one section closer to the cliff. Push it back three times and it will tumble over the edge. Be careful, though, as the mechanic works both ways. The Chocobo Eater’s first move after standing back up is always to knock your party back one section, and if your party gets pushed off the ledge behind you, the battle ends immediately with no rewards at all. Summoning an Aeon is a good way to hold your ground, as Aeons cannot be knocked back.
Make sure to use Tidus’ ![]() Cheer ability early on. Cheer raises the party’s Strength and Defense, which both speeds up knocking the boss over and softens its physical attacks. The Chocobo Eater is also weak to fire-based attacks, so you may want to utilize Lulu for this fight, especially if you have been leveling her up. Have Tidus cast
Cheer ability early on. Cheer raises the party’s Strength and Defense, which both speeds up knocking the boss over and softens its physical attacks. The Chocobo Eater is also weak to fire-based attacks, so you may want to utilize Lulu for this fight, especially if you have been leveling her up. Have Tidus cast ![]() Haste on Lulu so that she can cast as many
Haste on Lulu so that she can cast as many ![]() Fire magic spells as possible.
Fire magic spells as possible.
Chocobo Eater can use an attack called “Fist of Fury,” which can deal upwards of 1,000 damage. You will get a warning in the form of a “You’re next!” on the screen. Be prepared to heal up (and revive) a character when you see that warning. When its HP gets low, the Chocobo Eater will also start casting Blizzard, which you can nullify entirely by having Yuna cast NulFrost on the party.
Make use of Auron’s ![]() Power Break and Wakka’s
Power Break and Wakka’s ![]() Dark Attack abilities to make the fight easier. Power Break lowers the Chocobo Eater’s Strength, taking the sting out of its physical attacks, and Dark Attack blinds it so that those attacks (including Fist of Fury) will often miss entirely.
Dark Attack abilities to make the fight easier. Power Break lowers the Chocobo Eater’s Strength, taking the sting out of its physical attacks, and Dark Attack blinds it so that those attacks (including Fist of Fury) will often miss entirely.
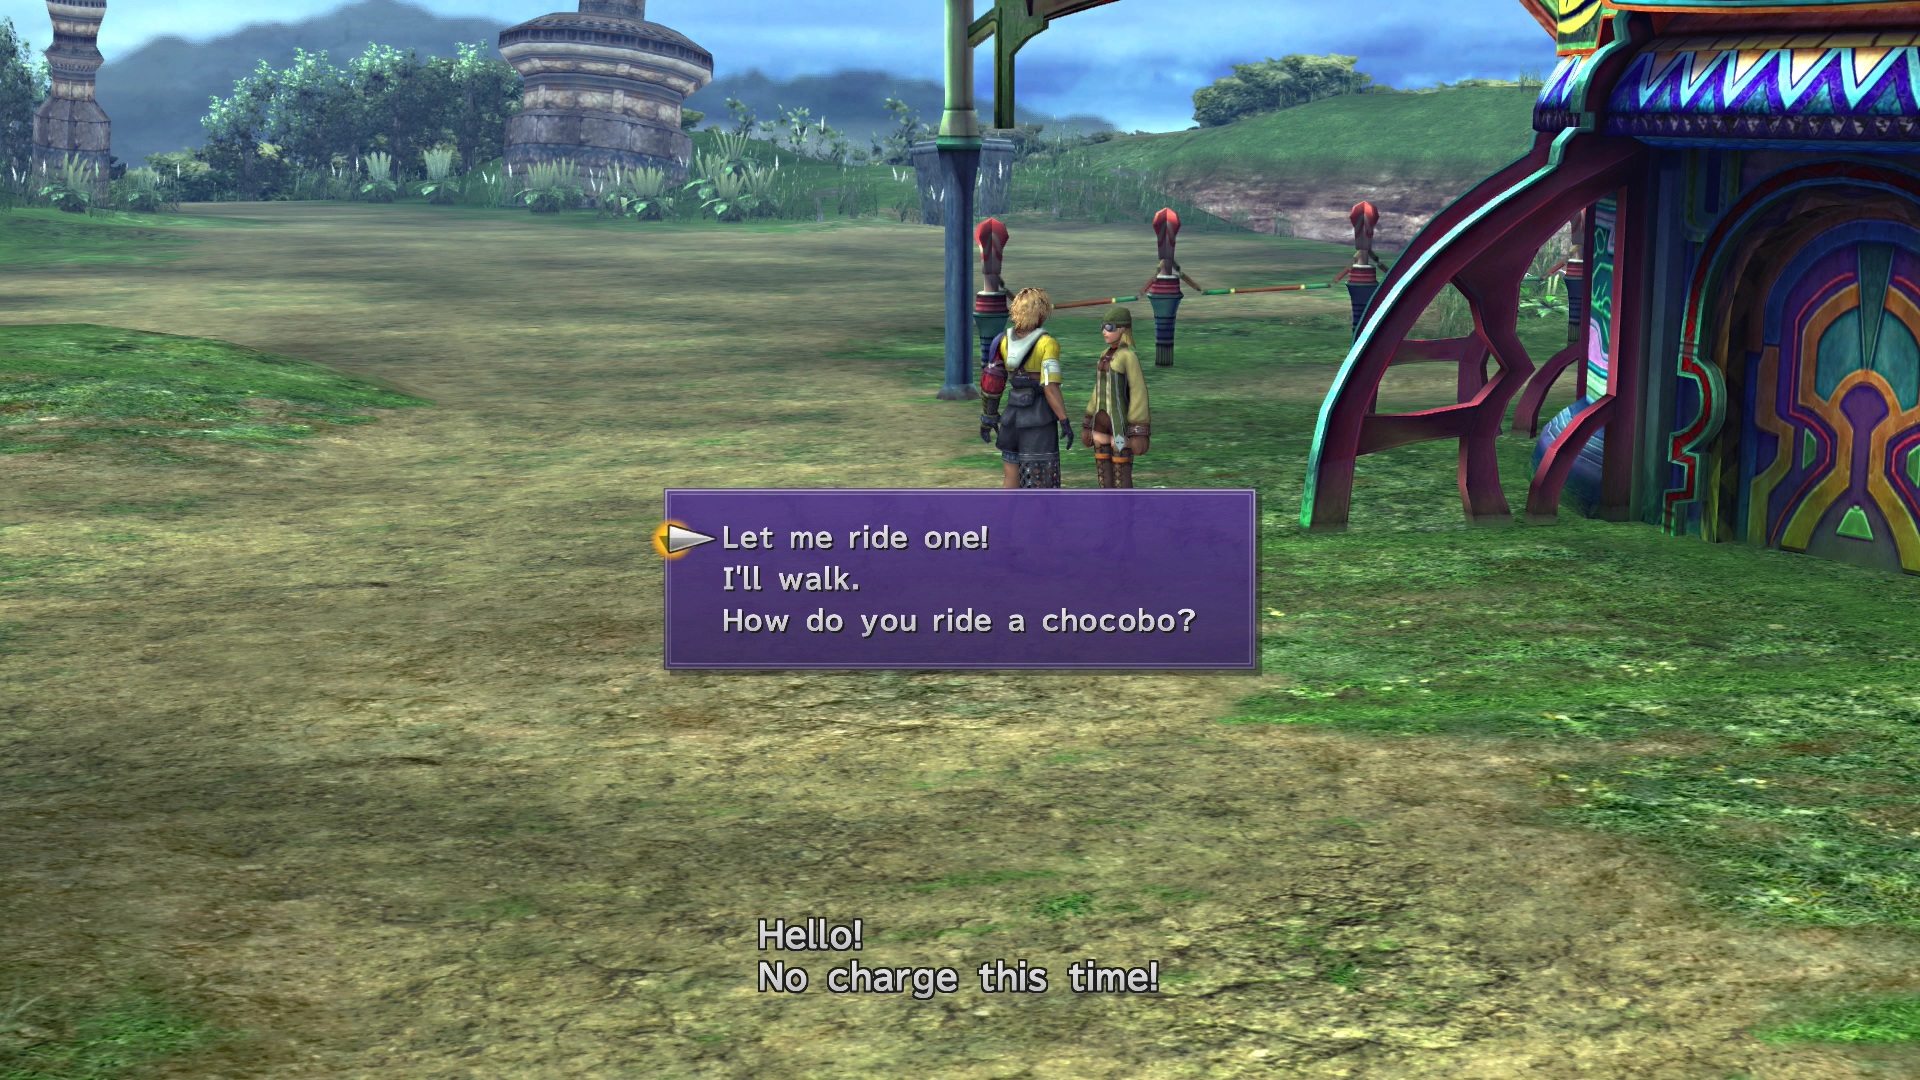
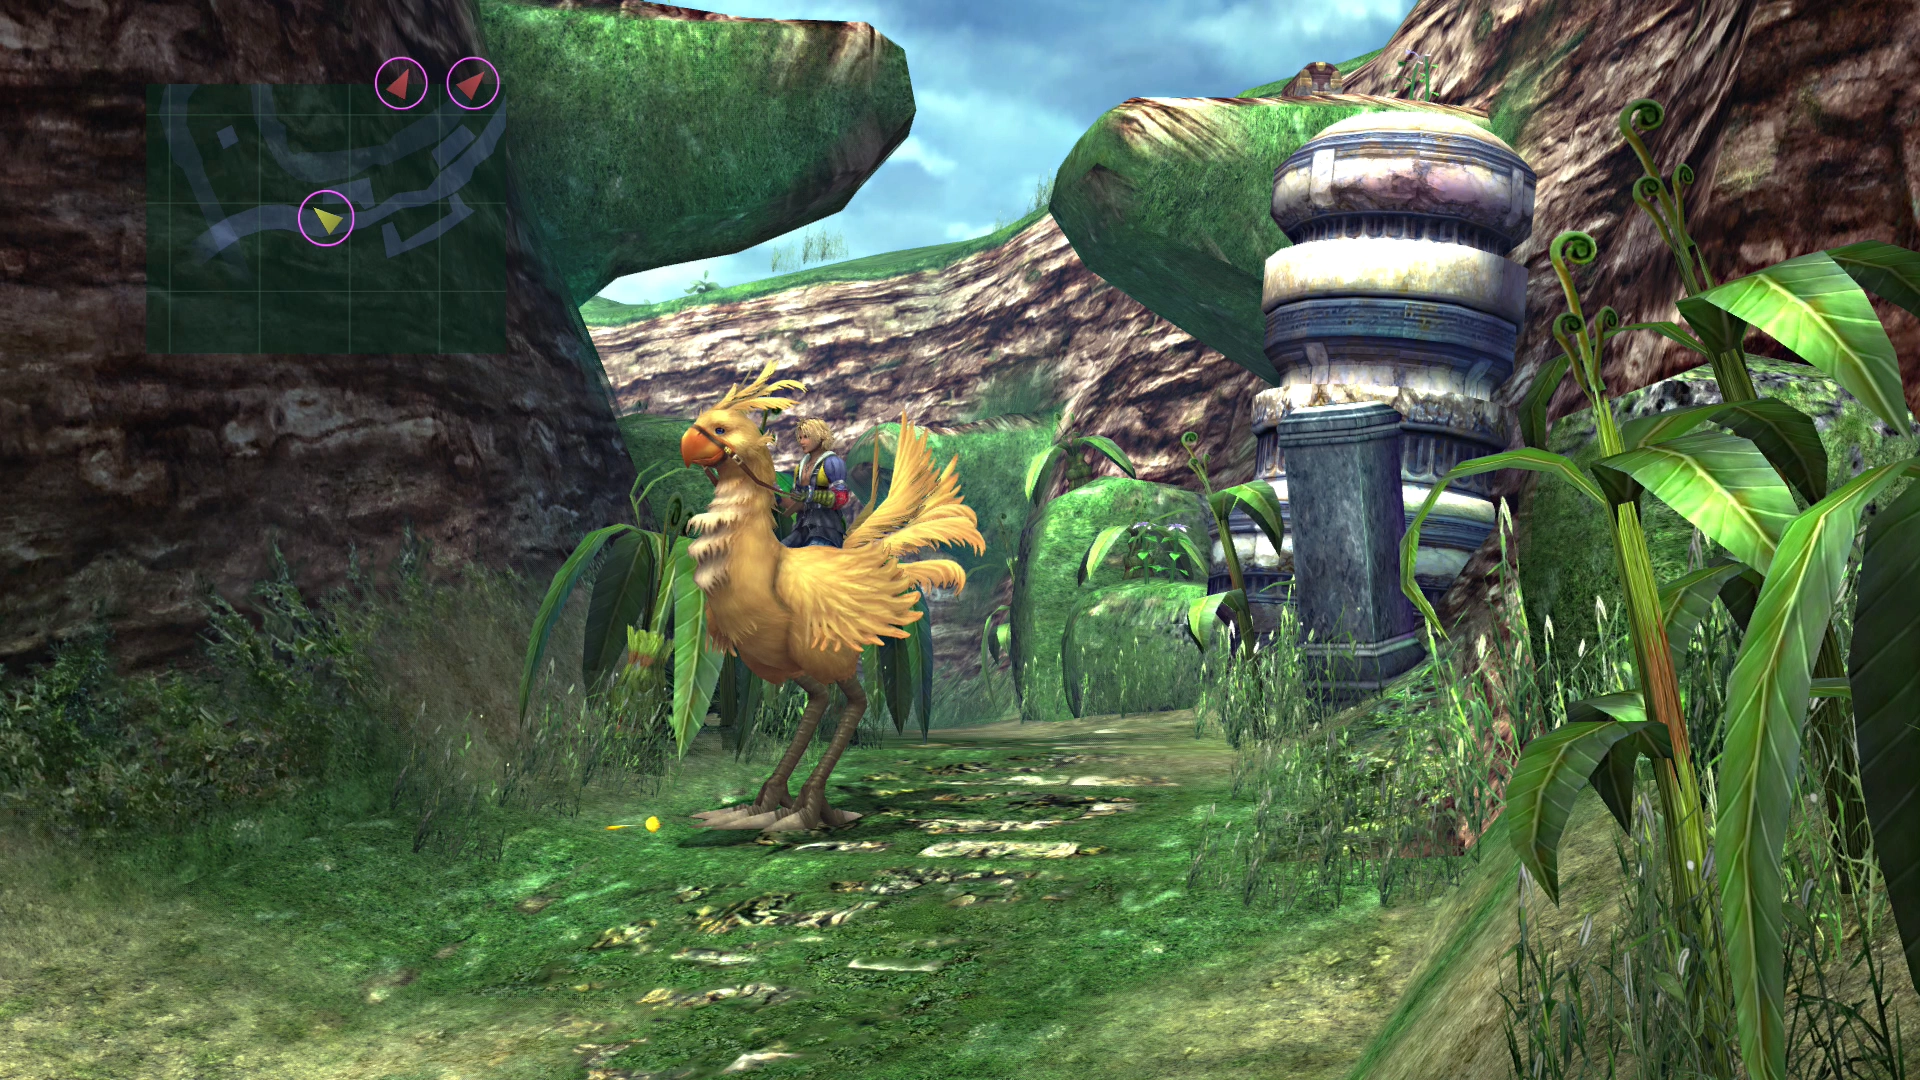
Save your game at the ![]() Save Sphere inside Rin’s Travel Agency before you leave. You can speak to the woman outside the Travel Agency to jump on a Chocobo. There are a few items that you will only be able to grab if you are riding a Chocobo, so don’t leave this area on foot.
Save Sphere inside Rin’s Travel Agency before you leave. You can speak to the woman outside the Travel Agency to jump on a Chocobo. There are a few items that you will only be able to grab if you are riding a Chocobo, so don’t leave this area on foot.
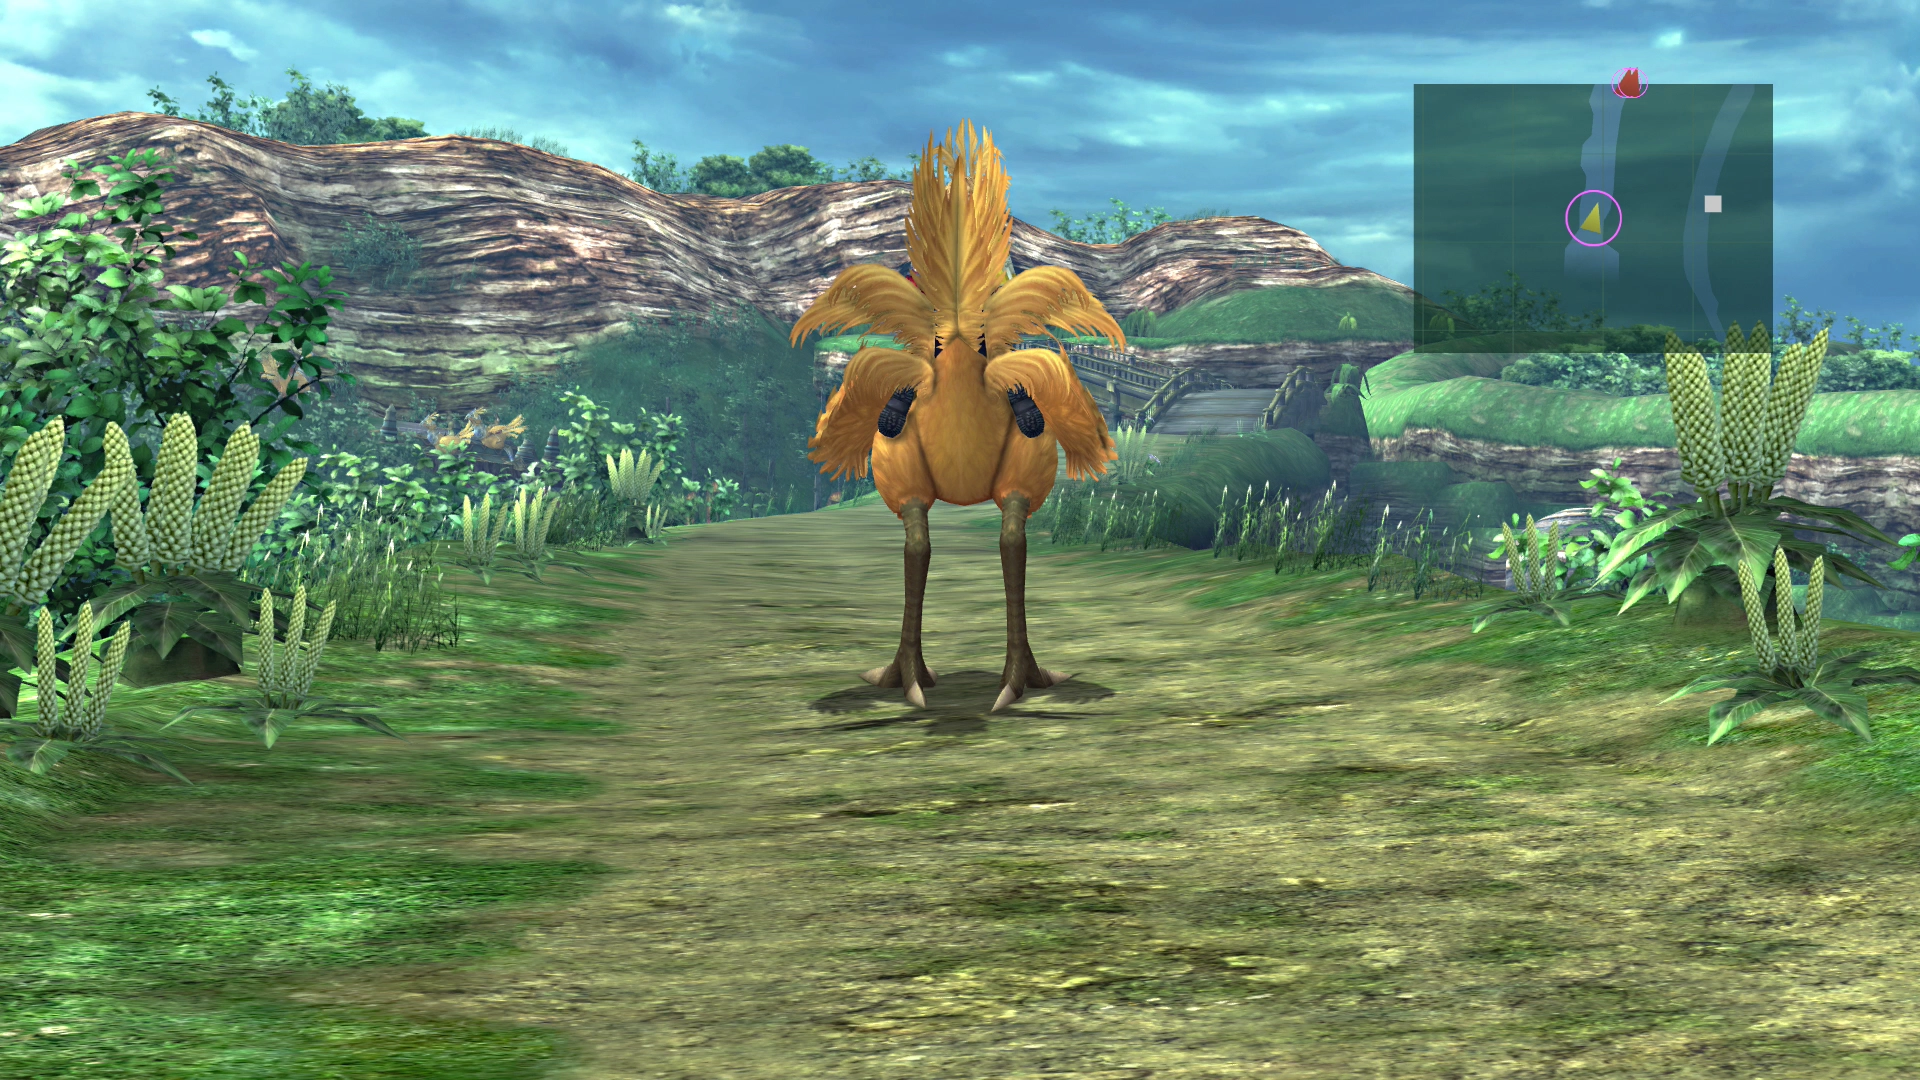
Highroad - Newroad, South
Continue north through this area and across the two bridges. Use the menu screen (by pressing the ![]()
![]()
![]() button) if you are not sure which area you are in specifically. Your location is in the bottom-left side of the menu screen.
button) if you are not sure which area you are in specifically. Your location is in the bottom-left side of the menu screen.
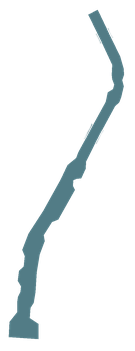
Newroad South Map


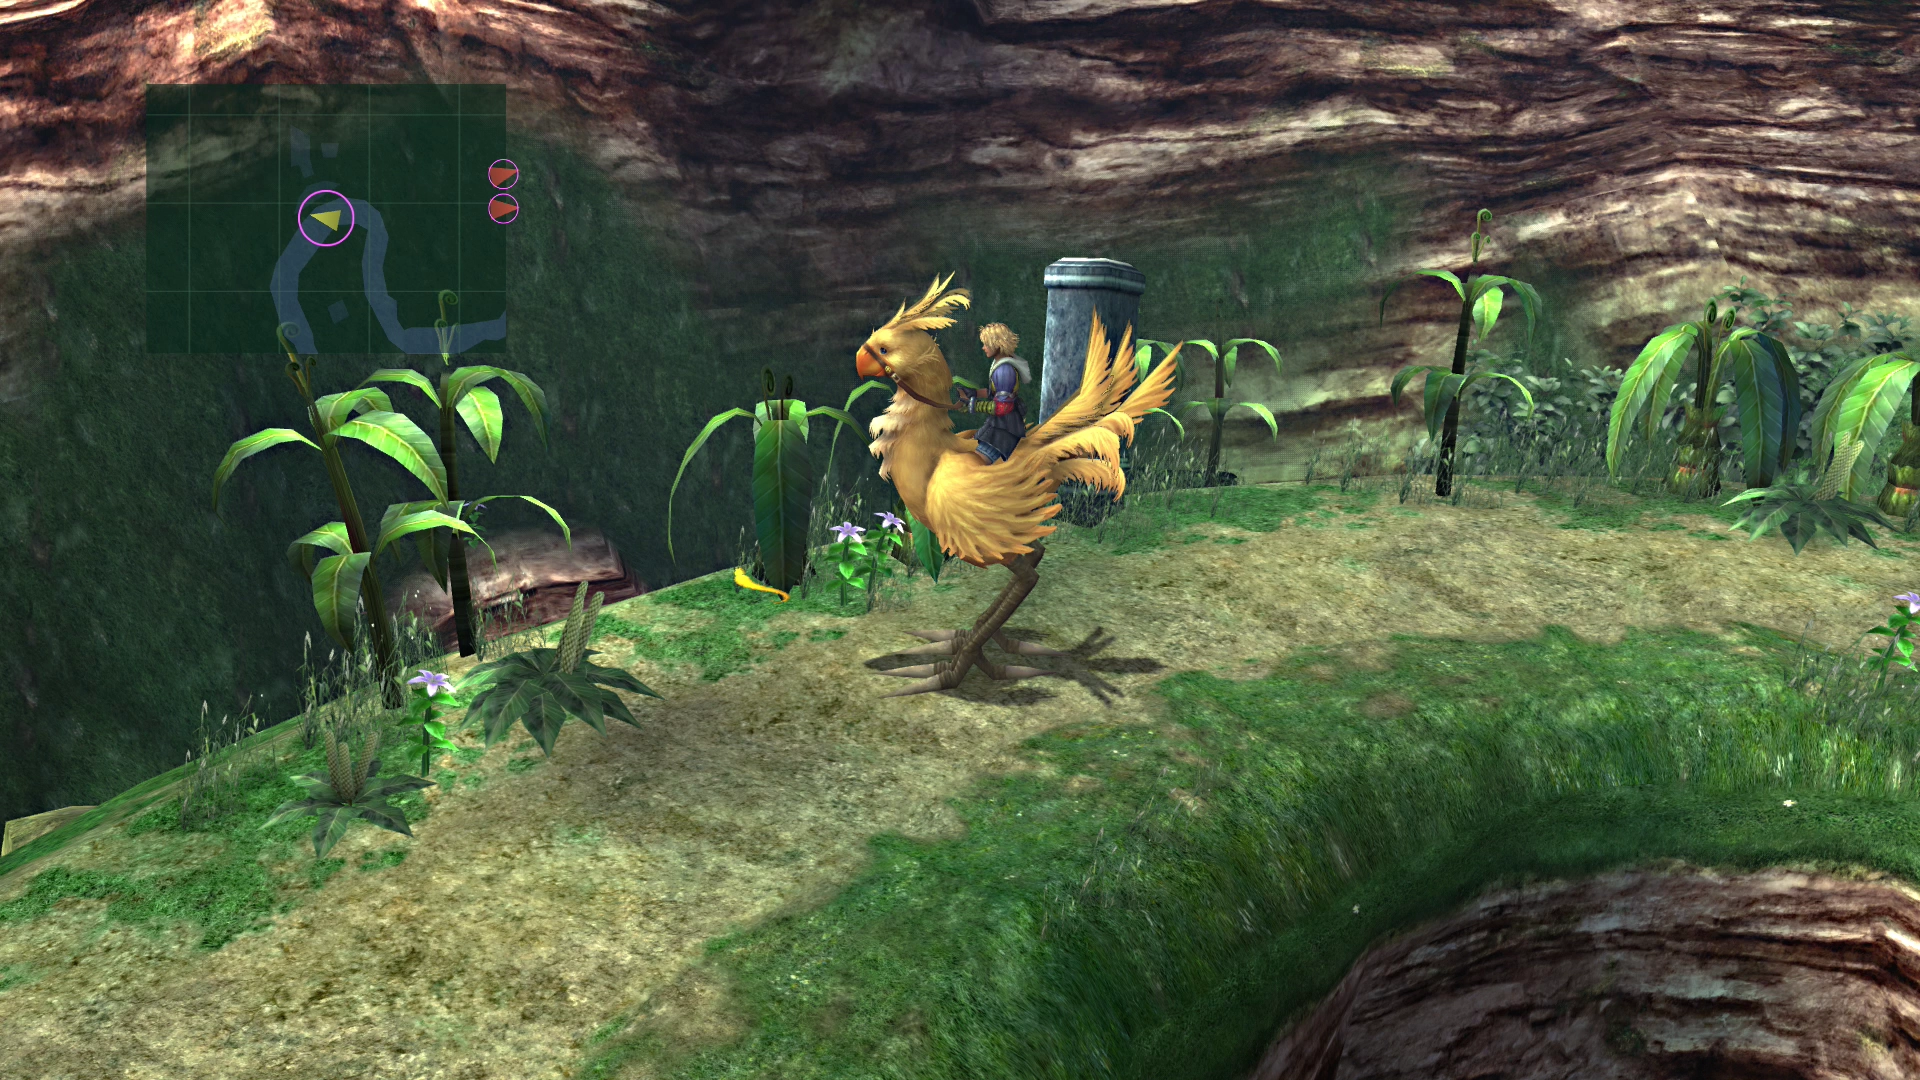
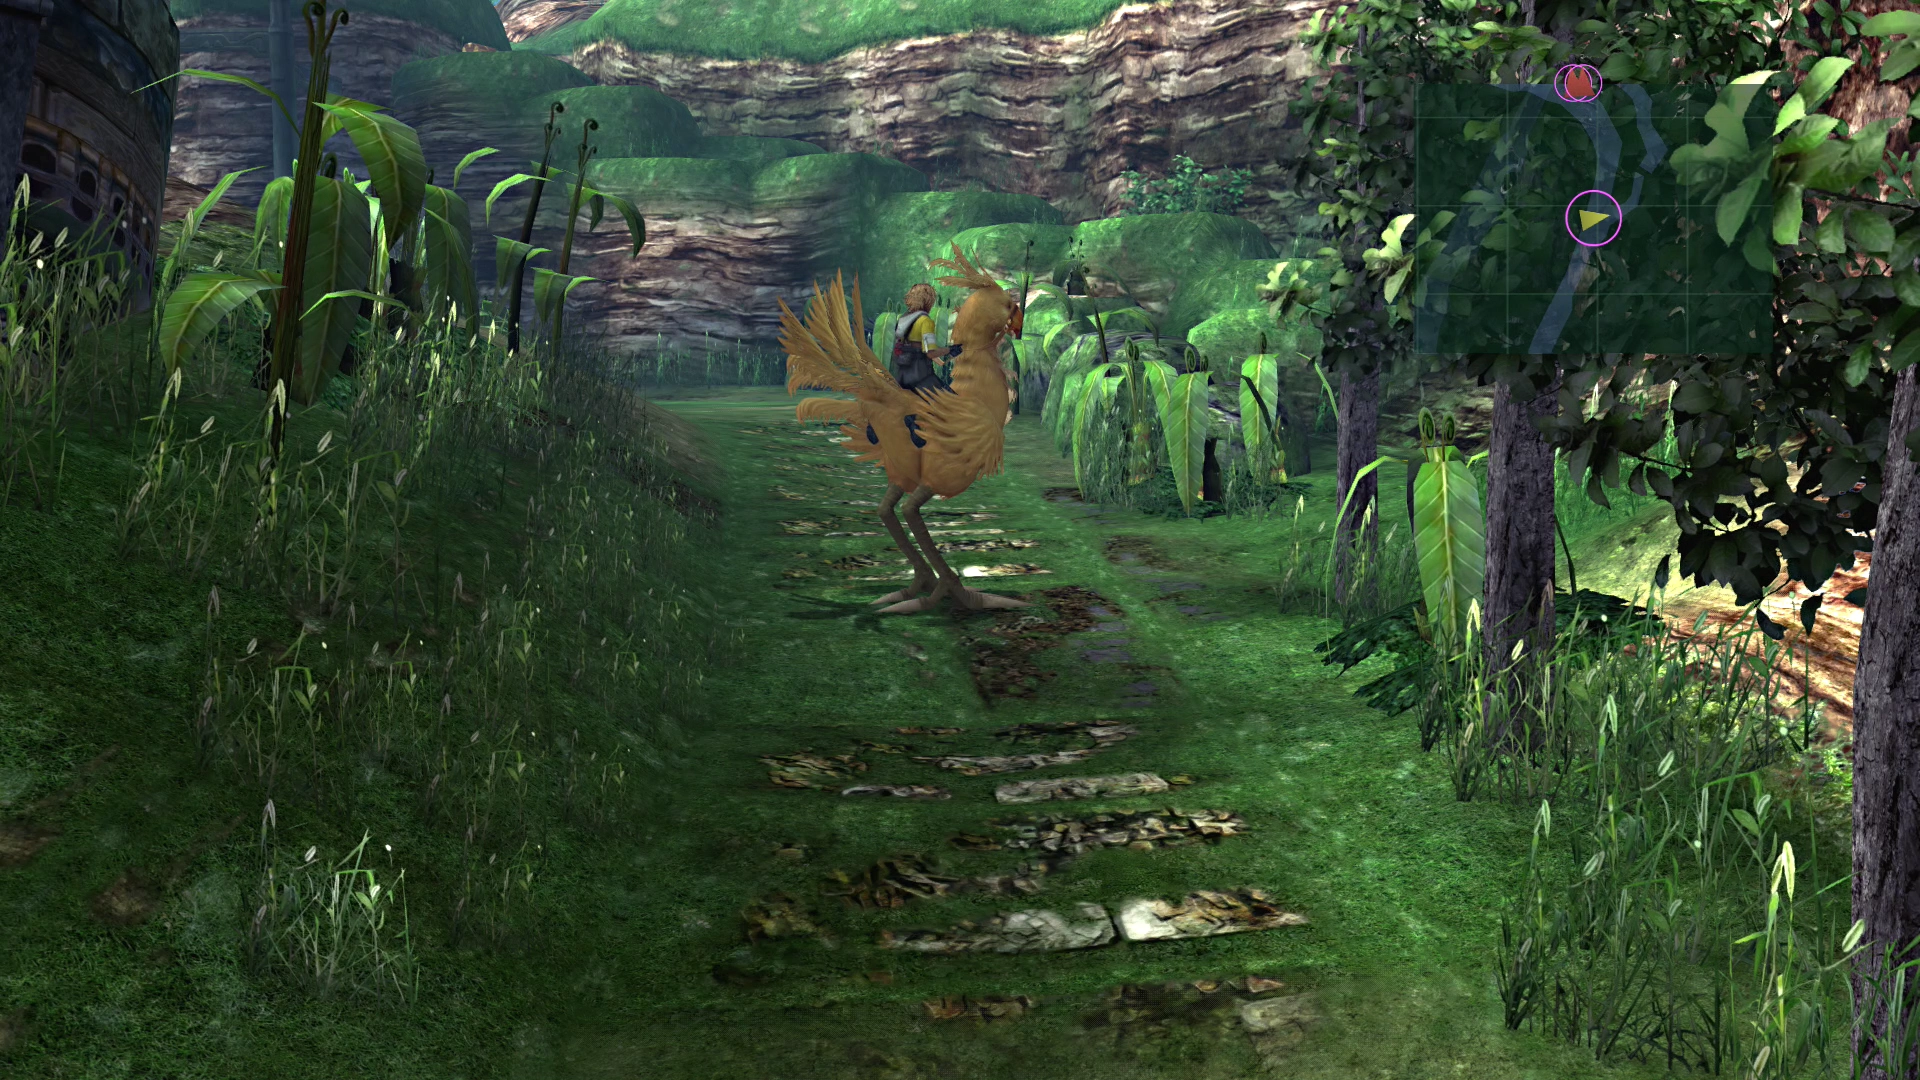
Highroad - Newroad, North
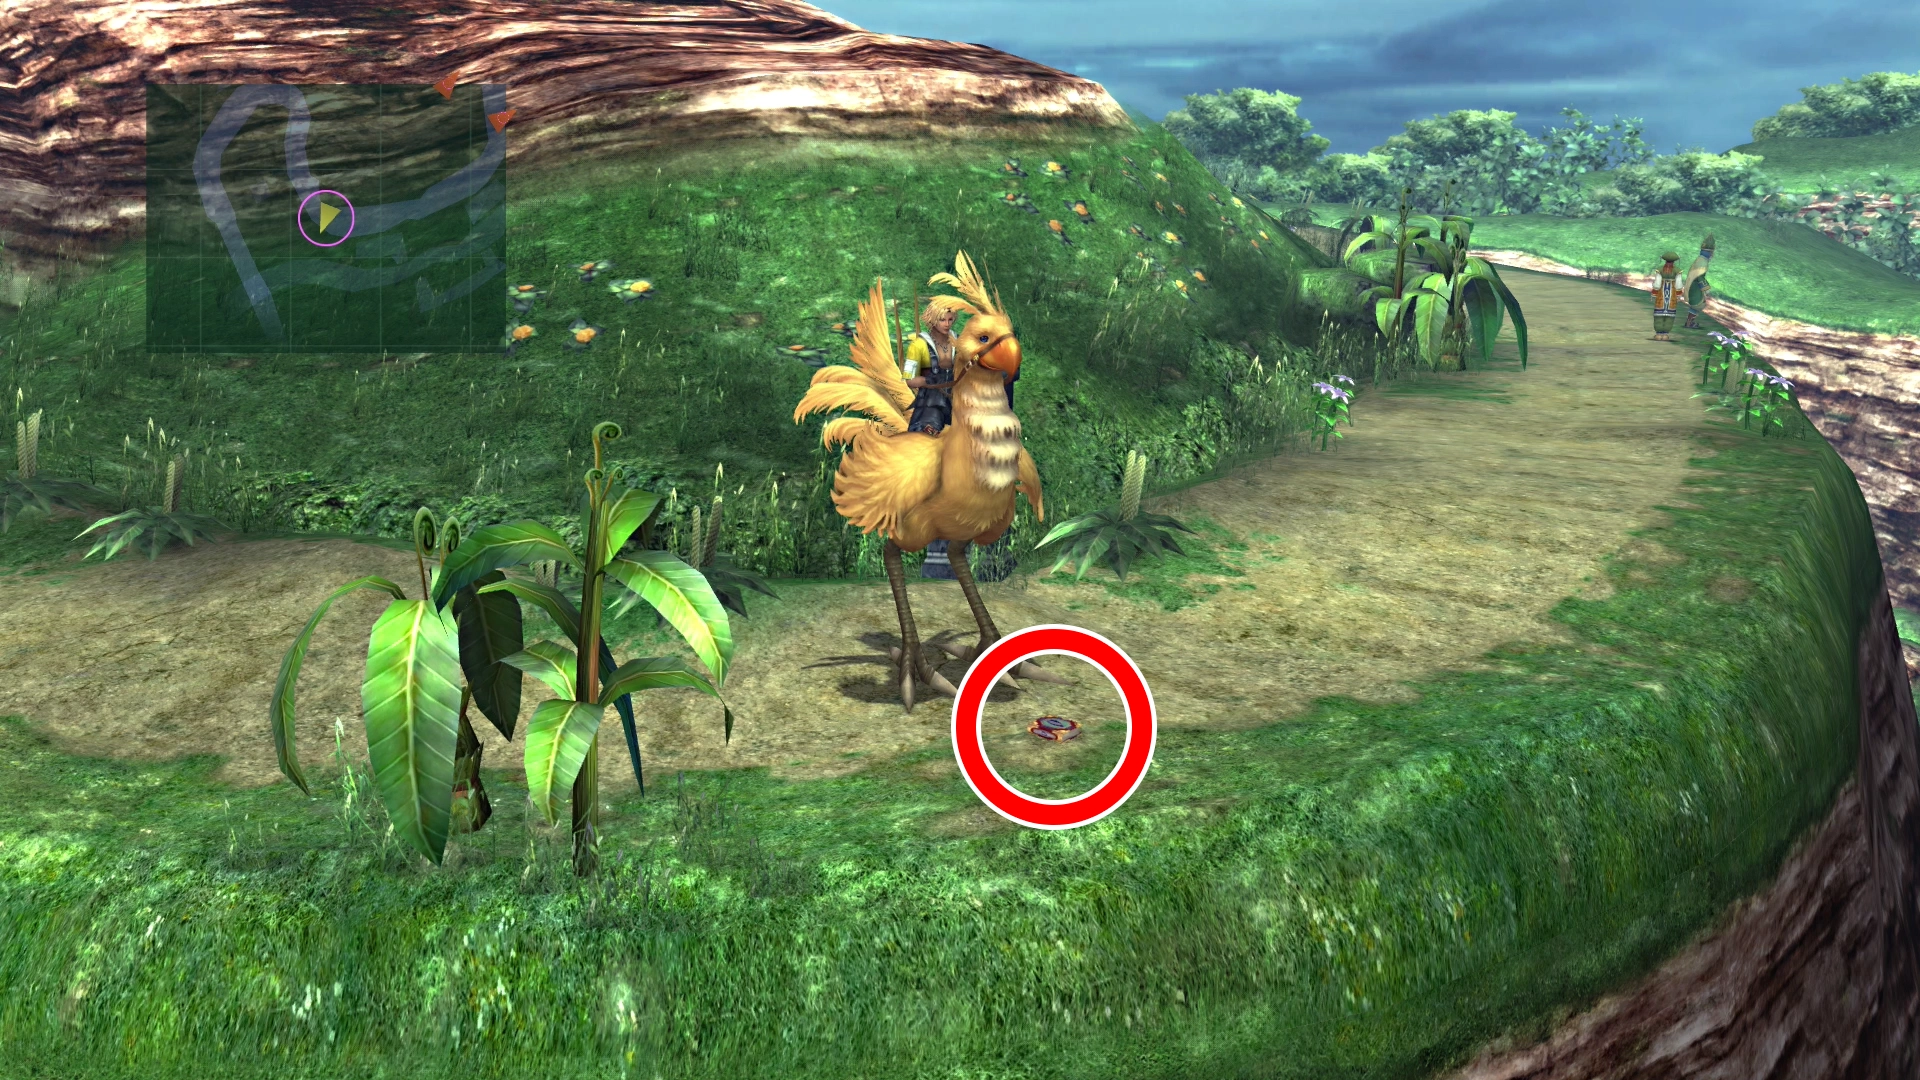
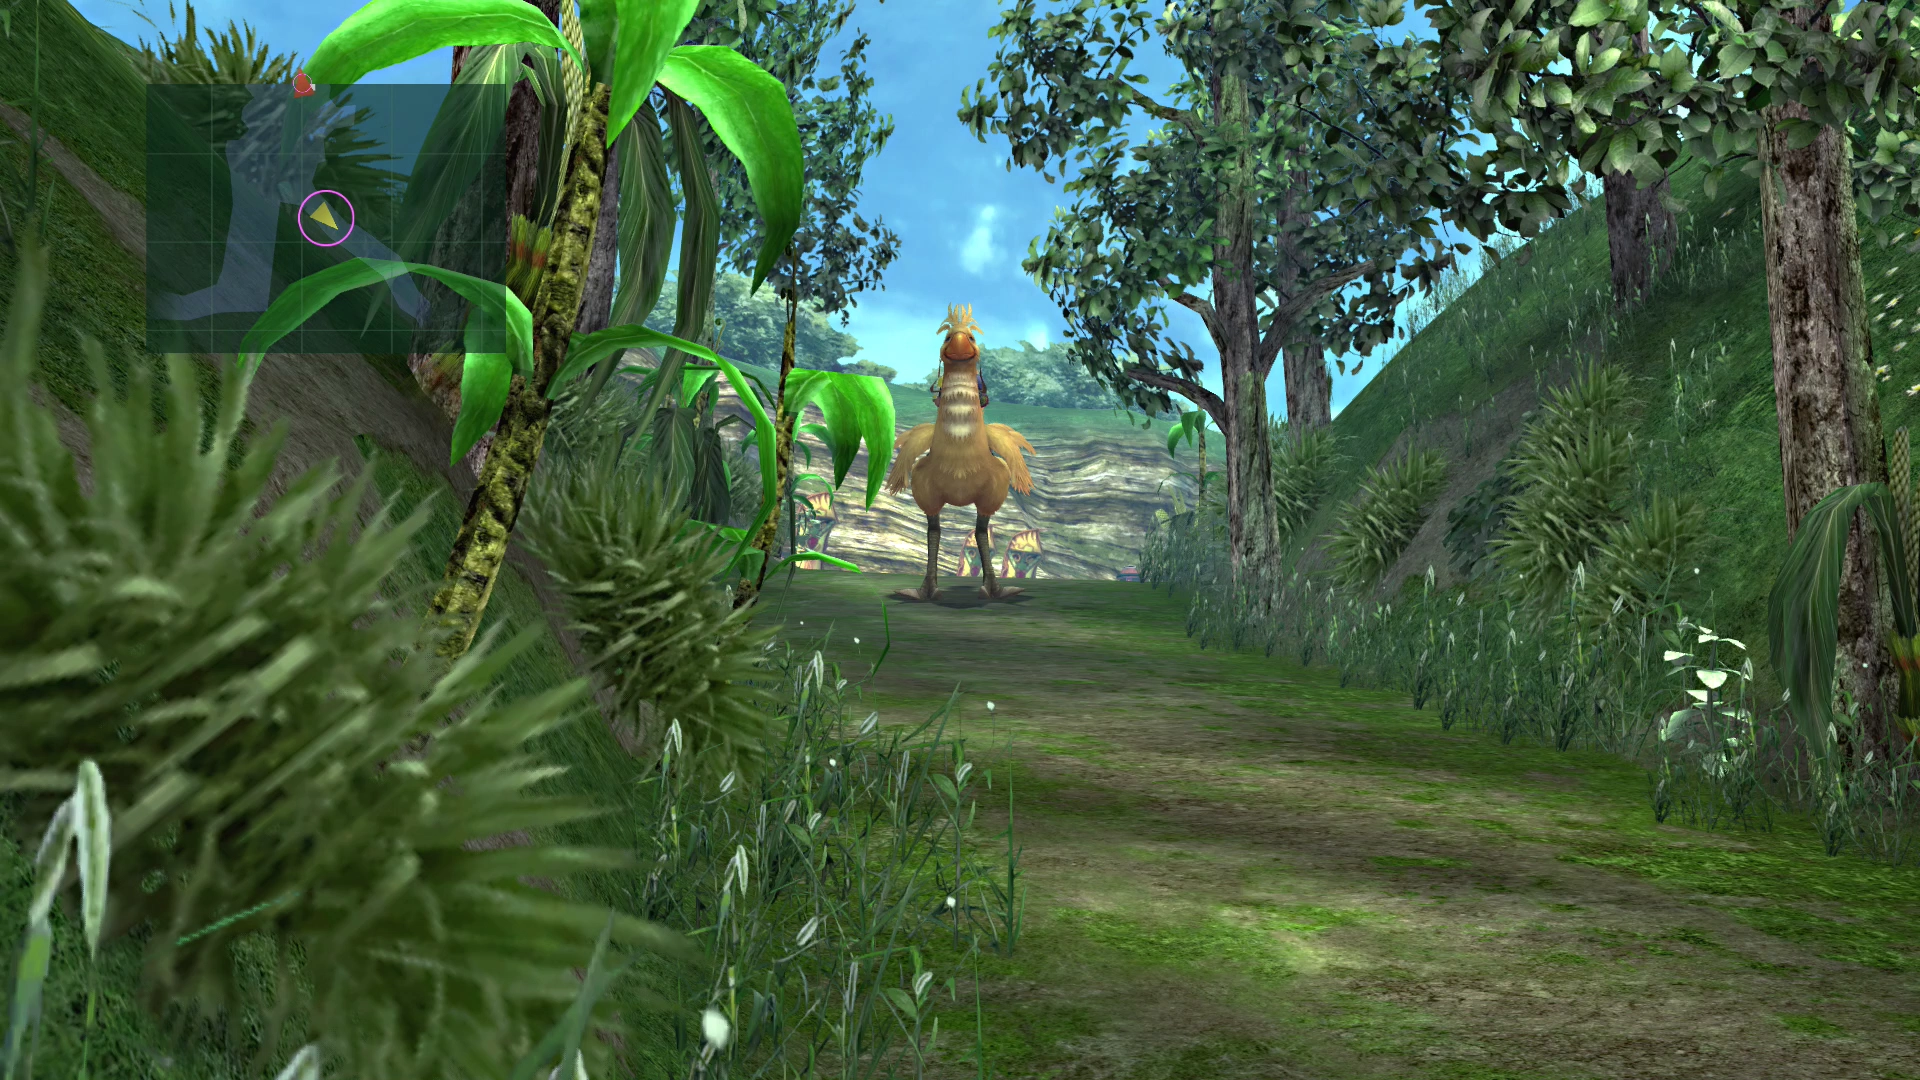
As you go around the curve, you might notice a small yellow feather lying on the ground. It can be pretty challenging to see. Use the screenshot below for reference.
Press the ![]()
![]()
![]() button while you are near that feather to have your Chocobo fly up to a treasure chest. The treasure chest will open automatically, awarding you with a
button while you are near that feather to have your Chocobo fly up to a treasure chest. The treasure chest will open automatically, awarding you with a ![]() Heat Lance.
Heat Lance.
Highroad Newroad North Map
Keep an eye out on the path to find the ![]() Al Bhed Primer (Vol. IX). Continue down the roadway into the next area. You will pass by Maechen and Melinda, but they don’t have any interesting histories to share with you this time.
Al Bhed Primer (Vol. IX). Continue down the roadway into the next area. You will pass by Maechen and Melinda, but they don’t have any interesting histories to share with you this time.
Highroad - North End
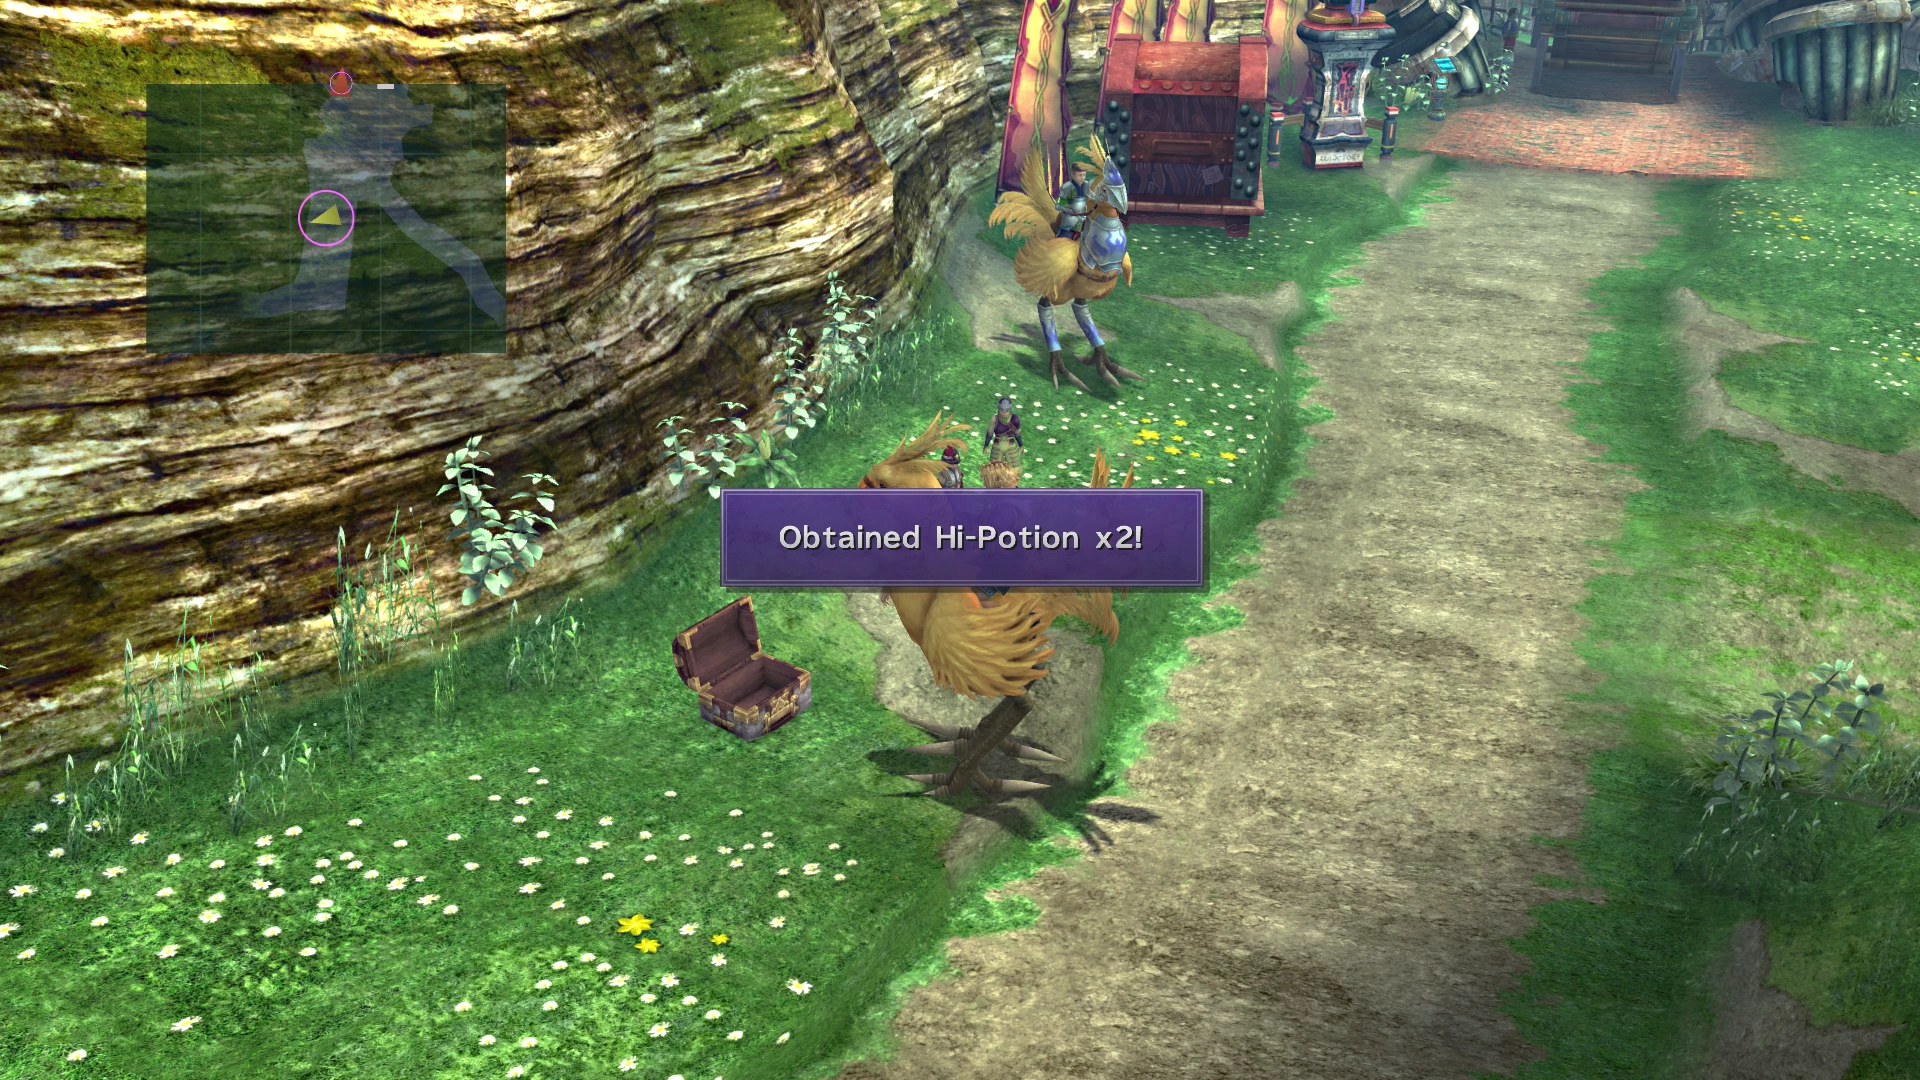
Have your Chocobo kick open the chest lying on the ground to receive two ![]() Hi-Potions.
Hi-Potions.
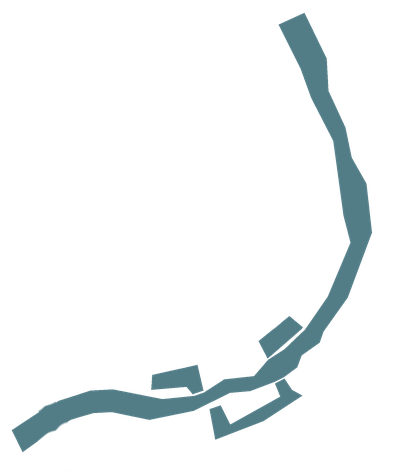
Before you continue northward, to where the red arrow ![]() is pointing, continue along the southeastern path (shown in the screenshot below).
is pointing, continue along the southeastern path (shown in the screenshot below).
Highroad - Oldroad, North
You will find another Chocobo feather lying on the ground on the left side of the screen. Press the ![]()
![]()
![]() button again while near the feather to have your Chocobo fly you up to another hidden treasure chest, which contains a
button again while near the feather to have your Chocobo fly you up to another hidden treasure chest, which contains a ![]() Thunder Blade.
Thunder Blade.
The Chocobo will continue along the trail to find another ![]() Scout weapon in a treasure chest automatically. Continue west into the next area.
Scout weapon in a treasure chest automatically. Continue west into the next area.
Highroad Oldroad North Map
Helpful Hint
You can learn the “Self-Destruct” Ronso Rage ability by having him use ![]() Lancet on a Bomb enemy in the Oldroad areas. You’ll have to hop off your Chocobo, though, to trigger a battle with one. Check out the Overdrive section for more information on Kimahri’s Ronso Rage.
Lancet on a Bomb enemy in the Oldroad areas. You’ll have to hop off your Chocobo, though, to trigger a battle with one. Check out the Overdrive section for more information on Kimahri’s Ronso Rage.
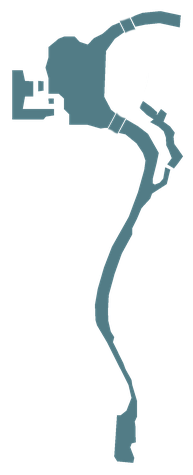
Highroad - Oldroad, South
Ride past the open area back onto the trail. There is a Y-intersection partway down the path, which you can see on the mini-map, and the entrance of which is shown in the screenshot below.
Highroad Oldroad South Map
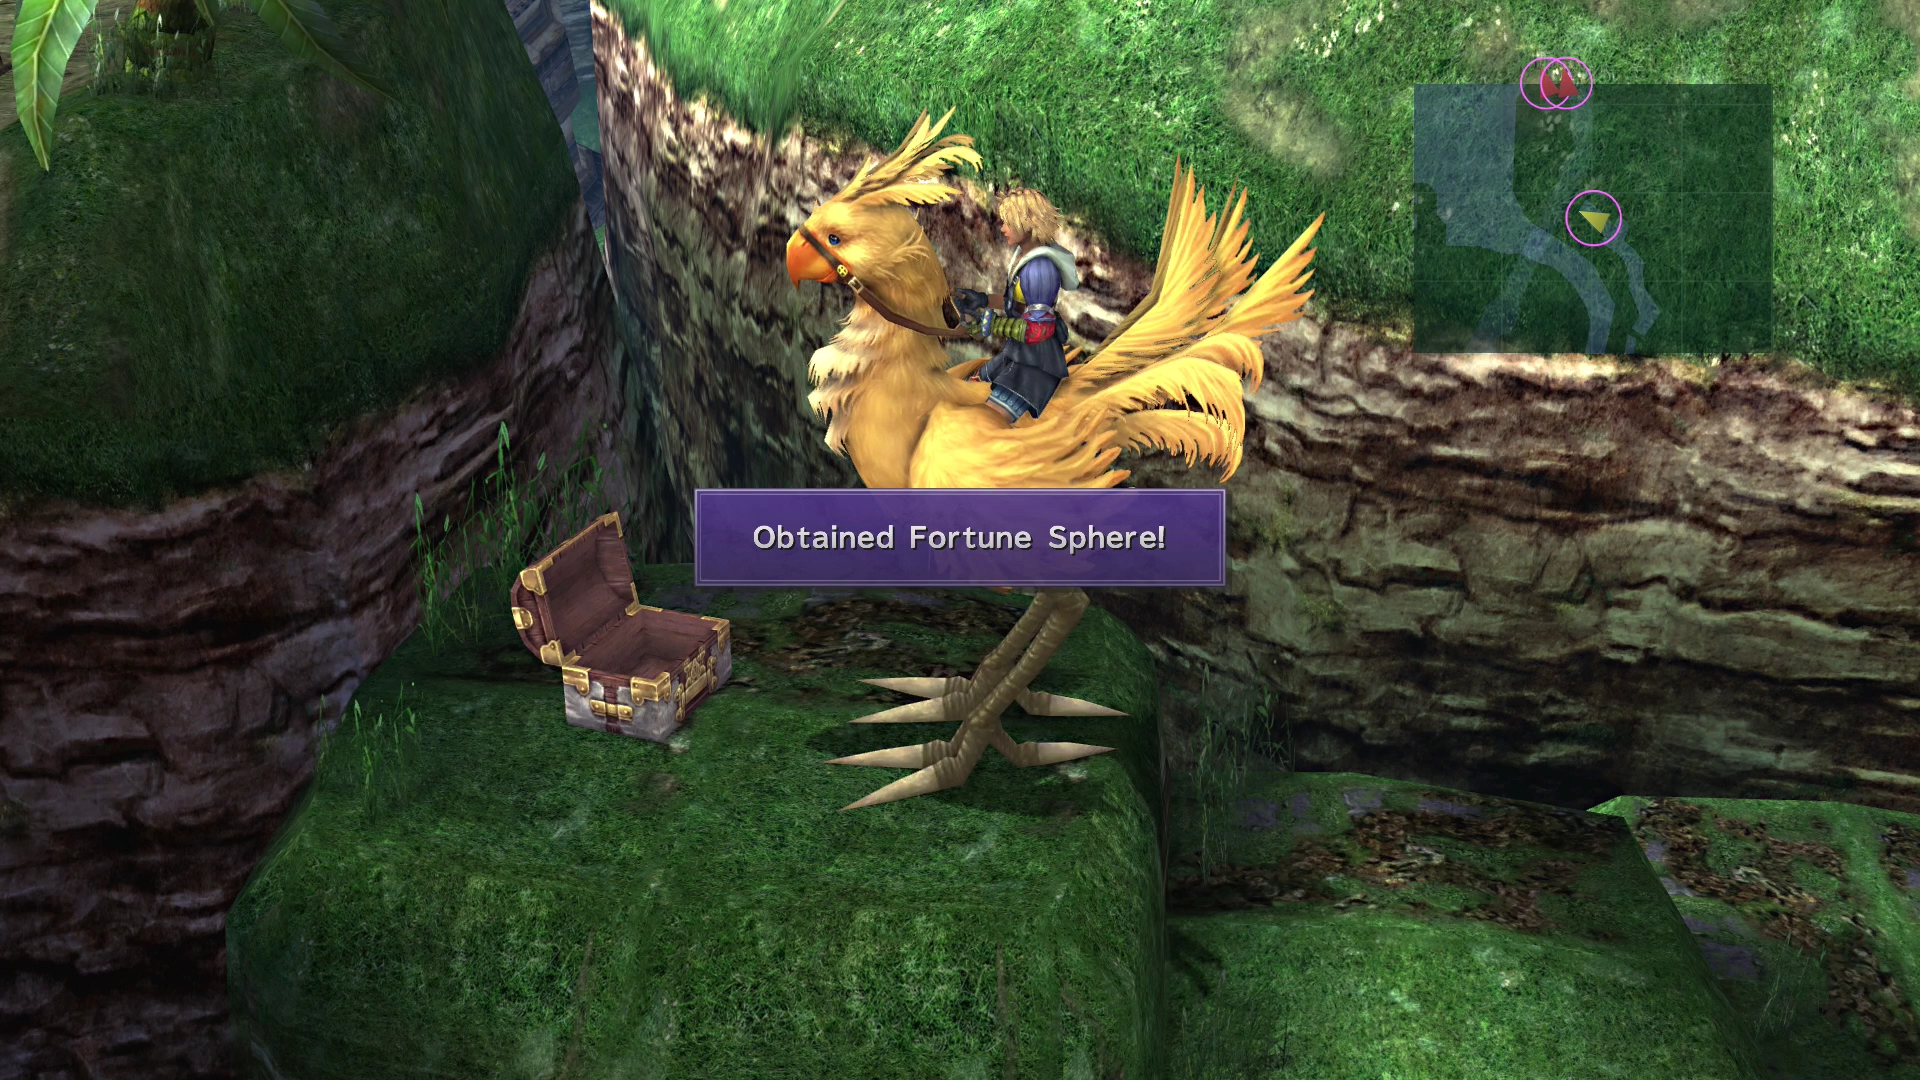
Go down the pathway to find another Chocobo Feather. Climbing this cliff will lead to a treasure chest containing a ![]() Fortune Sphere. With this Sphere, you can now add the
Fortune Sphere. With this Sphere, you can now add the ![]() Luck Sphere to the Sphere Grid and activate it with one of your characters.
Luck Sphere to the Sphere Grid and activate it with one of your characters.
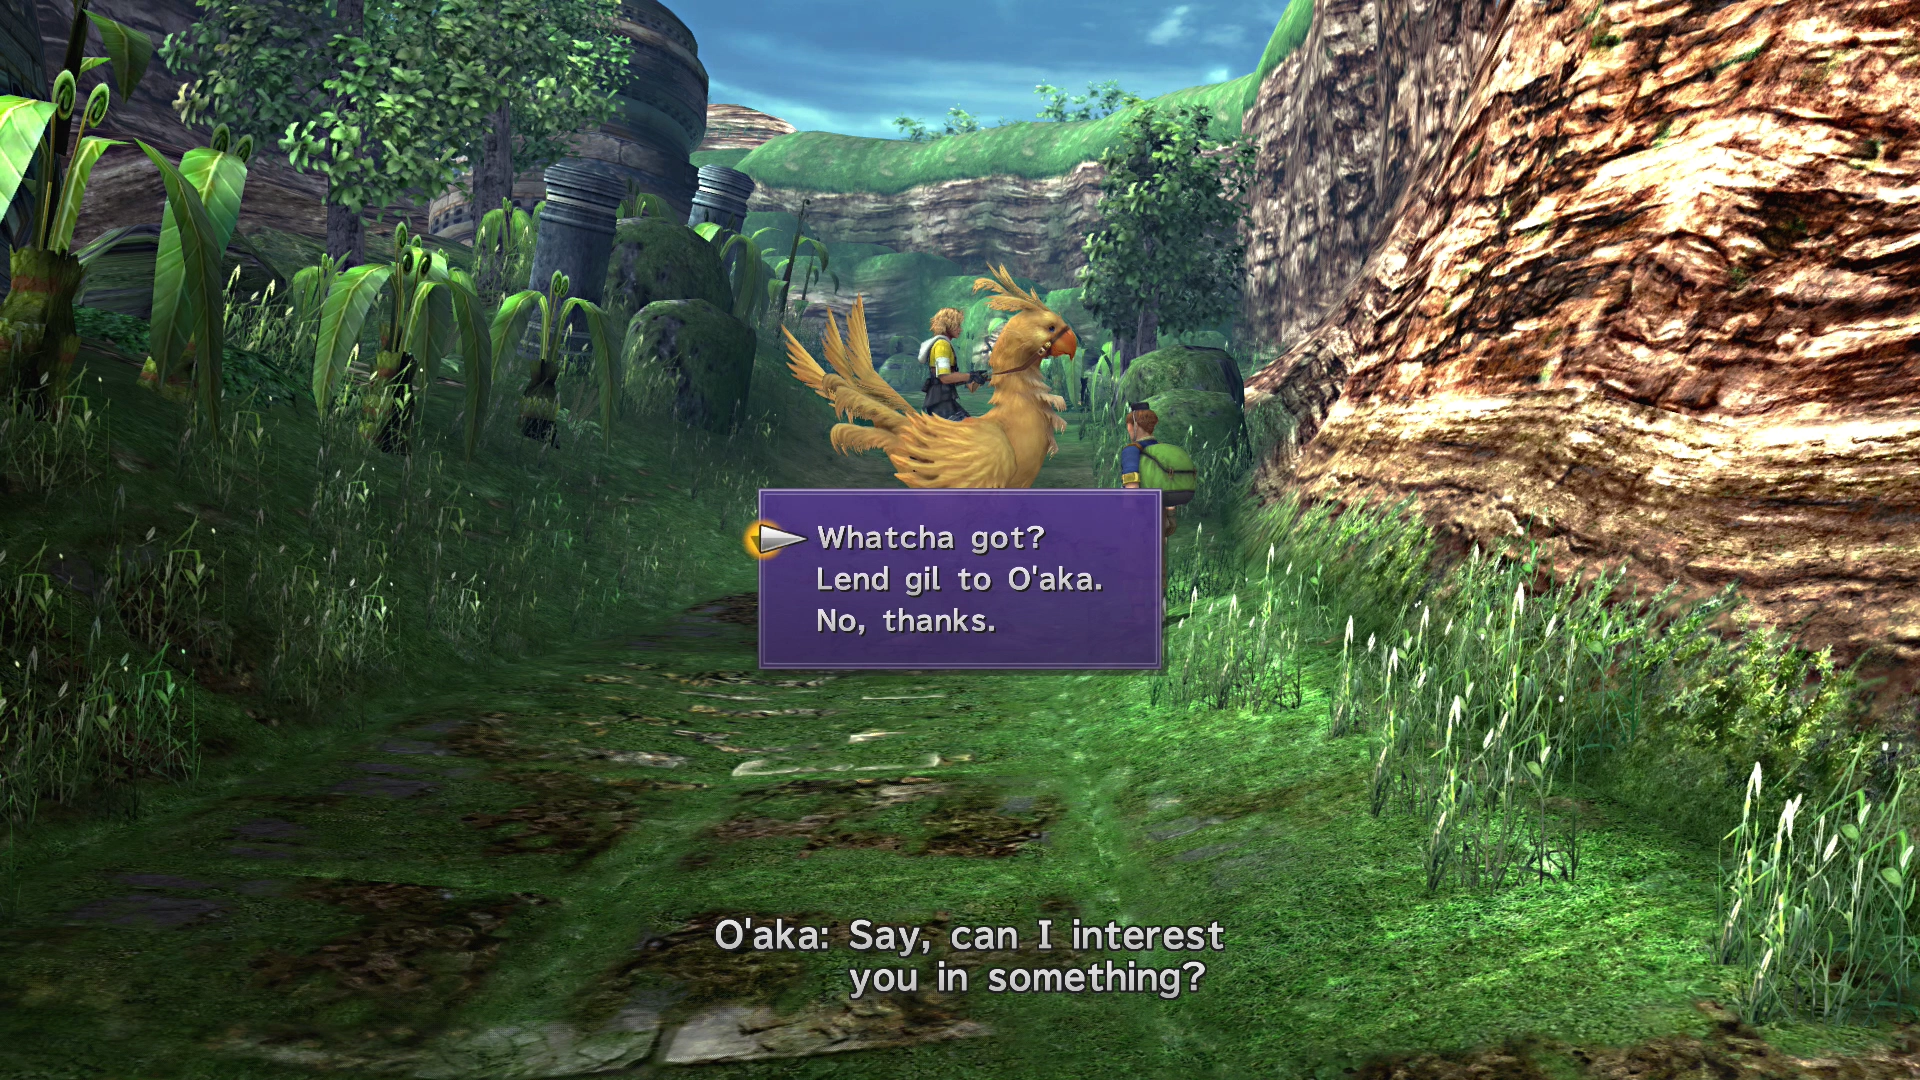
O’aka XXIII is further on down the pathway. You can speak to him while on the Chocobo to lend him more Gil or buy items if you choose.
Warning
This is your last opportunity to lend Gil to O’aka XXIII, which has the effect of reducing the prices of his items later on in the game. You may have lent him Gil before, but make sure that you have given him a total of 10,001 Gil before passing through this area.
If you donated 1,001 Gil to him previously (as was suggested earlier in this guide), you now need to donate 9,000 Gil to him. Consider selling duplicate items or ![]() Ethers (which are worth a lot) if you need to reach the 9,000 Gil requirement.
Ethers (which are worth a lot) if you need to reach the 9,000 Gil requirement.
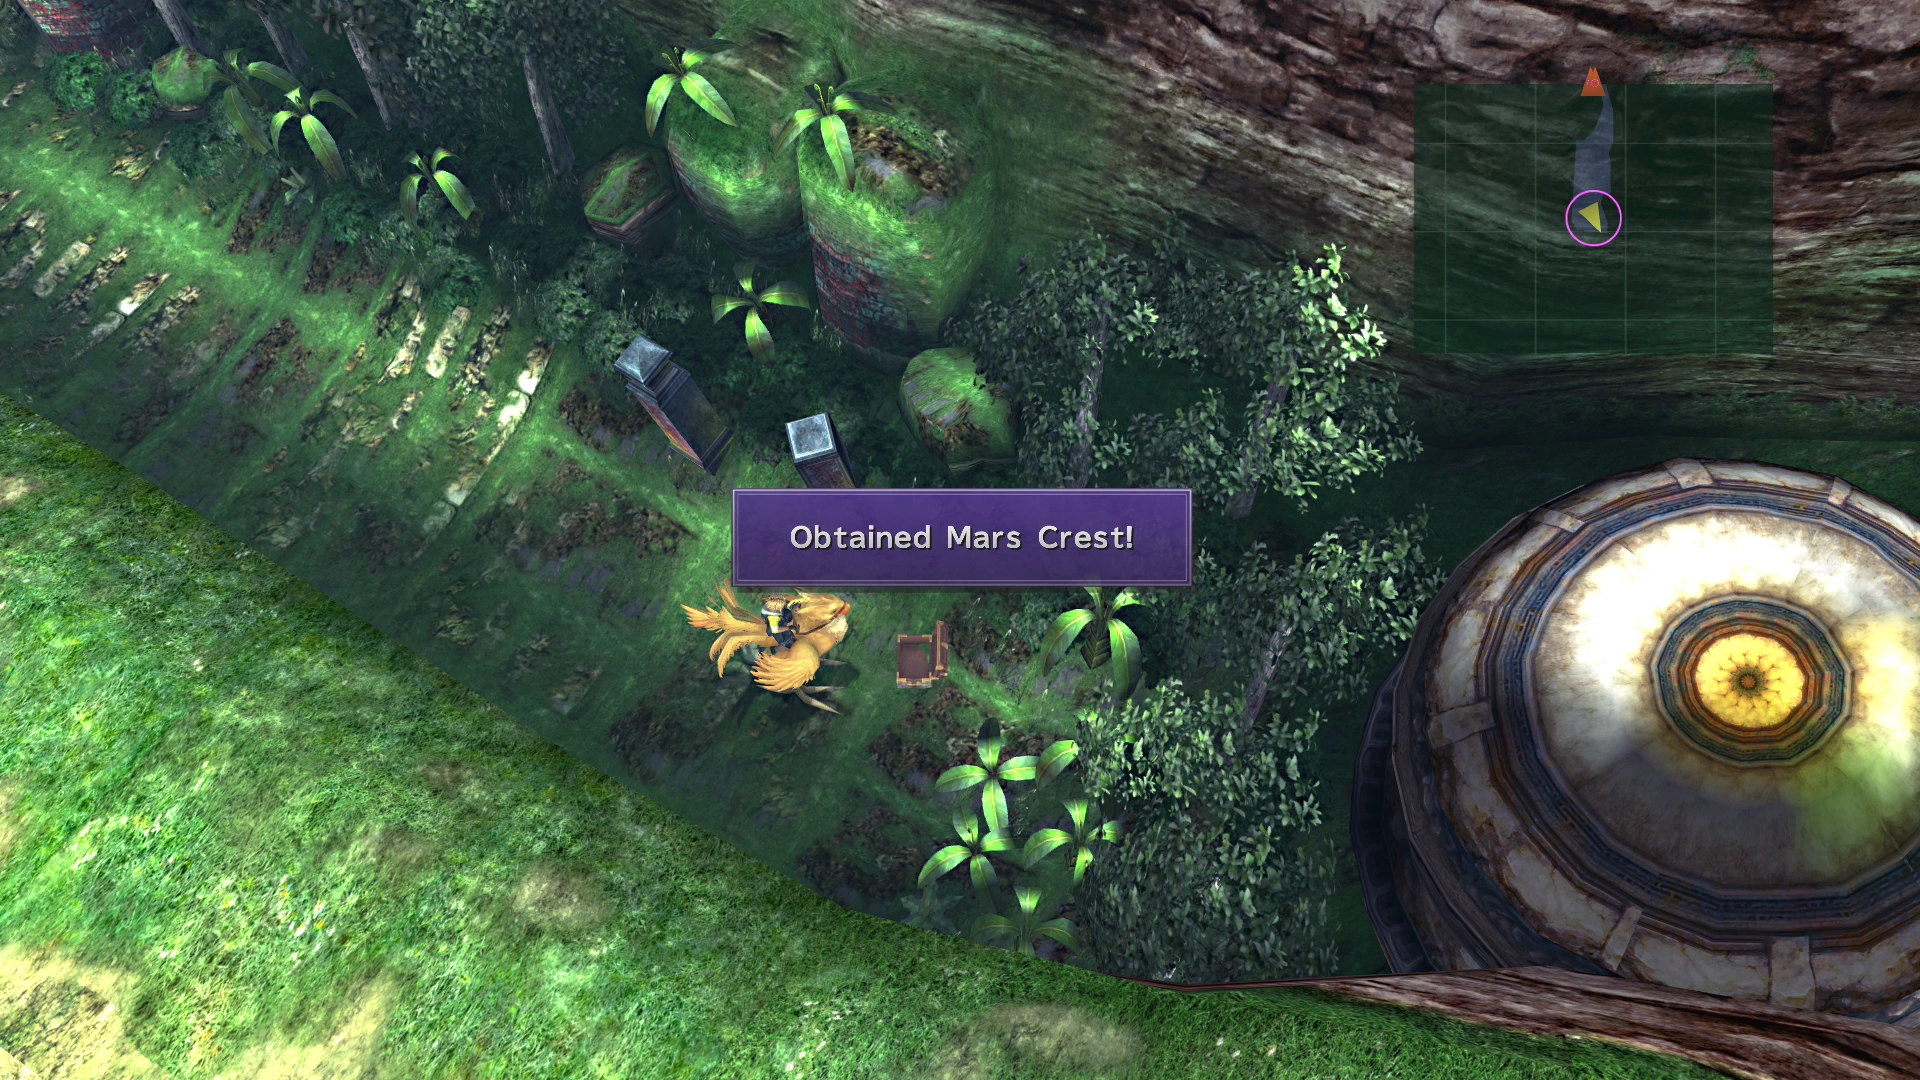
There is a ![]() Save Sphere that you can use a bit further down the pathway. At the very end of the path is a treasure chest containing the
Save Sphere that you can use a bit further down the pathway. At the very end of the path is a treasure chest containing the ![]() Mars CrestSaturn Crest, which you will not need until a later point in the game.
Mars CrestSaturn Crest, which you will not need until a later point in the game.
Note that this is where you’ll find the ![]() Mars CrestSaturn Crest in the
Mars CrestSaturn Crest in the ![]() PlayStation
PlayStation![]() Xbox
Xbox![]() Nintendo Switch version of the game. In the
Nintendo Switch version of the game. In the ![]() Xbox and
Xbox and ![]() Nintendo Switch versionsIn the
Nintendo Switch versionsIn the ![]() PlayStation version, this item is swapped for the
PlayStation version, this item is swapped for the ![]() Saturn CrestMars Crest. You can change the active version using the Game Version toggle in the sidebar menu. Refer to the Celestial Weapons section for a full breakdown of the differences.
Saturn CrestMars Crest. You can change the active version using the Game Version toggle in the sidebar menu. Refer to the Celestial Weapons section for a full breakdown of the differences.
Go back to the “Highroad - North End” where you had the Chocobo kick open the chest (and where the red arrow ![]() is pointing). You can now dismount from your Chocobo.
is pointing). You can now dismount from your Chocobo.
Highroad - North End
Talk to Dona to get the story rolling again, and don’t forget to save your game at the Save Sphere.
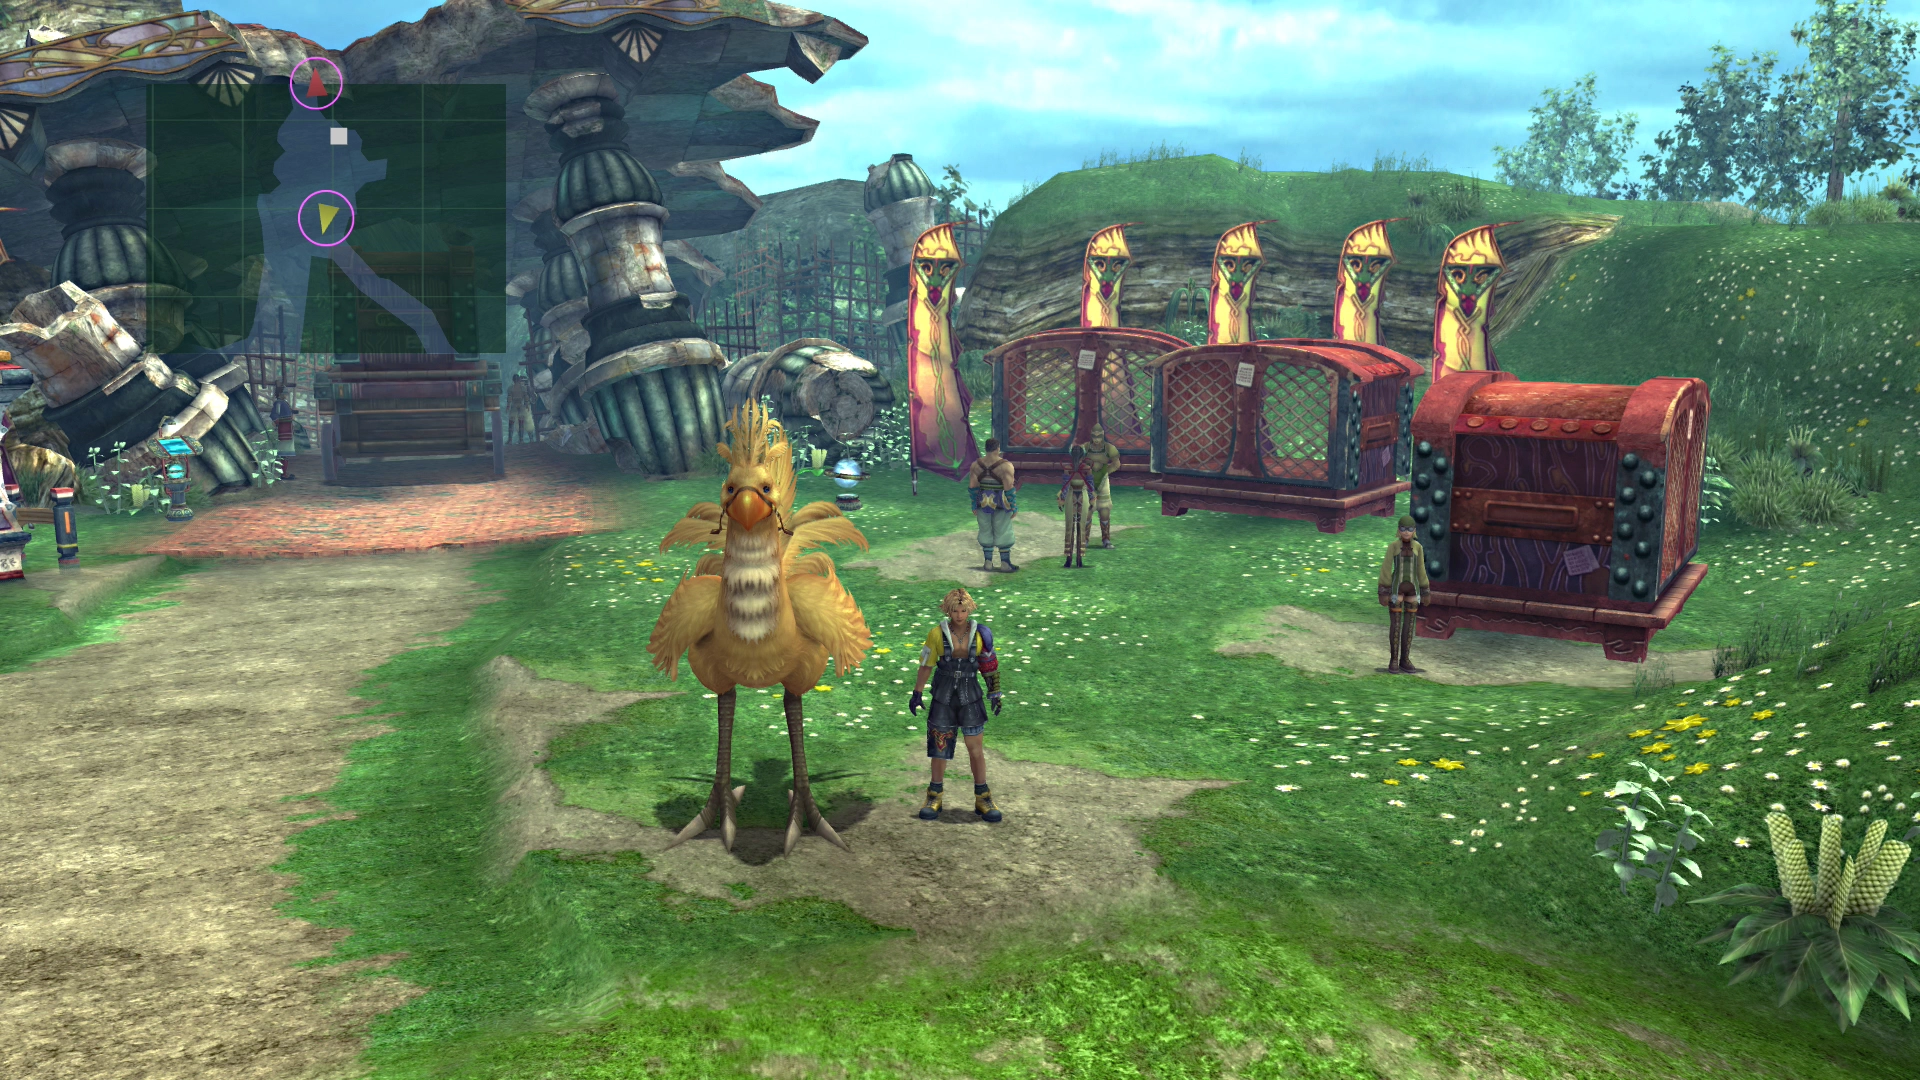
If you talk to Clasko, he will ask for your help in locating Captain Lucil. This was put in the game to give you another chance to jump on the Chocobo if you accidentally dismounted.
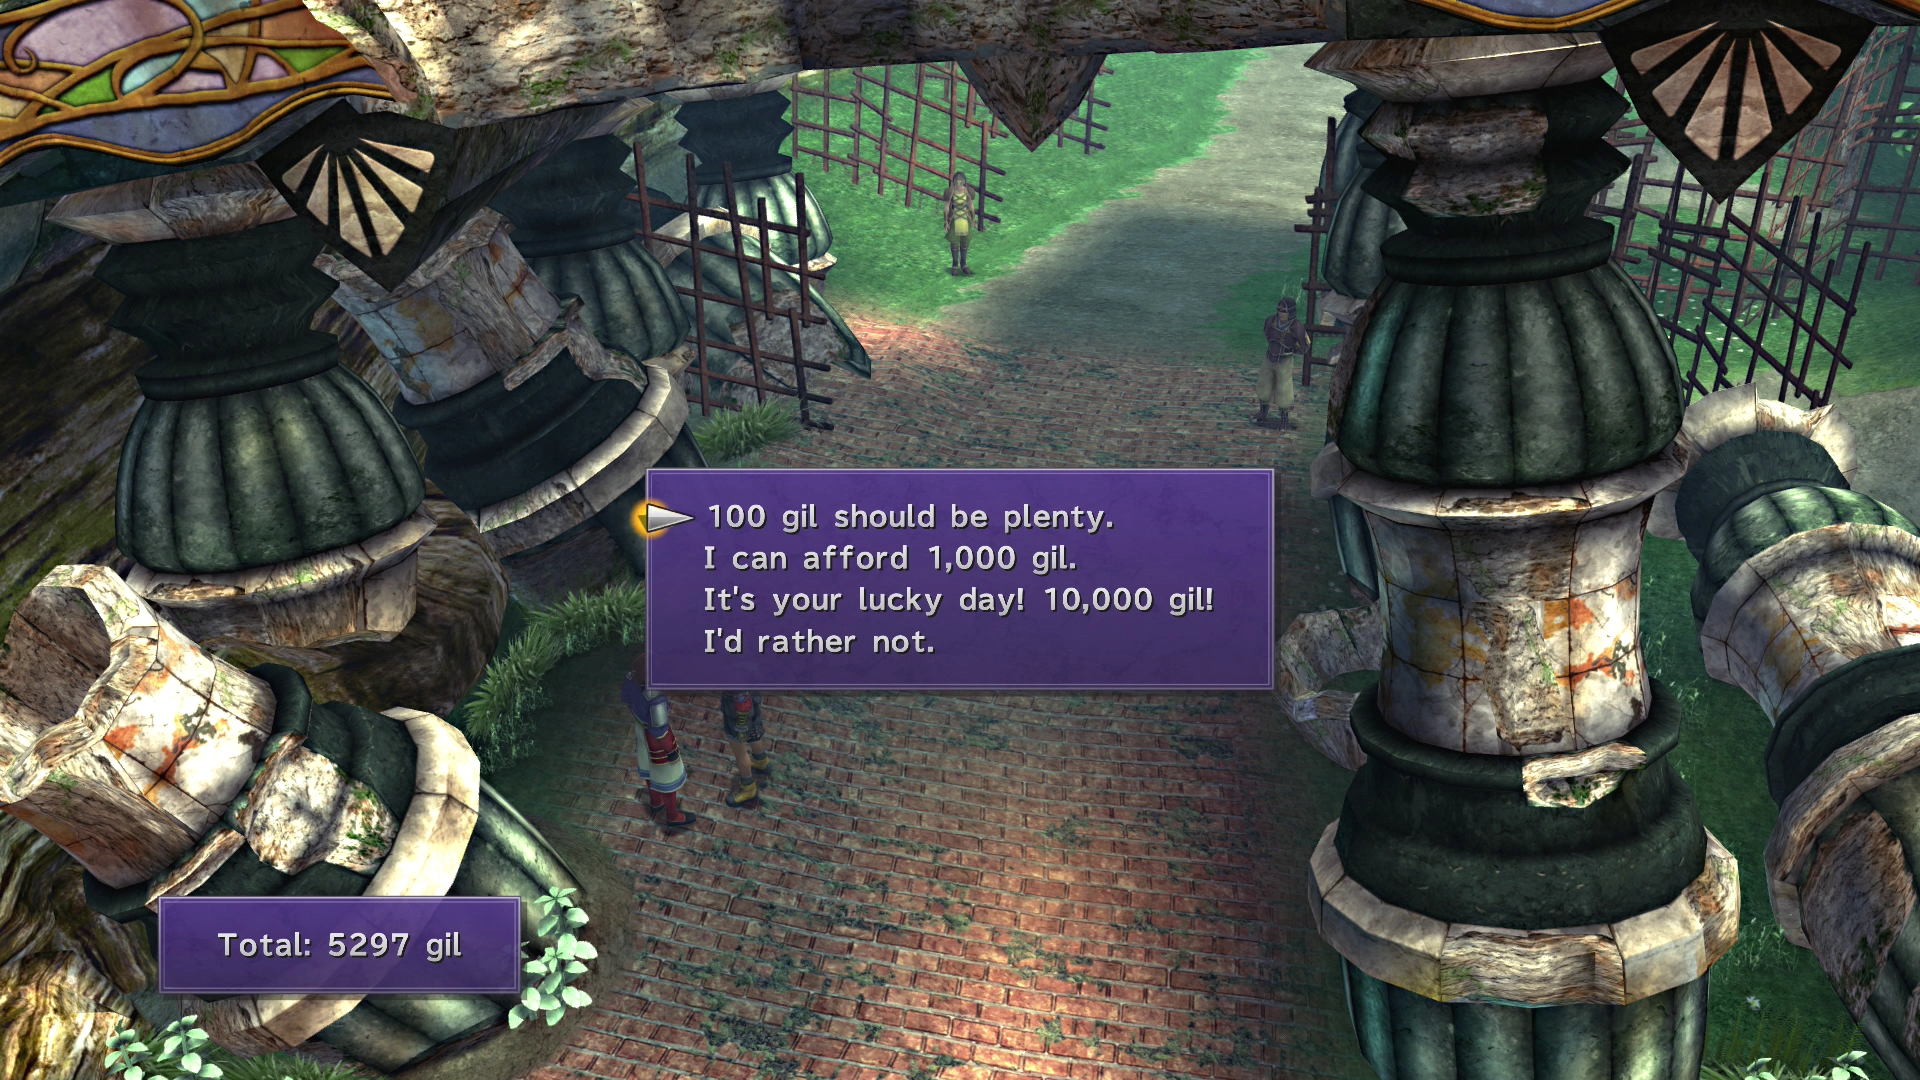
Approach the caravan blocking the road to initiate another scene with Gatta and Luzzu. The caravan will move out of the way. The guard at the bottom-left side of the screen will offer you the opportunity to donate Gil towards the “Operation Mi’ihen” cause.
- Donate 100 Gil, and he will give you another
 Scout
Scout - Donate 1,000 Gil, and he will give you an
 Ice Lance
 - Donate 10,000 Gil, and he will give you a
 Moon Ring
None of these items is worth spending Gil on, so ignore them all.
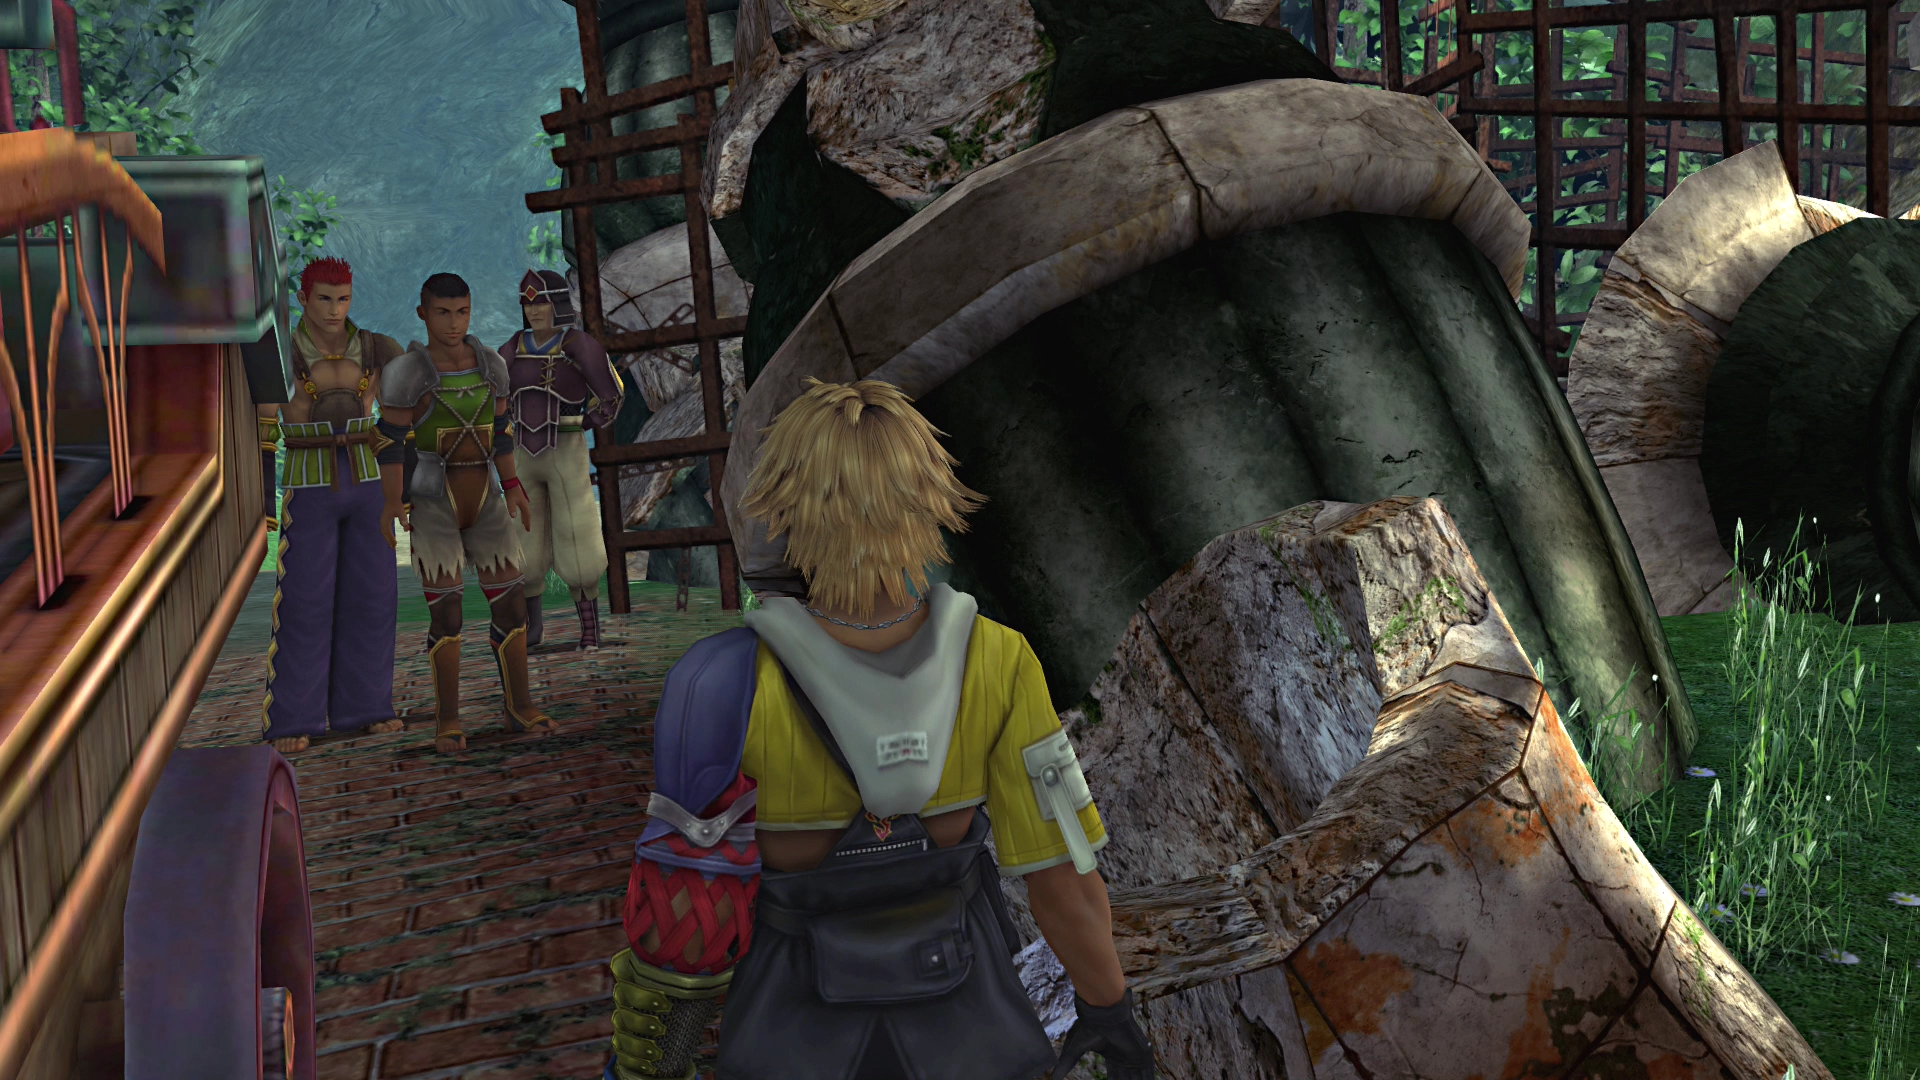
Try to continue walking down the pathway, and you will be denied passage just like Dona. The guard will give you an option to have Operation Mi’ihen explained to you if you would like.
Move away from the gateway back towards the Highroad, and another cutscene will be initiated involving Maester Seymour. Seymour will help Yuna and her guardians gain entry. Move down the pathway to continue the story.
The next section of the game takes place at Mushroom Rock and along the Mushroom Rock Road.