Lake Macalania
Lake Macalania is the area you reach in the Macalania Woods after you have defeated Spherimorph and have moved north from the Save Sphere location.
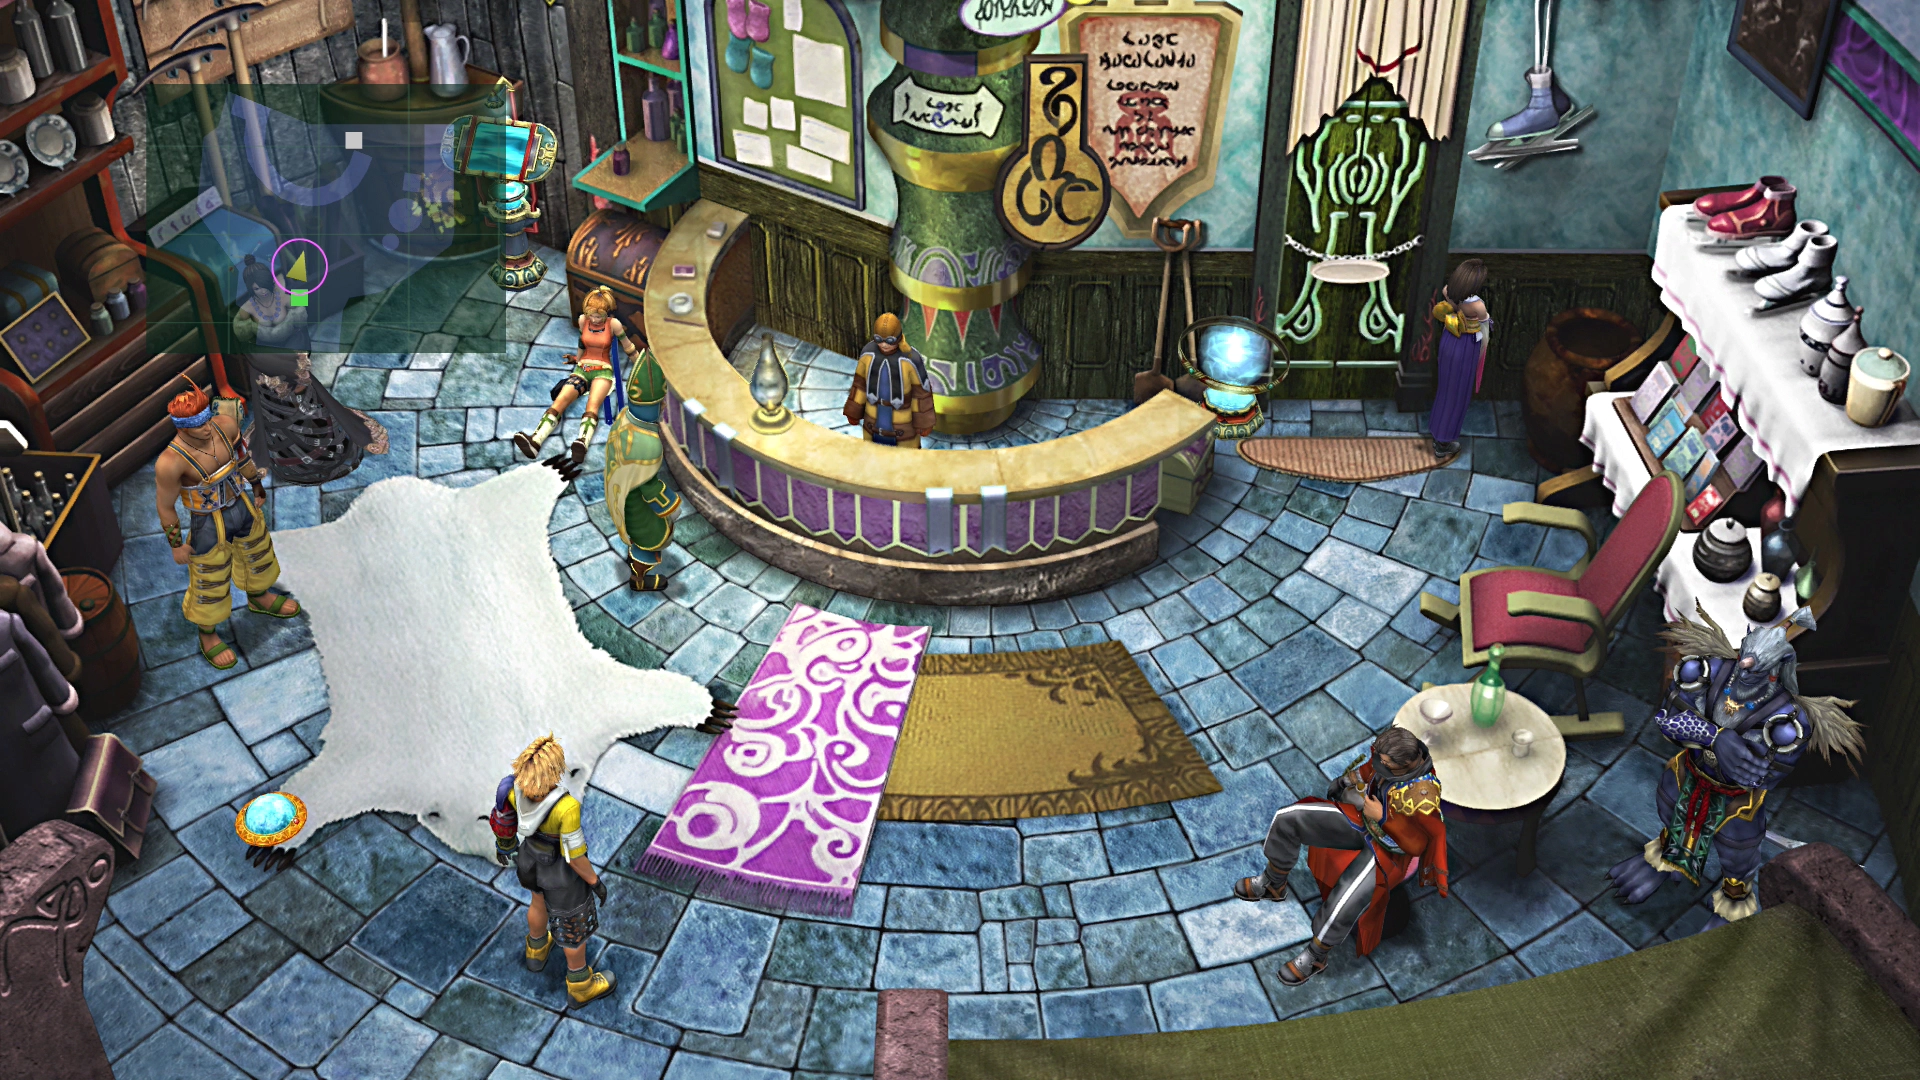
Lake Macalania - Agency Front
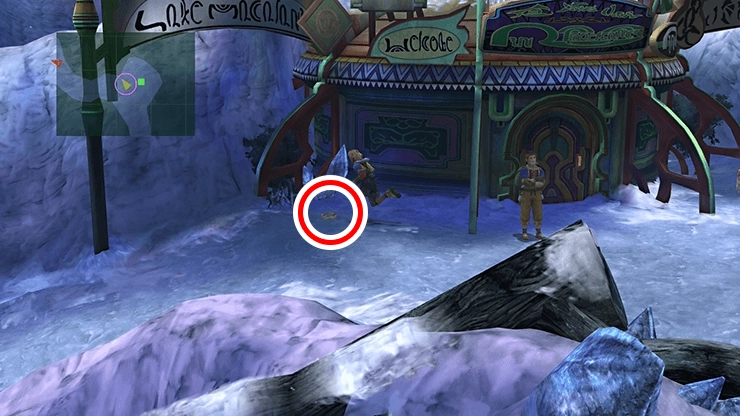
You have reached another of Rin’s Travel Agencies. Start by grabbing the ![]() Al Bhed Primer (Vol. XVI) that is sitting on the ground to the left of the entryway. Buy any items that you may need from O’aka XXIII.
Al Bhed Primer (Vol. XVI) that is sitting on the ground to the left of the entryway. Buy any items that you may need from O’aka XXIII.
Another reminder that ![]() Hi-Potions are now purchasable at the shop, so stock up on some if you need them.
Hi-Potions are now purchasable at the shop, so stock up on some if you need them.
Walk over and talk to Clasko with his Chocobo to get the story moving again. He will ask you what job you see him doing: Chocobo Knight or Chocobo Breeder. If you select the Chocobo Breeder option, you will run into Clasko later on in the game as the keeper of the Chocobos on the S.S. Liki.
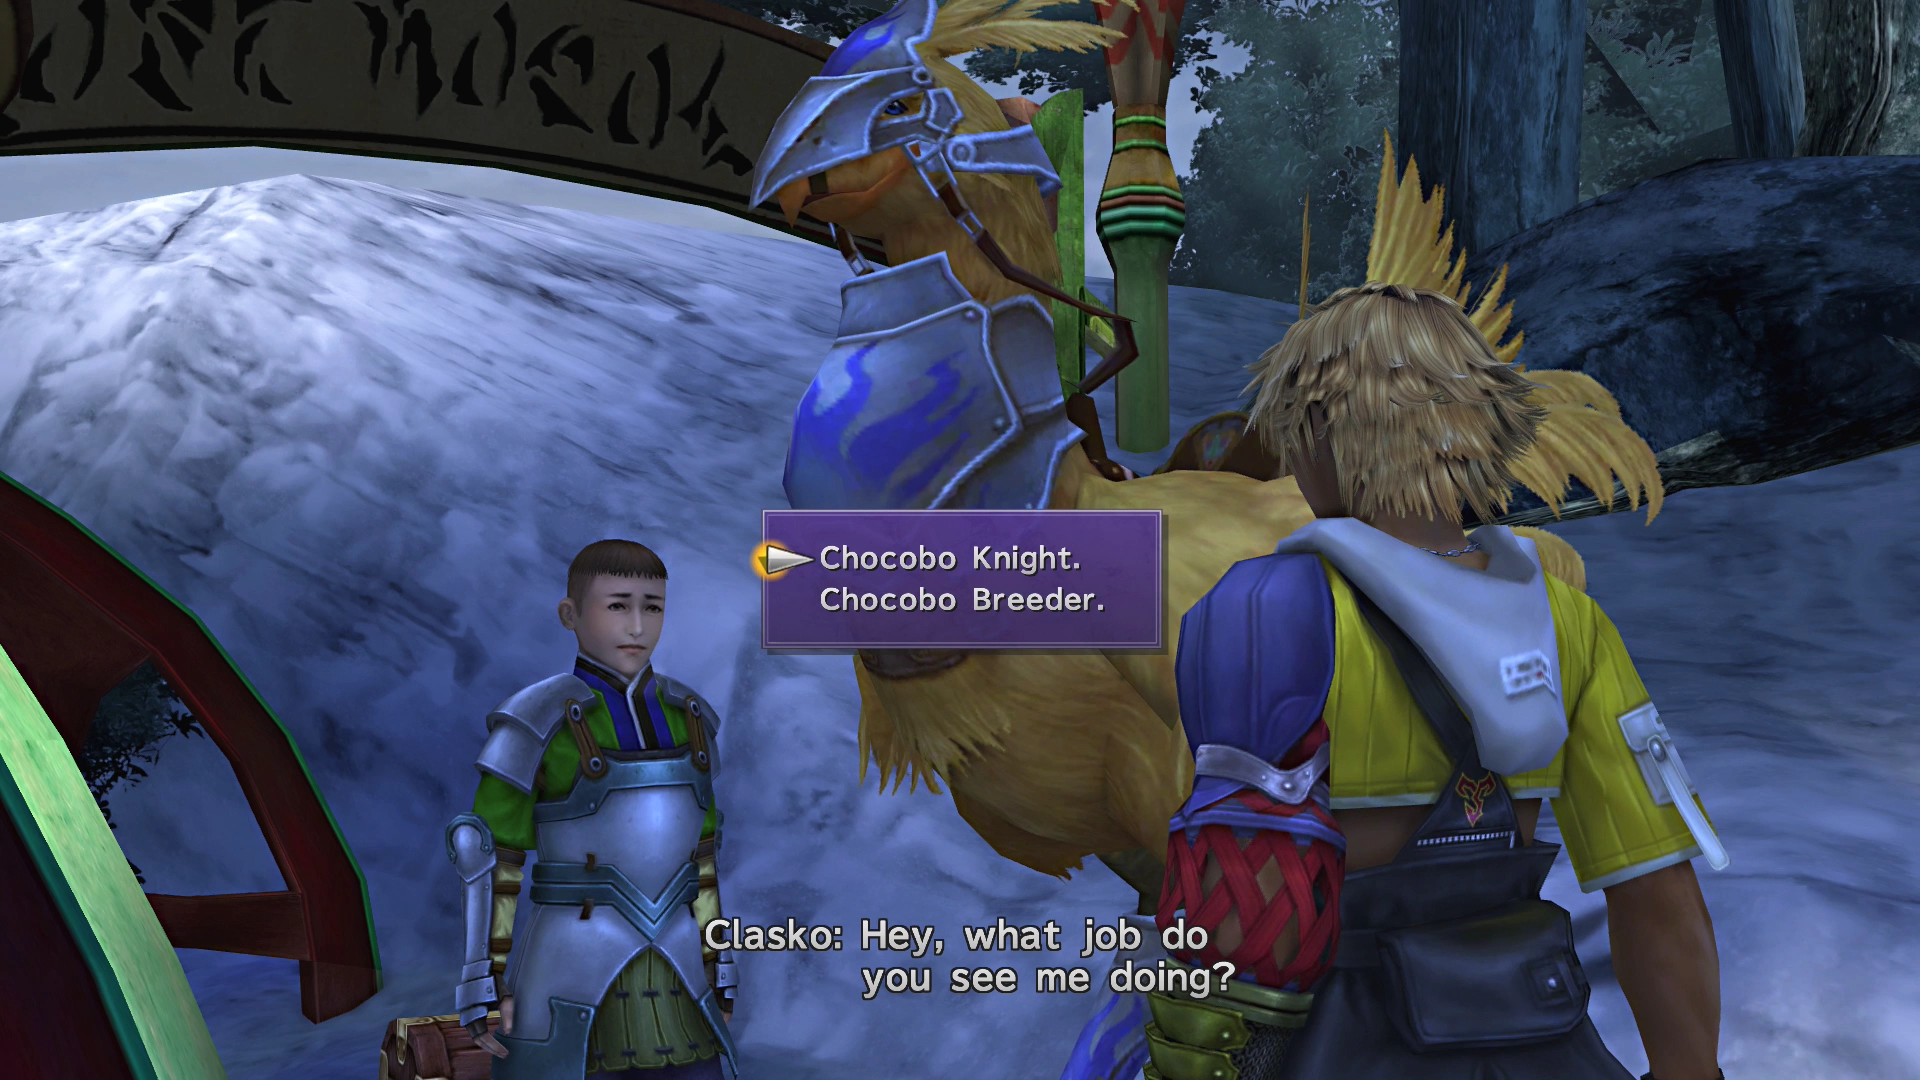
Note: You cannot grab the treasure chest behind Clasko and his Chocobo until later on in the game.
Drop in to the Travel Agency and save your game at the Save Sphere before you continue.
Exit the Agency and travel west following the red arrow on the mini-map. You will be interrupted by a cutscene featuring Tromell Guado discussing Maester Seymour’s sudden disappearance in Guadosalam. Yuna will leave with Tromell Guado, and an Al Bhed will ambush her just up ahead.
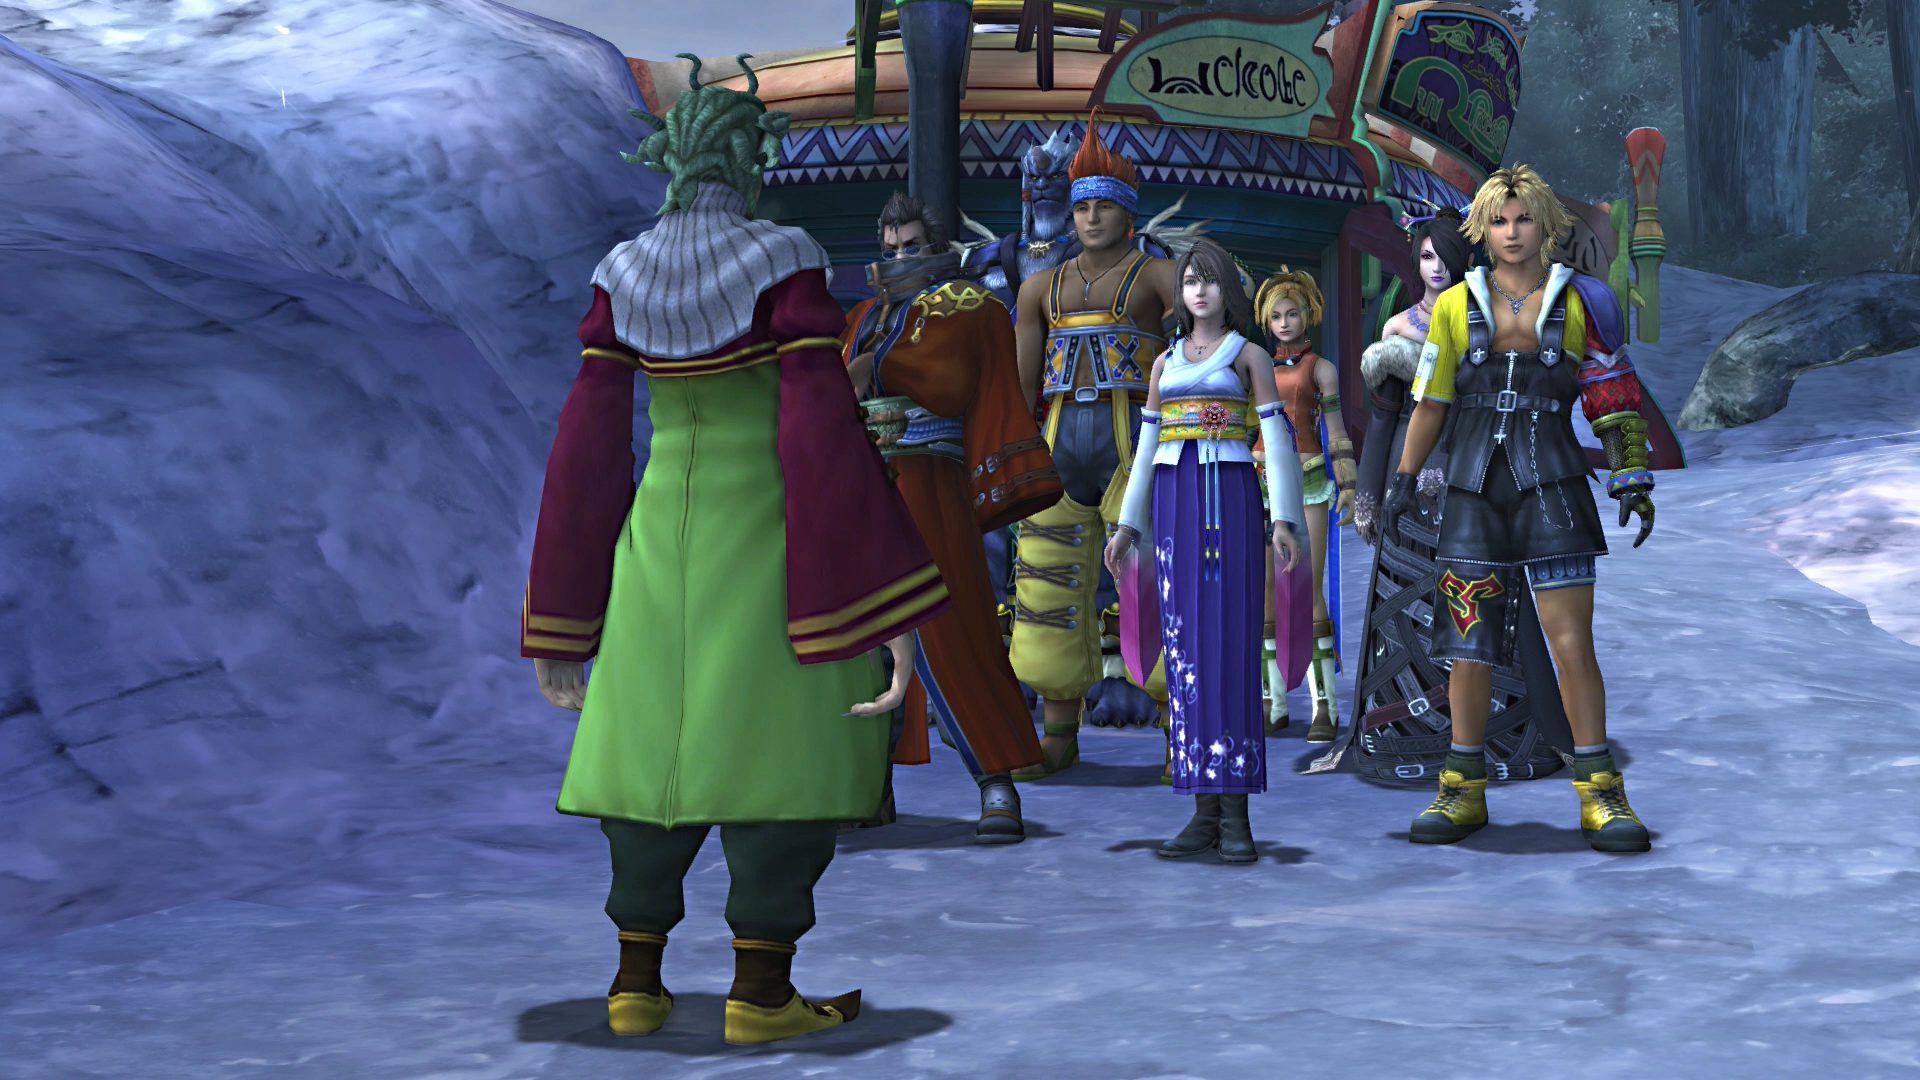
Make sure that you and your party are ready for the next boss battle before you rush in. Yuna will not be participating in this battle (again). You have one more opportunity to return to the Travel Agency to save or purchase items if needed before you initiate the fight.
Equip any weapons you possess currently that have the ![]() Lightningstrike ability before you jump into the fray.
Lightningstrike ability before you jump into the fray.
Boss Battle
In Game Description: Shoots all targets with Gatling Gun. Vulnerable to lightning. Starts countdown to Mana Beam once the Negator is destroyed. Retaliates when hit by lightning magic during countdown. Restores Negator after being hit by magic four times.
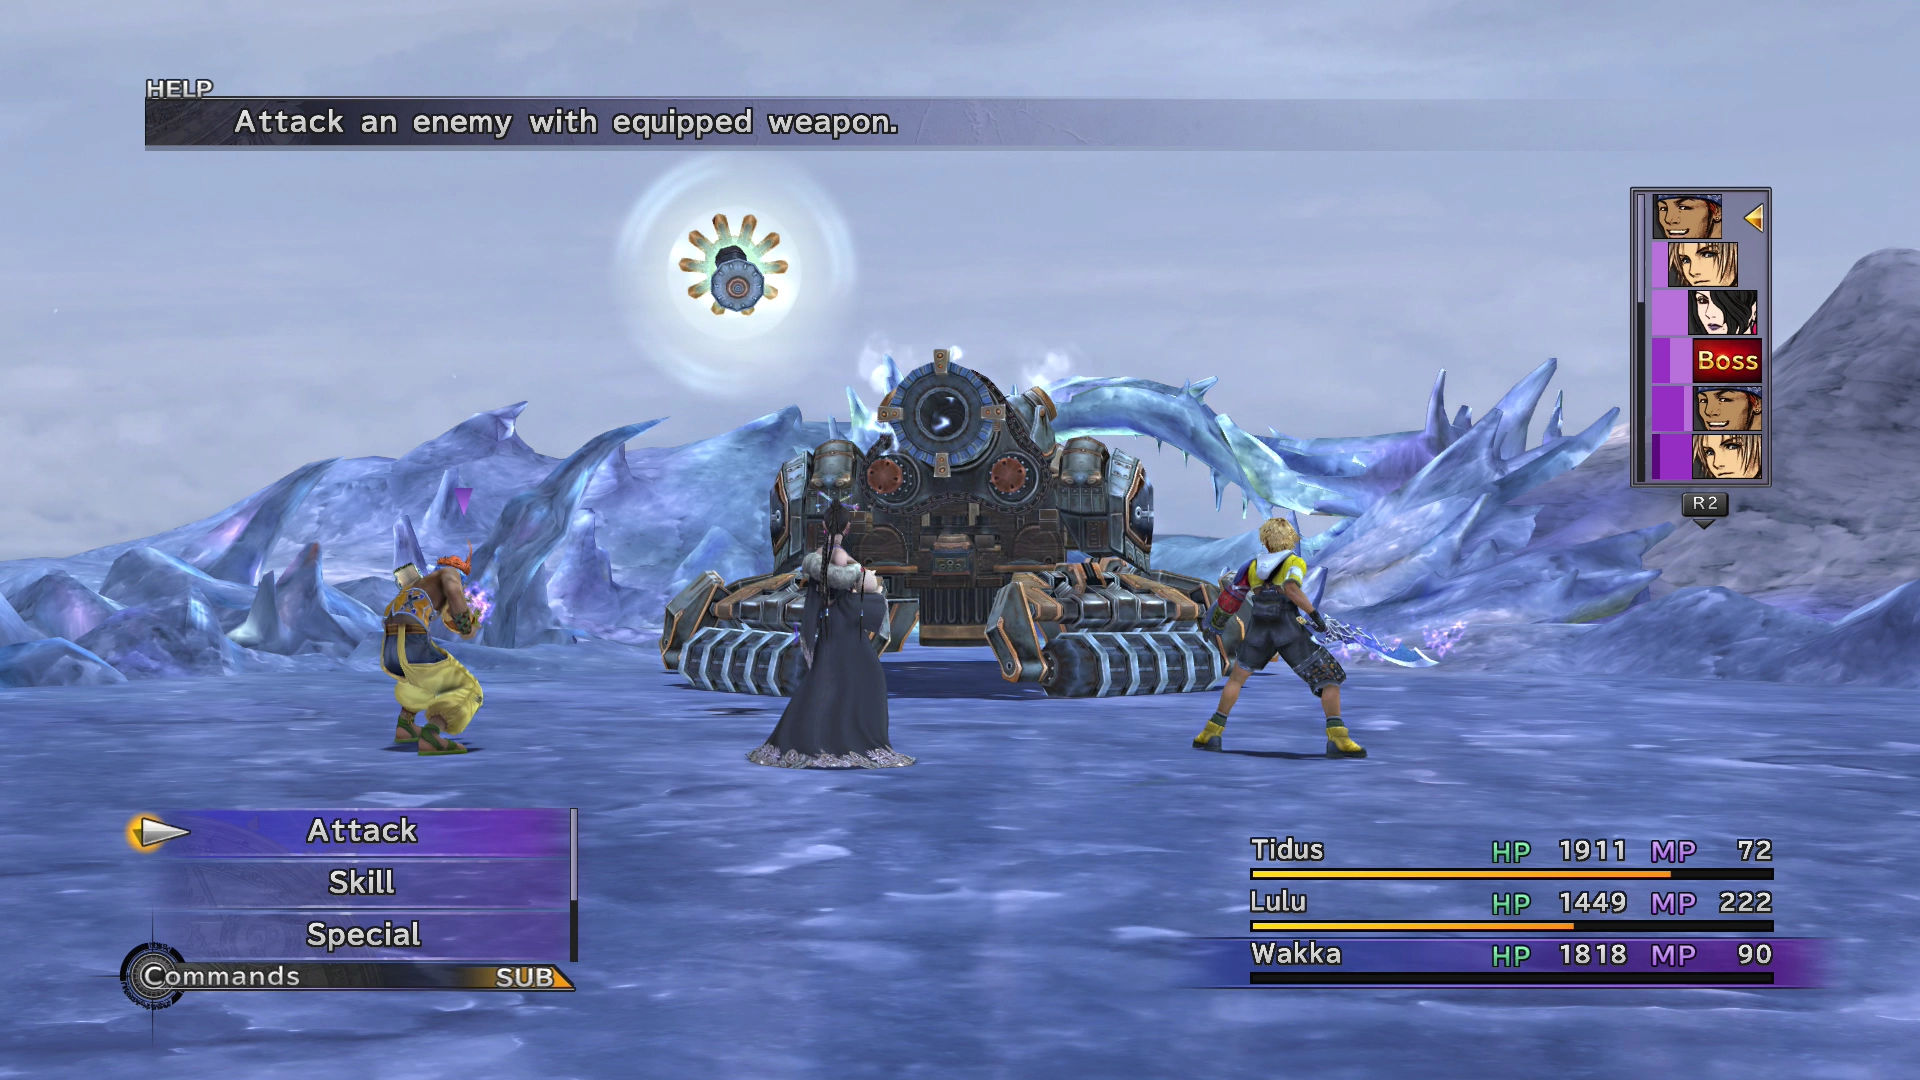
HP: 16,000
There is a small, floating machine called a Negator that disables all of your magic and summoning abilities. Your priority in this fight is to take out the Negator using regular attacks. You will need to have Wakka defeat the Negator before you can attack with Magic.
Have your other party members use their skills and special abilities while Wakka is defeating the Negator. Start by having Lulu use her ![]() Reflex ability, as this will help your party members dodge Crawler’s counterattacks. Tidus should use
Reflex ability, as this will help your party members dodge Crawler’s counterattacks. Tidus should use ![]() Cheer while Negator is up and then use
Cheer while Negator is up and then use ![]() Haste on Lulu, followed by each of the other party members.
Haste on Lulu, followed by each of the other party members.
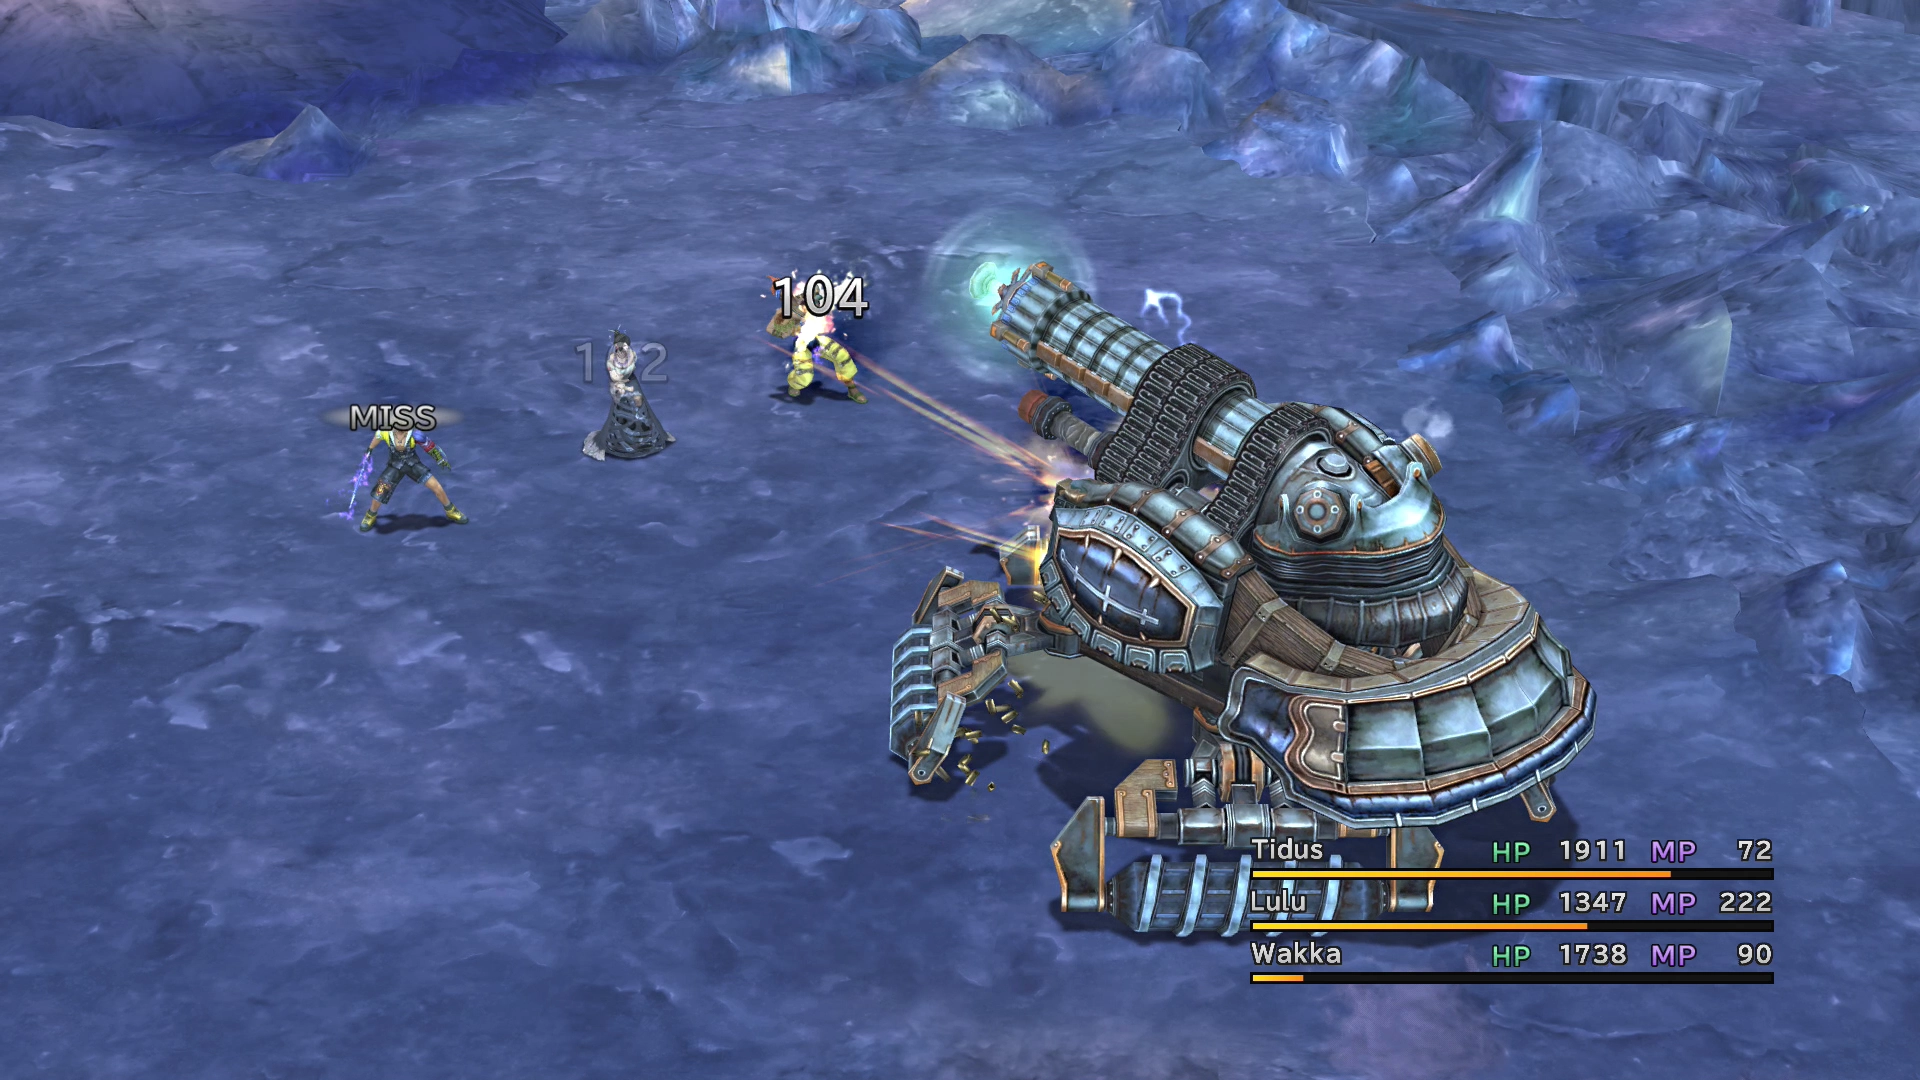
Crawler has an ability called “Mana Beam,” which takes three turns to fully charge. If you do enough damage to it during this period, you will cancel the attack; however, this will cause Crawler to release another Negator, which you will then have to destroy.
You can also prevent the “Mana Beam” attack if the Negator is still active. If you notice that the counter is about to reach 1 or 0, leave the Negator up and active, and it will protect you from the Mana Beam attack.
This boss is weak to ![]() Thunder and Lightning-based attacks. Lulu’s
Thunder and Lightning-based attacks. Lulu’s ![]() Thunder and
Thunder and ![]() Thundara attacks are highly effective against the Crawler. Having Lulu use
Thundara attacks are highly effective against the Crawler. Having Lulu use ![]() Focus on the team will also significantly increase the amount of damage done from her spells.
Focus on the team will also significantly increase the amount of damage done from her spells.
Steal:
Drops:
Lake Macalania - Crevasse
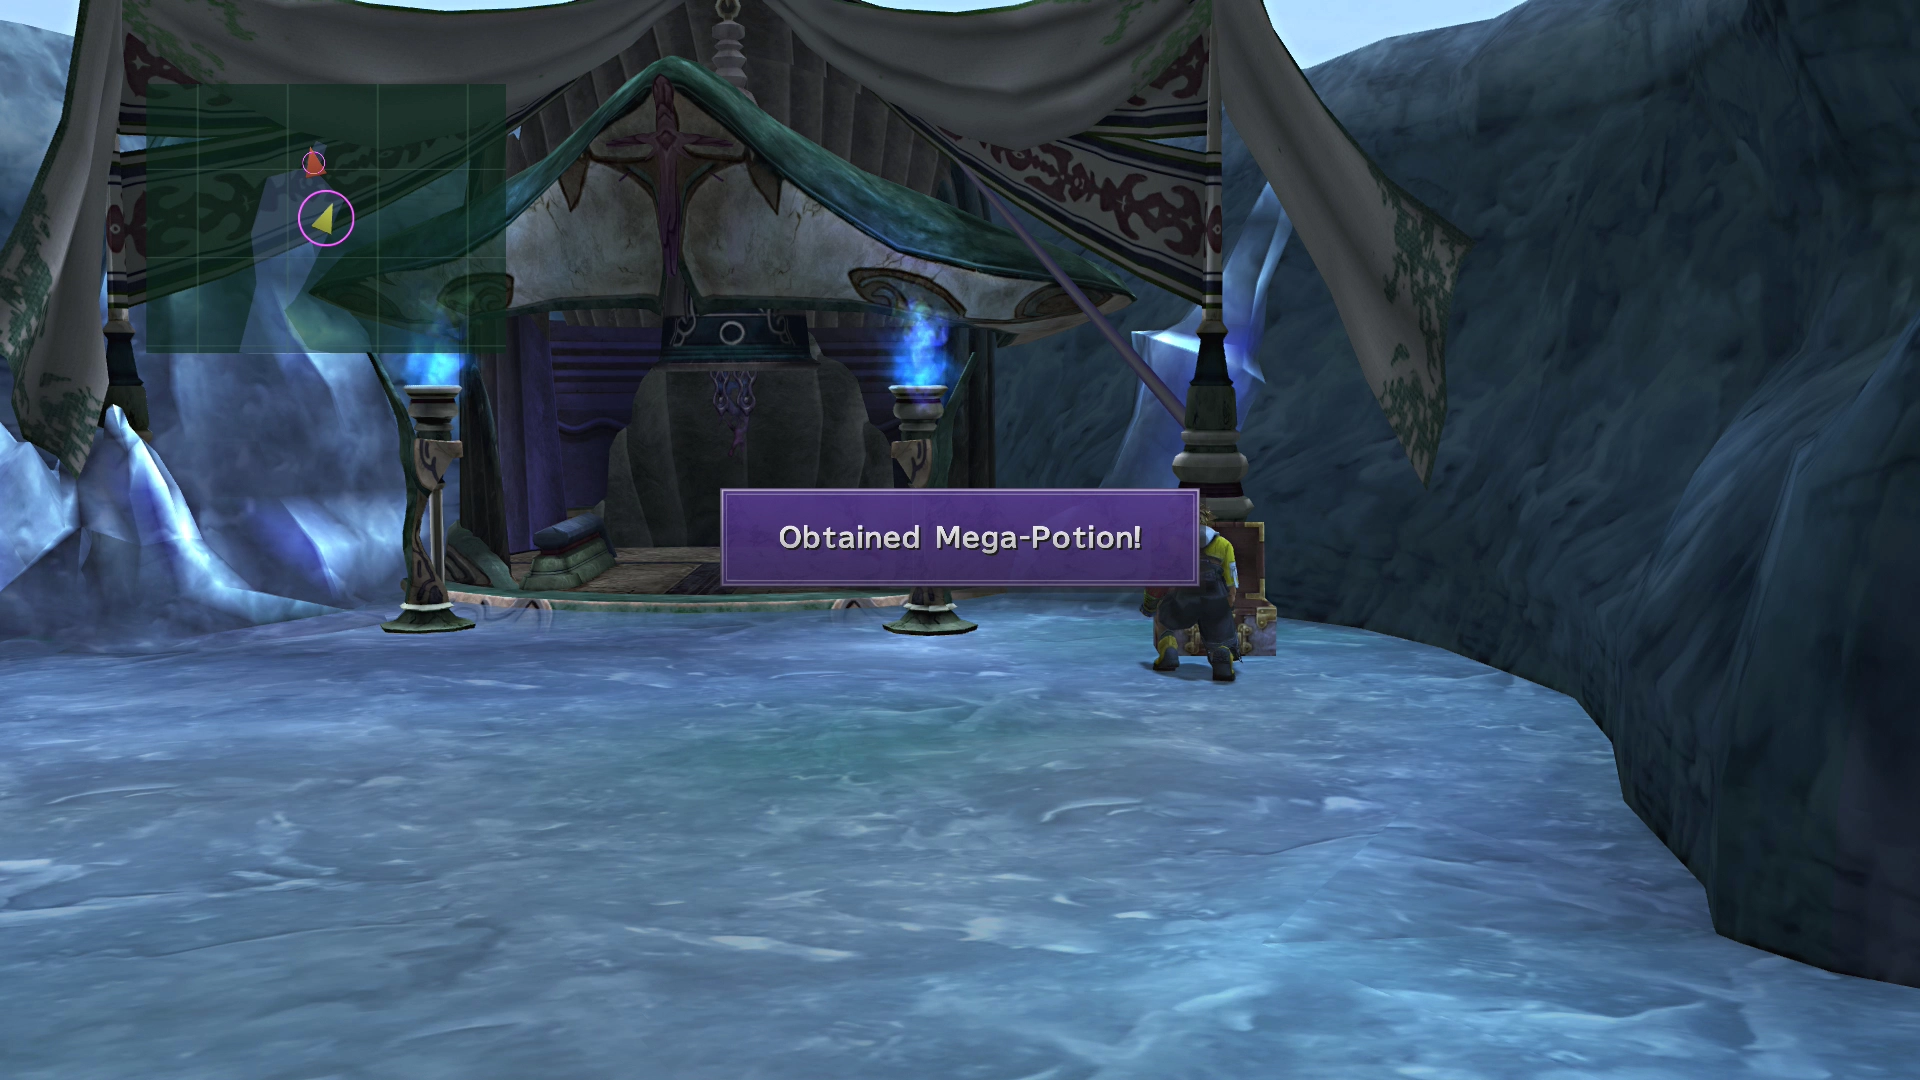
Grab the treasure chest just outside of Macalania Temple. It contains a ![]() Mega-Potion.
Mega-Potion.
Macalania - Road
The Al Bhed soldier at the bottom of the stairs will give you 400 Gil if you talk to her. Follow the pathway around and head into the temple.
Macalania - Hall
Save your game at the Save Sphere again before you continue. Talk to Tromell, and he will give you a ![]() Shell Targe. The Shell Targe is not a very good shield. The
Shell Targe. The Shell Targe is not a very good shield. The ![]() SOS Shell ability only activates when Rikku reaches a critically low level of health.
SOS Shell ability only activates when Rikku reaches a critically low level of health.

Check out the Equipment Abilities section for more information on different abilities for weapons.
Shelinda will rush over to greet you as soon as you enter the temple. There is a treasure chest on the left side of the temple that contains 5,000 Gil.
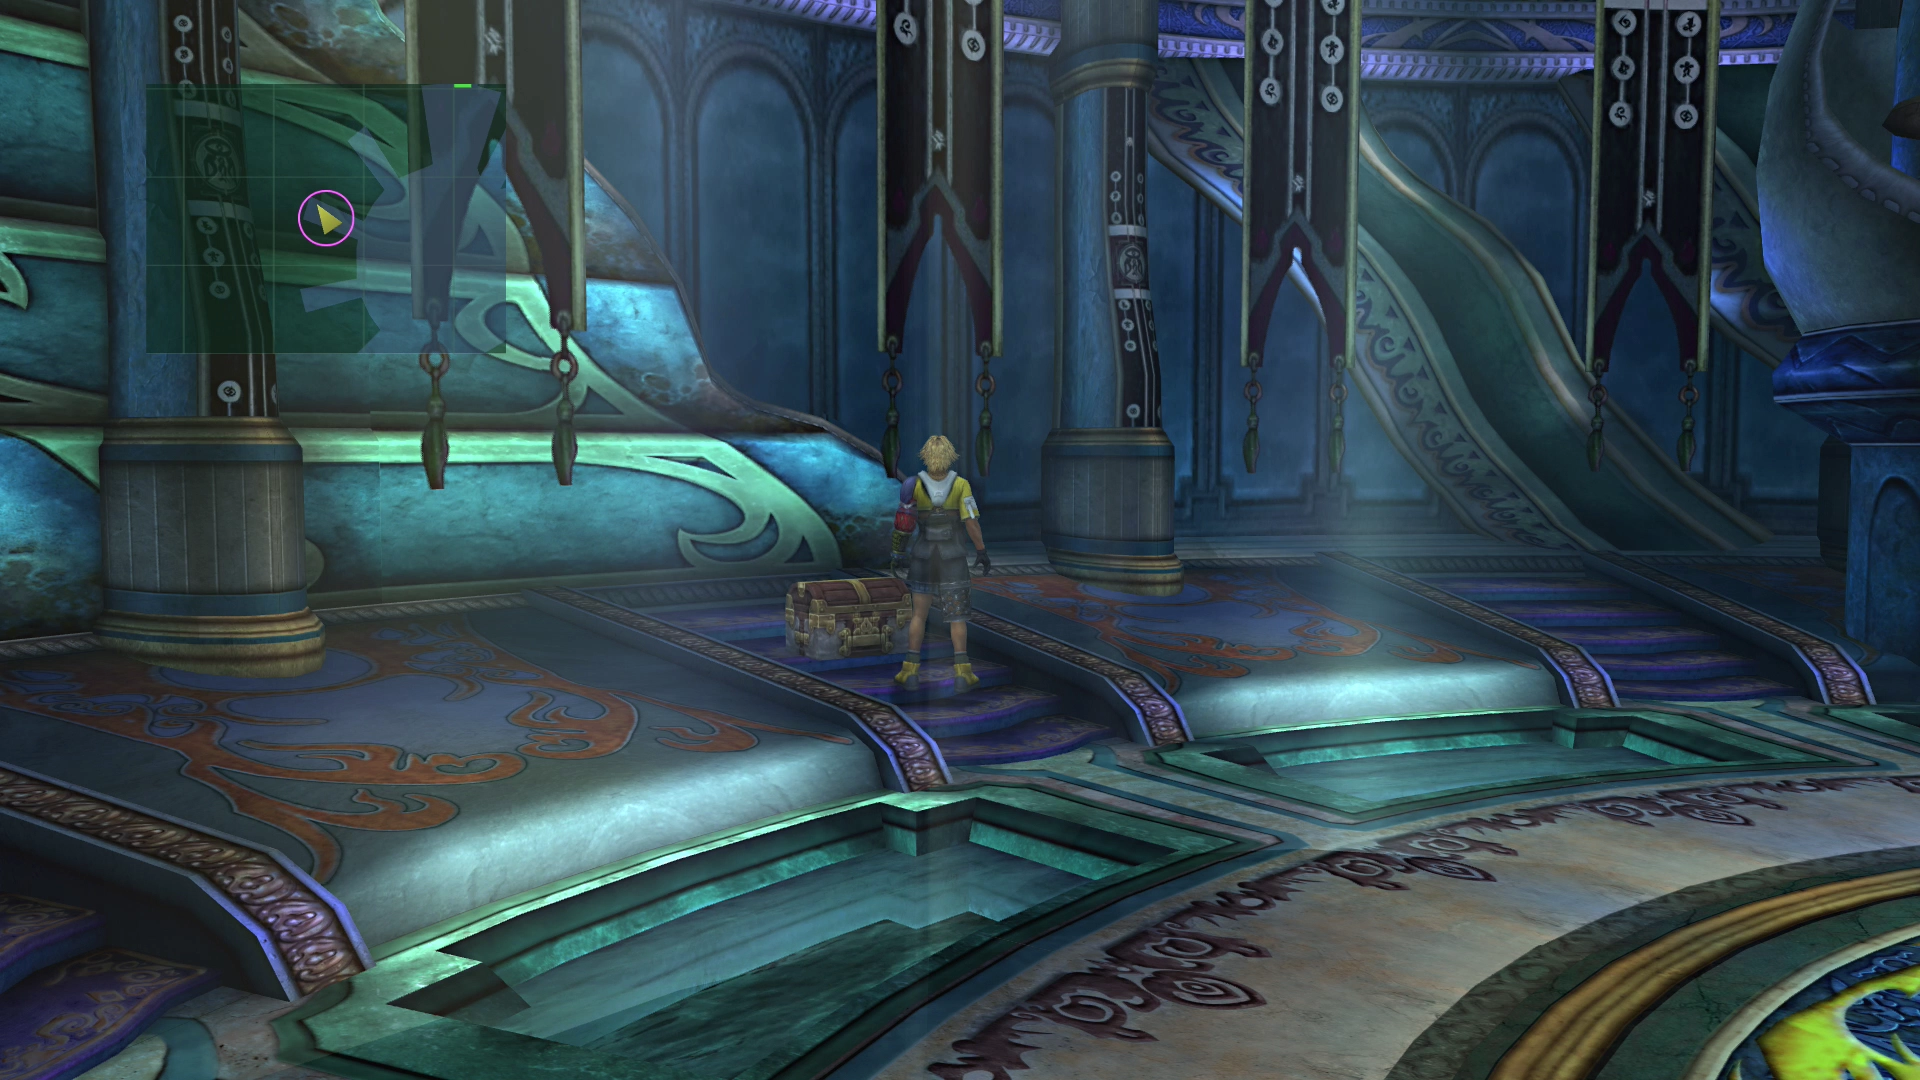
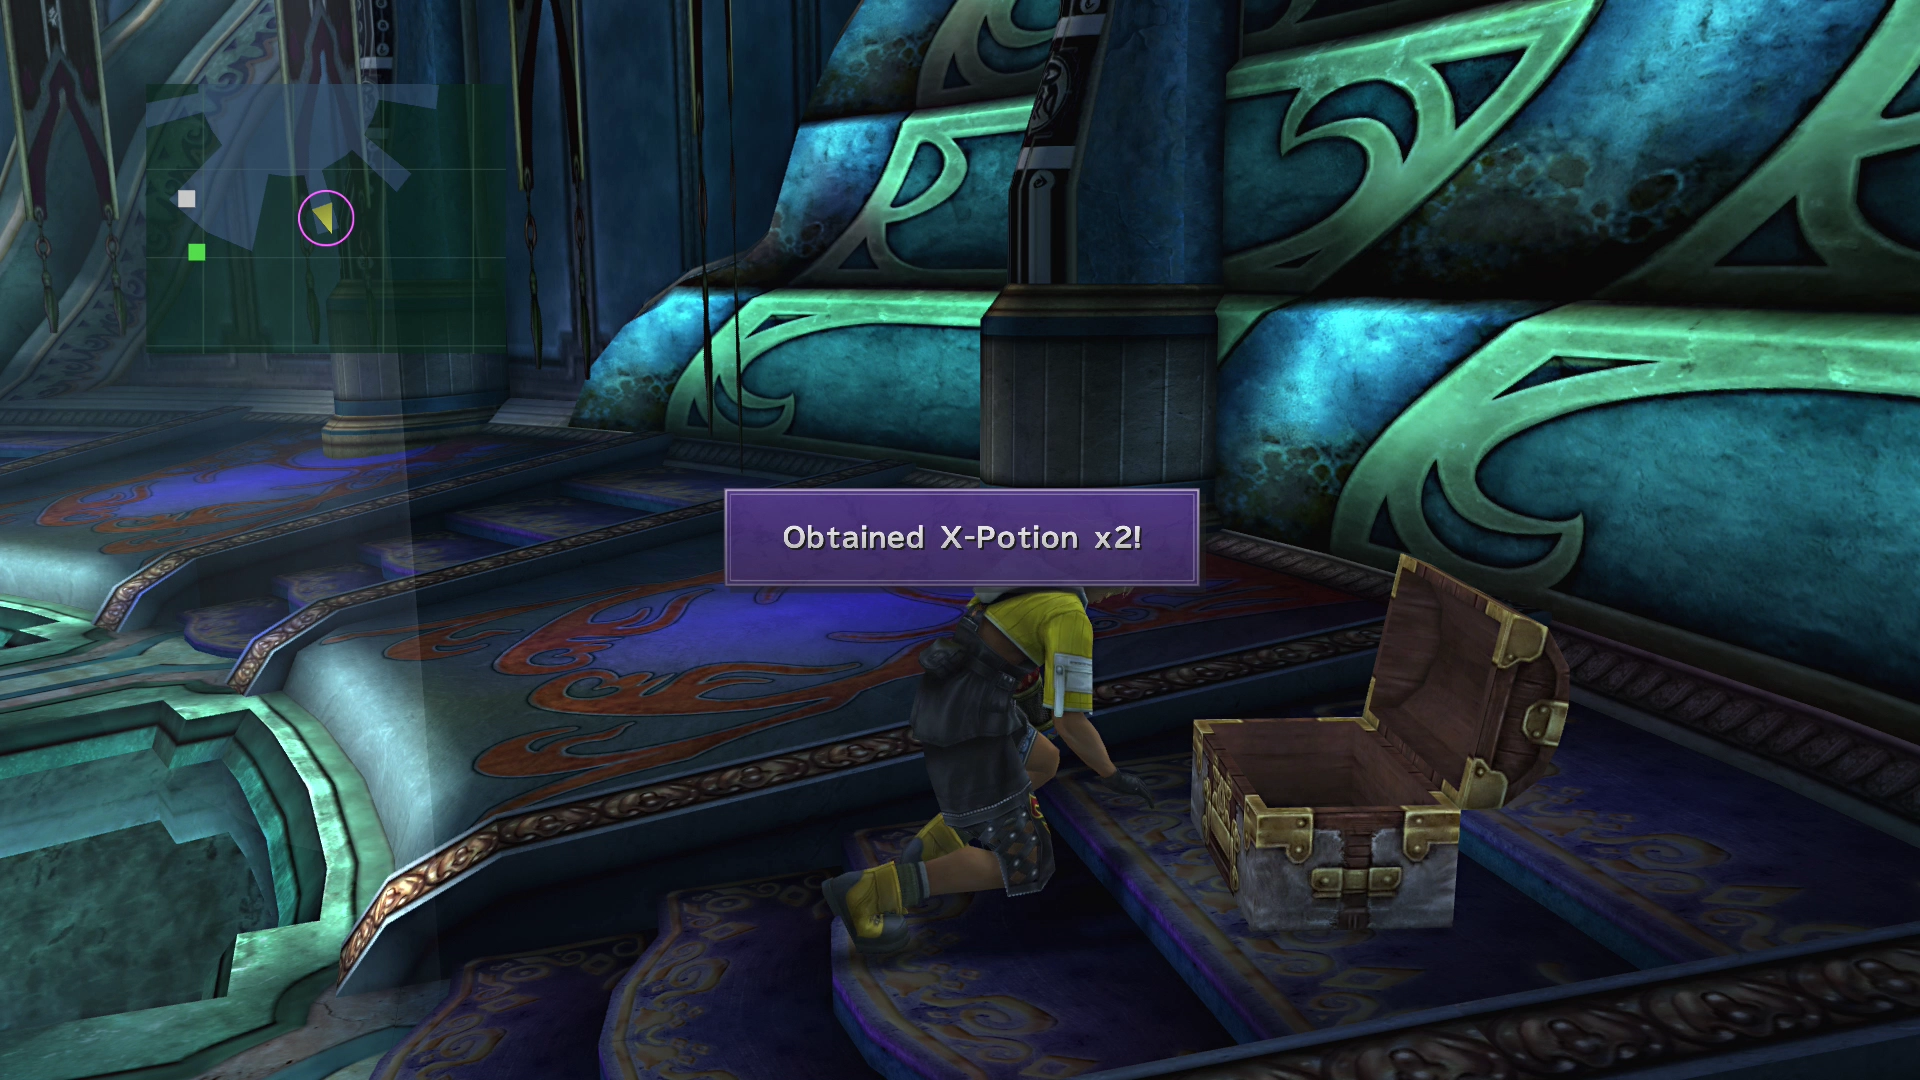
There is another treasure chest on the opposite side of the temple, towards the camera’s location, that contains two ![]() X-Potions.
X-Potions.
If you attempt to walk up the steps, the team will be interrupted by one of the temple acolytes on the lower floor. The group will get to watch another sphere, this time involving Lord Jyscal.
There is a treasure chest at the back of the room that contains two ![]() Remedies. Talk to the person closest to the chest to receive two
Remedies. Talk to the person closest to the chest to receive two ![]() Hi-Potions.
Hi-Potions.
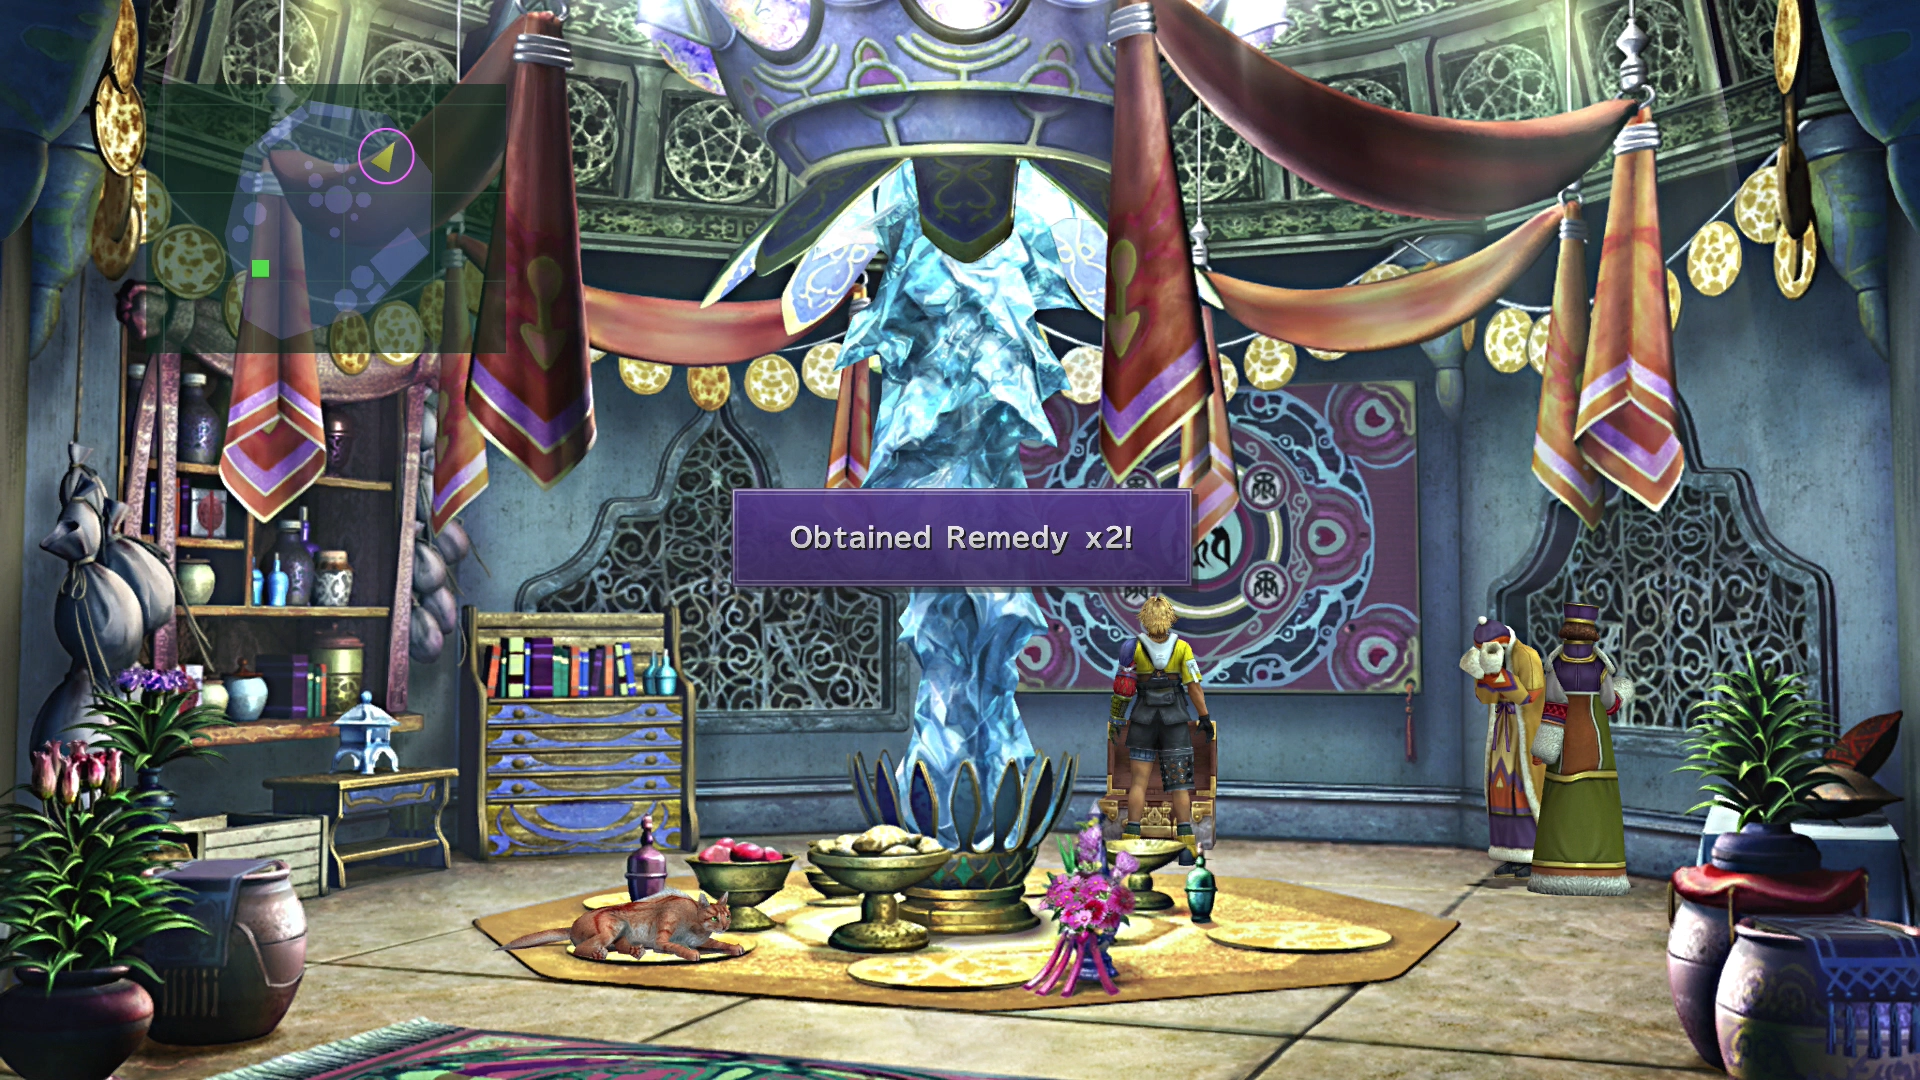
Go into the nearby room and speak to the men in there for an ![]() Ether and an
Ether and an ![]() Elixir, as well as three
Elixir, as well as three ![]() Phoenix Downs in the treasure chest. Exit the room to continue the story.
Phoenix Downs in the treasure chest. Exit the room to continue the story.
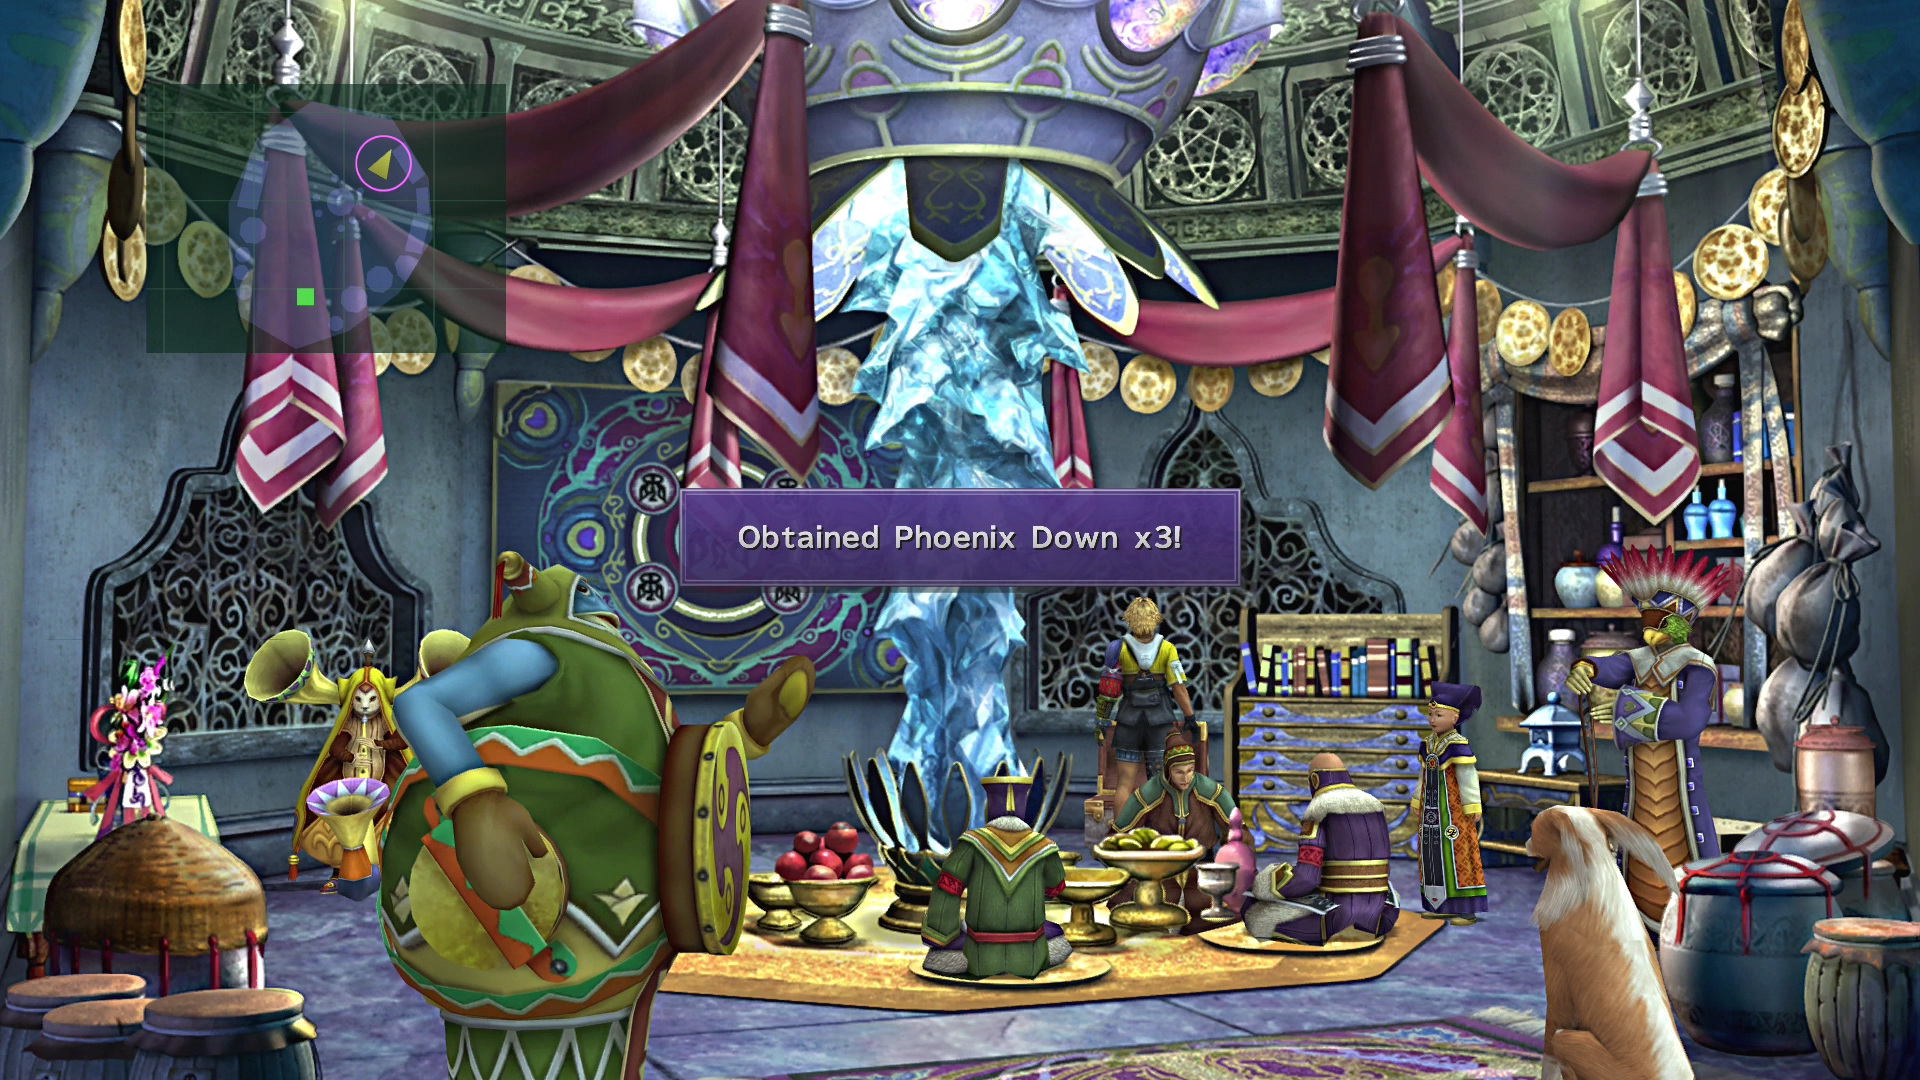
Save your game and buy any items you need from O’aka XXIII, because there is a boss battle coming up. At this point, it should become pretty clear that O’aka XXIII is following you around!
Boss Battle
In Game Description: Casts ice, lightning, water, and fire spells in that order, so have Yuna cast NulFrost, NulShock, NulTide, and NulBlaze. He’ll summon when cornered. Beware!
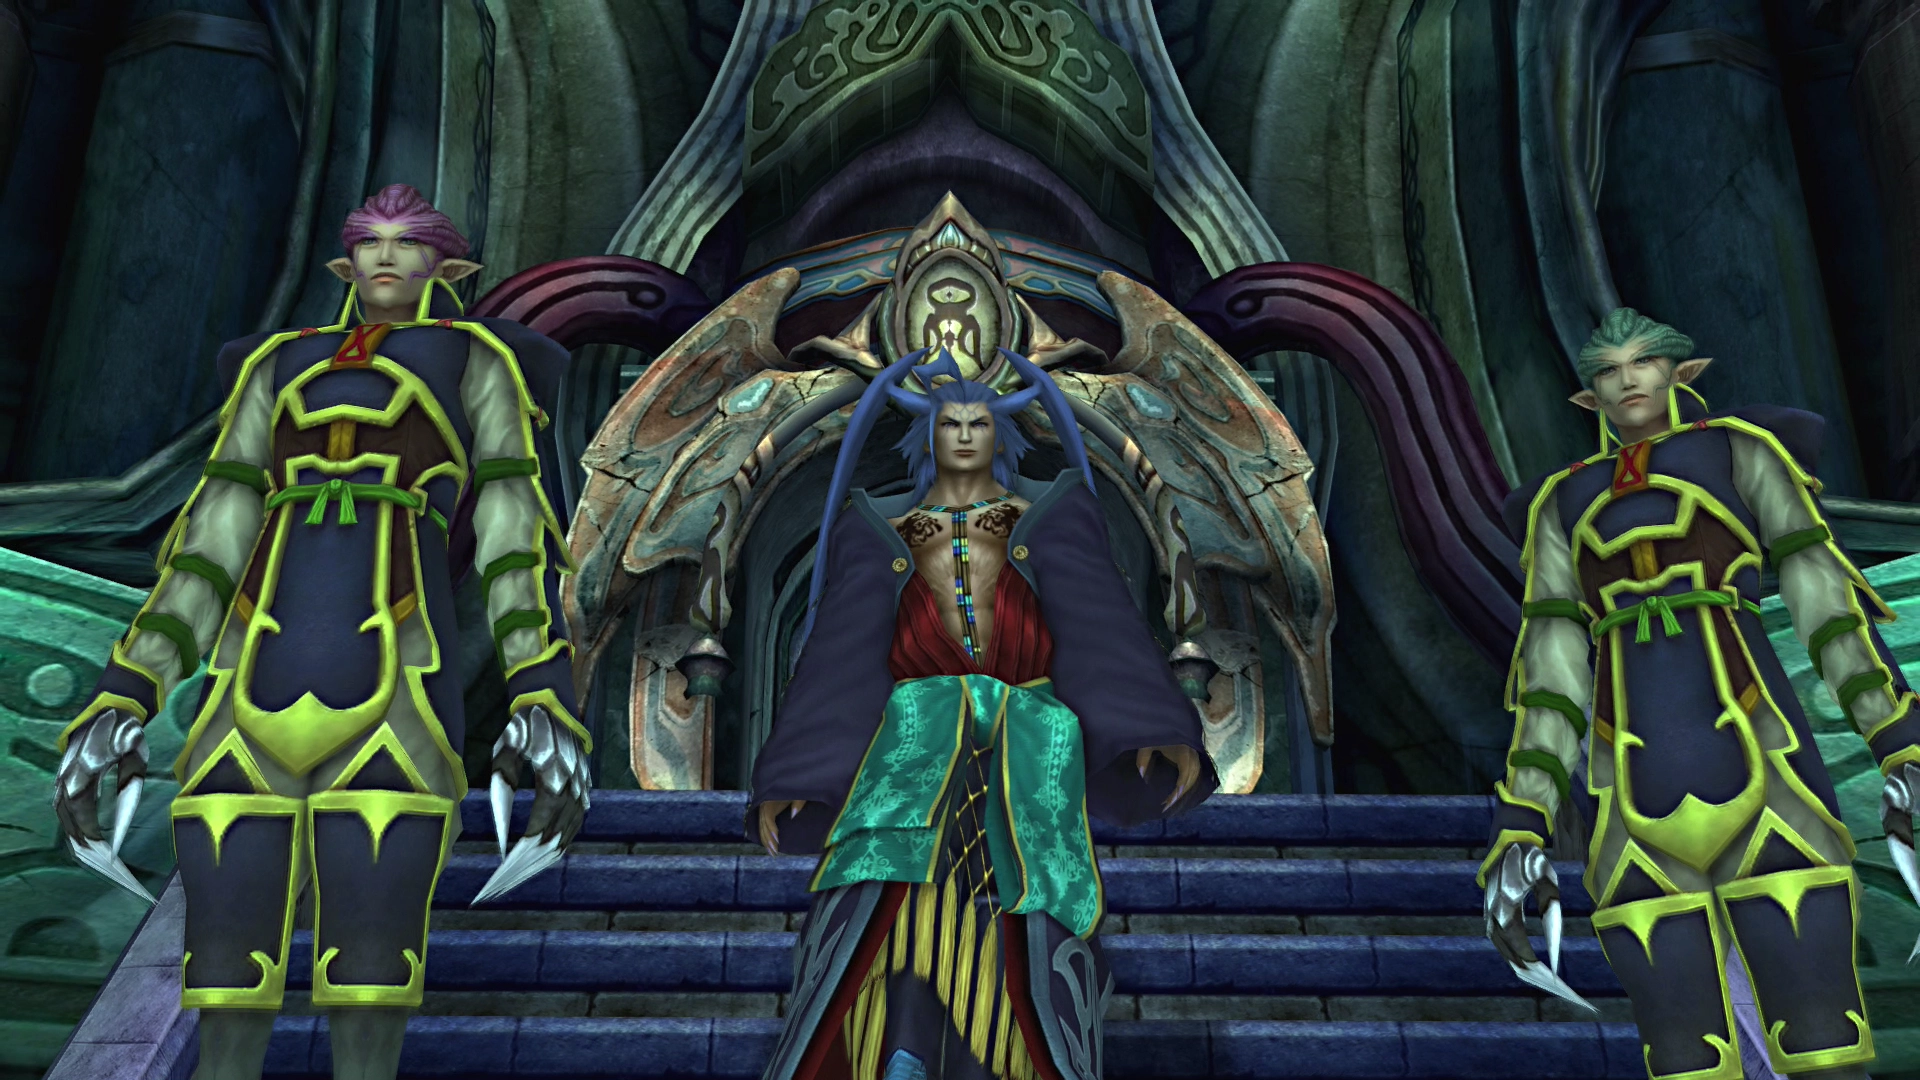
HP: 6,000
This fight involves battling Maester Seymour and two of his Guado Guardians. The Guado Guardians will cast ![]() Protect on themselves, and Maester Seymour will cast
Protect on themselves, and Maester Seymour will cast ![]() Shell on himself.
Shell on himself.
Tidus, Yuna, and Wakka will all have Trigger Commands available to them for this fight. Using Tidus’ Trigger Command to talk to Seymour will raise his ‘Strength,’ while using Yuna’s or Wakka’s will raise their ‘Magic Defense’ attribute.
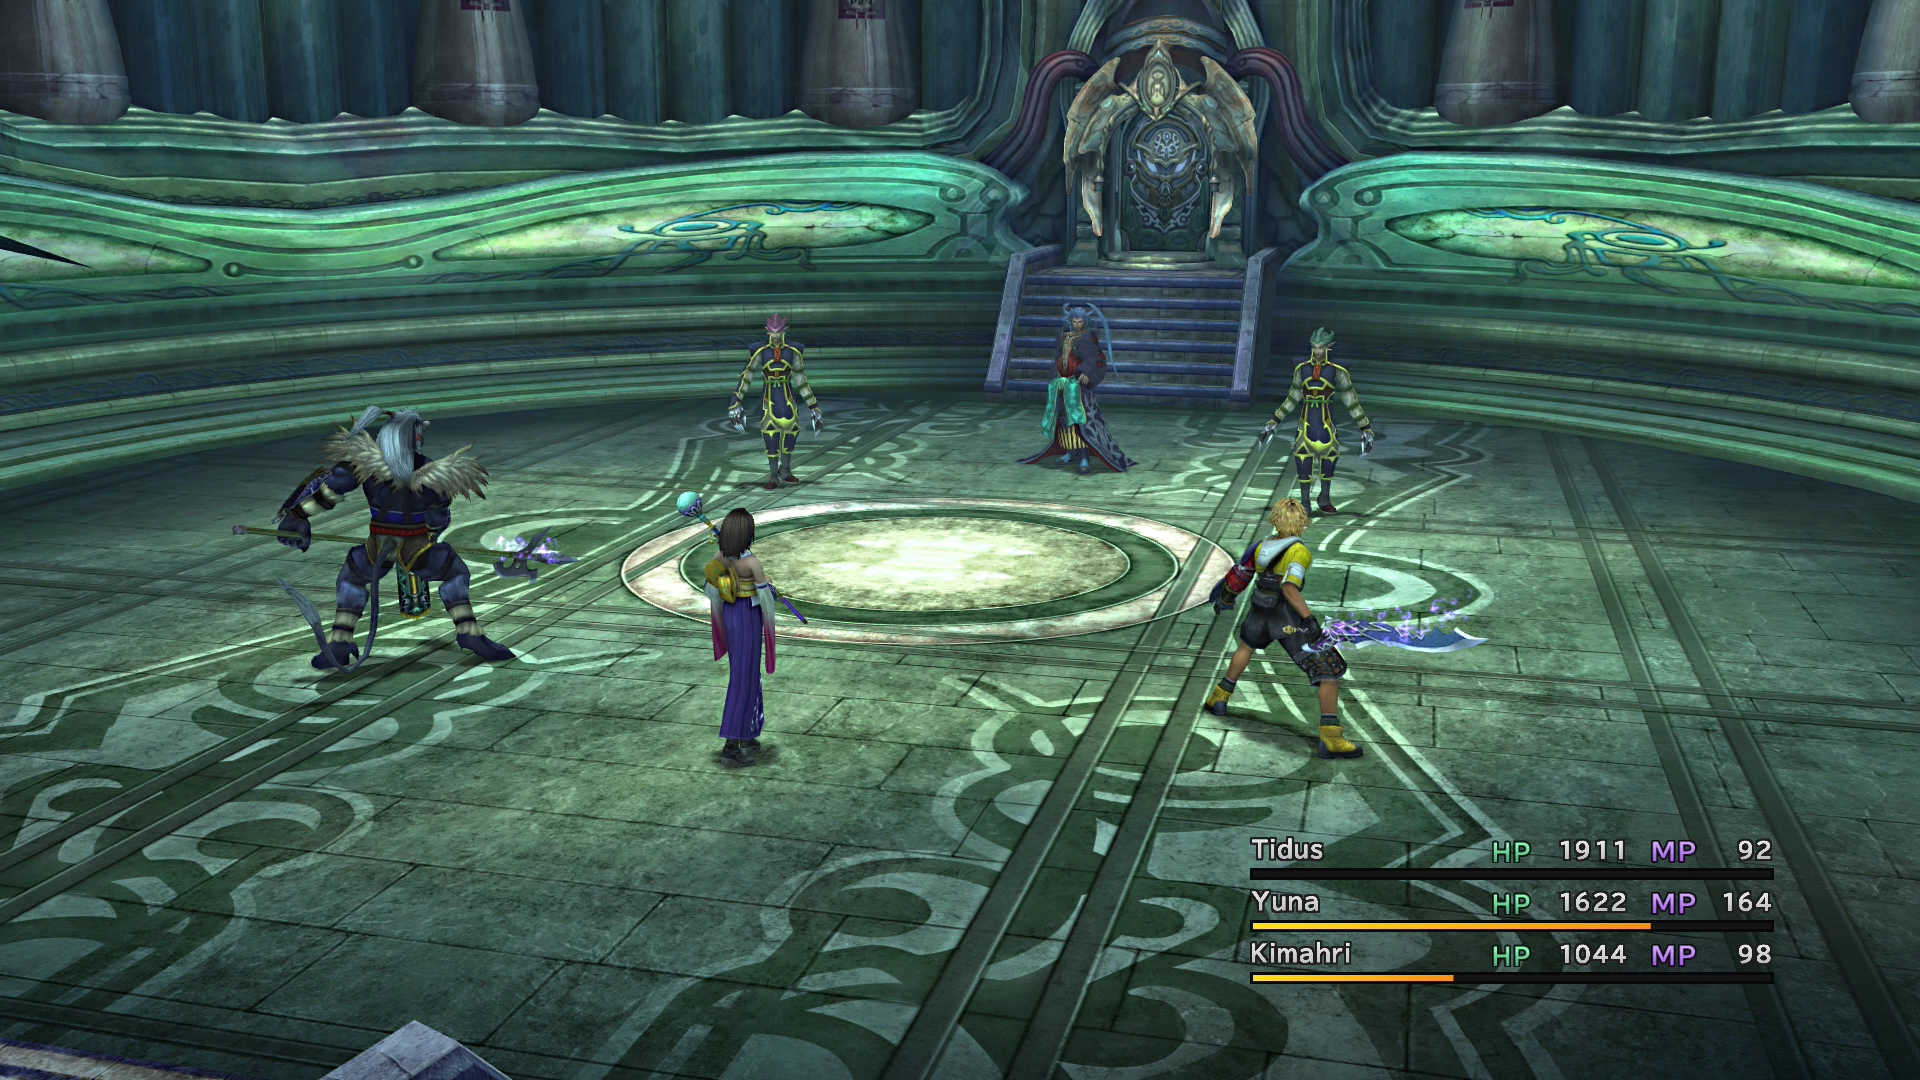
The Guado Guardians will step in front of Seymour if you try to attack him physically. They can be challenging to defeat because they have an ![]() Auto-Potion ability, which will cause them to use a potion on themselves every time you hit them. You can nullify this effect in one of two ways:
Auto-Potion ability, which will cause them to use a potion on themselves every time you hit them. You can nullify this effect in one of two ways:
- Have Rikku use
 Steal ability on each Guado Guardian—they will no longer have
  Hi-Potions to use
 - Use Auron’s
 Threaten ability, which stuns them and causes them to be unable to use any moves
Destroy both Guado Guardians before you move on to Seymour. Have Yuna use her Nul magics (![]() NulBlaze,
NulBlaze, ![]() NulShock,
NulShock, ![]() NulTide, and
NulTide, and ![]() NulFrost) to nullify Seymour’s magic-based attacks as they come.
NulFrost) to nullify Seymour’s magic-based attacks as they come.
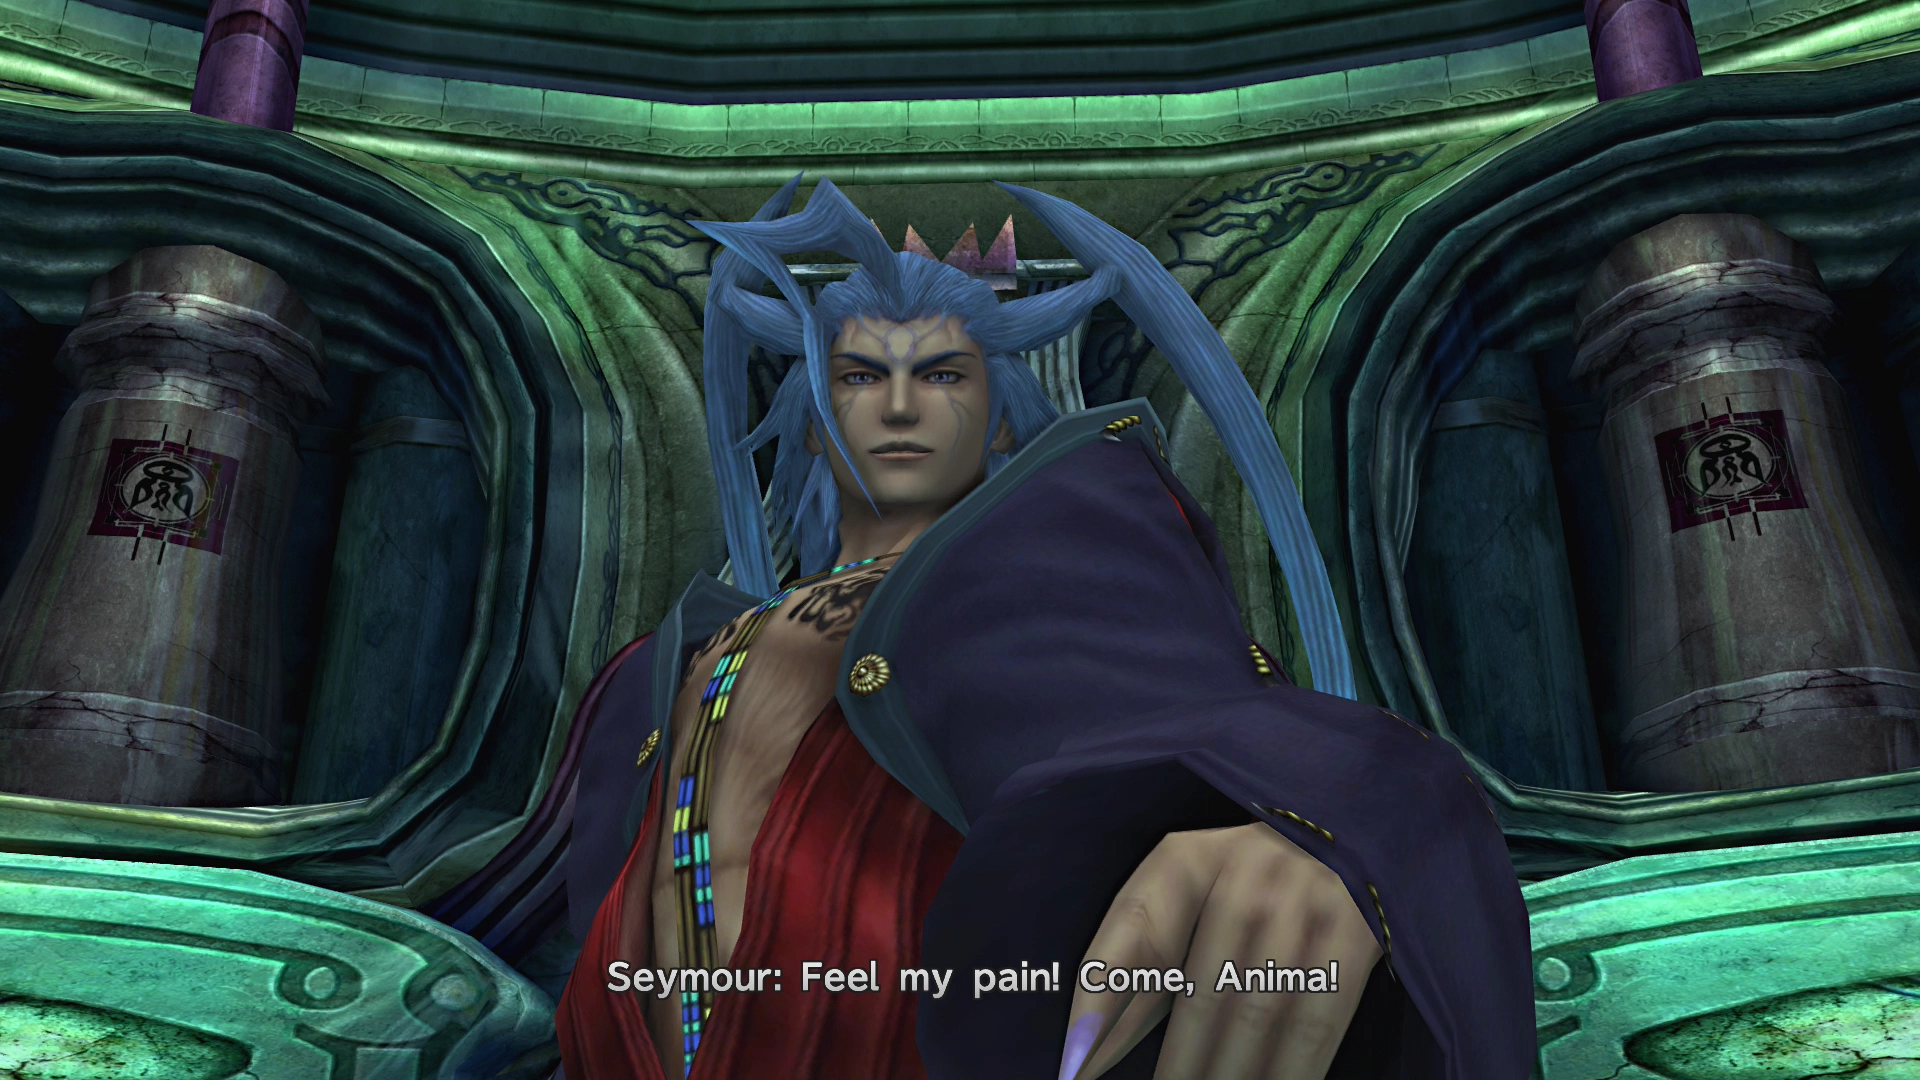
The next section of this boss battle is covered below.
The next boss battle begins as soon as the previous boss battle concludes. It involves battling Maester Seymour’s Aeon, Anima, which is the one that you witnessed defeating all the fiends in Luca.
Boss Battle
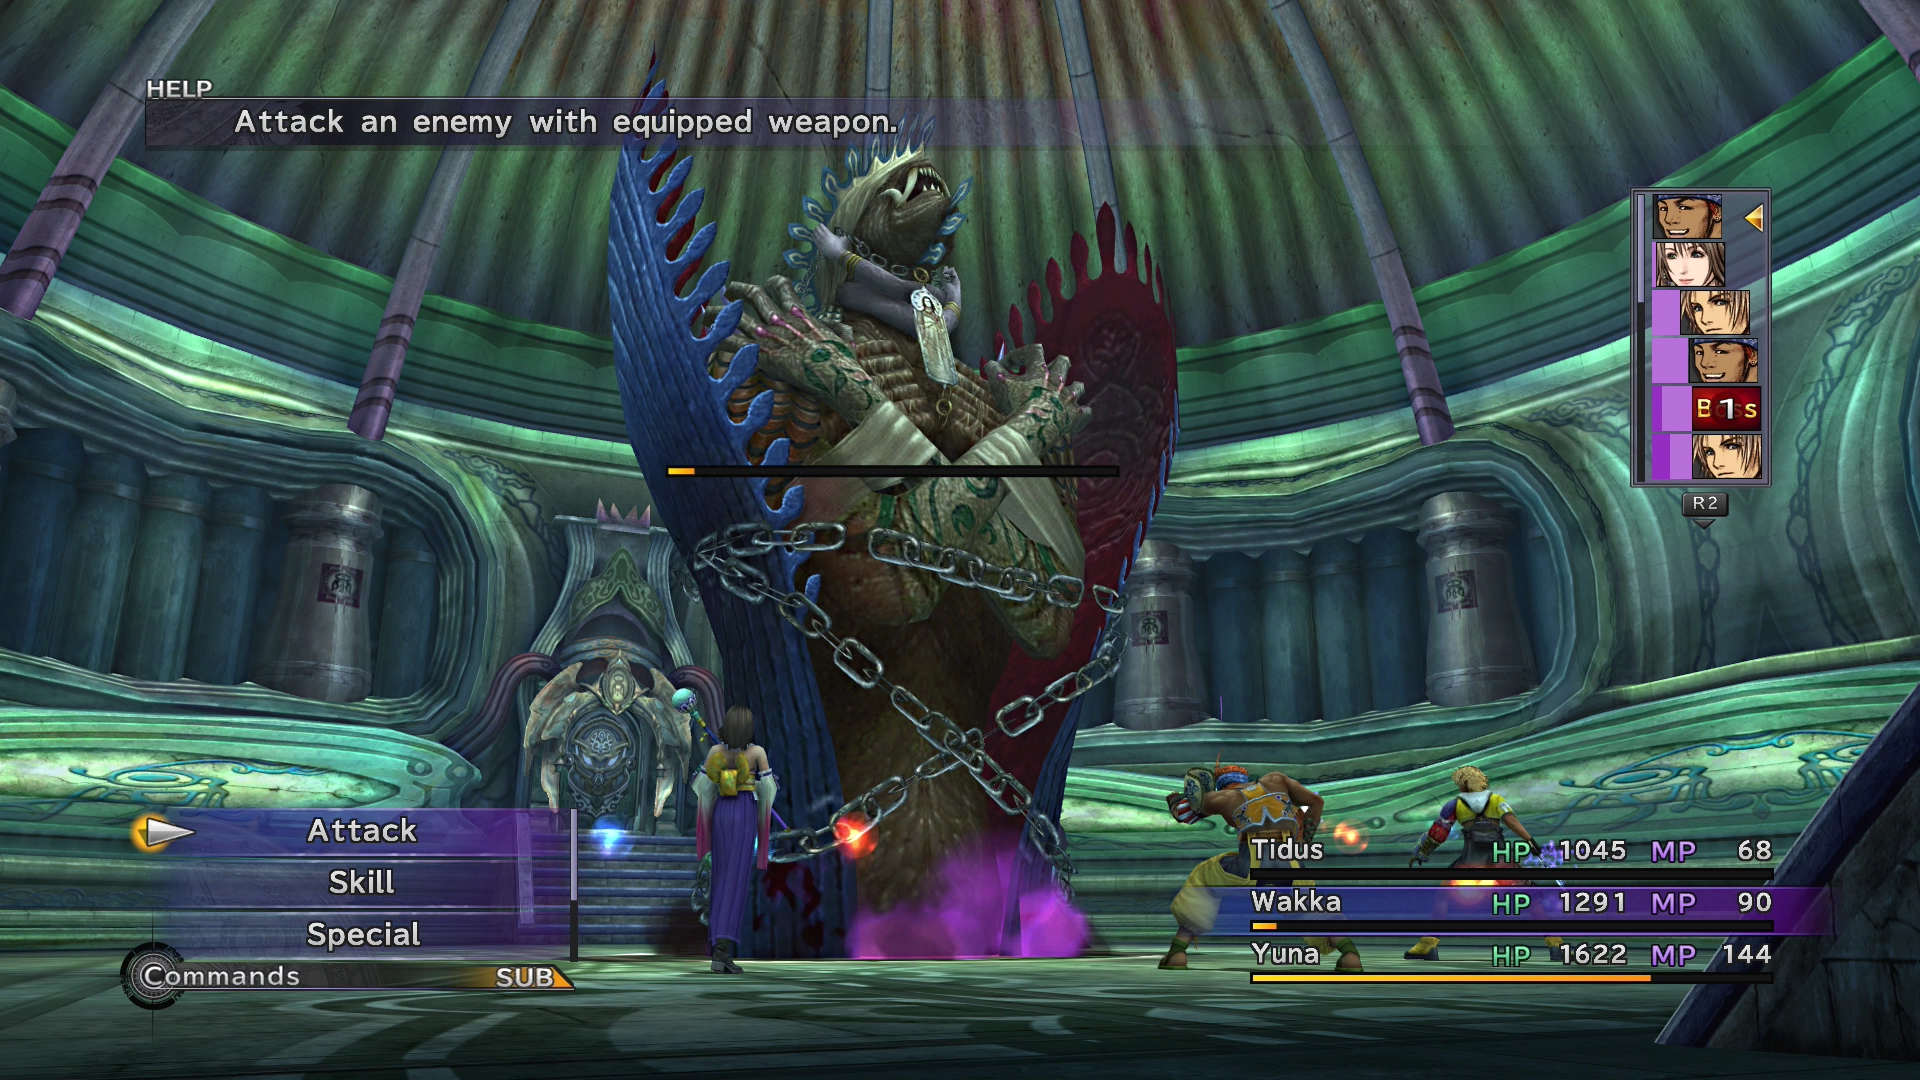
HP: 18,000
At the start of the battle, Tidus will suggest that Yuna summon her new Aeon. The new Aeon will be called “????” under Yuna’s summons (it’s Shiva).
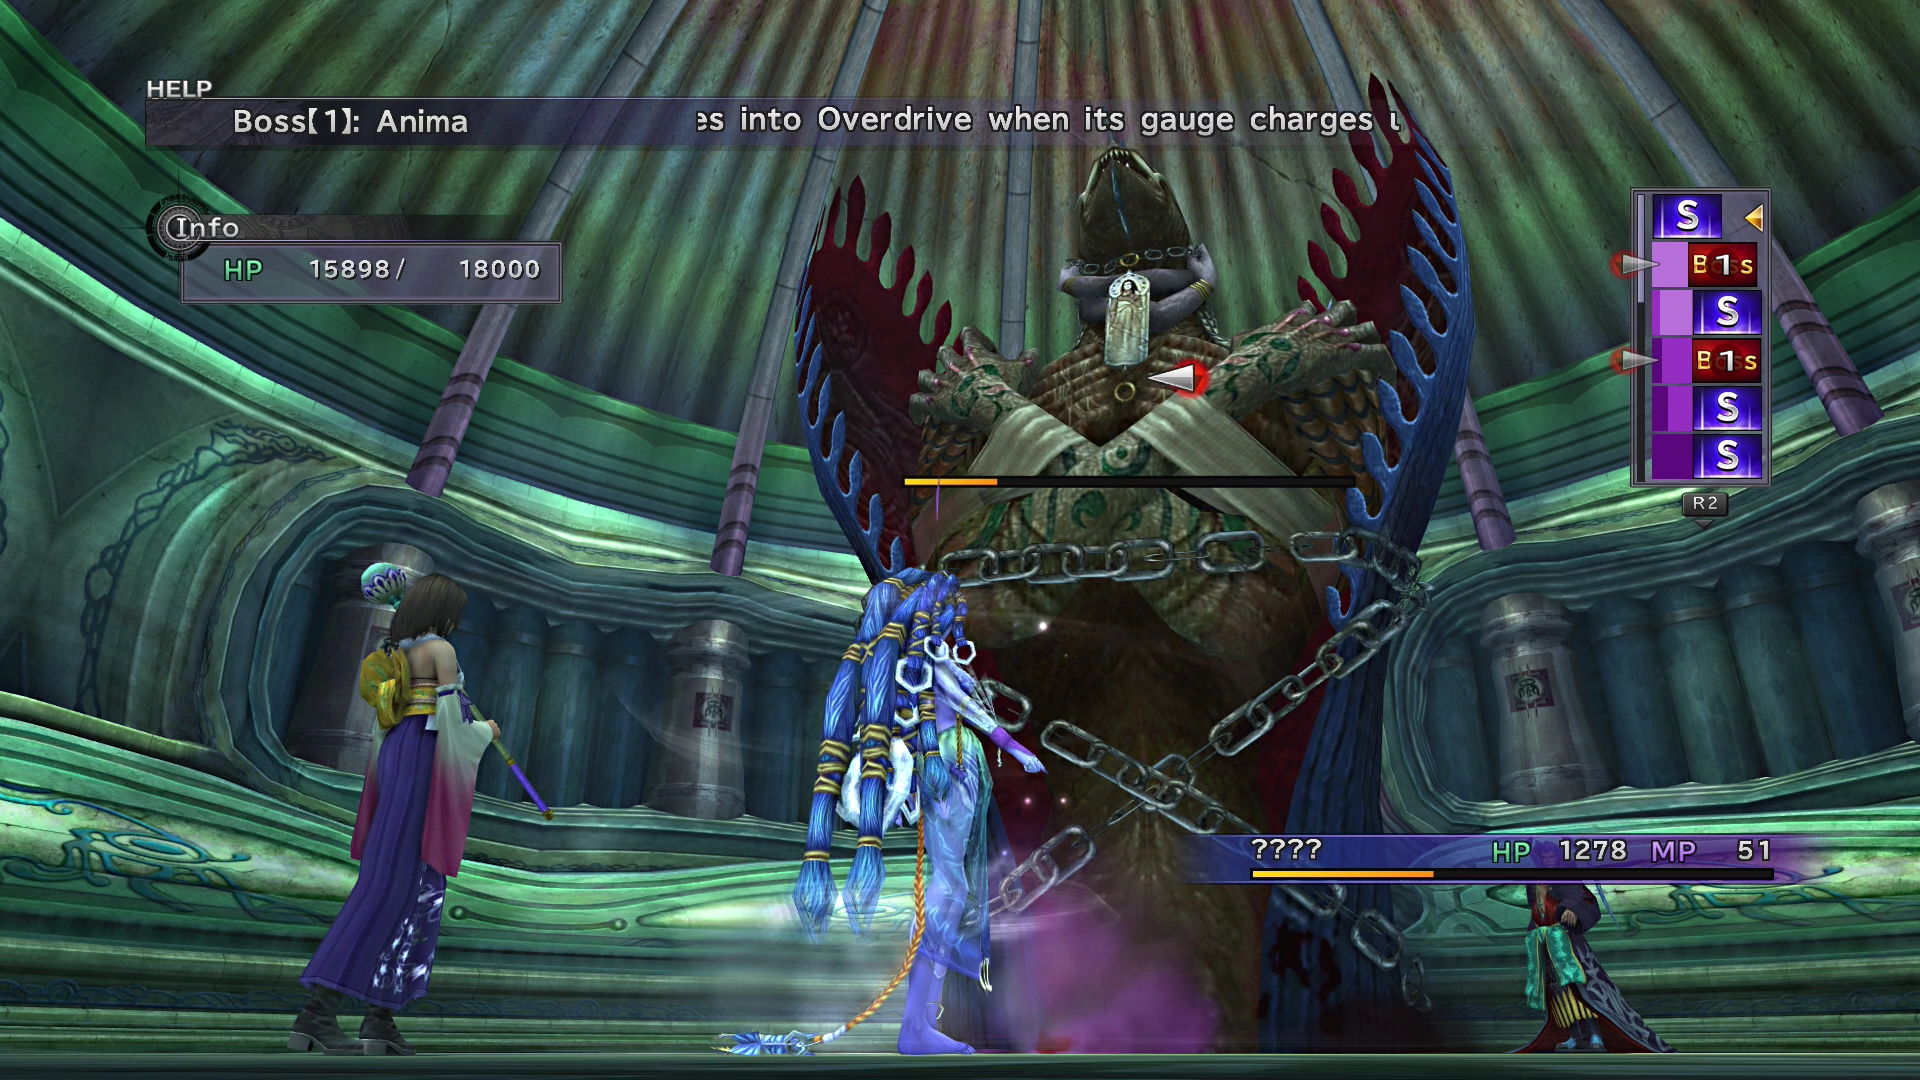
You can use ![]() Blizzara on Shiva at any time to heal her HP back up to full health. Continue to heal Shiva until you can use her Overdrive ability, Diamond Dust, and then use that attack on Anima. Continue this pattern until Anima (or “????”) is defeated. Use Diamond Dust while Anima is boosting to increase the amount of damage that it does.
Blizzara on Shiva at any time to heal her HP back up to full health. Continue to heal Shiva until you can use her Overdrive ability, Diamond Dust, and then use that attack on Anima. Continue this pattern until Anima (or “????”) is defeated. Use Diamond Dust while Anima is boosting to increase the amount of damage that it does.
“????” (Shiva) will likely be KO’d at some point in the fight. Hammer away at Anima with regular attacks to bring her (yes, it’s a she) down, and be sure to keep your HP as high as possible, as Anima’s Overdrive is pretty much an instant KO and a game over. Anima’s Pain move will also be an instant KO on one of your party members.
Have Auron use ![]() Magic Break on Seymour after you have defeated Anima, and have Lulu use her
Magic Break on Seymour after you have defeated Anima, and have Lulu use her ![]() Bio spell to poison him if you have access to it.
Bio spell to poison him if you have access to it.
Steal:
 Silence Grenade (common)
 Farplane Shadow (rare)
Drops:
Save your game at the Save Sphere after the fight. Go through the doorway on the left side next to the Save Sphere to enter the Macalania Cloister of Trials:
Cloister Walkthrough
Completing the Cloister of Trials in the Macalania Temple. The reward for completing the Destruction Sphere portion of this Cloister is a Luck Sphere.
Macalania - Hall
Descend the stairs for another short cutscene involving Tromell Guado and a group of people in the temple.
Macalania - Road
Buy any items that you need from O’aka XXIII and then save your game at the Save Sphere.
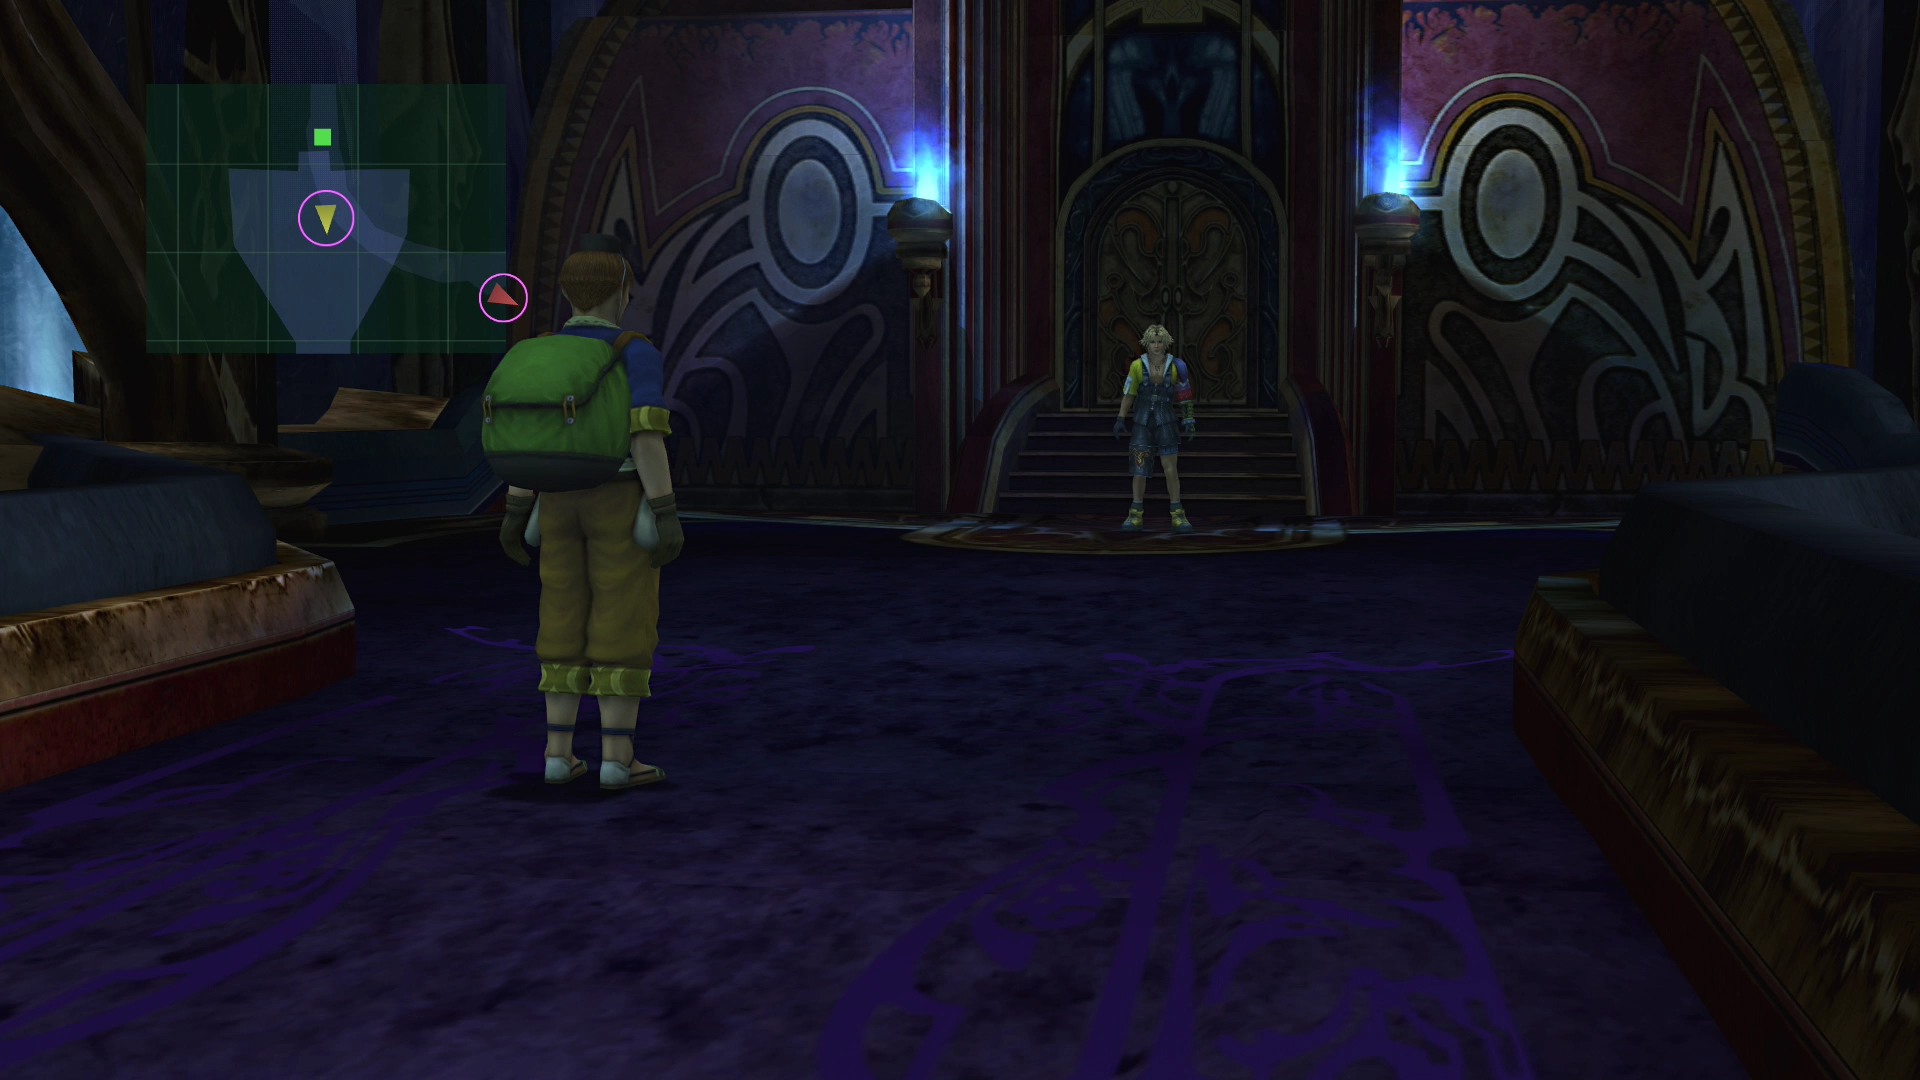
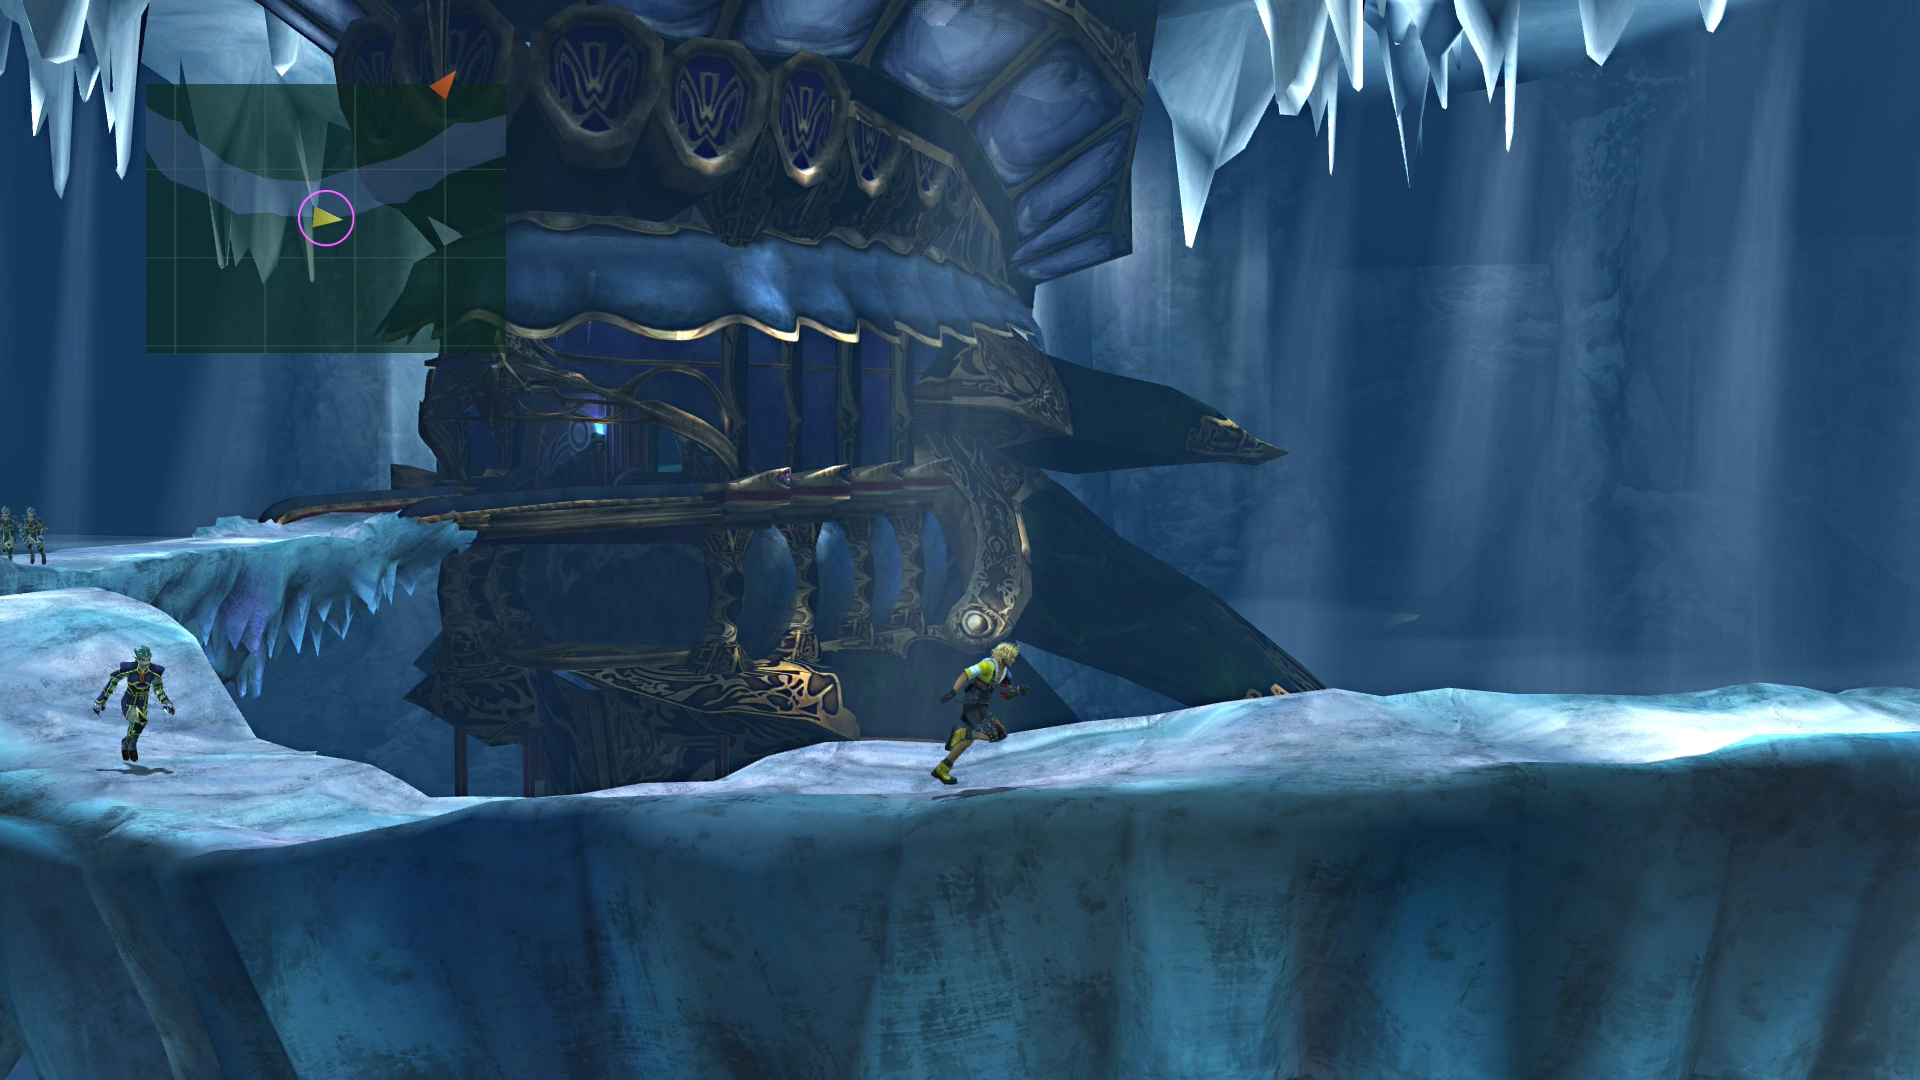
Guado Guardians will chase you as you proceed down the pathway, and you will be thrown into a battle each time one catches you. They run faster than Tidus, so a few battles are inevitable.
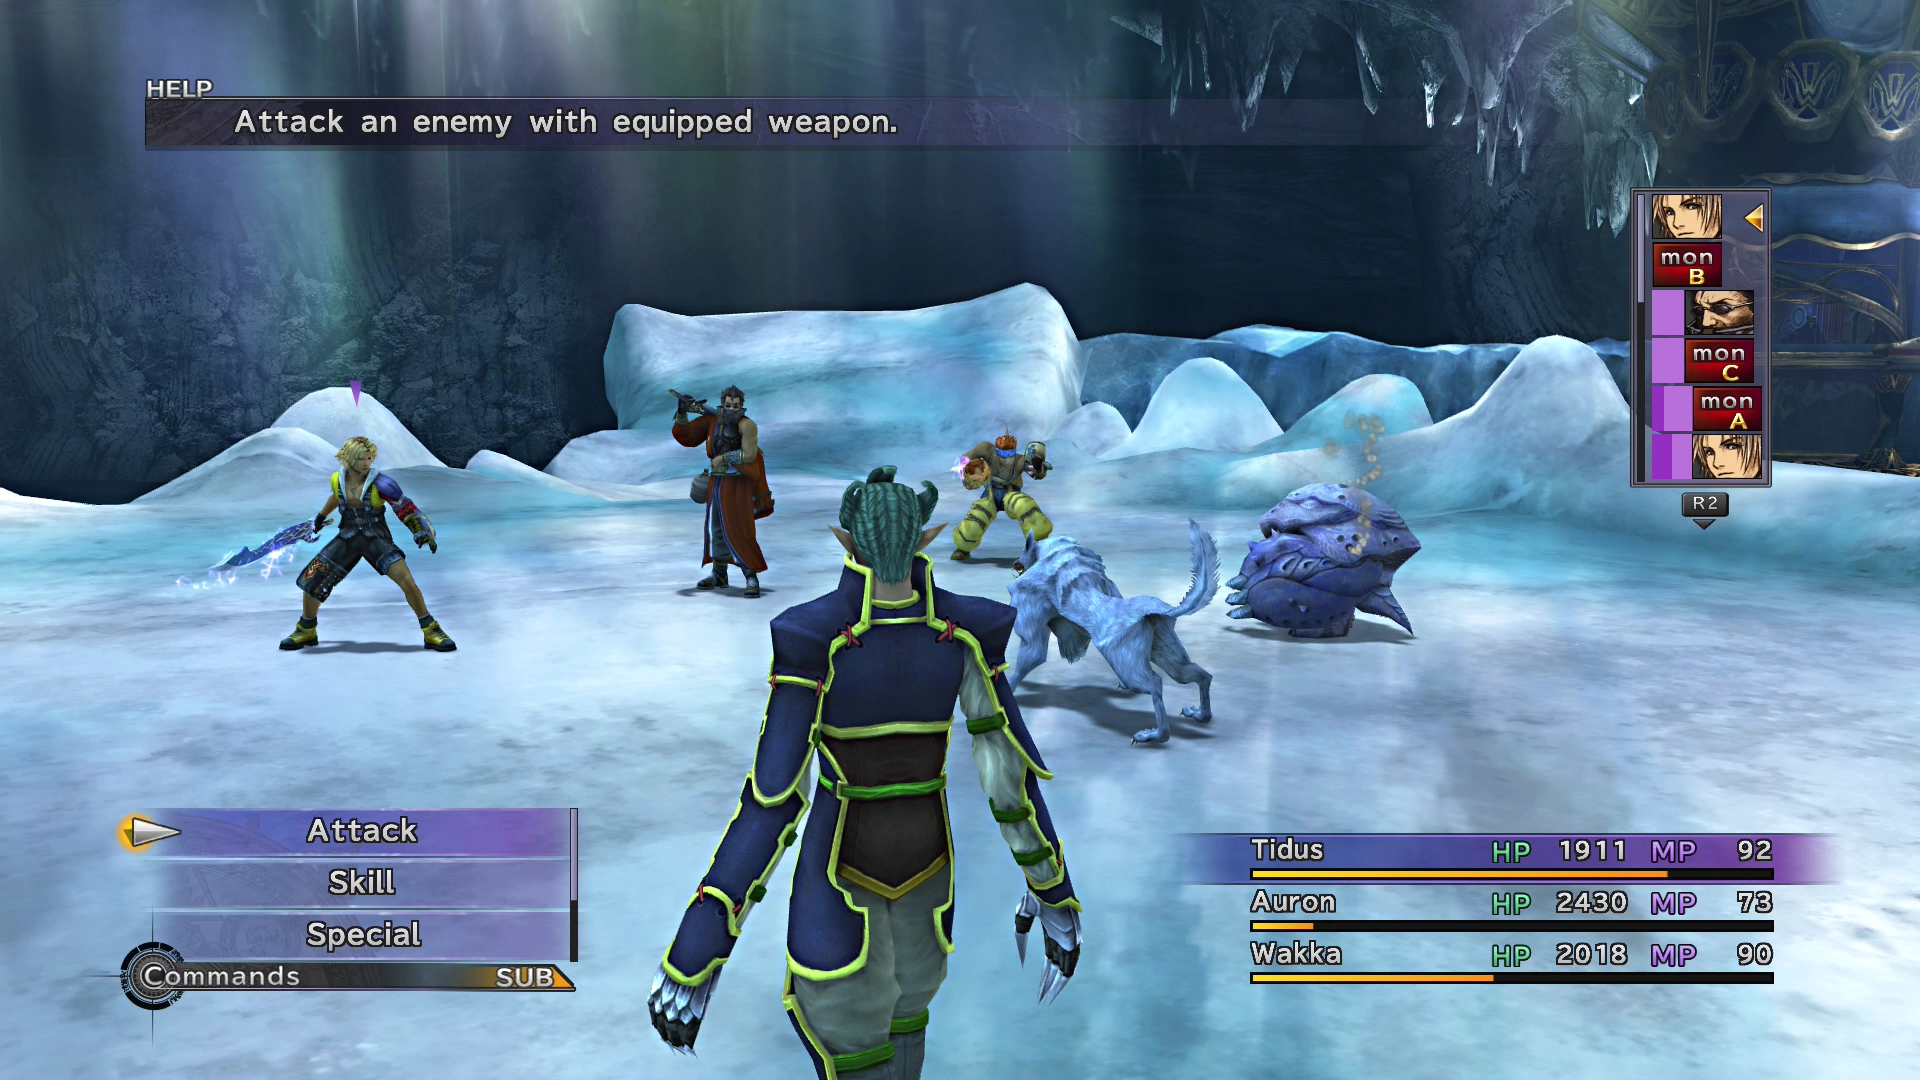
The Guado Guardians that you face are similar to the ones you saw during the fight with Seymour. They use the ![]() Auto-Potion ability to automatically heal themselves for 1,000 HP after every time they take damage, so use Rikku’s
Auto-Potion ability to automatically heal themselves for 1,000 HP after every time they take damage, so use Rikku’s ![]() Steal ability to prevent them from using this ability.
Steal ability to prevent them from using this ability.
Lake Macalania - Crevasse
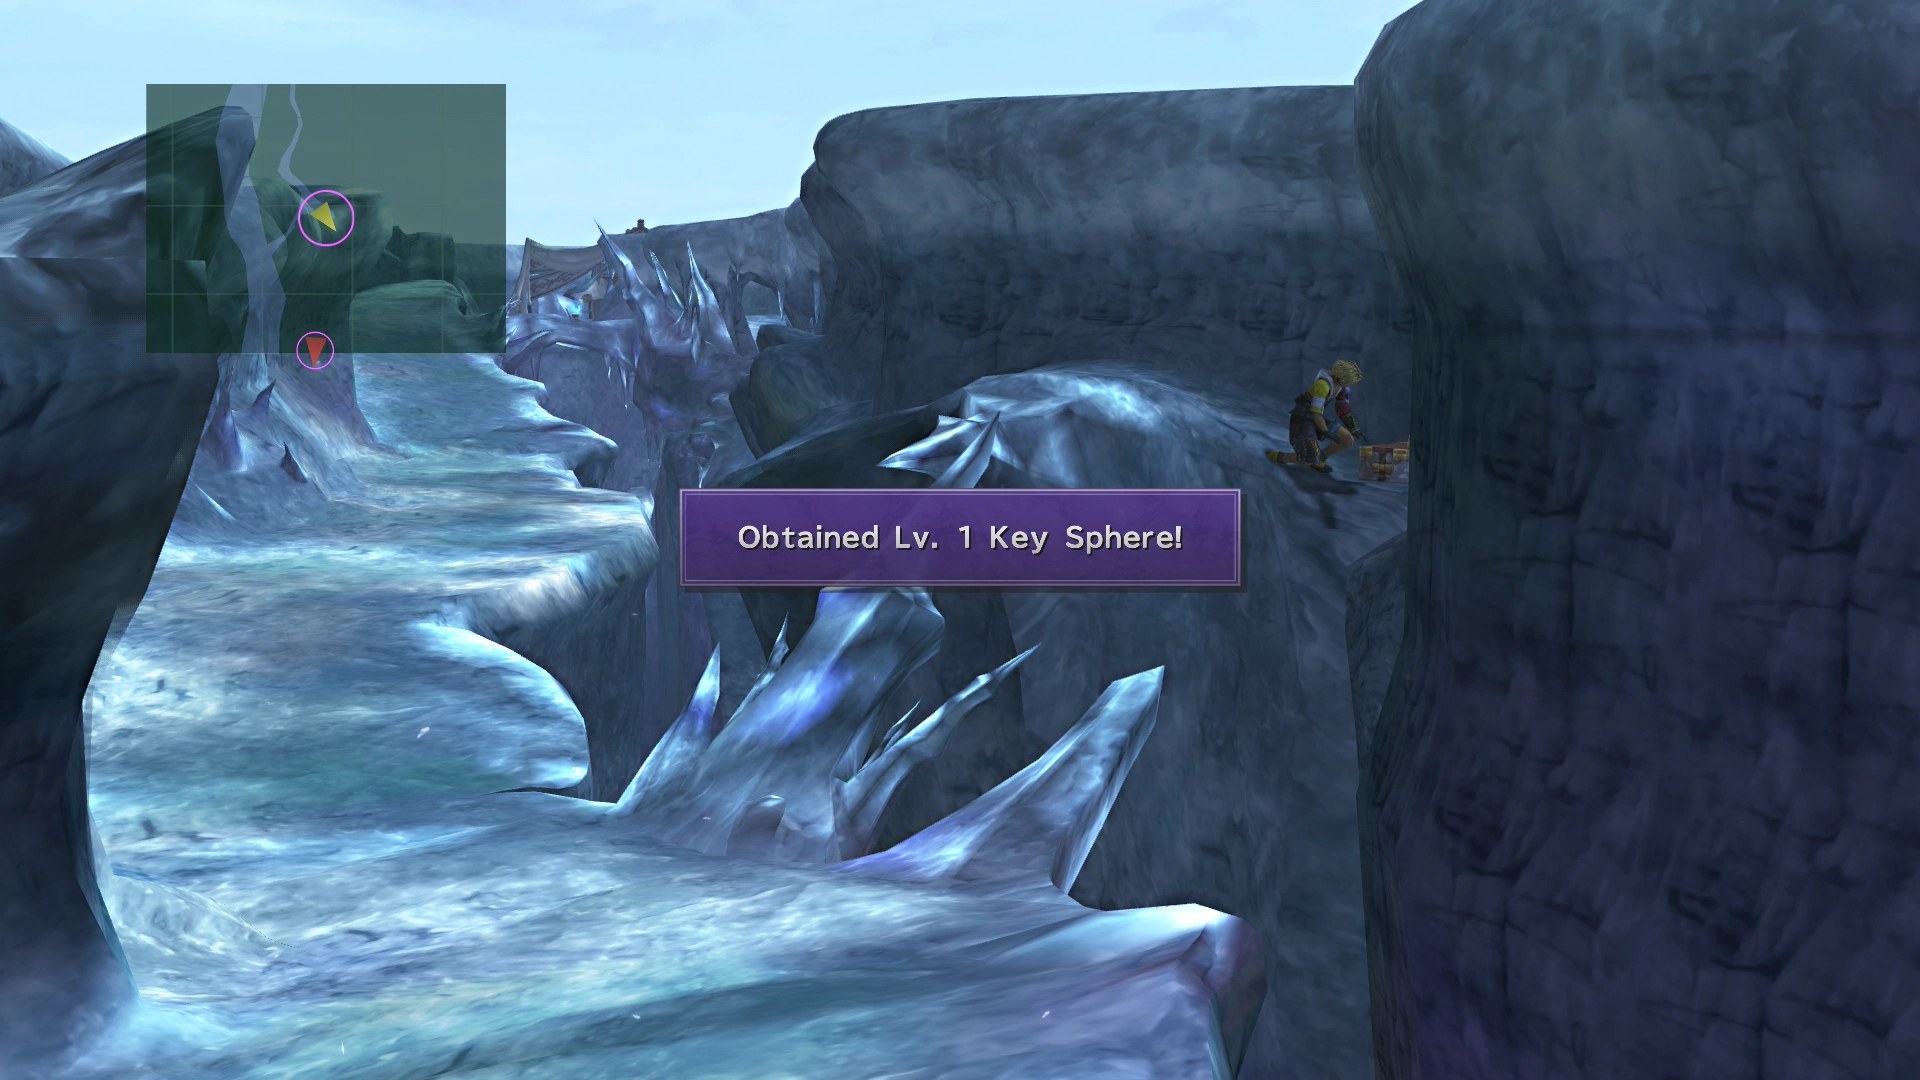
You won’t have the luxury of the Machina to traverse the crevasse as speedily this time. Choose to continue south (or to the right) when you reach the first fork in the road.
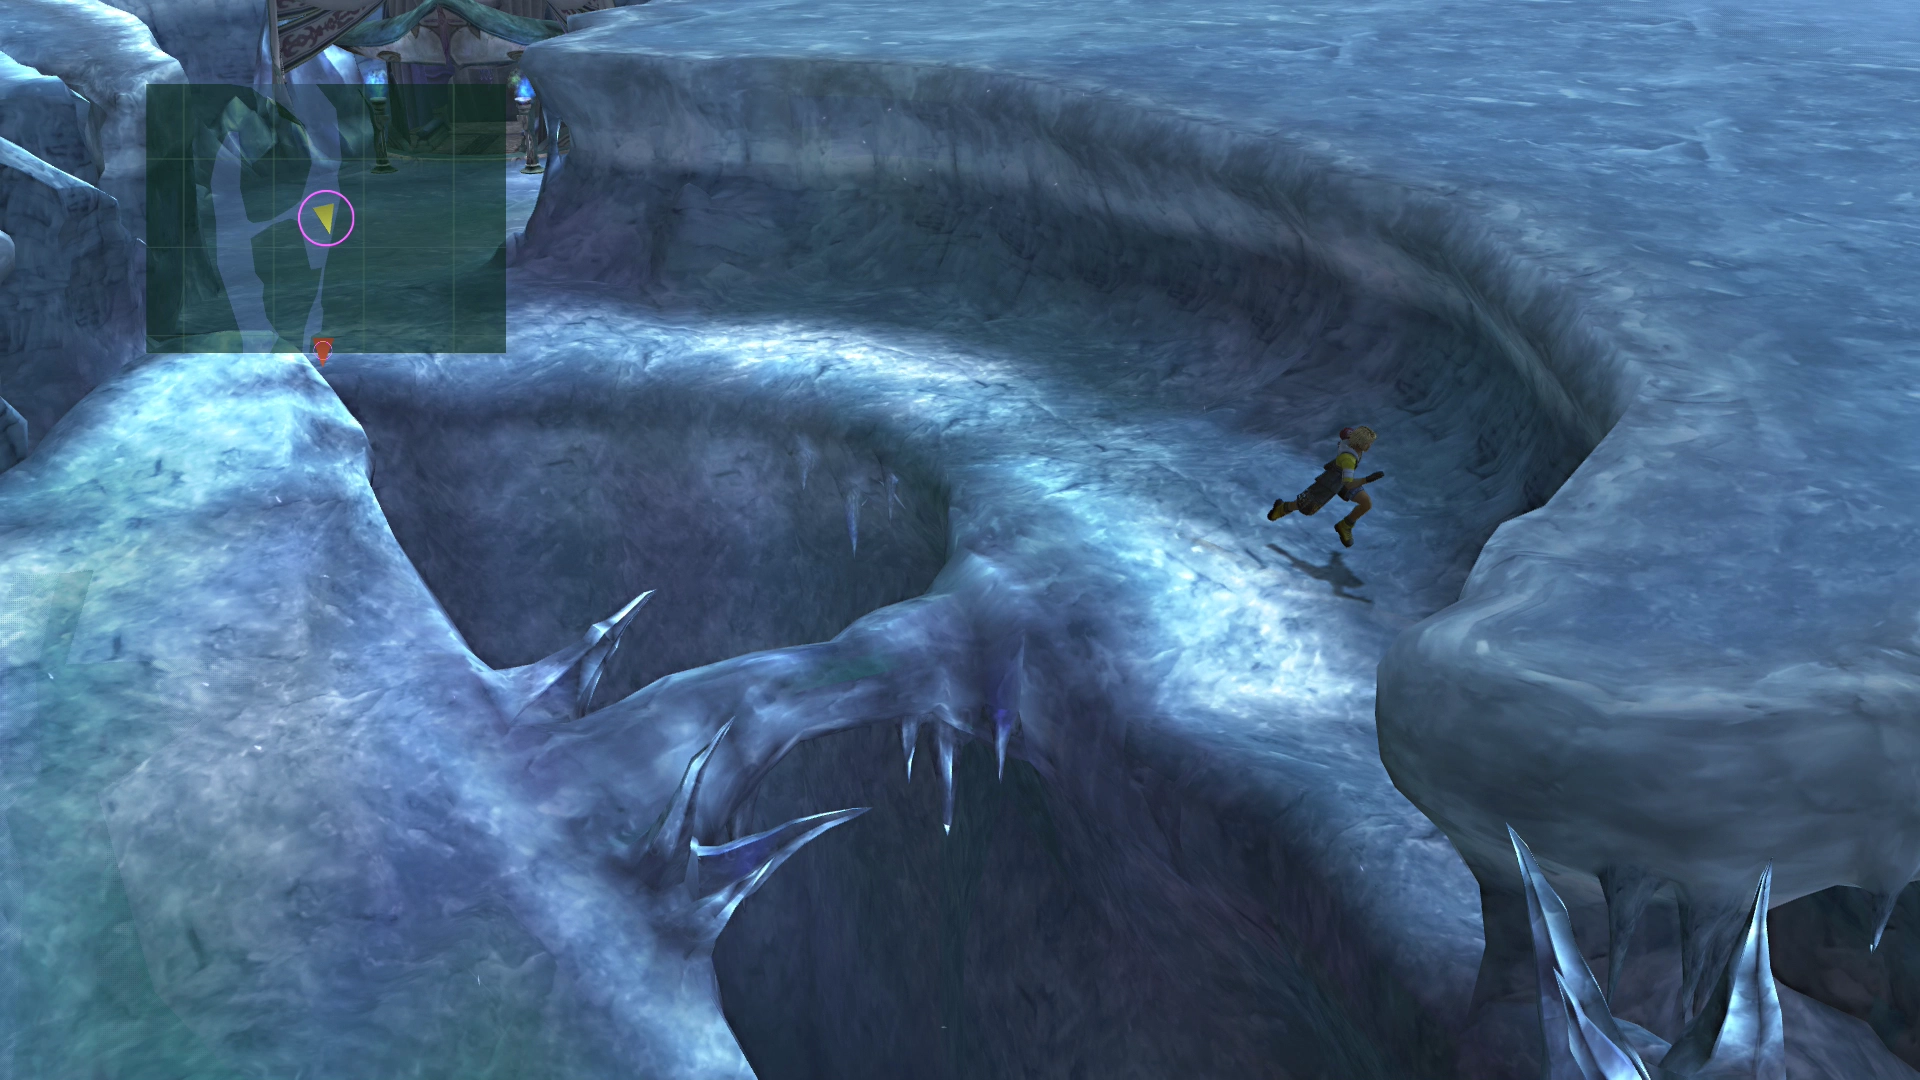
Following this path leads to a treasure chest containing a ![]() Lv. 1 Key Sphere.
Lv. 1 Key Sphere.
Save when you come across the next Save Sphere, as you have a boss battle coming up.
Boss Battle
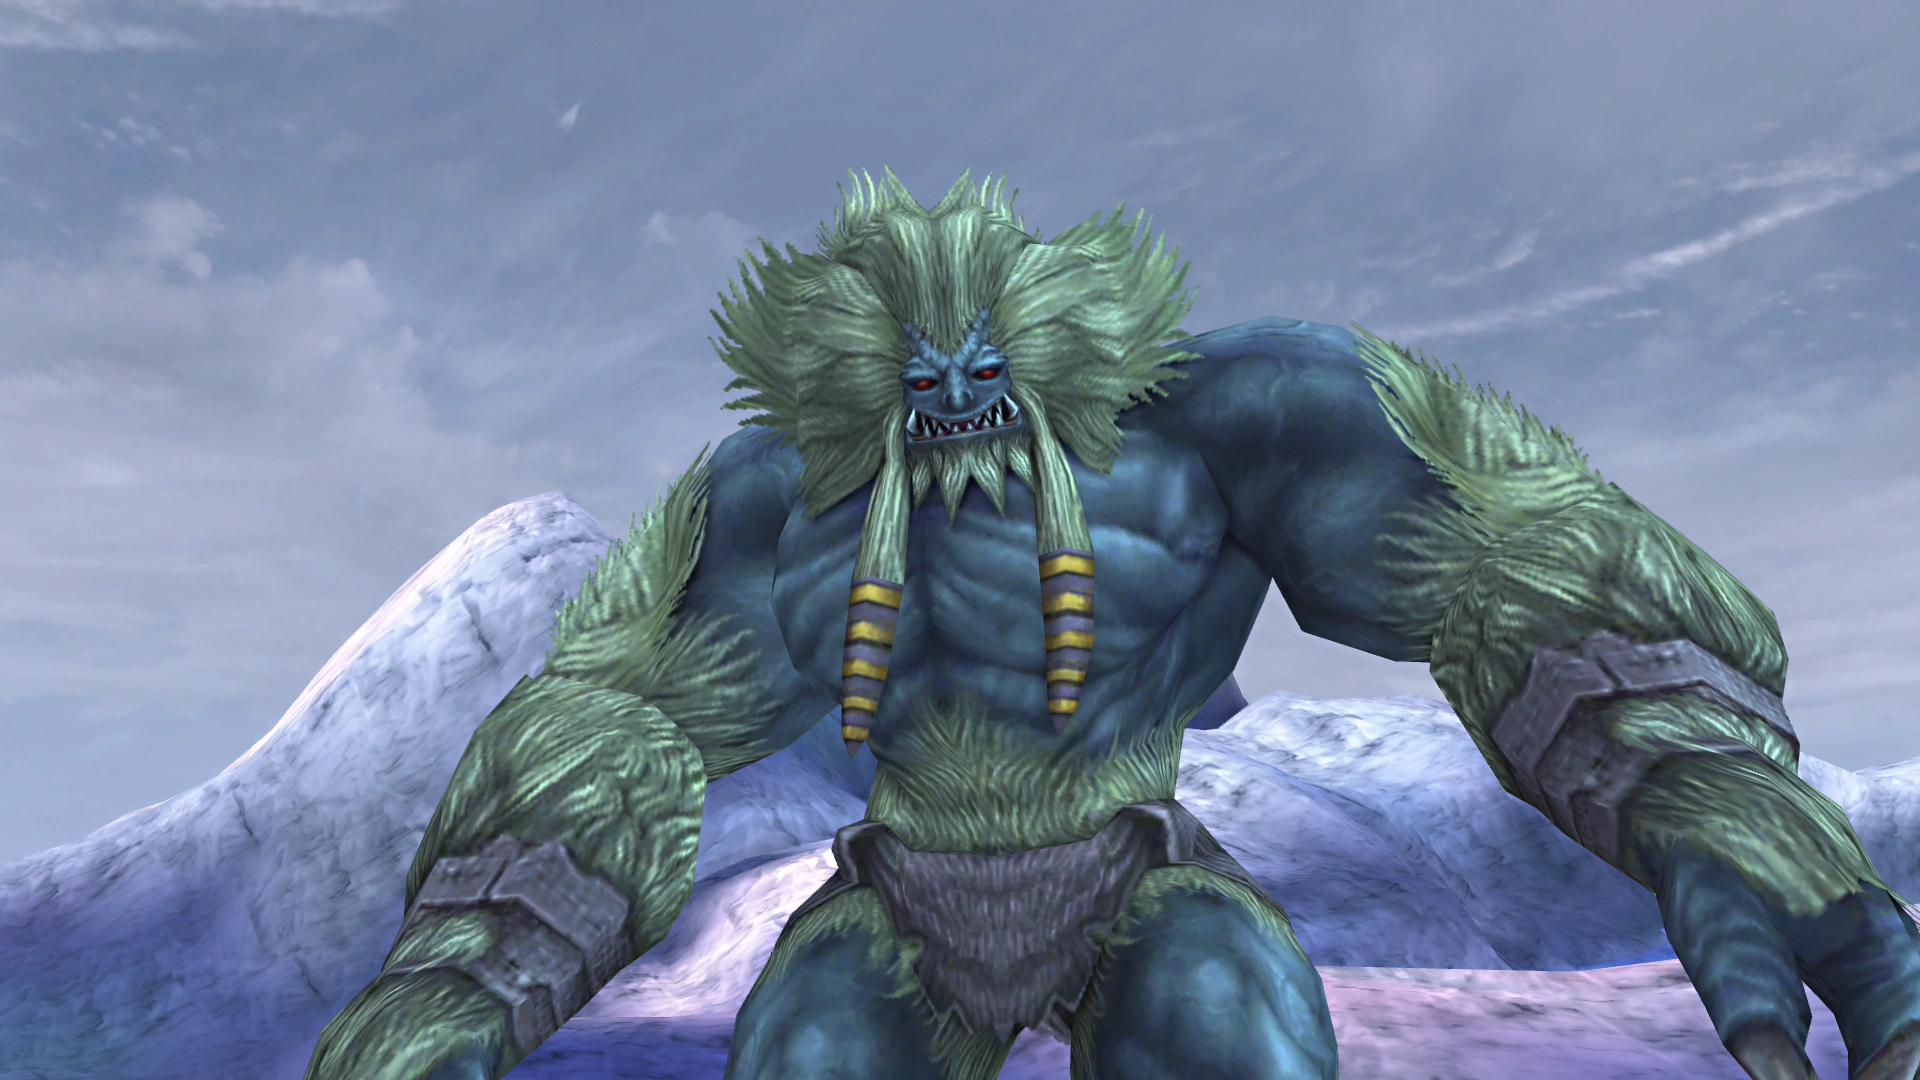
HP: 18,000 (Wendigo)
This fight is similar to the battle against Maester Seymour. It involves two Guado Guardian sidekicks.
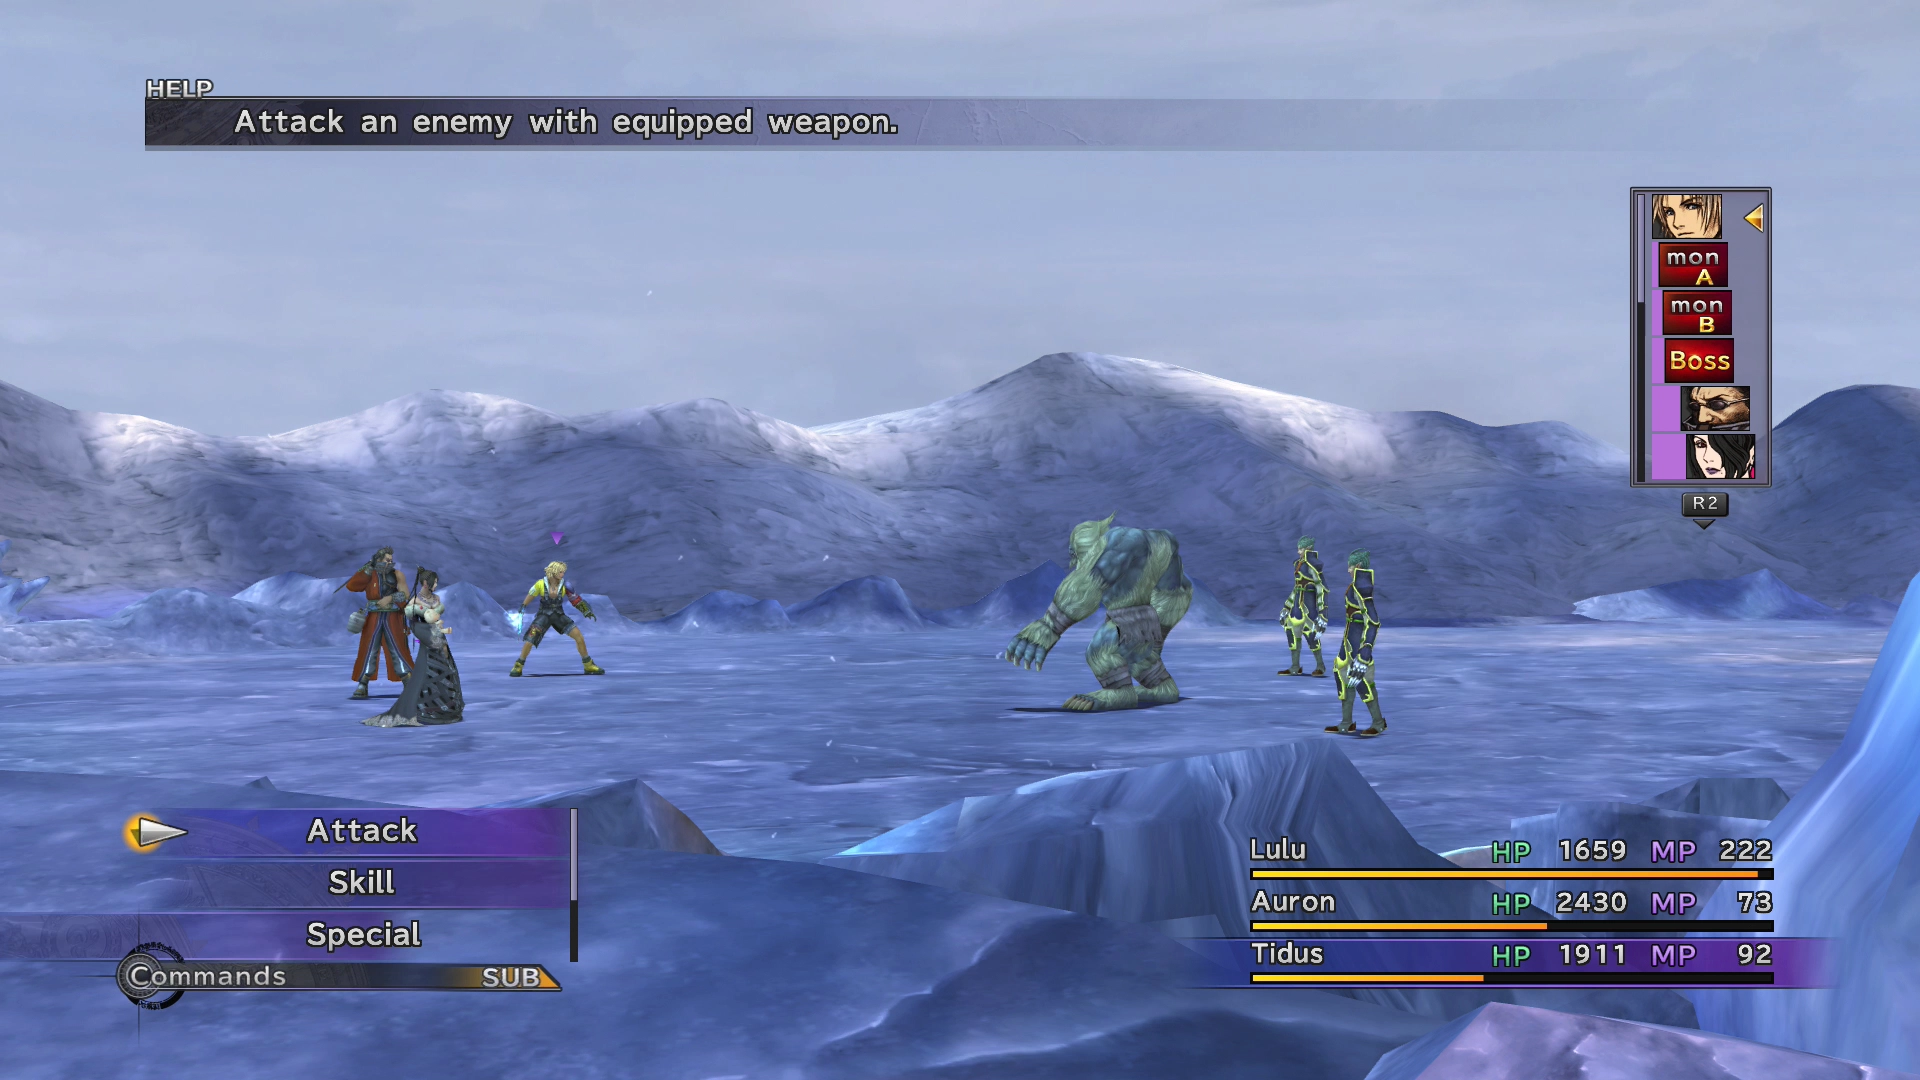
The Guado Guardians still have the ![]() Auto-Potion ability enabled, so you will have to use Rikku’s
Auto-Potion ability enabled, so you will have to use Rikku’s ![]() Steal ability on each of them to prevent them from healing after every attack. The Guado Guardians will cast
Steal ability on each of them to prevent them from healing after every attack. The Guado Guardians will cast ![]() Haste and Berserk on Wendigo, which will cause its attacks to be incredibly powerful.
Haste and Berserk on Wendigo, which will cause its attacks to be incredibly powerful.
You will want to use Wakka’s ![]() Dark Attack ability, as Wendigo is susceptible to the Darkness status effect. It is also advisable to use Auron’s
Dark Attack ability, as Wendigo is susceptible to the Darkness status effect. It is also advisable to use Auron’s ![]() Power Break ability to lessen the damage done by any of Wendigo’s attacks that do connect. You can also use Auron’s
Power Break ability to lessen the damage done by any of Wendigo’s attacks that do connect. You can also use Auron’s ![]() Threaten ability to remove the effects of Berserk on the Wendigo.
Threaten ability to remove the effects of Berserk on the Wendigo.
The Guado Guardians will cast ![]() Protect and
Protect and ![]() Shell on Wendigo if you kill them both. Whether the fight is easier with both Guado Guardians left alive or by killing them first and dealing with their “Protect” and “Shell” spells is debatable.
Shell on Wendigo if you kill them both. Whether the fight is easier with both Guado Guardians left alive or by killing them first and dealing with their “Protect” and “Shell” spells is debatable.
You can defeat Wendigo with either strategy. The Guado Guardians can negate the Darkness status effect, though, as they will use ![]() Eye Drops on Wendigo, so this strategy guide recommends that you defeat them first.
Eye Drops on Wendigo, so this strategy guide recommends that you defeat them first.

Steal:
Drops:
Lake Macalania - Lake Bottom
Save your game at the Save Sphere once the fight has concluded. Talk to each of your party members to continue the story.
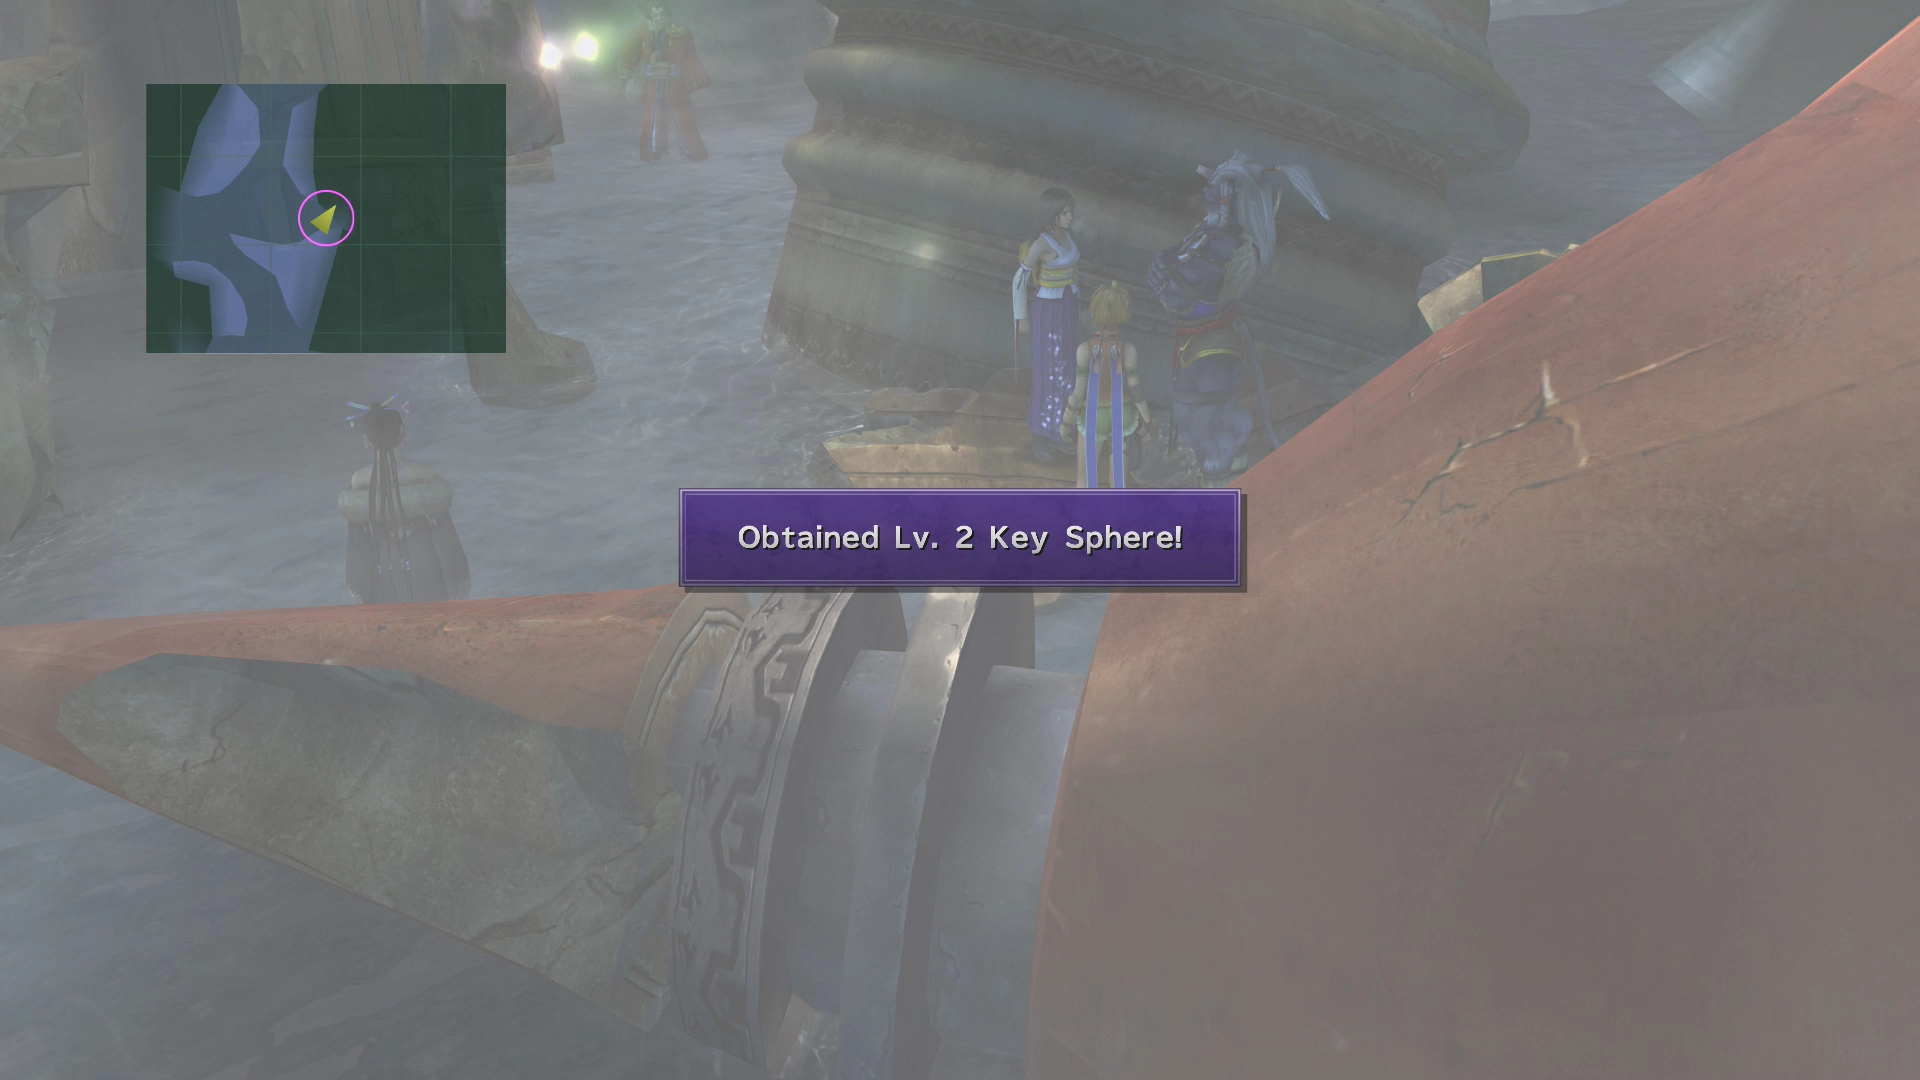
Make sure to go back and grab the two treasure chests behind the characters you spoke to. One contains a ![]() Lv. 2 Key Sphere (beside Kimahri as shown below), and the one at the back by Auron contains an
Lv. 2 Key Sphere (beside Kimahri as shown below), and the one at the back by Auron contains an ![]() Avenger, a weapon for Tidus that has the
Avenger, a weapon for Tidus that has the ![]() Counterattack ability.
Counterattack ability.
Speak to Auron to continue the story and then approach the party one more time. Sin will attack the party again at the end of the sequence. There are a few more flashback scenes involving Tidus back in Zanarkand before Tidus wakes up all by himself in a pool of water (again). Are you noticing a theme?
The next portion of the game takes place on Bikanel Island in the Sanubia Desert.

