
Sanubia Desert - Bikanel Island
The section of the game that takes place on Bikanel Island, including visiting the Al Bhed hometown called “Home” and traveling through the Sanubia Desert, occurs after the events at Lake Macalania.
Oasis
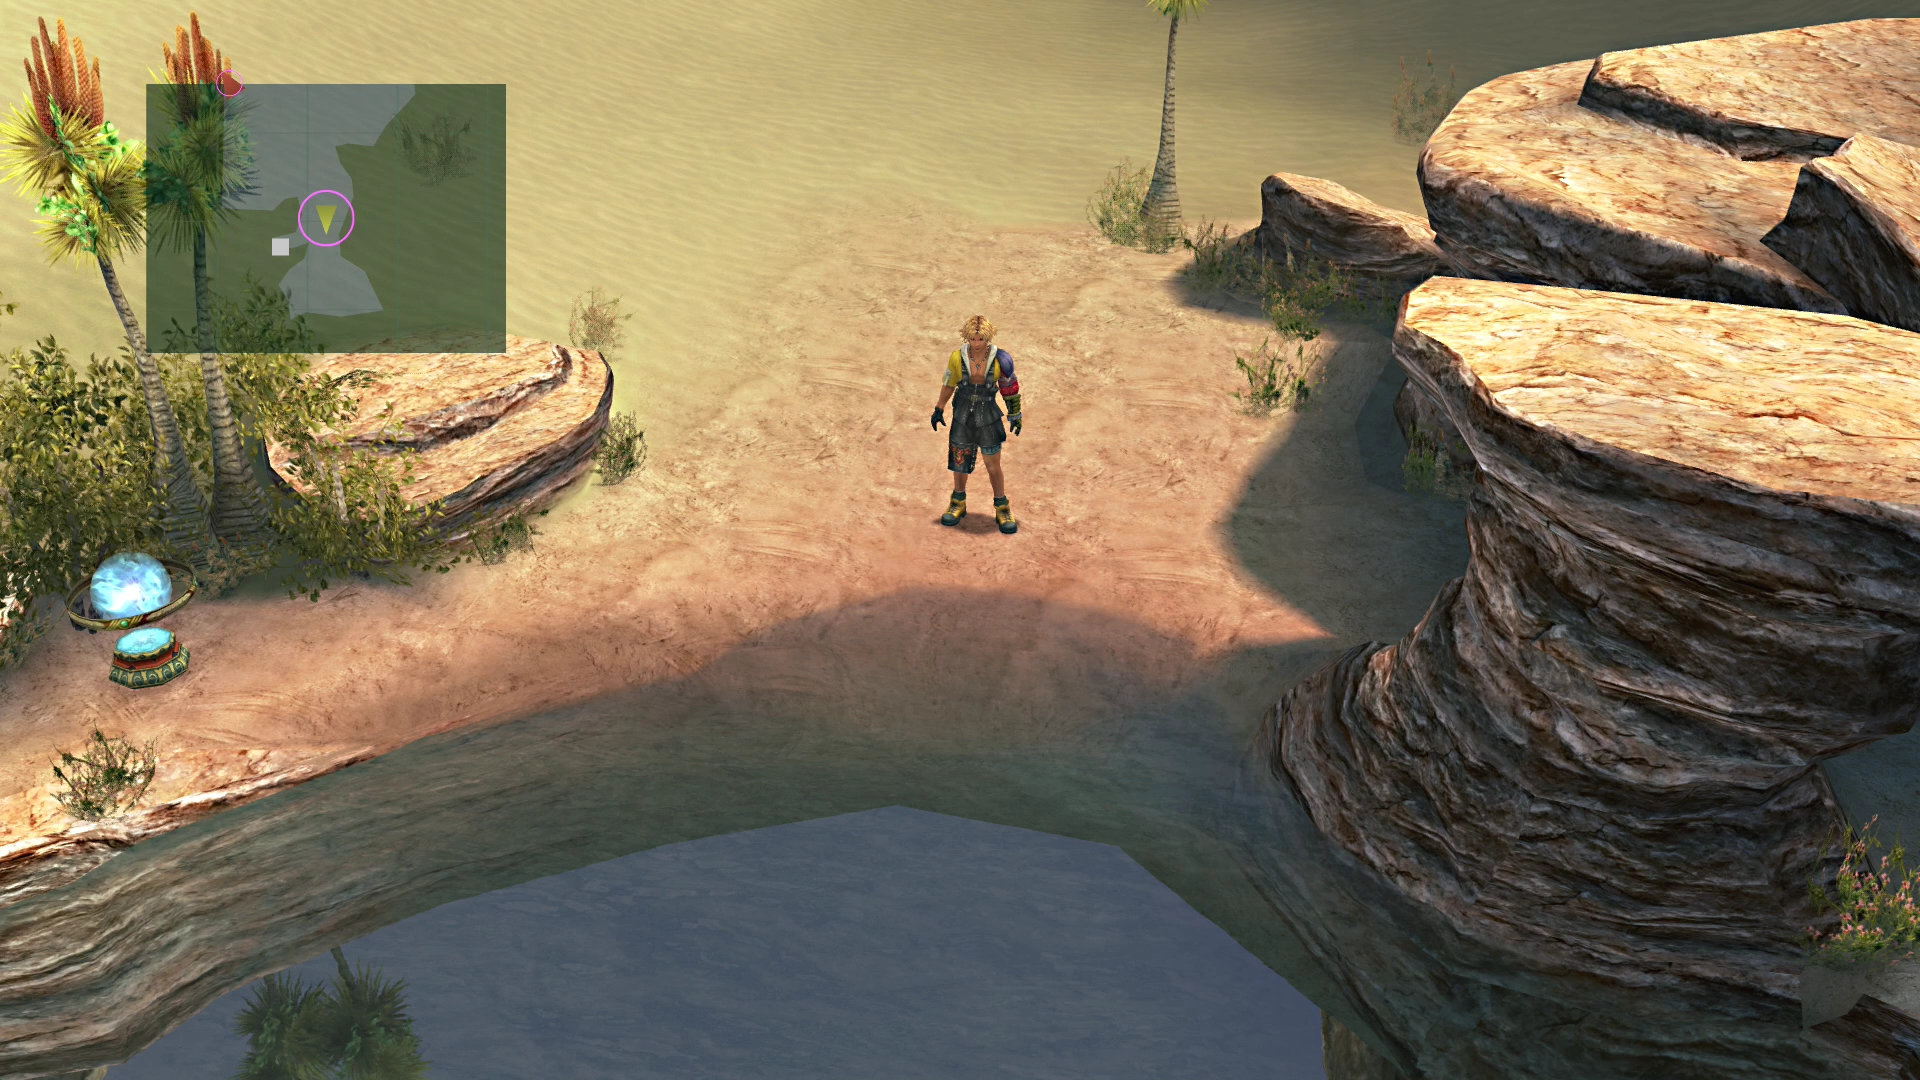
You start in the Oasis of the Bikanel’s Sanubia Desert once you regain control of Tidus. Notice that Tidus starts by himself, and he is the only member of your current party. You will have to engage in a battle with just him in the party.
Sanubia Oasis Map


 1 1 |  Remedy ×4 Remedy ×4 |
| 2 | Wakka |
| 4 |  Al Bhed Potion ×8 Al Bhed Potion ×8 |
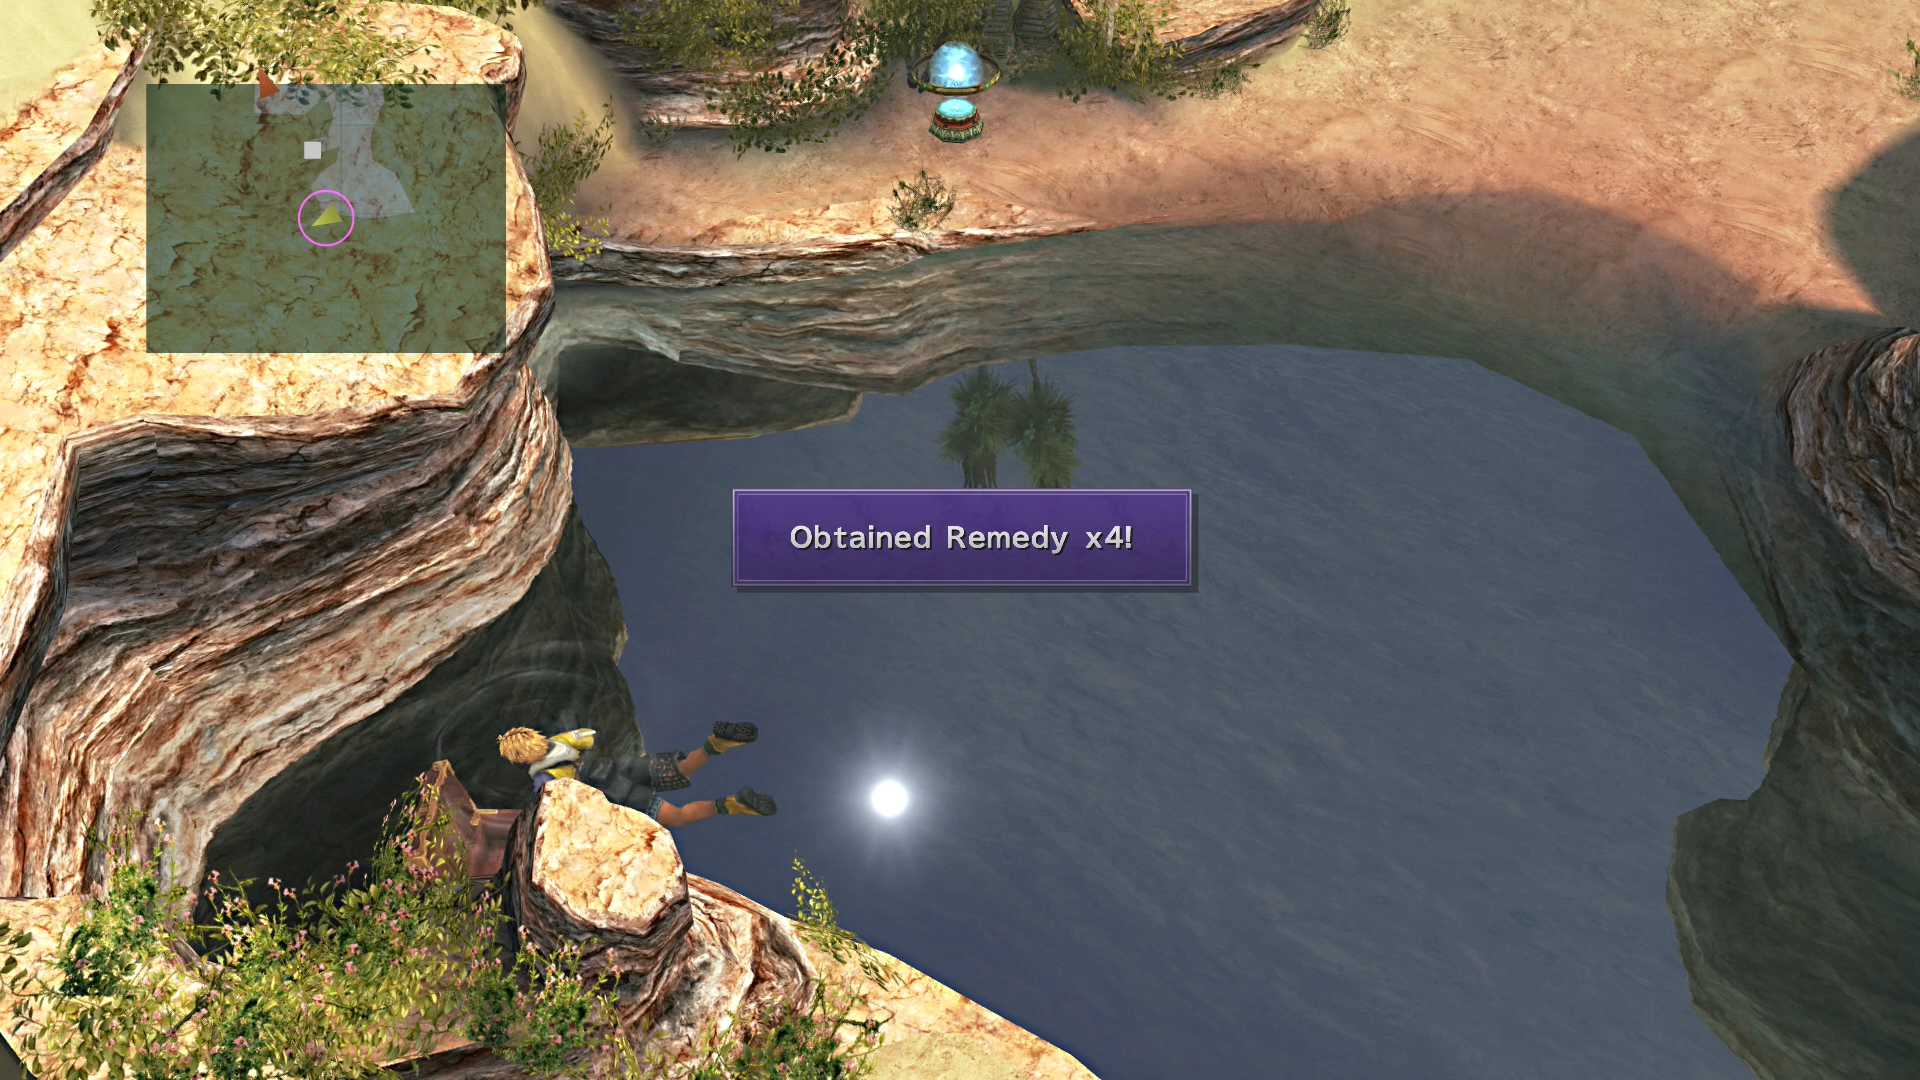
Start off by saving your game at the  Save Sphere and then jump back into the water to grab a treasure chest on the lower left side of the pool that contains four Remedies.
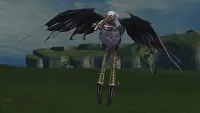
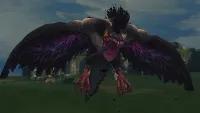
Walk forward into the desert and you will be attacked by a Zu—a giant bird-like creature. Tidus starts all by himself at the start of this battle, and will be joined partway through by Auron. Lulu will join the battle shortly after that. The attack to watch out for is “Sonic Boom,” which hits your entire party for approximately 600 damage. Zu telegraphs it: when its wings begin to glow, “Sonic Boom” is coming on its next turn, so use the turn you have to heal up. Once Zu falls below a third of its HP, it will drop to the ground, where it can no longer use “Sonic Boom” at all.
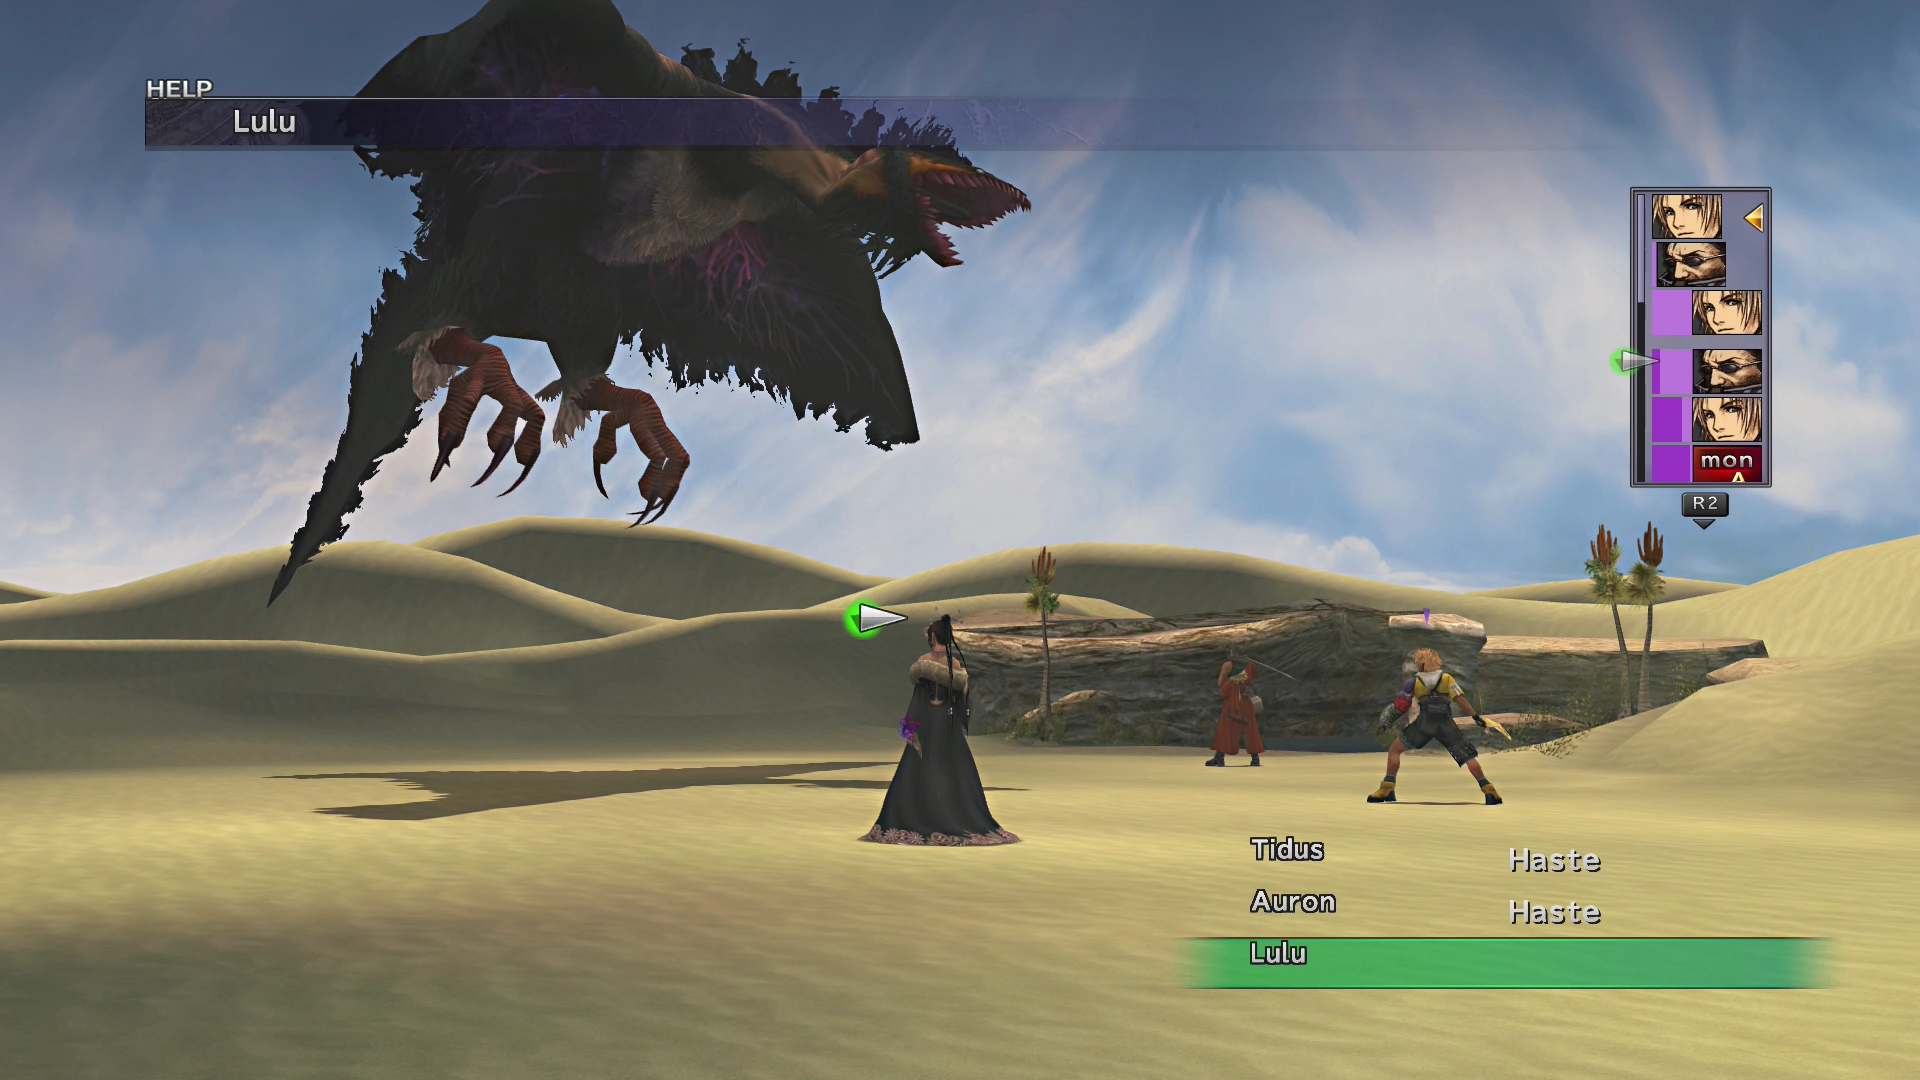
Using  Haste on Tidus (and your team members) and casting Slow on Zu can make this battle significantly easier. The battle comes down to how many turns Zu gets: the fewer turns it takes, the fewer times “Sonic Boom” goes off, and the extra turns make it easier to keep Tidus healed through the opening stretch where he fights alone.
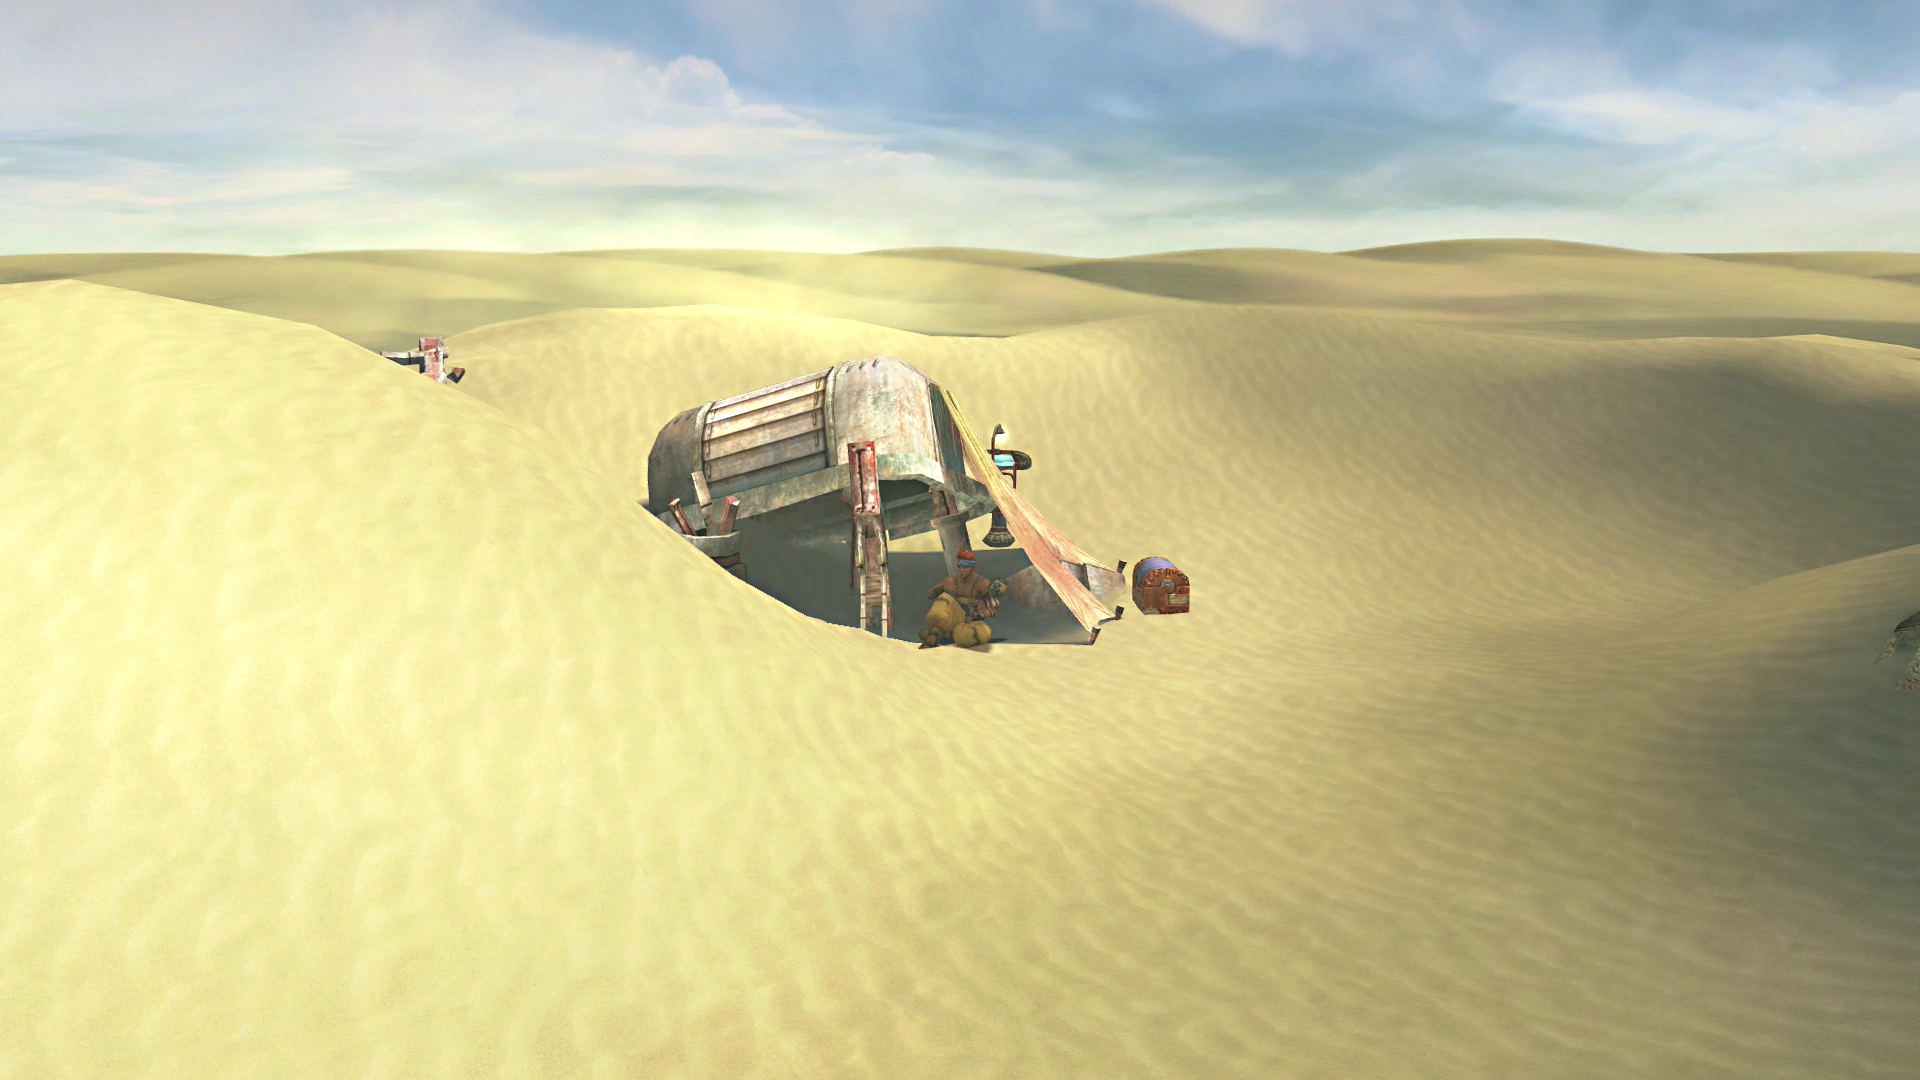
Continue northward to find Wakka sitting under some scrap metal. The treasure chest beside him contains an “Al Bhed First Aid Kit.” Despite the official-sounding name, the kit is not an item that you keep. It is just a bundle of eight Al Bhed Potions that are added straight into your inventory. Check out the “Al Bhed Potions” hint below for more information about what they do.
Helpful Hint
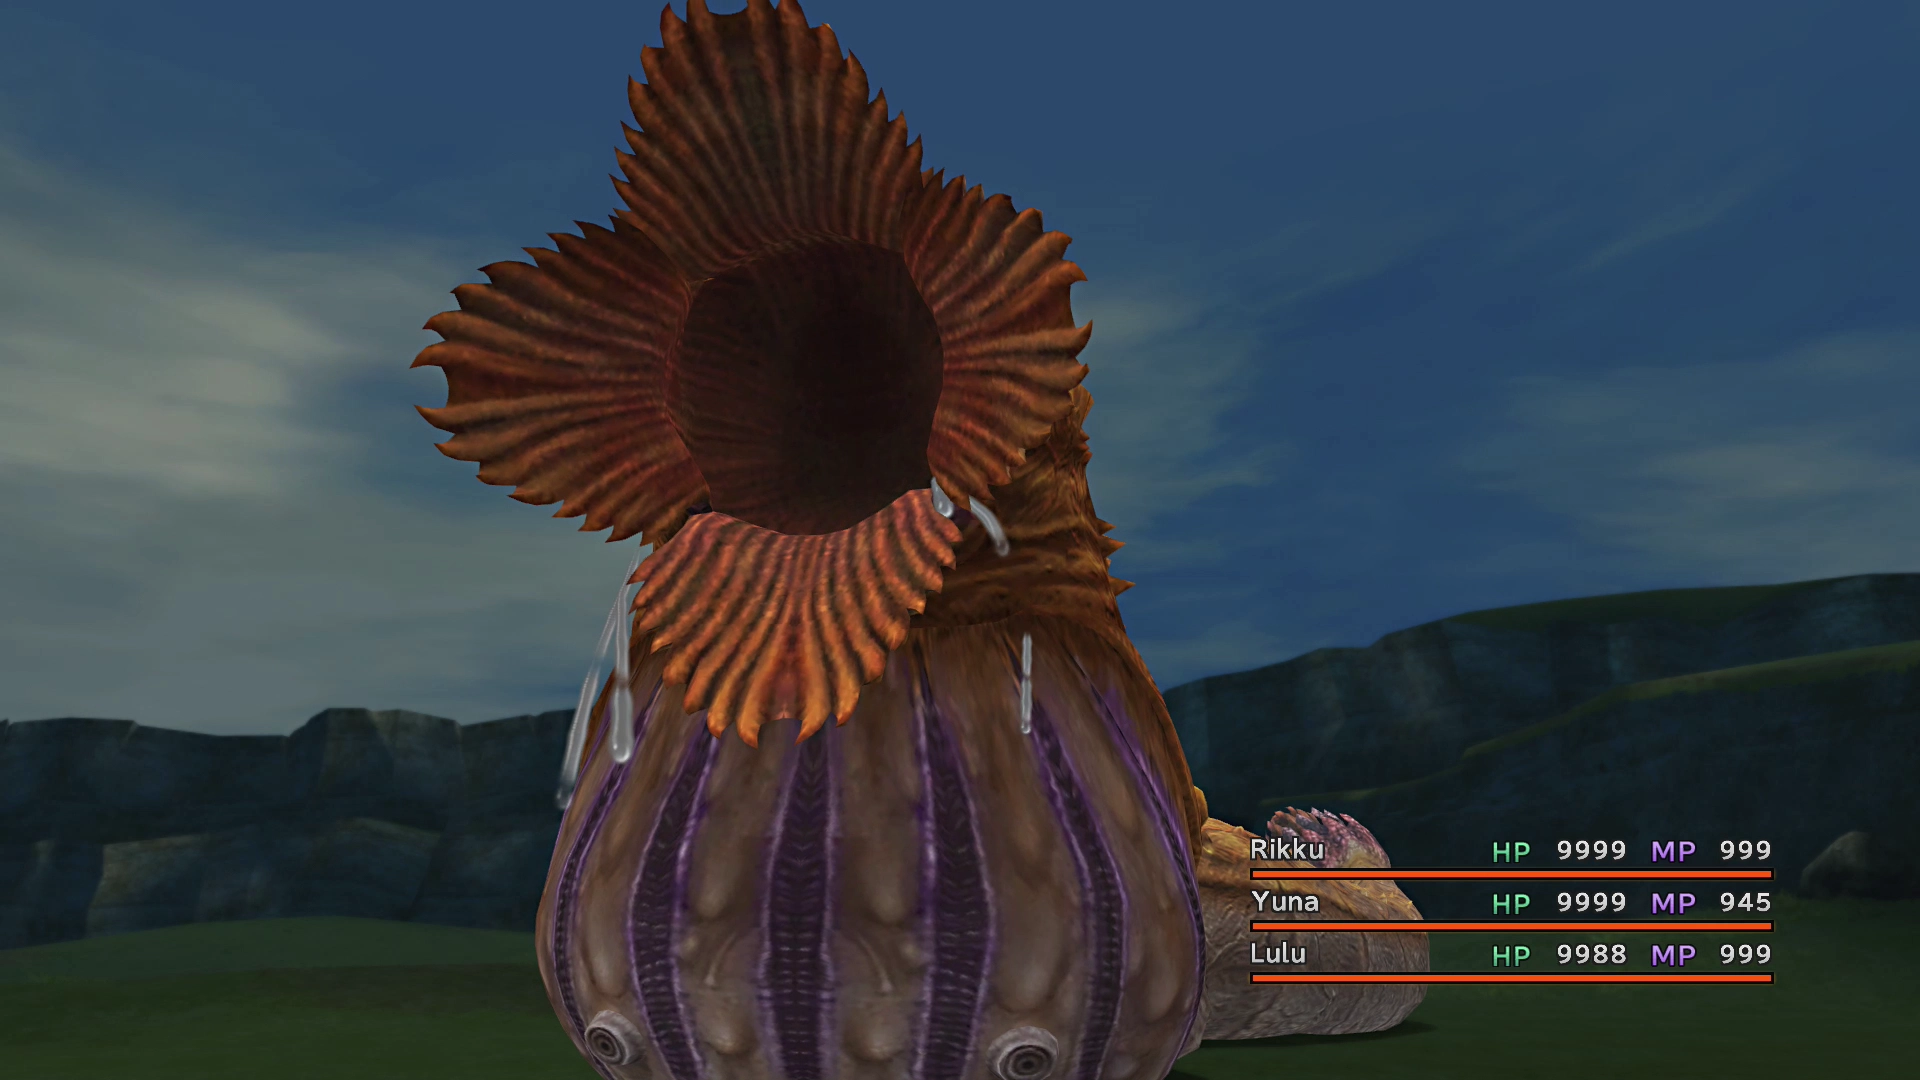
You will run into large enemies in the Bikanel Desert called Sand Worms. They aren’t too difficult to defeat, but they do have a ton of HP, which makes defeating them take quite a while. You can instantly kill them, though, if you have Auron use his Shooting Star Overdrive on them when you encounter them.
As a result, it can be very helpful to store Auron’s Overdrives for later use as you travel through the Bikanel Desert.
There may also be an  Al Bhed Primer near Wakka if you have missed any of them thus far. There won’t be any, though, if you haven’t missed picking any up so far. Continue northward when you’re ready to head to the next area.
Helpful Hint
The Al Bhed Potions can only be used by Rikku using the  Use command. They heal for 1,000 HP and remove the Poison, Silence, and Petrification status effects. Therefore, Rikku can act as your interim healer while you are missing Yuna (once she rejoins your party, that is).
Sanubia Desert - East
Head into the little alcove to the right to find Kimahri aimlessly trying to climb a dune. Not the smartest cat around…
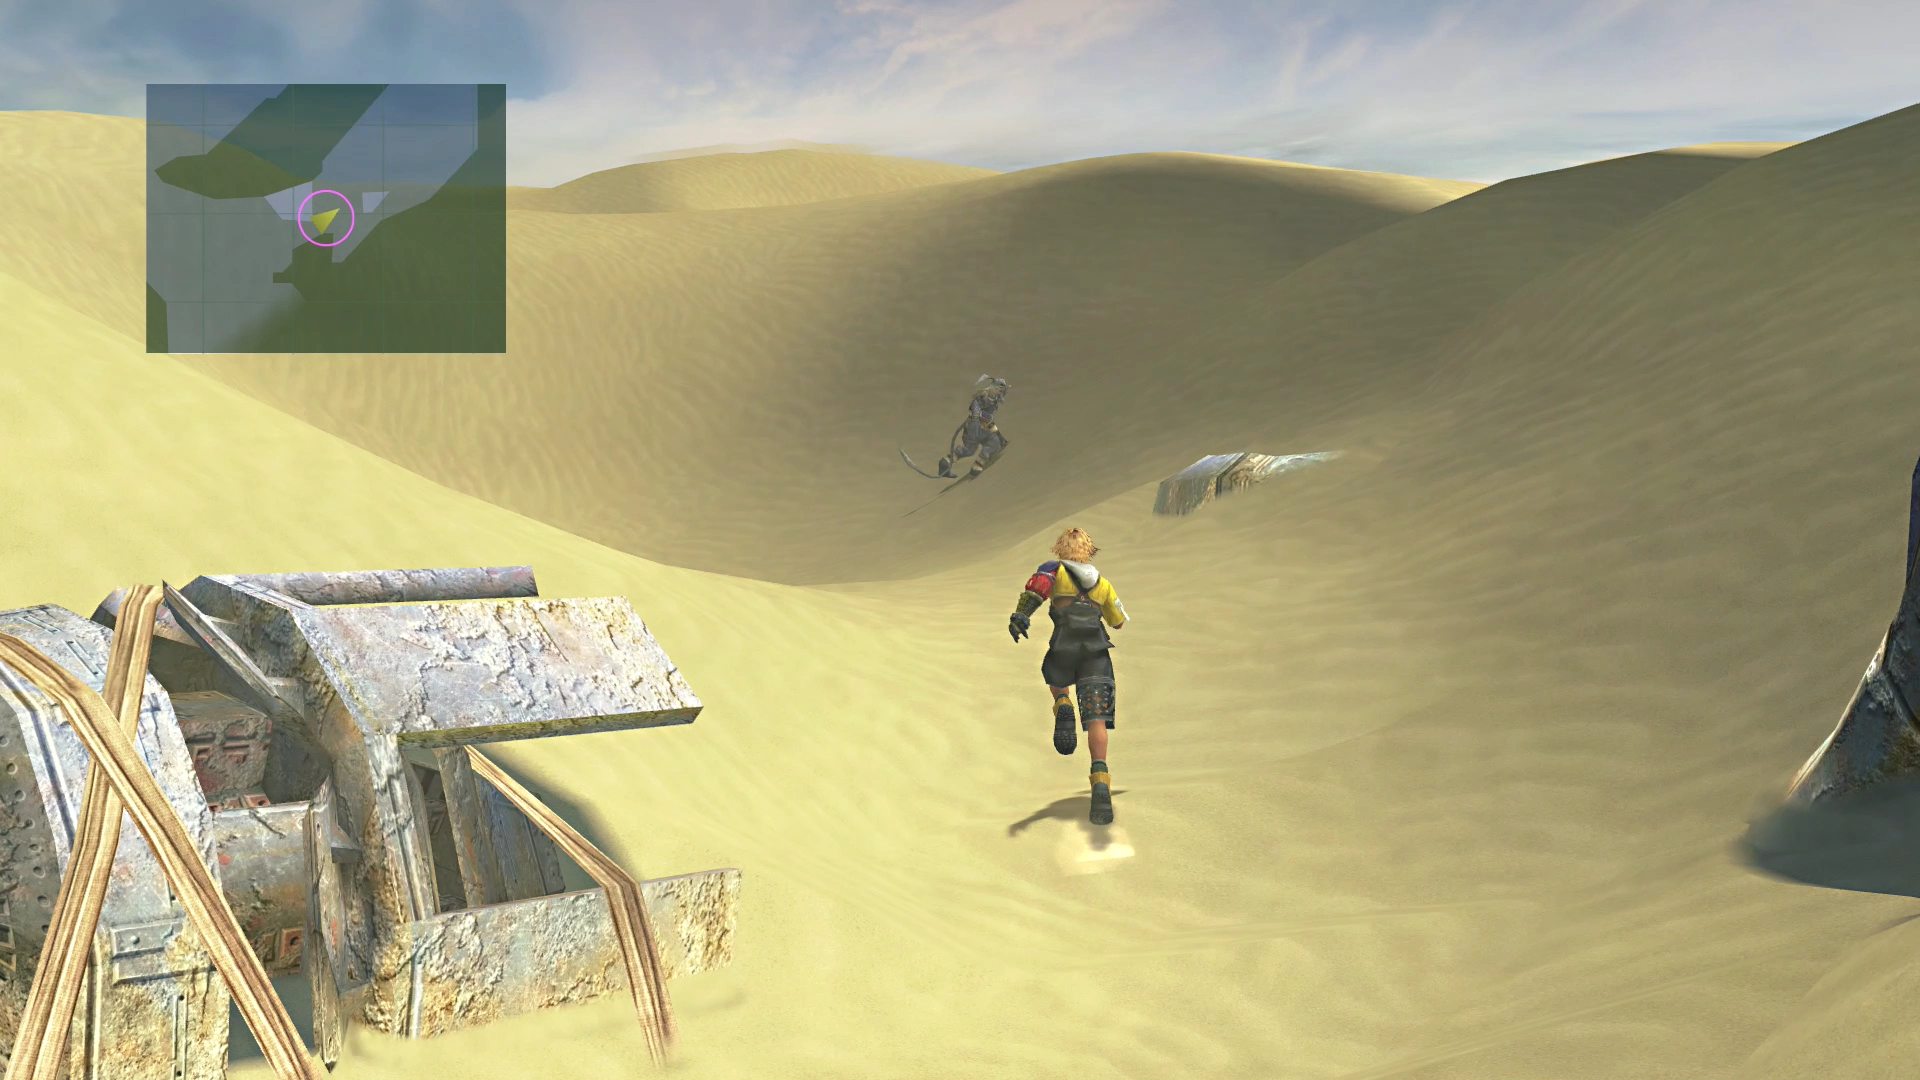

Head backwards once you have met up with Kimahri, and head around the dogleg and continue following the trail until you run into Rikku.
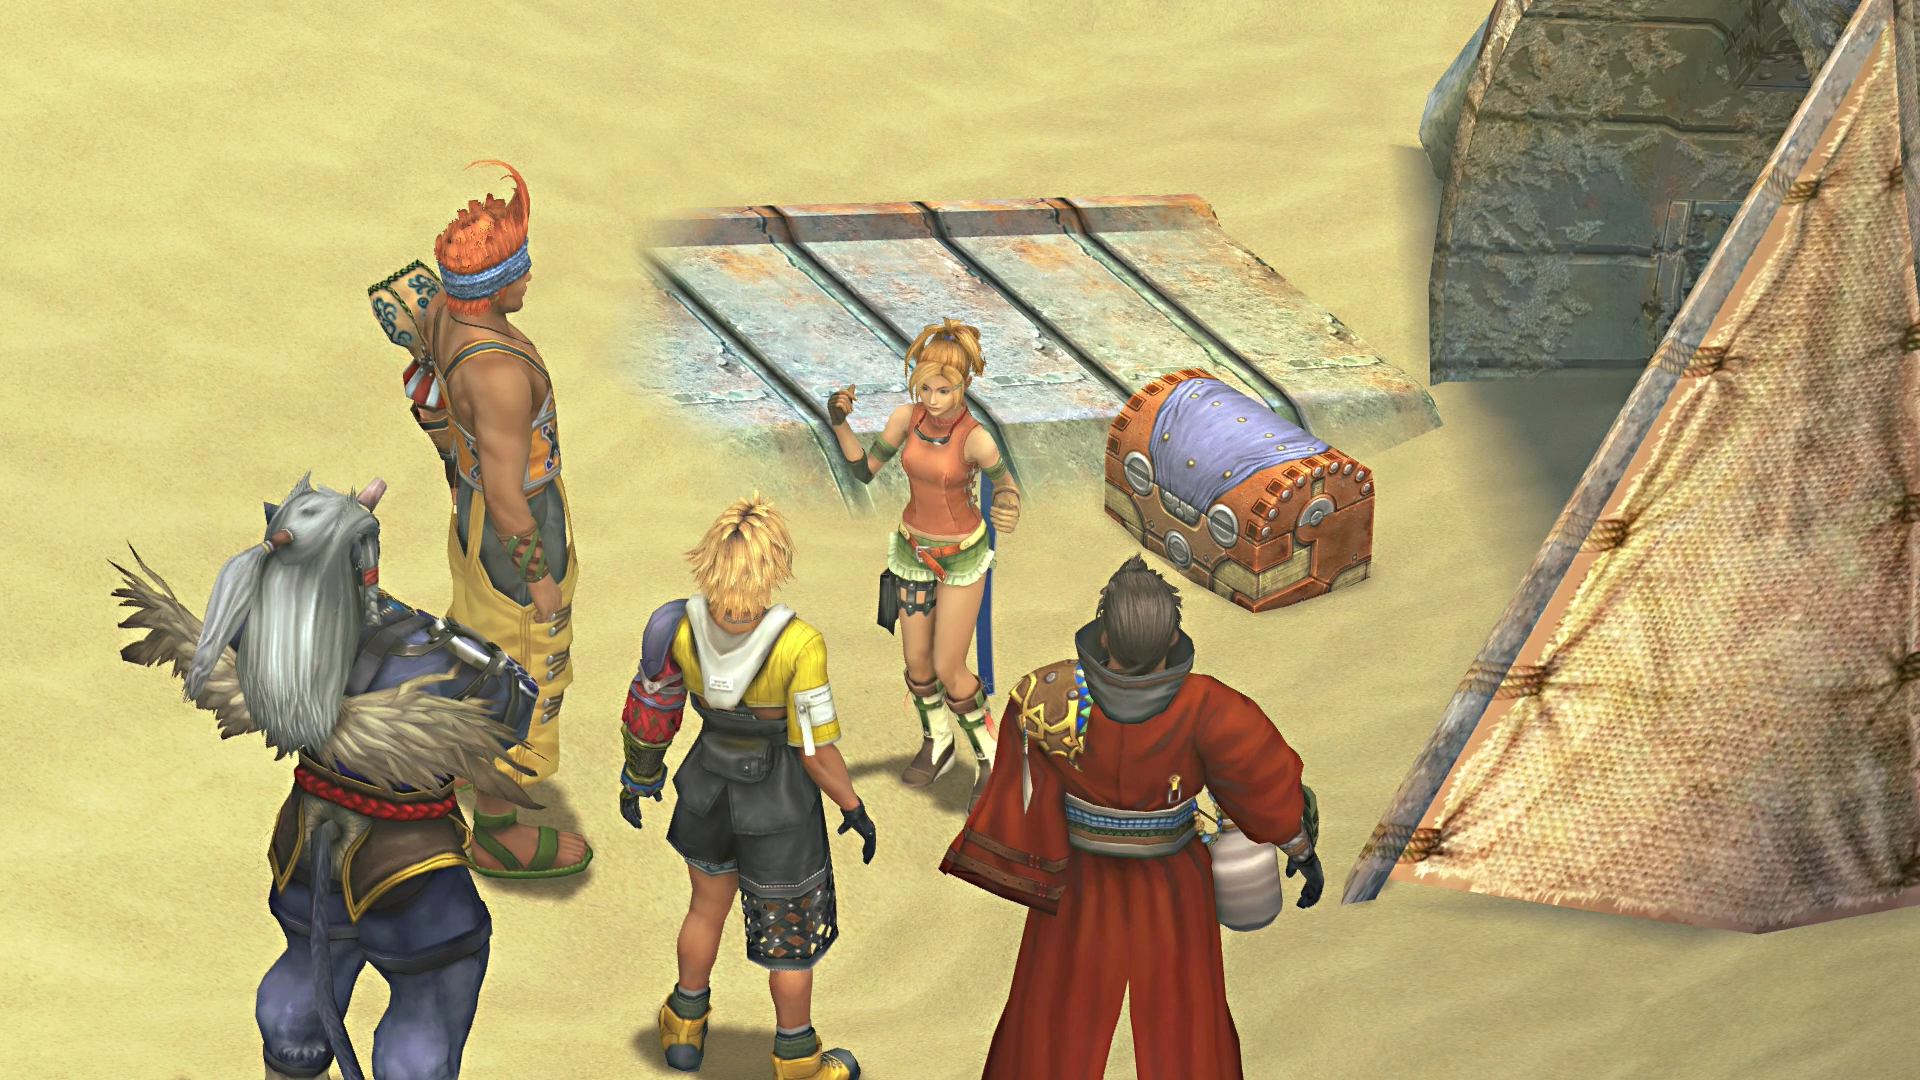
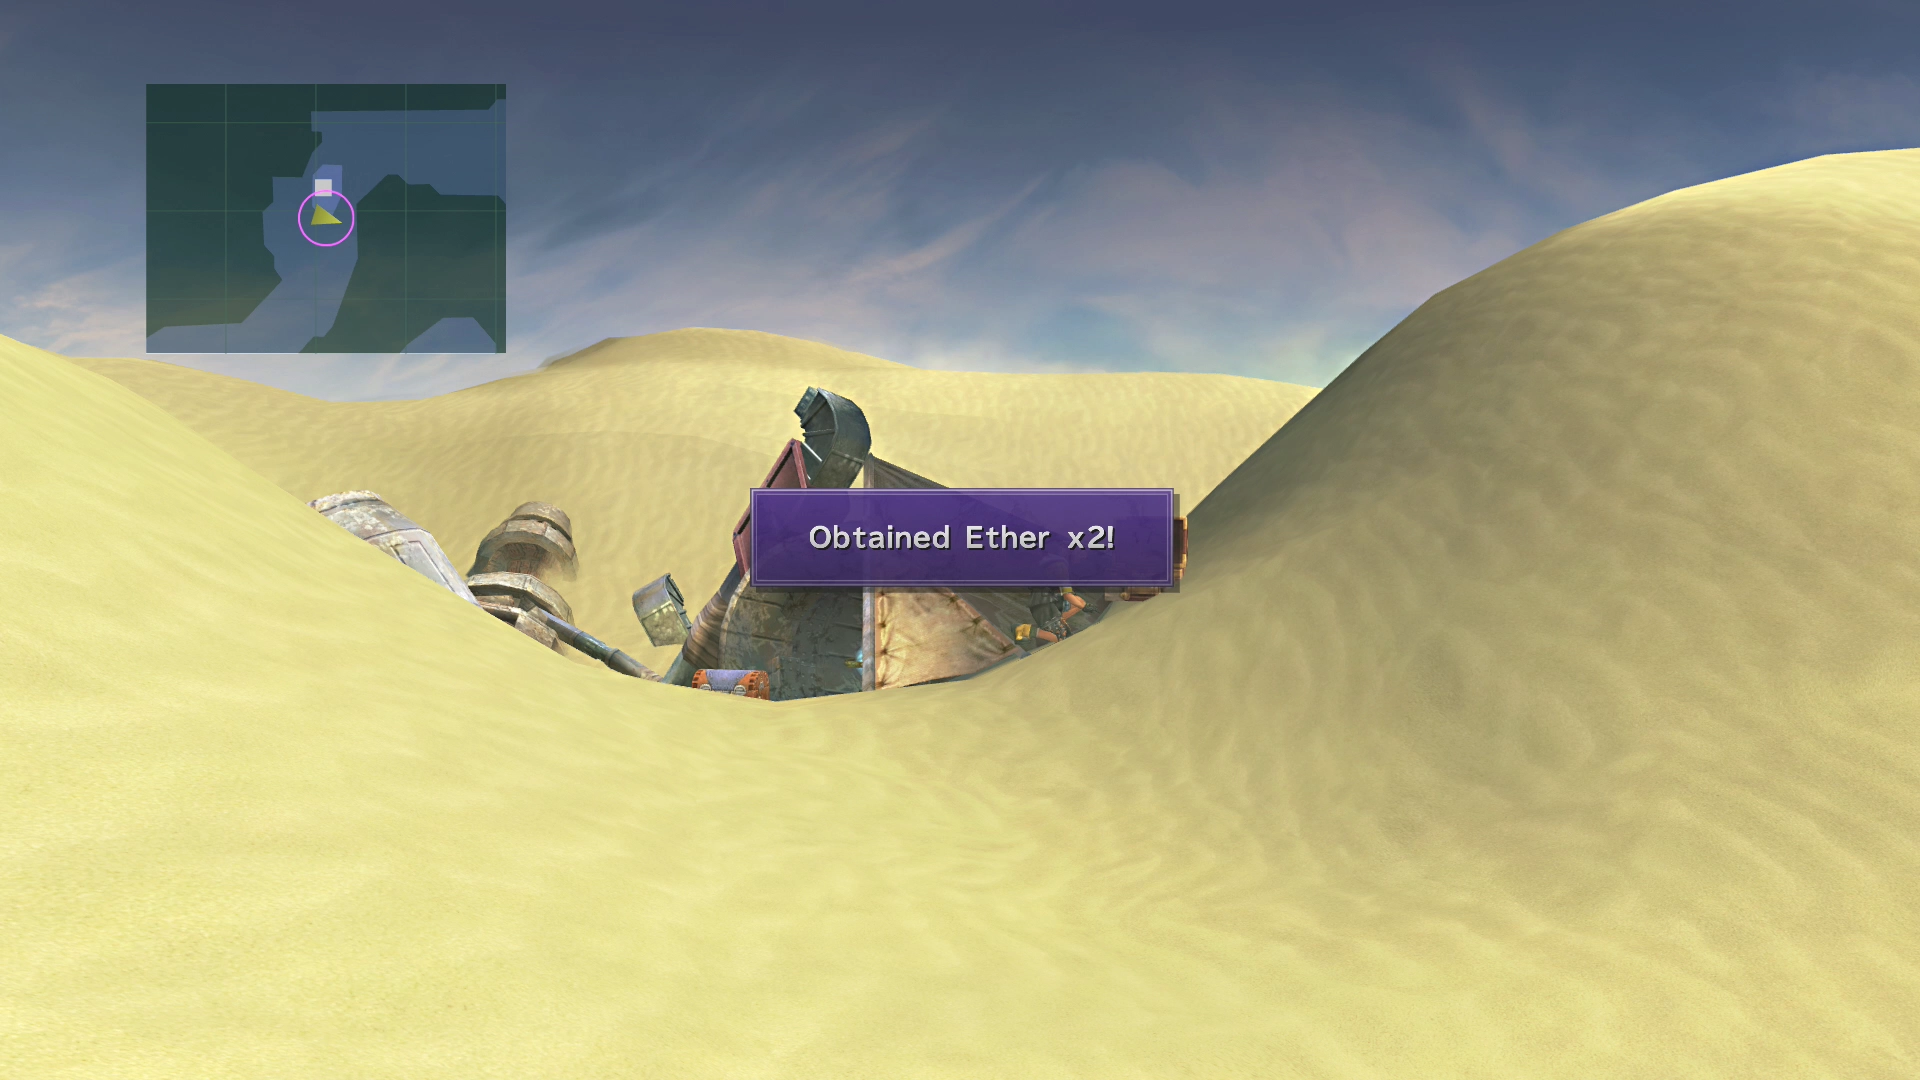
There are two treasure chests next to where Rikku was standing. The first one contains two  Ethers while the second one contains eight more Al Bhed Potions. If you skipped opening the chest beside Wakka earlier, the “Al Bhed First Aid Kit” will show up in this second chest instead.
Don’t forget to save at the Save Sphere, which is essentially a free opportunity to heal up your players now that your primary healer (Yuna) is missing.
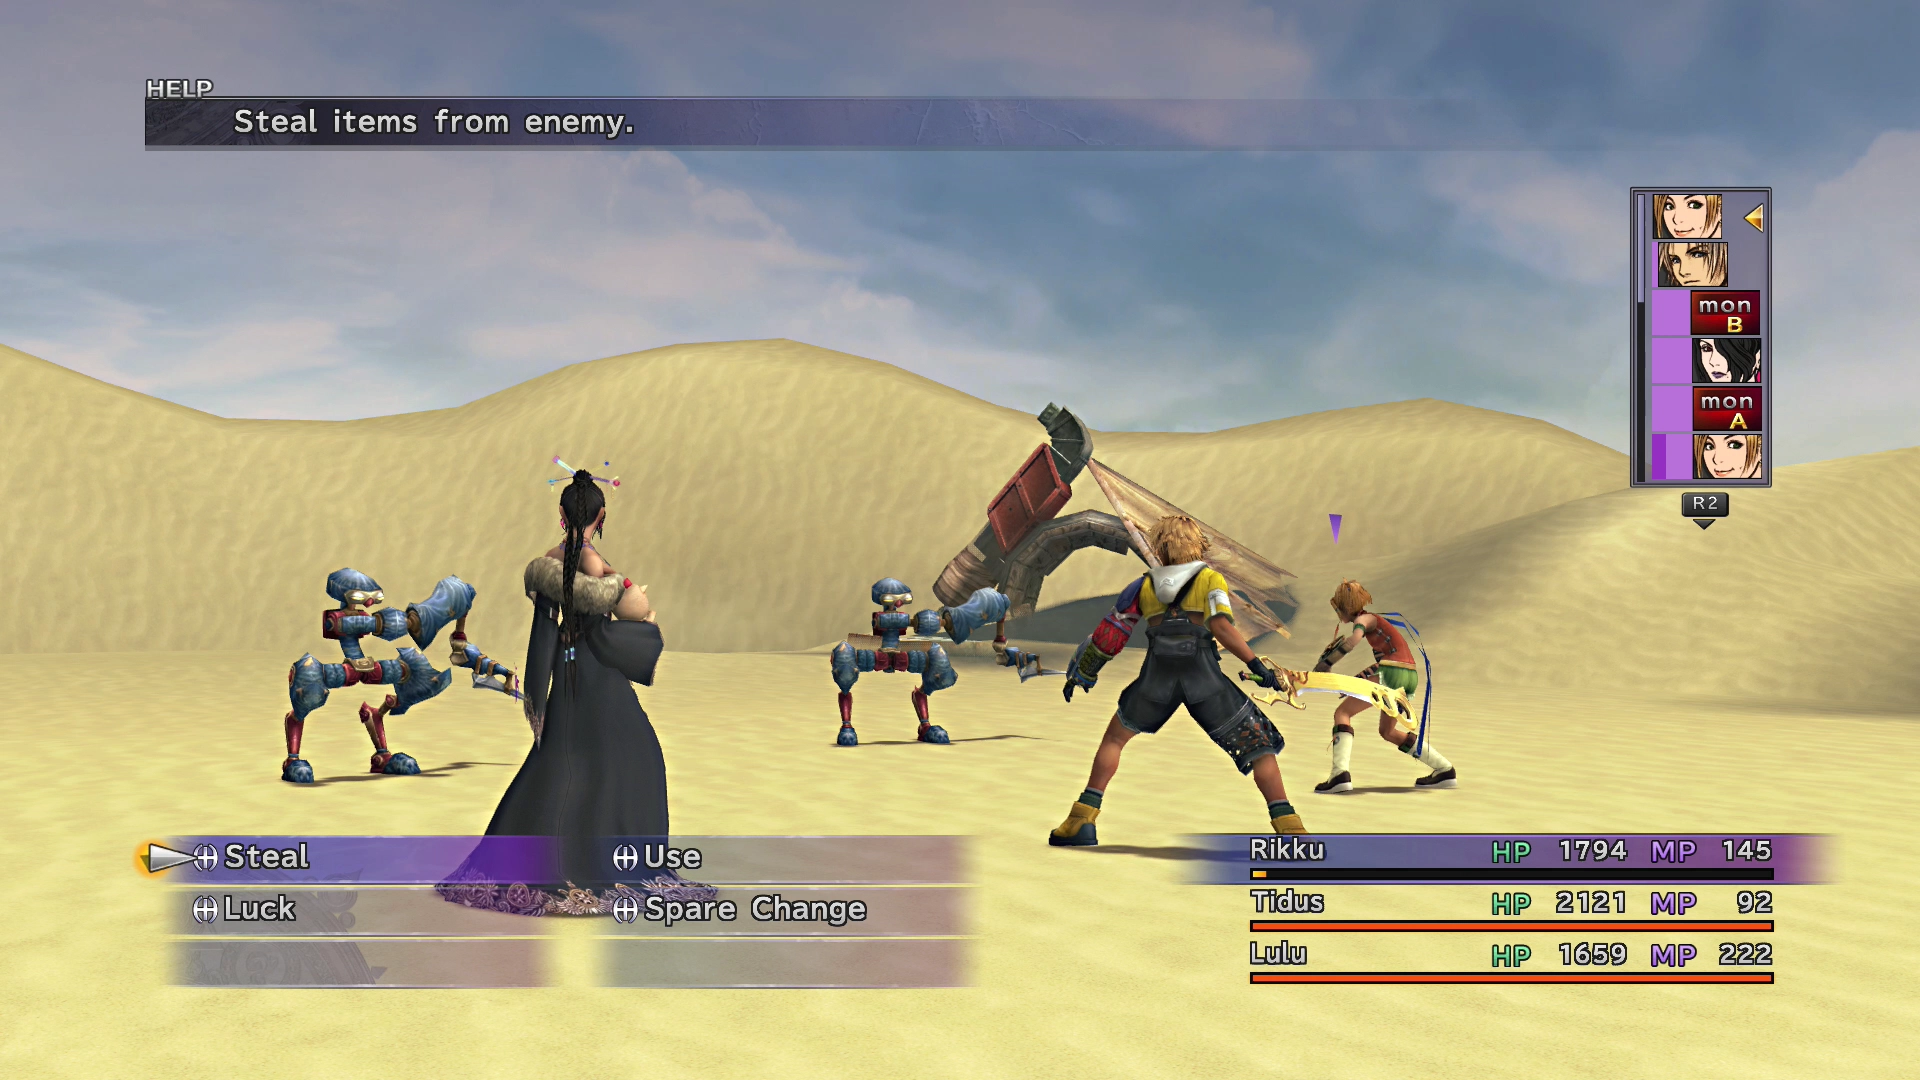
Follow Rikku behind the scrap metal pile. During your first fight with Rikku back on the team, you will get a quick explanation of how using the Steal command on an Al Bhed Machina will destroy them in one hit.
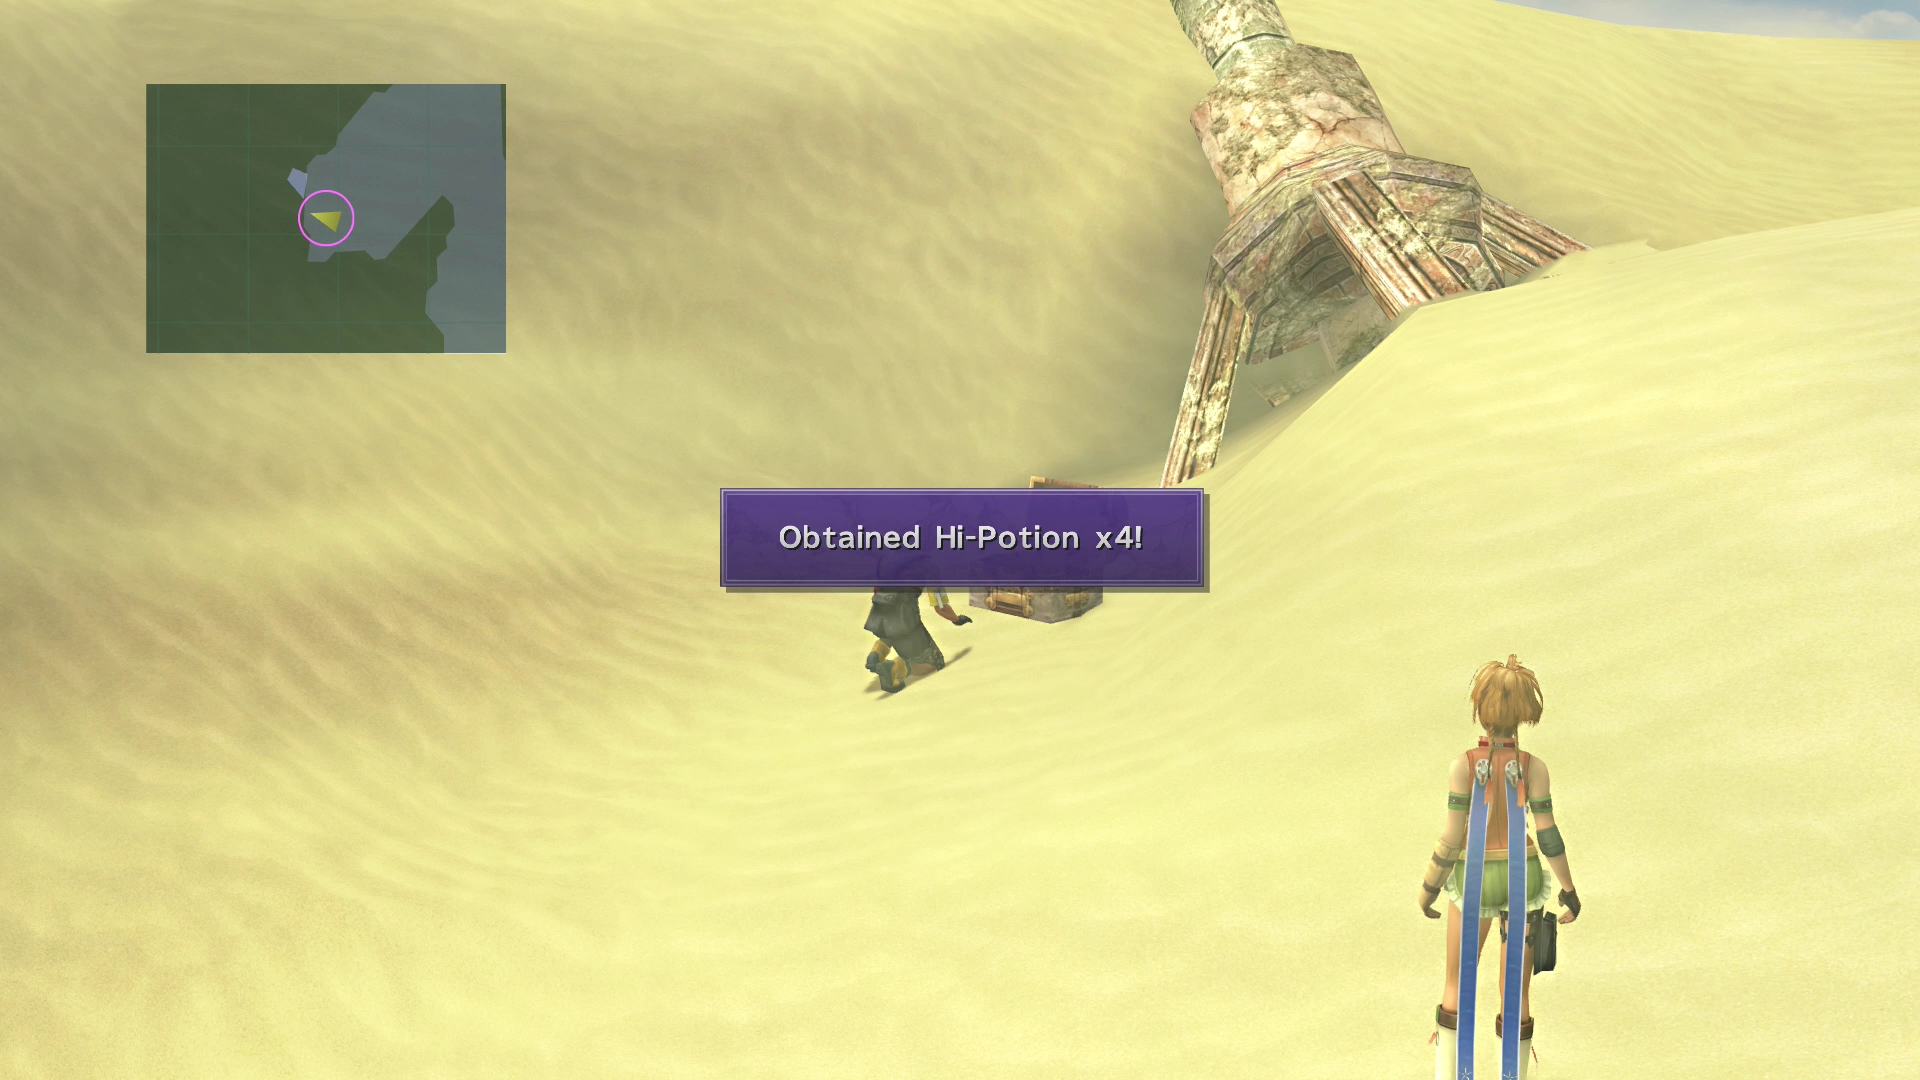
There will be a noticeable area extending to the left as you continue down the pathway. Following it leads to a treasure chest containing four  Hi-Potions. Continue along the trail into the next area.
Helpful Hint
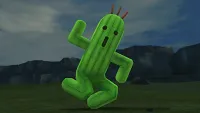
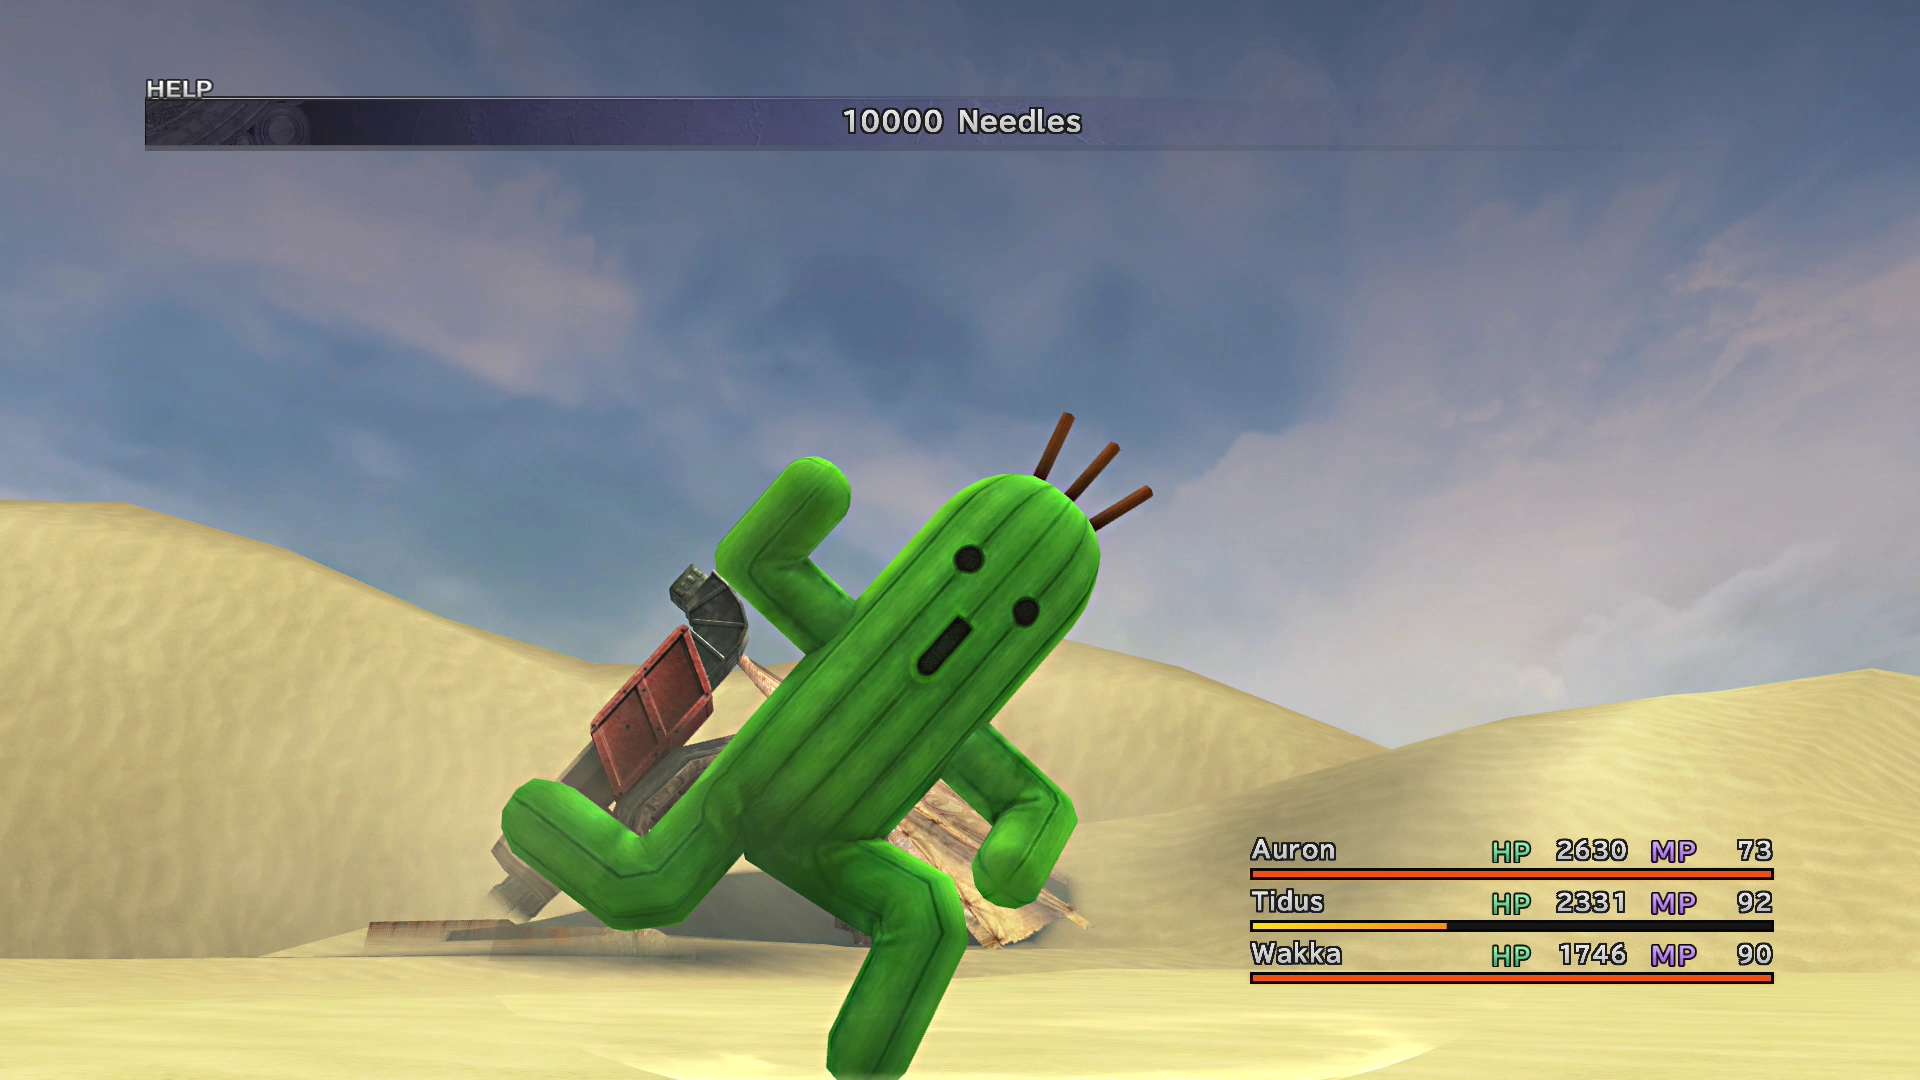
You may eventually run into a Cactuar in this next area. Cactuars are a formidable enemy. They have very high evasion and heavy armor, which means that even if your attacks do manage to hit the Cactuar, they will do very little damage. They also unleash some pretty devastating attacks, including 10,000 Needles, which does 10,000 HP worth of damage, making it an instant KO.
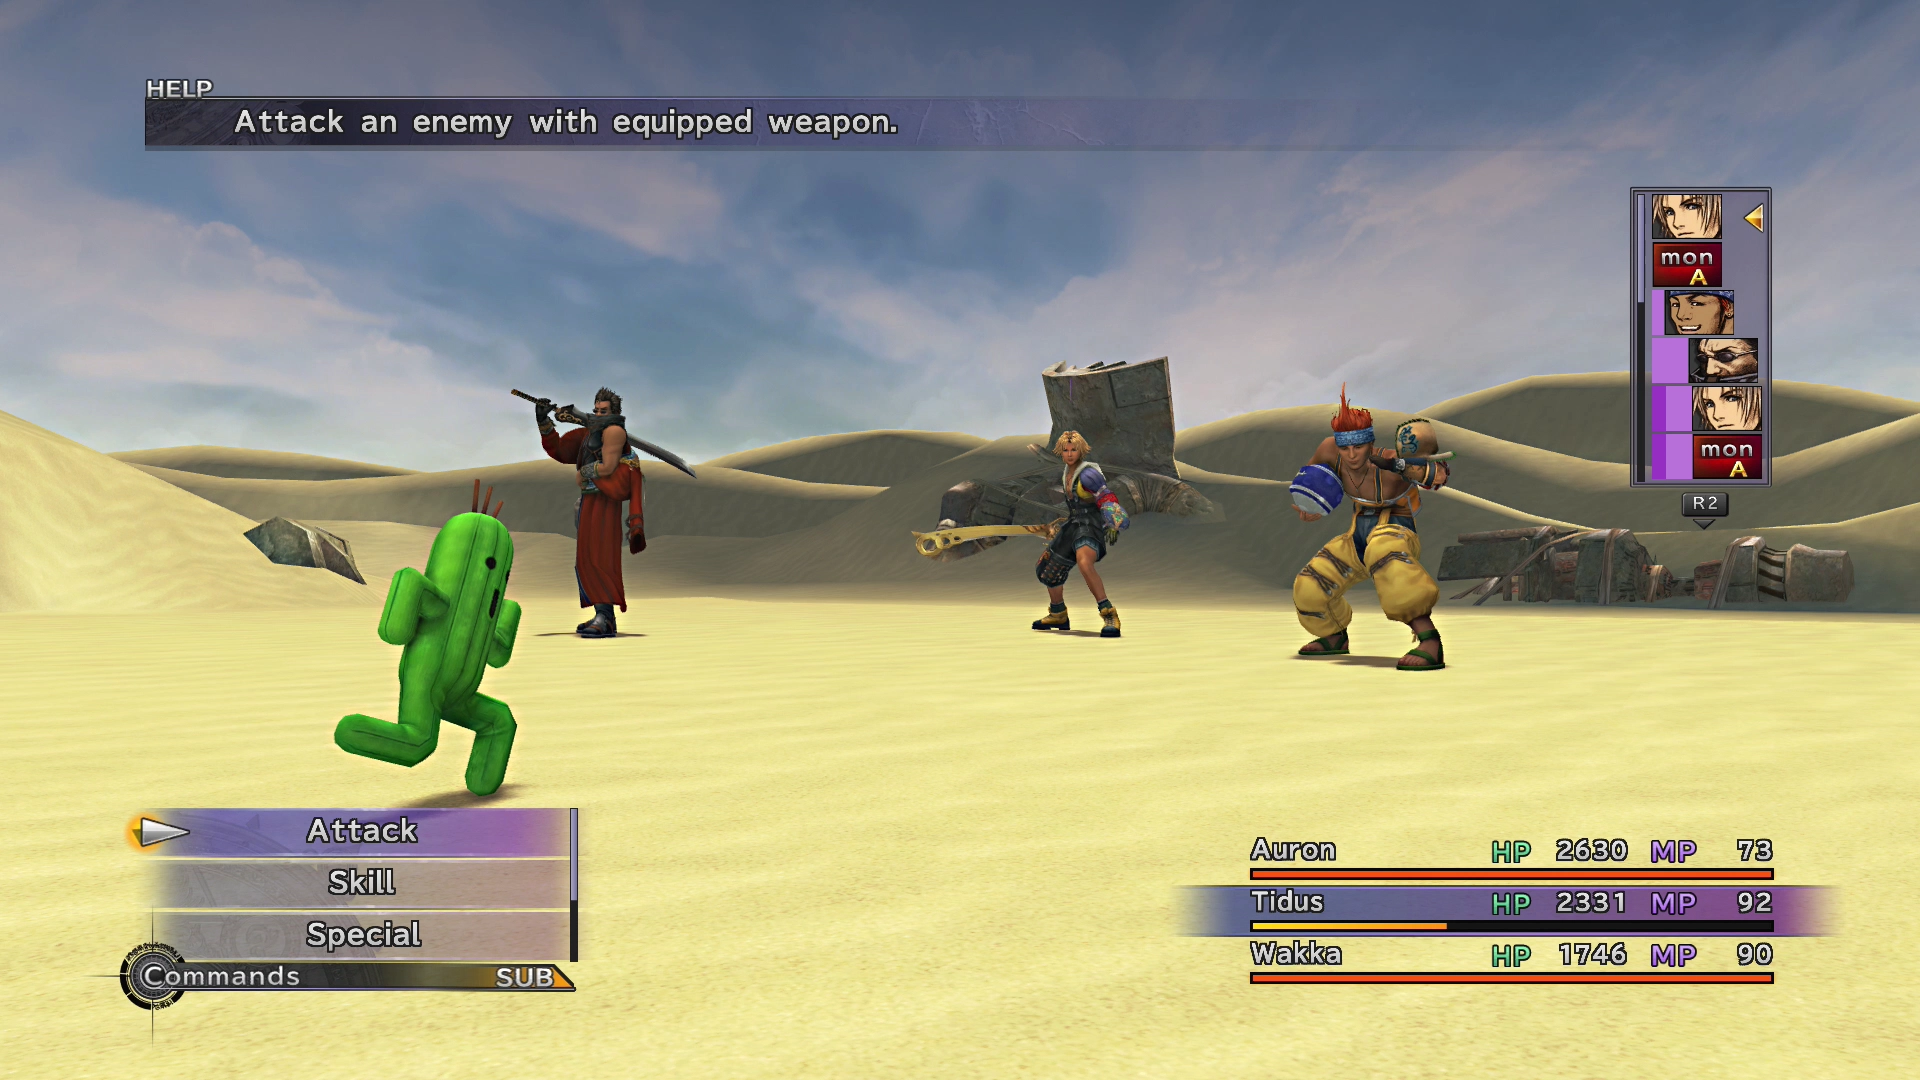
That said, they give great rewards for defeating them, including armor, weapons, and a massive amount of AP. The best tactic for defeating Cactuars is to save up your Overdrives during your time in the Sanubia Desert and use them if you run into any Cactuars. Your Overdrive attacks cannot miss.
Sanubia Desert - Central
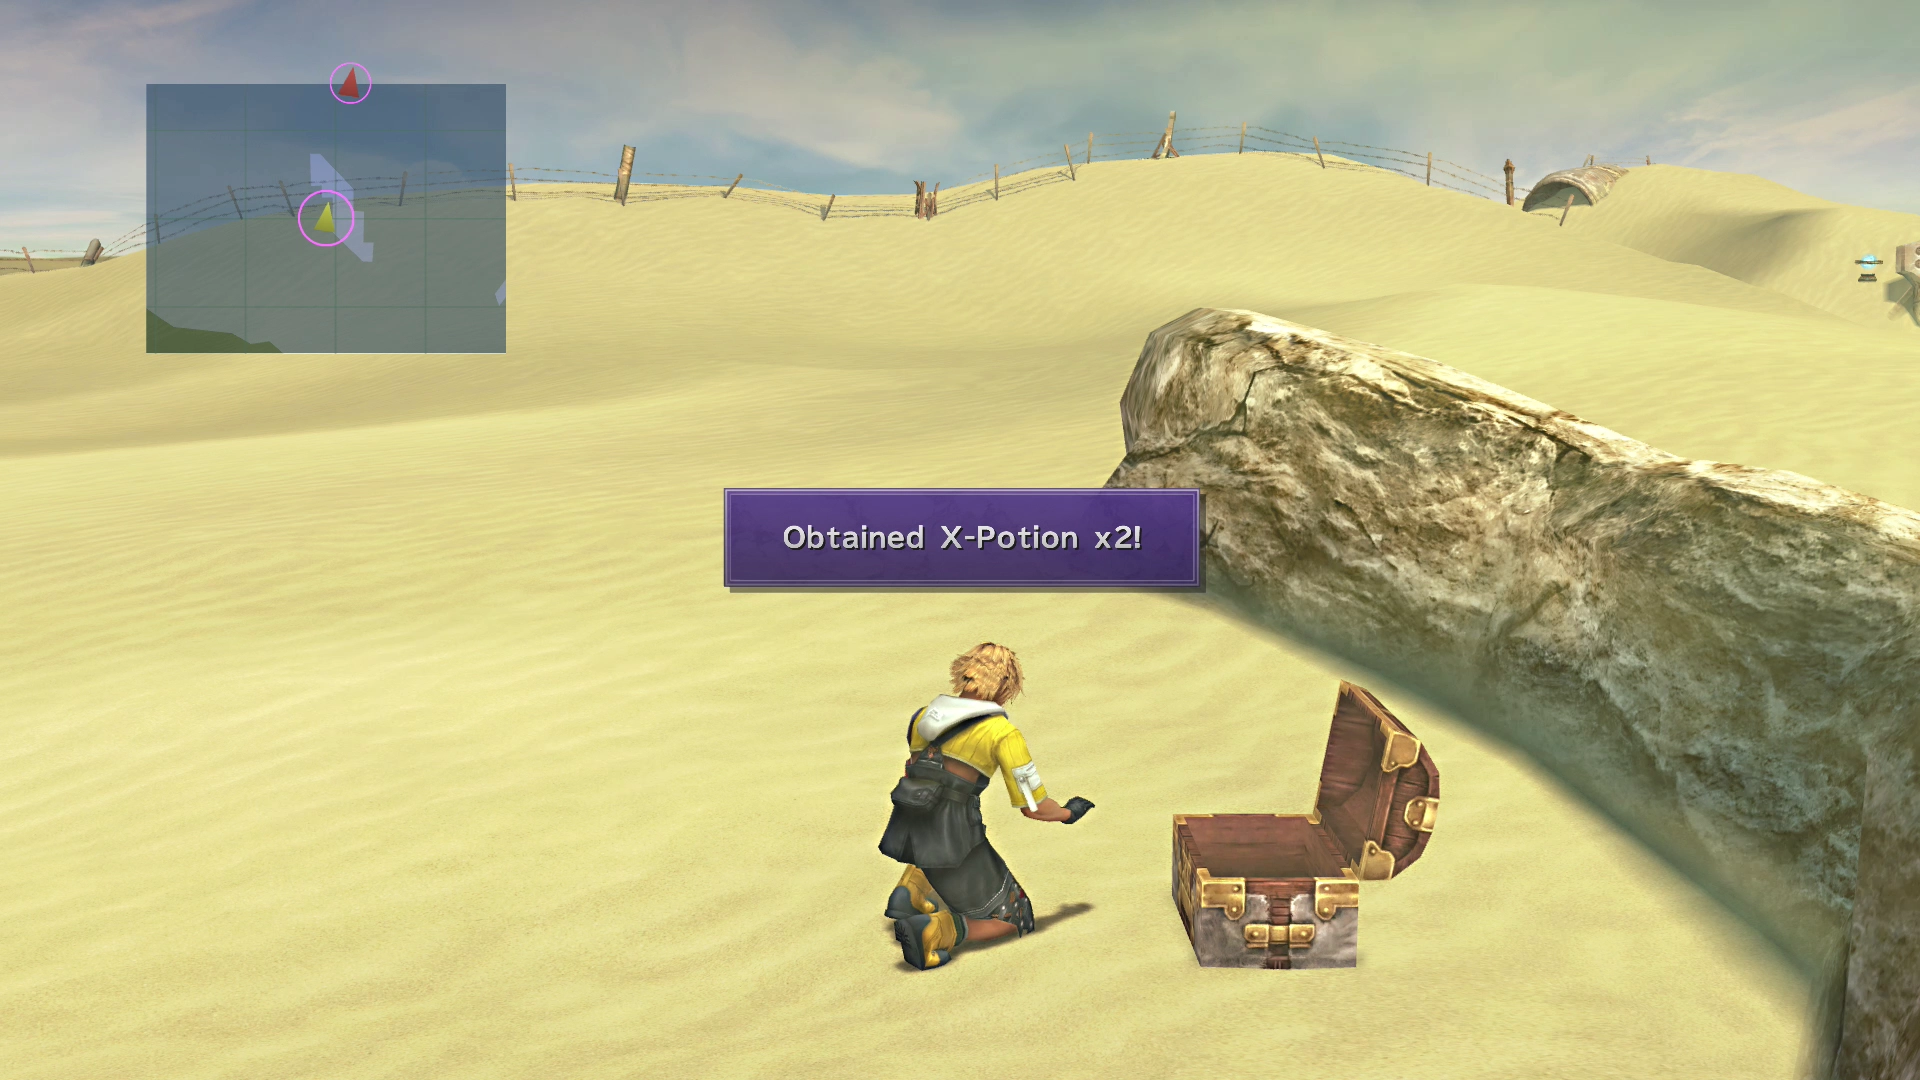
Follow the red arrow into the center of the next desert section. There is a treasure chest in the center of this area that contains four Hi-Potions. Just southwest of this treasure chest is a rock formation that is shown on the mini-map. On the other side of the rocks is a treasure chest containing two X-Potions.
Sanubia Central Map

| 1 | Hi-Potion ×4 |
| 2 | X-Potion ×2 |
| 4 | Mega-Potion ×2 |
| 5 | Al Bhed Potion ×8 |
| 6 | Elixir |
| 6 |  Lv. 2 Key Sphere Lv. 2 Key Sphere |
| 7 | 10,000 Gil |
 8 8 | Al Bhed Primer (Vol. XVII) |
| 9 | Al Bhed Primer (Vol. XVIII) |
At the far west corner of the map, there is a treasure chest that two Mega-Potions.
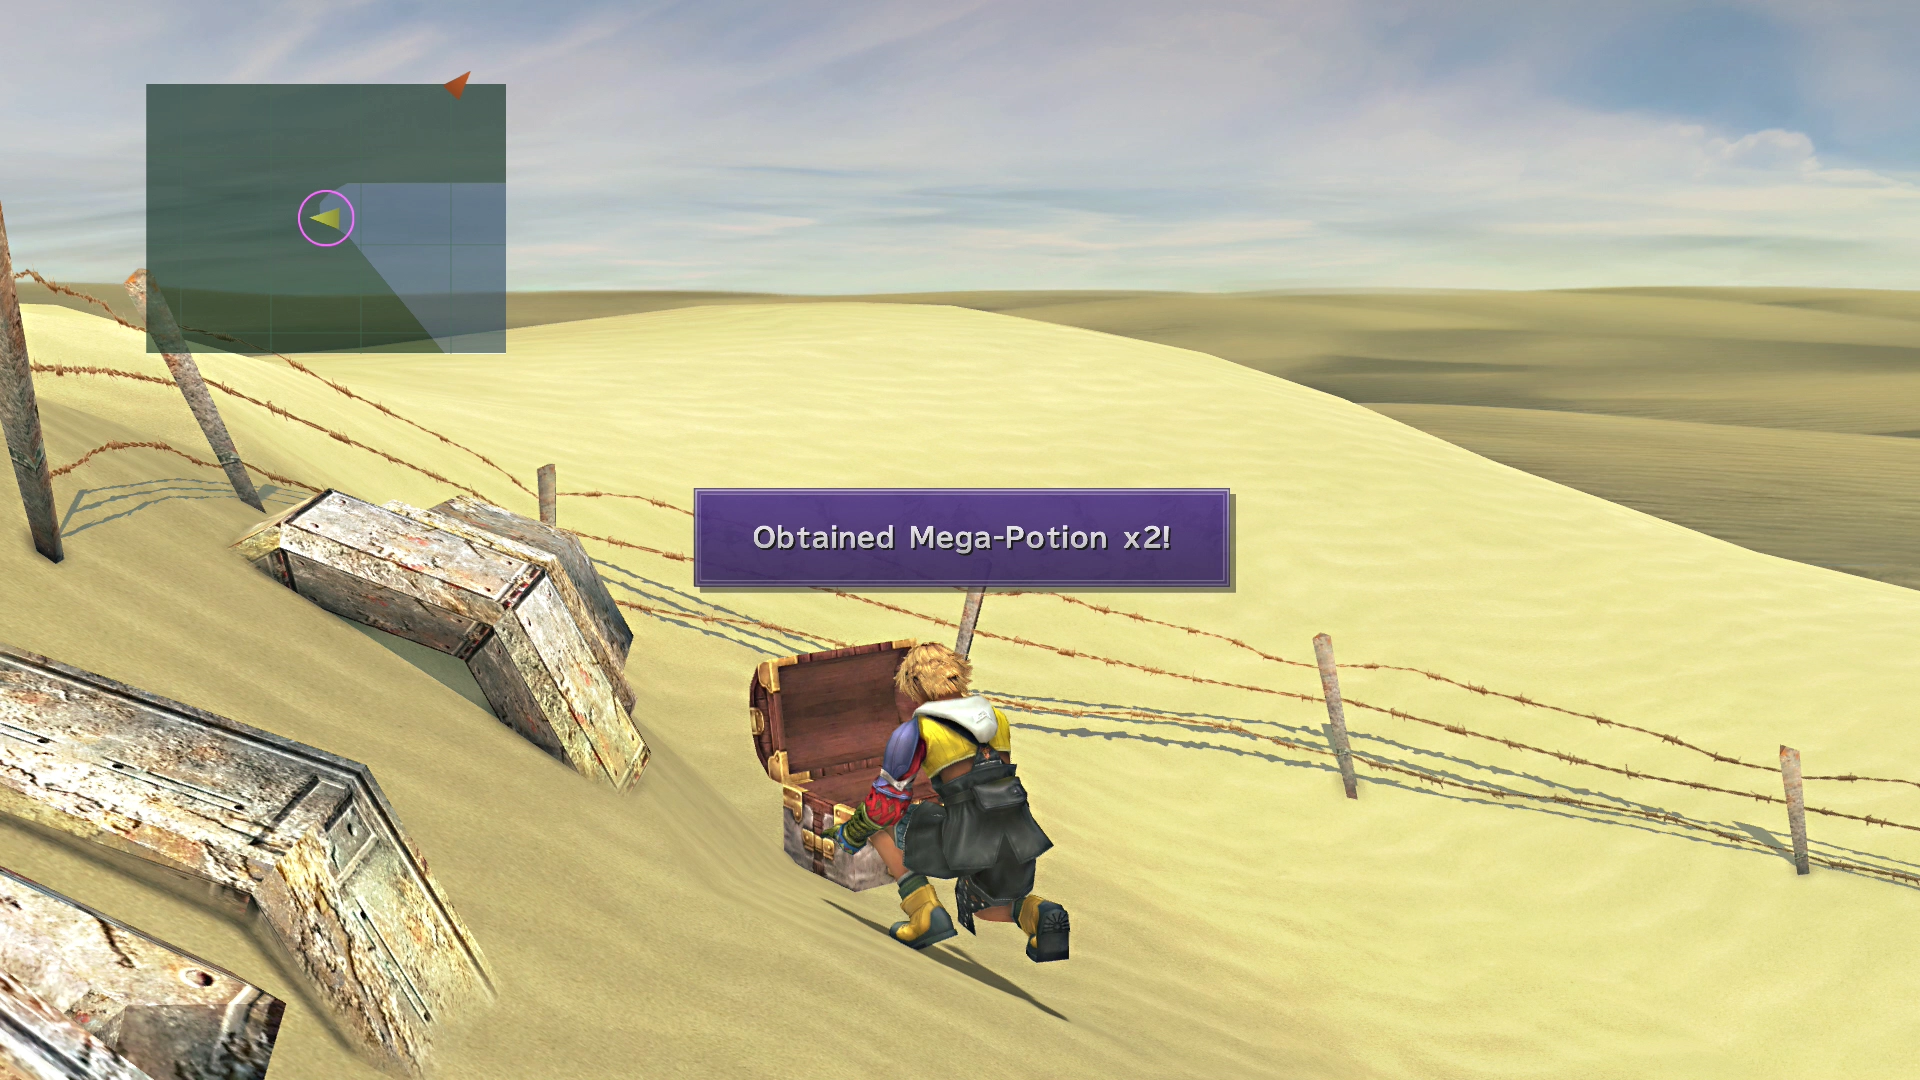
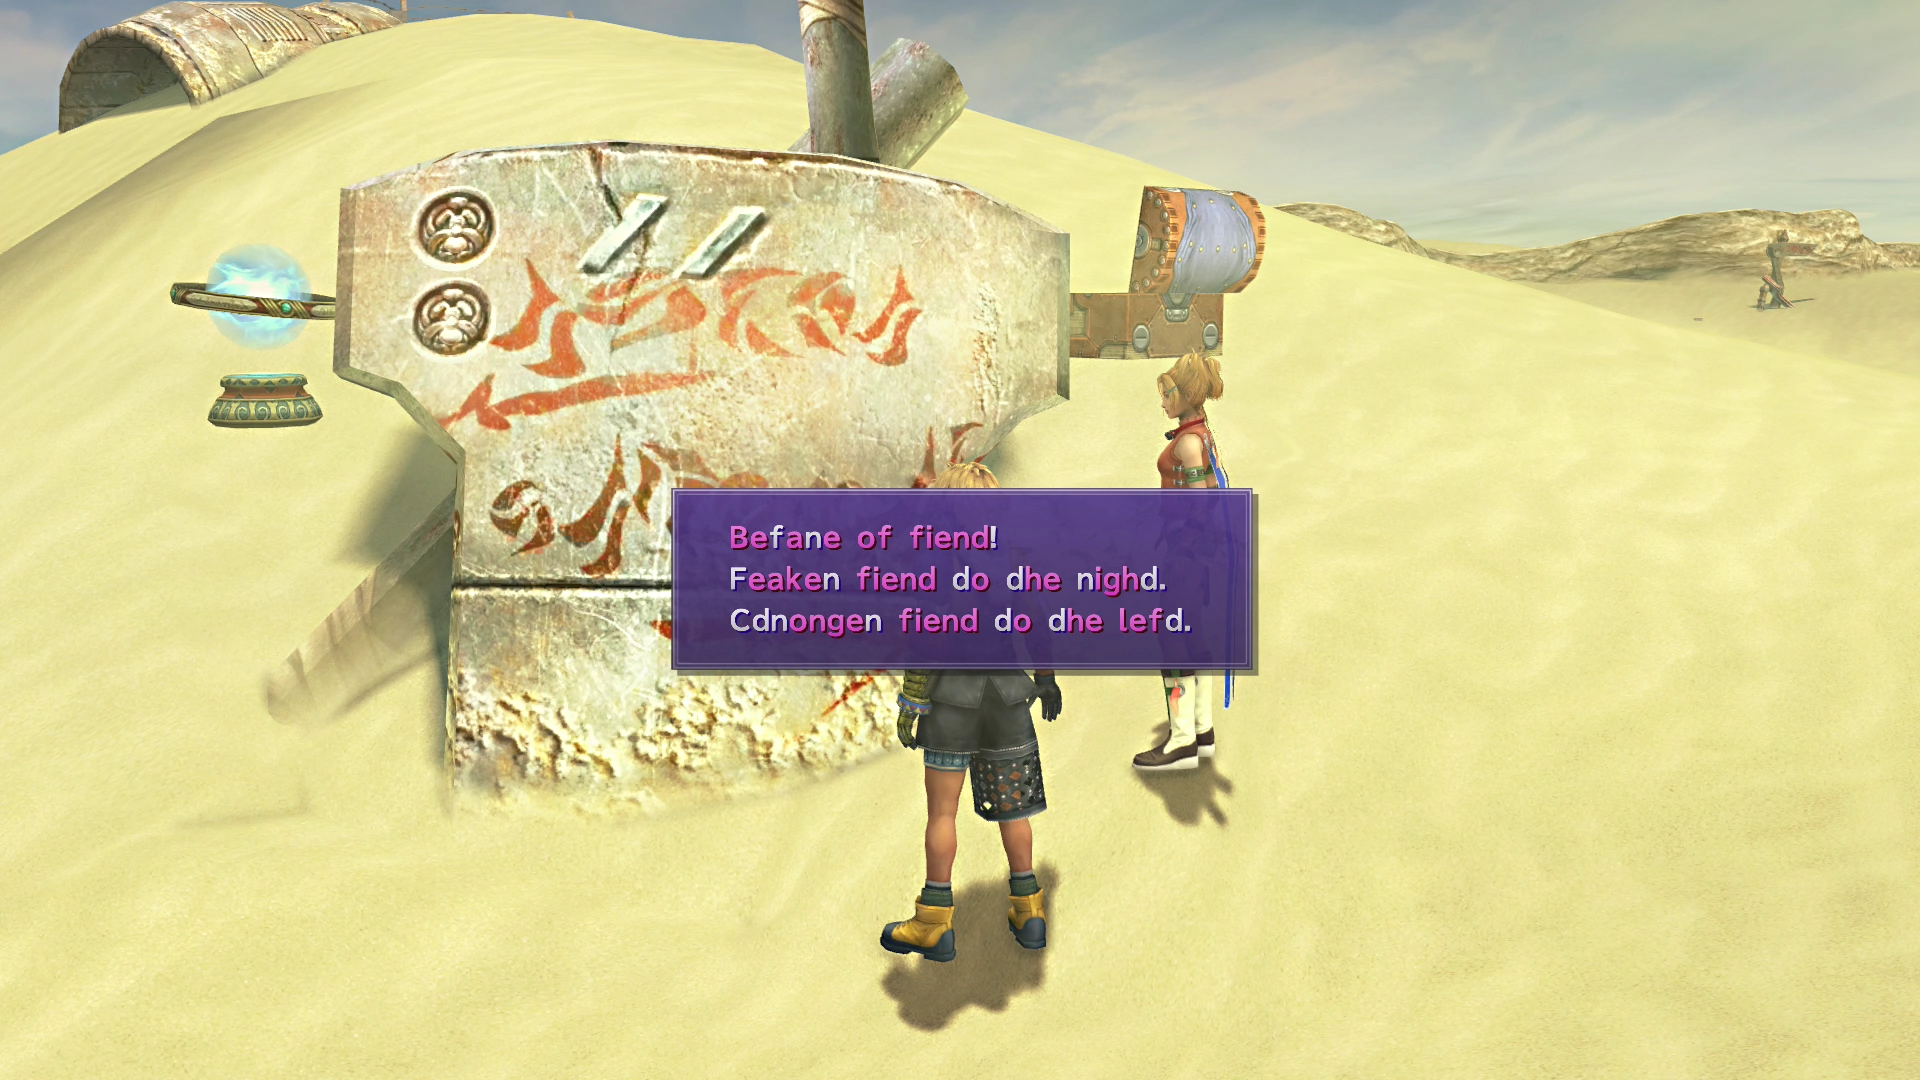
Make your way to the Save Sphere located north of all these items. The sign next to the Save Sphere reads “Beware of fiend! Weaker fiend to the right. Stronger fiend to the left.” Grab the nearby treasure chest which contains eight Al Bhed Potions.
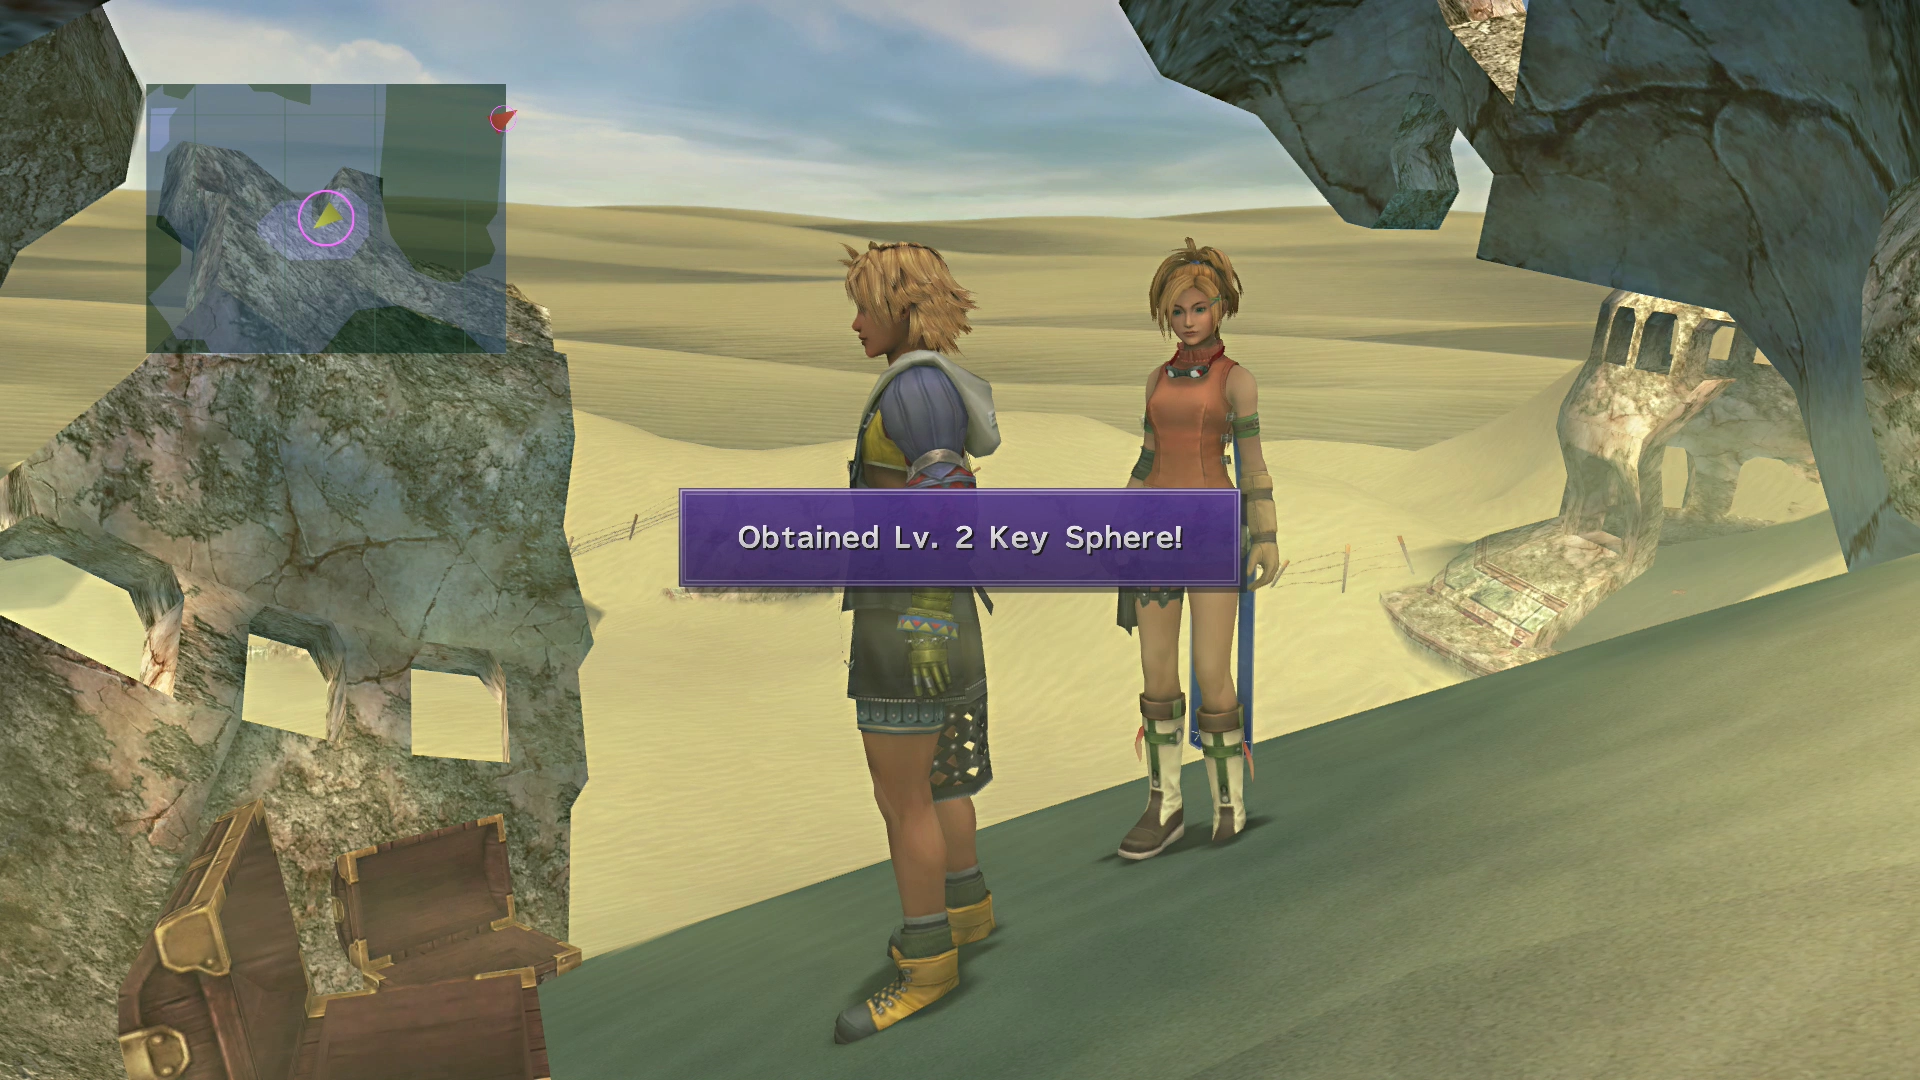
Go west from the Save Sphere into a small enclosure, and you will find a treasure chest that contains an Elixir (to the south), and the enclosure to the north of this area has two treasure chests—one of which includes a Lv. 2 Key Sphere and the second which contains 10,000 Gil.
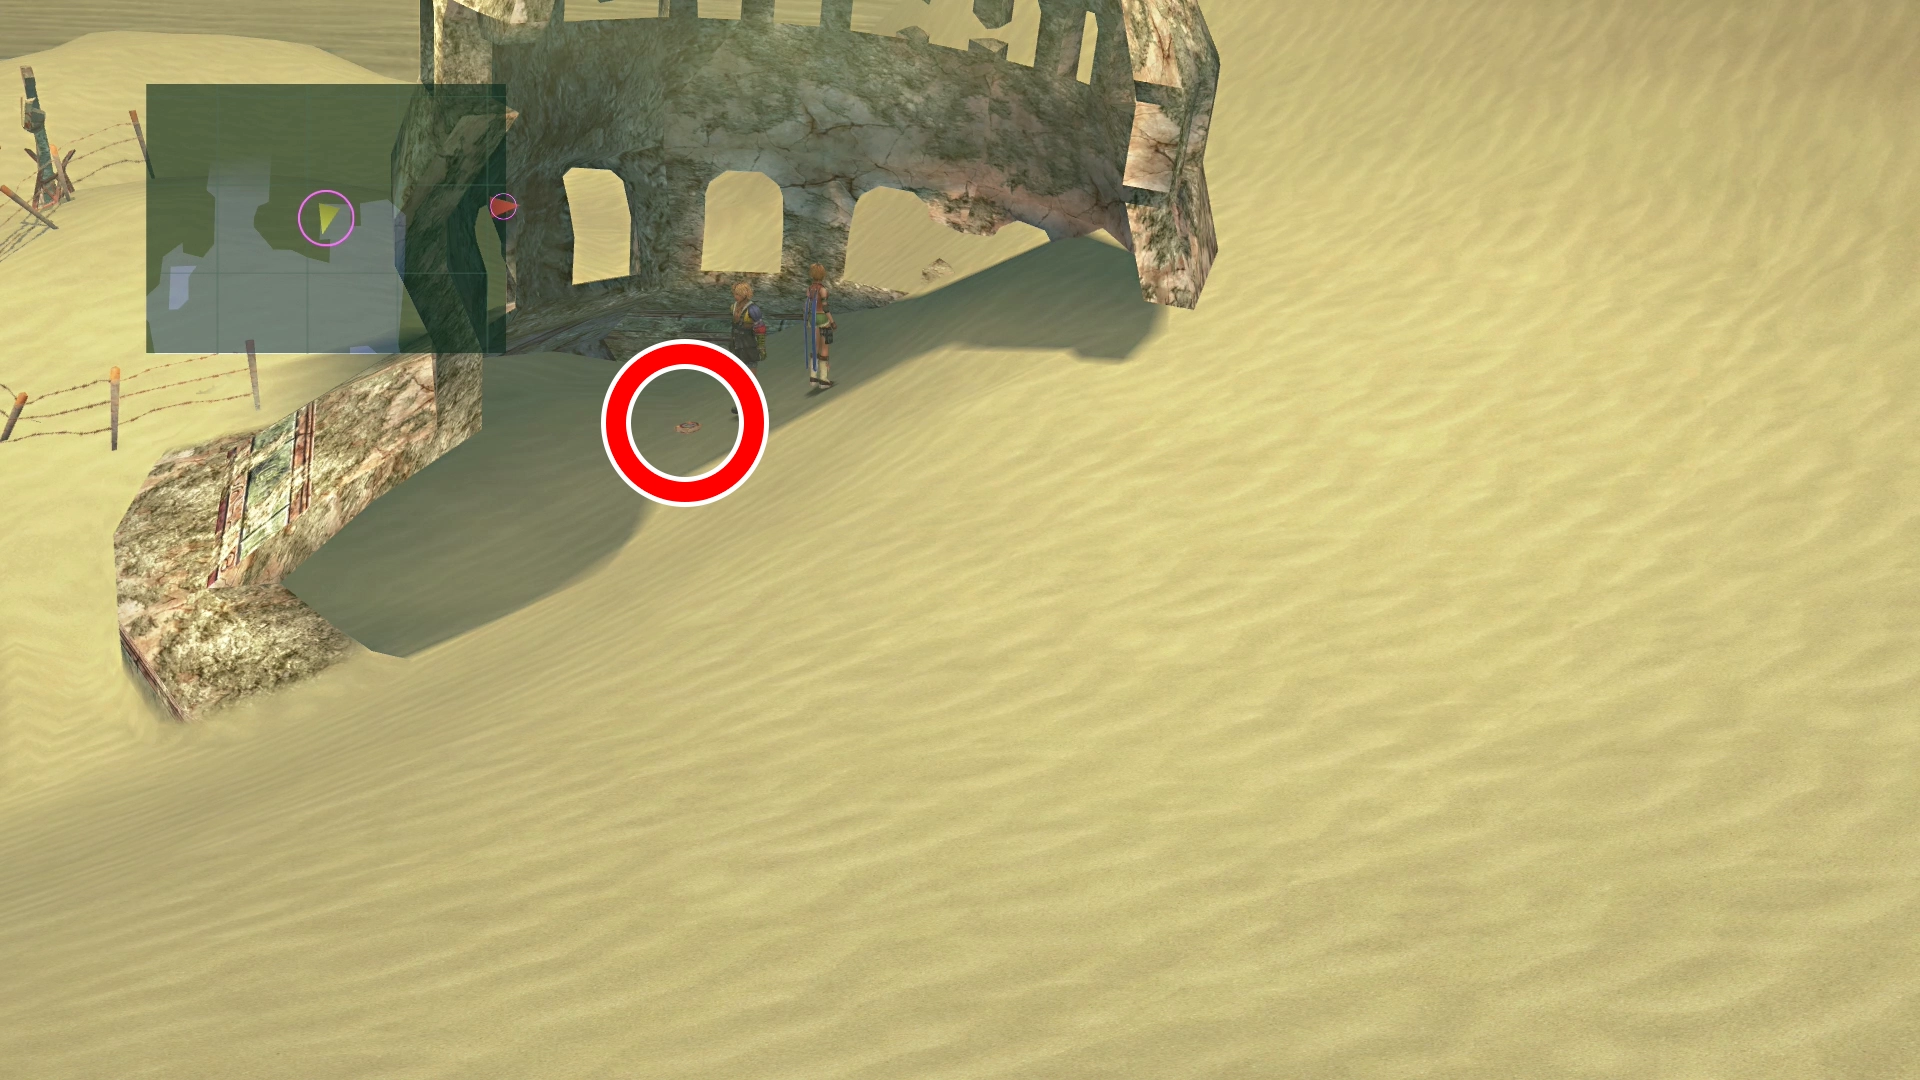
Just north of this area, you will find an Al Bhed Primer (Vol. XVII) sitting on the ground.
Go back to the Save Sphere and head straight north towards a signpost in the distance. Lying just below that signpost is a book on the ground, specifically Al Bhed Primer (Vol. XVIII). Continue north from here into the next area.
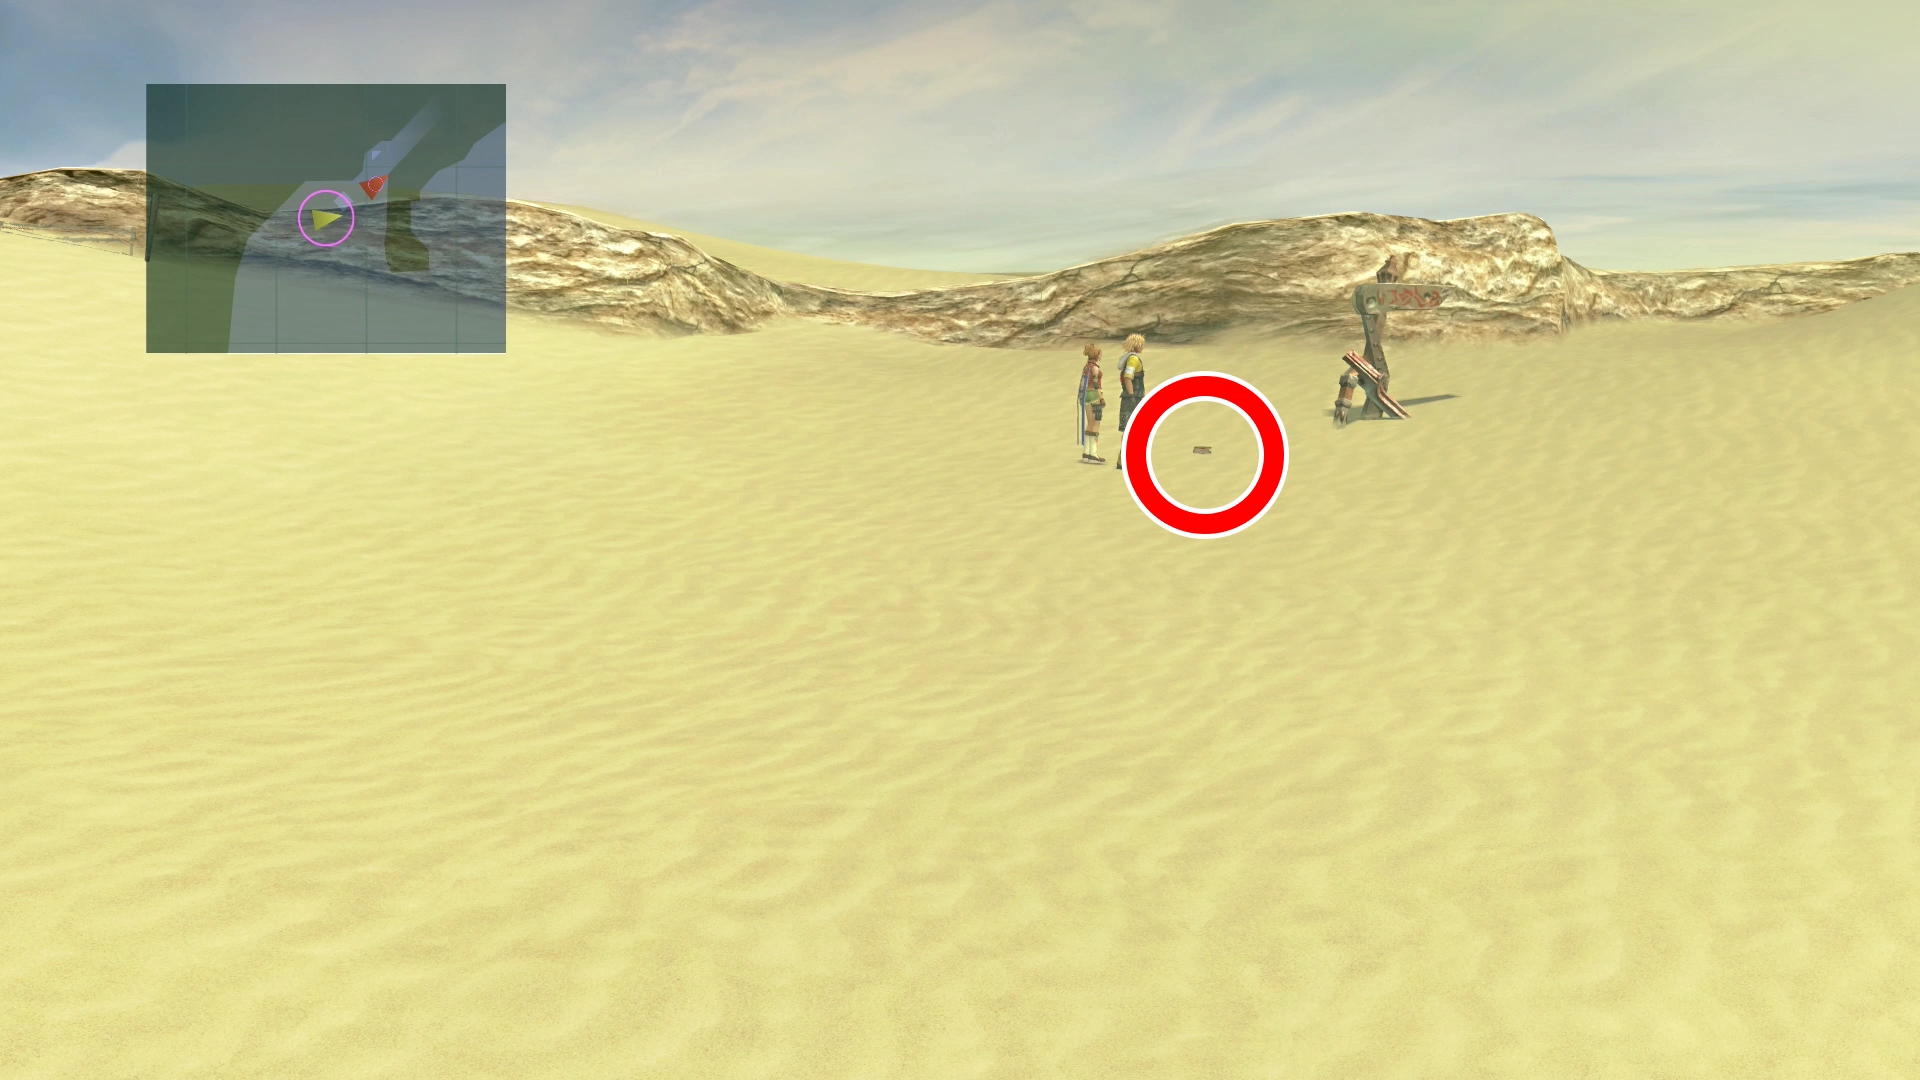
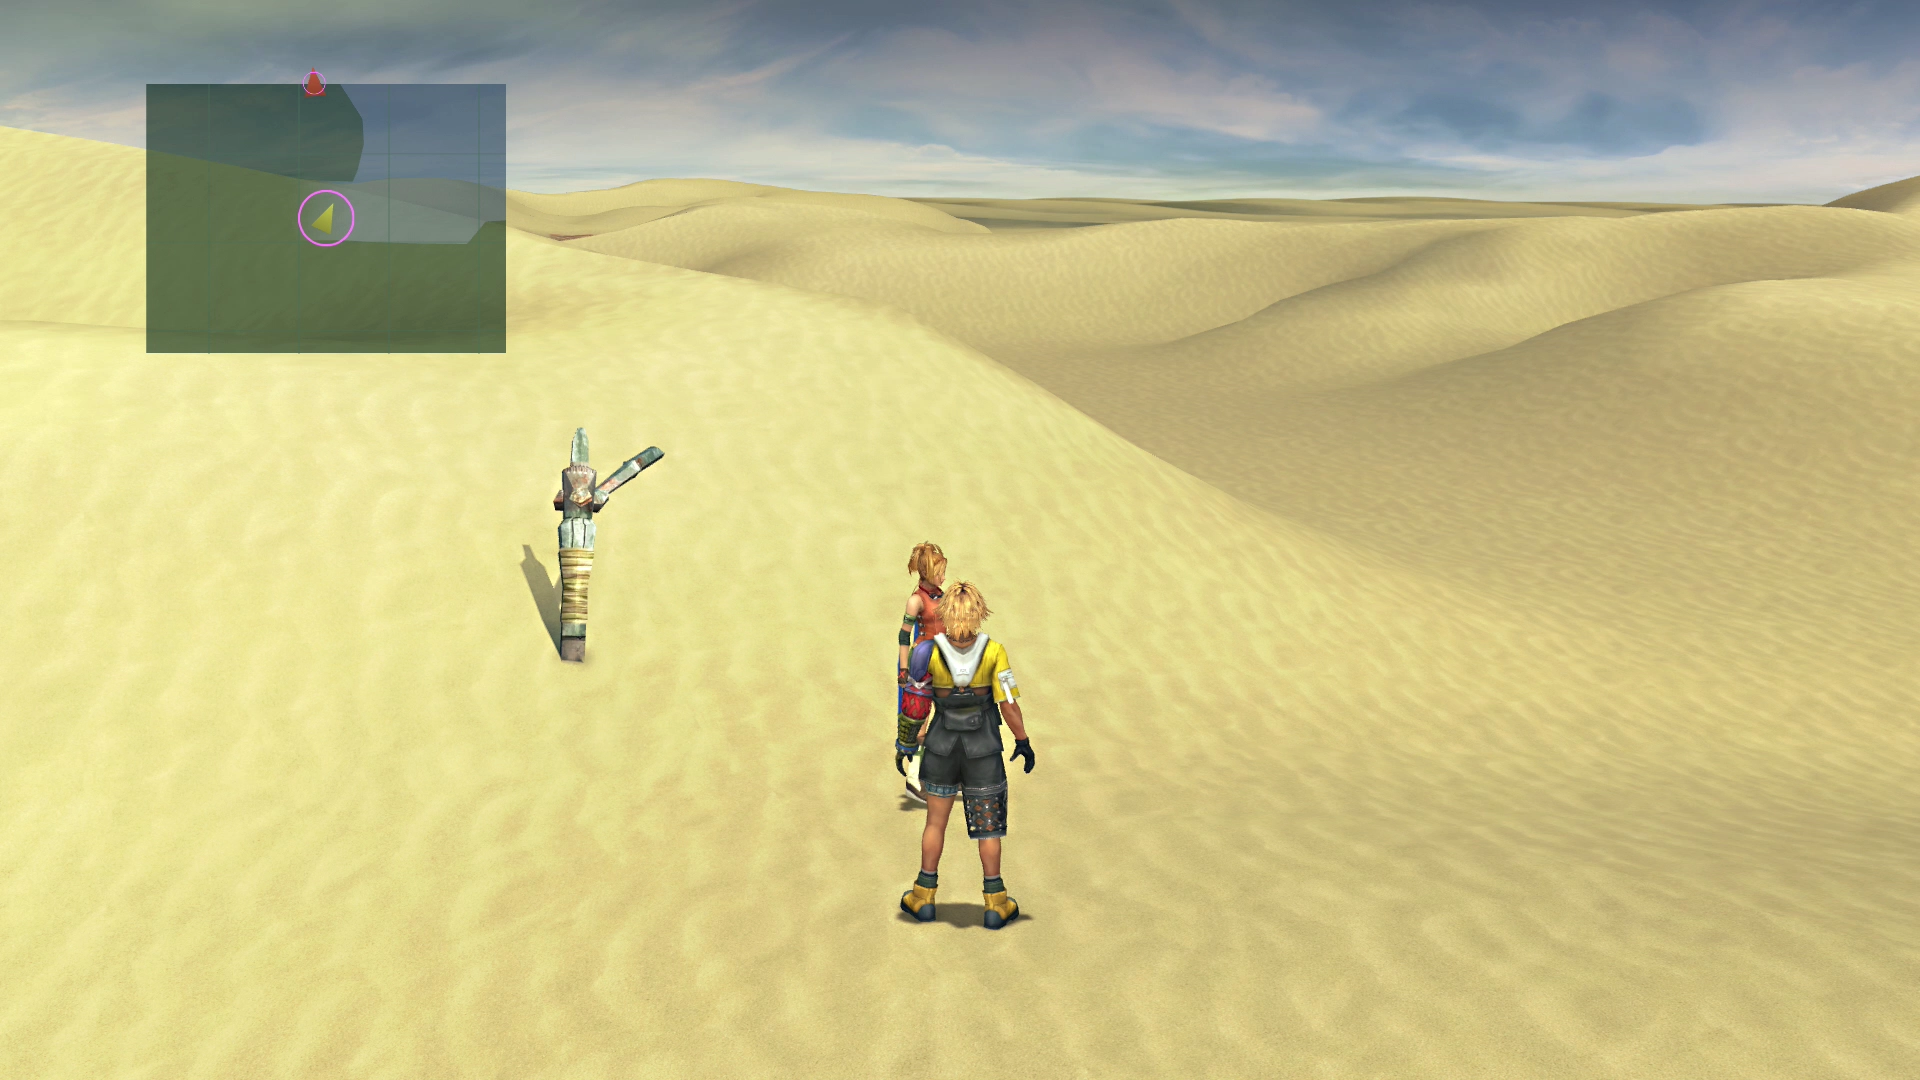
Just in case you are curious, there were two paths leading northward in the last area, and they both lead to this same region, so don’t worry about leaving any of the areas unexplored. Take the easternmost path leading north (the arrow  shown on the map above and in the game).
Sanubia Desert - West
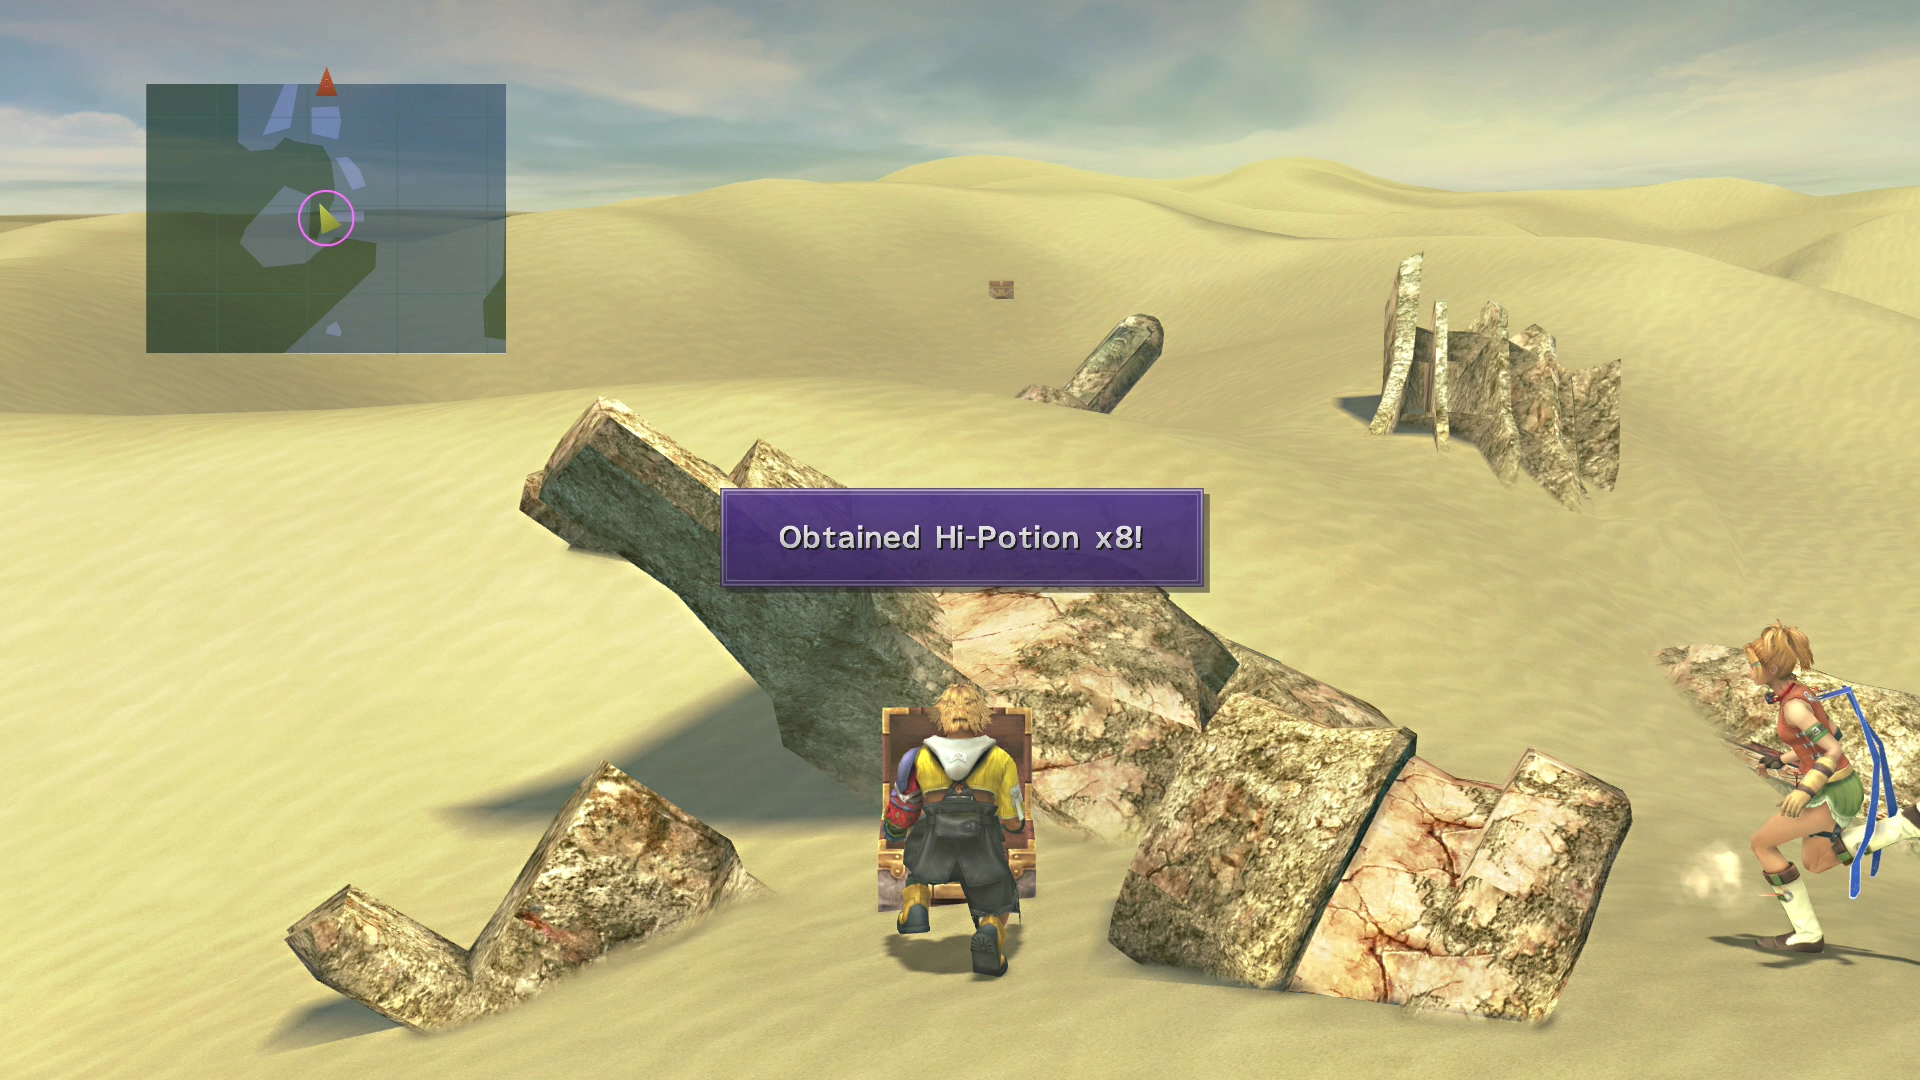
Continue north along the left side of the map until you see a small alcove on the mini-map. Just outside the alcove is a treasure chest that contains eight Hi-Potions.
Sanubia West Map

| 1 | Hi-Potion ×8 |
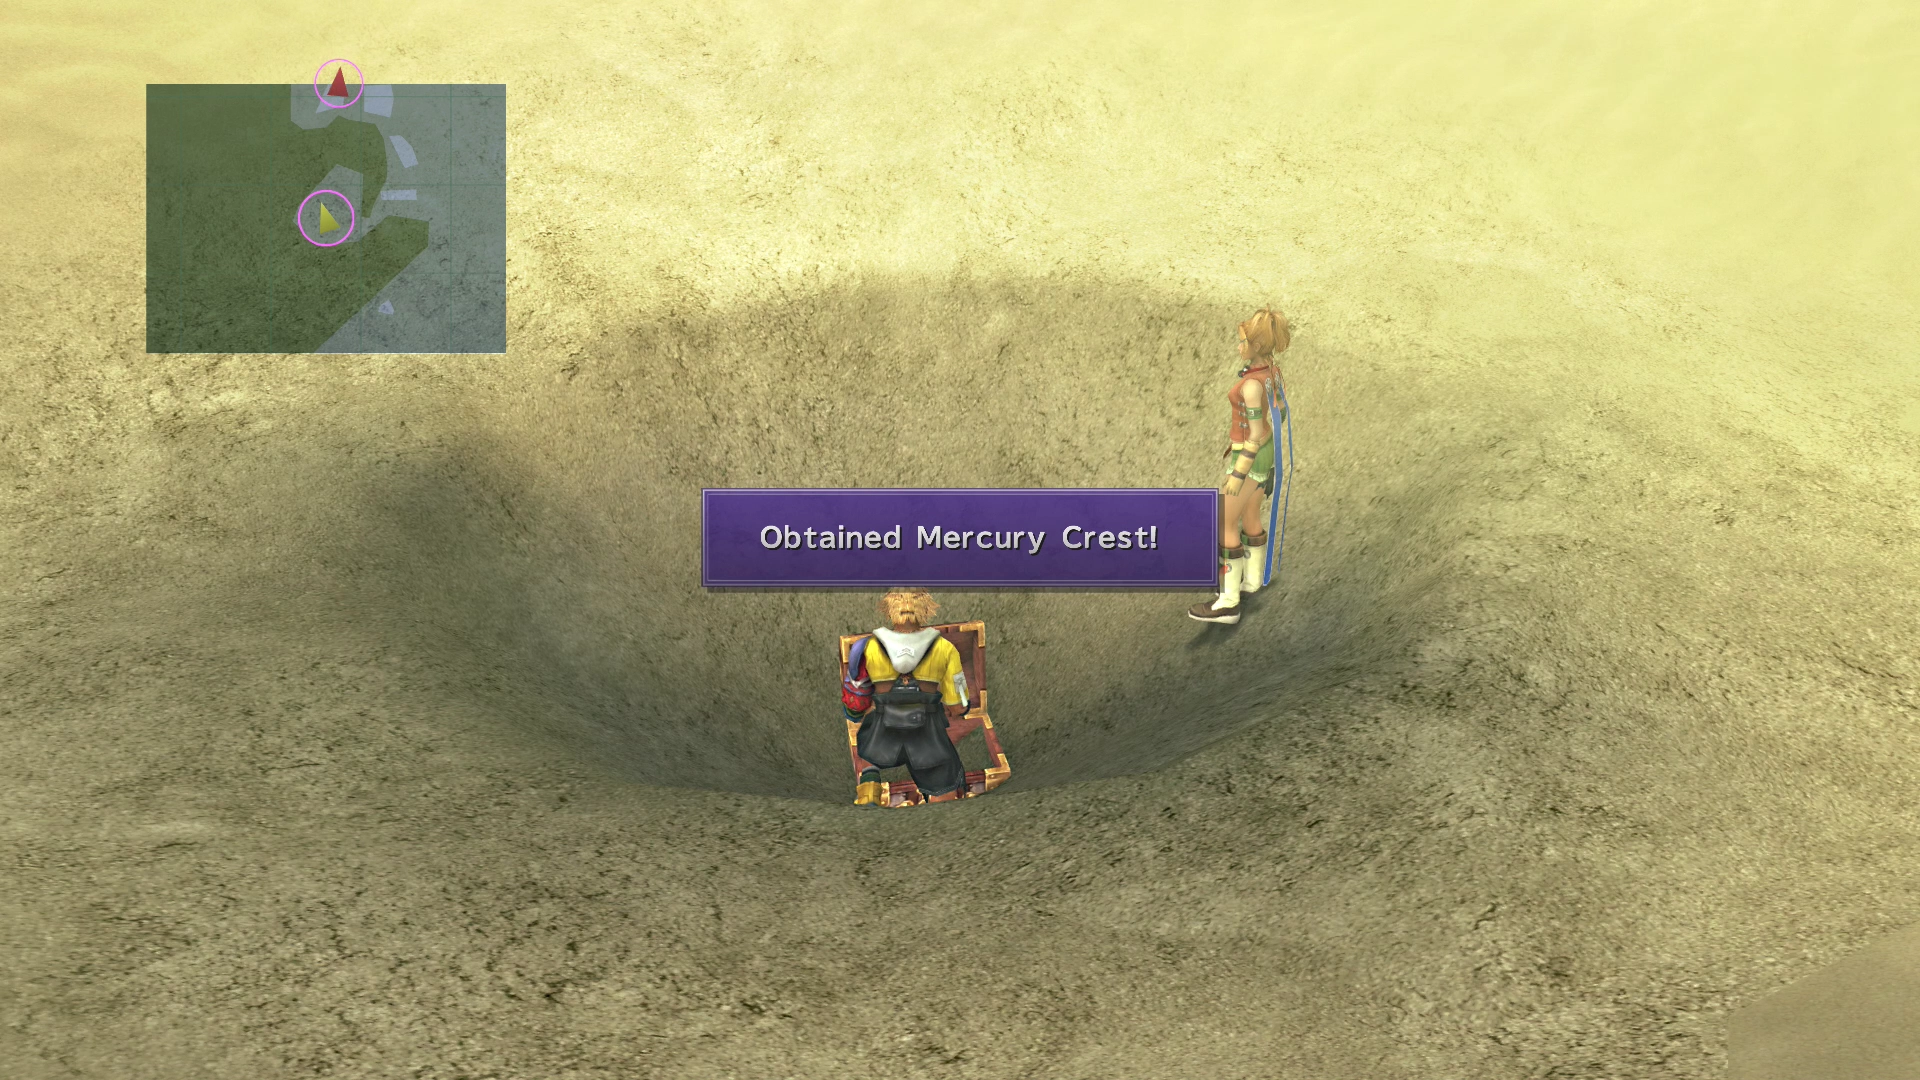
| 2 |  Mercury Crest Mercury Crest |
| 3 | Megalixir ×3 |
| 4 | Mega-Potion ×3 |
| 5 | X-Potion ×2 |
| 6 |  Teleport Sphere ×2 Teleport Sphere ×2 |
Head into the alcove to find a treasure chest at the bottom of one of the sand whirlpools. It contains the Mercury CrestVenus Crest. This item is needed later on to obtain Rikku’s Celestial Weapon, the  Godhand.
Note that this is where you’ll find the Mercury CrestVenus Crest in the  PlayStation
 Xbox
Xbox Nintendo Switch version of the game. In the Xbox and Nintendo Switch versionsIn the PlayStation version, this item is swapped for the Venus CrestMercury Crest. You can change the active version using the Game Version toggle in the sidebar menu. Refer to the Celestial Weapons section for a full breakdown of the differences.
Northeast of this area is a whirlpool with a treasure chest that sinks into the middle of it. Touching the treasure chest will throw you into a battle against a Sangragora. Defeat it to claim the three Megalixirs inside.
Sangragora are relatively easy to defeat, other than the Confusion status effect that they can inflict on your party members. Confused characters act on their own and may even attack their own teammates. Equip your characters with armor that has the  Confuse Ward or Confuseproof ability to make these battles much easier.
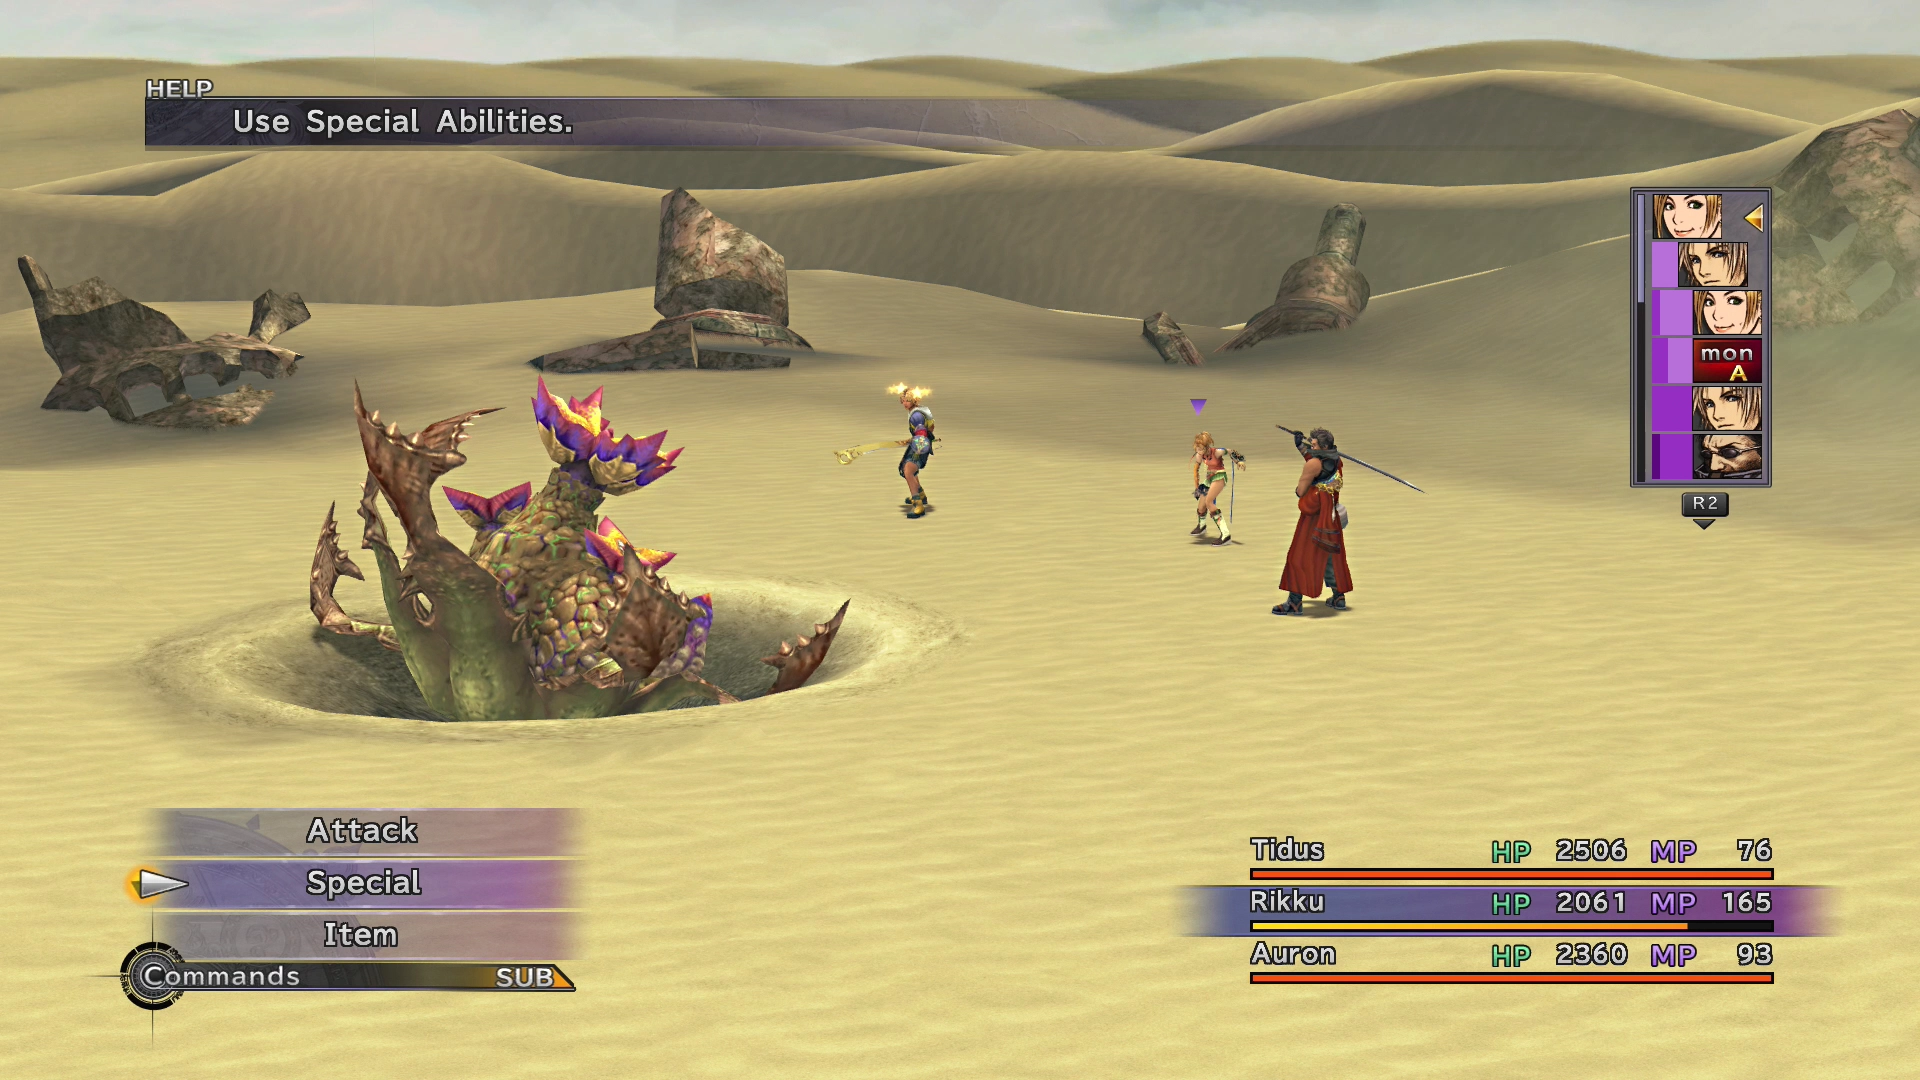
Go west from the whirlpool to find a treasure chest that contains three Mega-Potions, and then head north to find another chest that contains two X-Potions.
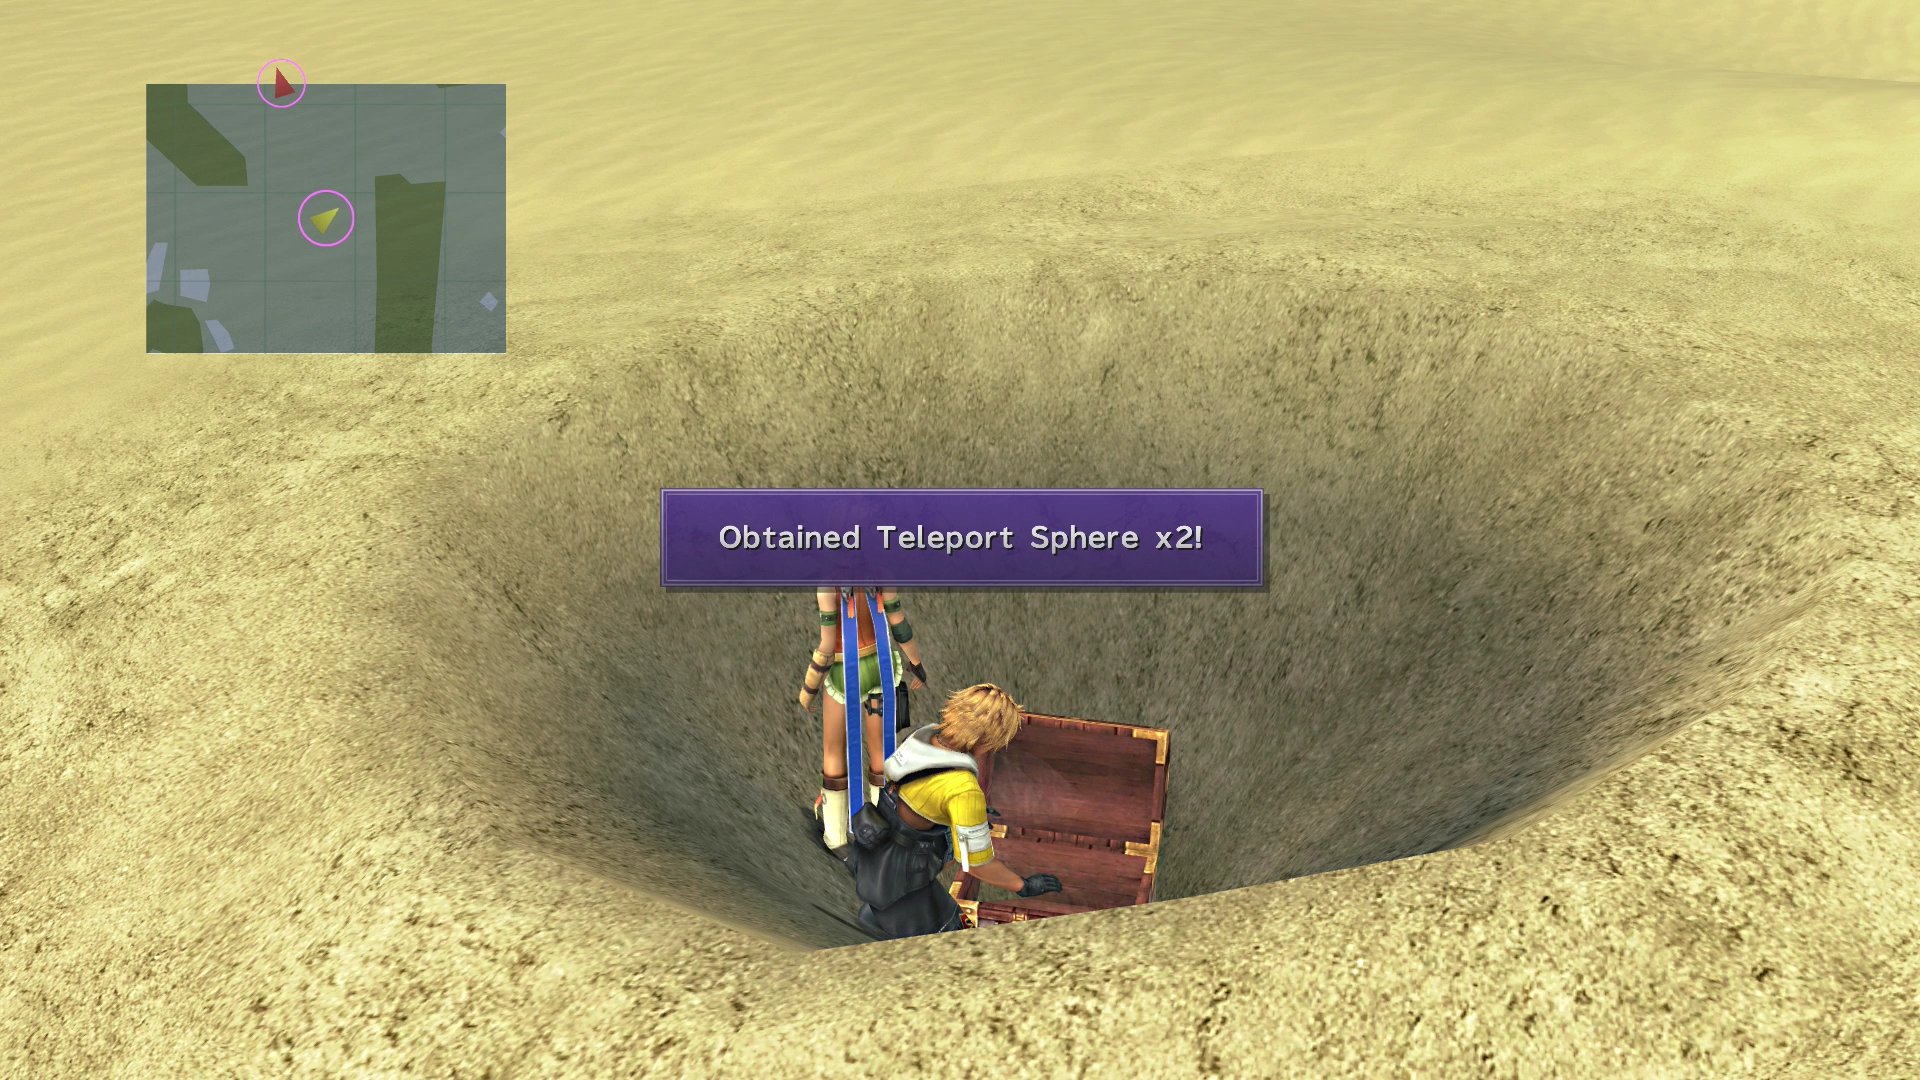
Head east to find one more whirlpool with a treasure chest and another Sangragora guarding it. Defeat it to obtain two Teleport Spheres.
Go north into the next area of the zone, as the area east of here is “blocked by a sandstorm.” You will have to fight one last Sangragora that blocks the path.
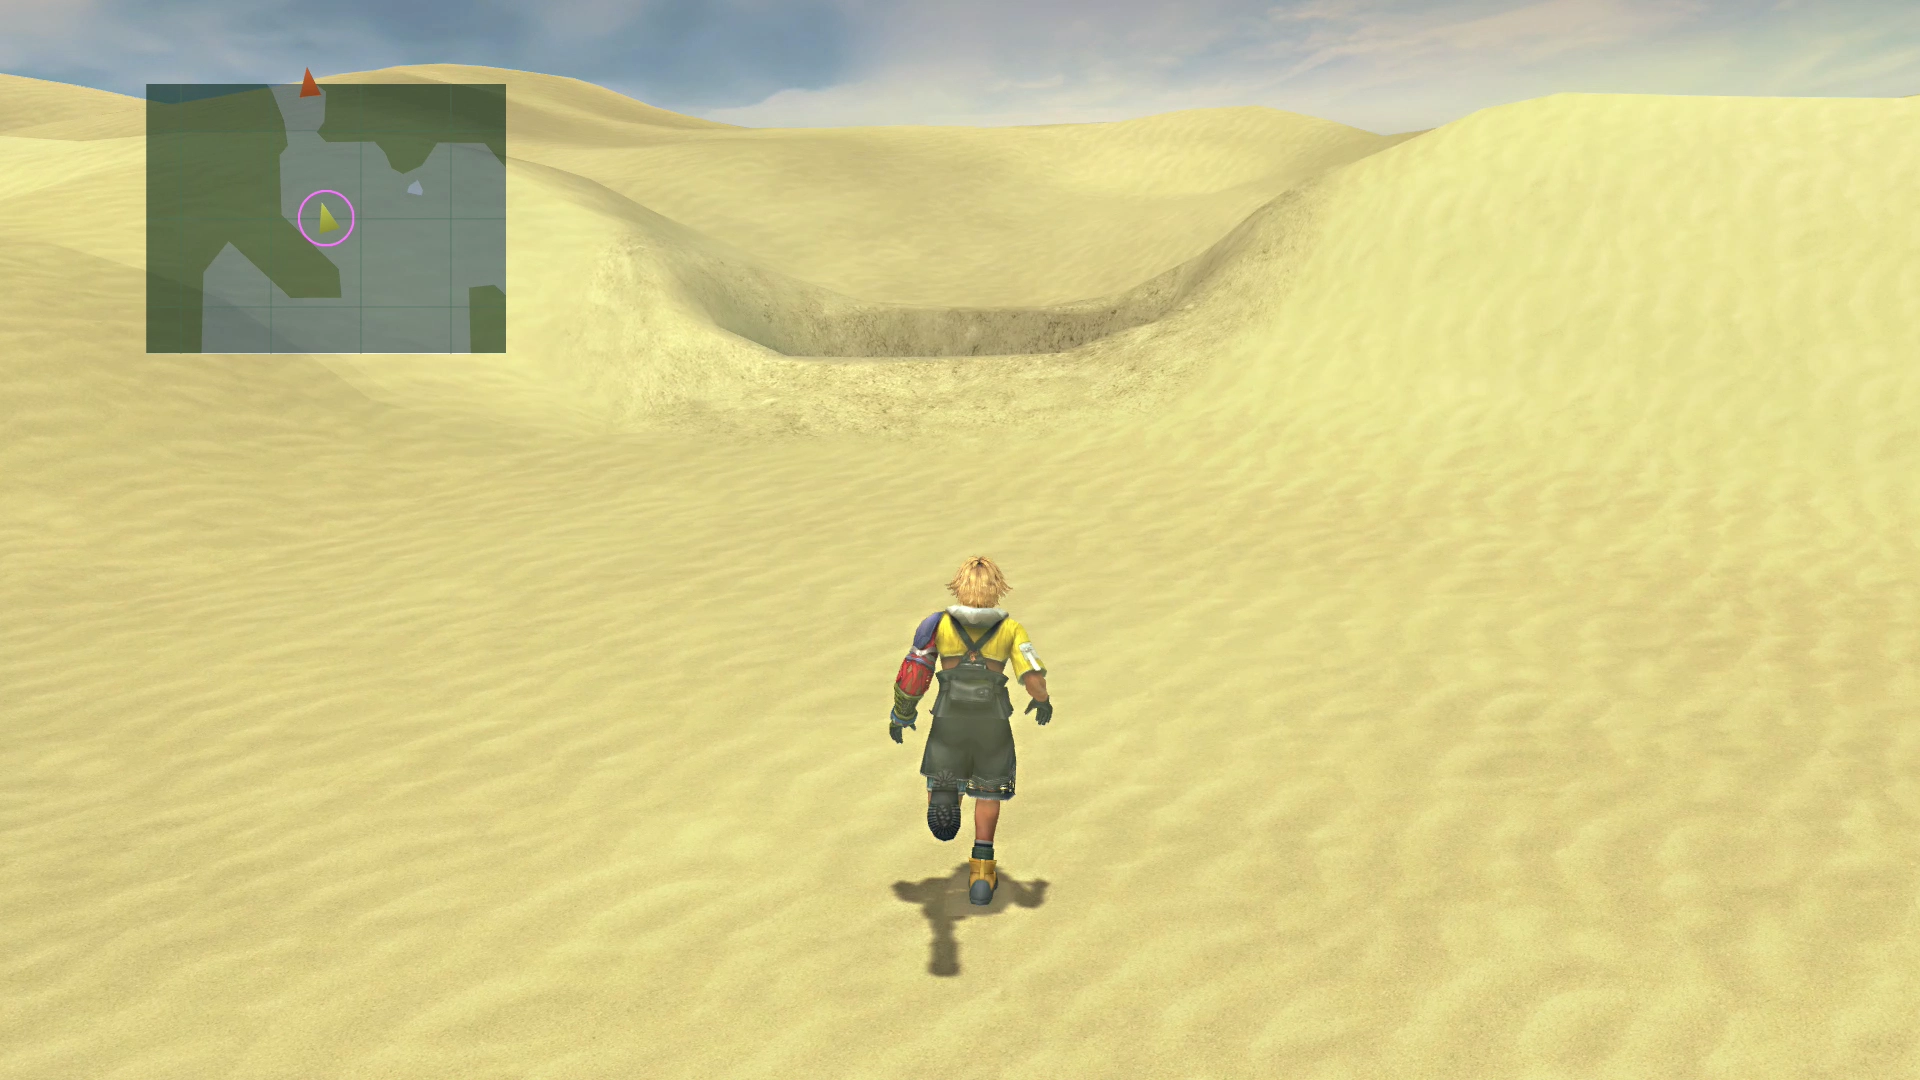
Continue into the next area, which is called “Home,” the hometown of the Al Bhed.