
Hunt 40: Battle on the Big Bridge
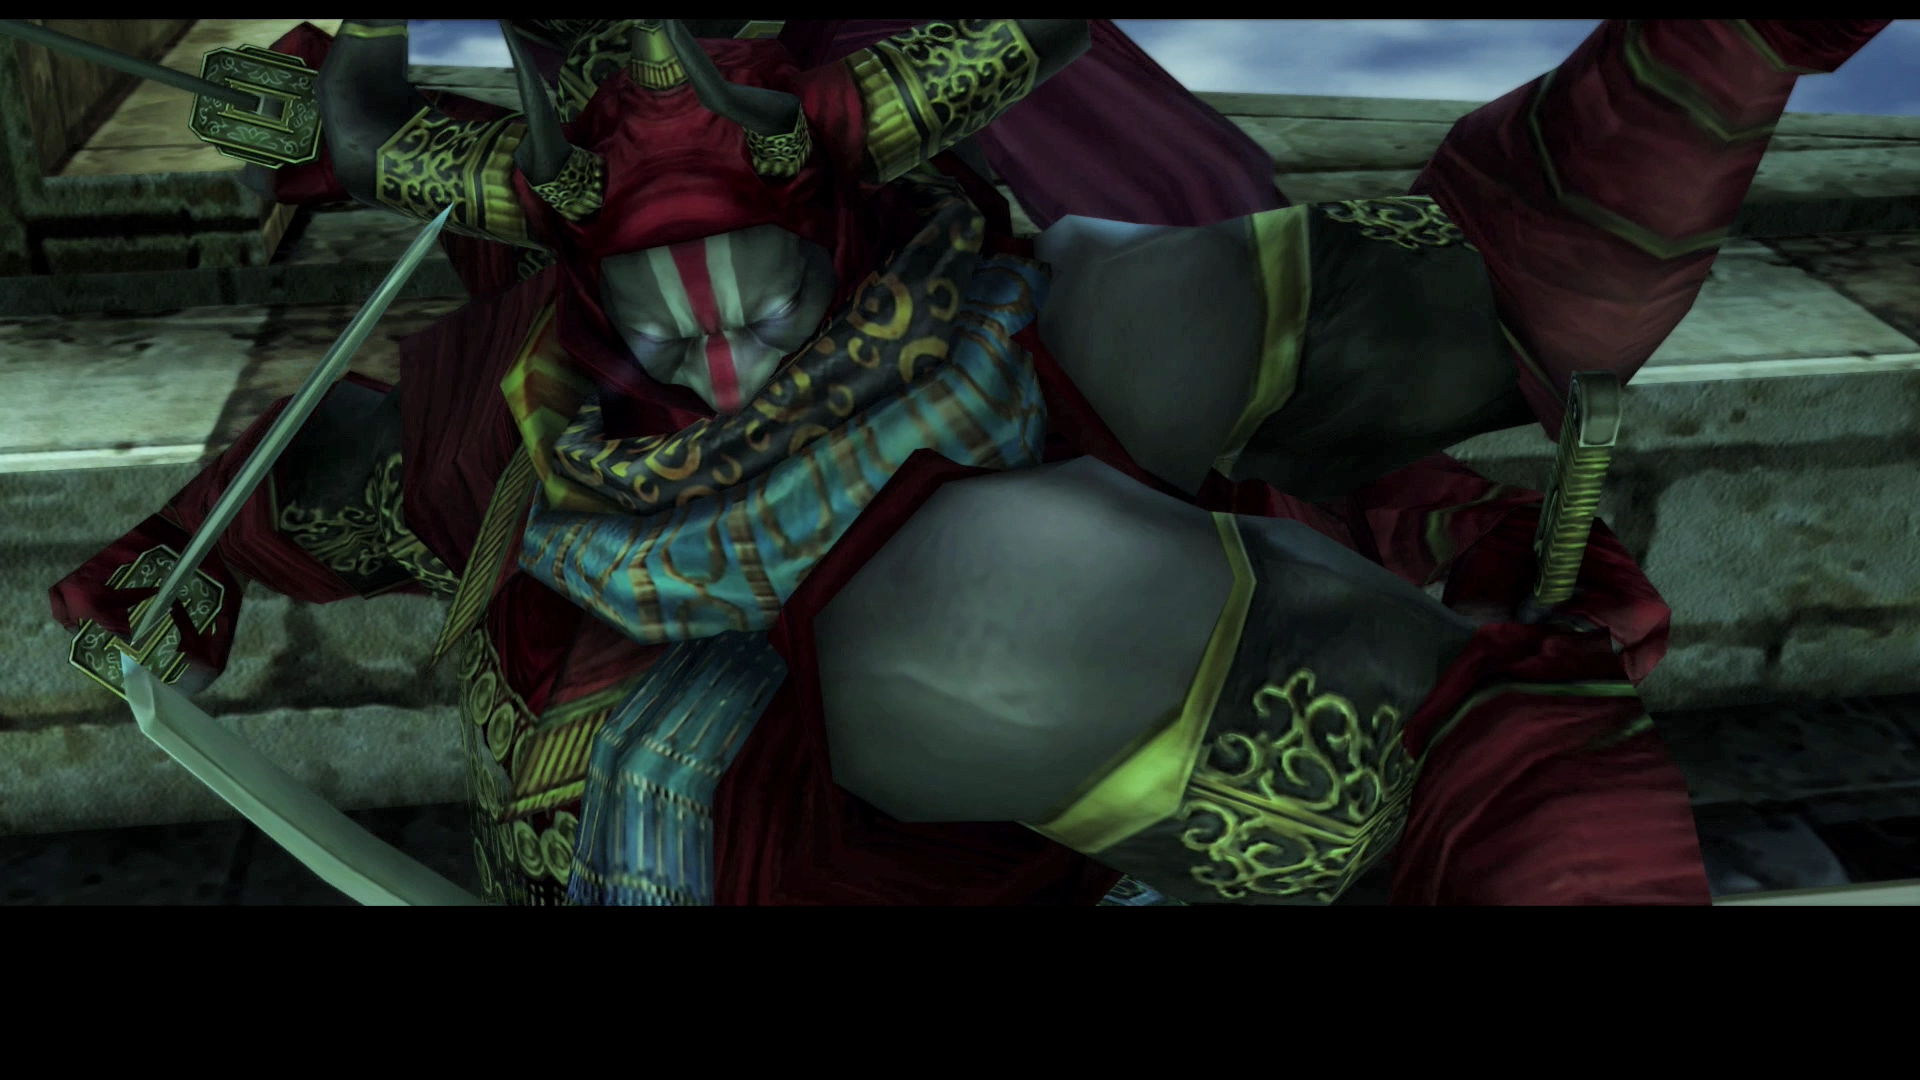
Ancient Man of Mystery / Gilgamesh - Rank VII
Complete this Hunt any time after you have completed the Draklor Laboratory, after going through the Imperial City of Archades, and once you arrive at Balfonheim Port. You can pick up the Elite Mark Bill from Montblanc in the Clan Hall of Rabanastre.
The battle against Gilgamesh is divided into two parts. You’ll complete the first part when you first receive the Hunt. You should be at or just below level 50. The second part of the battle is much more difficult, and you likely can’t complete it until later on in the game. Gilgamesh is level 45 during the first fight and level 70 during the second fight, to give you an idea of the difficulty differences.
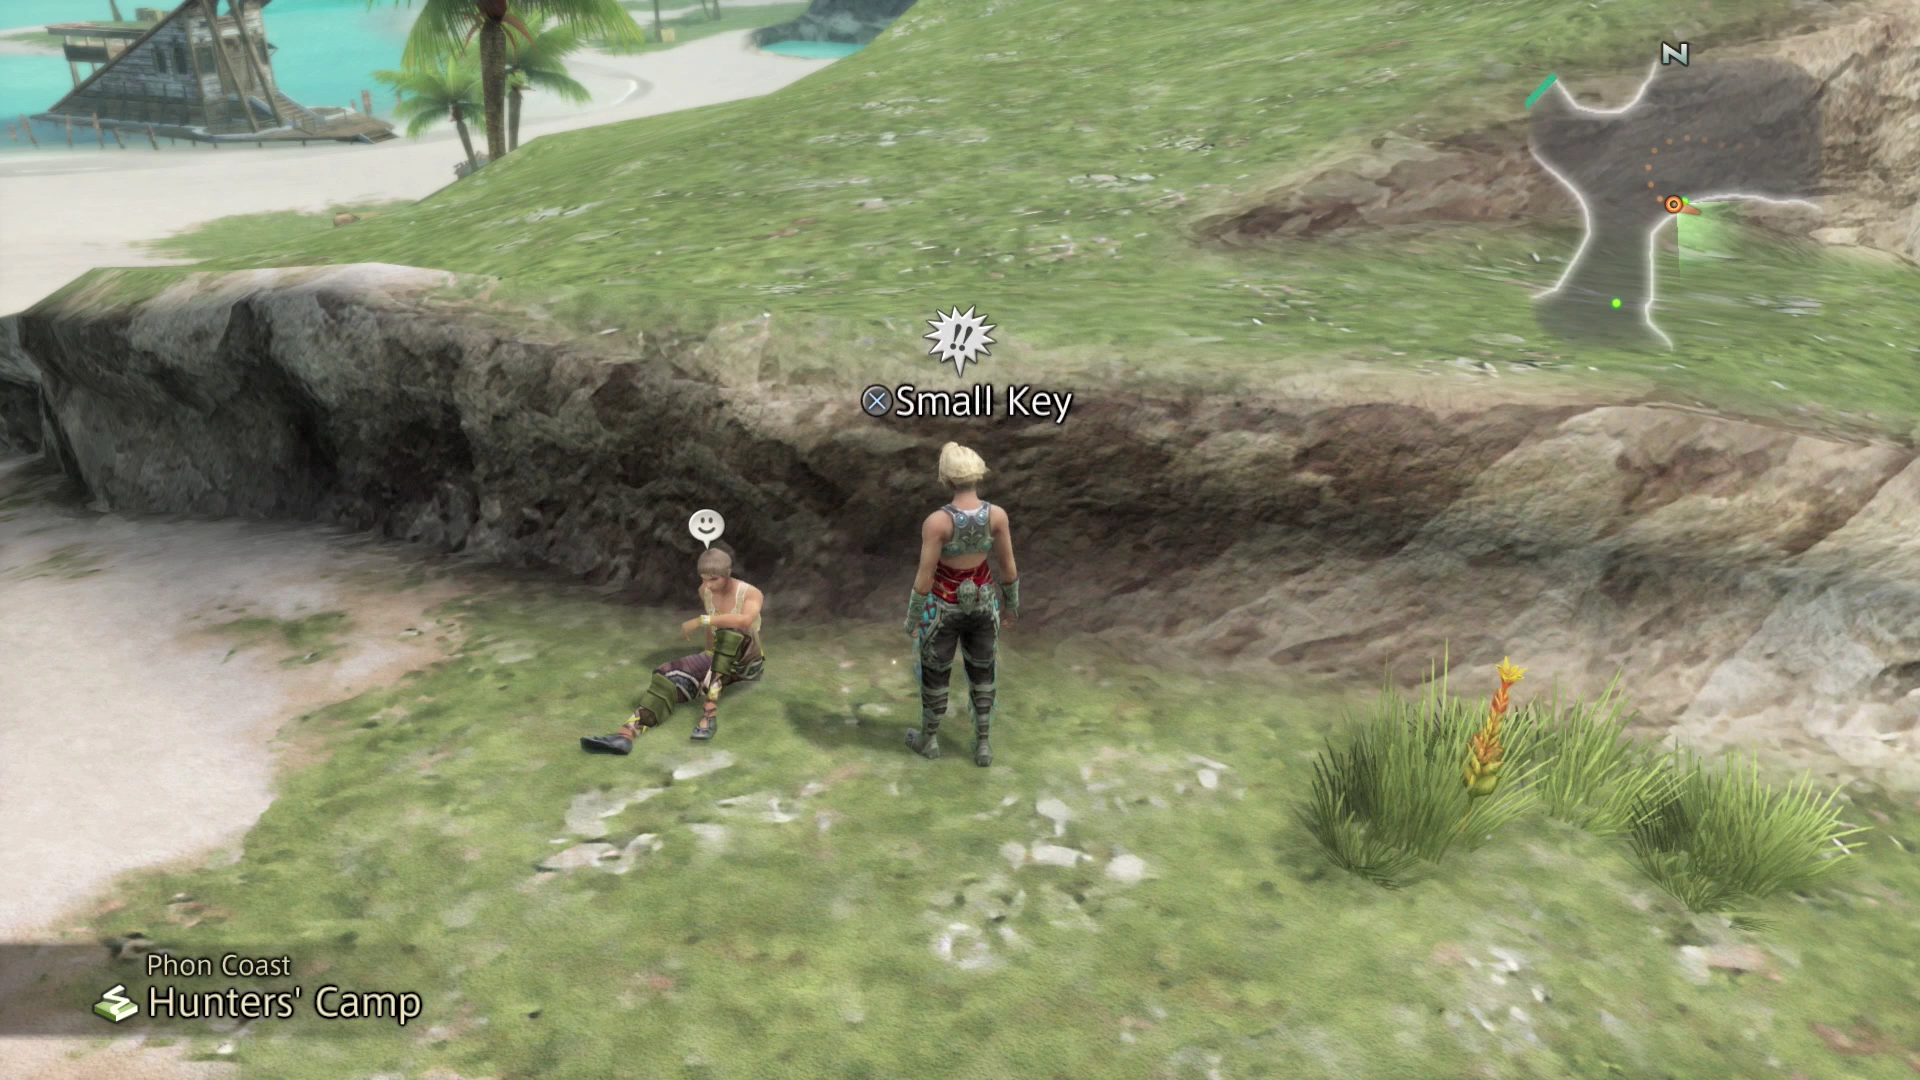
Note that you will require the Site 11 Key for the Lhusu Mines, which you can obtain at the Hunter’s Camp in the Phon Coast after completing Hunt 38: Antlion Infestation (Antlion - Rank V). At the end of Hunt 38, the kids will drop a key down below, which then appears in the Hunter’s Camp next to the Fallen Bhujerban NPC.
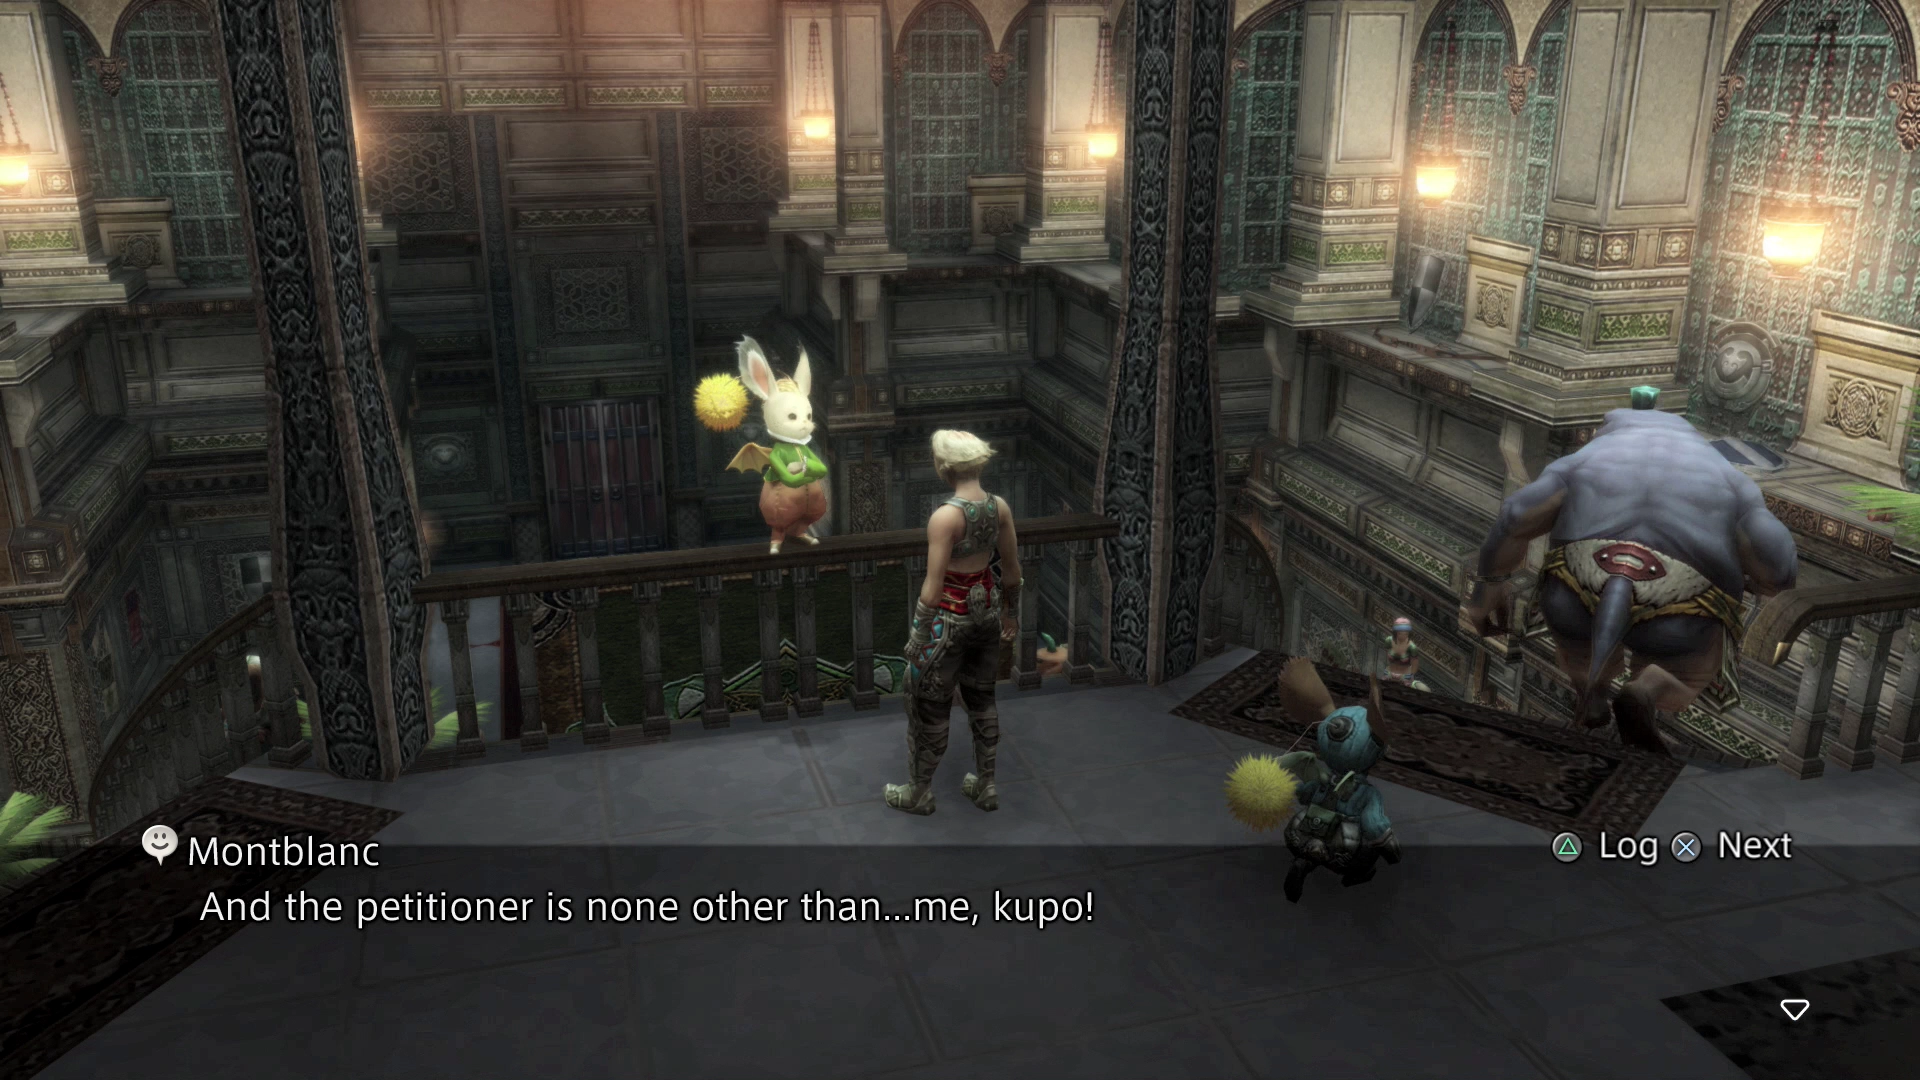
Petitioner
The petitioner for this Elite Hunt is Montblanc, who is in the Clan Hall of Rabanastre.
Battle 1
Mark Location
You’ll need to fight Gilgamesh two separate times. The first battle takes place on the Tasche Span—Warp into the Lhusu Mines. The orange Save Crystal that you warp to in Transitway 2 is right beside the Tasche Span.
Make sure you prepare before leaving the area heading west, and use the Save Crystal to restore your HP and MP one last time before initiating the fight.
Elite Hunt Battle
Level: 45
HP: 123,103
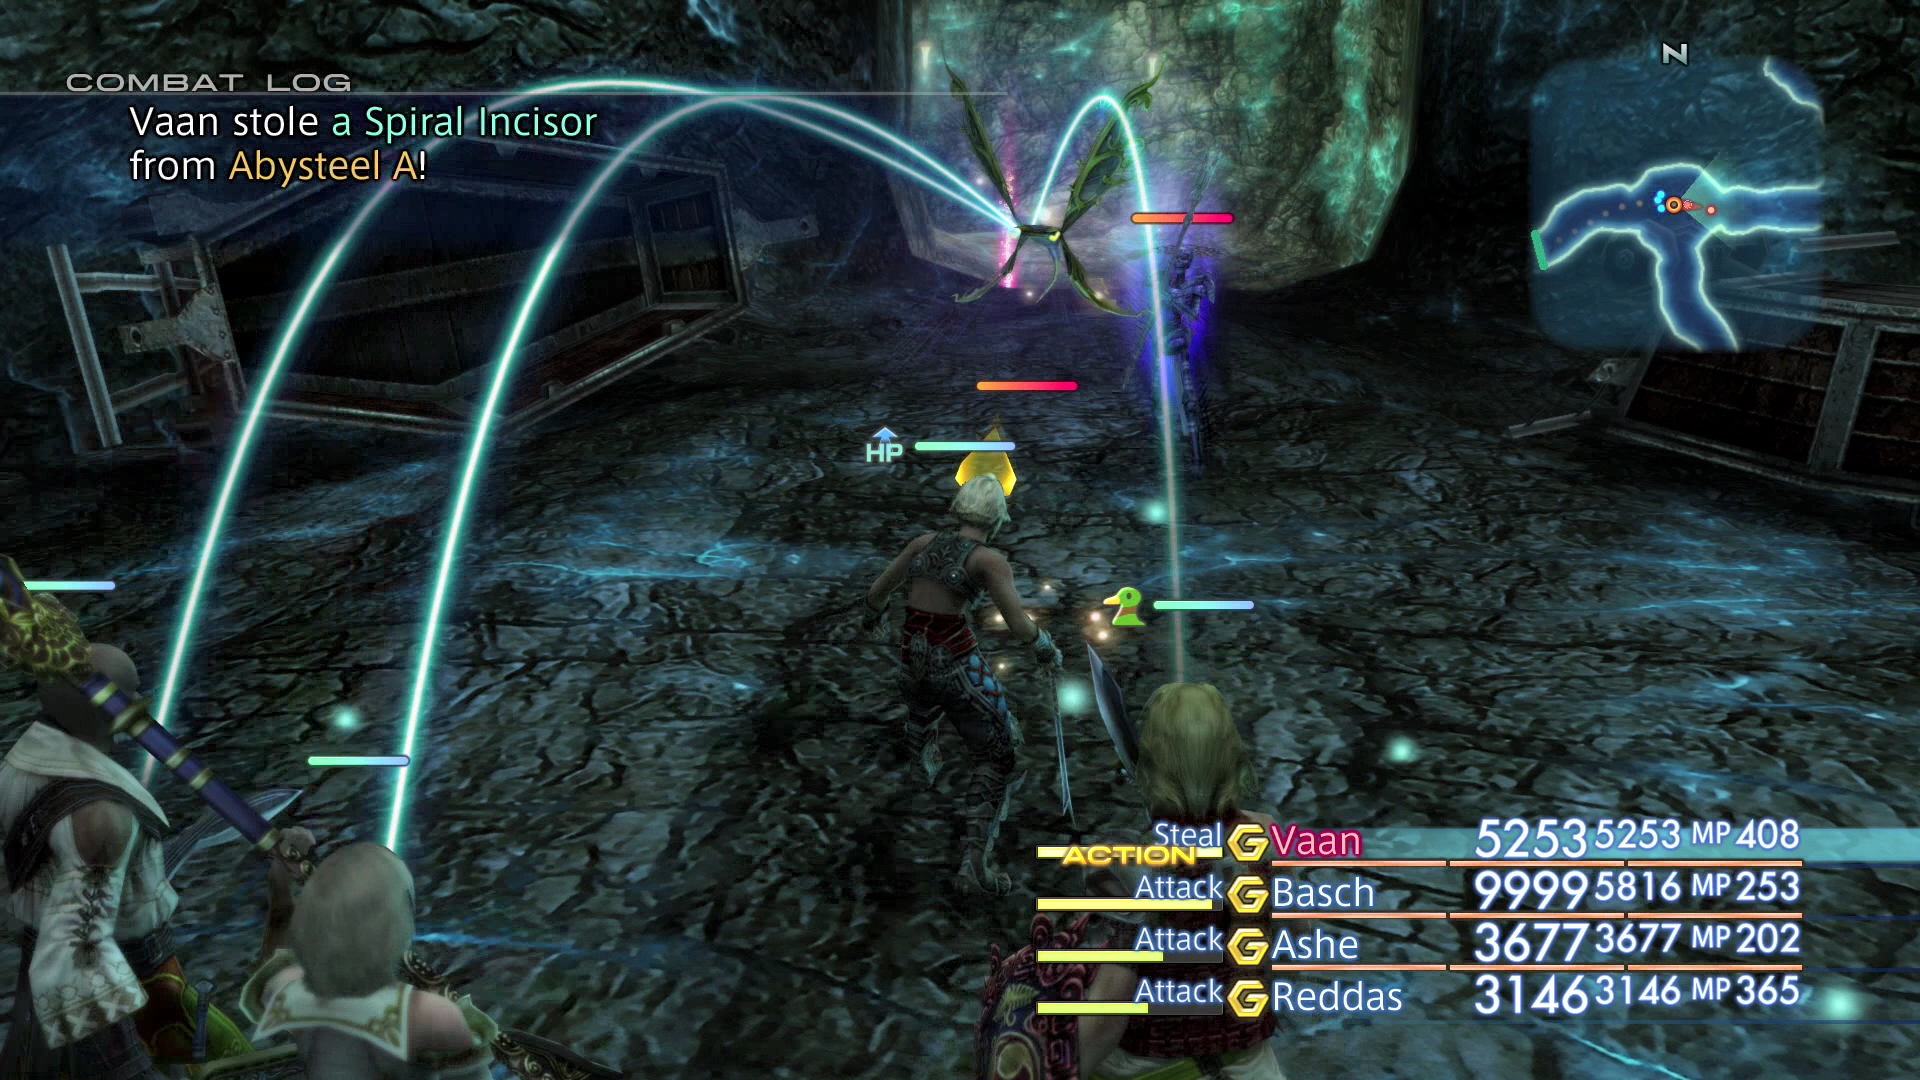
Steal: See Notes Below.
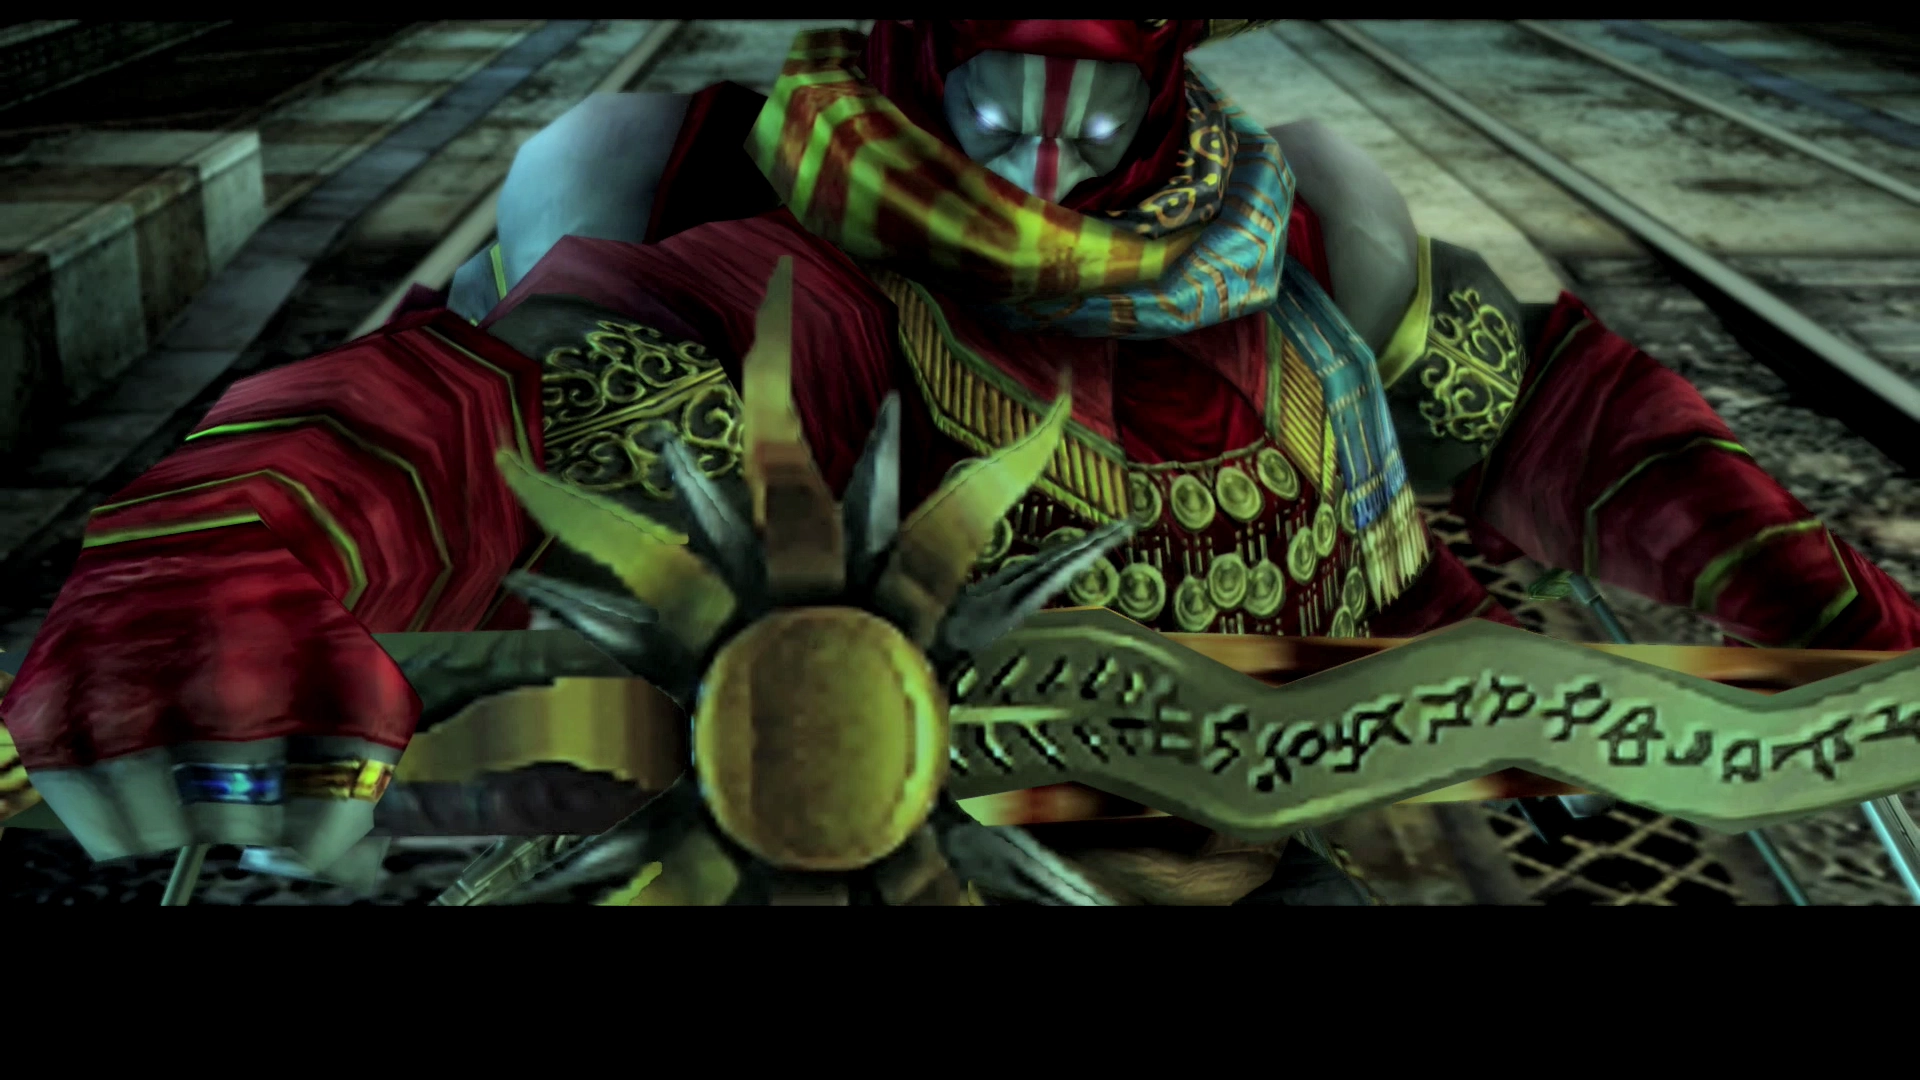
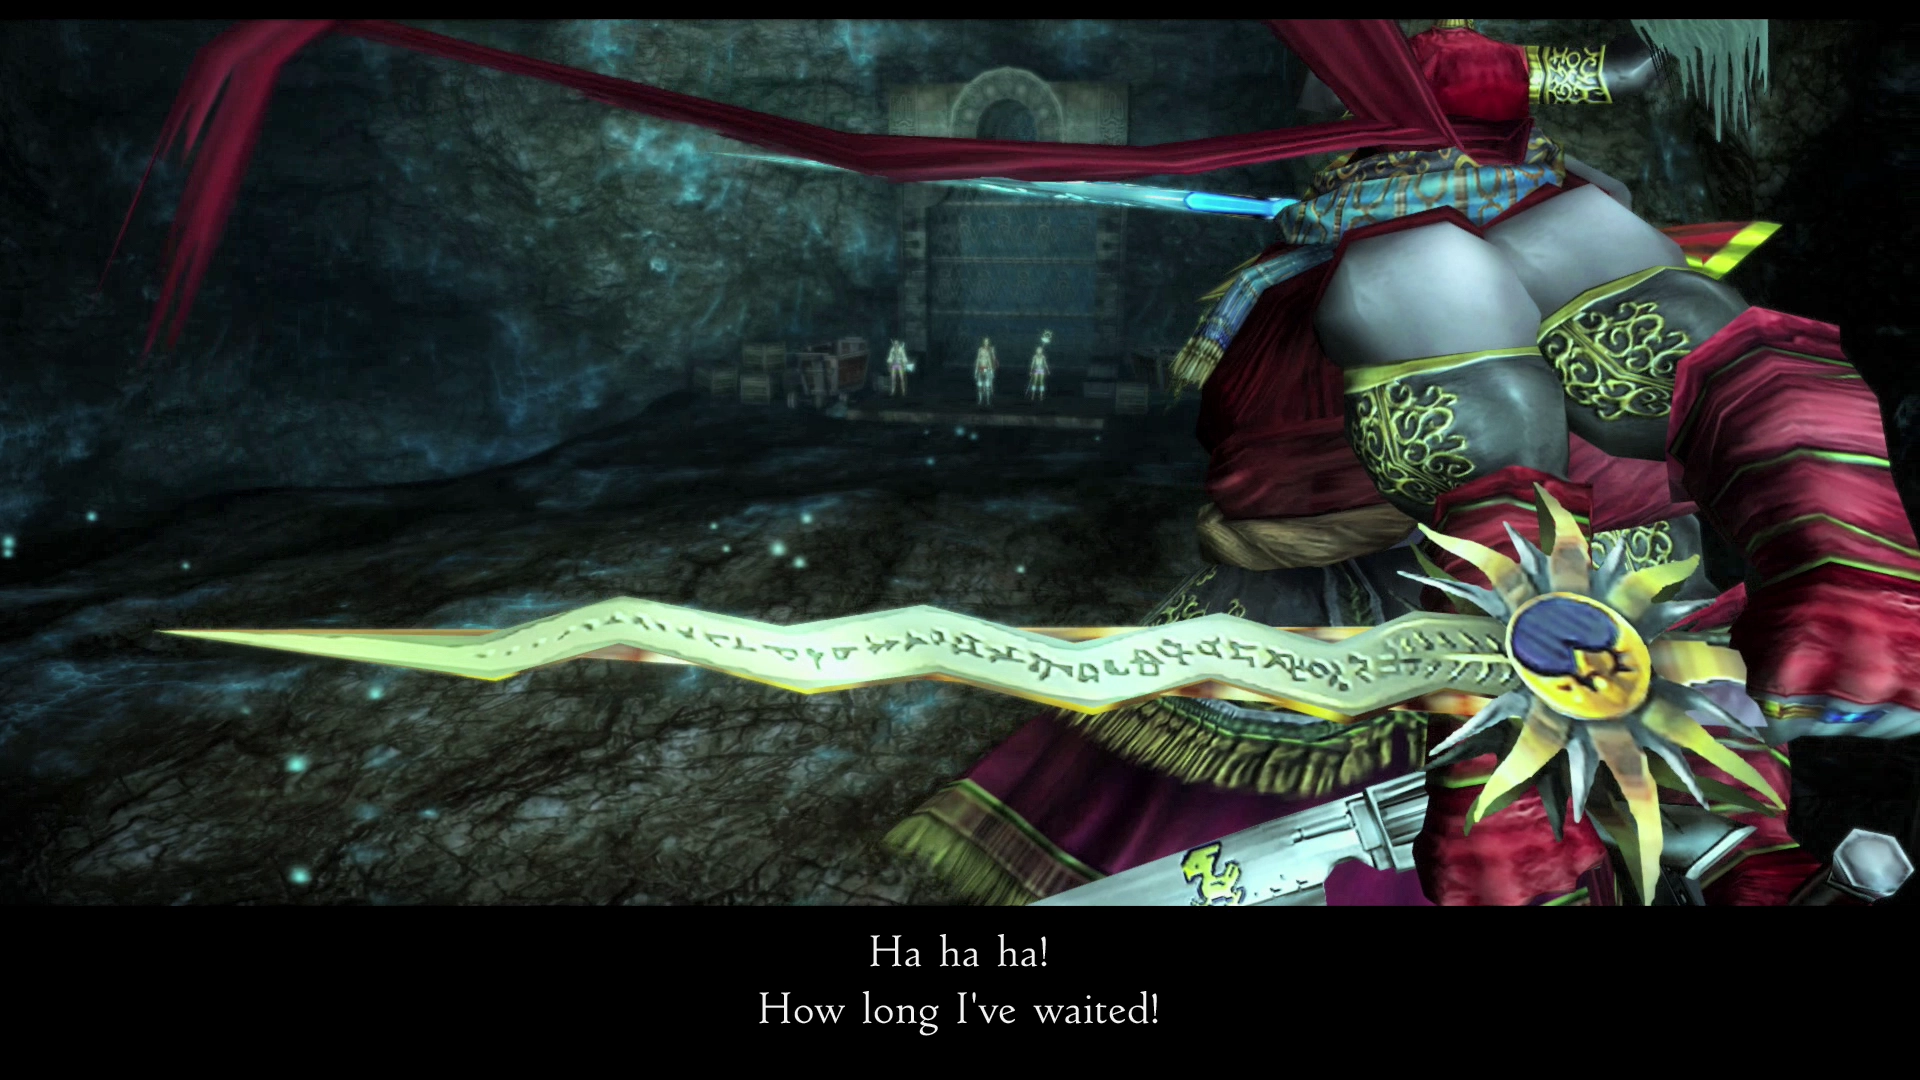
The most important factor to keep in mind during this fight is that Gilgamesh’s loot/steal table changes depending on how low his HP is and, in effect, what section of the battle you are in. There will be a short cutscene where Gilgamesh shows off one of his swords at 80%, 60%, 40%, and 20% HP. He pulls out another sword, and the battle continues.
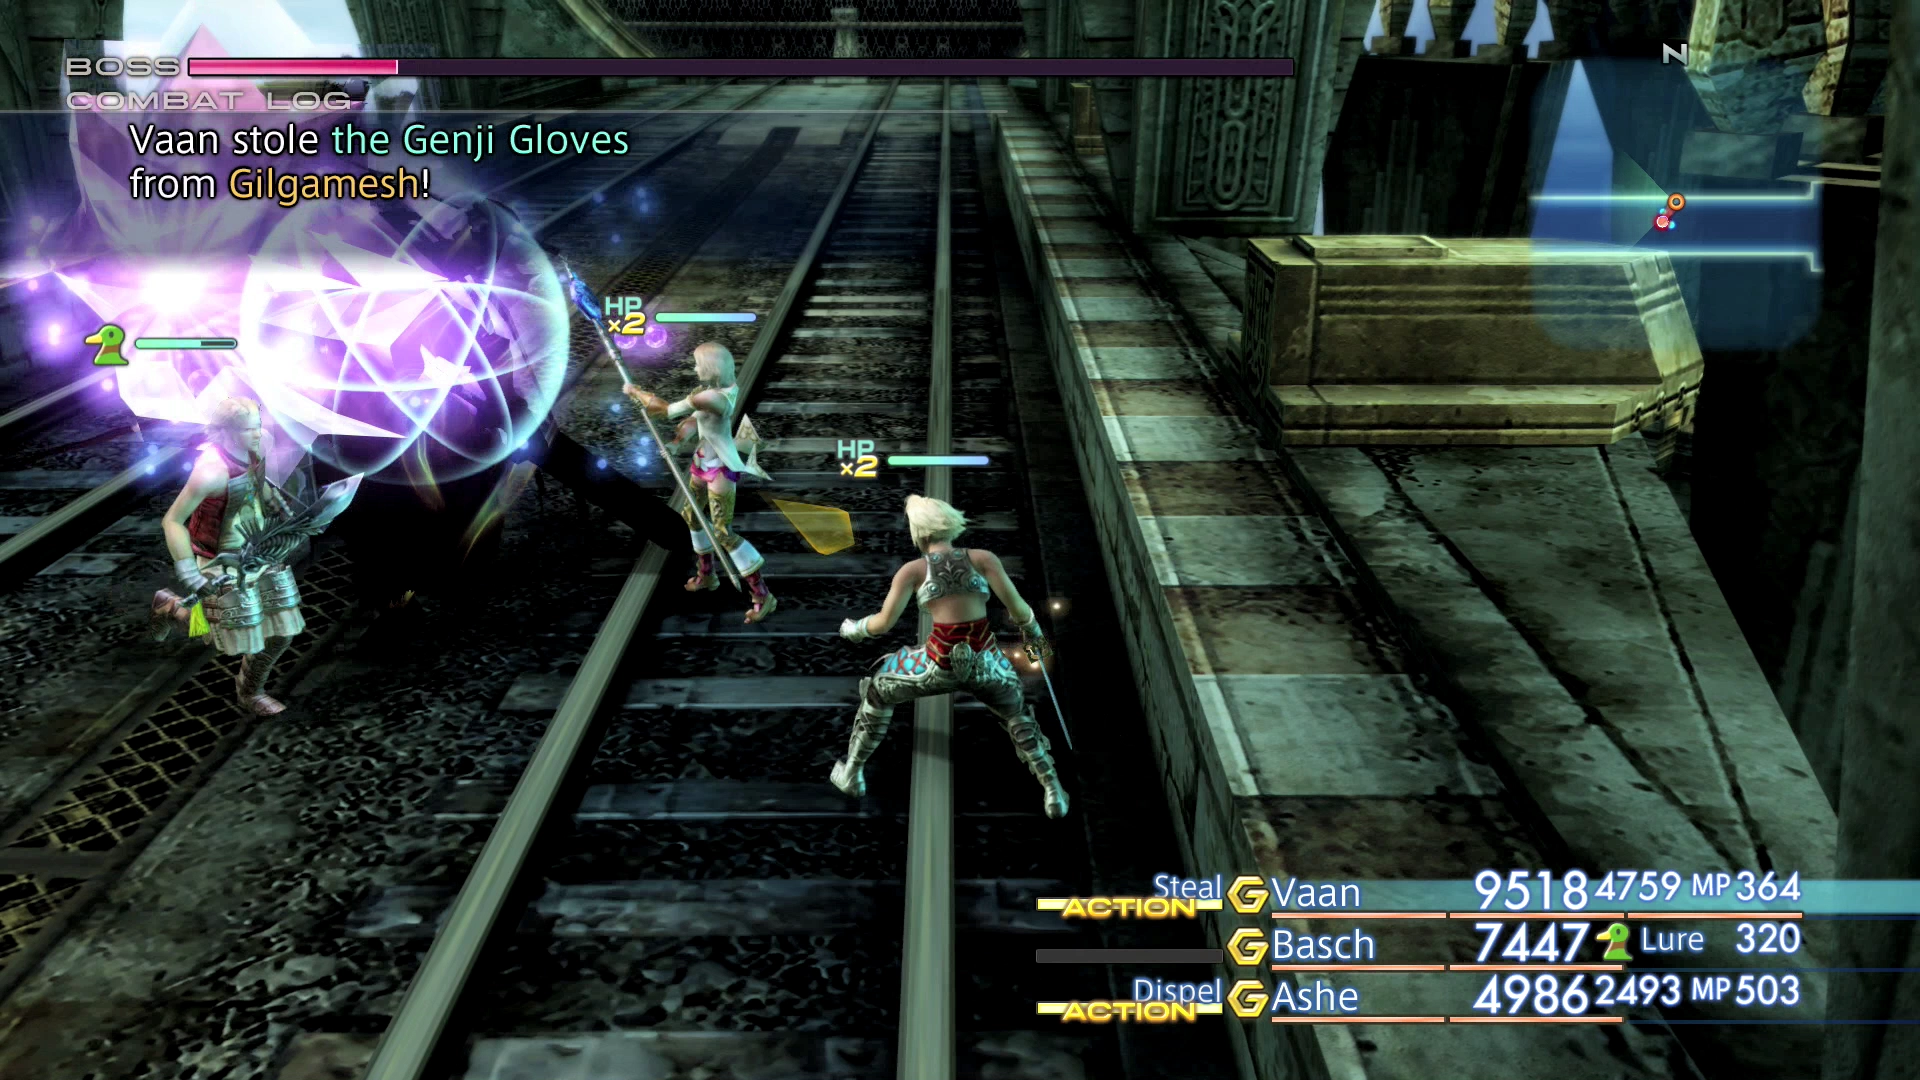
When he reaches 40% HP, you can ![]() Steal the
Steal the ![]() Genji Shield, and when it reaches 20% you can steal the
Genji Shield, and when it reaches 20% you can steal the ![]() Genji Gloves. This equipment is the strongest armor in the game, and you need to make sure to steal it. You should restart the game if you are unsuccessful, but it is not too difficult to obtain them.
Genji Gloves. This equipment is the strongest armor in the game, and you need to make sure to steal it. You should restart the game if you are unsuccessful, but it is not too difficult to obtain them.
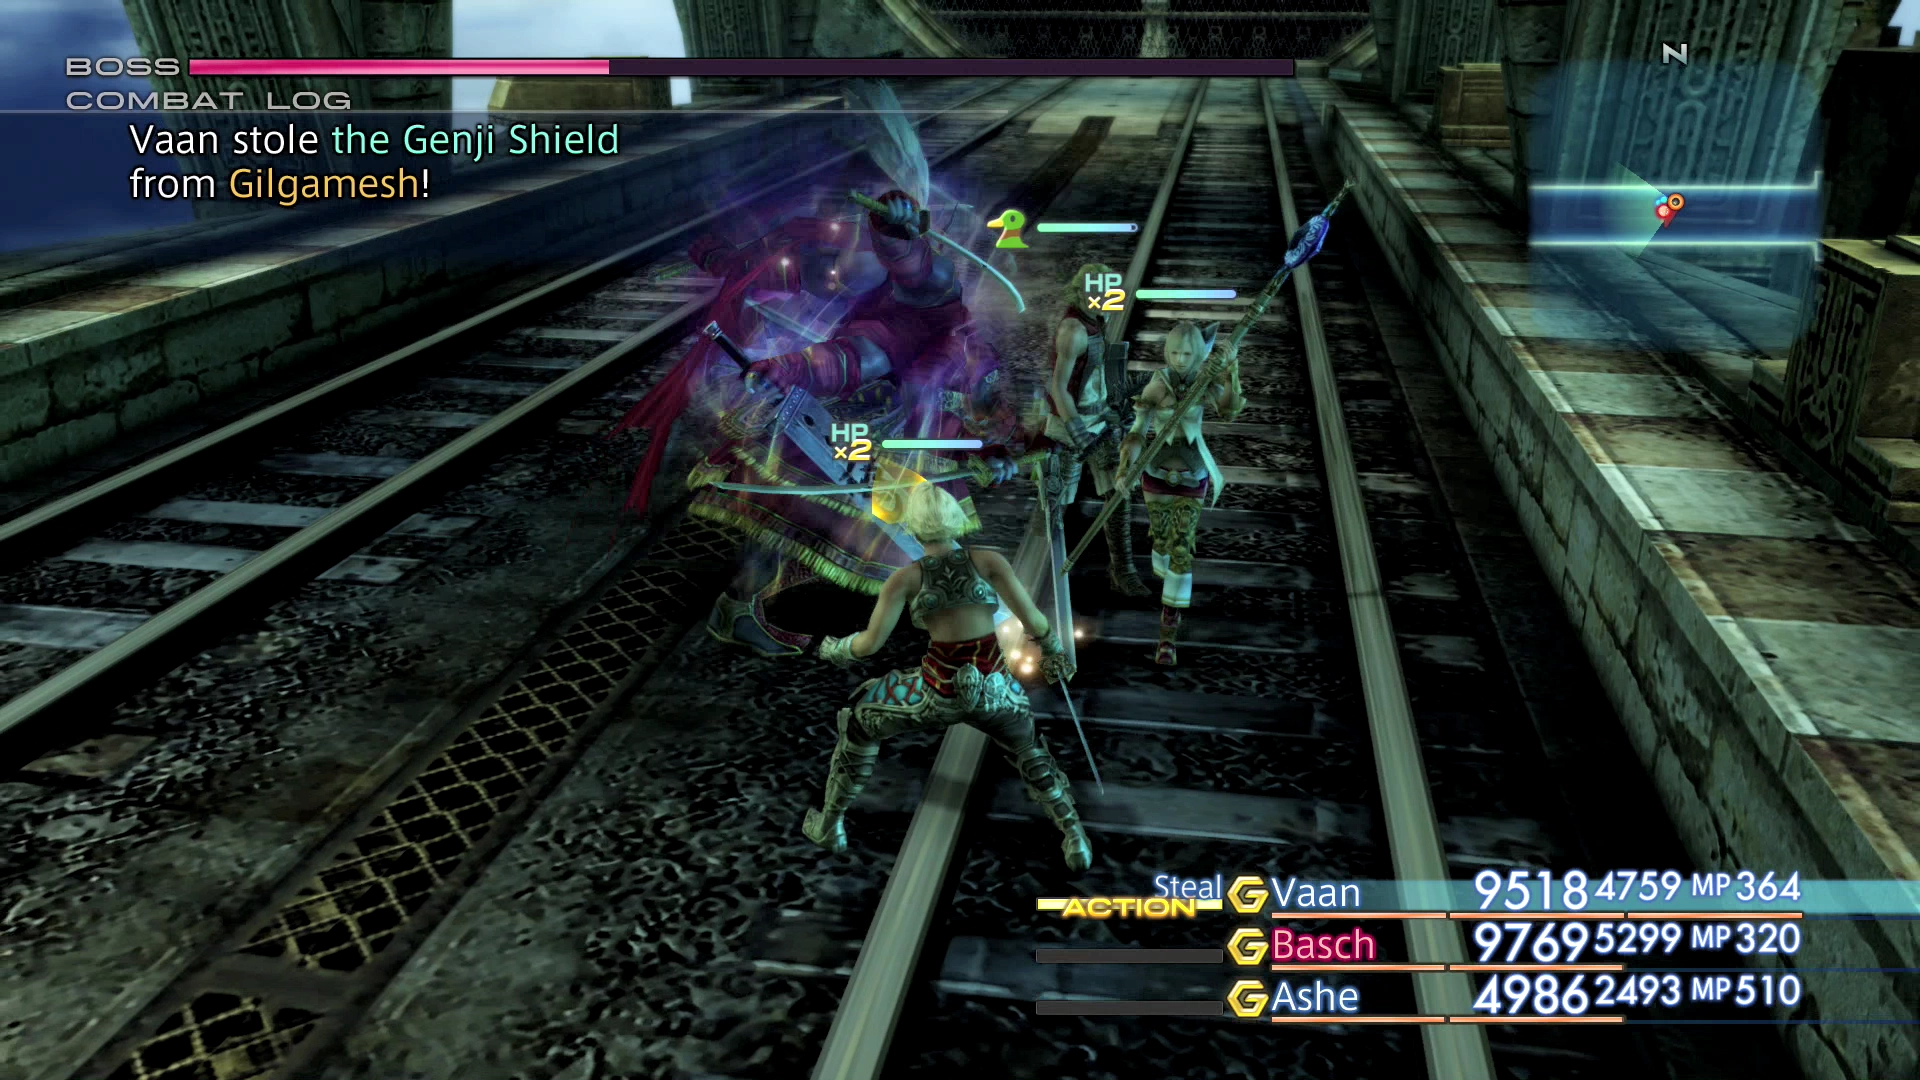
Once you reach the 40% and 20% marks, you should switch all of your characters over from “Attacking” to “Stealing” as their primary move against Gilgamesh until they successfully steal the items.
Make sure to enter the battle with all of your status buffs enabled. These buffs should include ![]() Protect,
Protect, ![]() Shell (not as necessary),
Shell (not as necessary), ![]() Bubble, and
Bubble, and ![]() Haste for sure, with
Haste for sure, with ![]() Bravery and
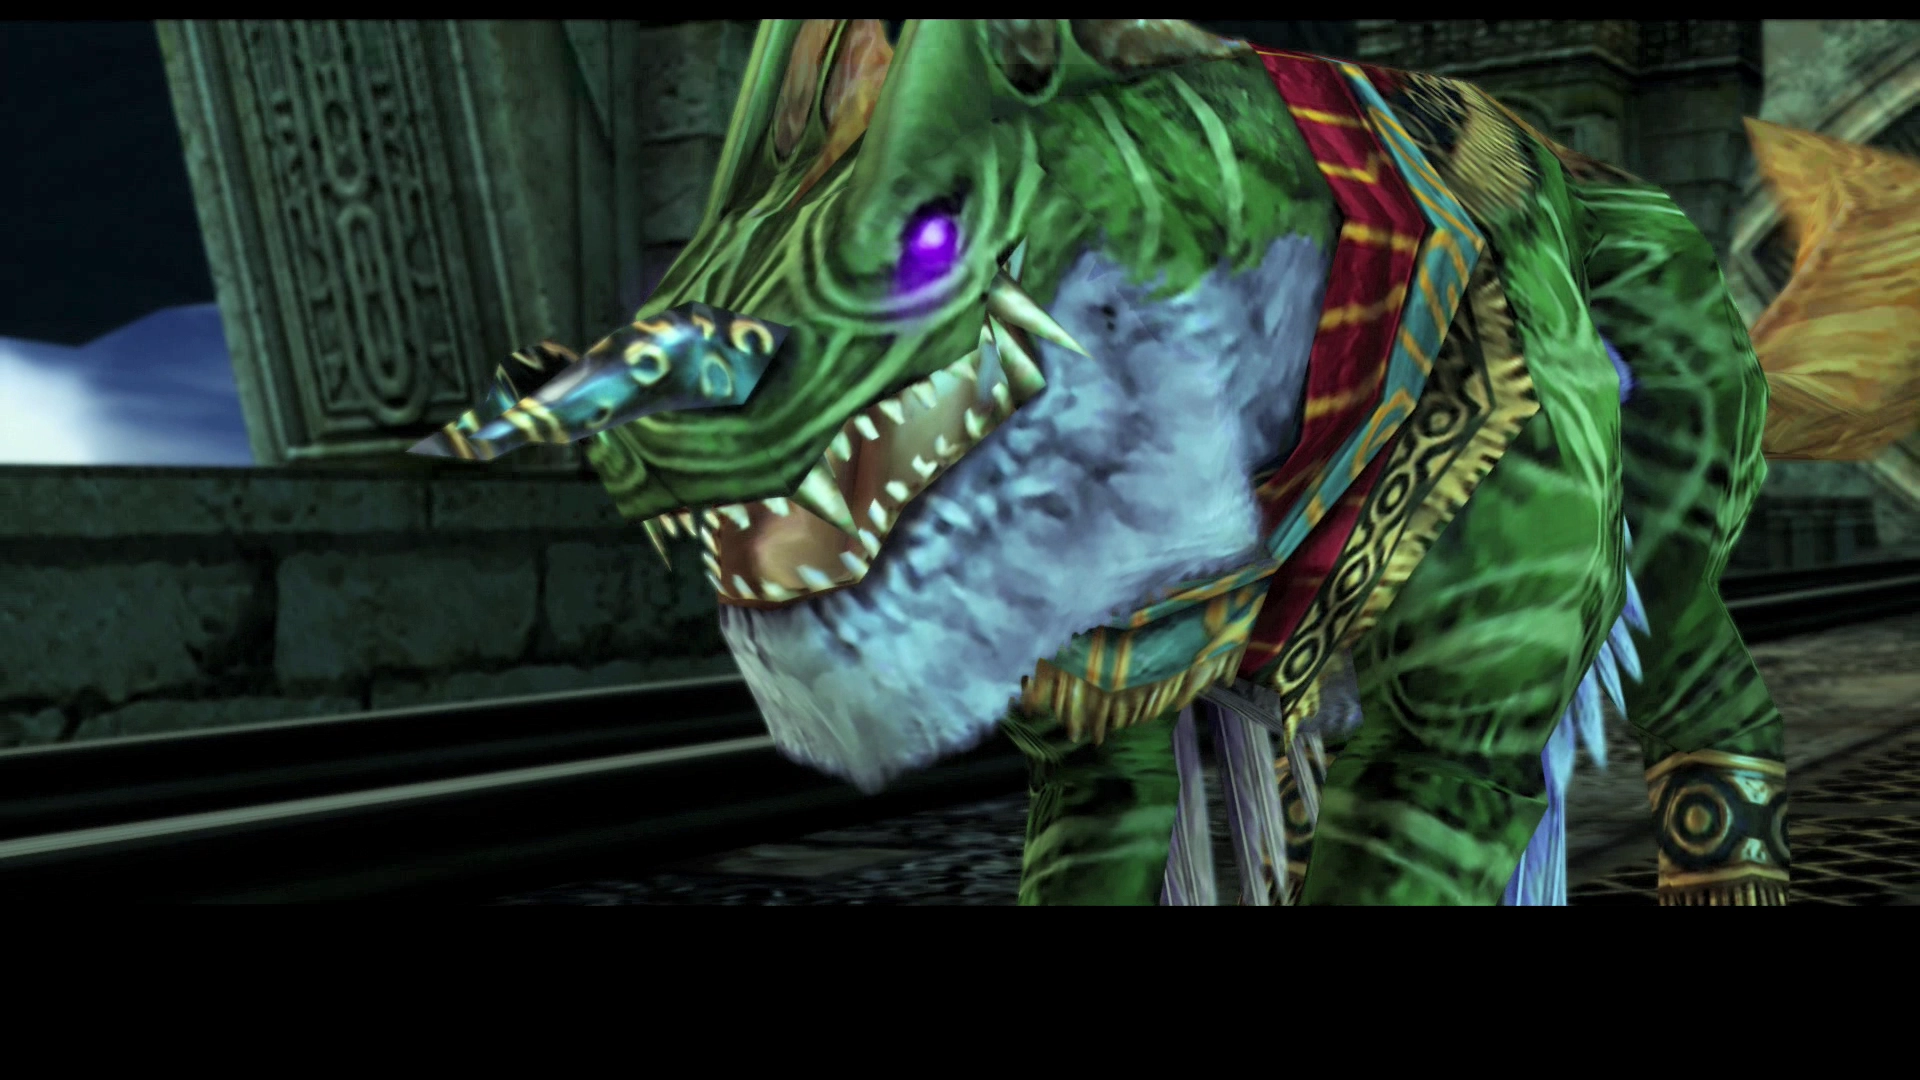
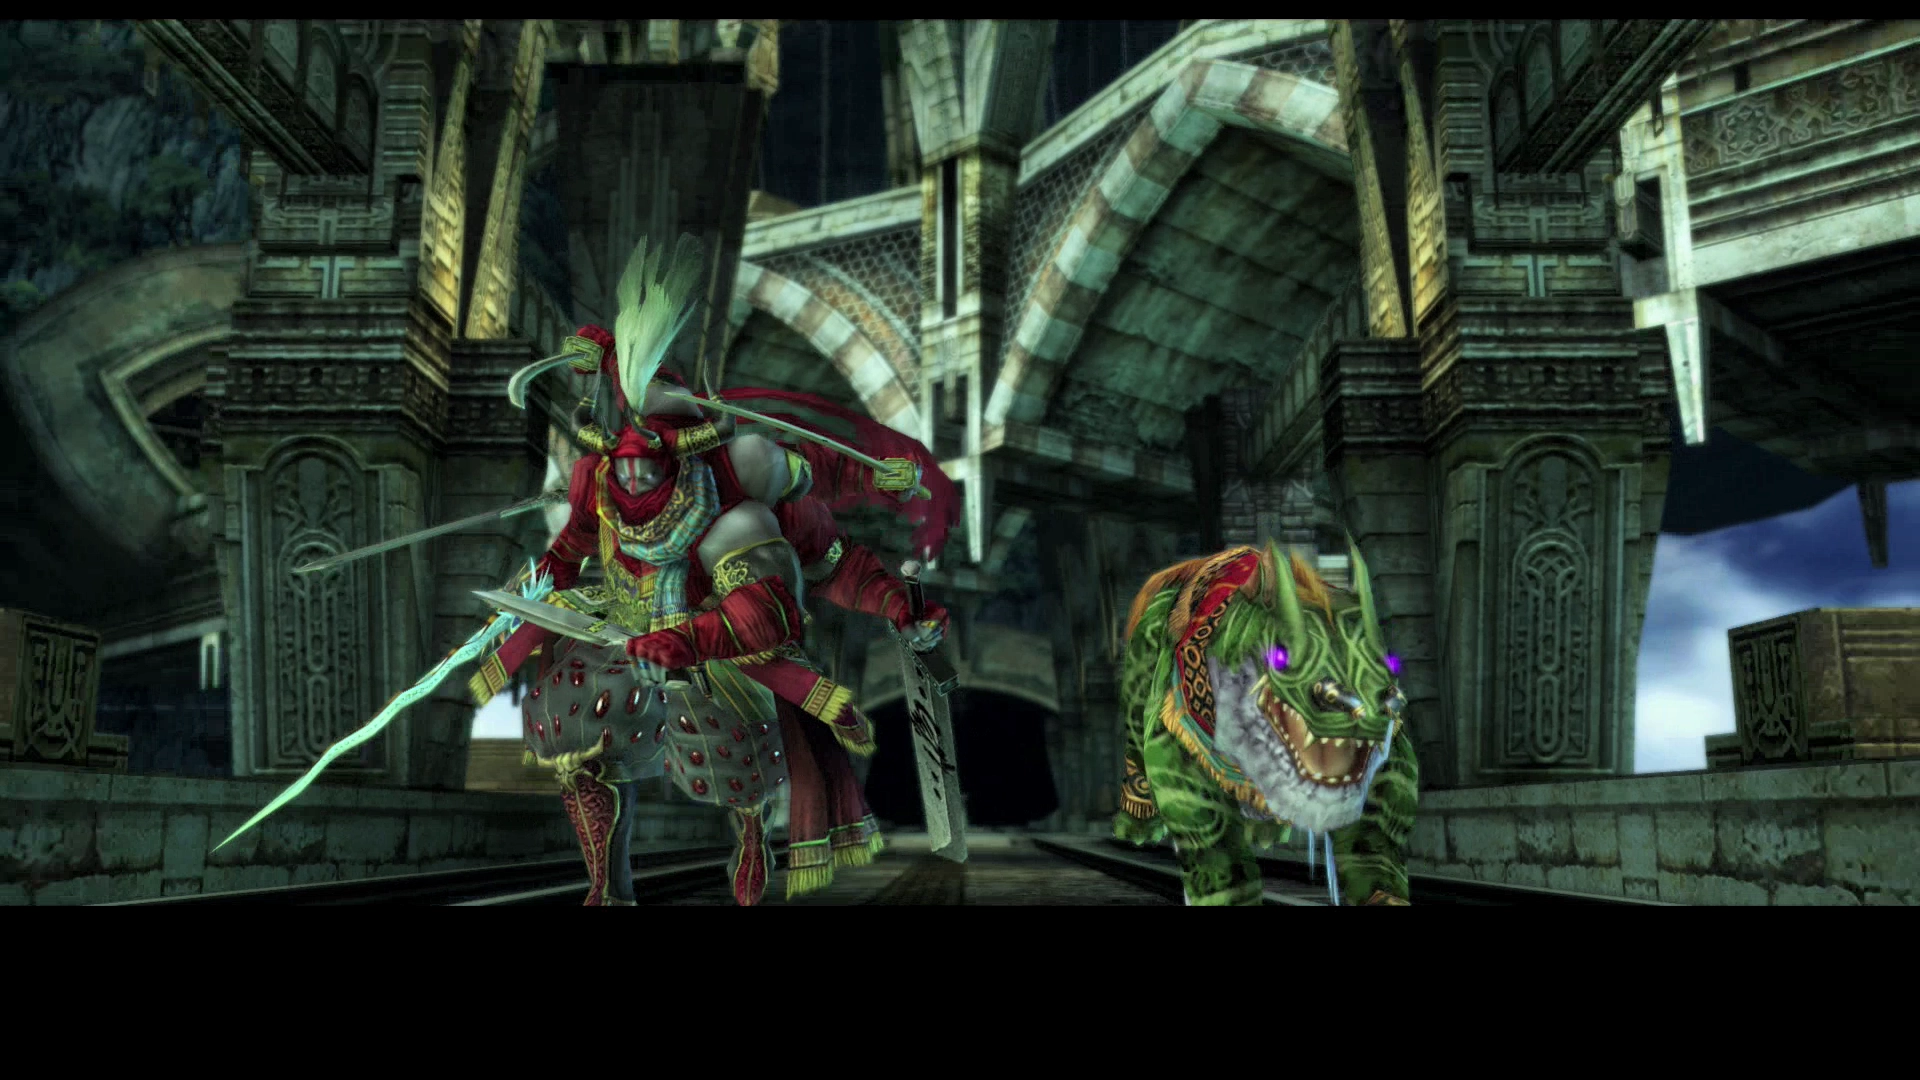
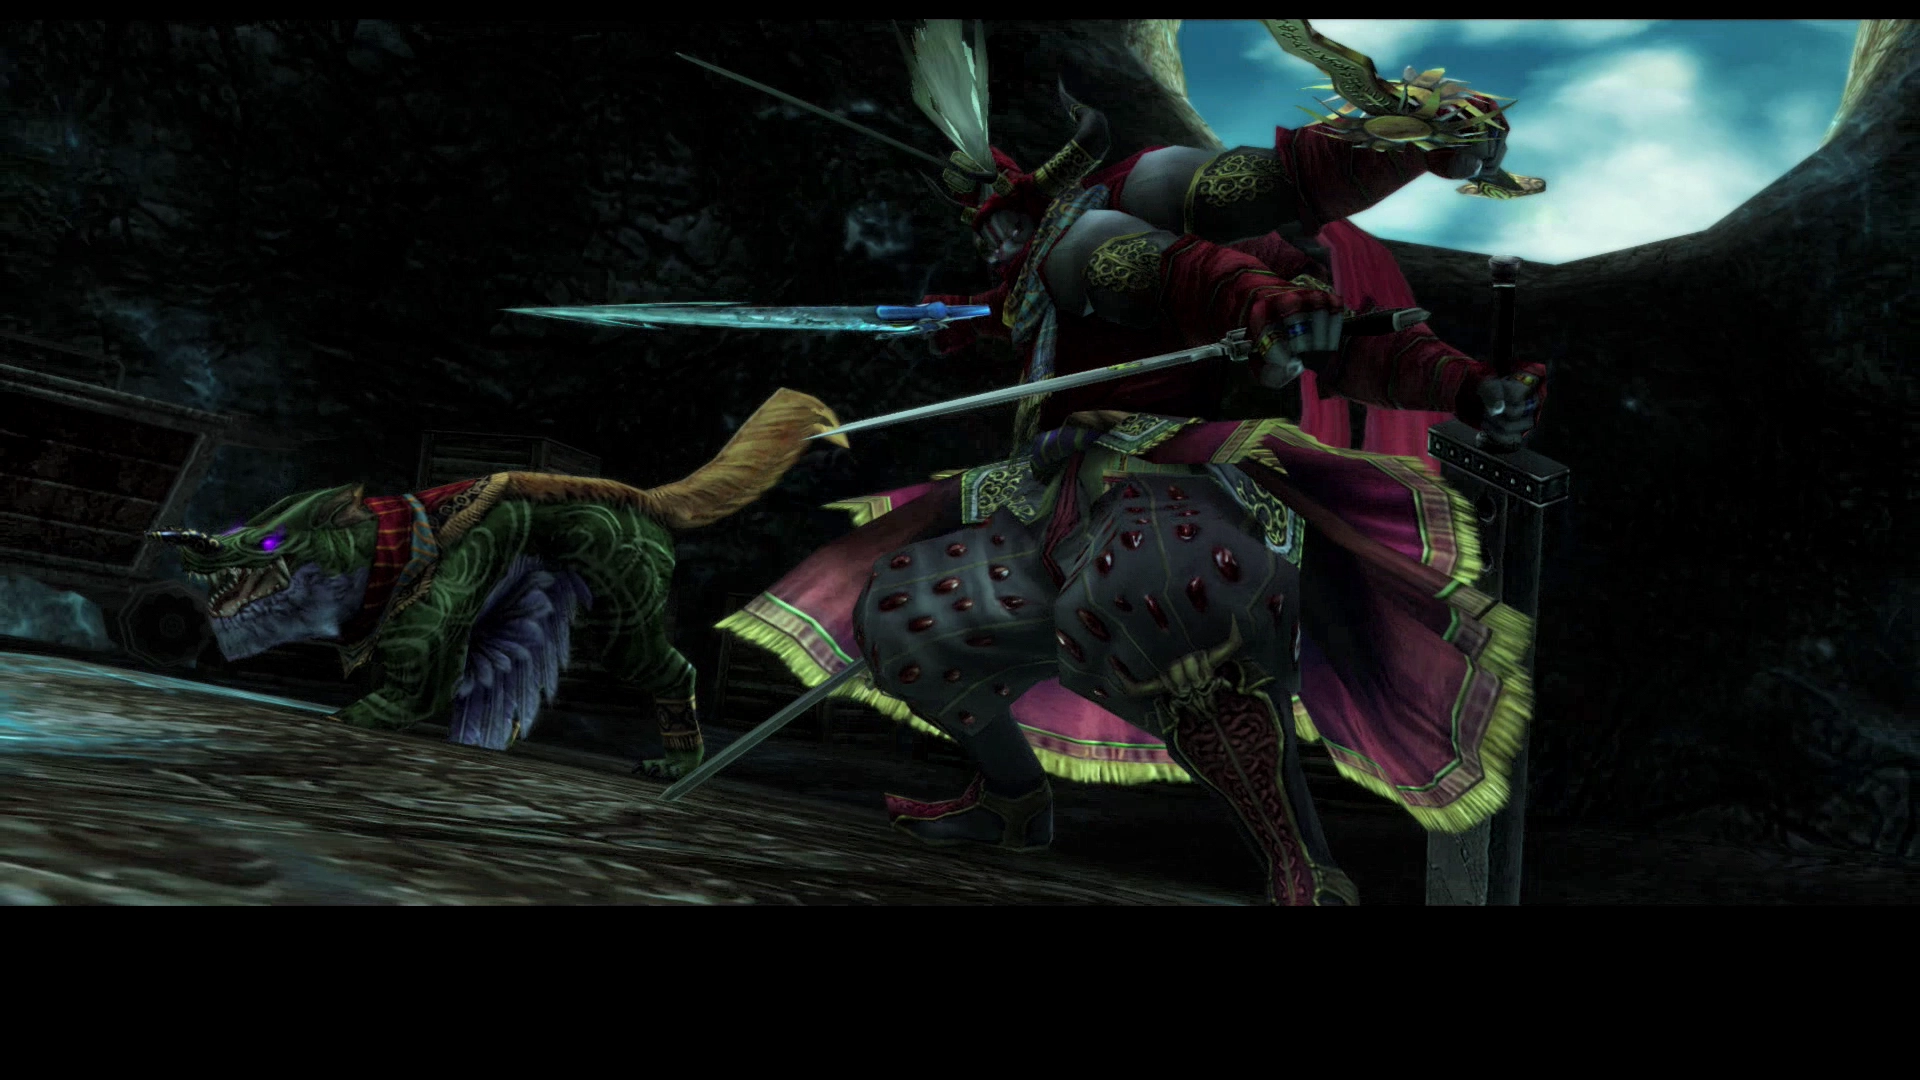
Bravery and ![]() Faith being helpful but not required. Focus your attacks on taking out Enkidu, Gilgamesh’s dog sidekick, at the start of the battle.
Faith being helpful but not required. Focus your attacks on taking out Enkidu, Gilgamesh’s dog sidekick, at the start of the battle. ![]() Dispel Gilgamesh and keep casting Dispel for the duration of the fight. This first battle is not too difficult.
Dispel Gilgamesh and keep casting Dispel for the duration of the fight. This first battle is not too difficult.
Gilgamesh will use “Ultimate Illusion” and “Magick Shield,” which will prevent damage done to him for a certain amount of time, but there are no other tricks, and his other attacks do regular damage.
You can find a video of this battle in the Zodiac Age version below.
Use the following link to return to the Balfonheim Port section of the strategy guide, as you should complete the second battle later on in the game.
Battle 2
Location
As mentioned above, you will need to have obtained the Site 11 Key to reach the next section of the Lhusu Mines. You can get the key at the Hunter’s Camp in the Phon Coast after you have completed Hunt 38: Antlion Infestation (Antlion - Rank V).
At the end of that Hunt, the kids will drop a key down below, which then appears in the Hunter’s Camp next to the Fallen Bhujerban NPC (as shown in the screenshots above).

Travel west from the Tasche Span into Site 9. You will have to go through the locked gate on the northern wall of Site 9 to get into Site 11 unless you have already opened and unlocked this area by completing Hunt 27: The Child Snatcher (Diabolos – Rank VII). Follow the pathway through Site 11 and use the Gate Switchboard to open the locked gate on the northern wall. Head east into the next area.
The Lasche Span is full of Aeronite enemies, which are more difficult to defeat due to their Crushing Fangs attacks. Use ![]() Telekinesis to hit them or just run past them if you run into any problems.
Telekinesis to hit them or just run past them if you run into any problems.
Site 5
This area can be challenging. It is easy to become overwhelmed by Dead Bones and Abysteel enemies. Take it slow as you proceed through the rooms to make sure that you don’t get overwhelmed as Dead Bones enemies spawn up through the ground, which could take you by surprise.
In the southernmost room of this zone, you will find a green Urn that contains the Lhusu Candle. The Lhusu Candle will illuminate these new rooms on the world map, allowing you to see the complete layout.
Site 6 South
There is a hidden pathway in the northern section of Site 6 South that leads to Site 6 North. There are a few treasure chests in this area that have a chance to contain Gil, a ![]() Maximillian, or a
Maximillian, or a ![]() Whale Whisker.
Whale Whisker.
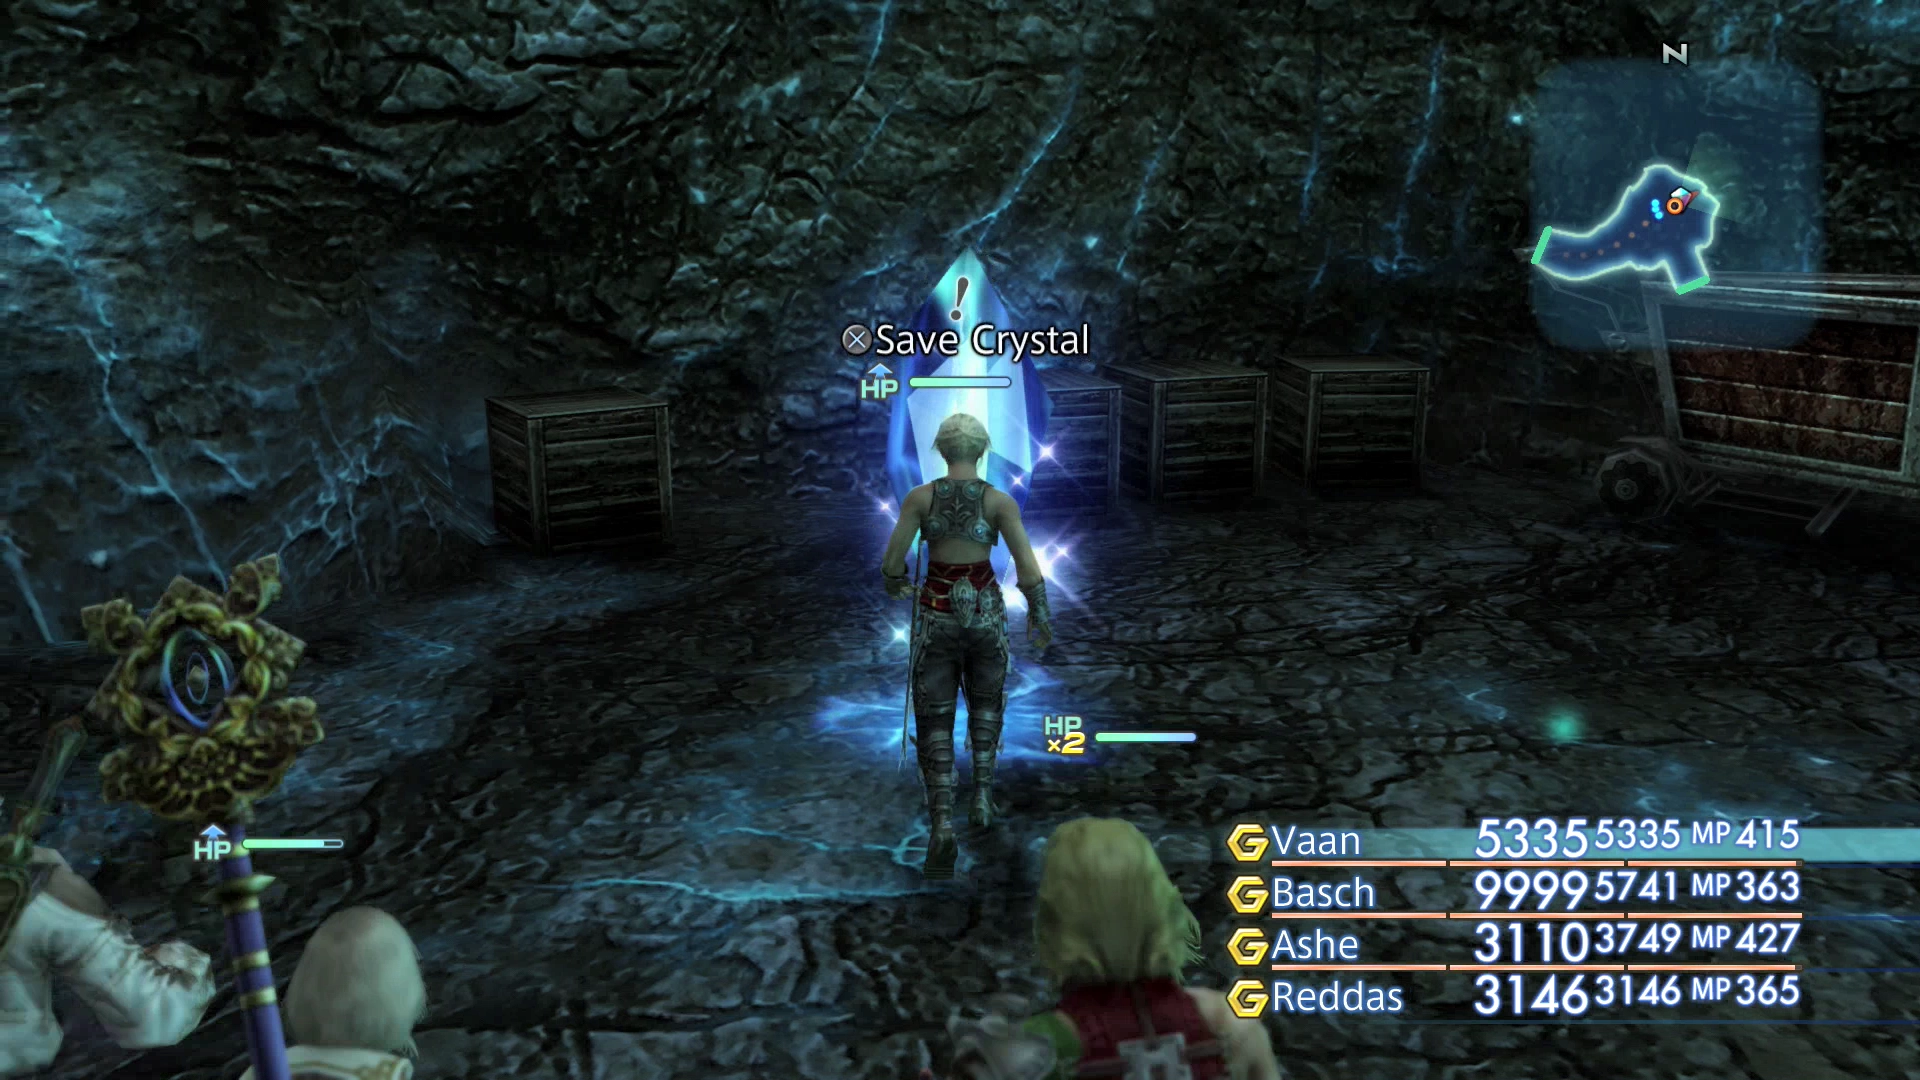
Staging Area
Use the blue Save Crystal to save your game before attempting Gilgamesh, and read through the guide below to ensure that you are fully prepared.
Elite Mark Battle
Level: 70
HP: 473,246
Steal: See notes below.
This battle is similar to the last battle with Gilgamesh. There are several phases of the fight where Gilgamesh will pull out a new sword, and you can steal new items from him. Specifically:
- HP: 100% to 60% is Hi-Potion (55%),
 X-Potion (10%), 3,000 Gil (3%)
 - HP: 60% to 40% is Hi-Potion (55%), X-Potion (10%), 4,000 Gil (3%)
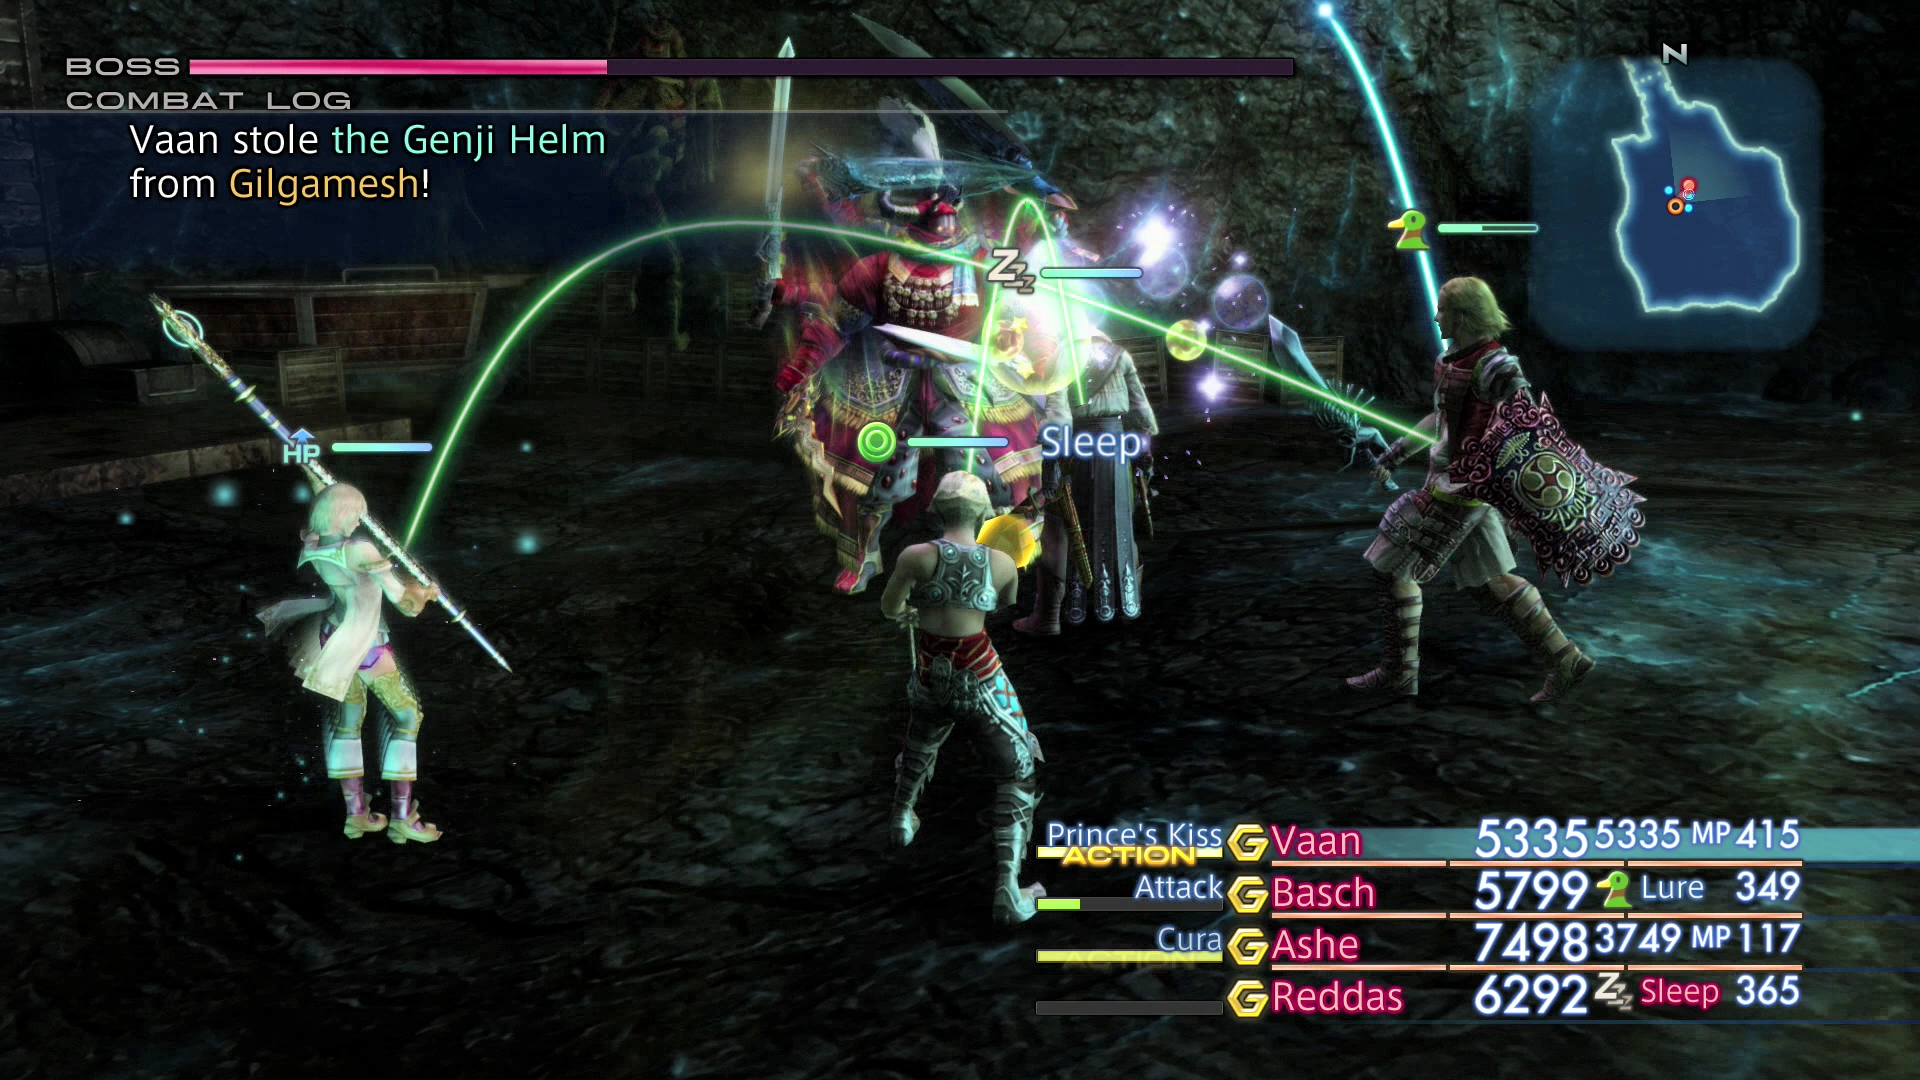
- HP: 40% to 20% is Nothing (55%),
 Genji Helm (10%), Nothing (3%)
 - HP: 20% to 0% is Nothing (55%),
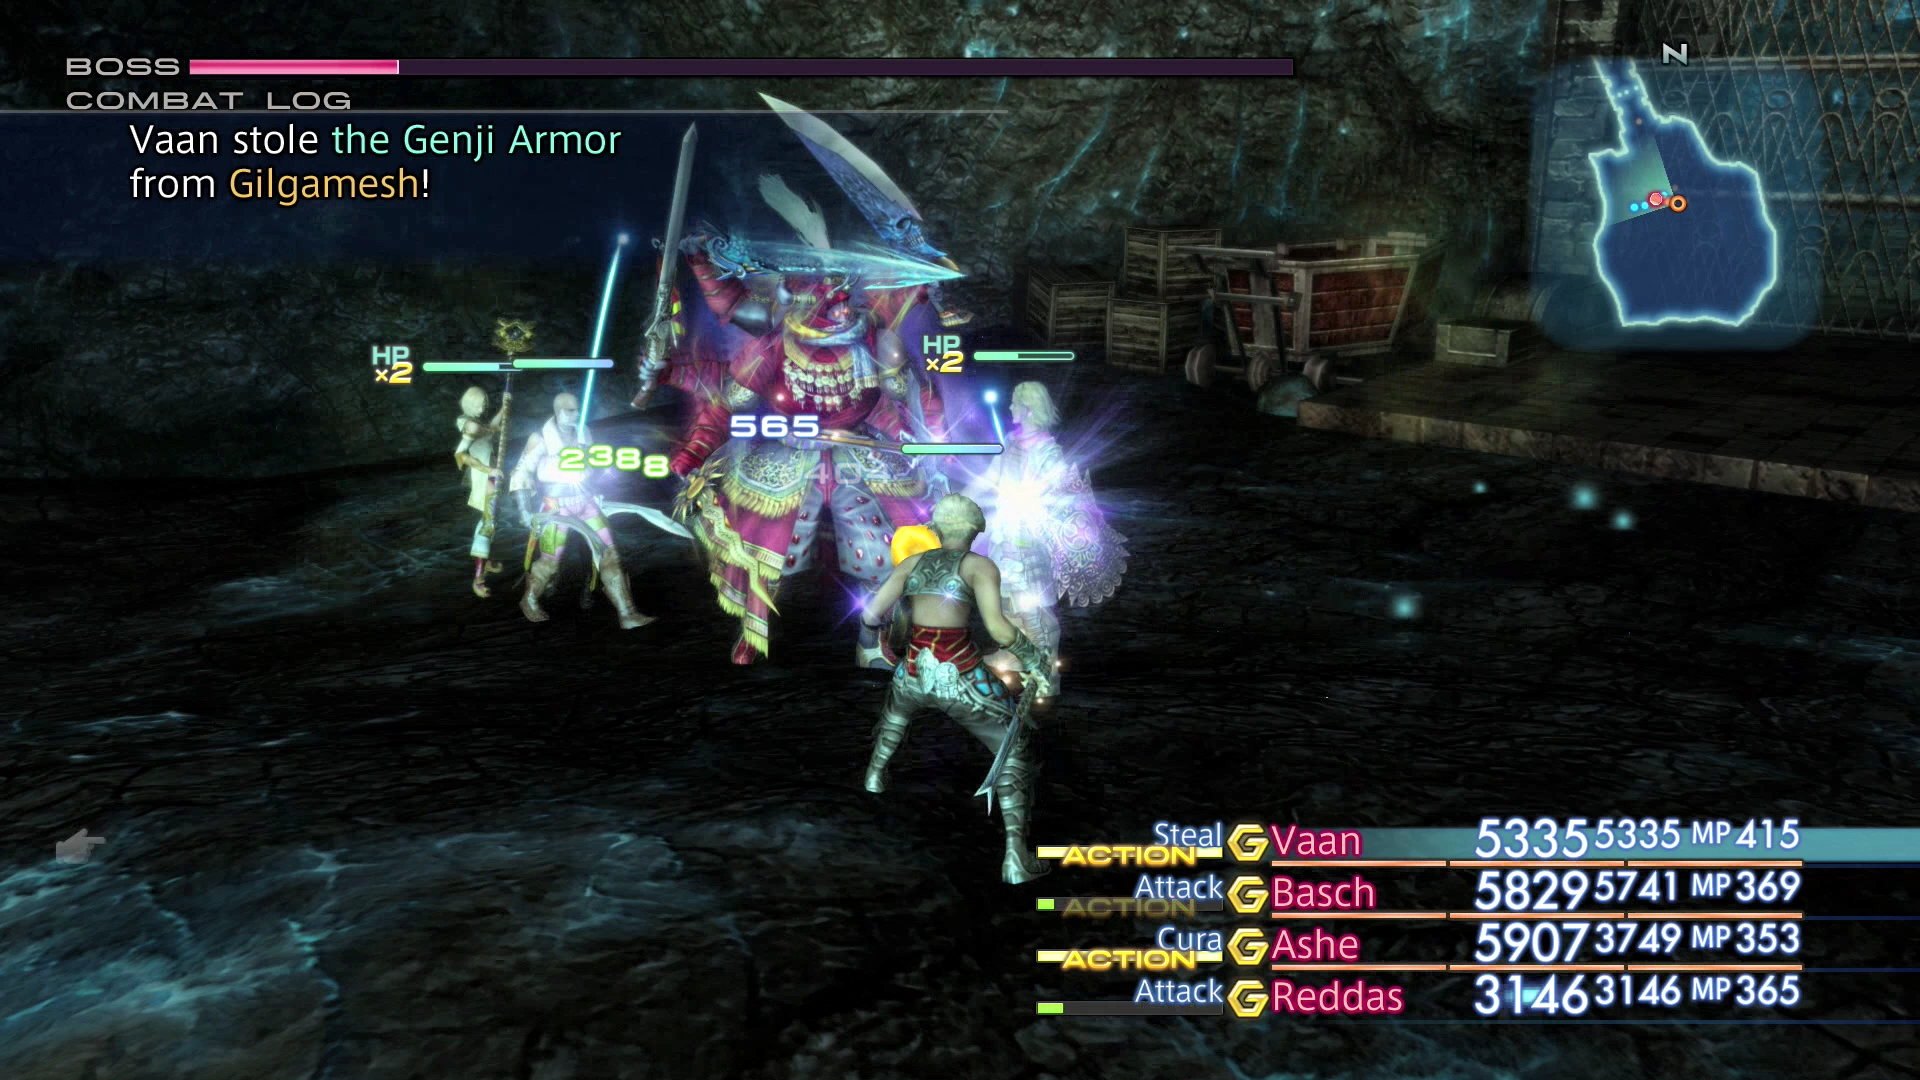
 Genji Armor (10%), Nothing (3%)
The two key items on that list are the ![]() Genji Helm and the
Genji Helm and the ![]() Genji Armor, which you should steal when Gilgamesh reaches 40% HP and 20% HP, respectively.
Genji Armor, which you should steal when Gilgamesh reaches 40% HP and 20% HP, respectively.
Gilgamesh’s attacks are a lot more challenging to deal with during the second battle. He will regularly cast three status effect moves: Lv. 2 Sleep, Lv. 3 Disable and Lv. 4 Break. This battle is much easier if your character’s level is not a multiple of 2, 3, or 4 (i.e., 47, 49, 53, 55, 59, 61, 65, 67, 71).
Alternatively, you will have to set up Gambits or equip your characters to deal with specific status elements. If you choose to set up Gambits, have your characters use items to remove the status effects, as they are much faster. You can use ![]() Prince’s Kiss to remove Sleep,
Prince’s Kiss to remove Sleep, ![]() Esuna/Remedies to remove Disable, and either
Esuna/Remedies to remove Disable, and either ![]() Gold Needles or
Gold Needles or ![]() Remedies to get rid of the Petrify status effect.
Remedies to get rid of the Petrify status effect.

The first thing that you should do when the battle begins is cast ![]() Dispel on both Enkidu and Gilgamesh. Gilgamesh will rebuff himself throughout the fight, so it is best to keep a
Dispel on both Enkidu and Gilgamesh. Gilgamesh will rebuff himself throughout the fight, so it is best to keep a ![]() Dispel Gambit active throughout the fight.
Dispel Gambit active throughout the fight.
Start by attacking and defeating Enkidu first. You can do this easily by setting up a Gambit to have your characters target the foe with the least HP first. The most challenging part of this battle is at the beginning, when both Gilgamesh and Enkidu are attacking your party members. You can reduce the amount of damage done by Enkidu by having one of your characters cast ![]() Slow and/or
Slow and/or ![]() Blind on it as well. Your characters may be KO’d a few times during this first section of the battle, but don’t give up; the second half of the fight is much easier.
Blind on it as well. Your characters may be KO’d a few times during this first section of the battle, but don’t give up; the second half of the fight is much easier.
Once you switch over to attacking Gilgamesh, he will begin going through phases (at 60% HP, 40% and 20%) wherein he will gain new attacks and begin chaining regular attacks more often. There is a very high likelihood that your character(s) will be KO’d if he chains a few attacks together, as he will do more damage than you can heal for very quickly. Have your ![]() Arise Gambit ready to go to bring characters back to life quickly and make sure that each of your characters has the
Arise Gambit ready to go to bring characters back to life quickly and make sure that each of your characters has the ![]() Bubble and
Bubble and ![]() Protect statuses active throughout the fight.
Protect statuses active throughout the fight.
Continue to Dispel Gilgamesh throughout the fight, wait out his Perfect Defense when it goes up, and don’t forget to steal the ![]() Genji Helm and
Genji Helm and ![]() Genji Armor. You can switch your Attack Gambit to a
Genji Armor. You can switch your Attack Gambit to a ![]() Steal Gambit so that all of your characters are stealing from him until one is finally successful.
Steal Gambit so that all of your characters are stealing from him until one is finally successful.
A video demonstrating the battle against Gilgamesh in the original version is included below.
You can find a video of this battle in the Zodiac Age version below.
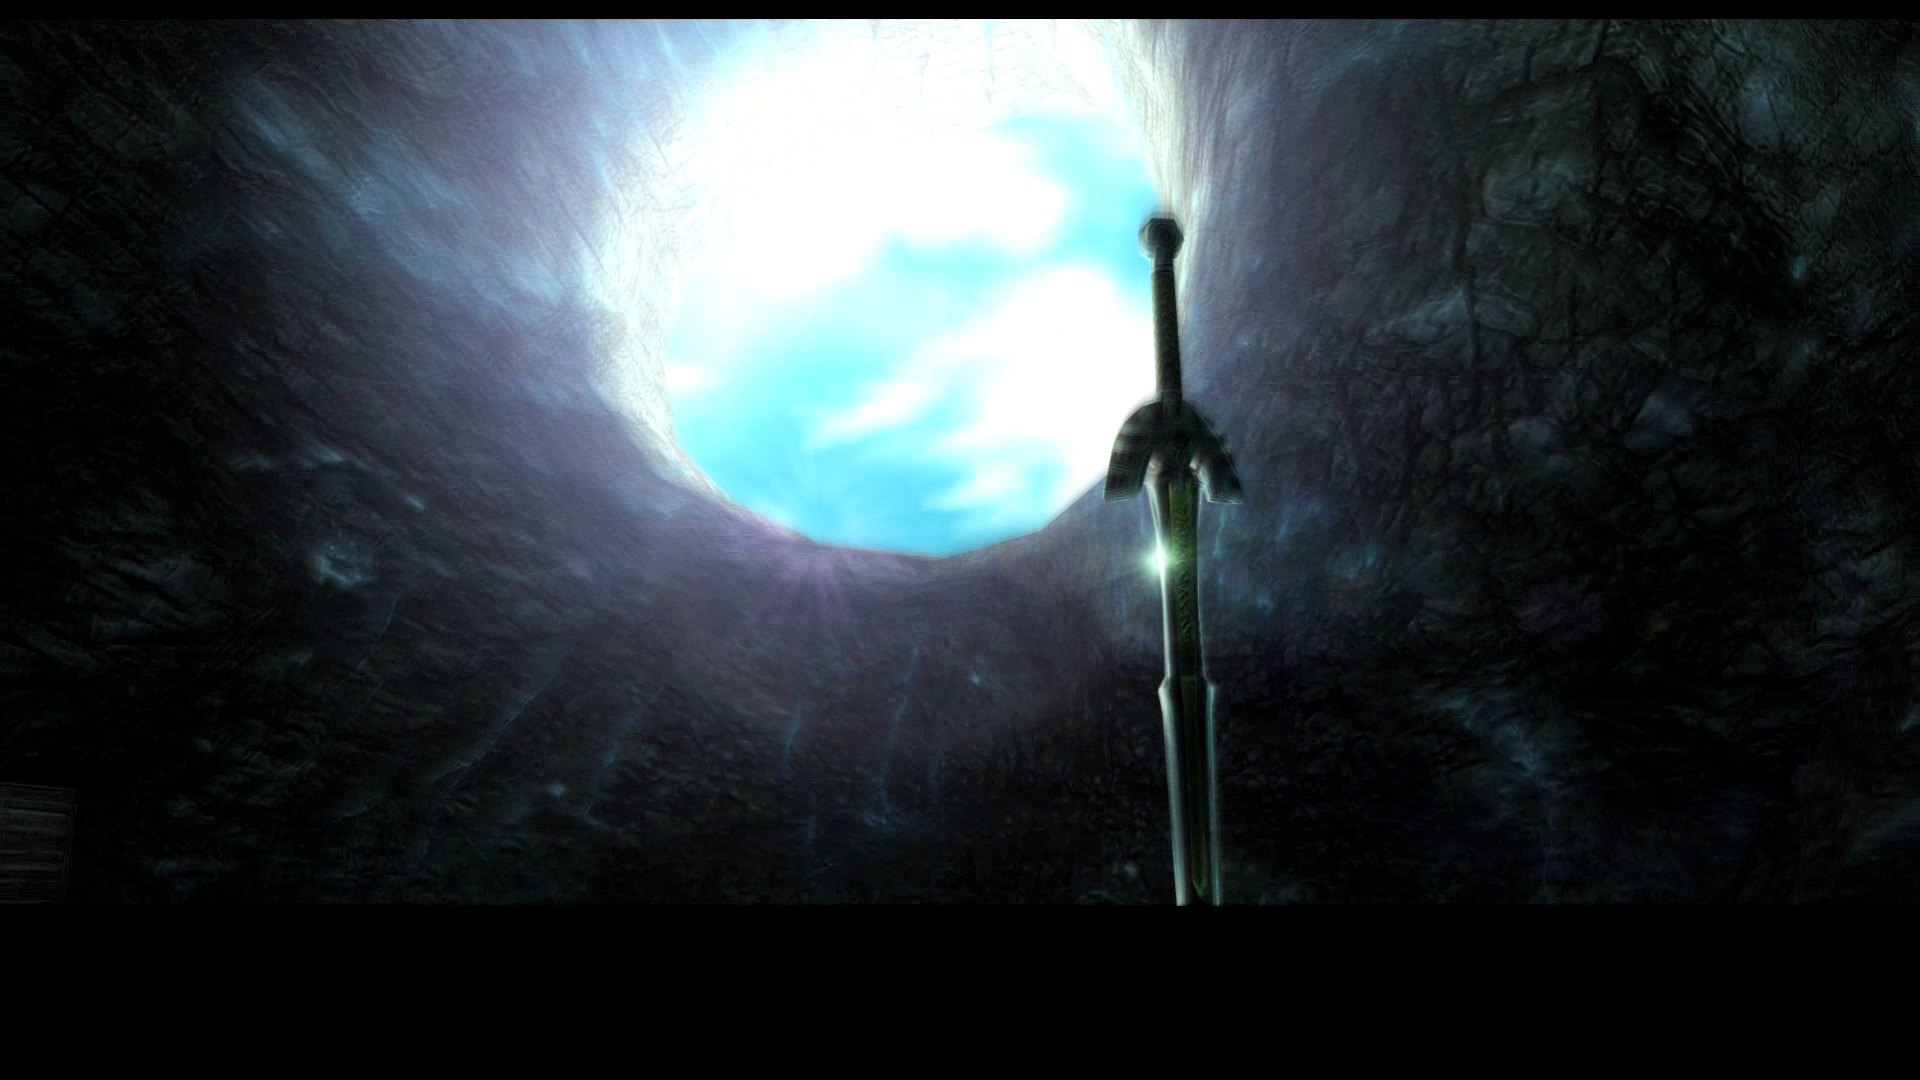
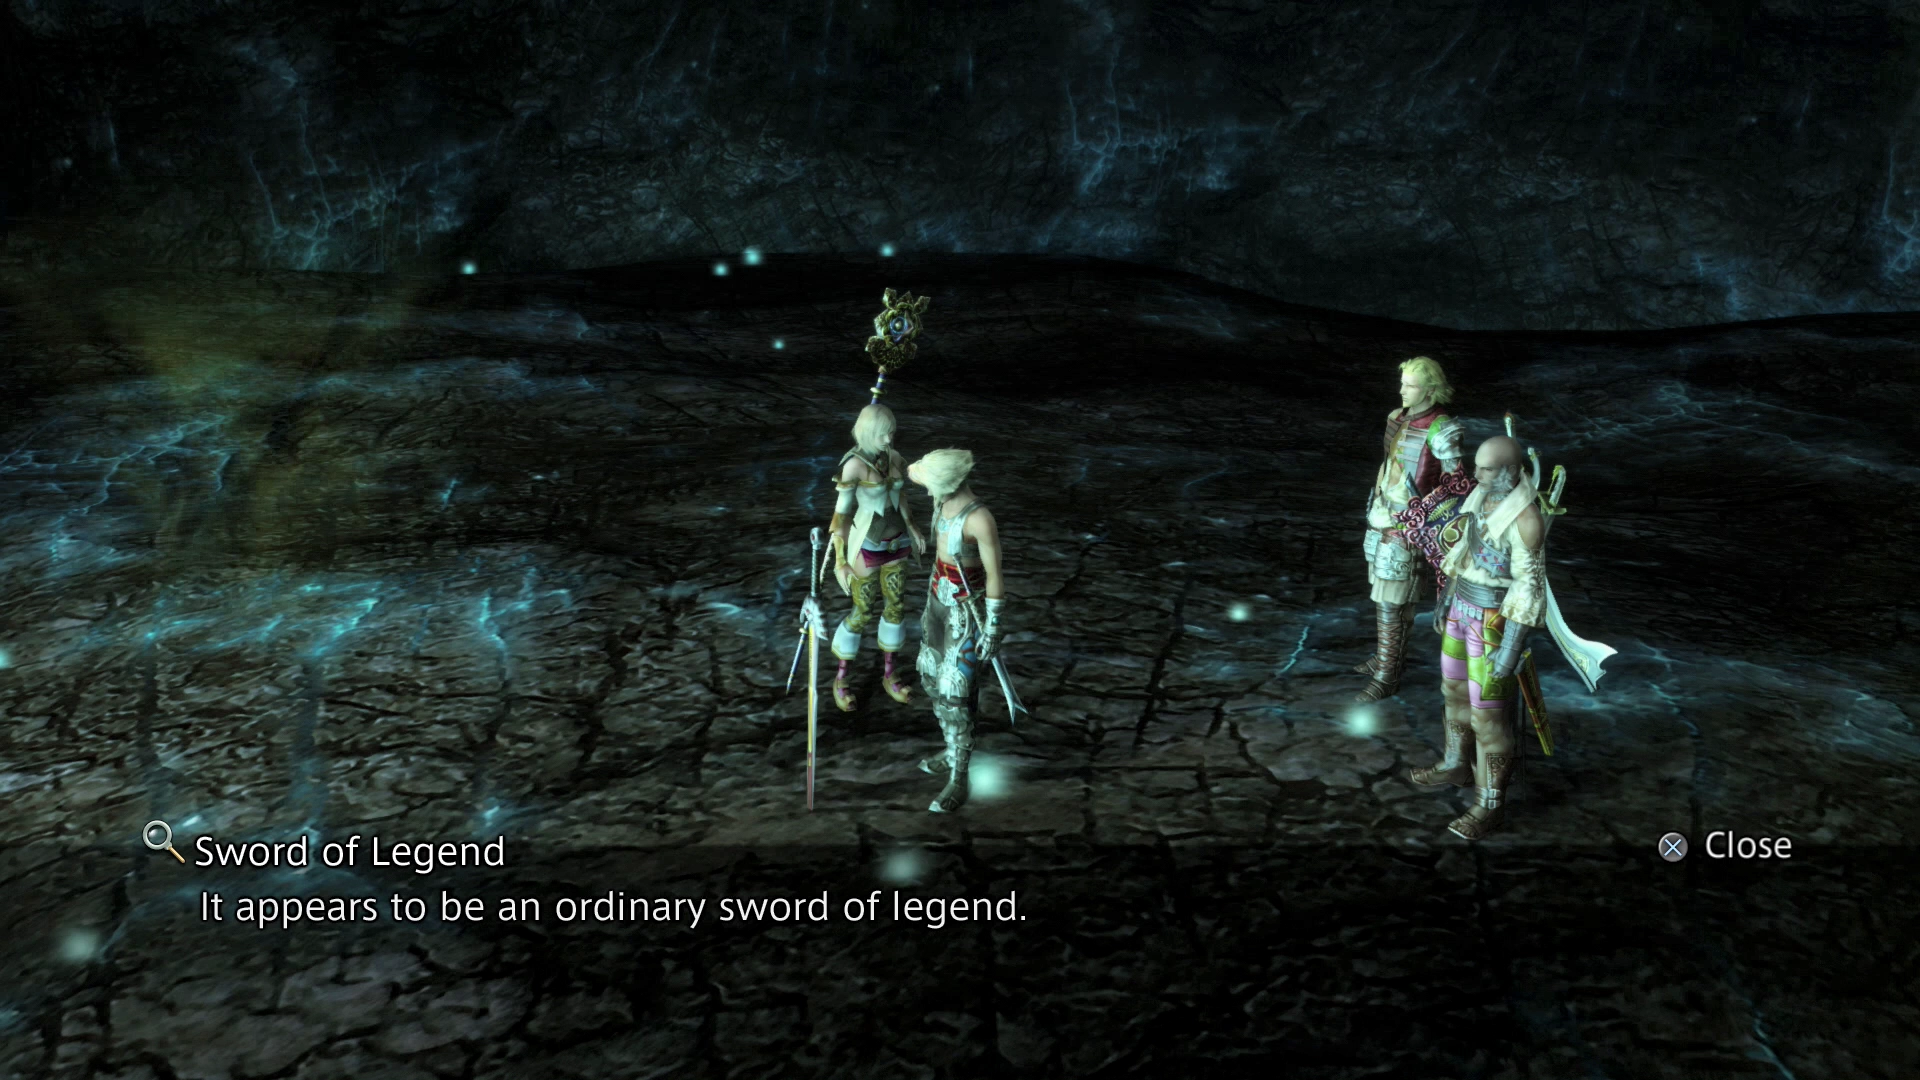
Gilgamesh will flee again with Enkidu when you get him down to 0%. This time, he will leave behind his “Sword of Legend.” This sword is a replica of the ![]() Wyrmhero Blade, the most powerful Greatsword in the game.
Wyrmhero Blade, the most powerful Greatsword in the game.
Unfortunately, you cannot take it, as examining it will just provide you with the description of it appearing to be “an ordinary sword of legend.” Gilgamesh will rush in and steal the sword in a short cinematic as you leave the area.
Note that the swords that Gilgamesh is carrying are reminiscent of those found in previous Final Fantasy titles. He actually holds cheap knock-offs of each version. Among them are:
- Buster Sword – Cloud Strife’s weapon from Final Fantasy VII
- Revolver – The gun-sword that was Squall Leonhart’s weapon from Final Fantasy VIII
- Orichalcon – One of Zidane Tribal’s twin daggers from Final Fantasy IX
- Brotherhood – Tidus’ sword from Final Fantasy X
Return to Montblanc to retrieve your rewards, which include 10,000 Gil and the ![]() Masamune* sword, one of the strongest Ninja Swords in the game (although this reward was changed to an
Masamune* sword, one of the strongest Ninja Swords in the game (although this reward was changed to an ![]() Excalipur).
Excalipur).
Achievement/Trophy
You will earn the  Master Swordsman Achievement/Trophy after you defeat Gilgamesh (both times).
This Hunt is usually completed after Reddas has joined the party when they return to Balfonheim Port for the second visit. Return to the Balfonheim Port Walkthrough page when you’re done.