Draklor Laboratory
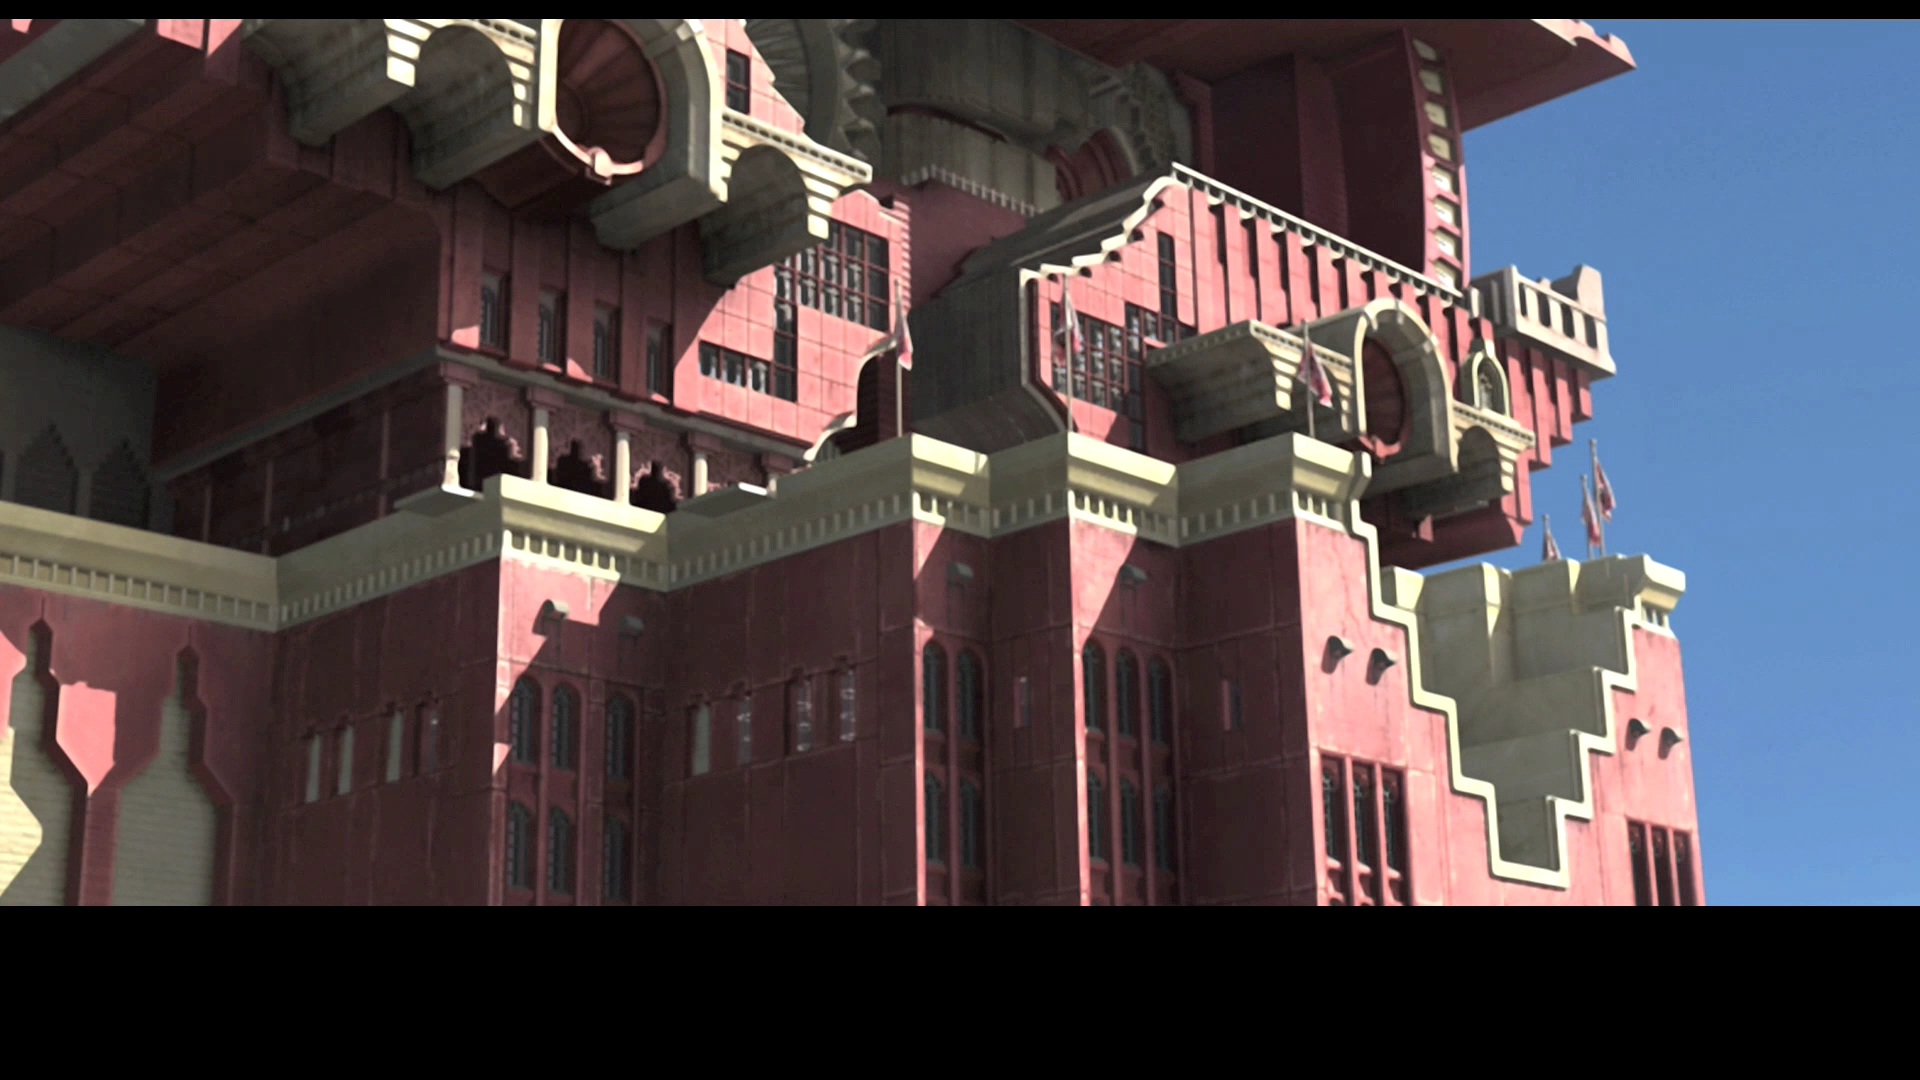
“Weapons research laboratory located a short distance from the administrative district in the northeast of Archades, sponsored by the Archadian Imperial Army, with Dr. Cidolfus Demen Bunansa as its head researcher and maker of policy.
Research is divided among airship design projects, sundry weapons projects, and magickal endeavors. In recent years, particular attention has been paid to Magicite research, with great strides being made in the manufacting of Magicite and improved methods for drawing energy from the stones.
A strict security system is in place to ensure that none of the knowledge in Draklor Laboratory leaves its doors without authorization.”
66th Floor
There is a short cutscene that takes place as the team enters the Draklor Laboratory for the first time. The group will be surprised to see how few guards there are in the surrounding vicinity. The first goal is to reach Cid’s chambers (the Energy Transitarium) on the top floor.
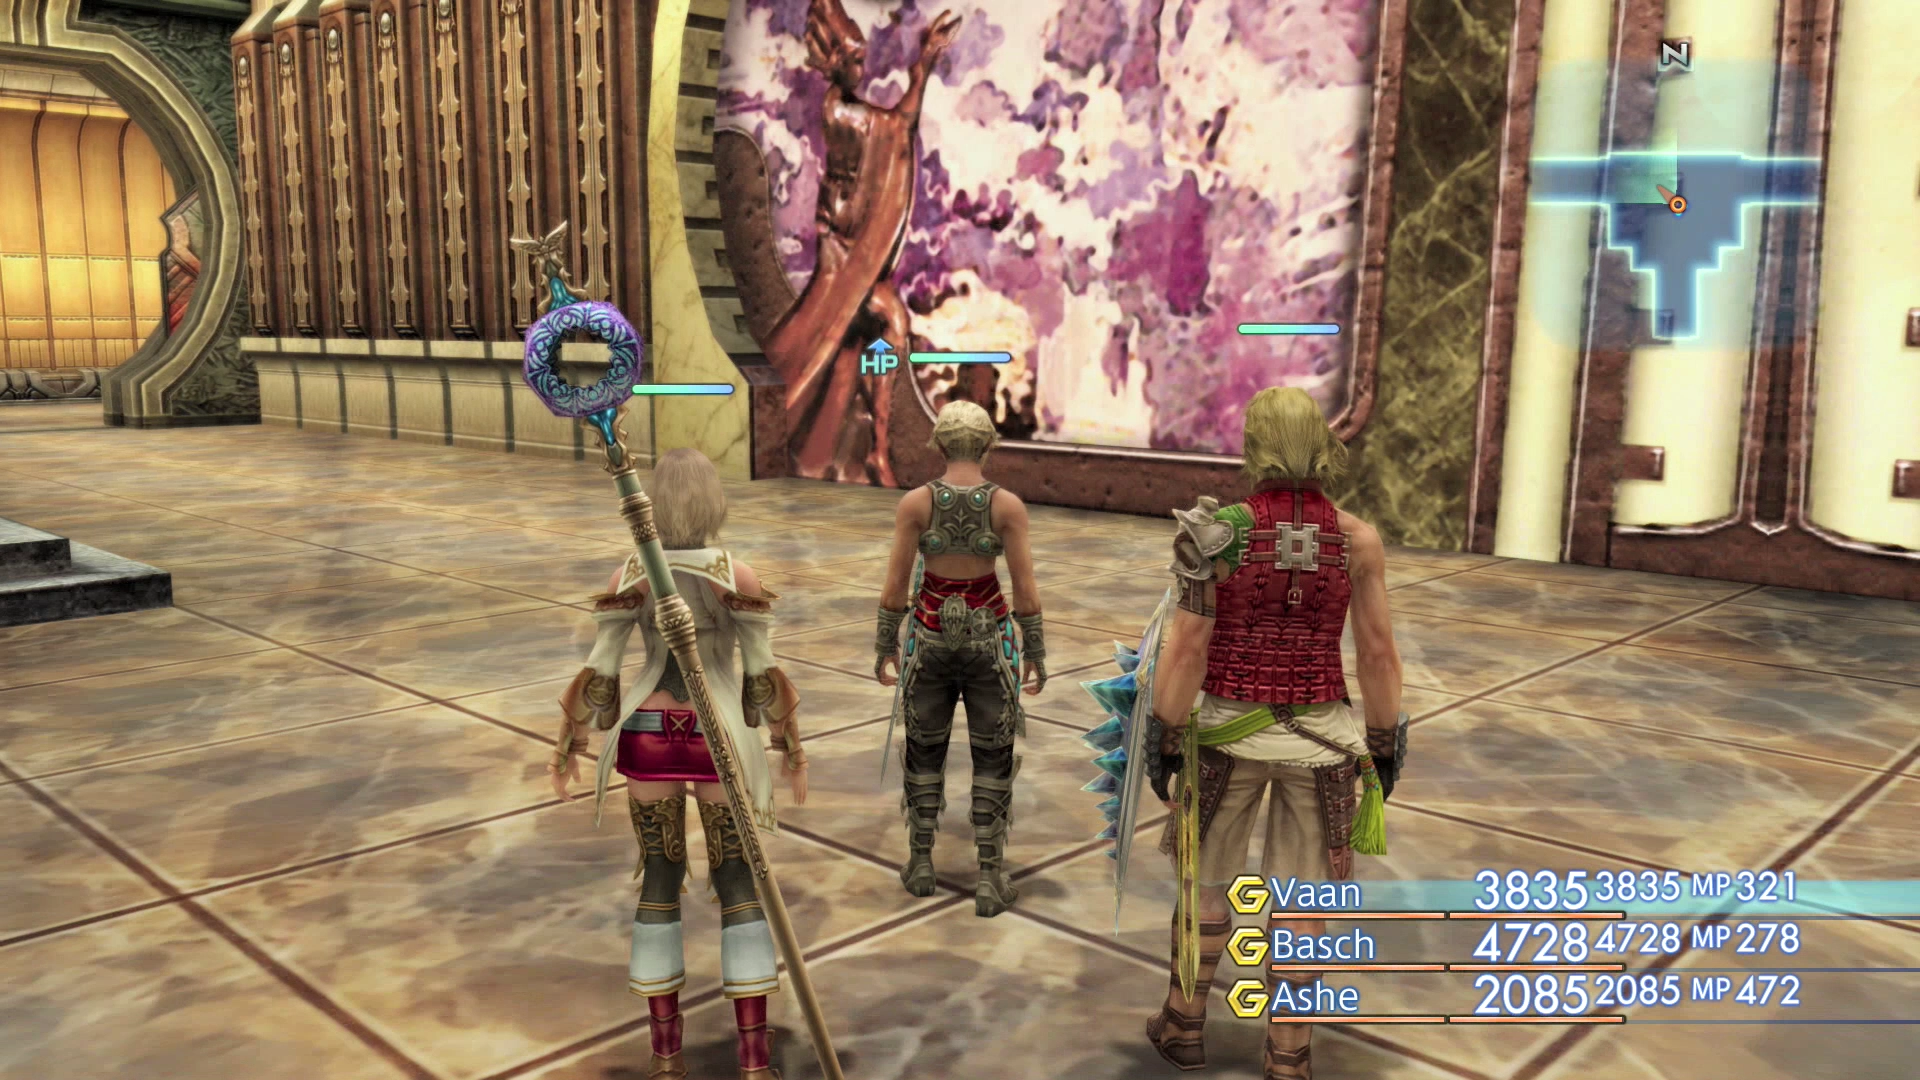
Head west, which the only direction that isn’t currently blocked by a doorway. The group will come across the bodies of a huge group of Imperial Soldiers. Speak to the Imperial Soldier sitting up against the wall as you pass – he will ask if you are “with him.”
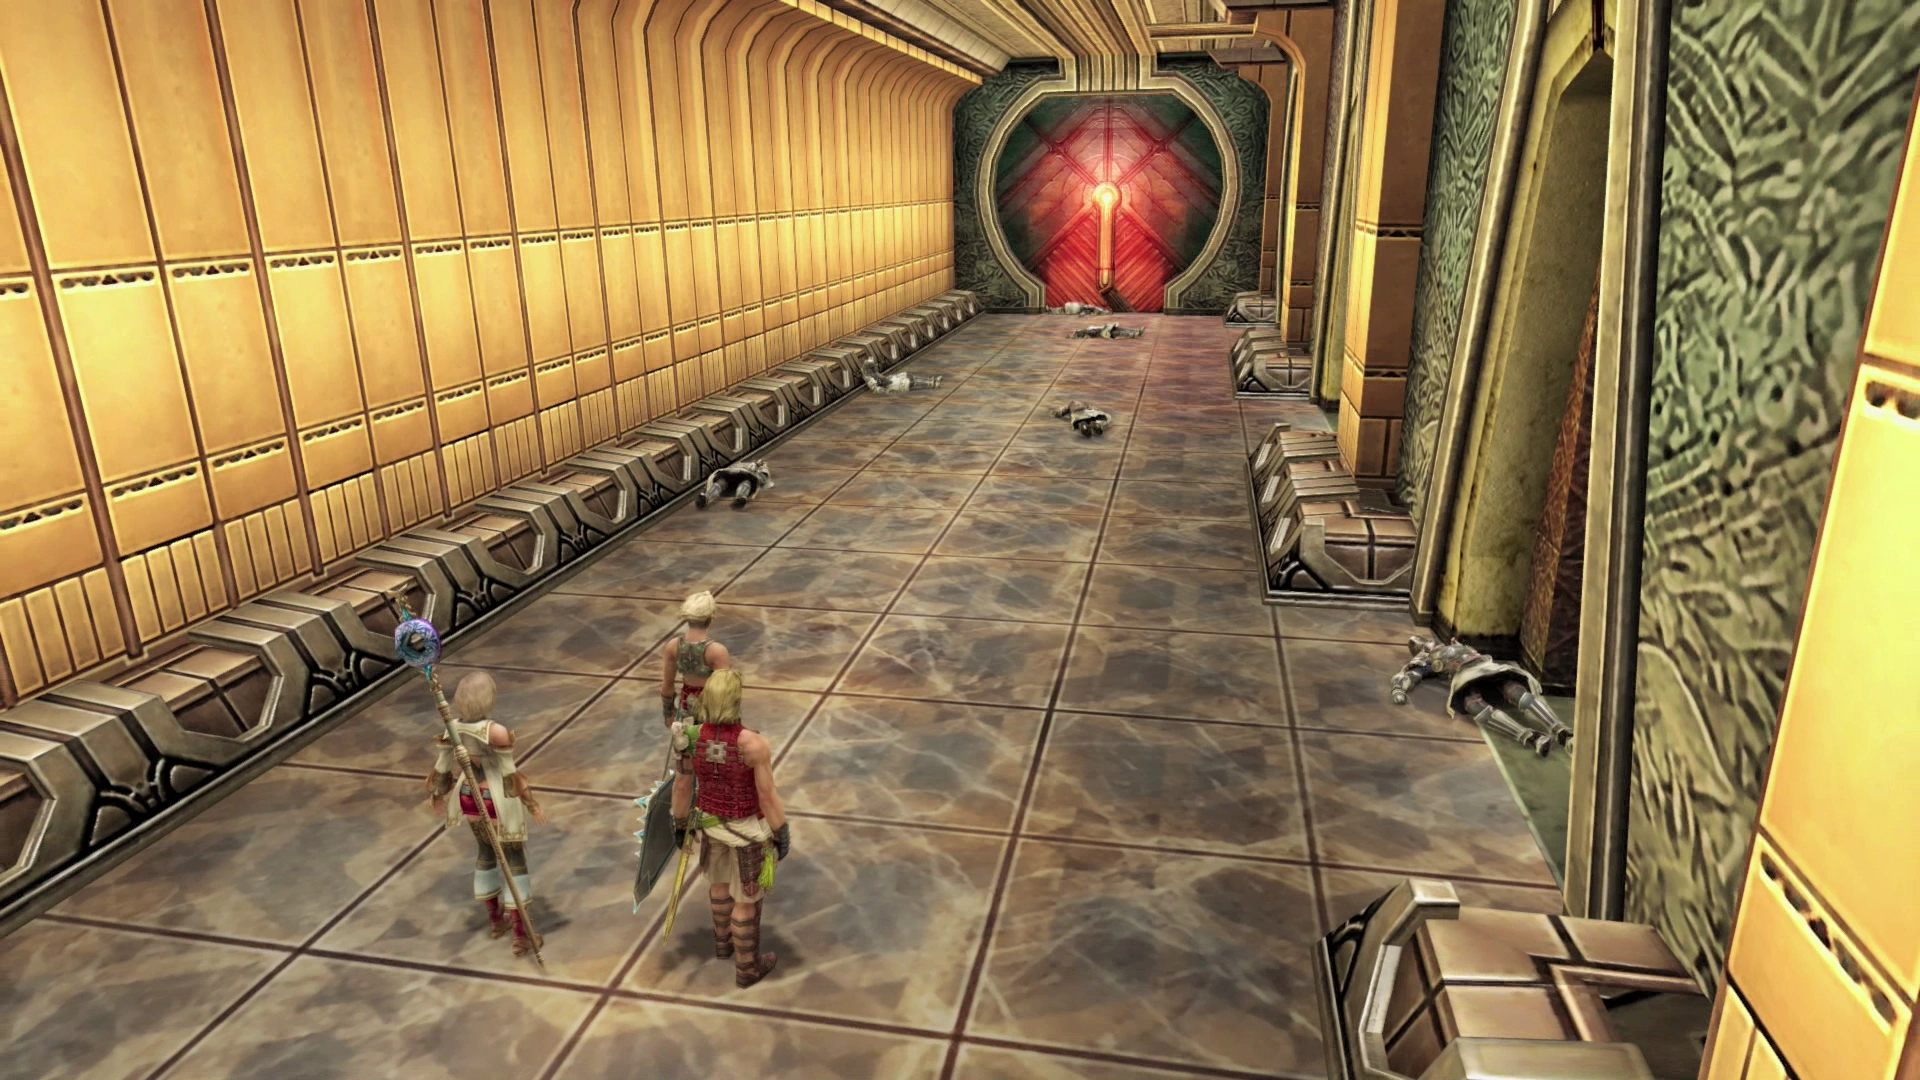
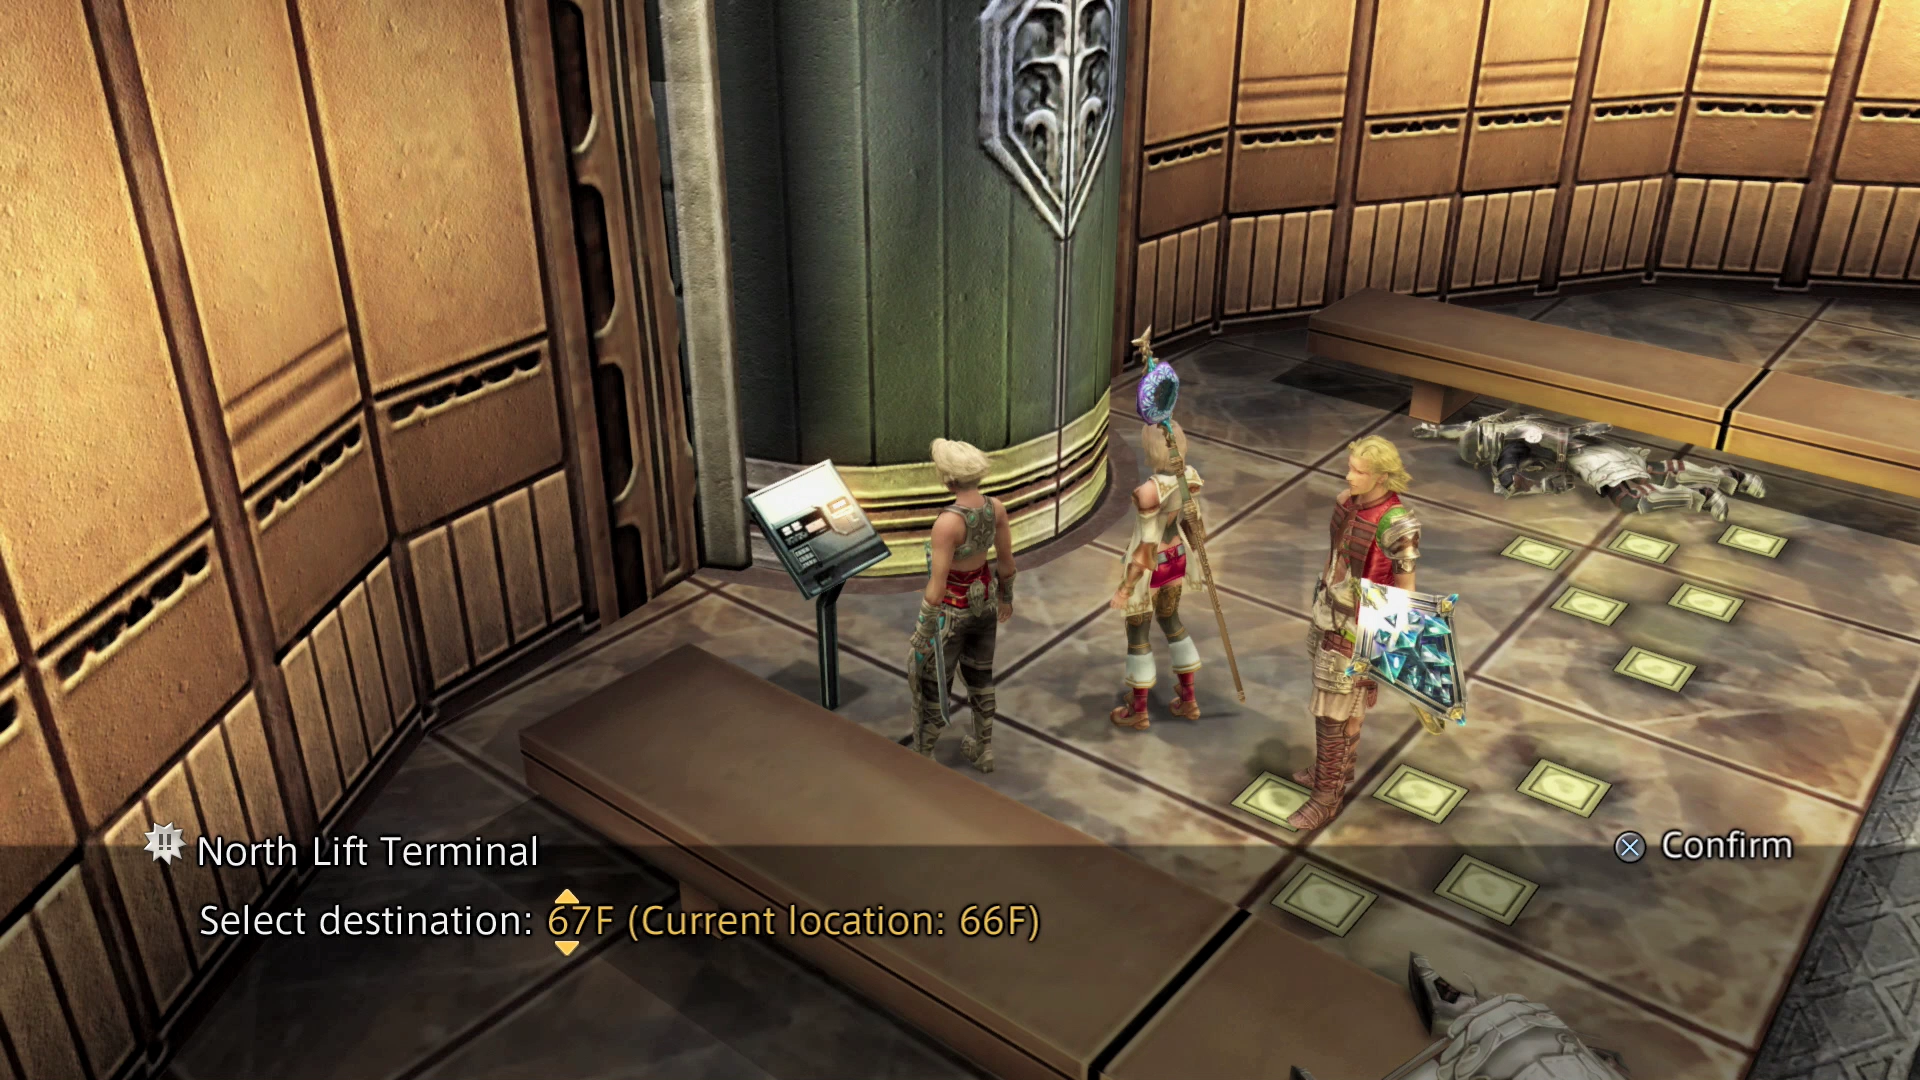
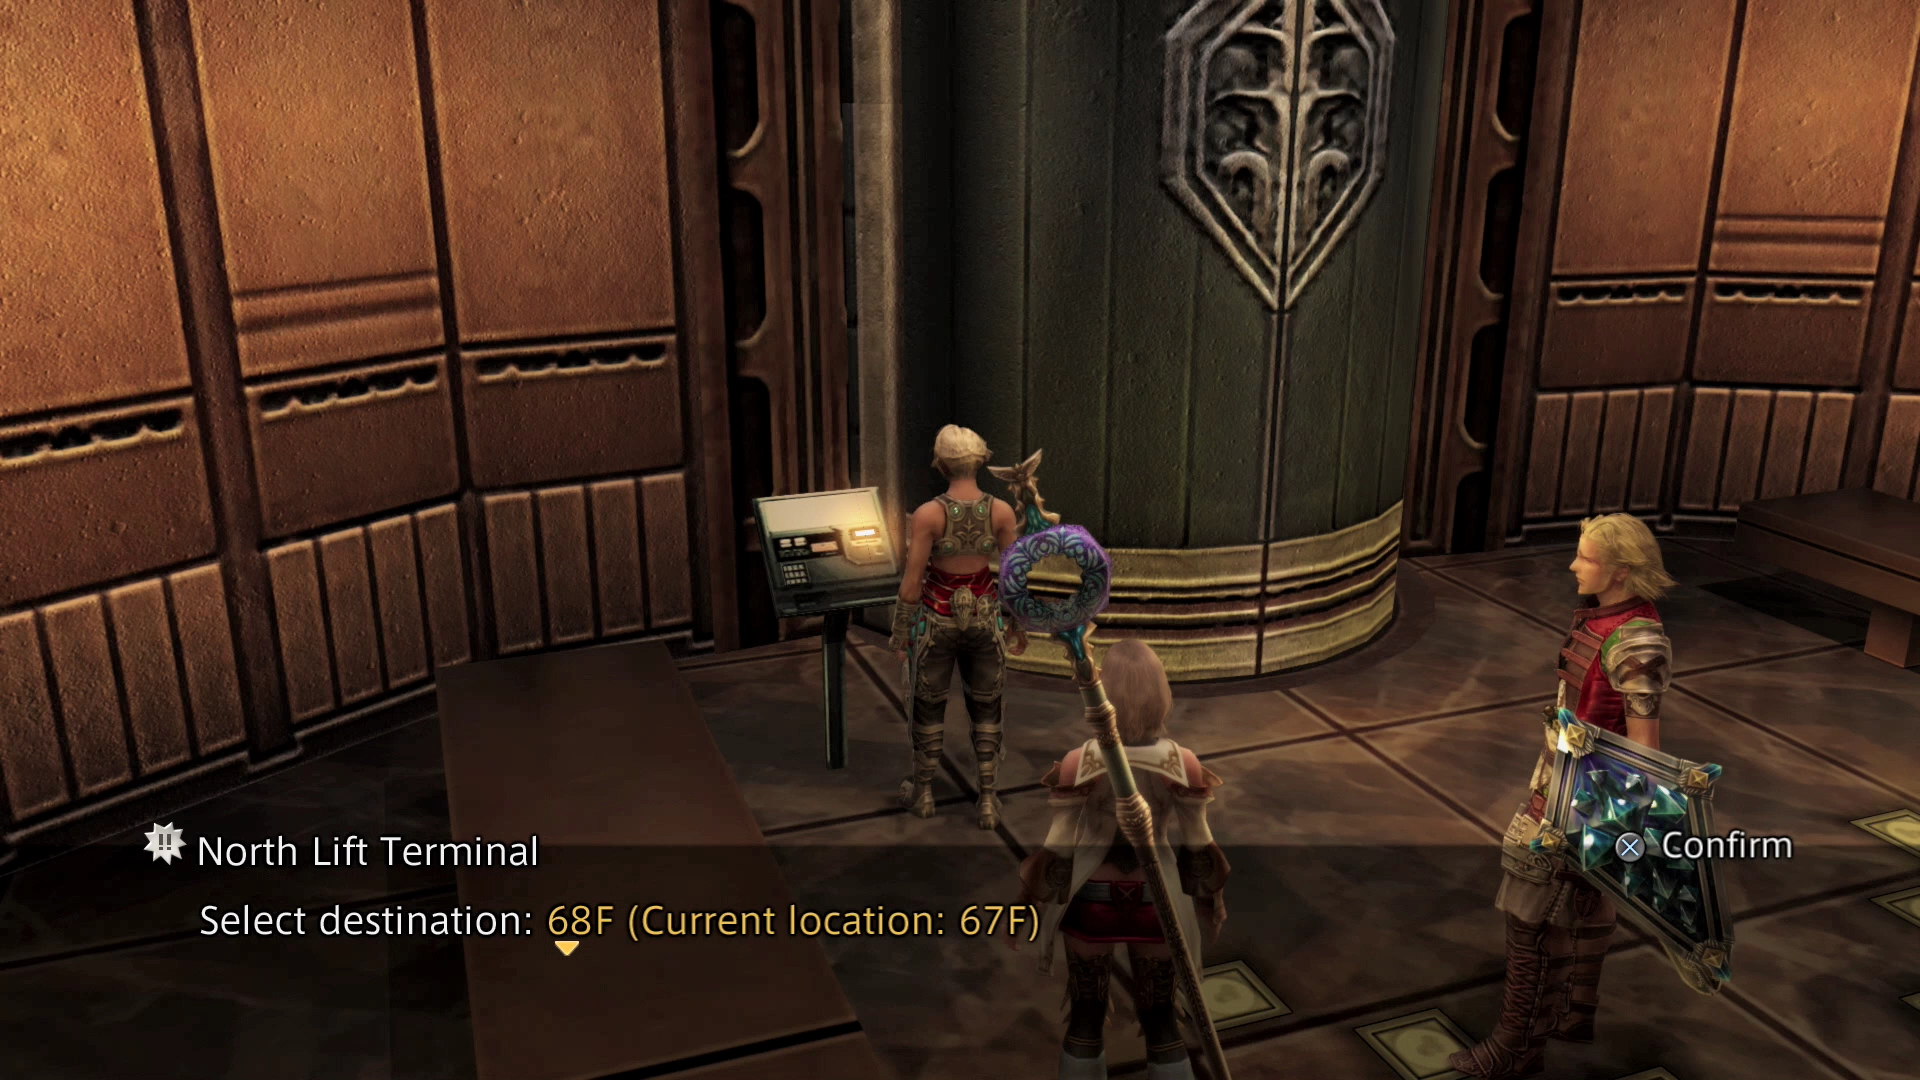
Head north and examine the North Lift Terminal to the left of the “Direct Lift.” Select floor 67F as there is nothing that you can do on 68F until later on.
67th Floor
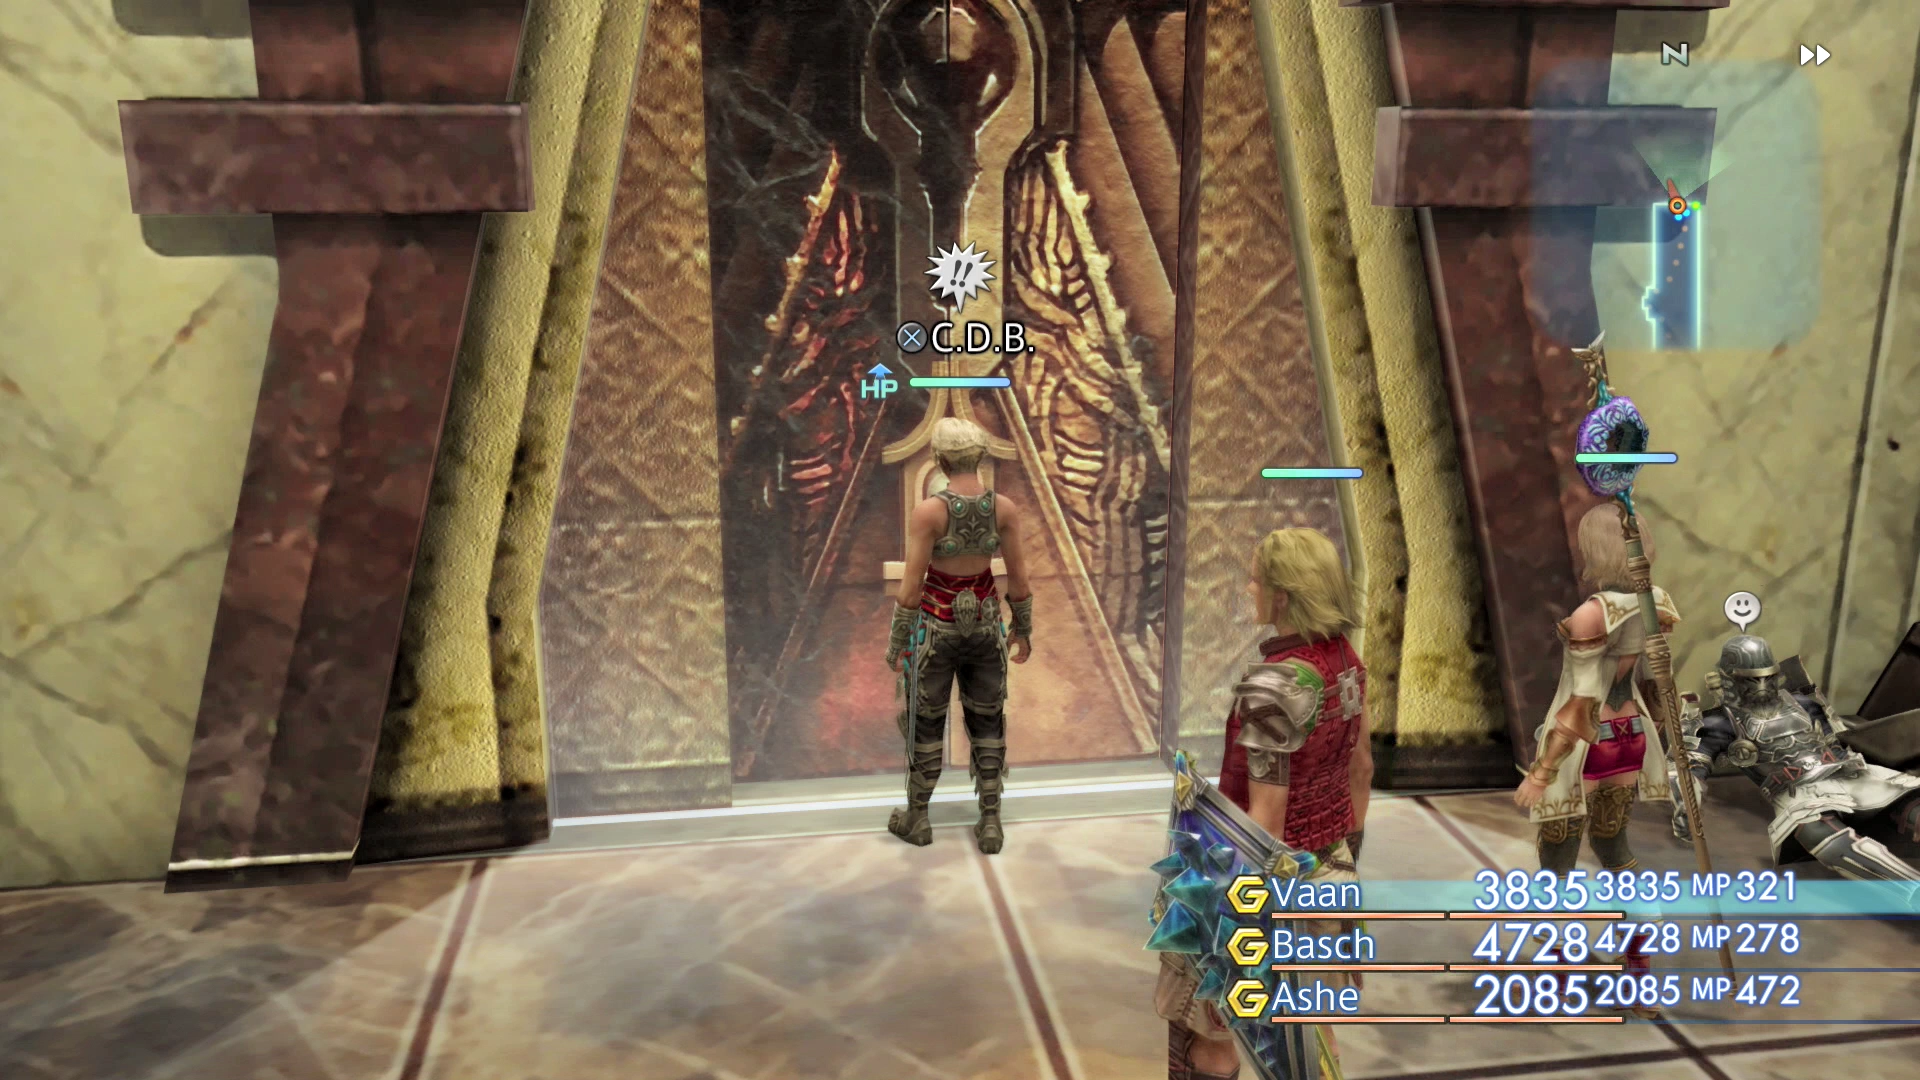
Travel northeast until you reach a door called ‘C.D.B.’ and you can also speak to the Imperial Soldier before going through the door. A cutscene will take place as soon as you enter and it appears that someone beat the team to Cid’s office.
You will obtain a Lab Access Card as you exit the office and a map of Draklor Laboratories.
Travel directly south and look for a door on the right marked “Rm 6704 East.” There are some researchers sitting at the back corner of the room that you can talk to. Use the Save Crystal to save your game and then head back out into the hallway.
Travel south one more time to the next room down (“Rm 6703 East”) and go inside to find the Bulkhead Controls. Examine them and select the option to “Open the blue bulkheads.”
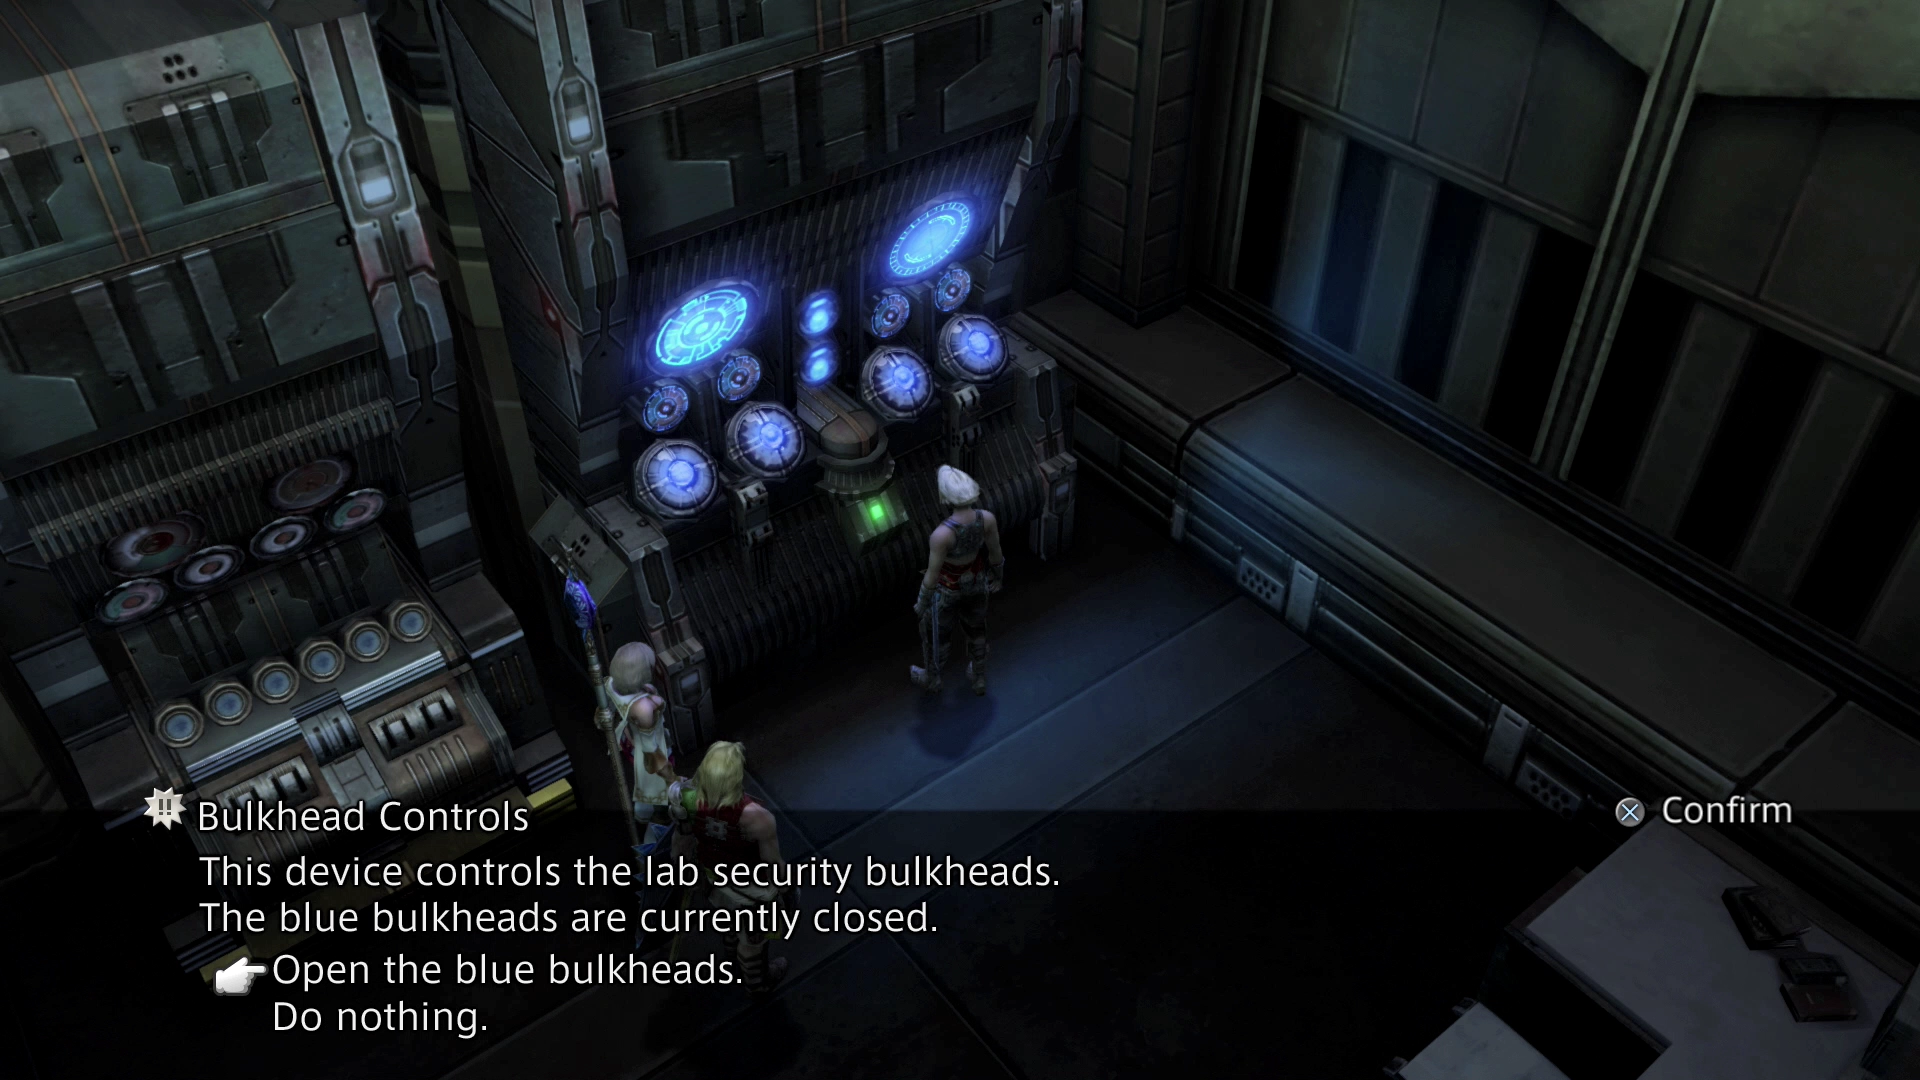
There are Imperial Soldiers that you will have to fight now as you continue your travels through the Draklor Laboratory.
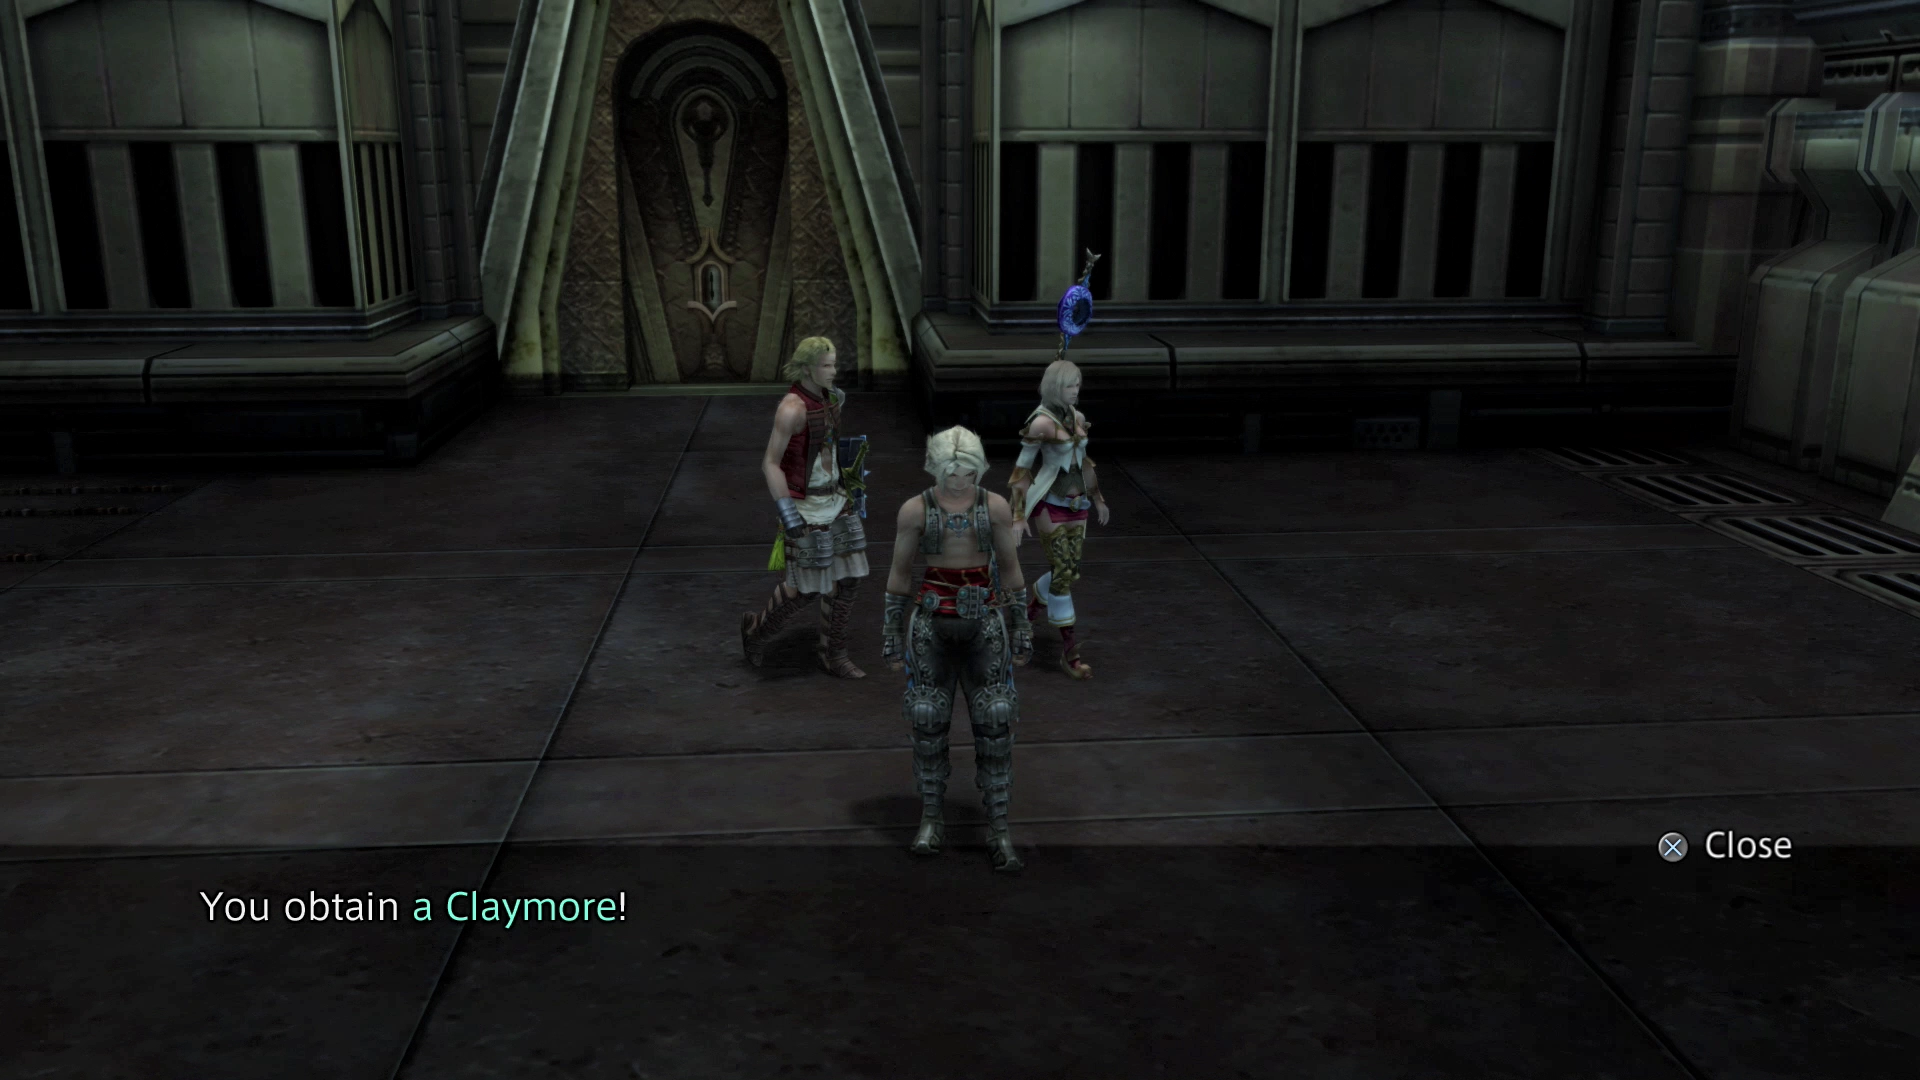
Continue past the elevator and through to the west side of this floor. Go in through the doorway marked “Rm 6703 West” and choose to close the bulkheads. Now go directly south and find a doorway labeled “Rm 6711 West.” Inside you will find a ![]() Claymore sword.
Claymore sword.
Return to the previous room, open the bulkheads again and then head back to the elevator. Activate the North Lift Terminal one more time and select “68F.”
68th Floor
The mini-map will be full of static making it hard for you to get your bearings – use the button to pull up the main map of the area if you need to.
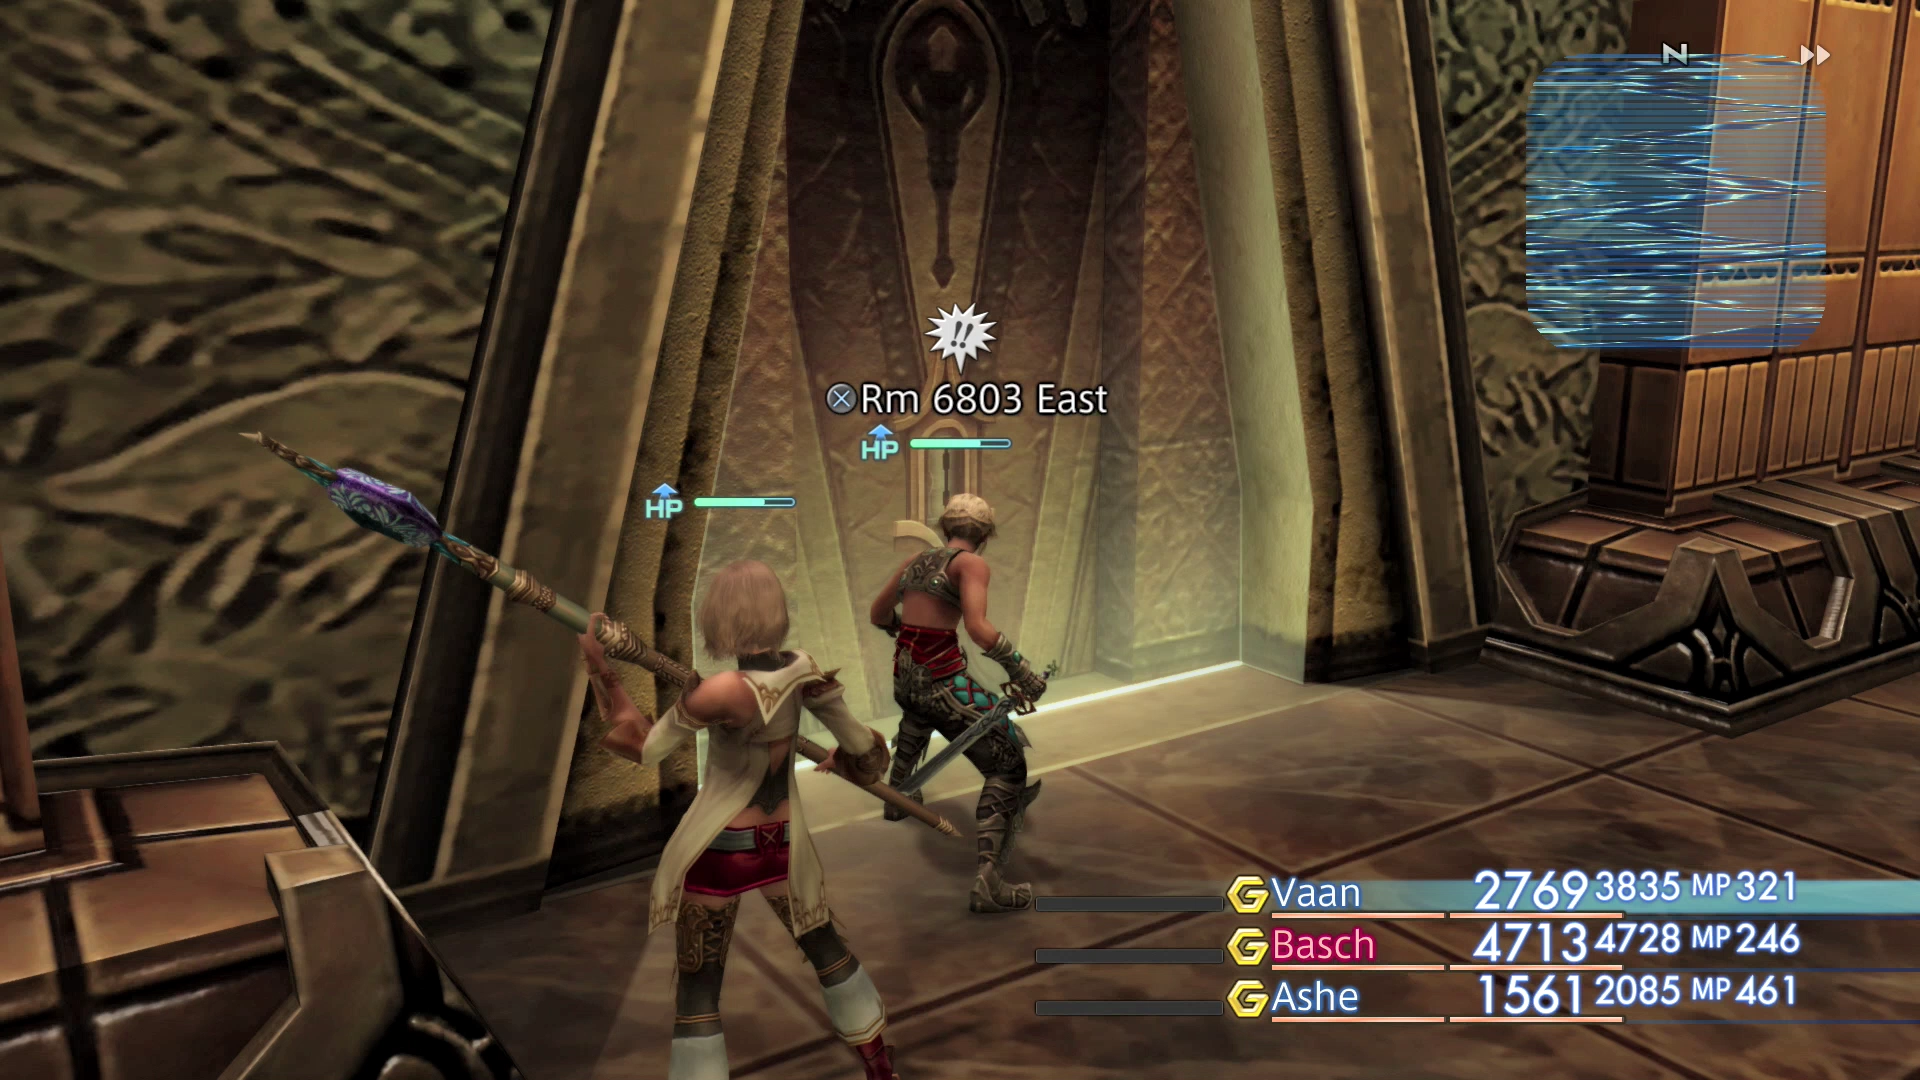
Travel east (to the left); you will encounter another few groups of Imperial Soldiers along the way. Search for a door that leads to “Rm 6803 East” and go inside. Switch the Bulkhead Controls from red to blue and then exit the room.
Travel north and then west down the hallway heading to the northwest corner of the 68th floor. Look for a doorway leading into “Rm 6804 West” and go inside.
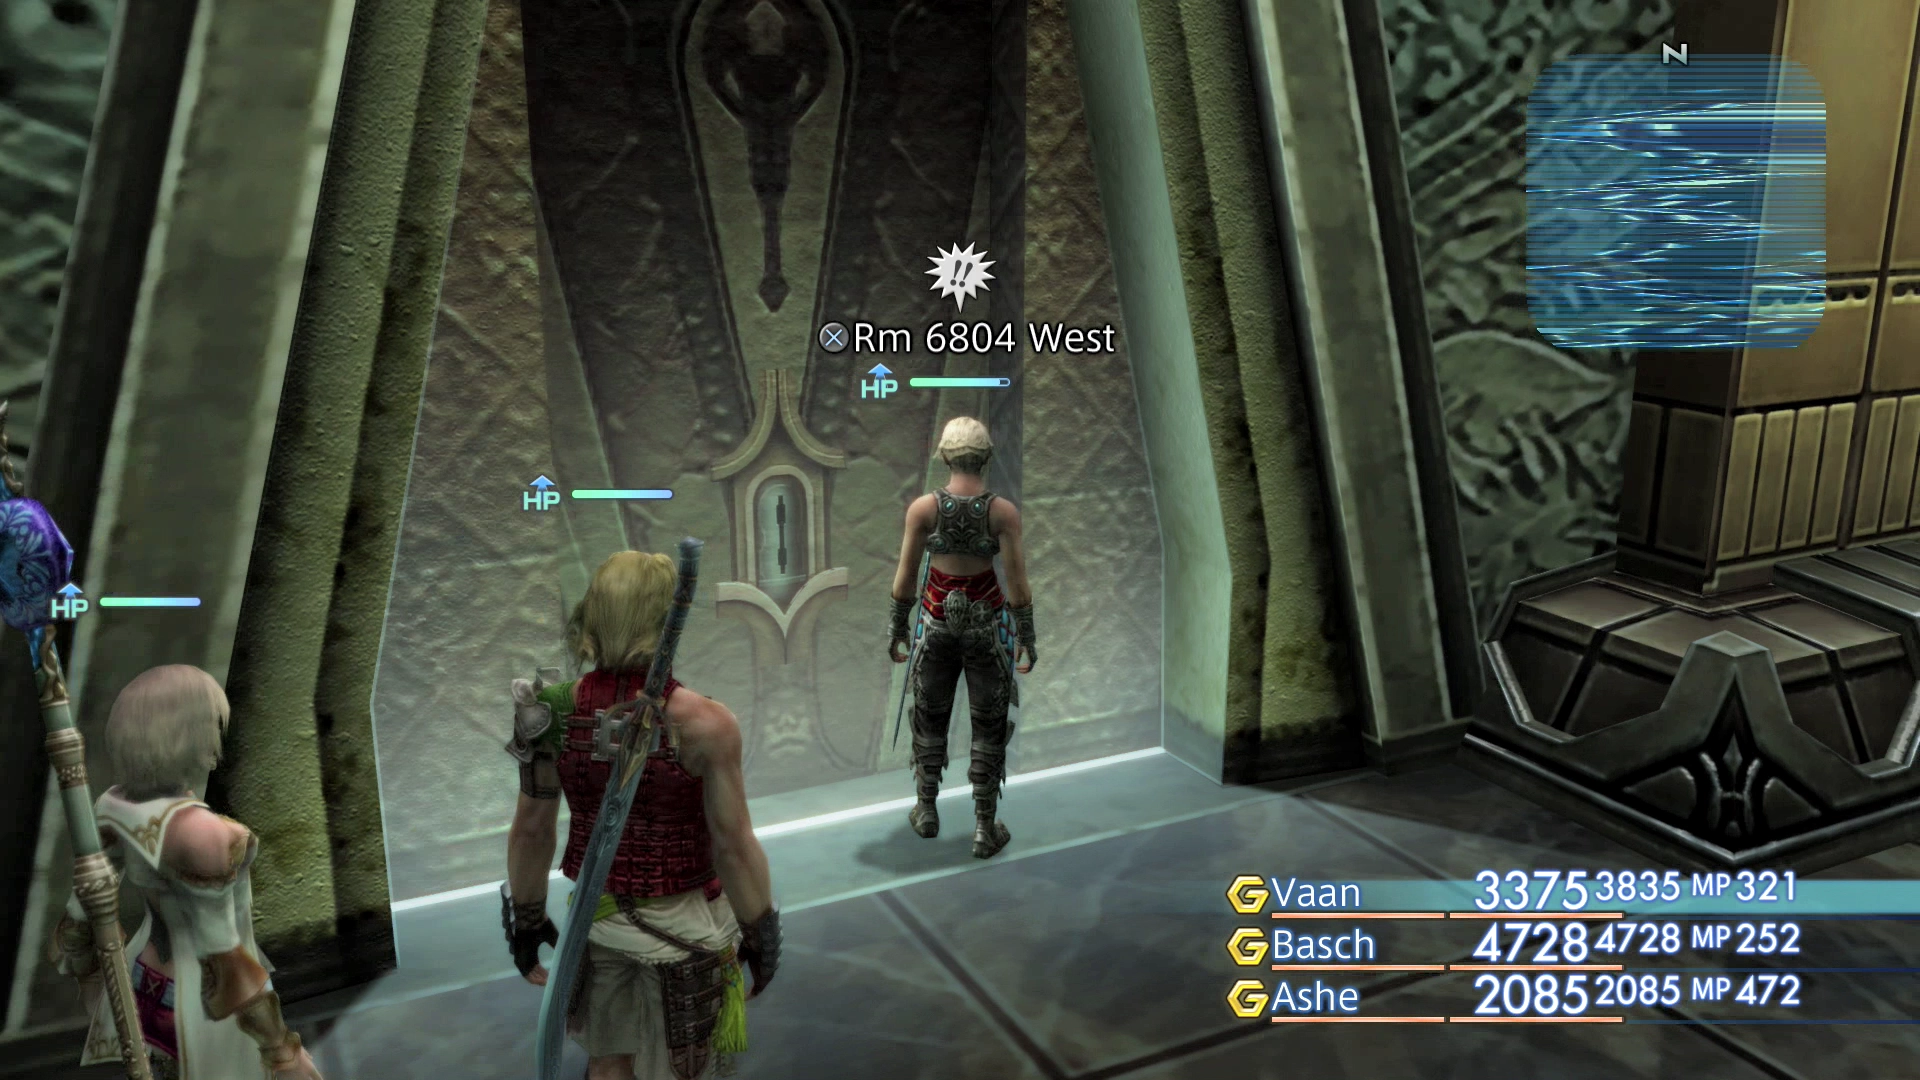
Switch these Bulkhead Controls from blue to red. Head left when you exit the room down to the southwest corner of the 68th Floor and look for “Rm 6811 West.” Go inside and switch the Bulkhead Controls in this room from red to blue.
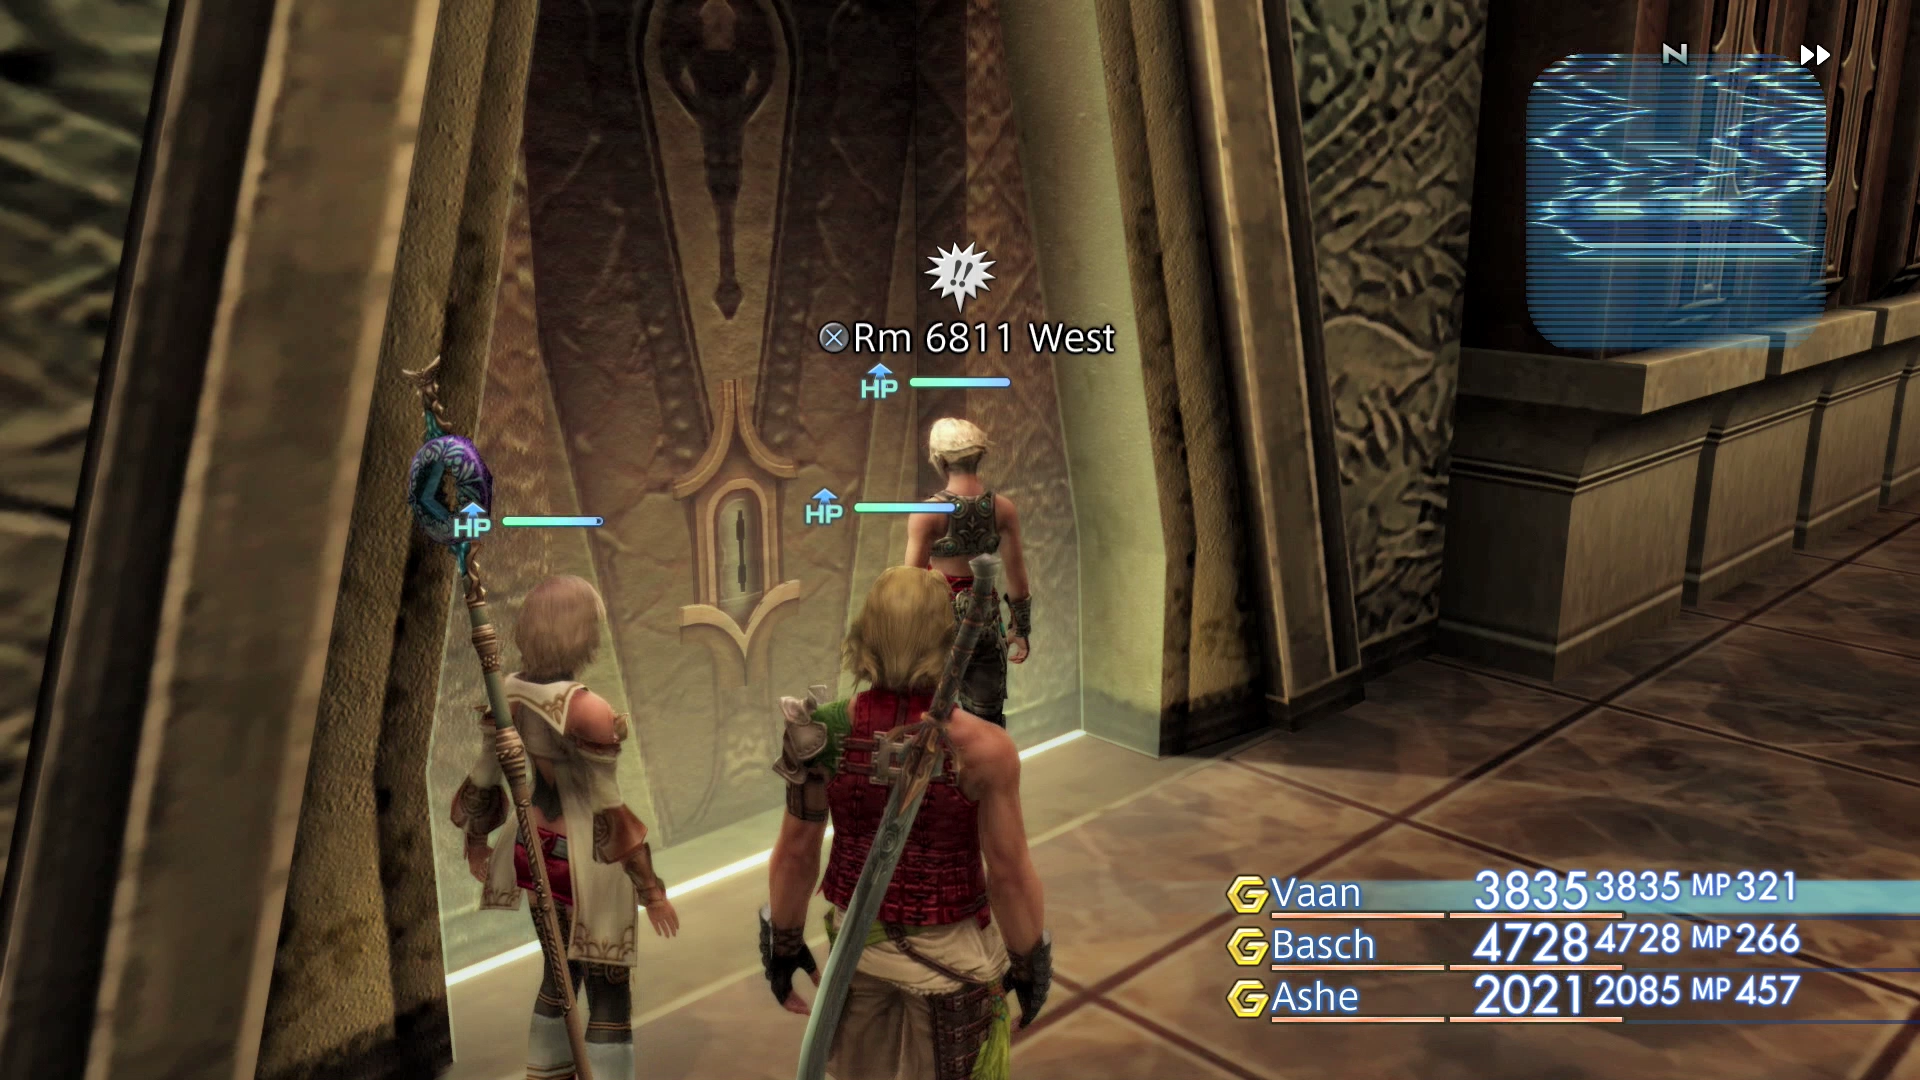
Go back into the center of the 68th Floor and examine the South Lift Terminal beside the South Lift. Switch the destination to “70F” and head up to the next level.
70th Floor
There is another cutscene that takes place as you enter the 70th floor. Basch will defend himself against an attack from Reddas, one of Balthier’s old contemporaries.
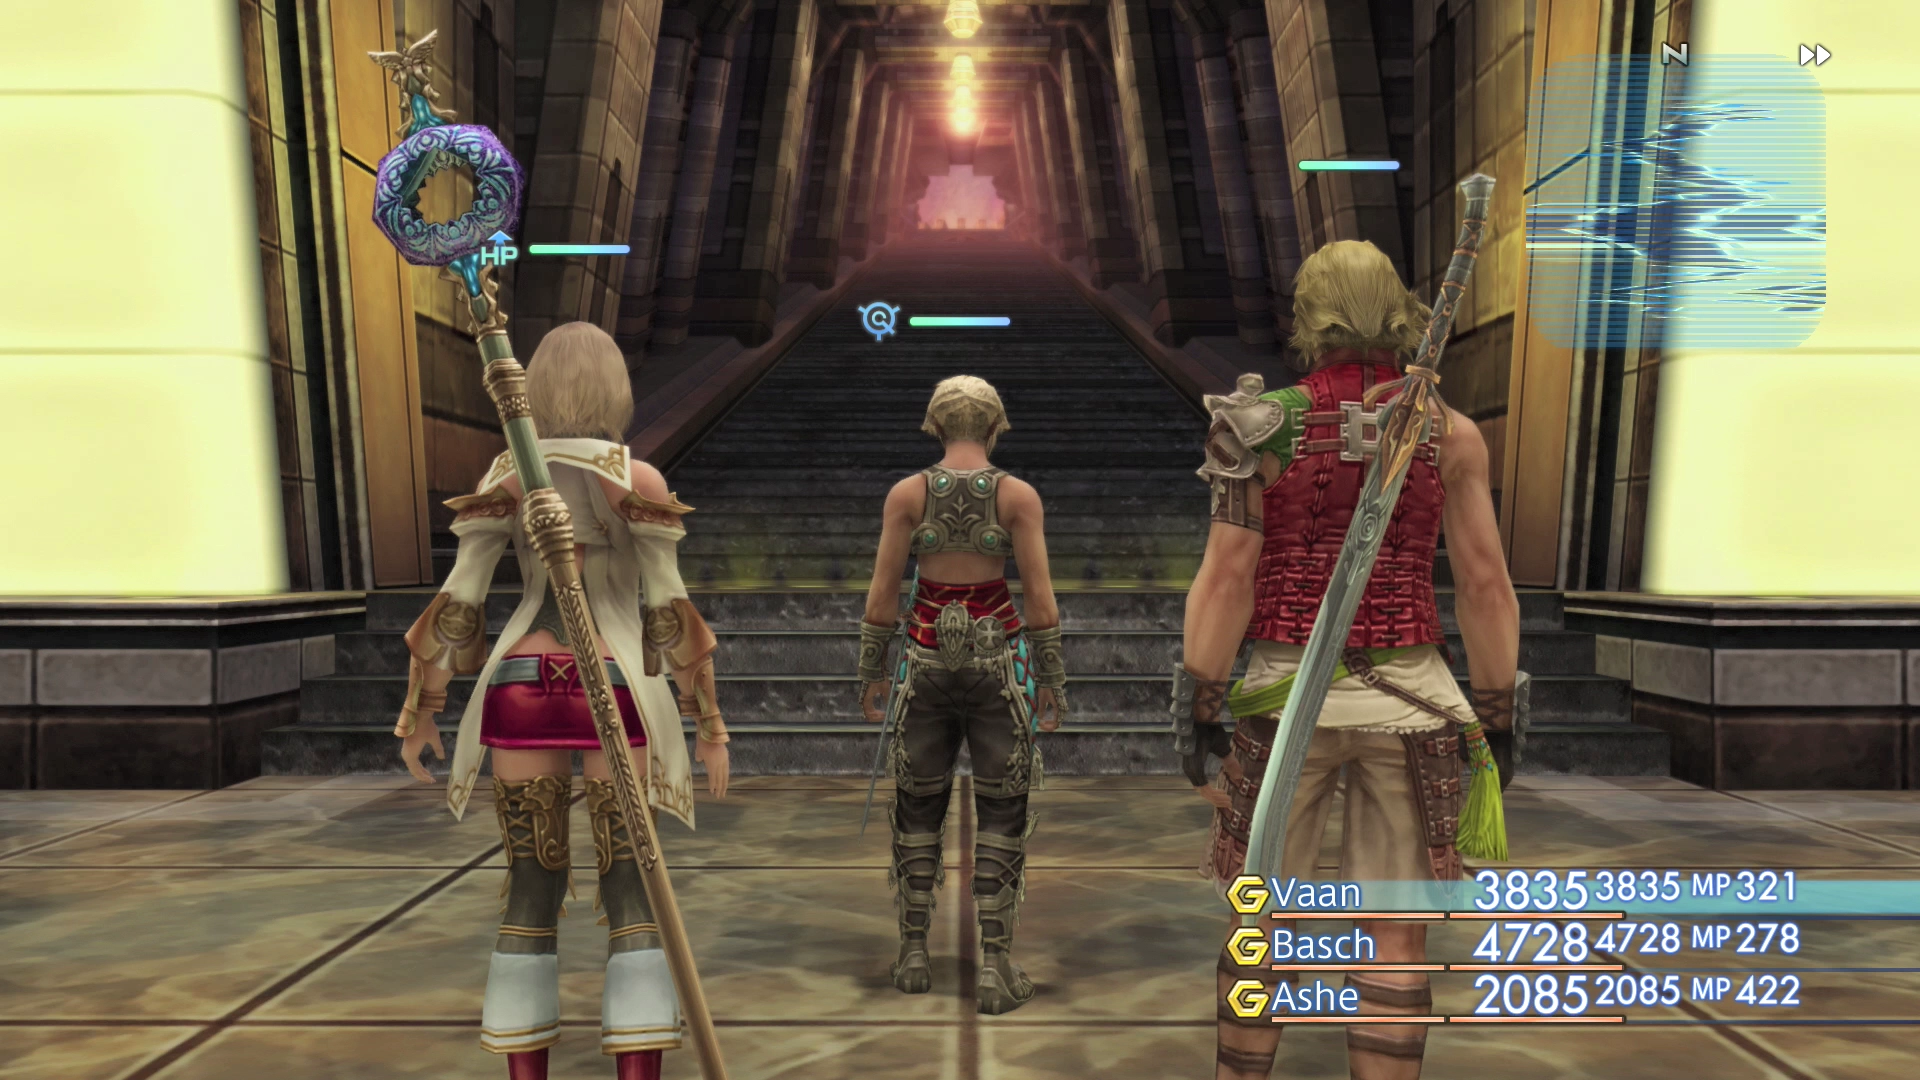
There is a room in the southeast corner of this floor (Rm 7002 East) which contains a treasure chest with the ![]() Gil Toss Technick in it. Save your game at the Save Crystal and prepare for an upcoming boss fight.
Gil Toss Technick in it. Save your game at the Save Crystal and prepare for an upcoming boss fight.
Energy Transitarium
There is a short cutscene that takes place as the team enters and first confronts Doctor Cid. The Doctor will appear to be talking to some unseen entity and will decide to challenge Ashe and the rest of the party. Four Rooks (the floating orbs) will join Doctor Cid in battle.
Boss Battle

Level: 38
HP: 72,989
Steal: ![]() Hi-Potion (55%),
Hi-Potion (55%), ![]() Ketu Board (10%),
Ketu Board (10%), ![]() Magepower Shishak (3%)
Magepower Shishak (3%)
There is a Save Crystal in the room before you enter the Energy Transitarium. Use it to load up your characters with status buffs and then refill your MP by touching the crystal before initiating the battle. Make sure your characters have ![]() Protect,
Protect, ![]() Shell,
Shell, ![]() Haste and
Haste and ![]() Bubble activated.
Bubble activated.
Doctor Cid is surrounded by four Rooks that will join him in battle. The Rooks will cast beneficial buffs on Doctor Cid which will immediately be recast if you cast ![]() Dispel on them. As such, you should remove any
Dispel on them. As such, you should remove any ![]() Dispel Gambits that you have set up as they will be a waste of MP.
Dispel Gambits that you have set up as they will be a waste of MP.

Focus all of your attacks on taking out one Rook at a time. You should start casting ![]() Dispel on Doctor Cid after all four of the Rooks have been defeated. Doctor Cid is much easier to defeat once all the Rooks have been defeated and he will go down very fast.
Dispel on Doctor Cid after all four of the Rooks have been defeated. Doctor Cid is much easier to defeat once all the Rooks have been defeated and he will go down very fast.
His only move will be activated once he reaches the back of the room, which he will slowly begin walking towards once the Rooks are defeated, called “S-27 Tokamak.” It hits each party member for around 1,000 HP.
The battle will end after Doctor Cid loses 75% of his HP.
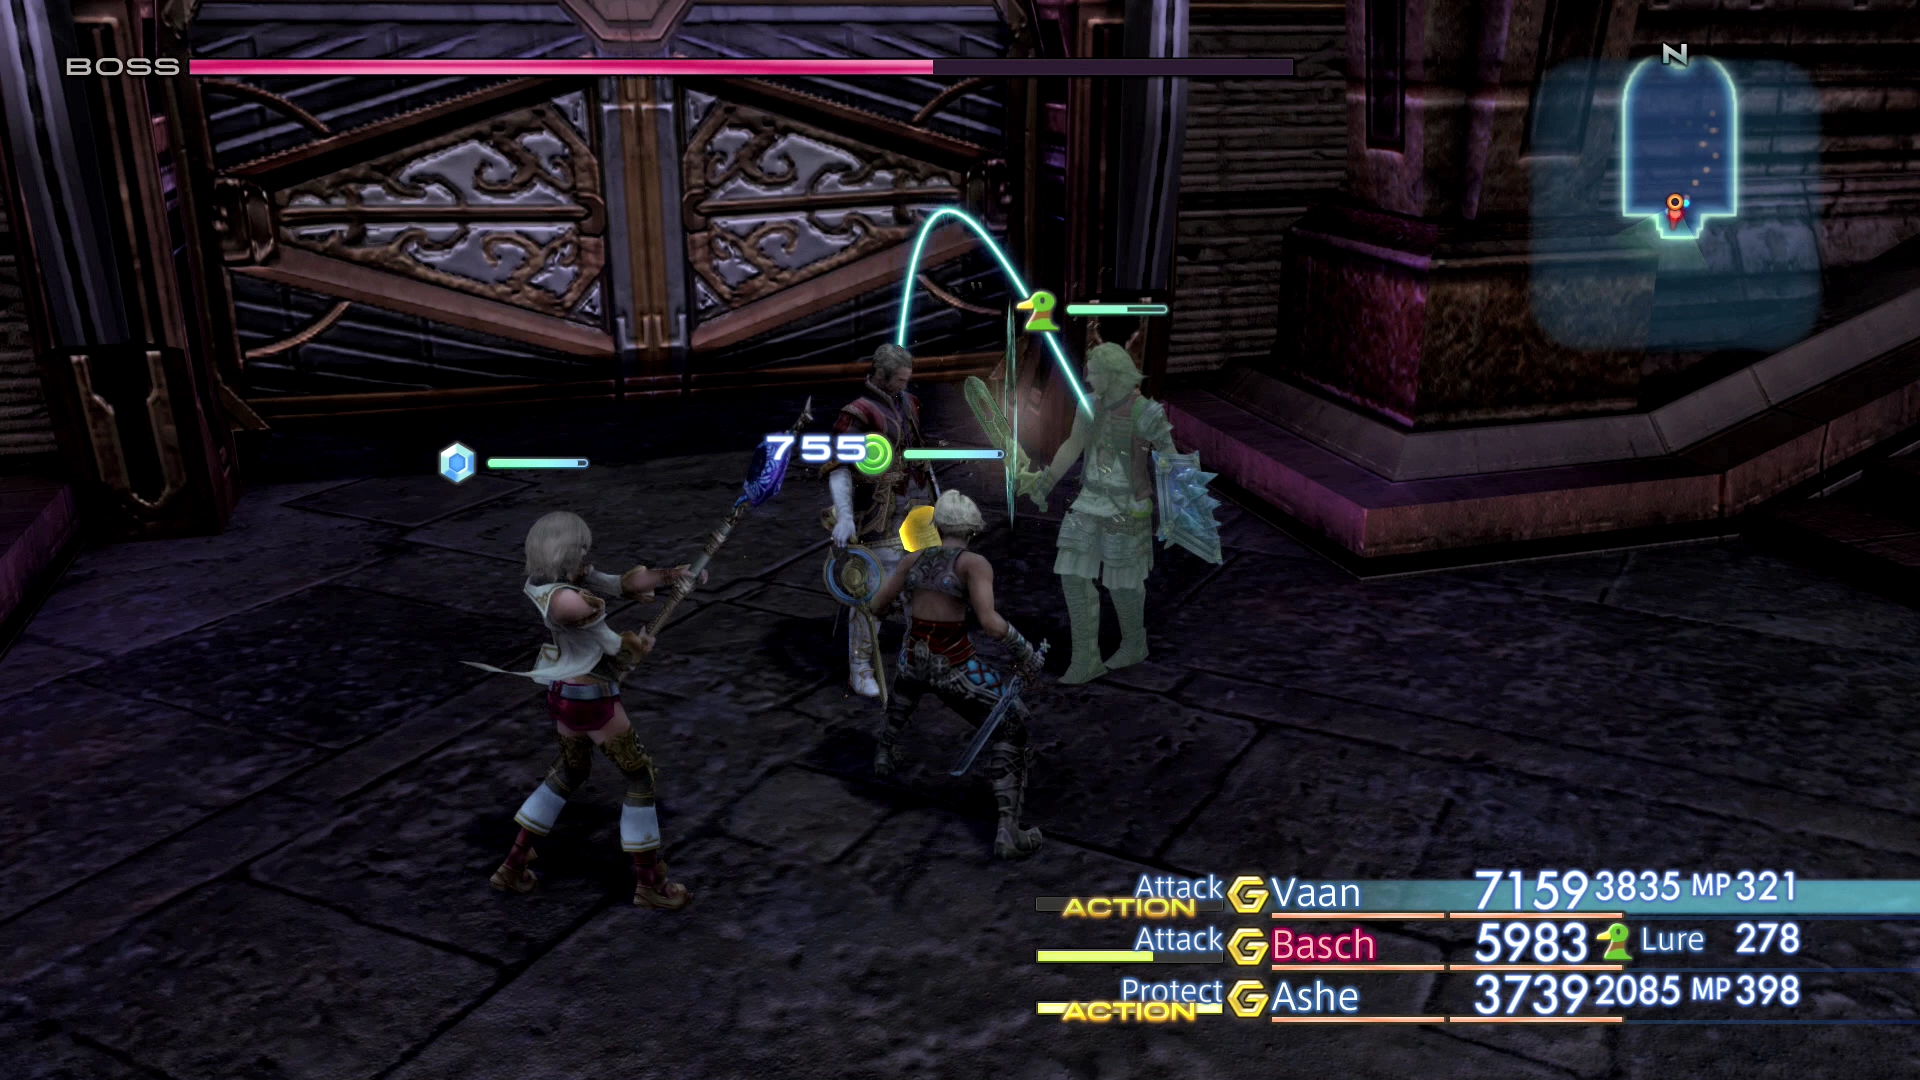
You can find a video of this battle in the Zodiac Age version below.
Achievement/Trophy
The  Reins of History Achievement/Trophy is automatically obtained after you have defeated Doctor Cid in the Draklor Laboratory.
Another cutscene plays at the end of the battle. Reddas will run in and attempt to hit Doctor Cid with a finishing blow only to be repelled by a shield from the unseen creature that Cid was talking to, Venat.
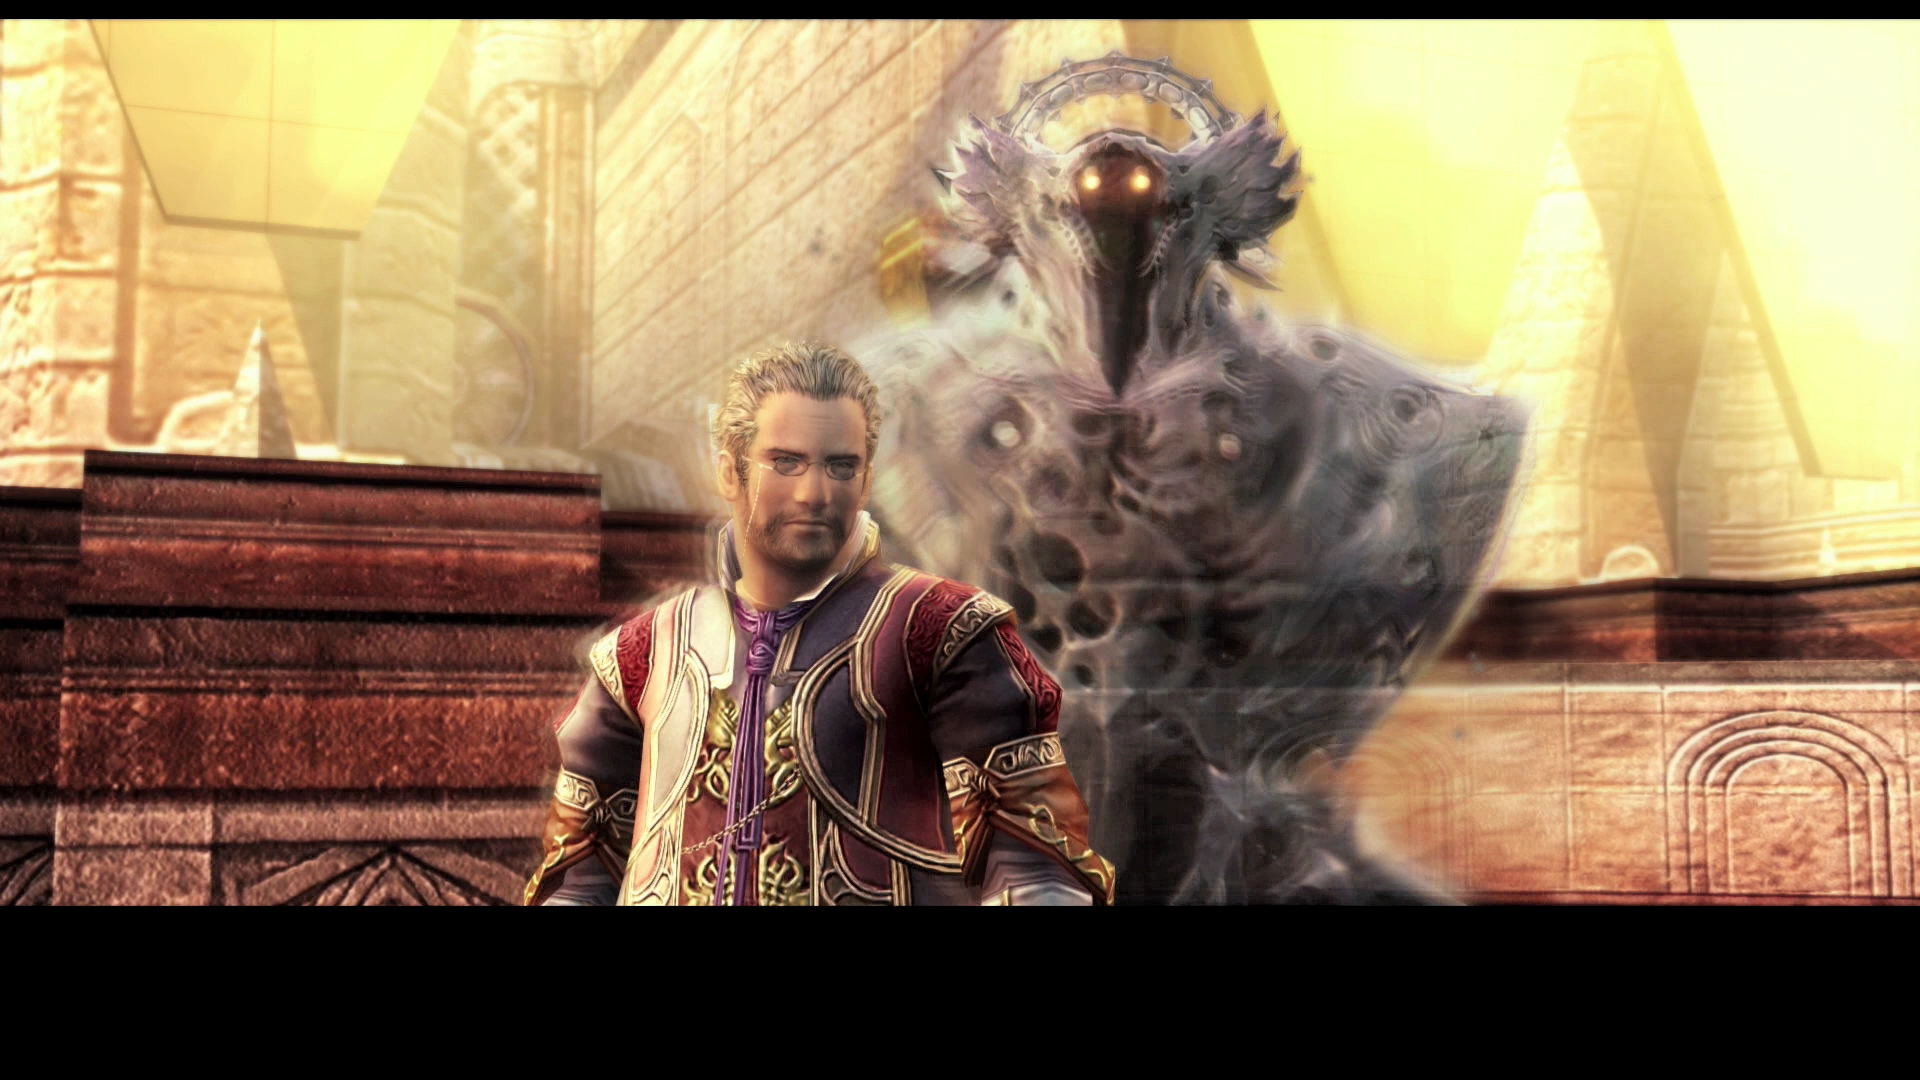
Cid will encourage Ashe and the team to travel to Giruvegan to “take the reins of history back into the hands of man.” He mentions that he too will be headed to Giruvegan and then takes off in a ship.

This concludes Chapter 16 of the game. The last section of the game is Chapter 17 which begins in The Port of Balfonheim.
