Hell Wyrm
The Hell Wyrm is an optional high-level boss located in the Sochen Cave Palace. During the first visit to the Sochen Cave Palace, you can complete the puzzle to gain access to the hallway that leads to the Hall of the Wroth God, where Hell Wyrm is located, but you need to come back to the Sochen Cave Palace with the Ageworn Key in order to open the door.
Hell Wyrm is fairly difficult to defeat early on in the game and it is recommended that you be at least level 70 or higher or this will be a prolonged battle that may take you a few attempts. He has a lot of HP which makes re-attempting this battle quite annoying, but you can exit the area if you need to take a break and re-initiate the battle.
You should prepare for the fight by obtaining three ![]() White Masks – enough for your entire party.
White Masks – enough for your entire party.
Obtaining the Ageworn Key
The first step to obtaining the Ageworn Key to gain access to the Hall of the Wroth God is to complete Hunt 21: Get My Stuff Back (Vyraal – Rank V). You will receive the Viera Rucksack key item after defeating Vyraal which will need to be returned to the petitioner of the Hunt – the Viera Wayfarer in the Whitecap bar in Balfonheim Port.
Once you give the Viera her Rucksack back, she will notice that there is something in the bottom of her “haversack”; a Dragon Scale. She will give you the Dragon Scale but will not provide you with any leads on what it is for.
Travel back out to the Cerobi Steppe and search for Windmill #10 which can be found in the Northsward area where Vyraal was fought. Examine the Windmill to trigger a cutscene involving the Wyrm Philosopher and a Craftsmoogle.
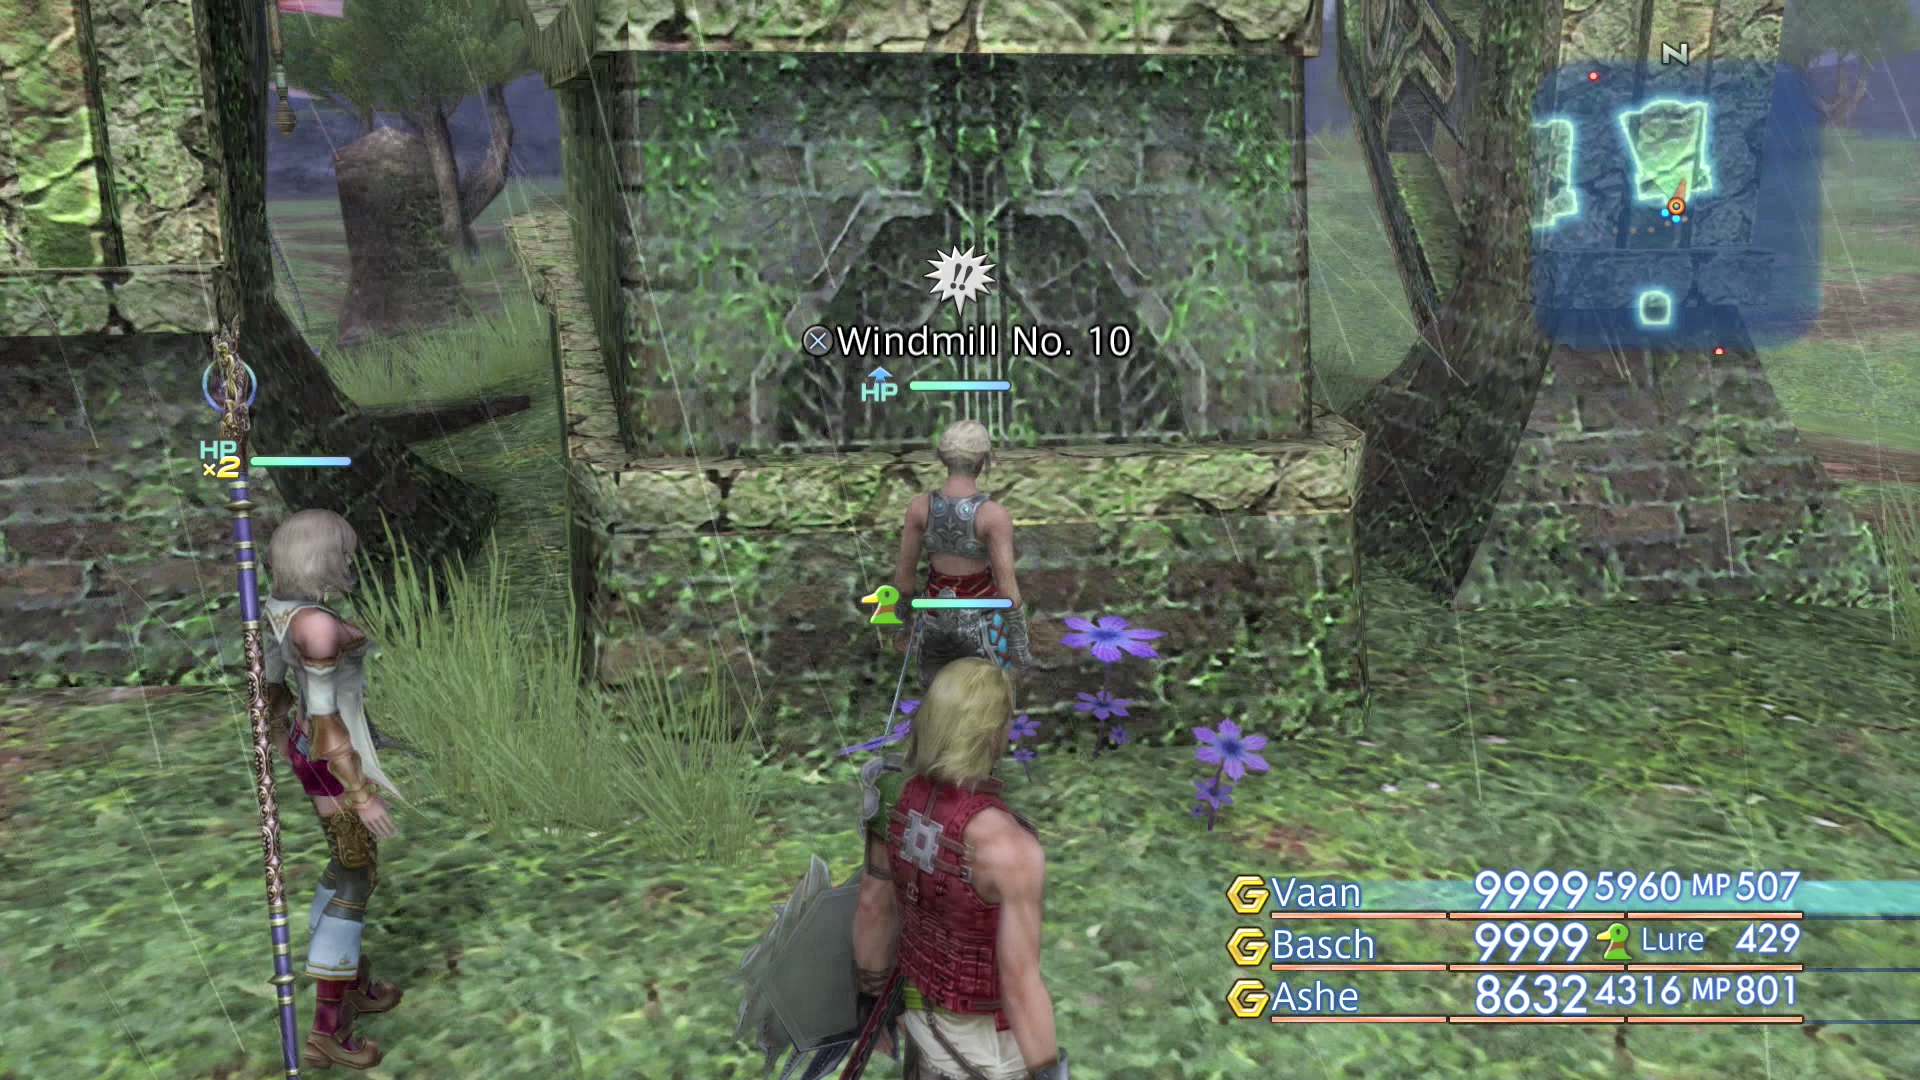
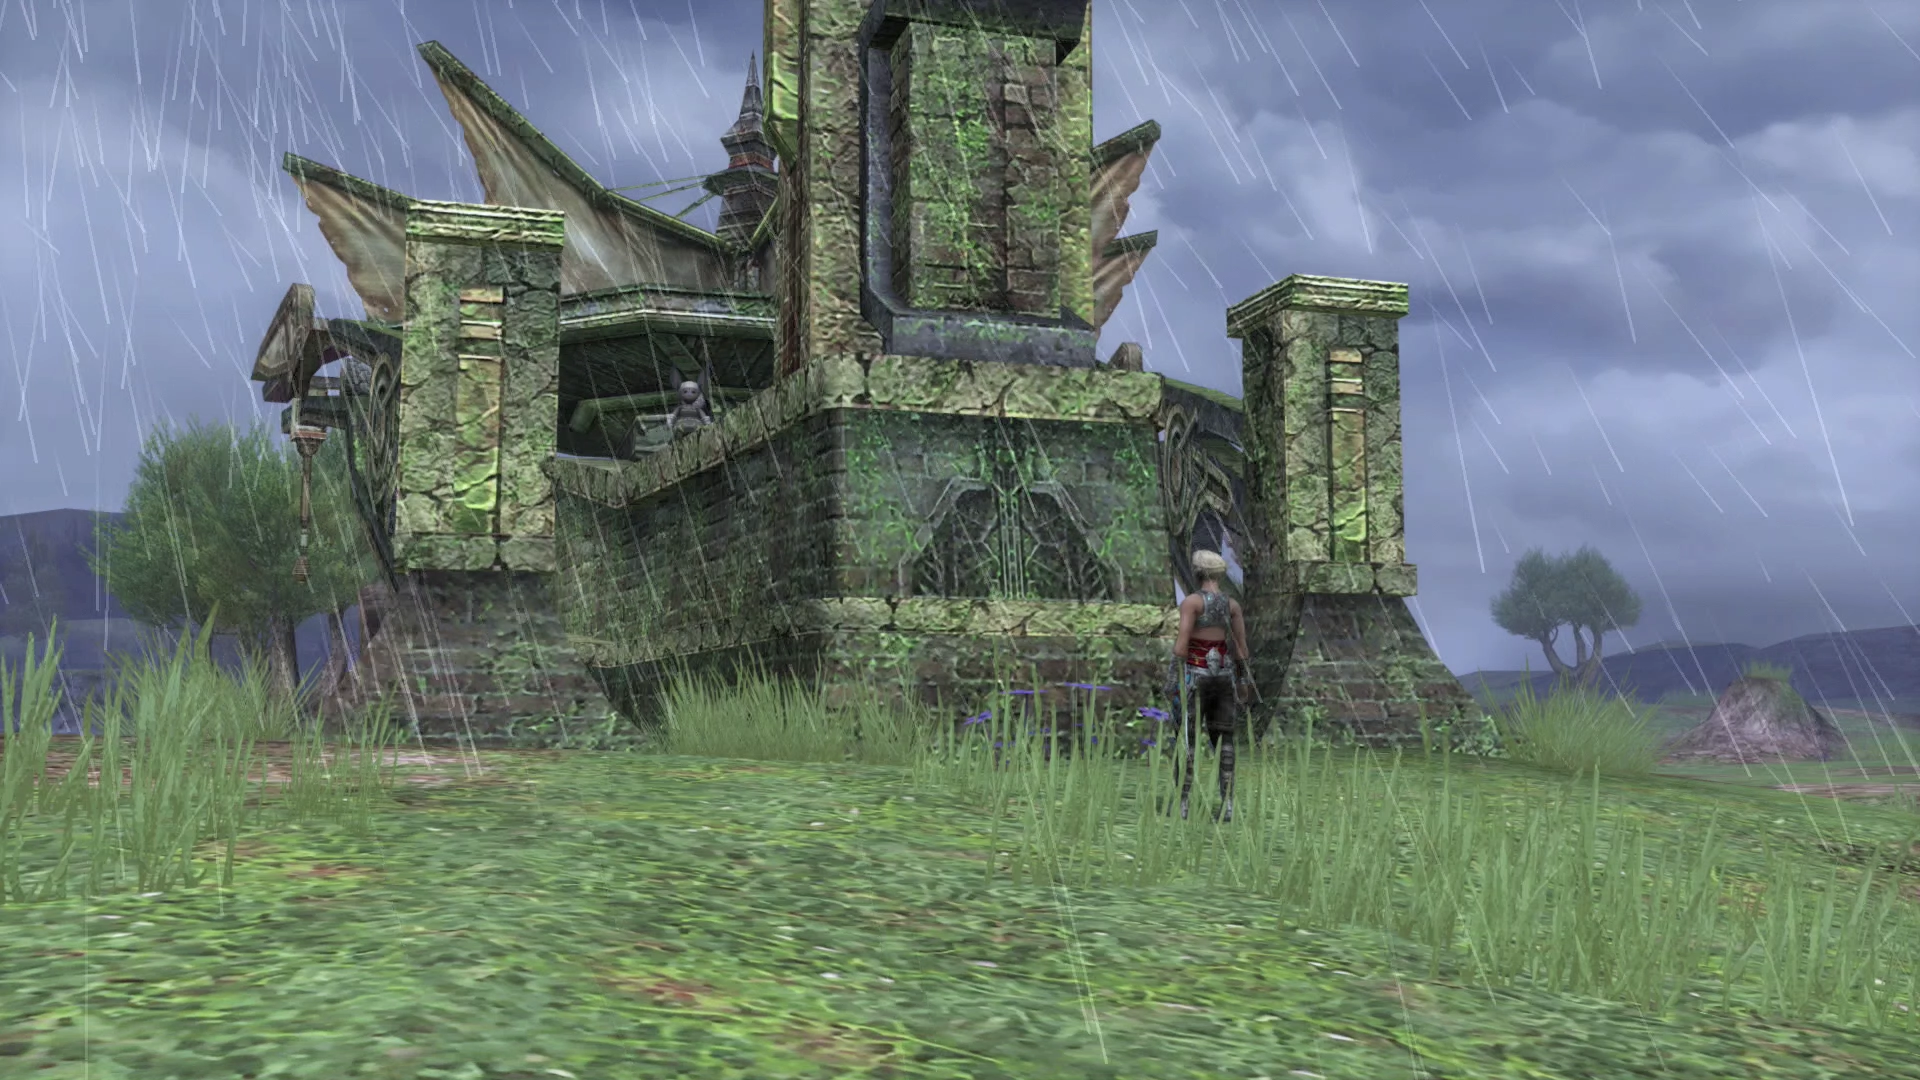
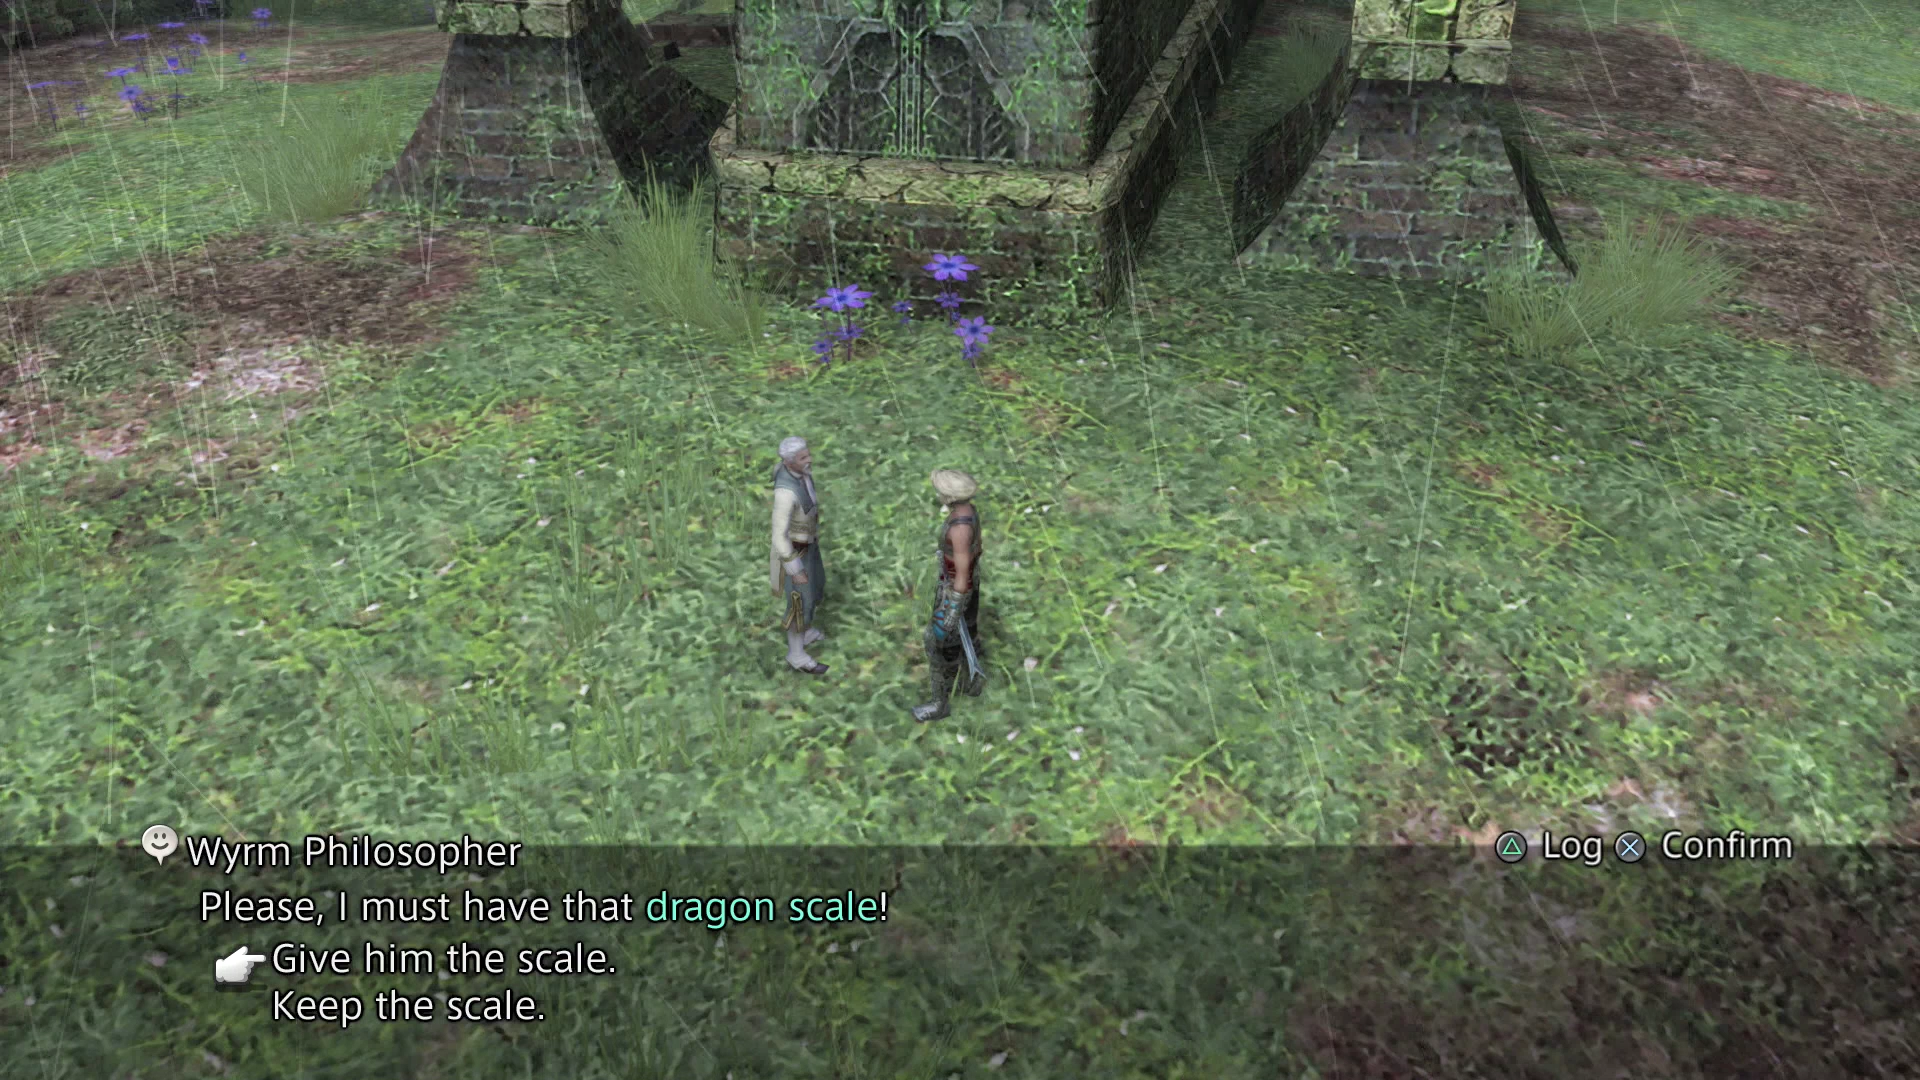
The Wyrm Philosopher will ask you for your Dragon Scale. Choose to give it to him and he will give you the Ageworn Key as a “thank-you.”
Accessing the Hall of the Wroth God
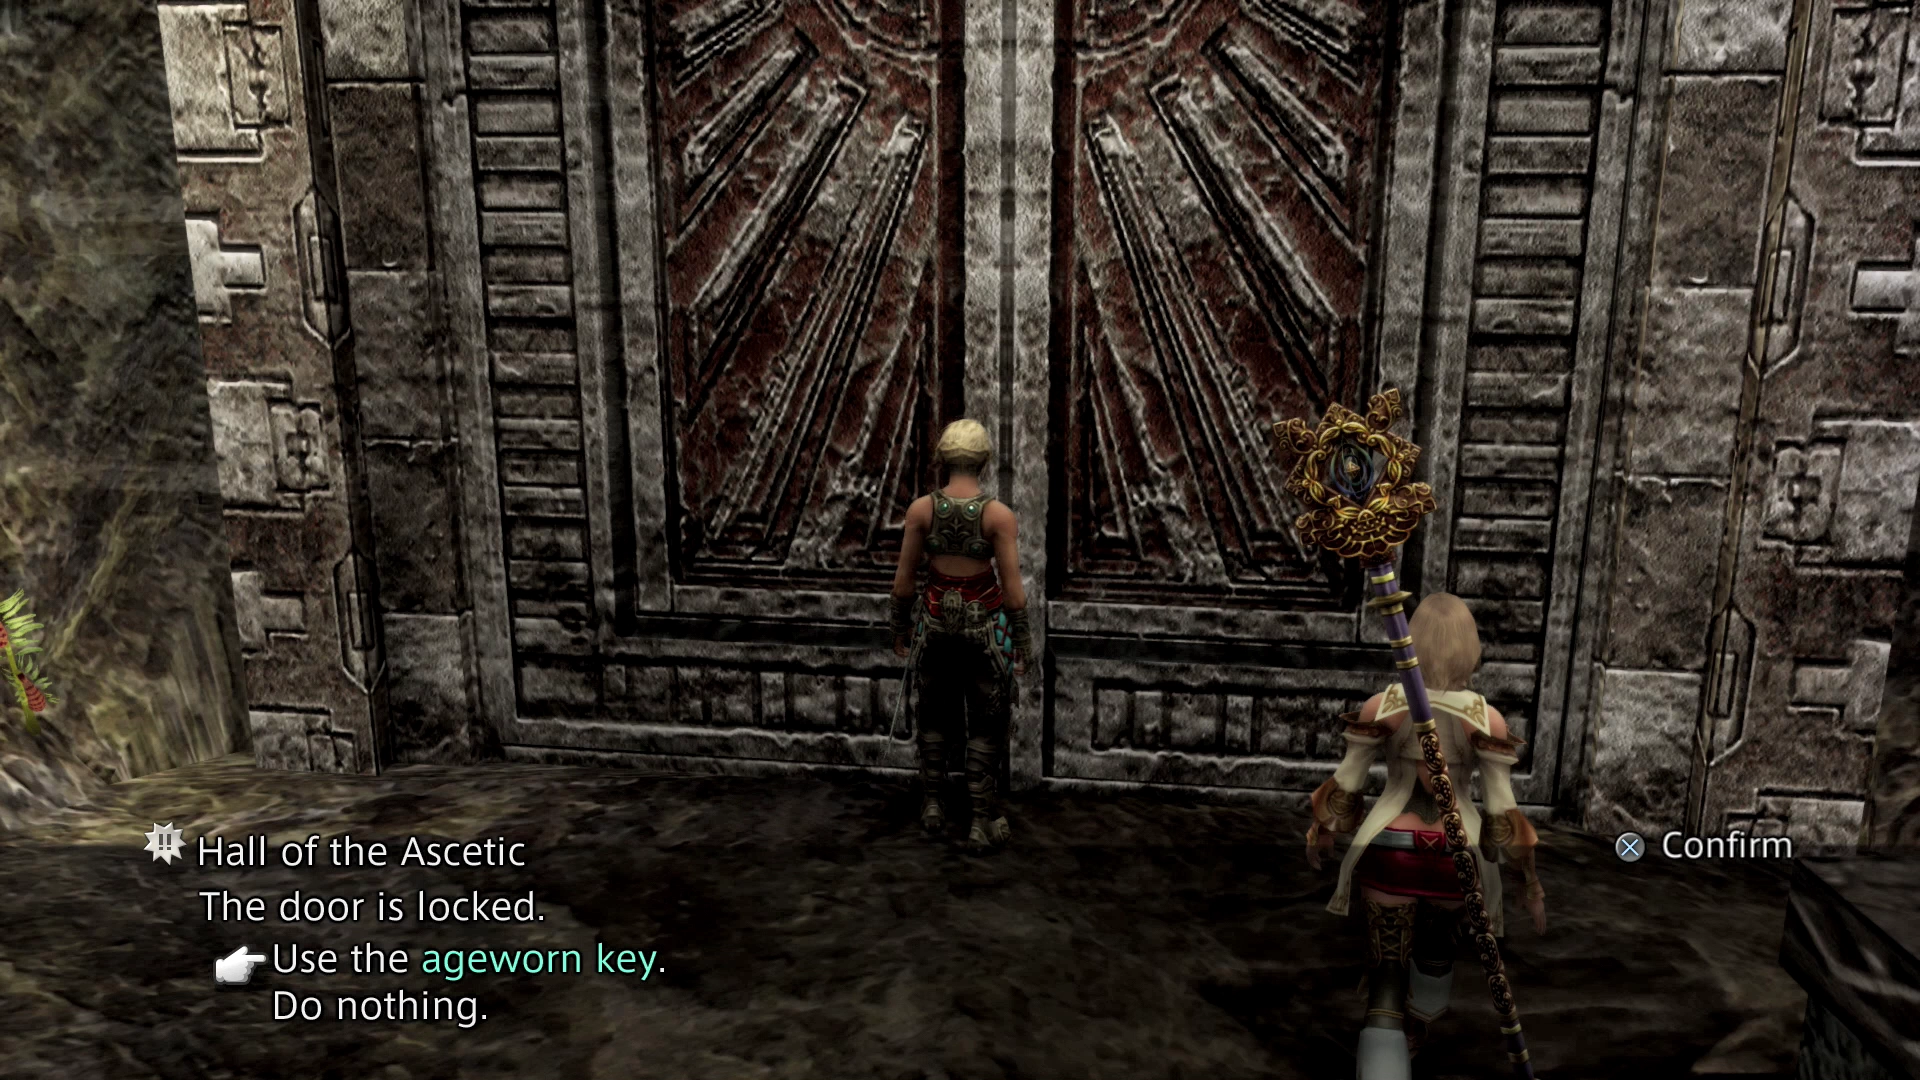
Travel to the Destiny’s March area of the Sochen Cave Palace. The Hall can be reached by going through the locked Ascetic’s Door.
There is an inscription on the door which provides a clue on how to open it: “You who are yet drawn to the Ascetic’s Door, count out your steps tracing Sun’s Round. At Journey’s End, The Door Embrace You.”
To solve the puzzle, open up your map and notice that Destiny’s March resembles a clock. Approach the right side of the clock (the 3 o’clock position) from the bottom/east without going through any of the doors.
Follow the clock around to the 6 o’clock position by going through the “Door of Hours.” Proceed to the 9 o’clock and then 12 o’clock positions and then back to 3 o’clock. You should hear the Ascetic’s Door unlock. Head to the door and open it.

Open up the Hall of the Ascetic door to begin the fight against Hell Wyrm.
Hall of the Wroth God
Optional Boss Battle
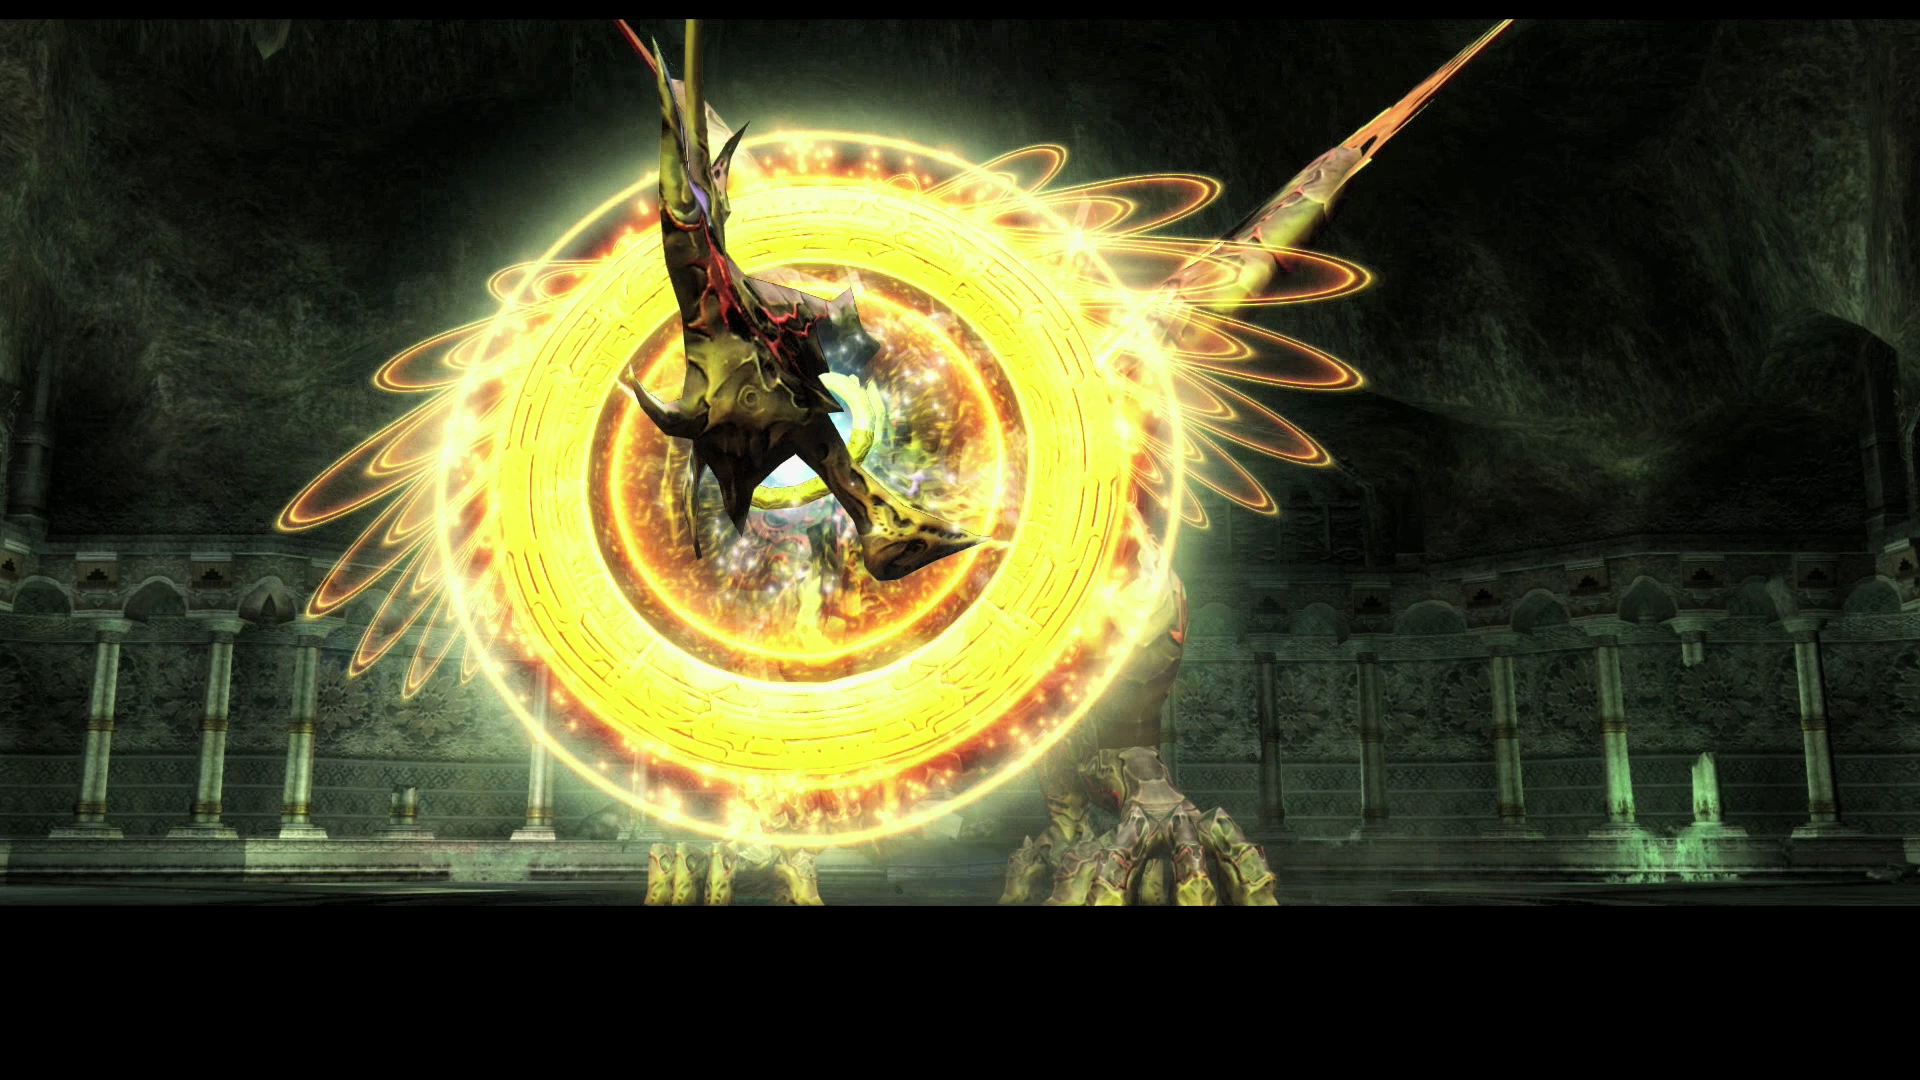
Level: 74
HP: 1,326,600
Steal: ![]() Hi-Ether (55%),
Hi-Ether (55%), ![]() Jade Collar (10%),
Jade Collar (10%), ![]() Excalibur (3%)
Excalibur (3%)
Hell Wyrm has an incredibly high amount of HP. So much so that his HP is represented through multiple bars – one regular HP boss bar as well as smaller ticks below that each represent a separate HP bar.
The Dragon hits hard and heavy so prepare your party by equipping a tank with ![]() Bubble Belt and protective equipment. One party member should be equipped with a
Bubble Belt and protective equipment. One party member should be equipped with a ![]() Ribbon or a
Ribbon or a ![]() Power Armlet to deal with the Stop effect which can take effect every time Hell Wyrm casts Judgment. This boss will ignore evasion so you should equip all three party members with strong two-handed weapons rather than a one-hander and a shield.
Power Armlet to deal with the Stop effect which can take effect every time Hell Wyrm casts Judgment. This boss will ignore evasion so you should equip all three party members with strong two-handed weapons rather than a one-hander and a shield.
Judgment, Hell Wyrm’s strongest attack, can be nullified fairly easily. He will cast it each time his HP falls 10% but the attack is Holy-type damage, so it can be completely avoided by equipping each of your party members with a ![]() White Mask. Alternatively, you can equip a
White Mask. Alternatively, you can equip a ![]() Sage’s Ring as well. Judgment has a chance of causing Stop so set up your characters with a Gambit to use a
Sage’s Ring as well. Judgment has a chance of causing Stop so set up your characters with a Gambit to use a ![]() Chronos Tear on other party members.
Chronos Tear on other party members.
Once Hell Wyrm reaches 30% HP it will start using an attack called “Stone Breath.” It hits all of your party members for a fair bit of damage but the more critical problem is that it will regularly cause the Petrify status. So often in fact that it can be extremely detrimental to constantly cast ![]() Esuna to remove it, eating into your MP and preventing characters from doing anything but recasting
Esuna to remove it, eating into your MP and preventing characters from doing anything but recasting ![]() Esuna.
Esuna.
There are two strategies to get around this; you can either switch to having your characters use Golden Needles to cure the status, which is faster, or turn off the ![]() Esuna Gambit during this phase of the fight and cure Petrify manually. Just make sure not to let any of your characters become petrified or they will be removed from the battle.
Esuna Gambit during this phase of the fight and cure Petrify manually. Just make sure not to let any of your characters become petrified or they will be removed from the battle.
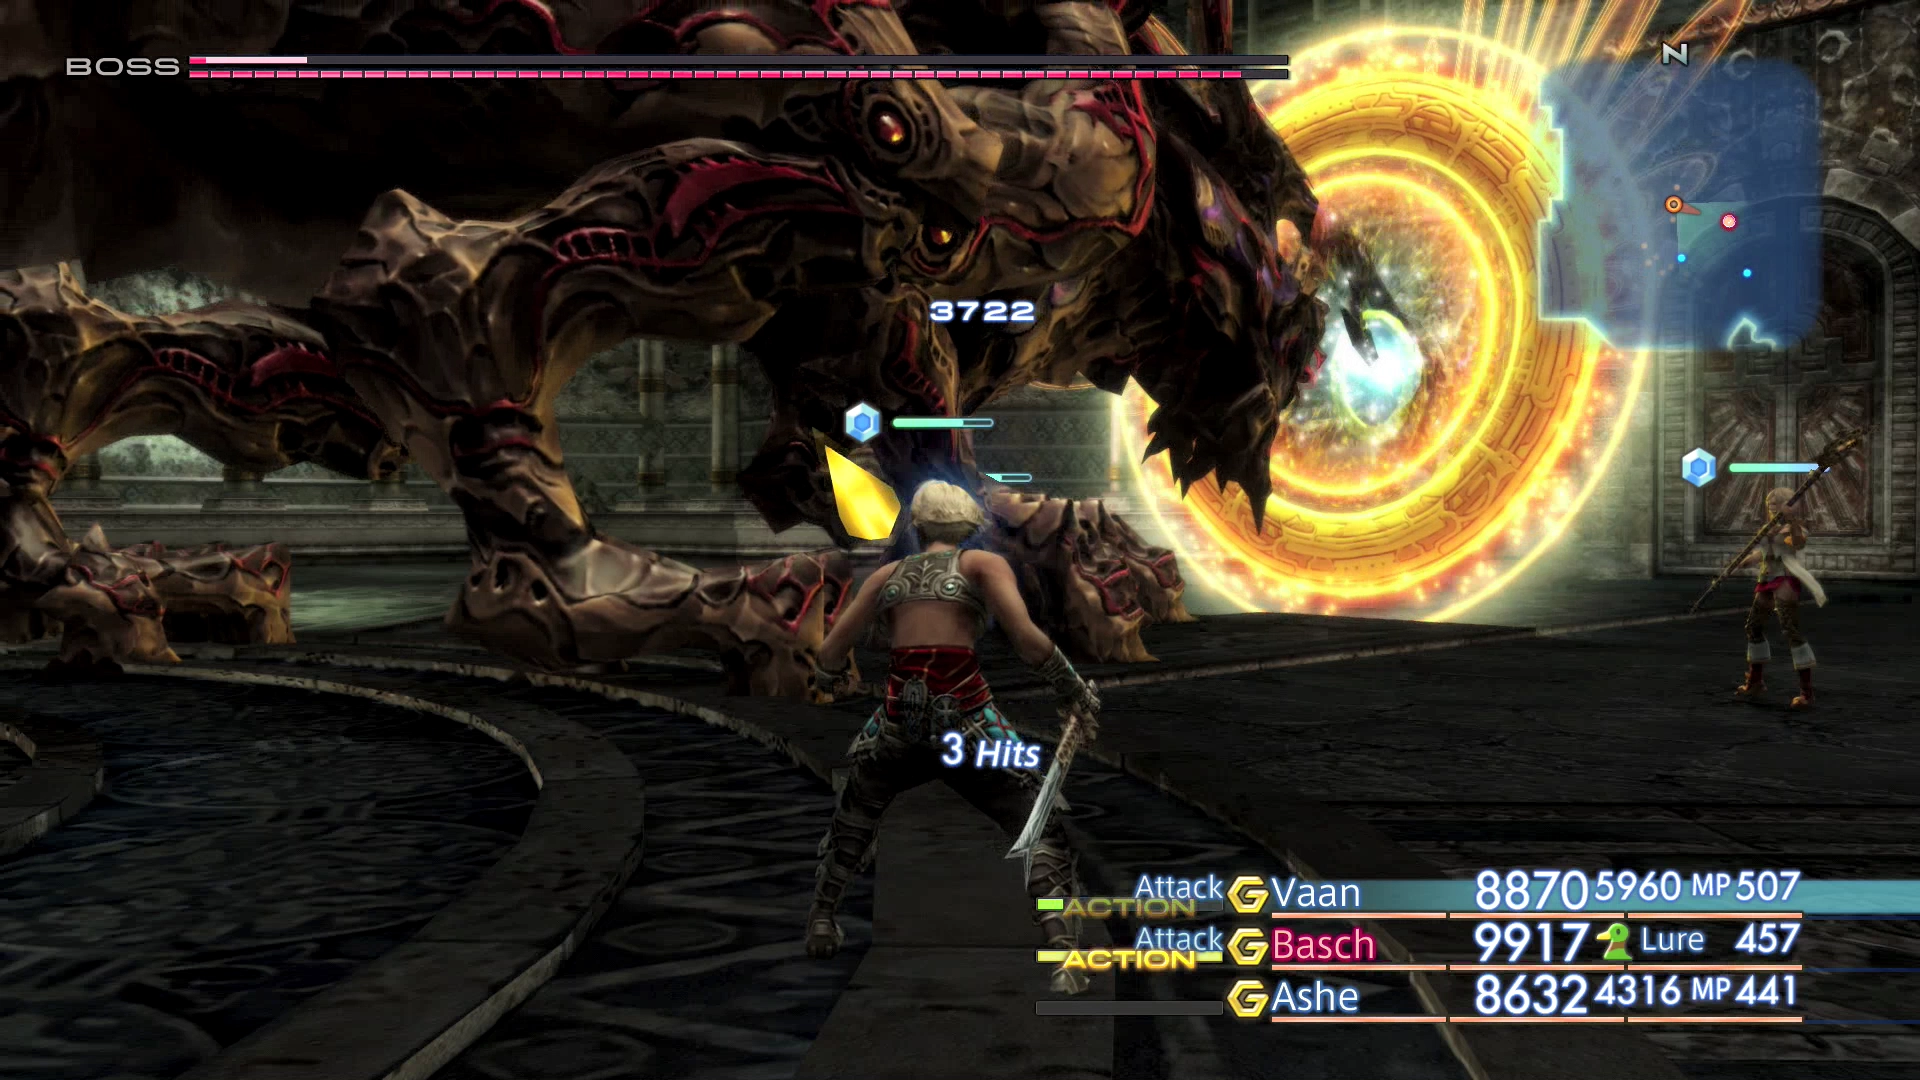
The last difficult move that Hell Wyrm will use is Invert. This will switch your party member’s HP and MP stats. The positive aspect of this attack is that it will help to refill your party member’s MP gauge, but you need to be ready to heal any party member hit by it quickly as they will quickly succumb to other attacks after their HP and MP are switched.
Keep ![]() Protect,
Protect, ![]() Bubble,
Bubble, ![]() Haste,
Haste, ![]() Shell and
Shell and ![]() Bravery active on your party members at all times.
Bravery active on your party members at all times.
This fight is a battle of attrition – it will take a long time to burn through all of Hell Wyrm’s HP. Use ![]() Expose Technick to increase the damage you inflict on Hell Wyrm which will be capped at 6,999 damage per hit once Hell Wyrm reaches 50% HP. And make sure to rotate your healer out so that other party members get an opportunity to attack and refill their MP. Don’t be afraid to use some of your
Expose Technick to increase the damage you inflict on Hell Wyrm which will be capped at 6,999 damage per hit once Hell Wyrm reaches 50% HP. And make sure to rotate your healer out so that other party members get an opportunity to attack and refill their MP. Don’t be afraid to use some of your ![]() Elixirs and
Elixirs and ![]() Megalixirs if you have them stocked up as this is one of the more difficult battles in the game that calls for their use.
Megalixirs if you have them stocked up as this is one of the more difficult battles in the game that calls for their use.
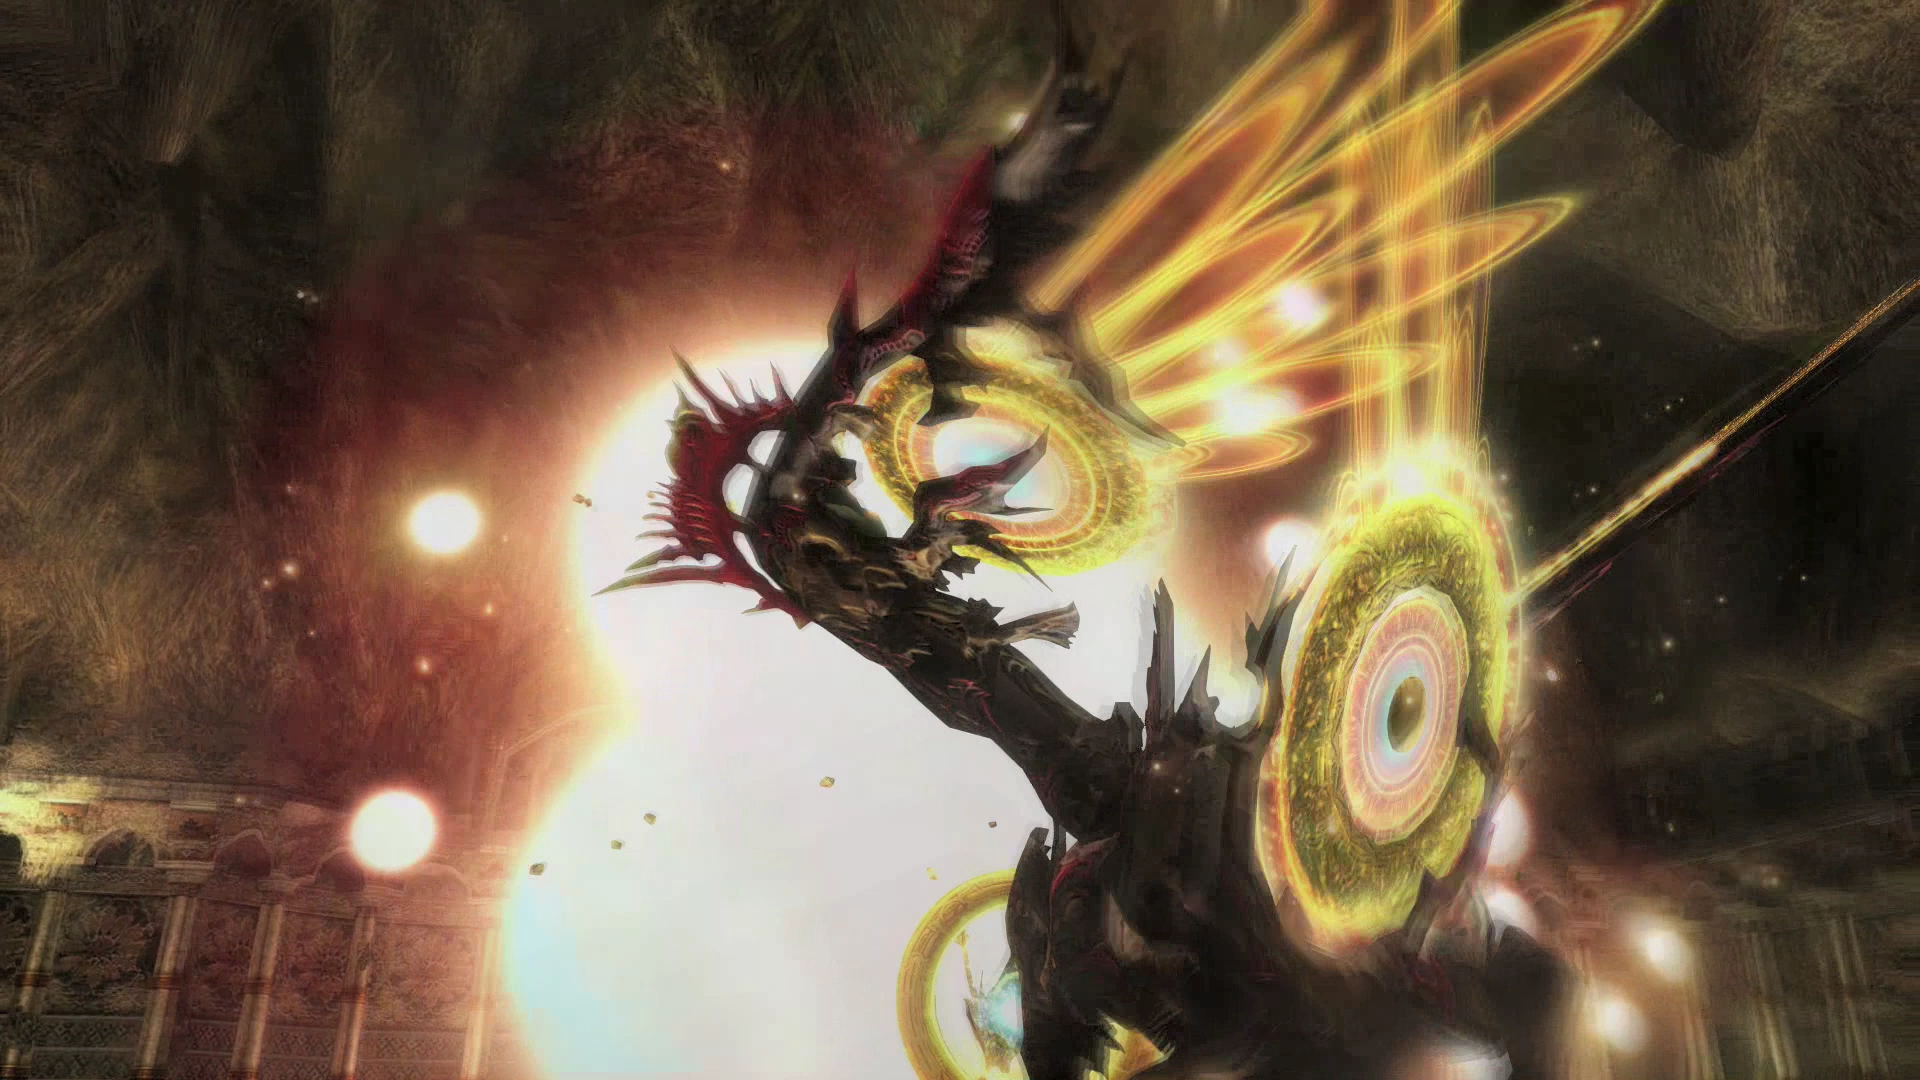
You can find a video of this battle in the Zodiac Age version below.
Achievement/Trophy
The  Radiant Savior Achievement/Trophy is obtained automatically after you have defeated Hell Wyrm.
Return to Montblanc to claim your reward for defeating Hell Wyrm – 50,000 Gil. Hell Wyrm’s sprite will also appear in the Sky Pirate’s Den once you defeat him. This is a prerequisite that needs to be completed before you can receive the Hunt to defeat Yiazmat (Hunt 45: Farewell to a Legend).

