The Ancient City of Giruvegan
“Ancient city said to lie deep within the Jagd Difohr. A dense Mist conceals its actual location. There are some who claim that it holds the secrets of a legendary civilization that flourished before men knew the workings of the world, but non remain who know the truth.
Many are the expeditions sent to find this place and record its knowledge, but most have disappeared in the Feywood or despaired while attempting to understand what artifacts have been found. To this day, we are no closer to discovering Giruvegan, or illuminating its mysteries.”
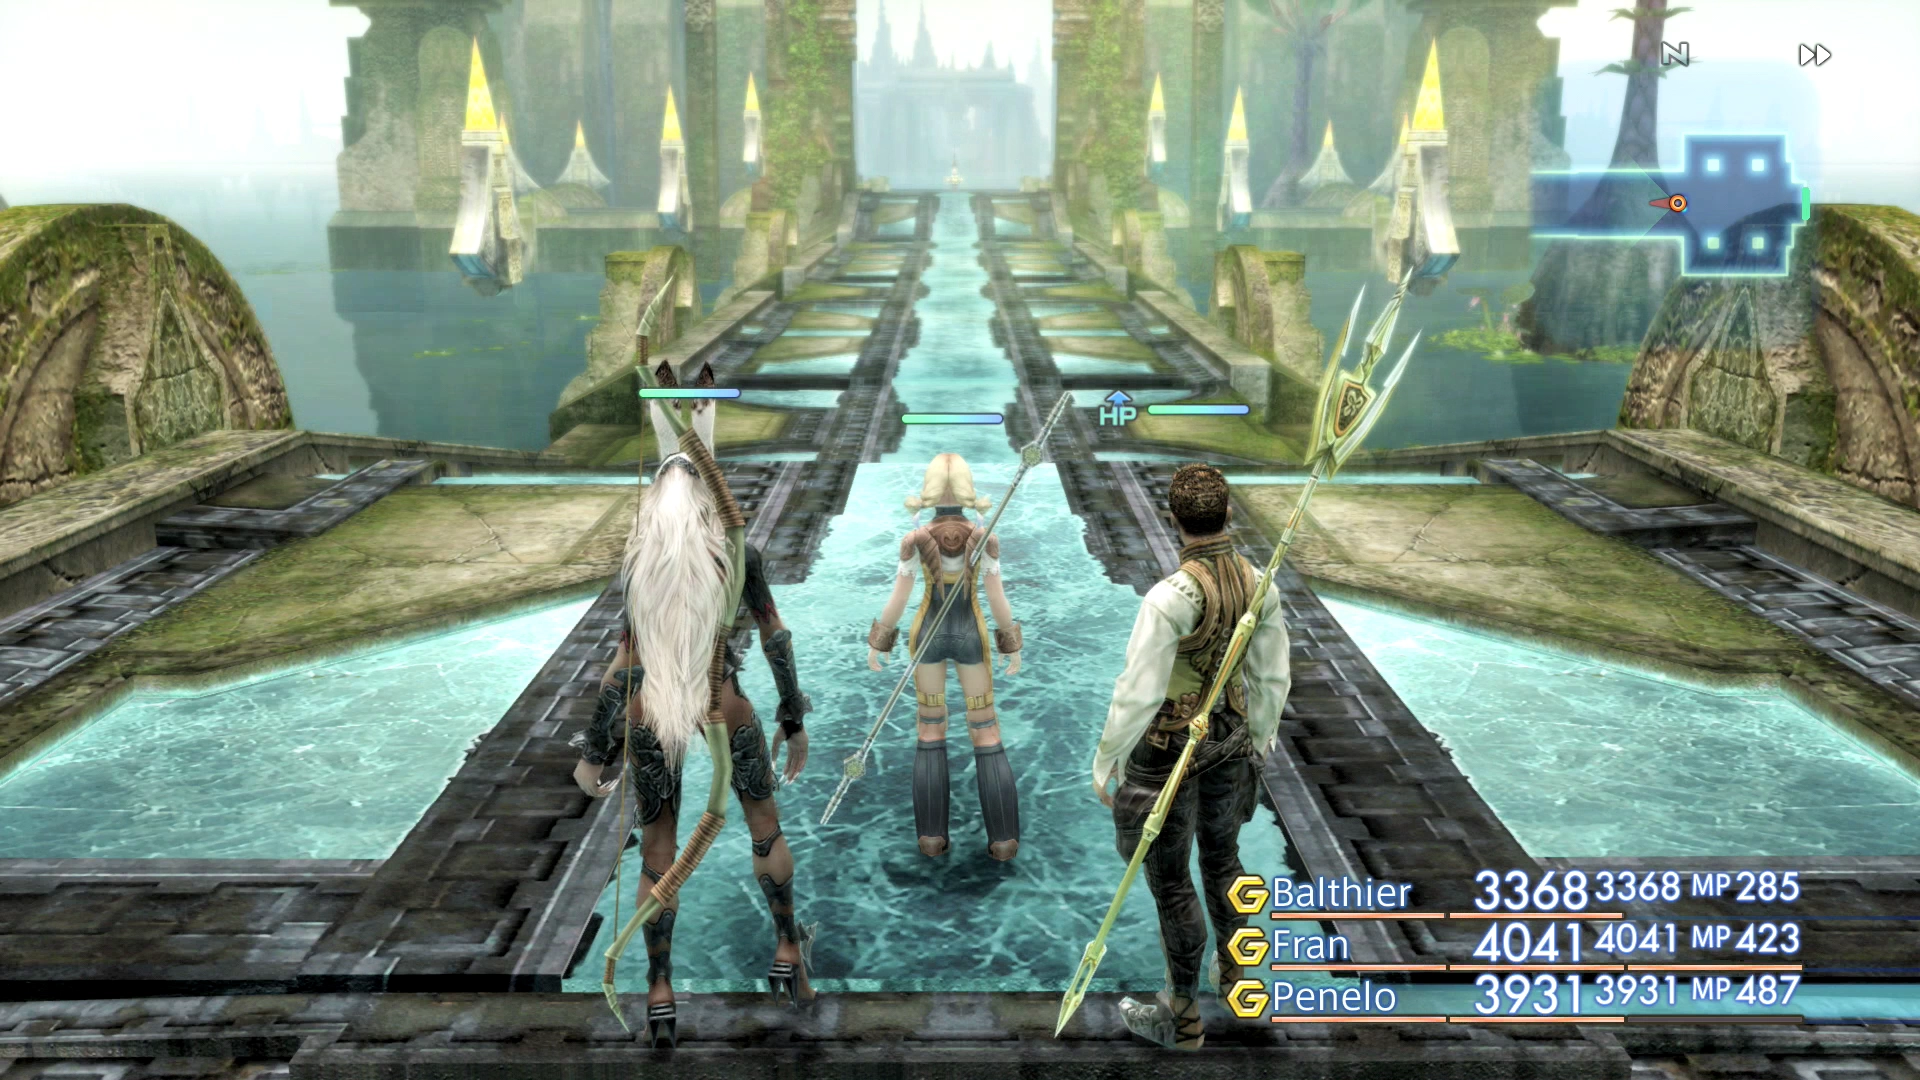
Gate of Earth
Head down the pathway until you reach the orange Save Crystal. There is a potential shield that you can obtain back in the Feywood but make sure that you save your game first.
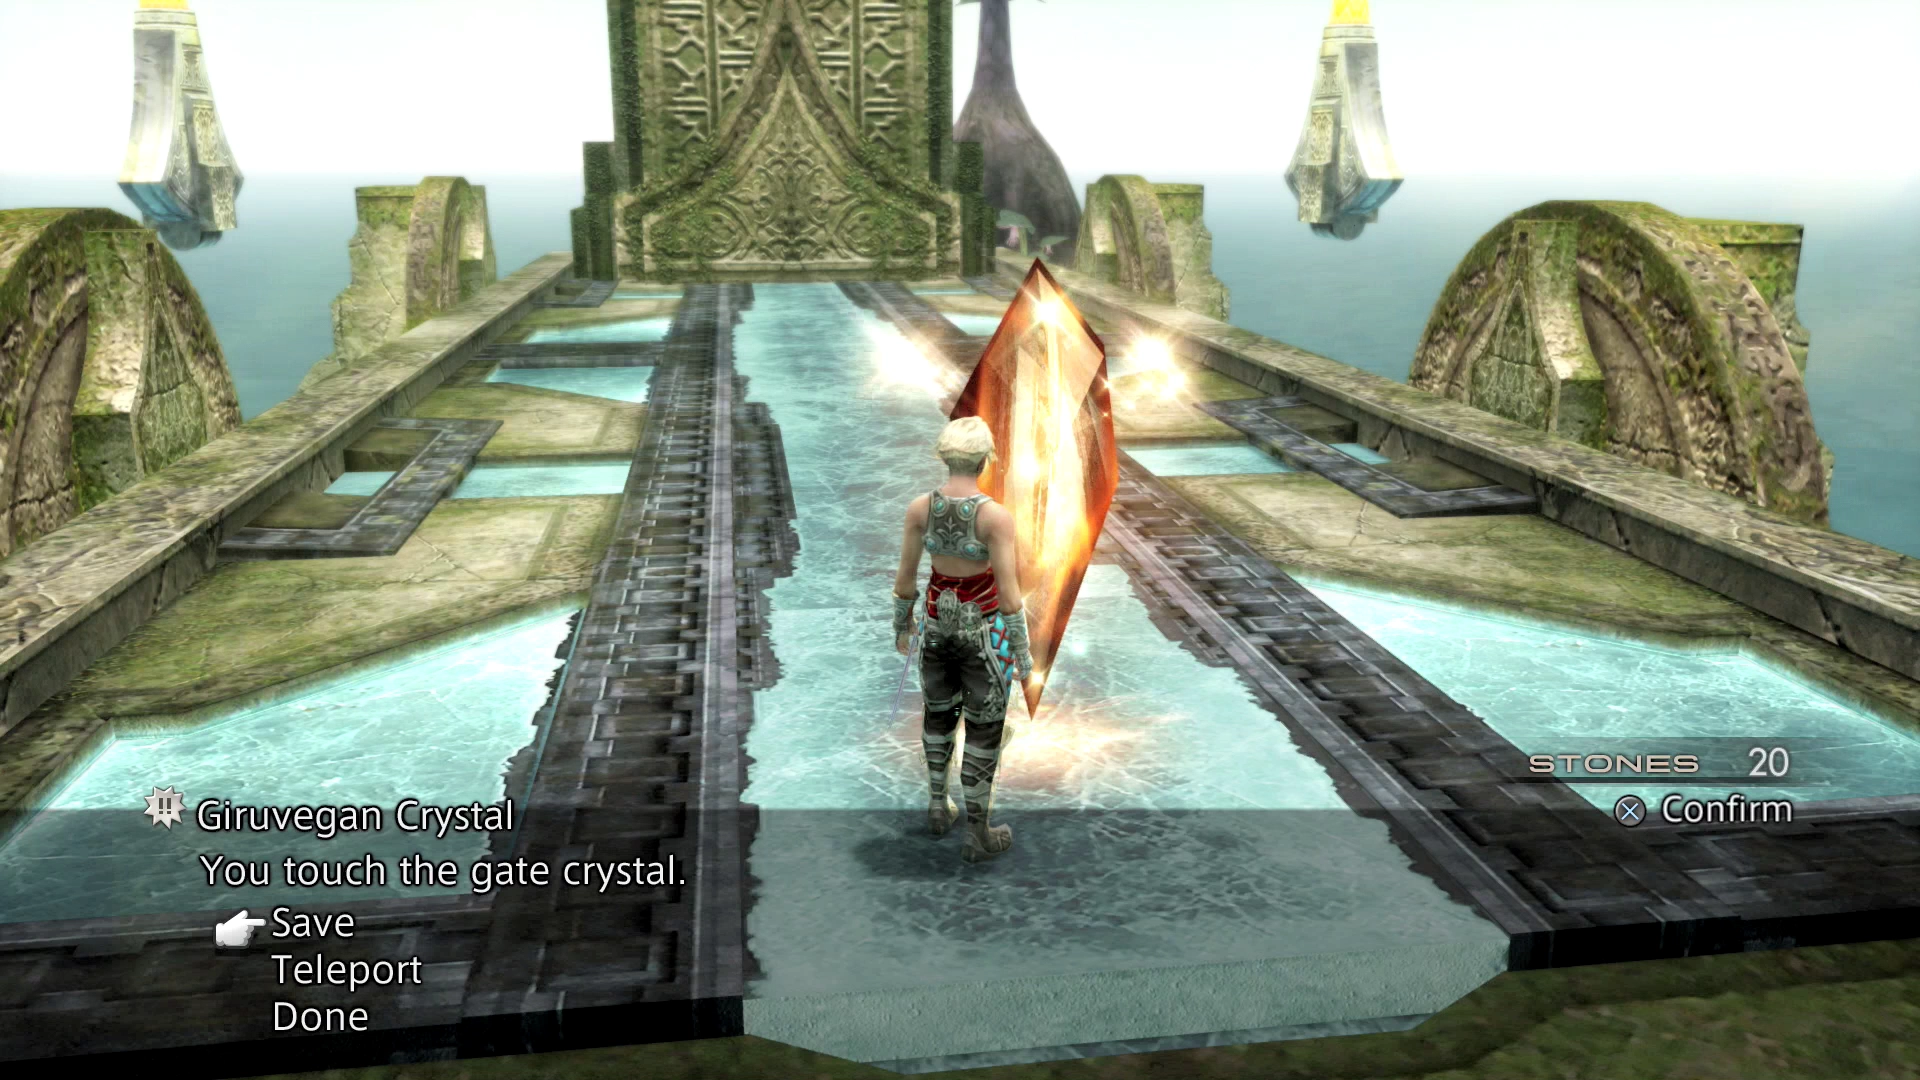
There is another boss fight coming up in the next zone. Head back to the orange Save Crystal, load up all of your characters with status buffs and proceed west.
Gate of Water
Walk towards the large statue on the far side of the platform to initiate the next boss fight.
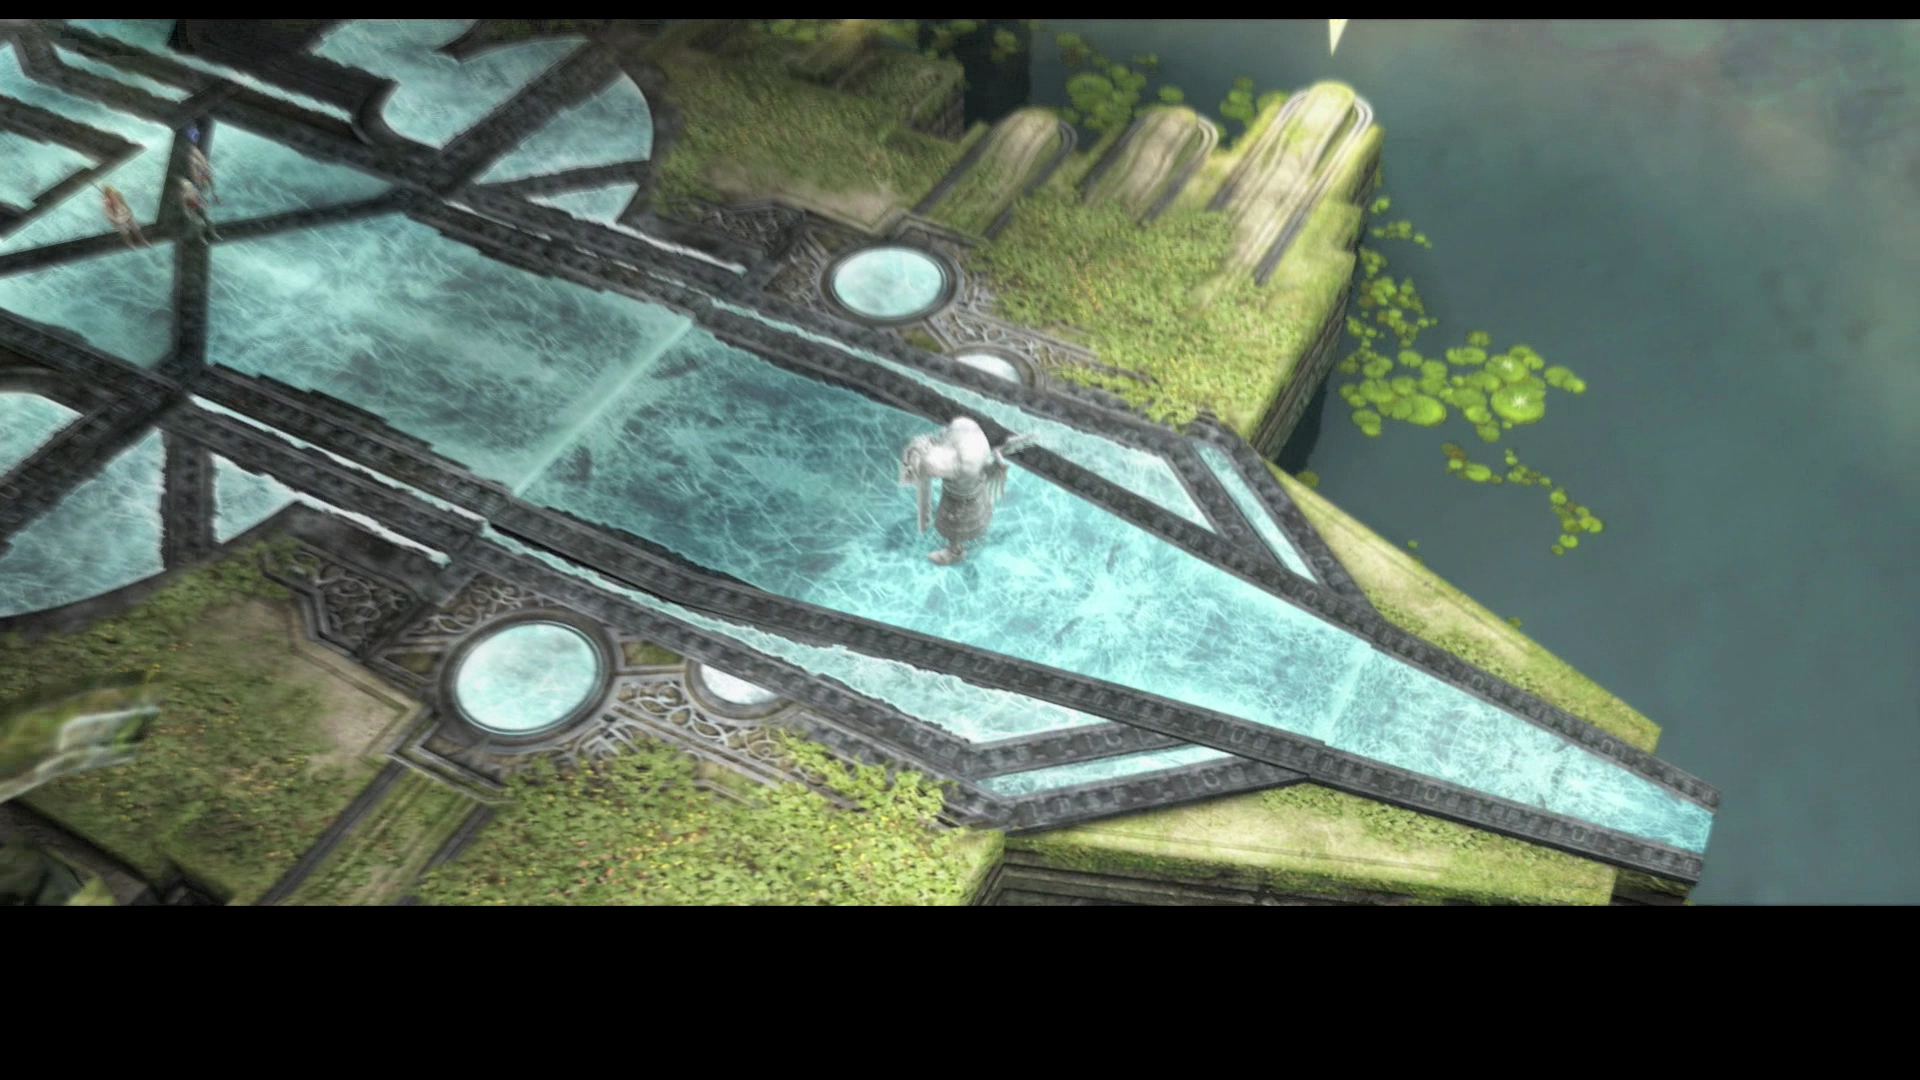
Boss Battle
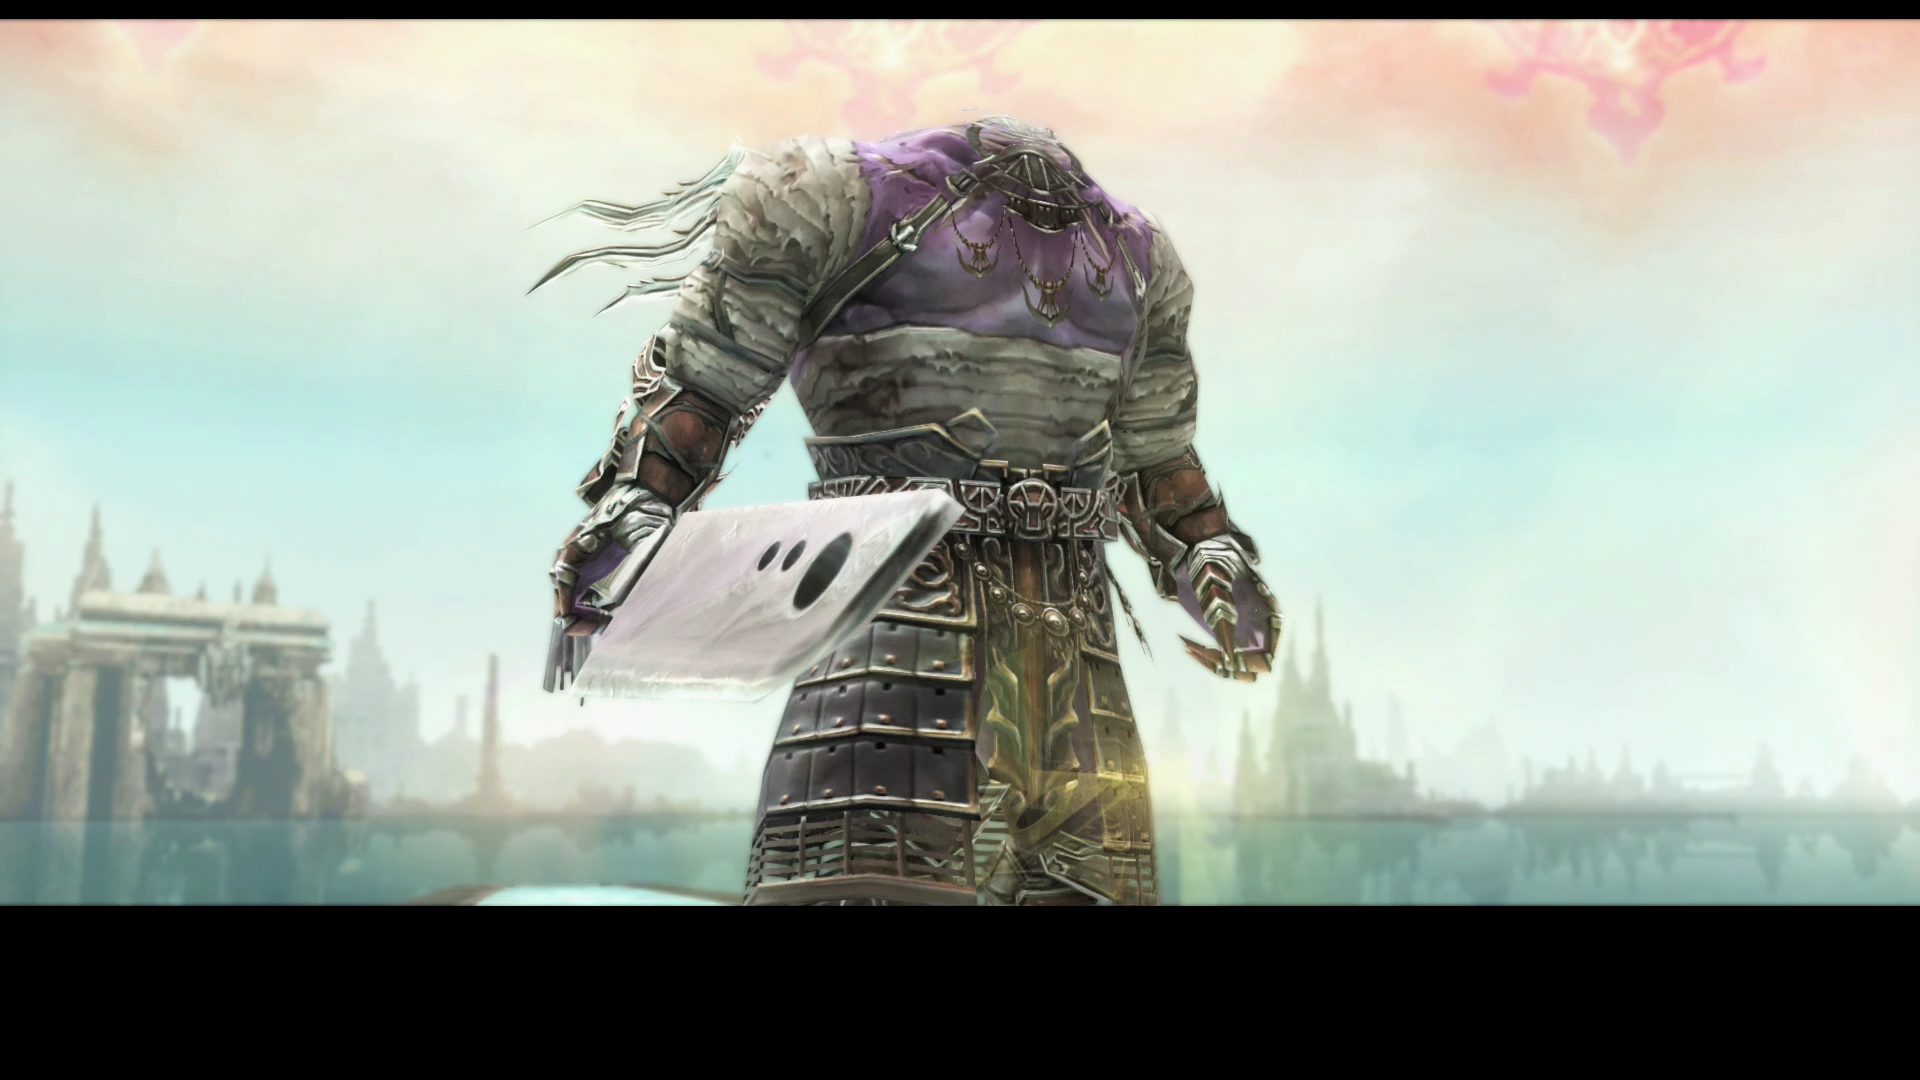
Level: 42
HP: 65,644
Steal: ![]() Dark Crystal (55%),
Dark Crystal (55%), ![]() Forbidden Flesh (10%),
Forbidden Flesh (10%), ![]() Damascus Steel (3%)
Damascus Steel (3%)
As mentioned above, you should enter this battle with all of your status buffs activated. This includes ![]() Protect,
Protect, ![]() Haste,
Haste, ![]() Bubble,
Bubble, ![]() Bravery and
Bravery and ![]() Faith. Make sure one of your characters has the
Faith. Make sure one of your characters has the ![]() Thief’s Cuffs equipped and try to make every attempt to steal the Damascus Steel. The
Thief’s Cuffs equipped and try to make every attempt to steal the Damascus Steel. The ![]() Thief’s Cuffs increase the odds by 2x.
Thief’s Cuffs increase the odds by 2x.
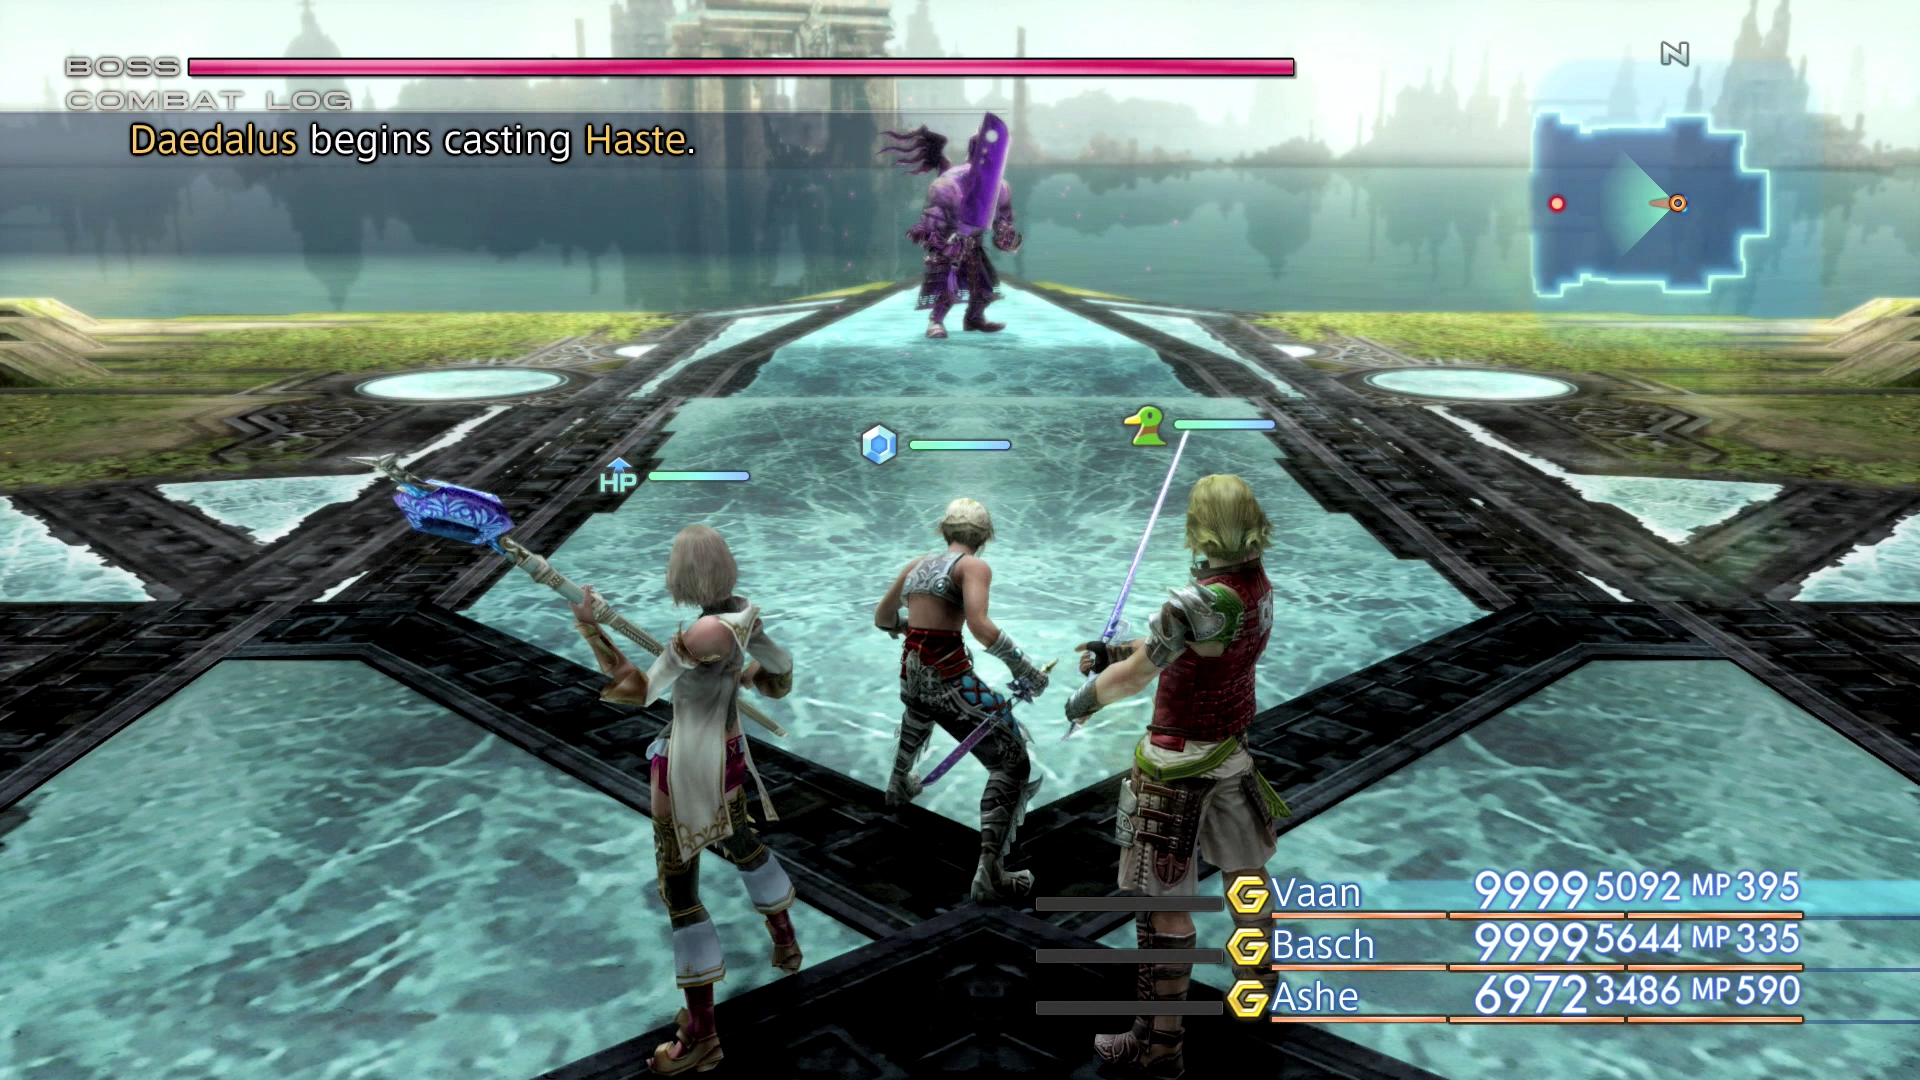
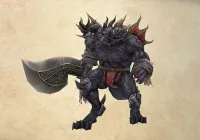
Daedalus begins the battle with Haste enabled. Have one of your characters use ![]() Dispel Magick on it. It will cast
Dispel Magick on it. It will cast ![]() Darkga, inflicting Dark-type Magick on all of your party members, as well as Ice Break and Tremor. It will begin to use Tri-Attack and Pulsar Wave as its health begins to lower.
Darkga, inflicting Dark-type Magick on all of your party members, as well as Ice Break and Tremor. It will begin to use Tri-Attack and Pulsar Wave as its health begins to lower.
It does a fair bit of damage but does not require any excessive amount of strategy to defeat.
An alternative method of defeating Daedalus is to enable ![]() Reflectga on all of your characters and using curative Magicks, such as
Reflectga on all of your characters and using curative Magicks, such as ![]() Curaja,
Curaja, ![]() Curaga, etc. Daedalus is an undead-type enemy which will be hit heavily by these spells.
Curaga, etc. Daedalus is an undead-type enemy which will be hit heavily by these spells.
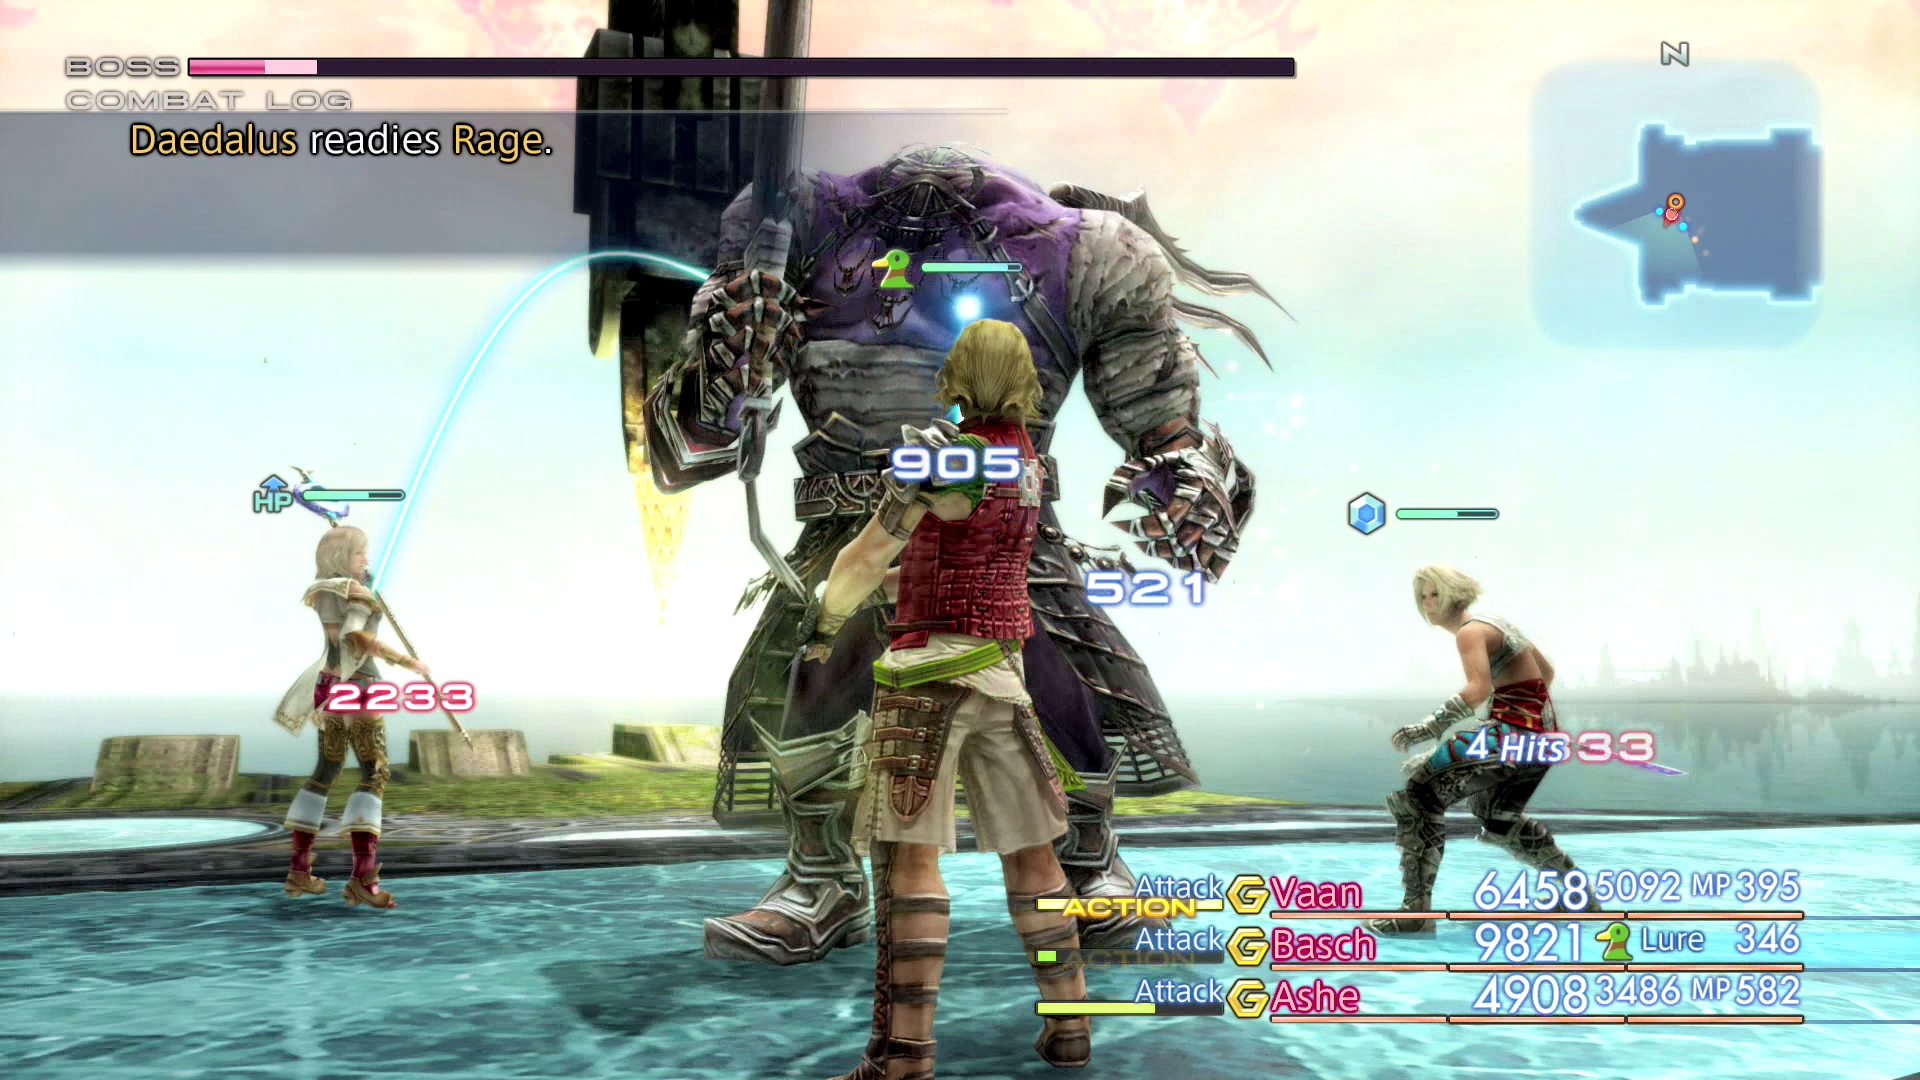
You can find a video of this battle in the Zodiac Age version below.
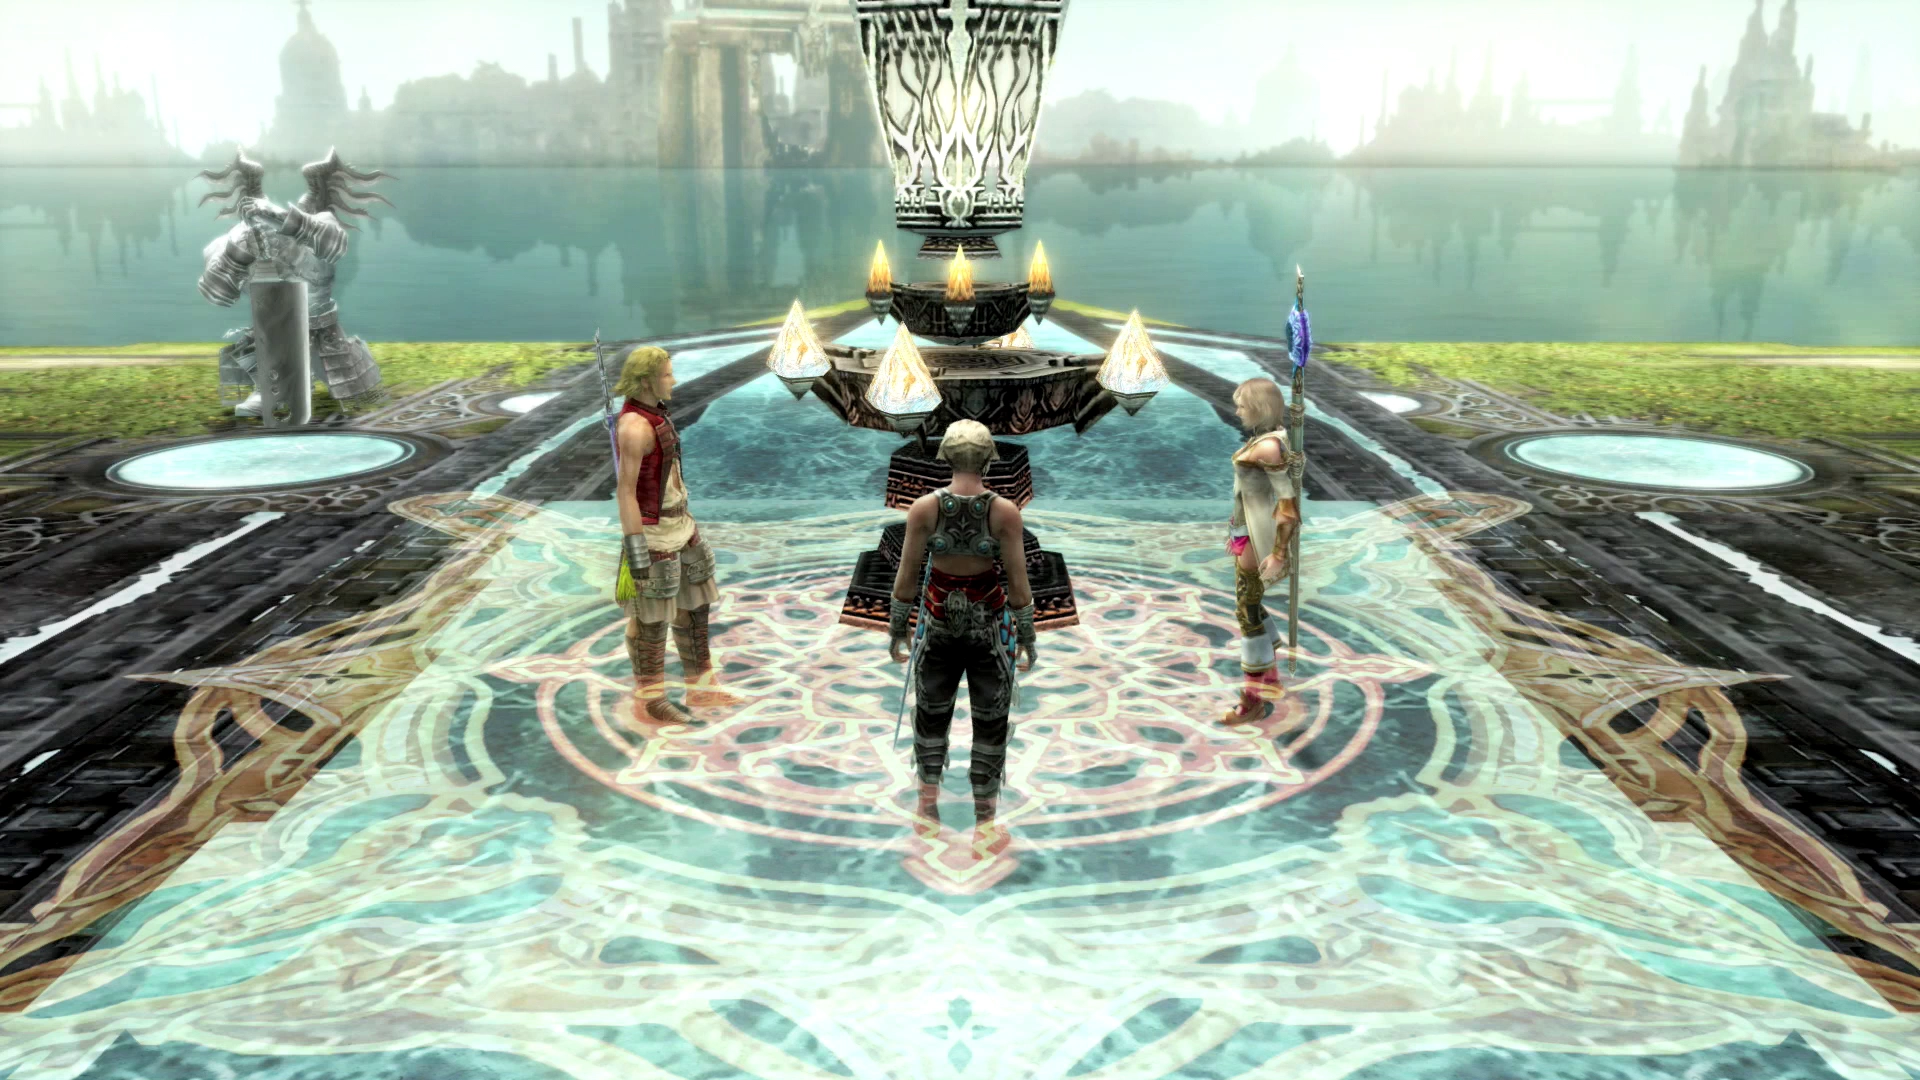
Daedalus will turn into a statue once the fight is over. Use the Way Stone by “touching the device” which will transport you down into the next section of Giruvegan.
The Trimahla Water-Steps
There are numerous seals located throughout the next few rooms that need to be dispatched in order to allow you passage through Giruvegan. Use the maps below to help you identify where each of the Gate Stones are.
Head directly south until you reach a portion of the platform with a Gate Switch. The first Gate Stone is the Avrio Gate Stone. Choose to touch the device which will deactivate one of the nearby seals.
Head even further south than that to find the Chthes Gate Stone and choose to touch that Gate Stone as well.
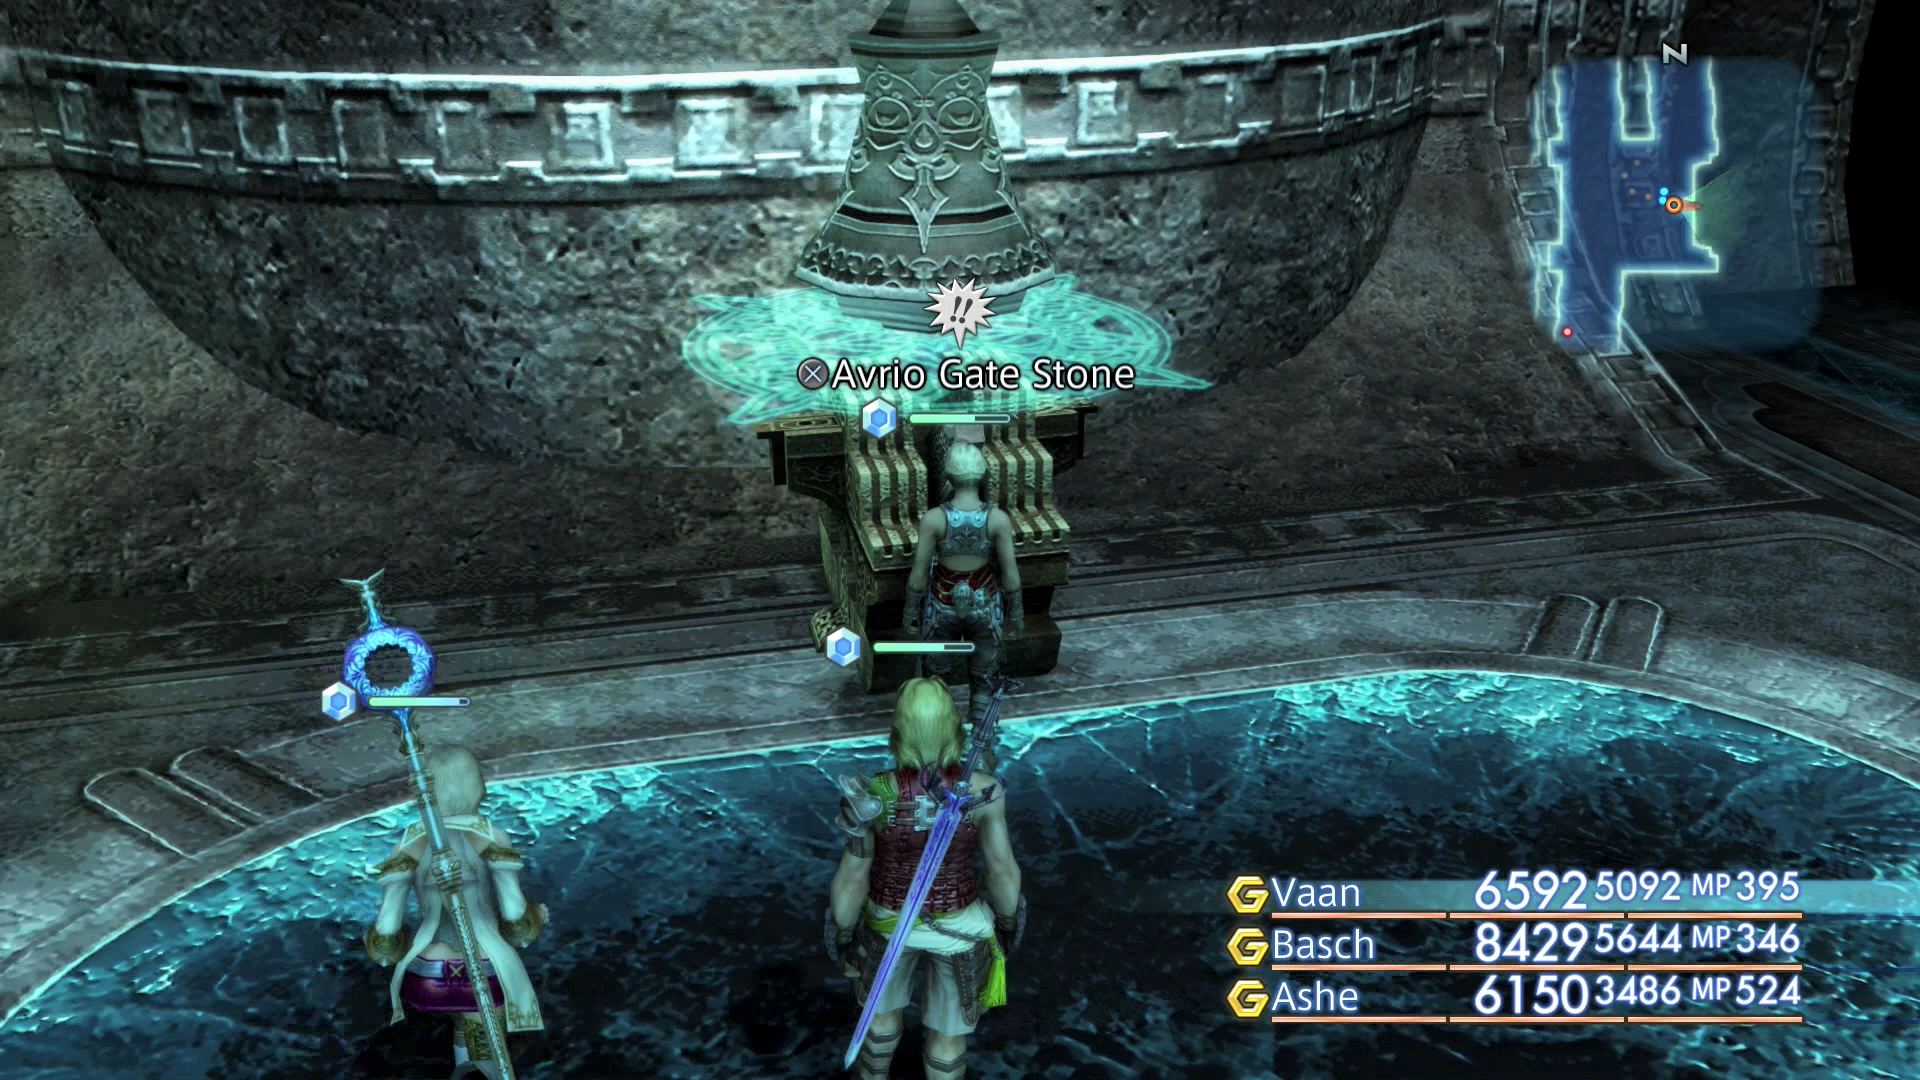
Continue down to the southwest corner of the zone to find another two Mythril Golems. As you approach the edge of the platform, a new lit-up platform made up of floating circles will emerge leading to the next zone.

The Aadha Water-Steps
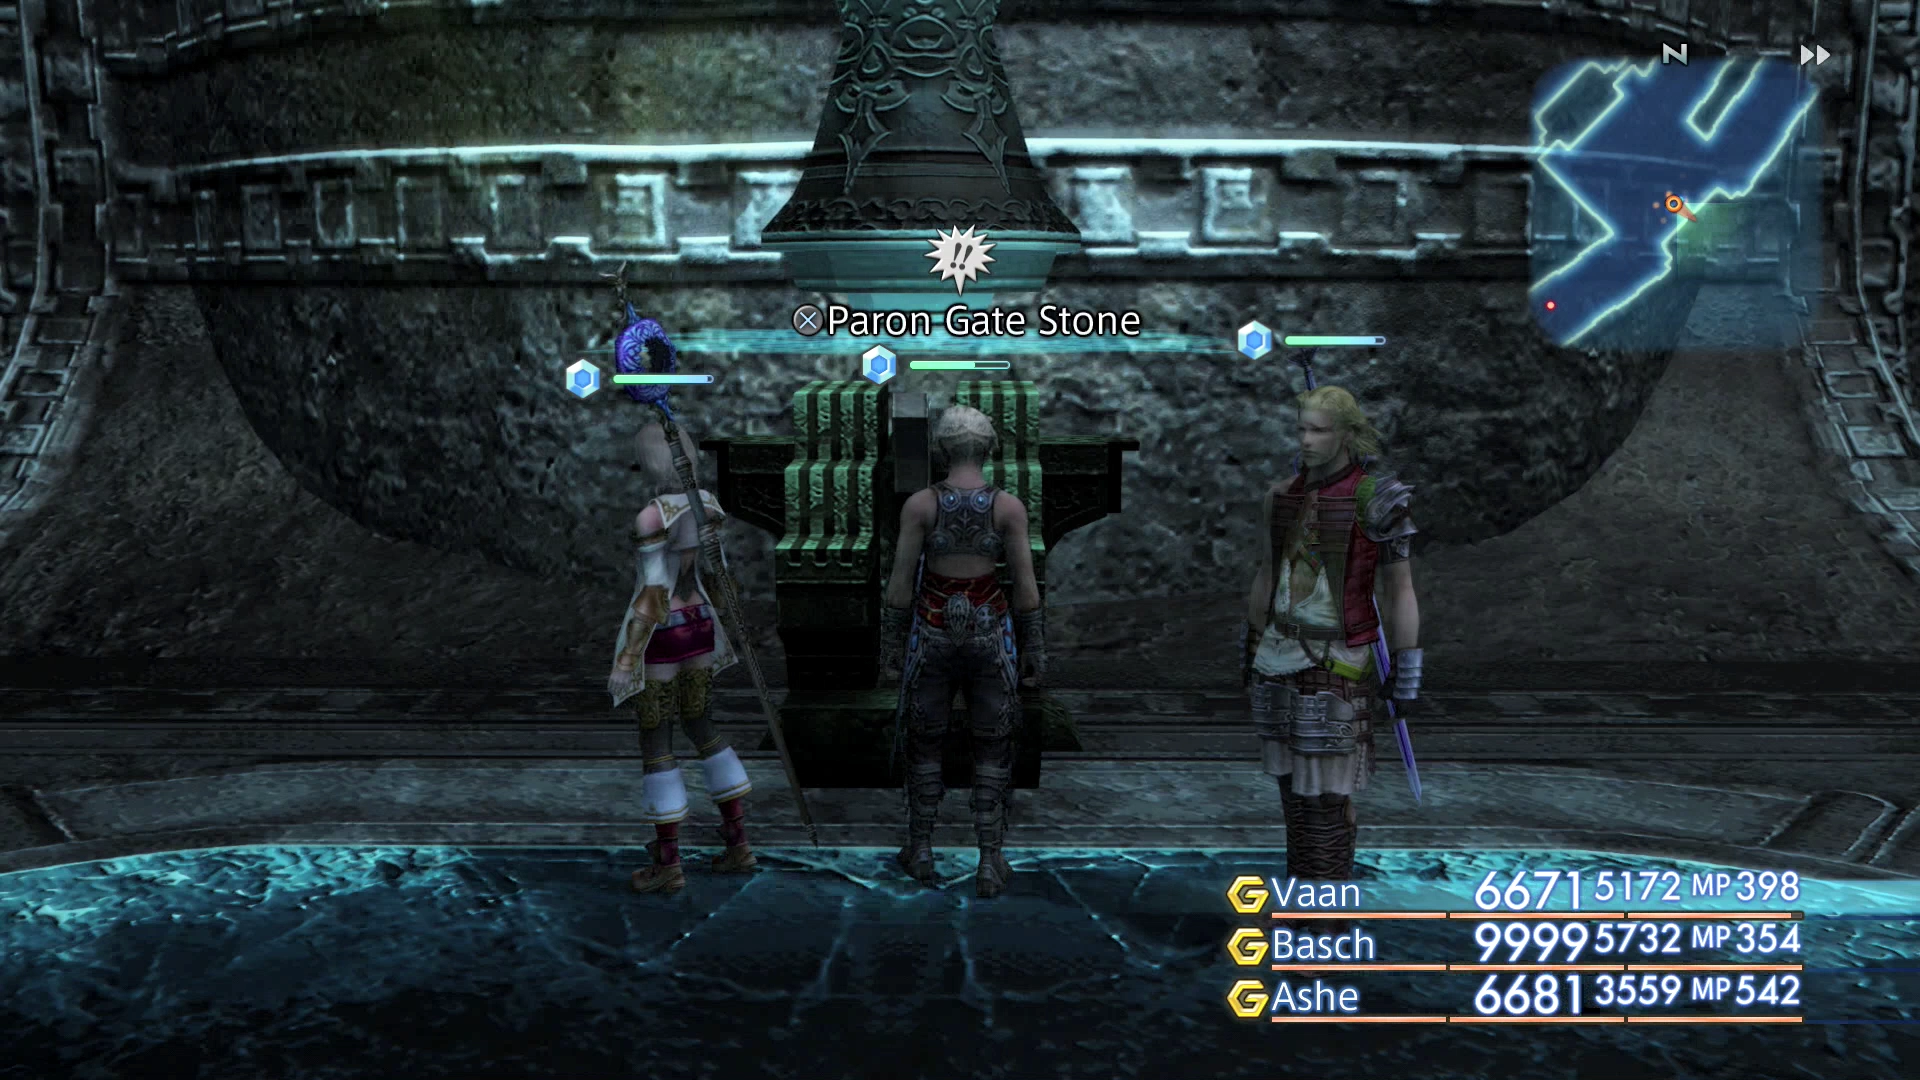
Follow the pathway along to the southwest until you reach another set of Mythril Golems guarding the Paron Gate Stone. Touch the device to open up the seal. There is a Diakon Entite on the platform below.
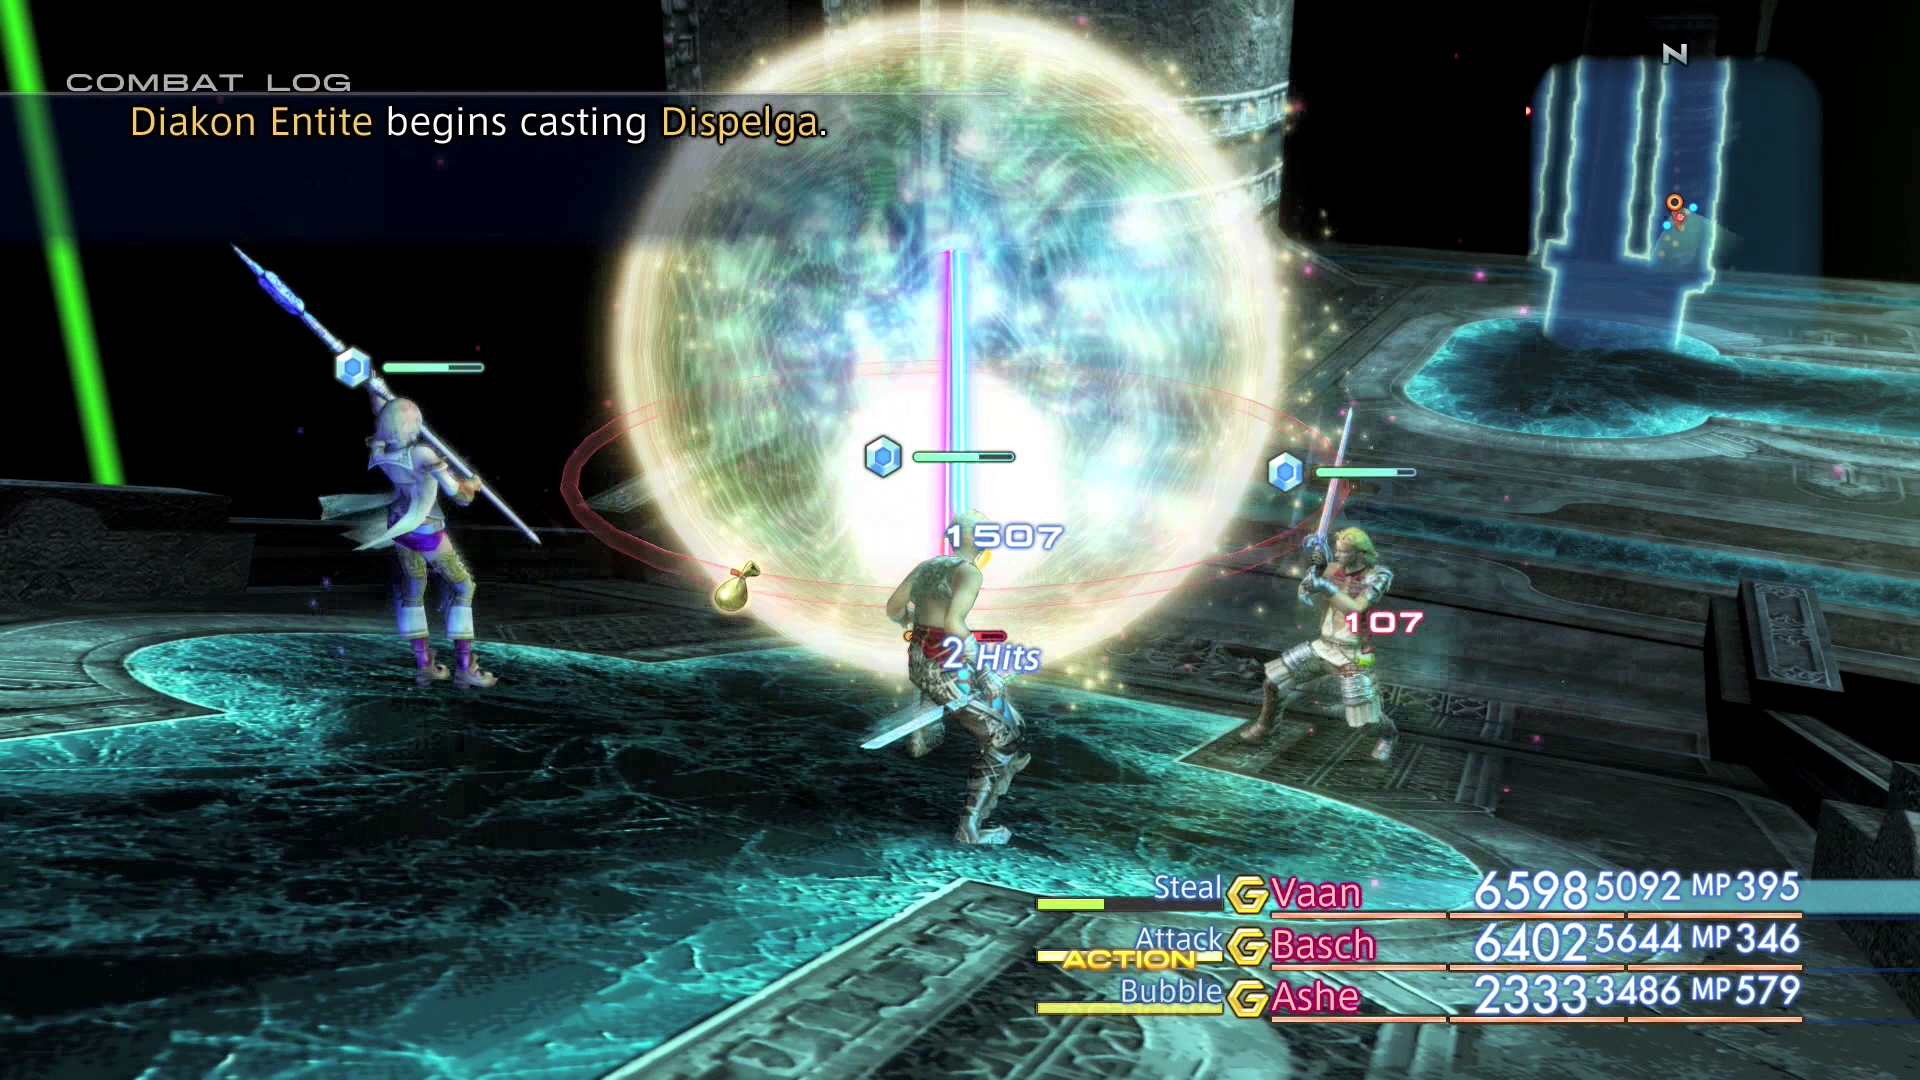
While this Entite is not as strong as some of the other Magick elementals you have encountered and can be defeated, it is still quite strong and should not be attacked at the same time as other enemies in the area.
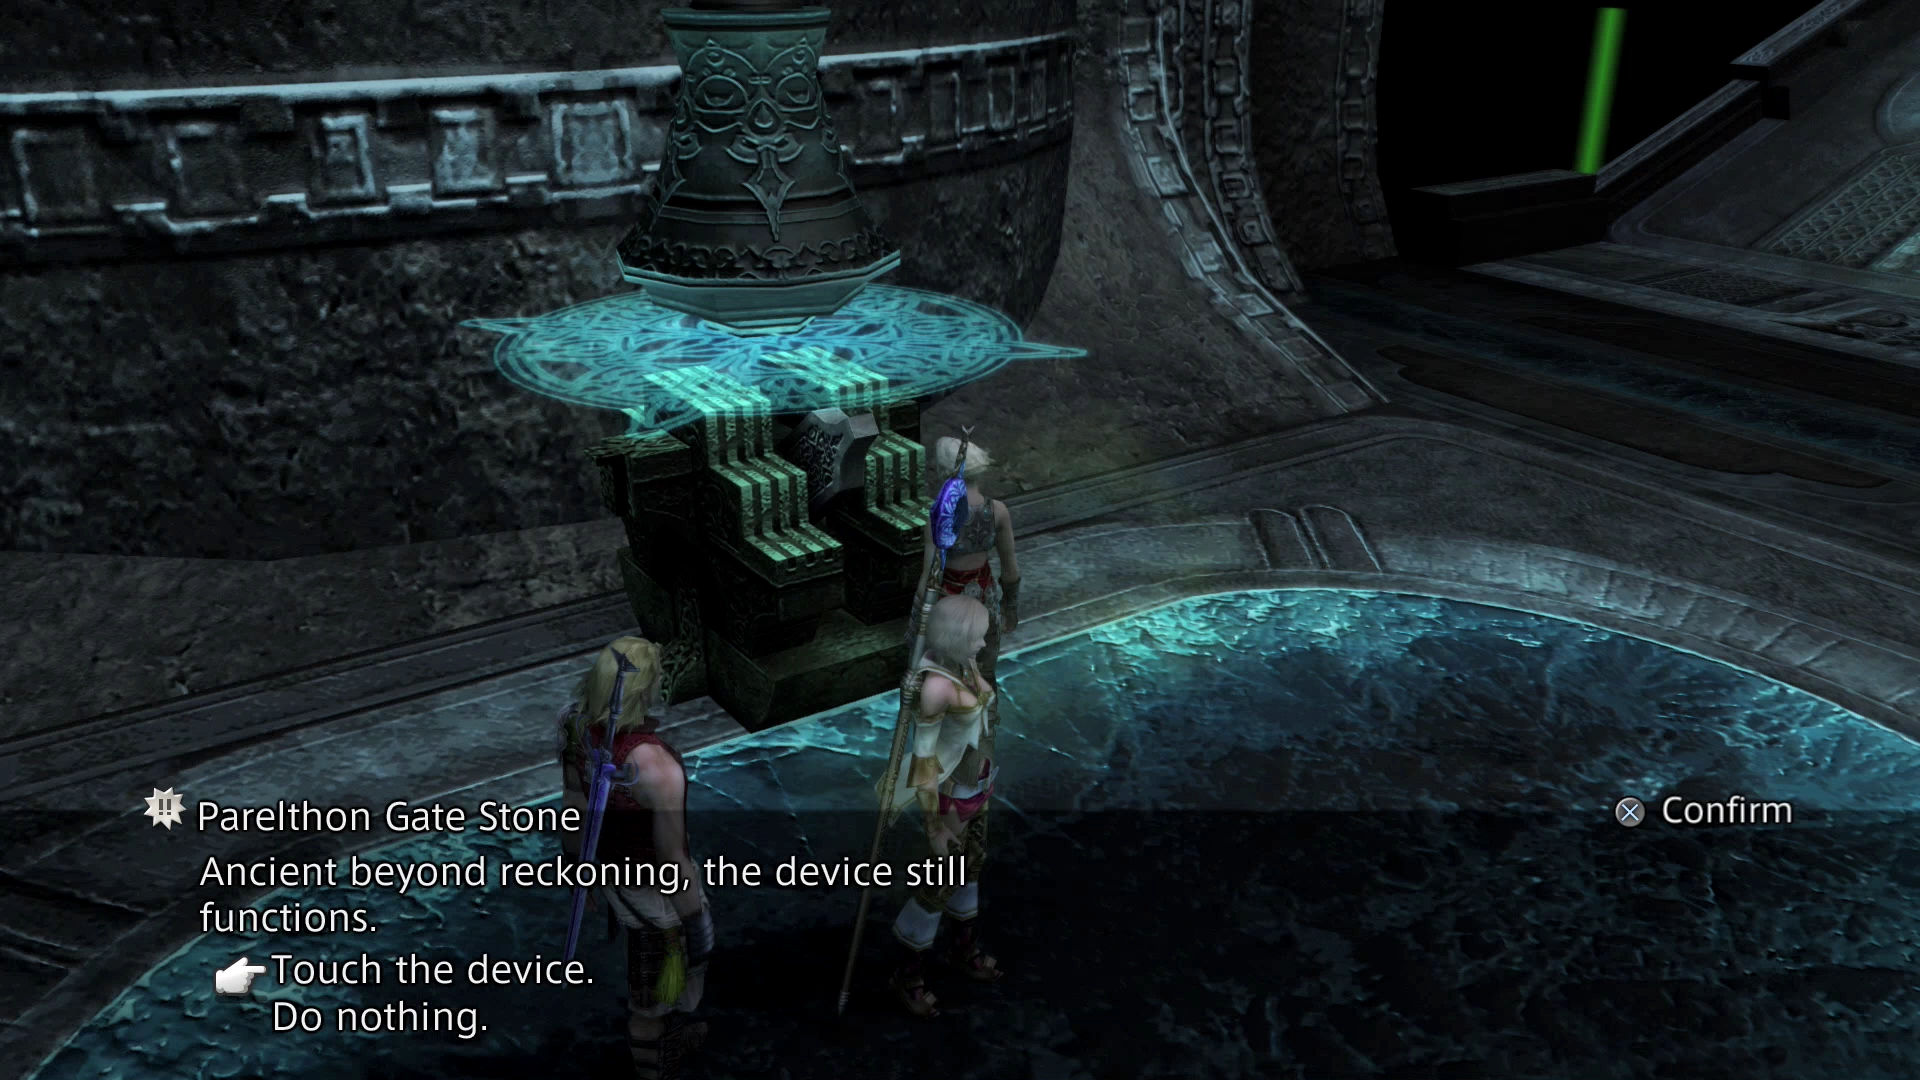
Curve around heading northward towards the next Gate Stone which is the Parelthon Gate Stone. Touch the device and then continue around southward. There will be another seal blocking the pathway up ahead.
Continue past it heading southwest until you reach the next Gate Stone at the end of the pathway which is the Tychi Gate Stone. Touch the device and the head to the north past the seal that you had previously seen as it has now been removed.
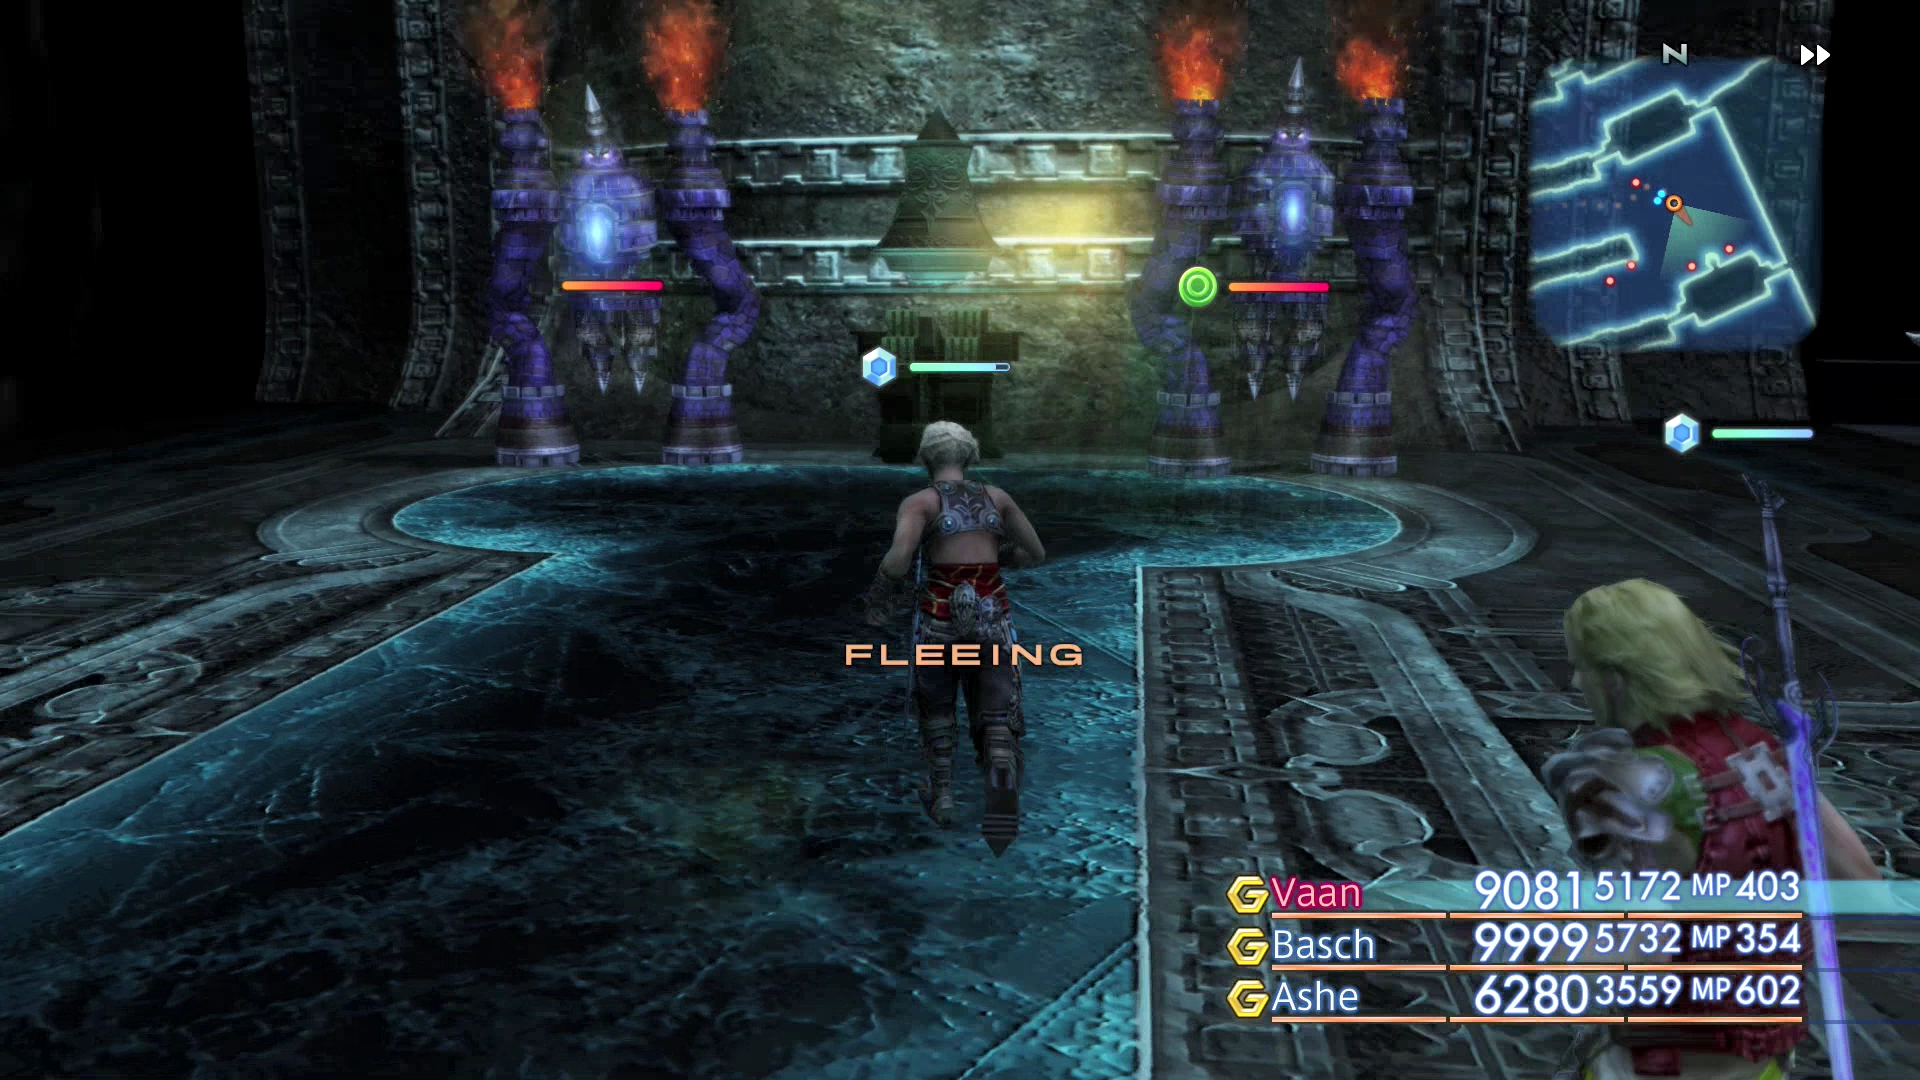
Travel northwest as far as you can go and destroy the two Mythril Golems. Approach the edge of the platform and another green, floating platform will appear. Follow the pathway along to the next zone.
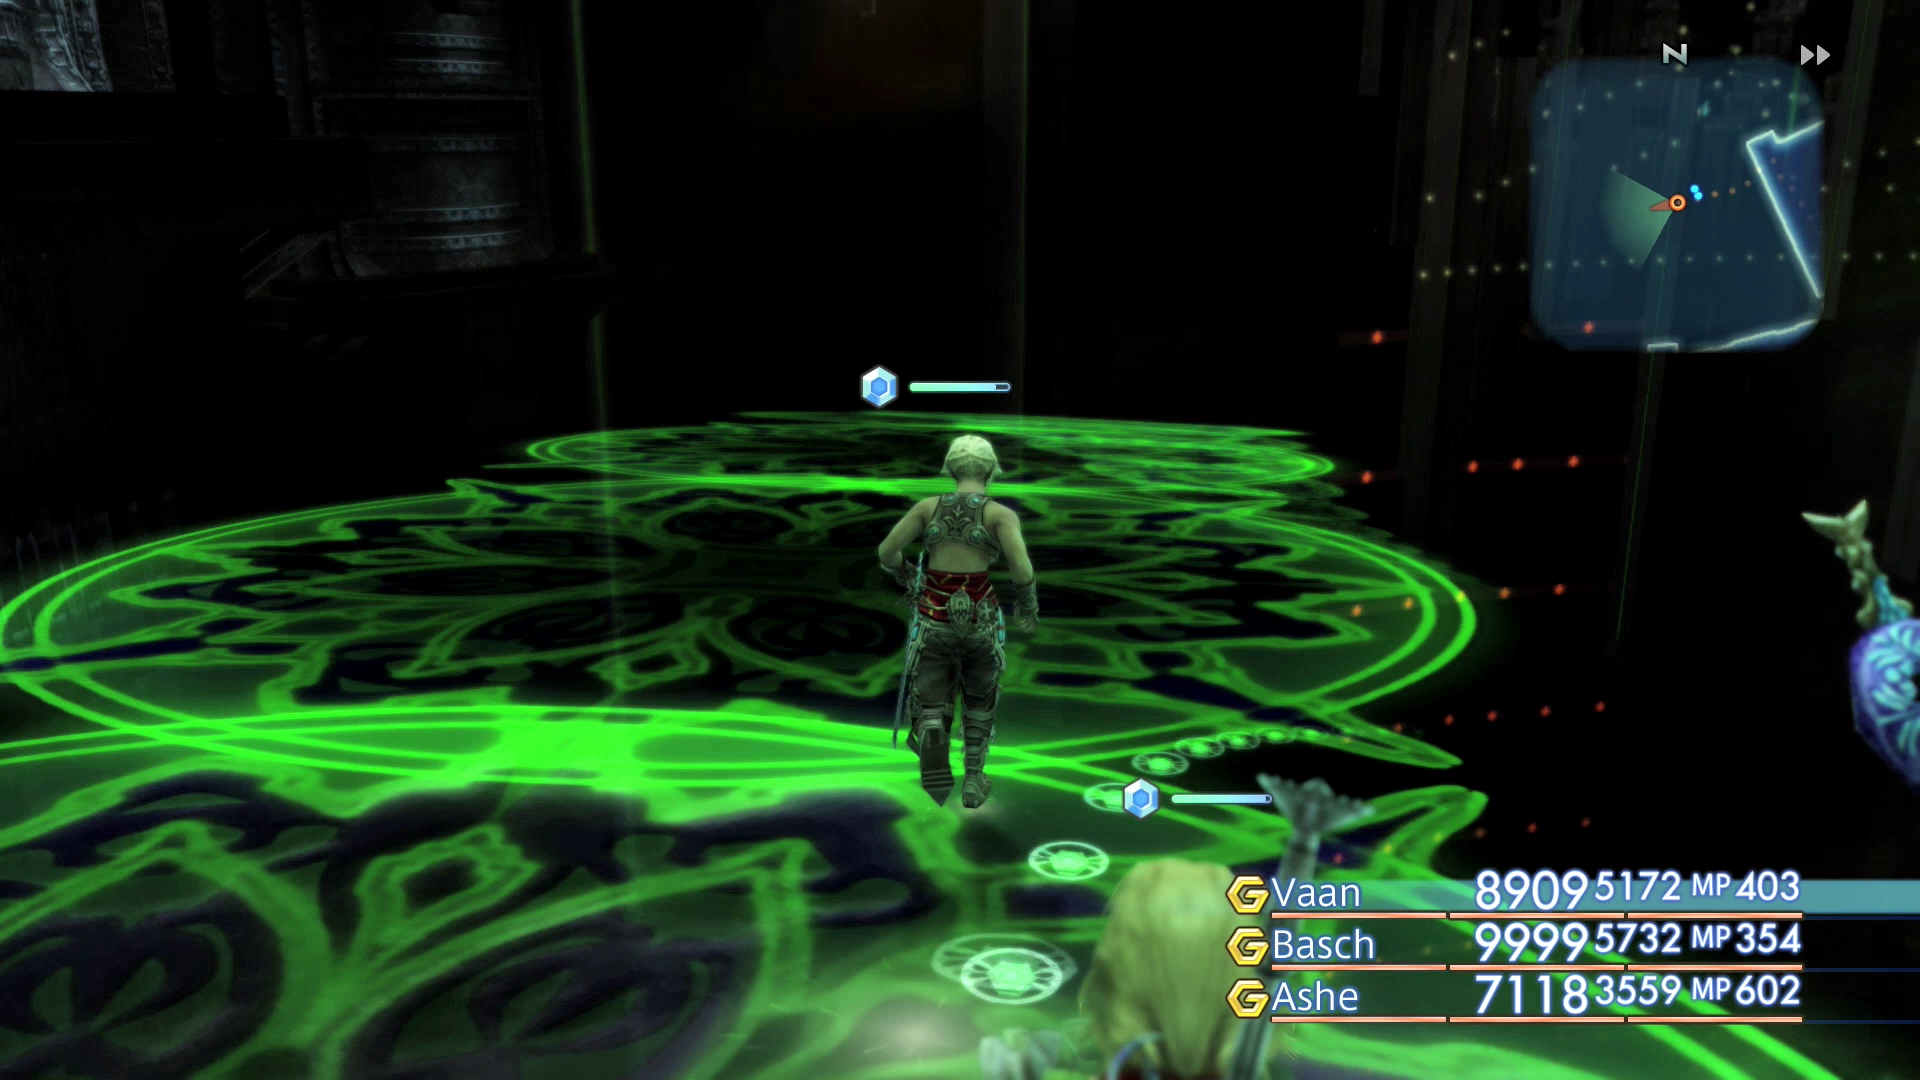
The Haalmikah Water-Steps
Use the Save Crystal to save your game and pick up the treasure chest that contains the ![]() Sleepga Magick spell. That is all that you can do in this room. Proceed to the west into the next area when you are done.
Sleepga Magick spell. That is all that you can do in this room. Proceed to the west into the next area when you are done.

Gate of Fire
There are no enemies in this area but there are a few treasure chests including one that contains an ![]() Amber Armlet.
Amber Armlet.
Search this platform in the center of the room and look northeast. When you reach the right area, another green glowing platform will appear. Use the screenshot and map to help you find it.

There is an upcoming boss fight so make sure that your characters are fully prepared and buffed.
Boss Battle
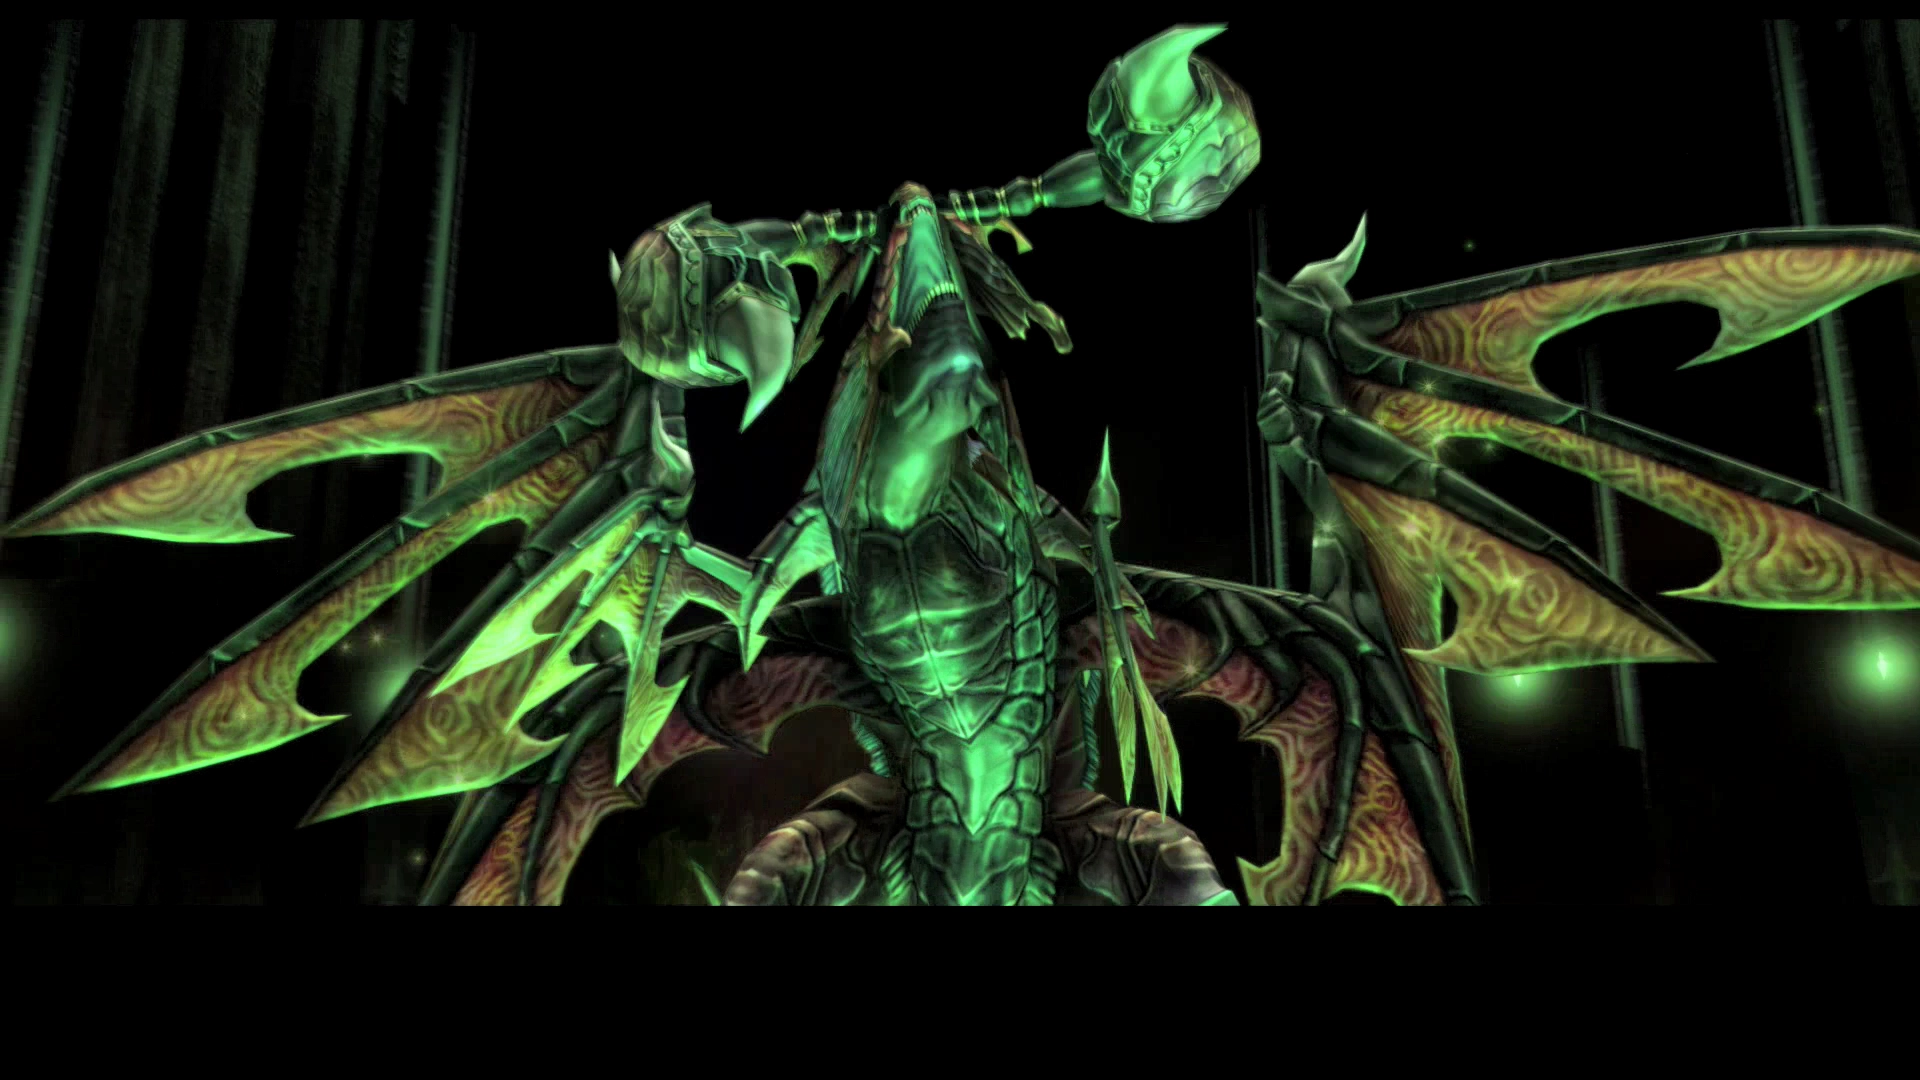
Level: 43
HP: 180,248
Steal: N/A
You cannot steal anything from Tyrant because the Technicks command will be deactivated due to a “magic field” that falls over the party.
You should keep your buffs active for the duration of the fight. This includes ![]() Protect,
Protect, ![]() Shell,
Shell, ![]() Bubble and
Bubble and ![]() Haste. Equip any Ice-based weapons, such as
Haste. Equip any Ice-based weapons, such as ![]() Trident or
Trident or ![]() Icebrand, in order to take advantage of Tyrant’s Ice Magick weakness.
Icebrand, in order to take advantage of Tyrant’s Ice Magick weakness.
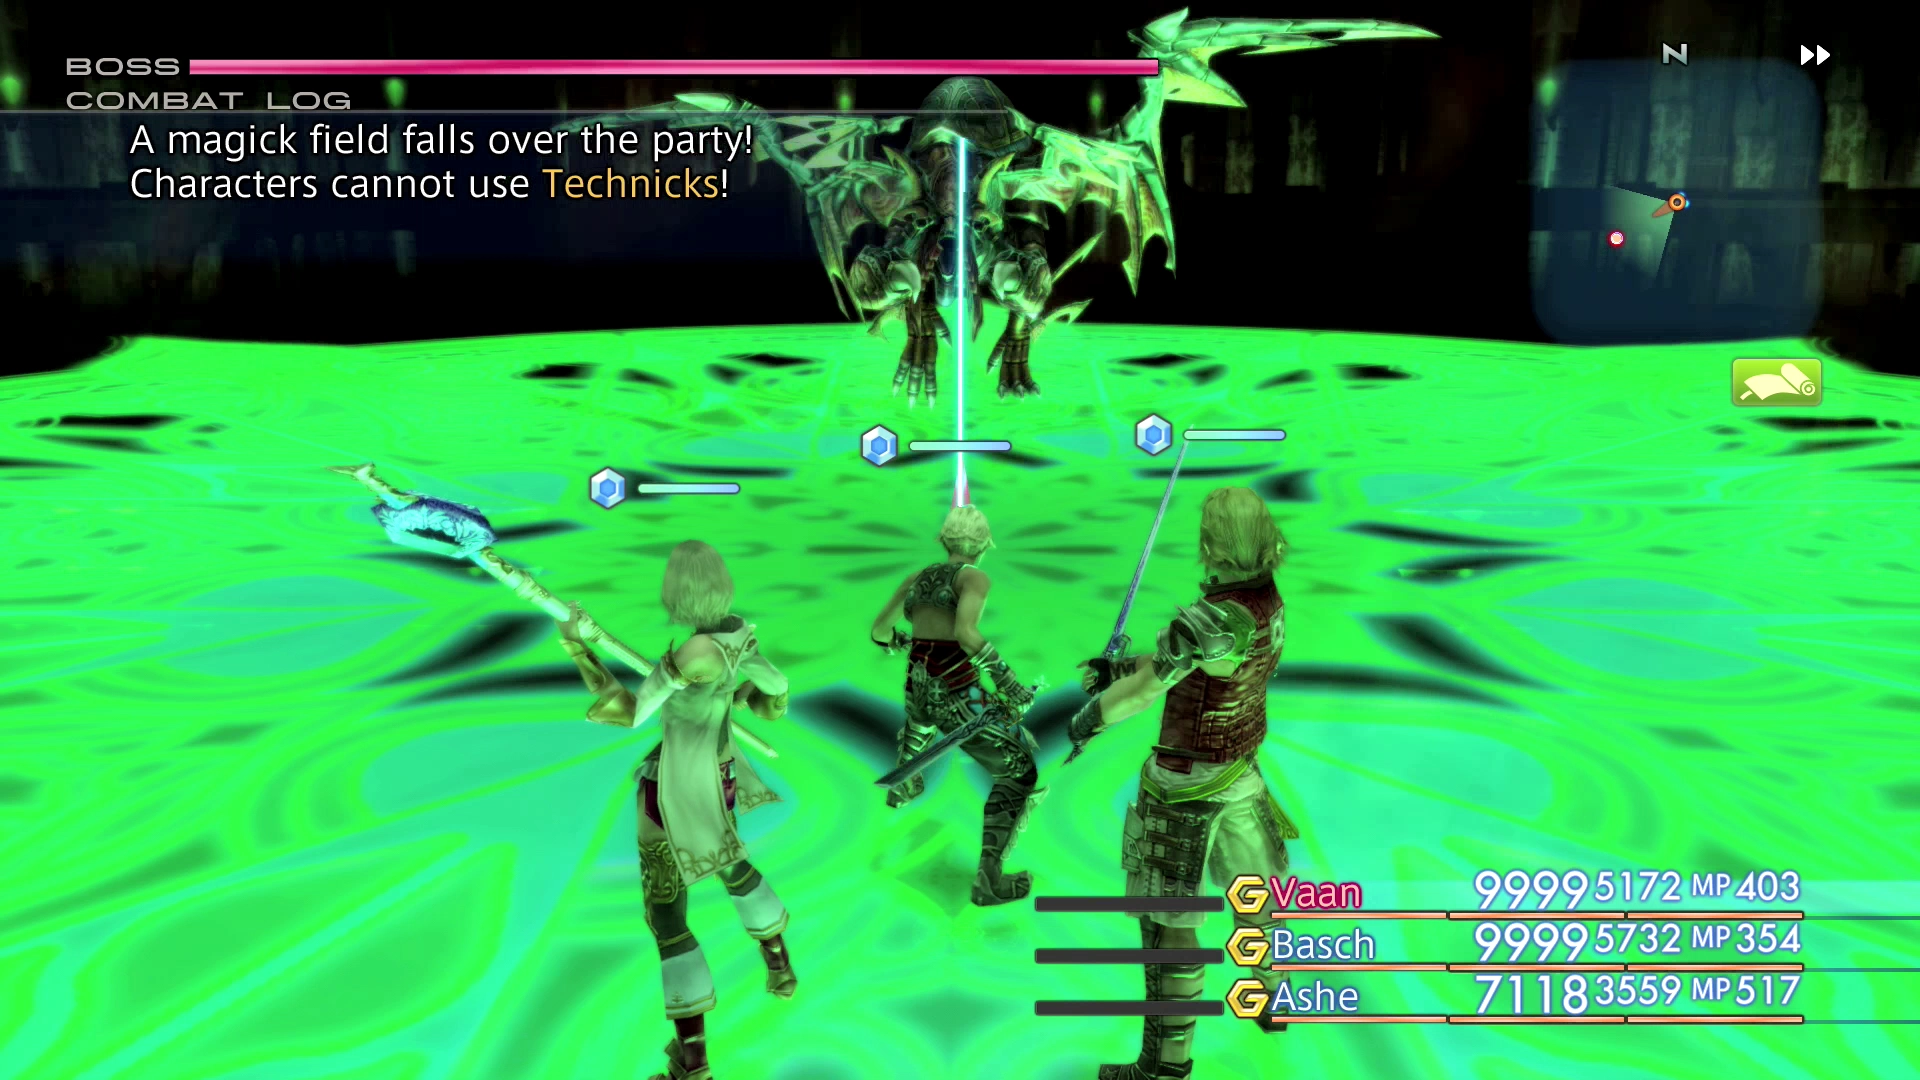
![]() Mirror Mail and
Mirror Mail and ![]() Ruby Rings can be used to reflect much of Tyrant’s Magick back at it. You should also then equip the
Ruby Rings can be used to reflect much of Tyrant’s Magick back at it. You should also then equip the ![]() Opal Ring to your healer so that healing spells will still get through to your other party members.
Opal Ring to your healer so that healing spells will still get through to your other party members.
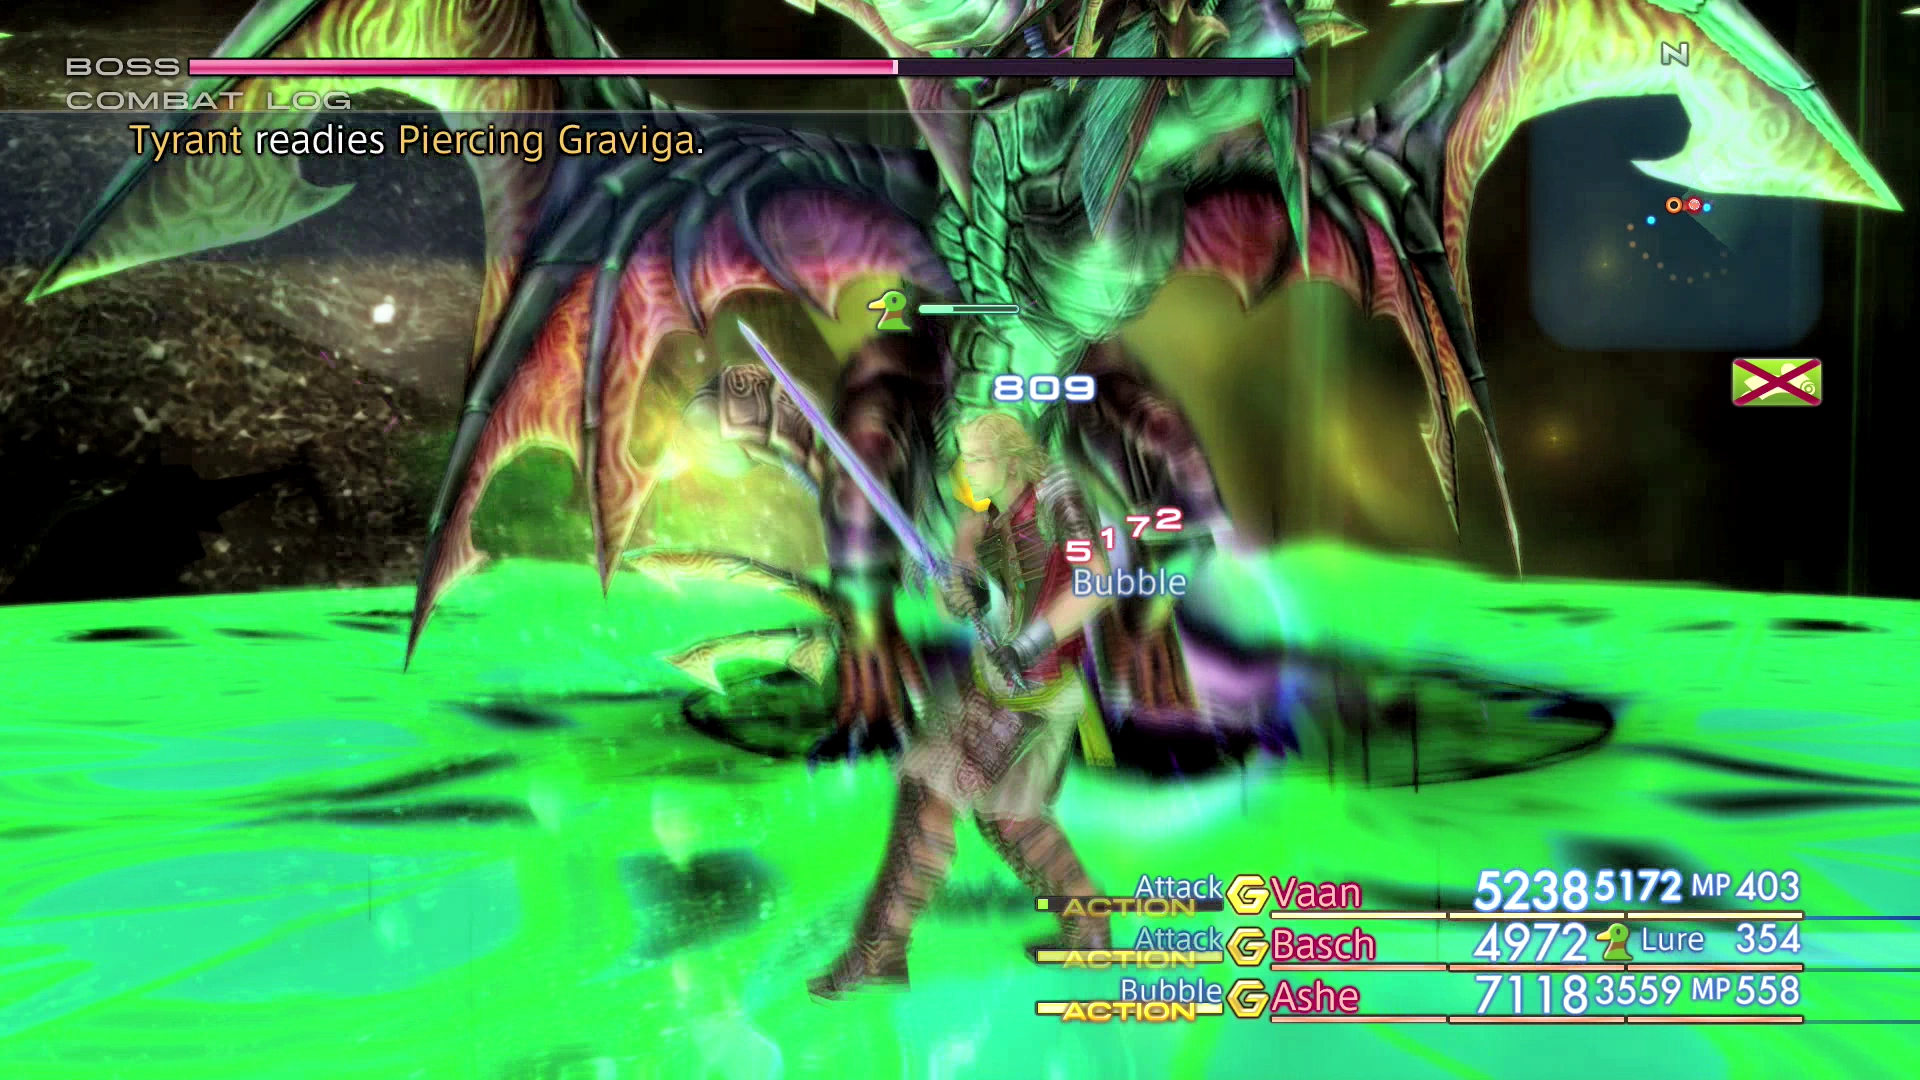
You can find a video of this battle in the Zodiac Age version below.
Once the battle has concluded, you may want to travel back to the Haalmikah Water Steps to save your game at the Save Crystal. However, if you do, the Gate of Fire zone will be full of enemies the second time you travel through it. You can still run past them but should be prepared to take a bit of damage.
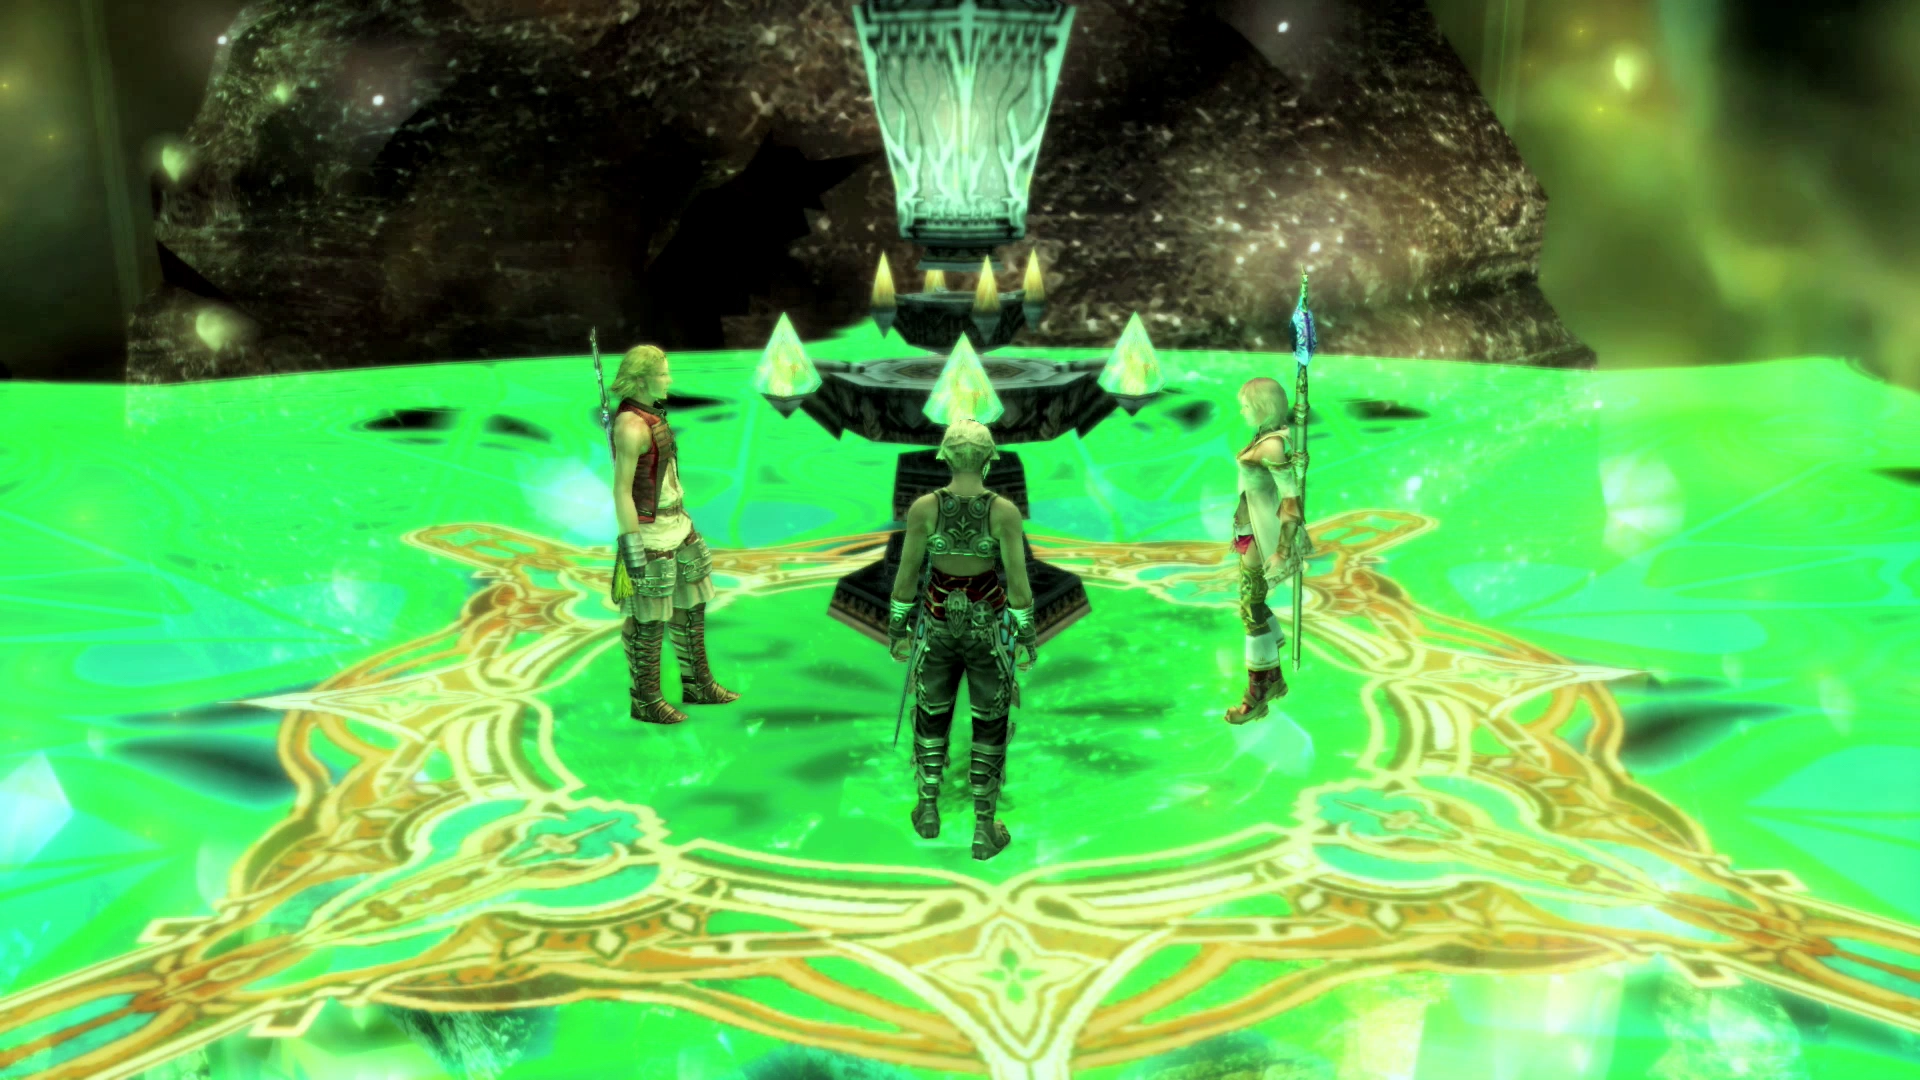
Use the Way Point to warp to the next area.


