The Pharos - Second Ascent
Reach of Diamond Law
The Reach
We are not quite done climbing the Pharos just yet. Head to the northwest section of The Reach to find a Save Crystal where you can save your progress.
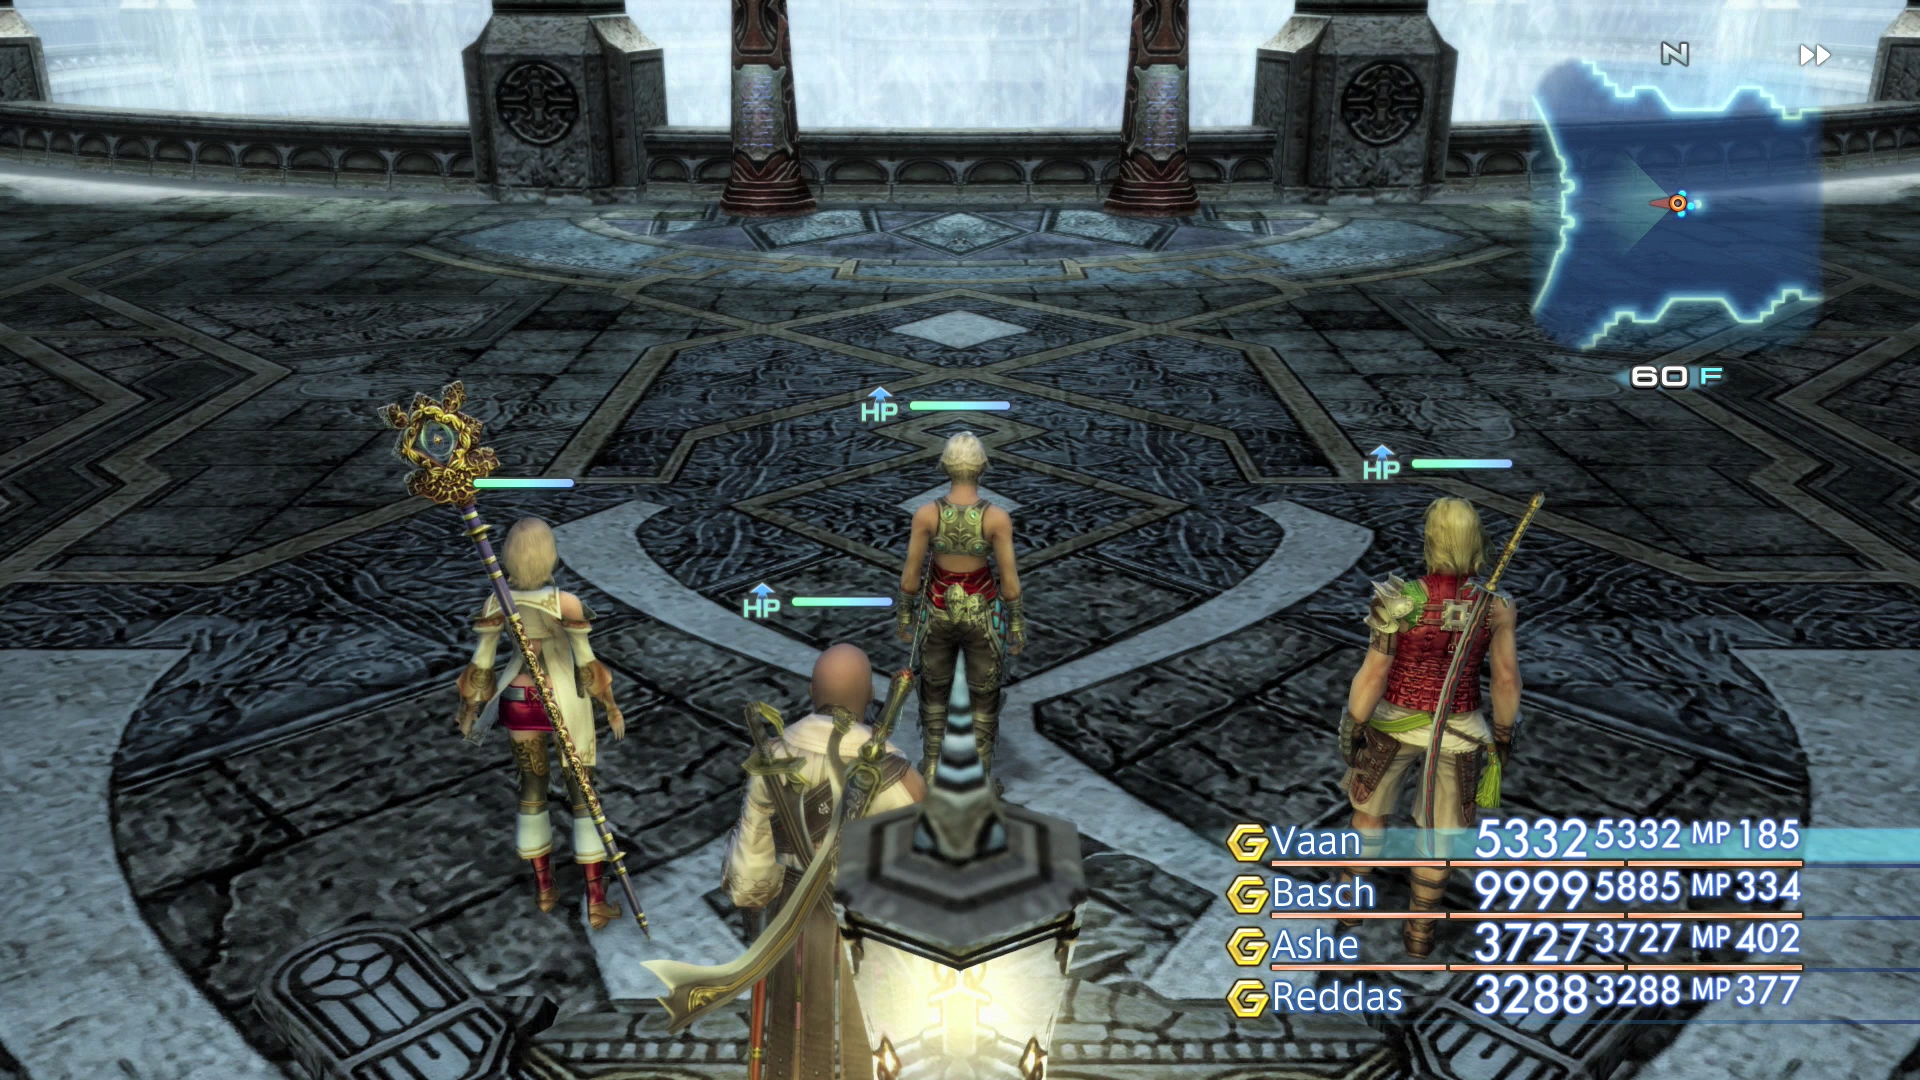
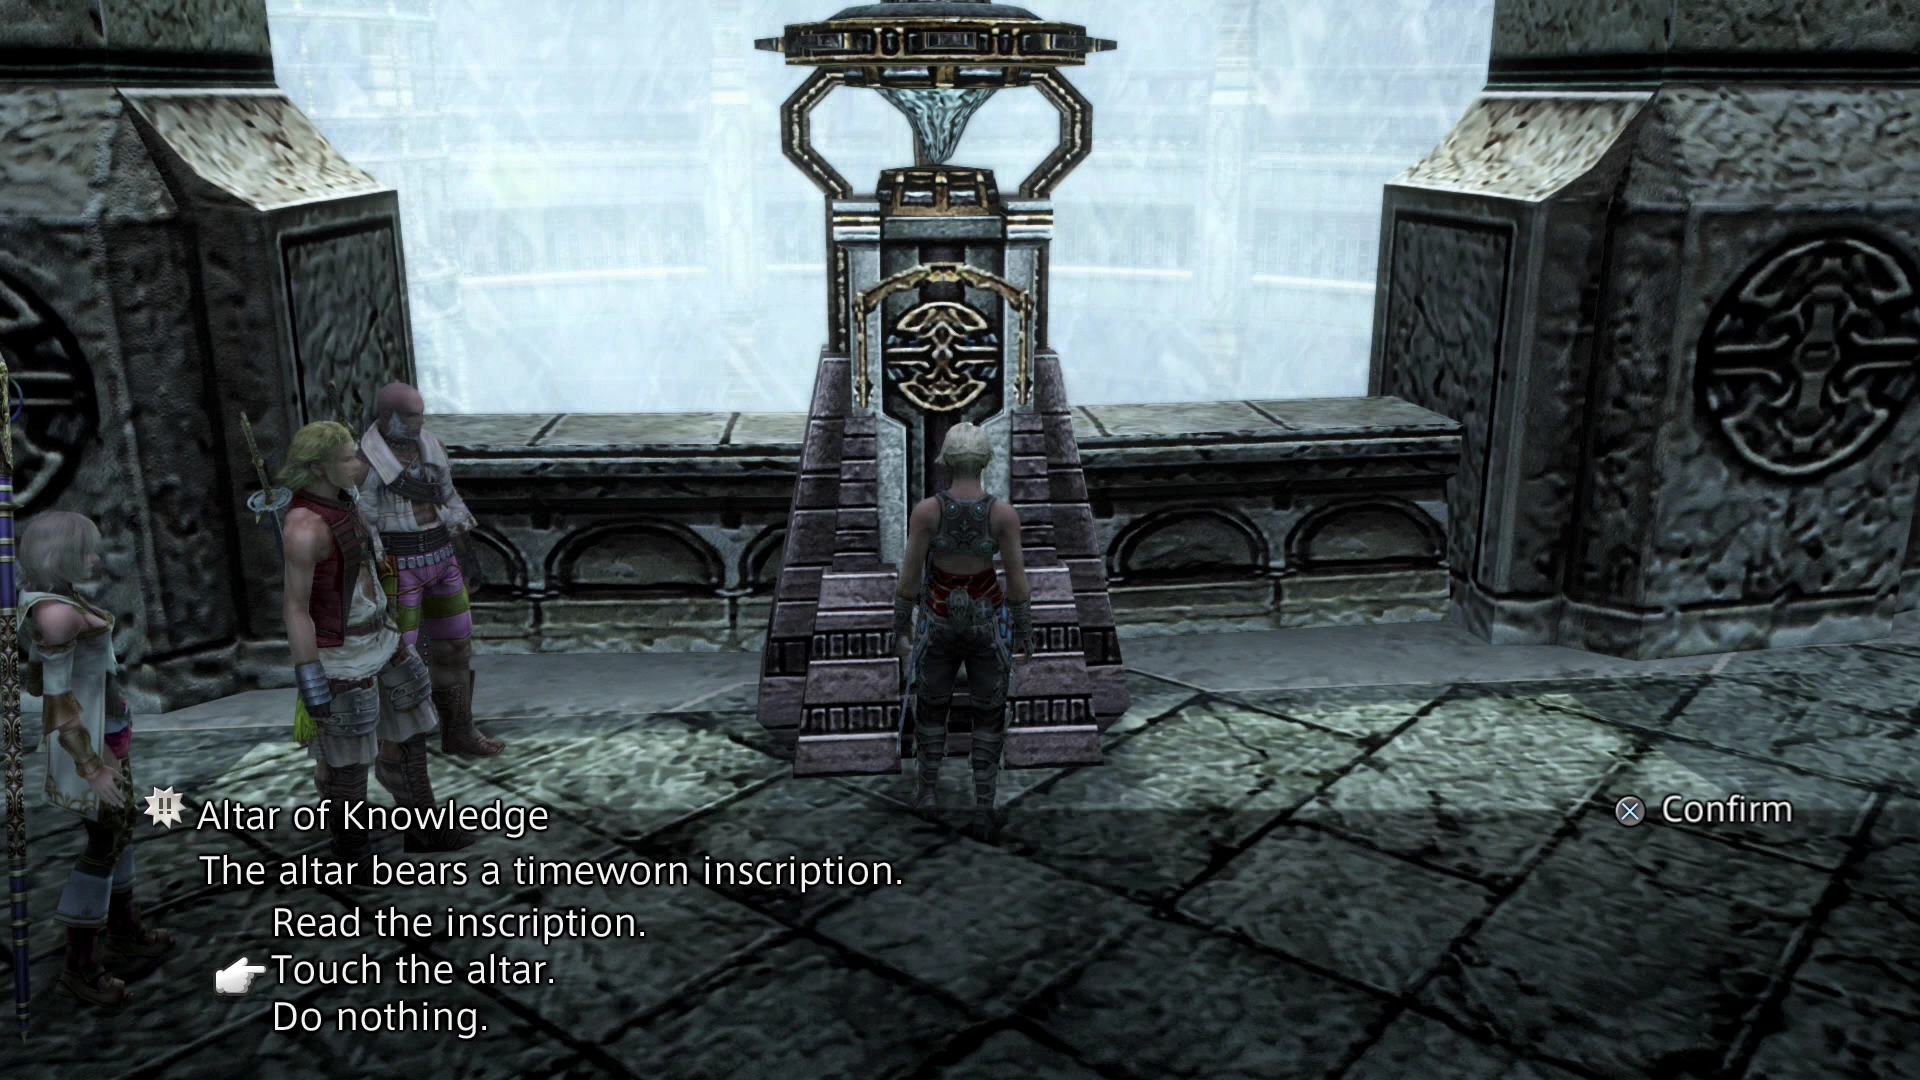
Traveling through the next few levels of the Pharos in the Second Ascent involve exploring without one of your primary commands. You will notice that there are four Altars located around The Reach. Examining an Altar and choosing to “Touch the Altar” will seal one of your abilities according to the following:
- Altar of Knowledge (Pink) will remove access to your mini-map
- Altar of Magicks (Purple) will remove the ability to cast Magick spells
- Altar of Steel (White) will remove the ability to use the Attack command
- Altar of Wealth (Yellow) will remove the ability to use items
You might be able to get away without using the Attack command by focusing on Magick spells and Technicks; you might be able to get around using items by focusing on Magick spells; but the easiest ability to do without is the ability to access your mini-map.
The mini-map will no longer appear in the top-right corner of the screen, but you can still use the button to bring up the main map to see where you are as a sort of work-around.
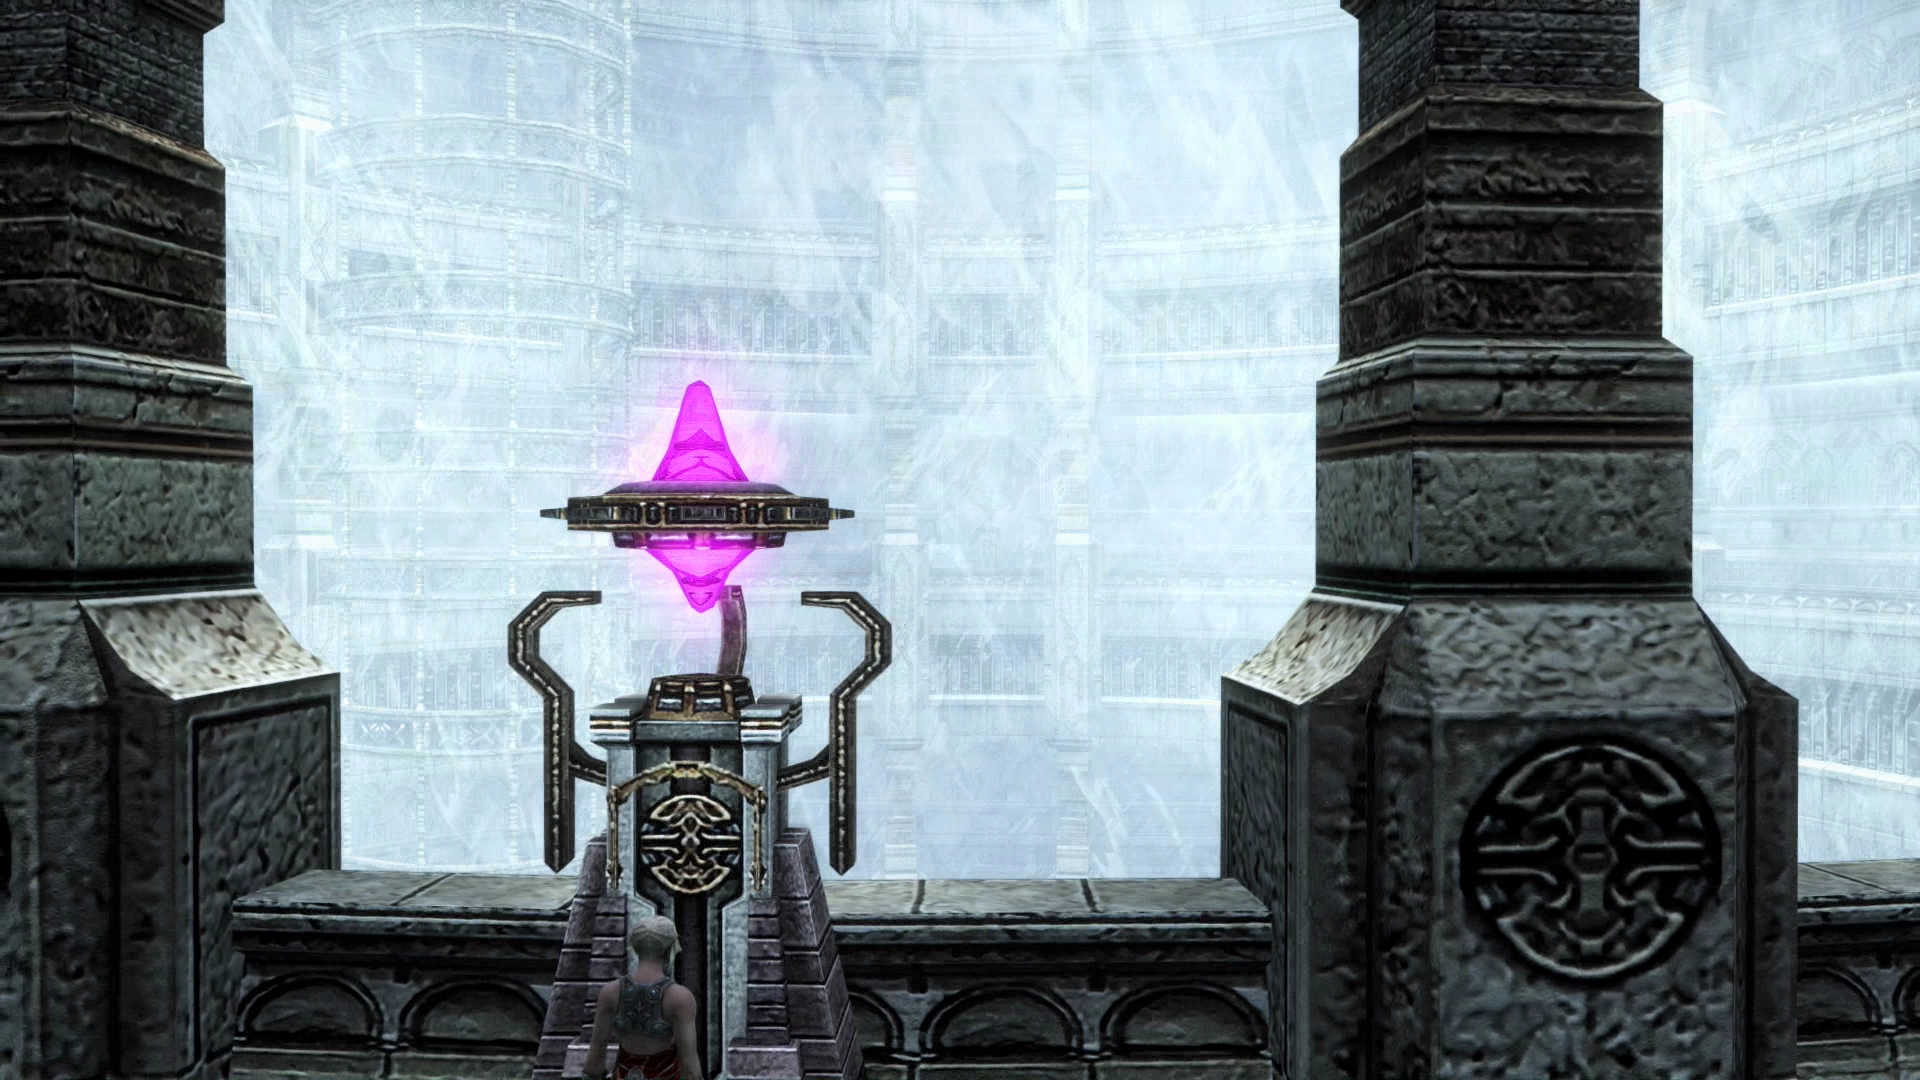
Walk over to the Altar of Knowledge, which is located in the southeast corner of The Reach. Choose to “touch the Altar” to activate it and then proceed through the doorway that opens up behind your team leading up to the next level.
Station of Banishment
You will start off in one of the corners of the Station of Banishment and the corner will depend on which Altar you chose in The Reach. Regardless of where you start, there are two stairways that you can use to reach the next level up: there is one in the northeast corner and one in the southwest. This will take you from 61F to 62F.
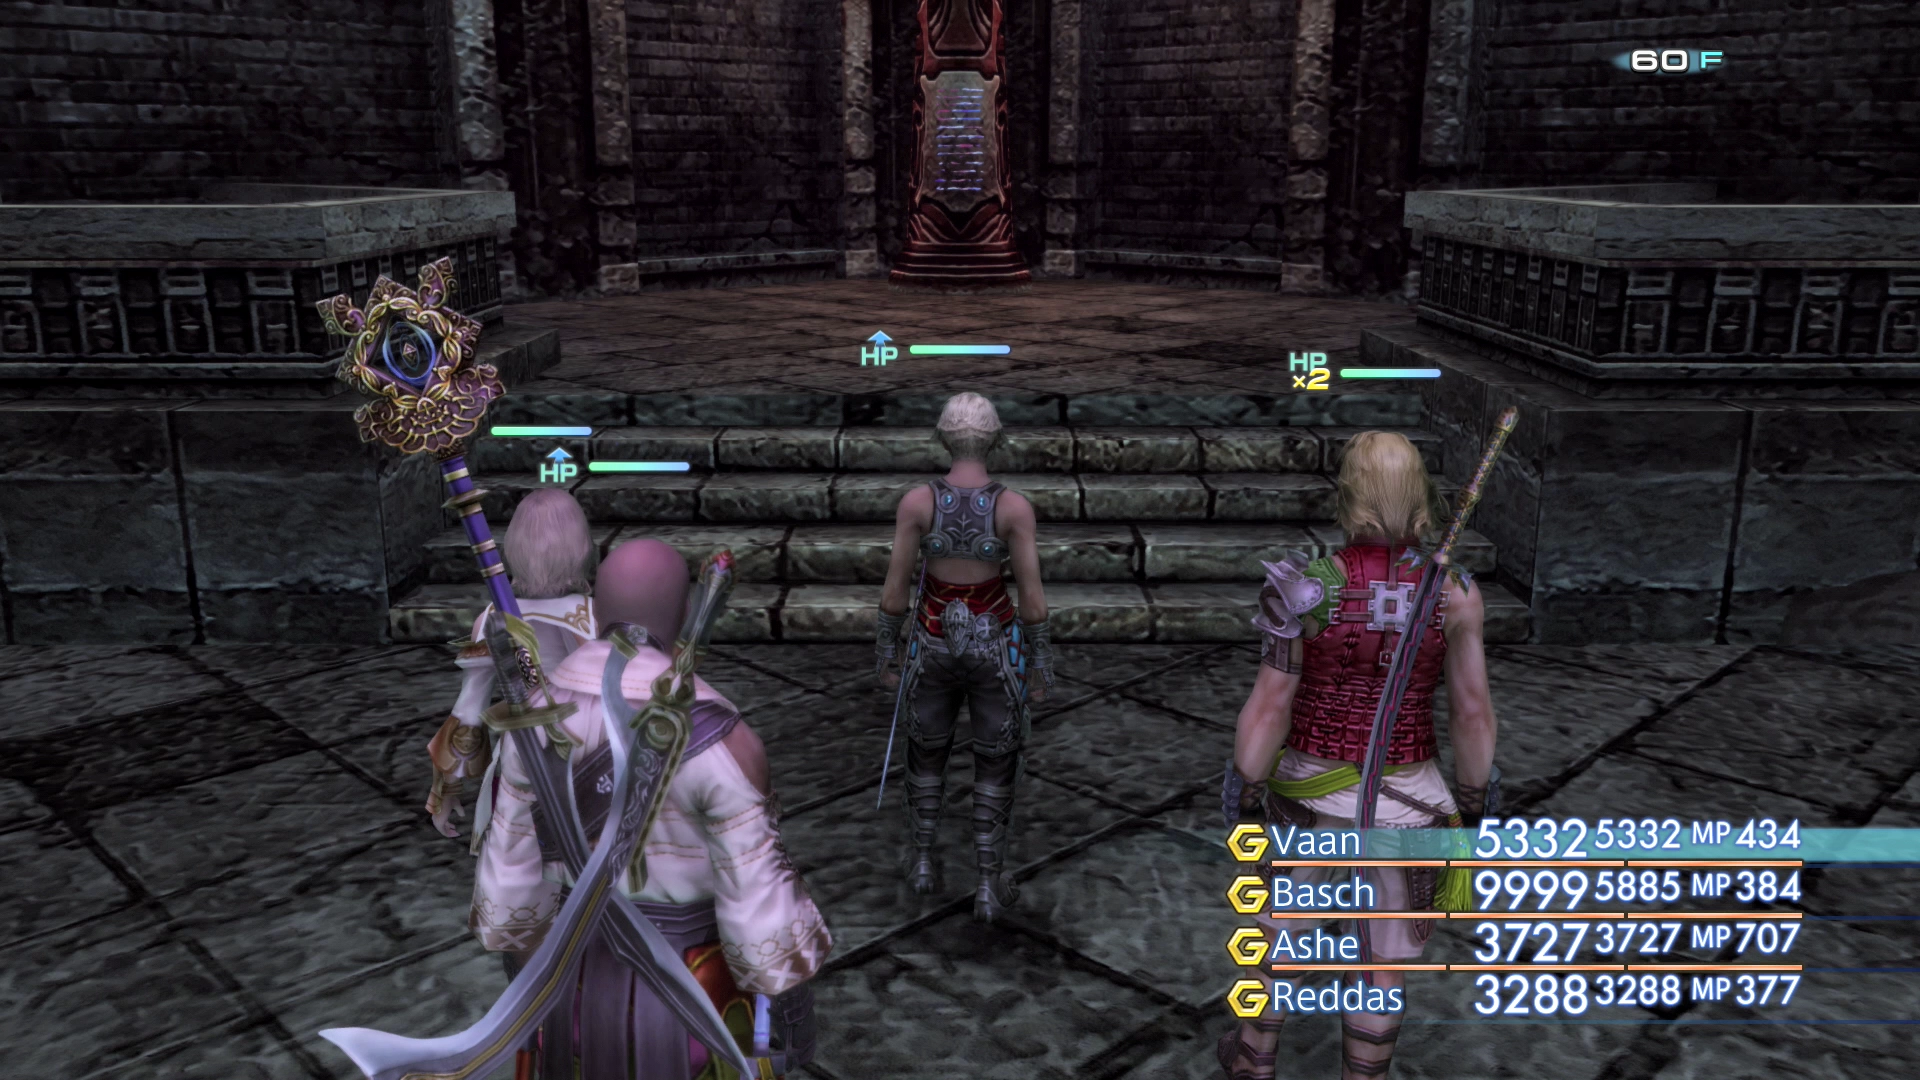
There are three treasure chests that you may wish to obtain while in this area. One contains an ![]() Opal Ring, one contains a pair of
Opal Ring, one contains a pair of ![]() Quasimodo Boots and one contains a
Quasimodo Boots and one contains a ![]() Minerva Bustier.
Minerva Bustier.
Station of Suffering
Again, you will start off in either northeast corner or the southwest corner of the Station of Suffering, with the goal being to reach the southeast corner which contains the stairs leading from 62F to 63F.
However, before making your way to the next floor, travel to the northwest corner of this floor to find the green Urn which contains the map of the Pharos: Second Ascent. There is also a Fool’s Façade door in the southwest corner of the map.
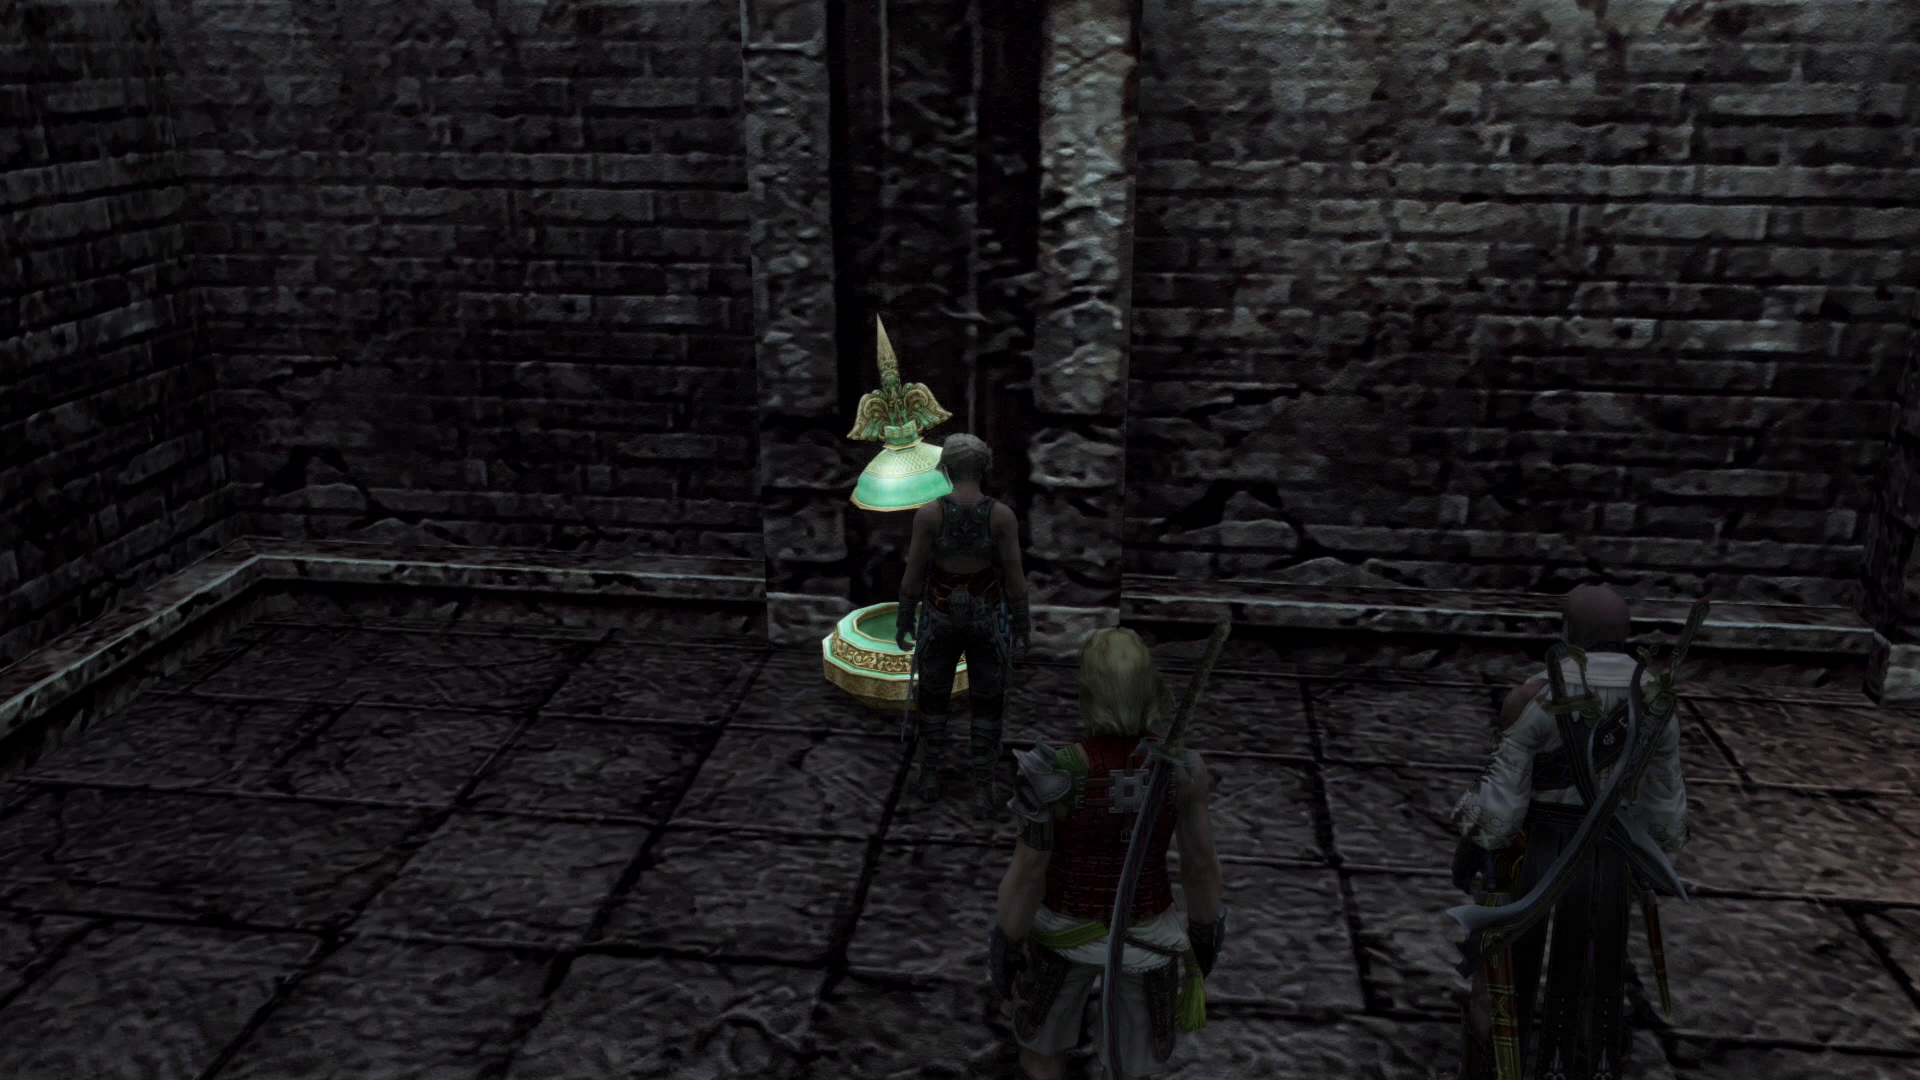
There is a treasure chest in the southwest area which contains a ![]() Zeus Mace and one in the north which contains a
Zeus Mace and one in the north which contains a ![]() Tula.
Tula.
Station of Ascension
You will start off in the southeast corner. The only things to find on this floor are two Fool’s Façade doors which can be found in the northeast and southwest corners of 63F. Travel to the northwest corner to find the stairs leading to the next level.
There are three optional treasure chests which you can pick up though. One contains the ![]() Gil Toss Technick, if you do not have it already, one contains a
Gil Toss Technick, if you do not have it already, one contains a ![]() Sash and the last contains a set of
Sash and the last contains a set of ![]() Dragon Mail armor.
Dragon Mail armor.
Reach of the Damned
The Reach of the Damned is 64F. There is a Save Crystal just outside the room that you arrive in out on the circular pathway.
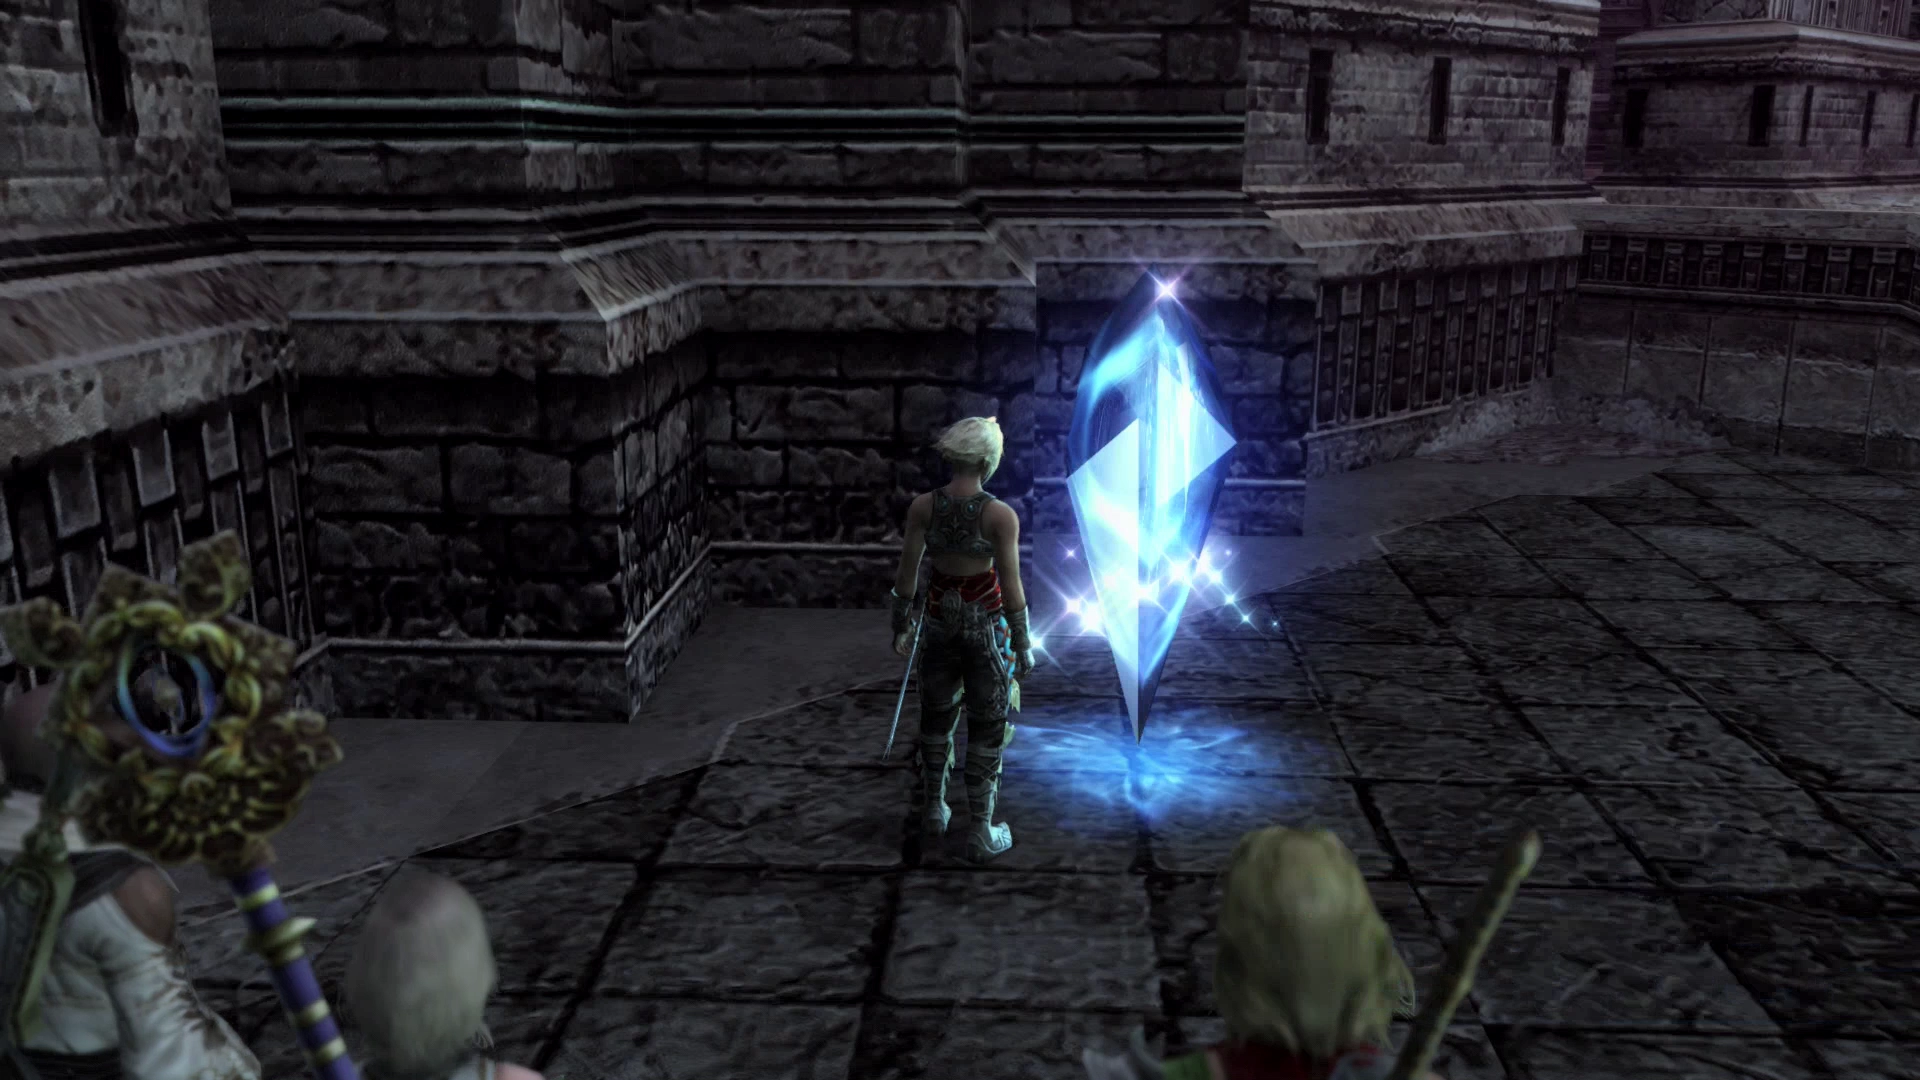
Save your game before proceeding and then take the stairs in the southwest corner up to the next level.
The Bounds of Truth
This floor is similar to the Horizon’s Cusp floor in the First Ascent where you fought Slyt and there will be another boss battle for you on this floor.
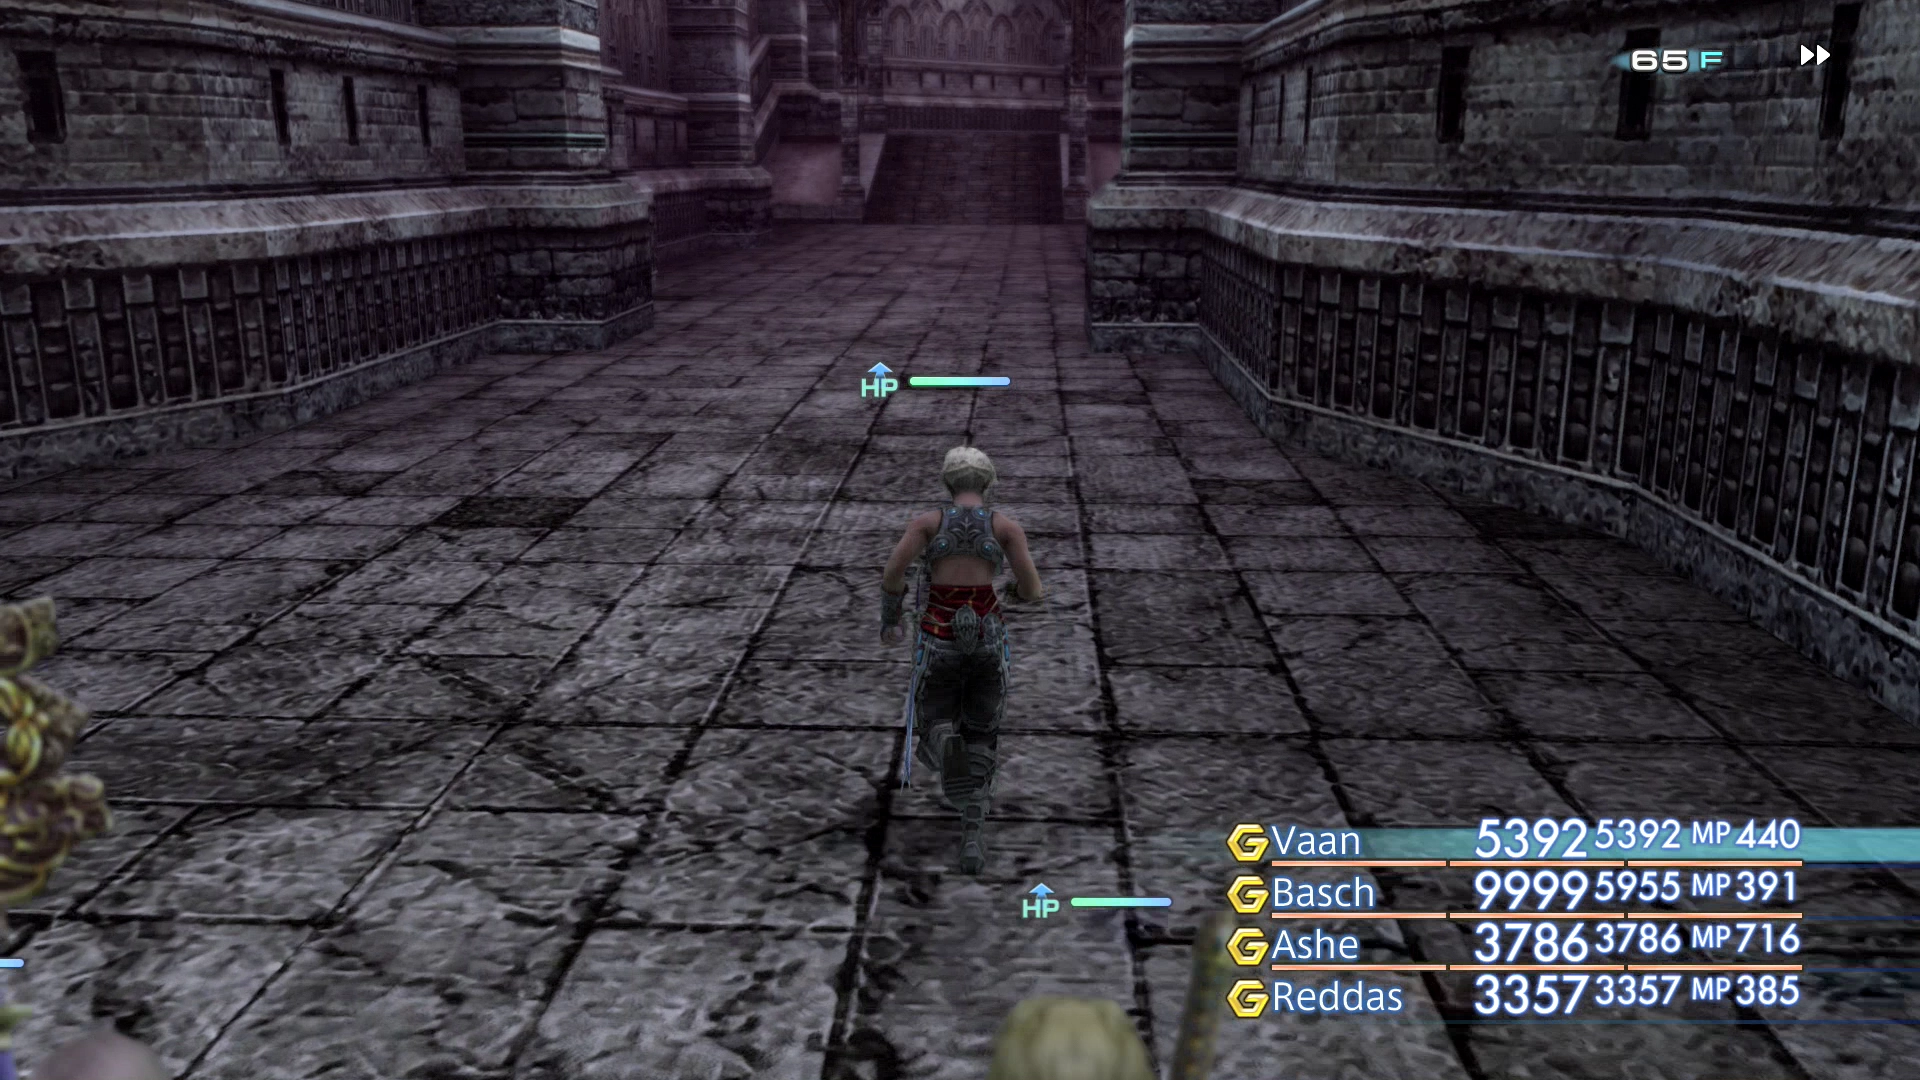
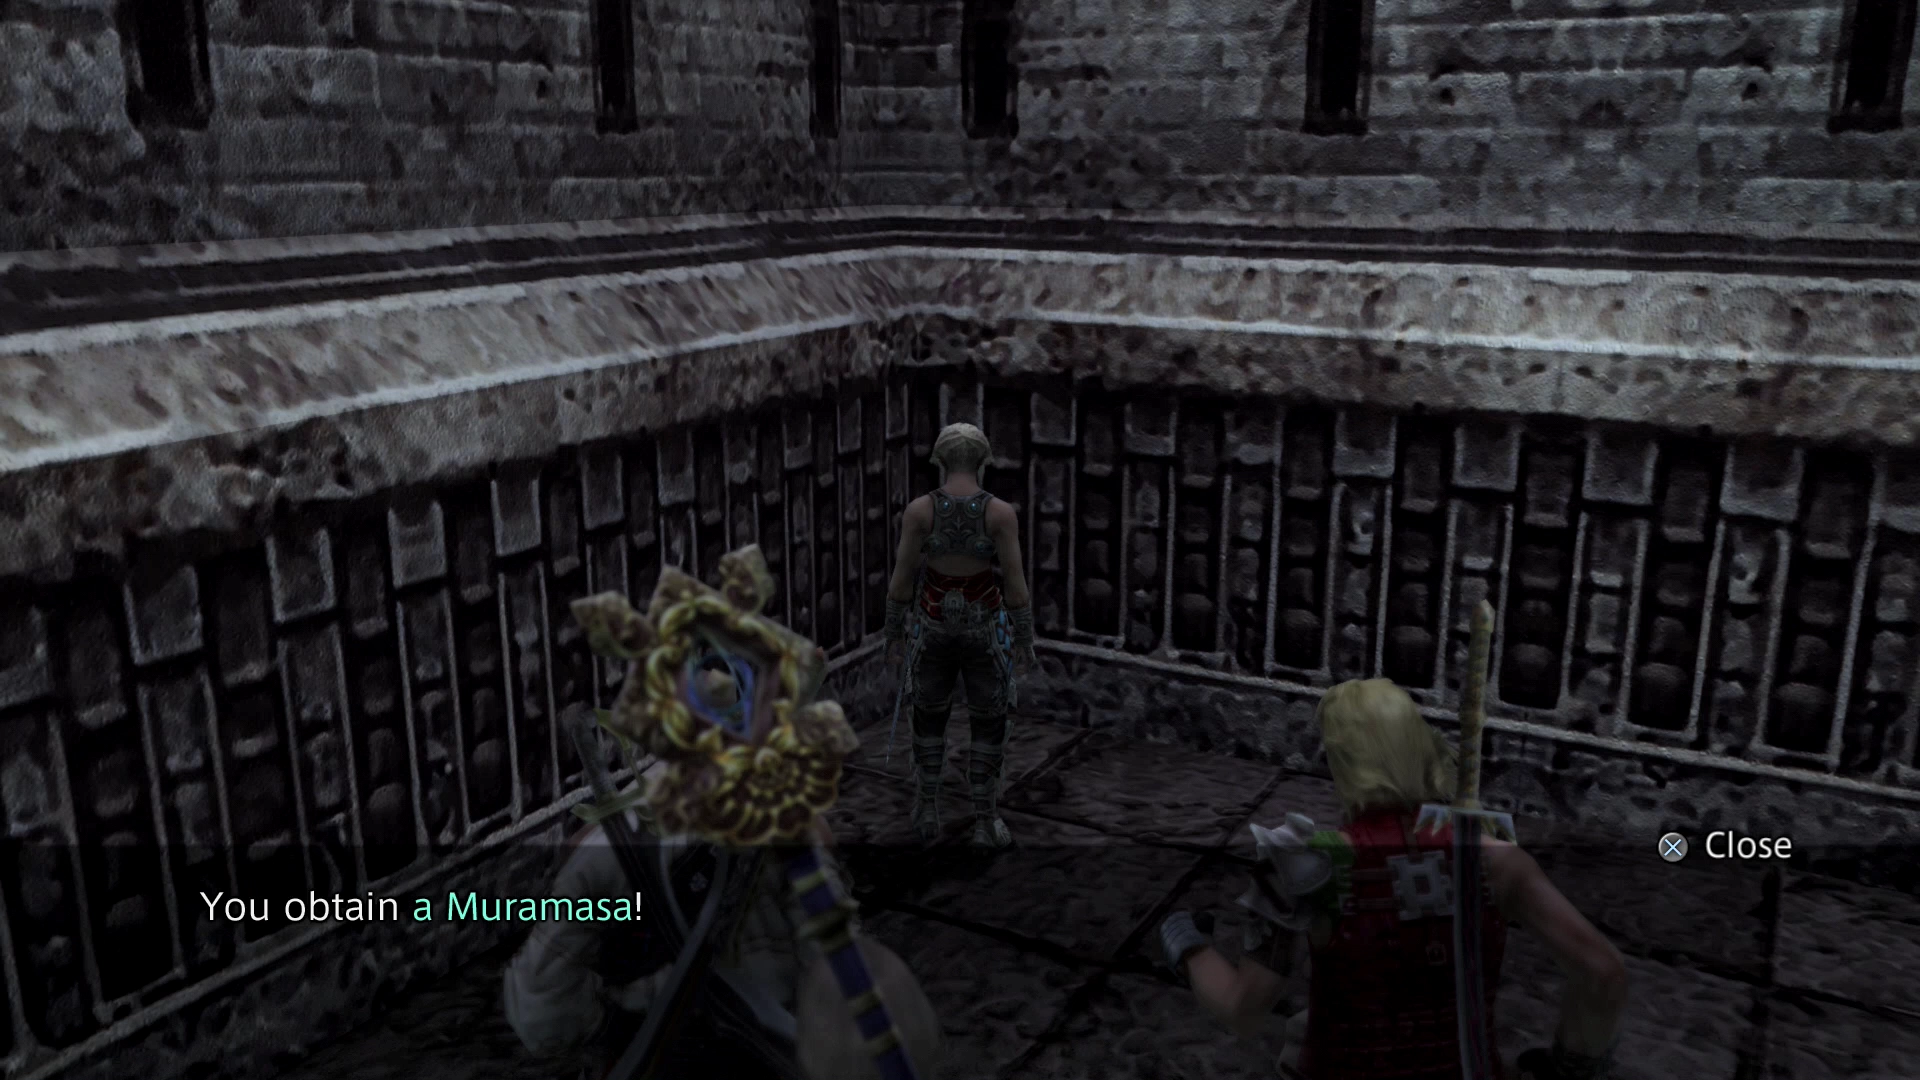
Travel around the pathway and open the Ancient Door into the next room but make sure you grab the treasure chests just outside the door. One of them contains a ![]() Muramasa.
Muramasa.
Cleft of Profaning Wind
Walk forward to initiate another boss battle.
Boss Battle
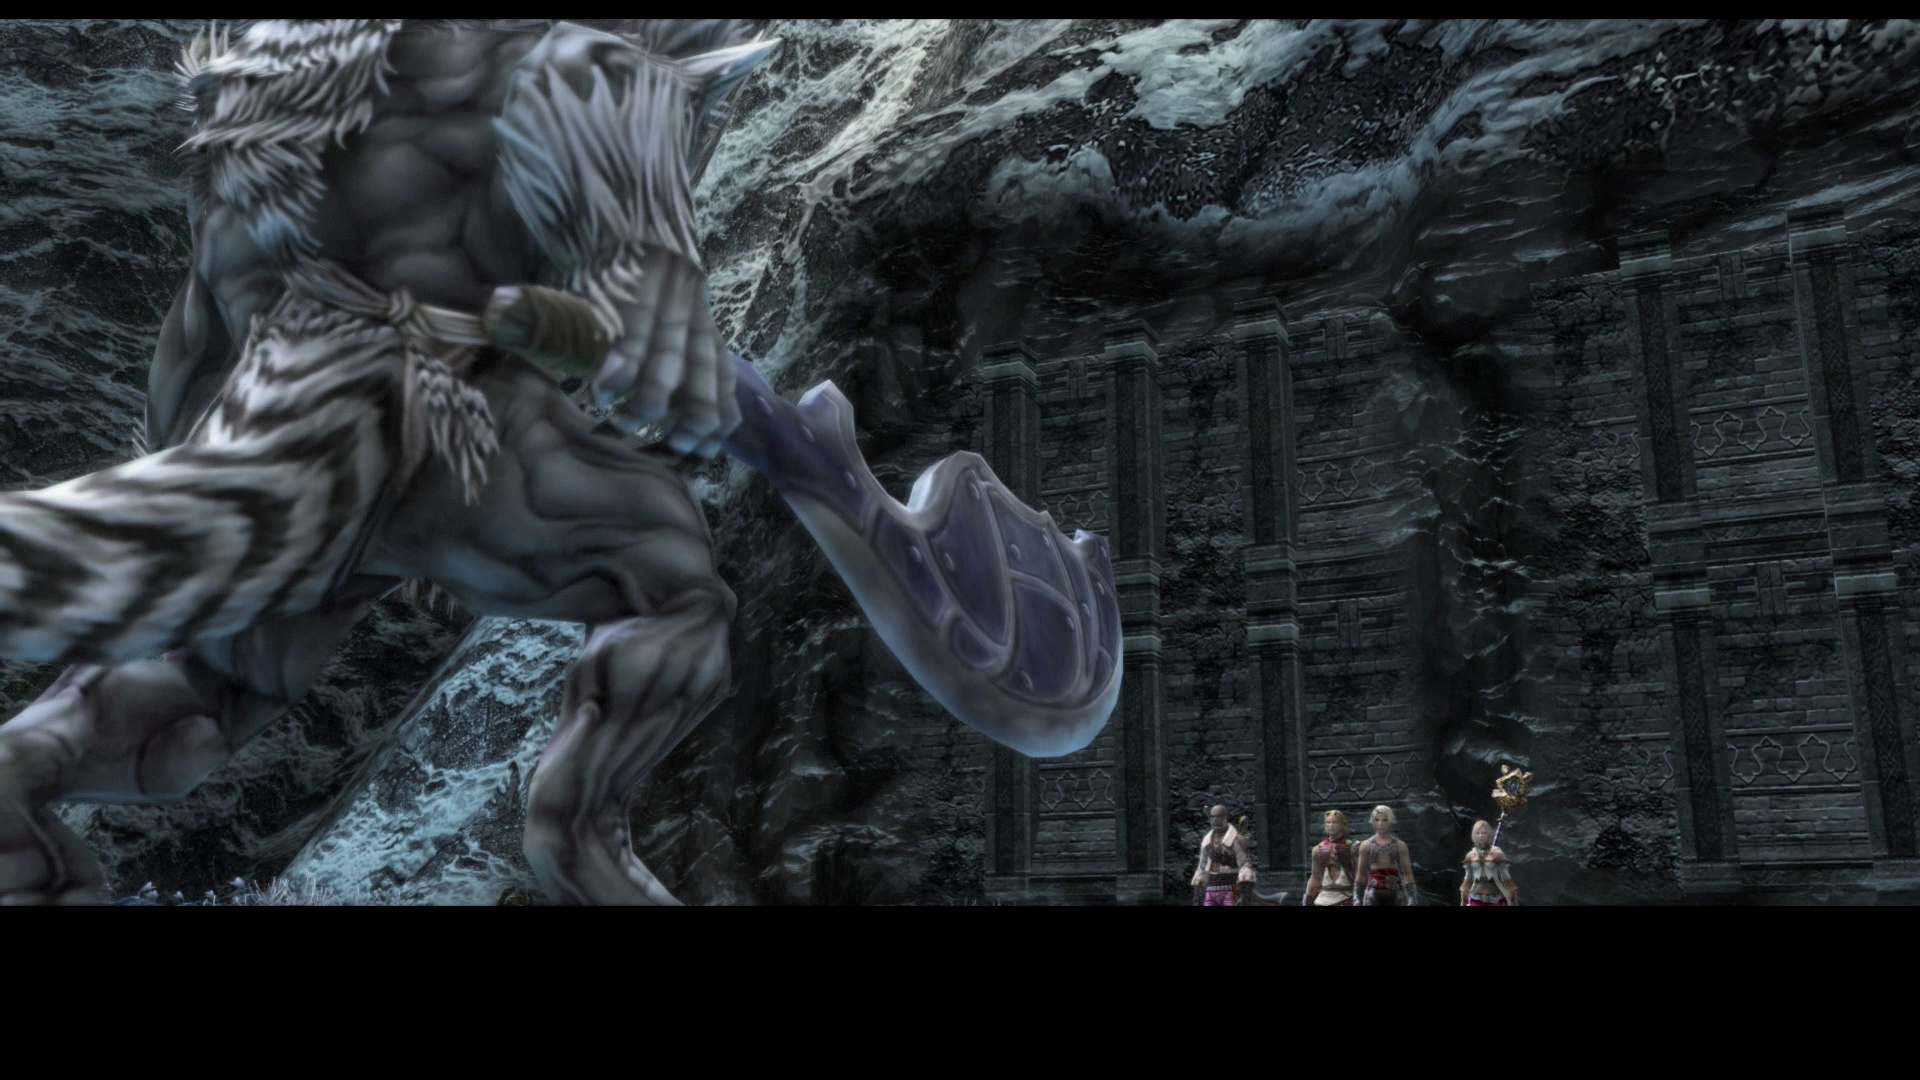
Level: 49
HP: 189,992
Steal: ![]() Beastlord Hide (55%),
Beastlord Hide (55%), ![]() Beastlord Horn (10%),
Beastlord Horn (10%), ![]() Behemoth Steak (3%)
Behemoth Steak (3%)
This fight can differ depending on which Altar you choose to touch and which command you no longer have access to. Assuming you chose the Altar of Knowledge though, this battle will be fairly straightforward.
The only thing to note about Fenrir is that his attacks do some heavy physical damage and he can intermittently cast ![]() Blind and
Blind and ![]() Silence. Equip your party members with either an
Silence. Equip your party members with either an ![]() Argyle Armlet or
Argyle Armlet or ![]() Rose Corsage to prevent this, except for your tank who should equip a
Rose Corsage to prevent this, except for your tank who should equip a ![]() Bubble Belt.
Bubble Belt.
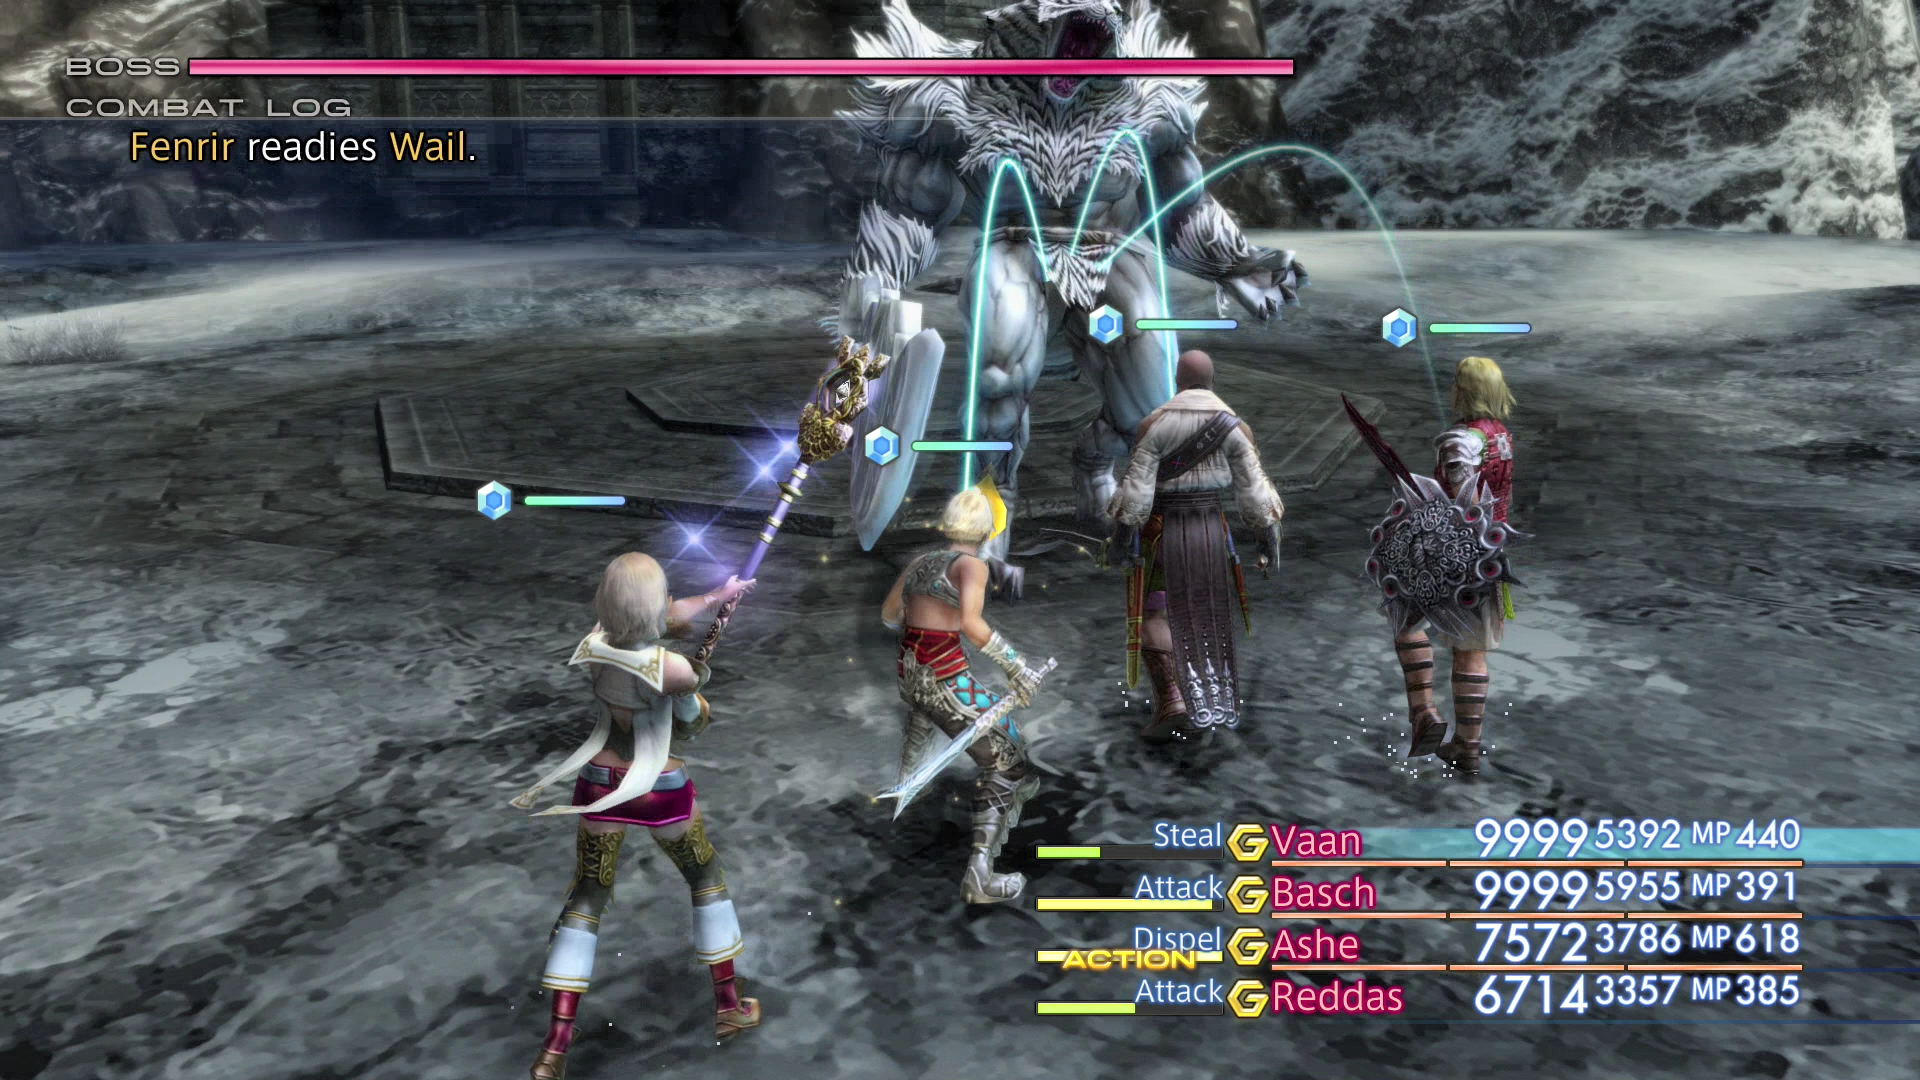
Be sure to keep ![]() Protect,
Protect, ![]() Bubble and
Bubble and ![]() Shell on all of your party members. Fenrir does not have many Magick-based attacks, but
Shell on all of your party members. Fenrir does not have many Magick-based attacks, but ![]() Shell can reduce the chances of Blind or Silence taking effect. You should also set up a
Shell can reduce the chances of Blind or Silence taking effect. You should also set up a ![]() Dispel Gambit to remove the
Dispel Gambit to remove the ![]() Bravery status effect from Fenrir which will greatly reduce the amount of damage he does.
Bravery status effect from Fenrir which will greatly reduce the amount of damage he does.
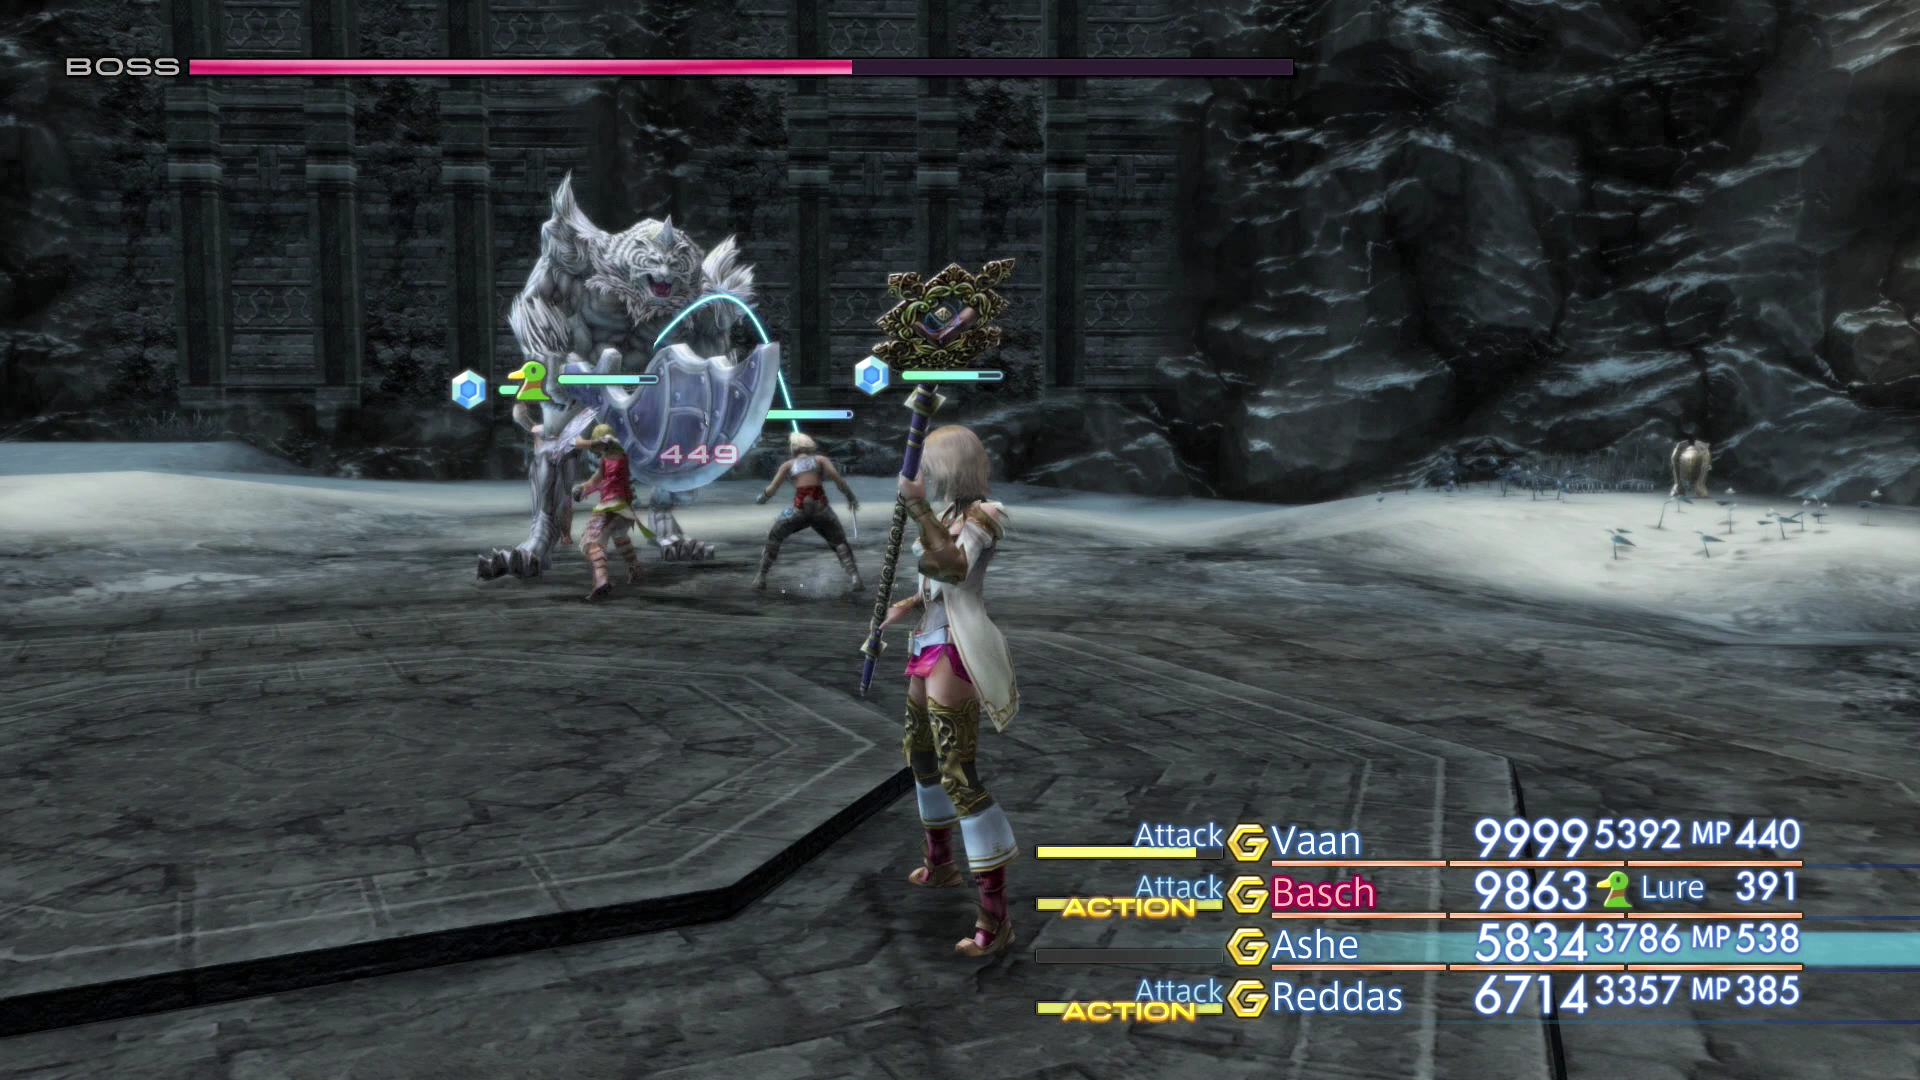
You can find a video of this battle in the Zodiac Age version below.
Continue around the Bounds of Truth and find the Altar that you chose earlier (the Altar of Knowledge if you have been following this guide).
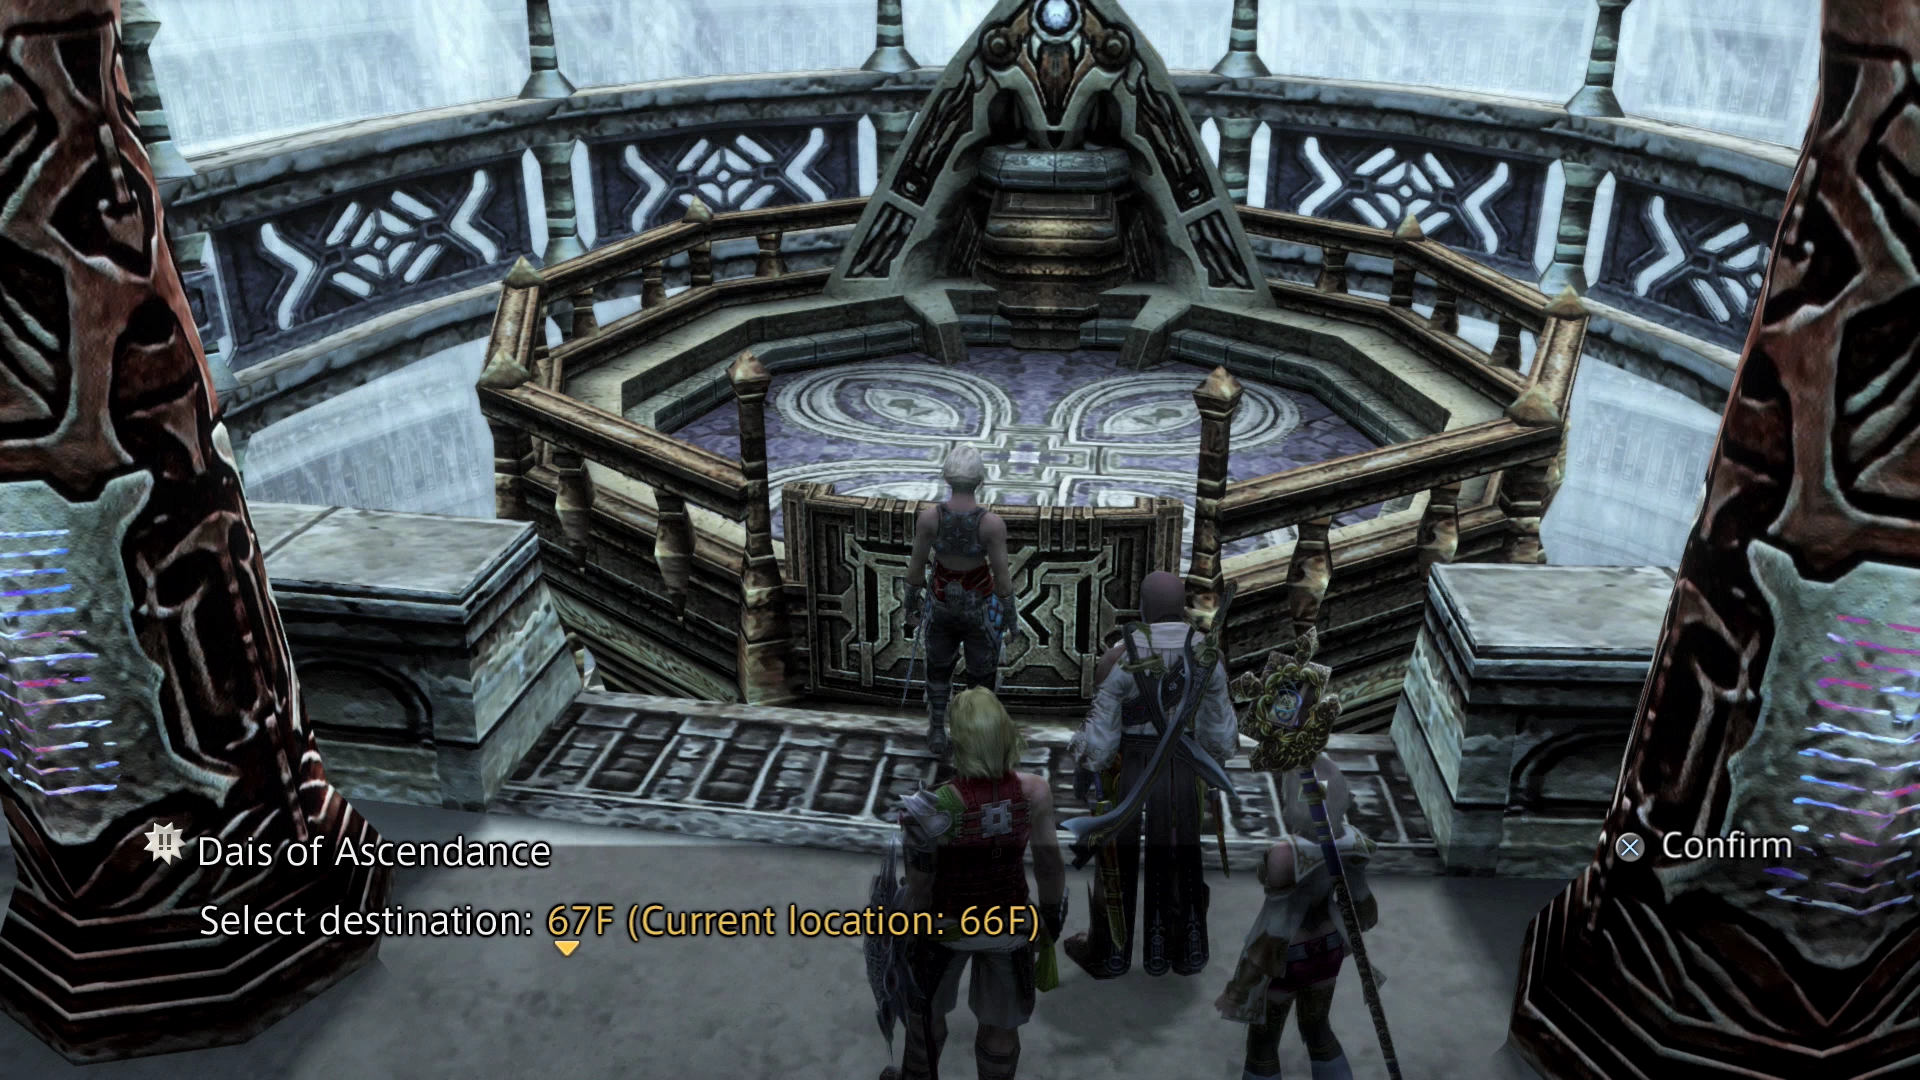
Touch the Altar to reactivate the ability you gave up. This will cause an elevator to appear in the center of the whirlwinds in the center of the room. Activate the elevator (Dias of Ascendance) up to 67F – the floor above.
Reach of the Occult
Save your game at the Save Crystal and touch the Way Stone to warp to the next level of the Ascent.


