The Pharos - Third Ascent
Mete of Dynasty
Spire Ravel – 1st Flight
The idea behind the Third Ascent is that you must use the various colored Sigils on each of the platforms to warp to the next area.
Selecting the wrong Sigil will warp you back to the start. Selecting the wrong Sigil twice will send you down to the lowest floor where you will be ambushed by a ton of undead enemies that have a good chance of wiping your party out.
That said, the lower floor area is where you will find the green Urn that contains the map of the Pharos: Third Ascent so you should travel there on purpose. Prepare your party by equipping each of your characters properly.
You will want to equip at least one or two of them with a ![]() Bowline Sash to prevent the Confuse status effect. Other party members should be equipped with a
Bowline Sash to prevent the Confuse status effect. Other party members should be equipped with a ![]() Bubble Belt or have
Bubble Belt or have ![]() Bubble cast on them by your healer to prevent the Disease status effect from taking hold. Set each of them up with an
Bubble cast on them by your healer to prevent the Disease status effect from taking hold. Set each of them up with an ![]() Esuna Gambit to heal one another as well.
Esuna Gambit to heal one another as well.
Touch the Green Sigil up ahead once to be teleported back to the start of this floor (Spire Ravel – 1st Flight) and touch it a second time to be teleported down to 79F. You will start off in the center of the room and you will be able to see the green urn in the distance.
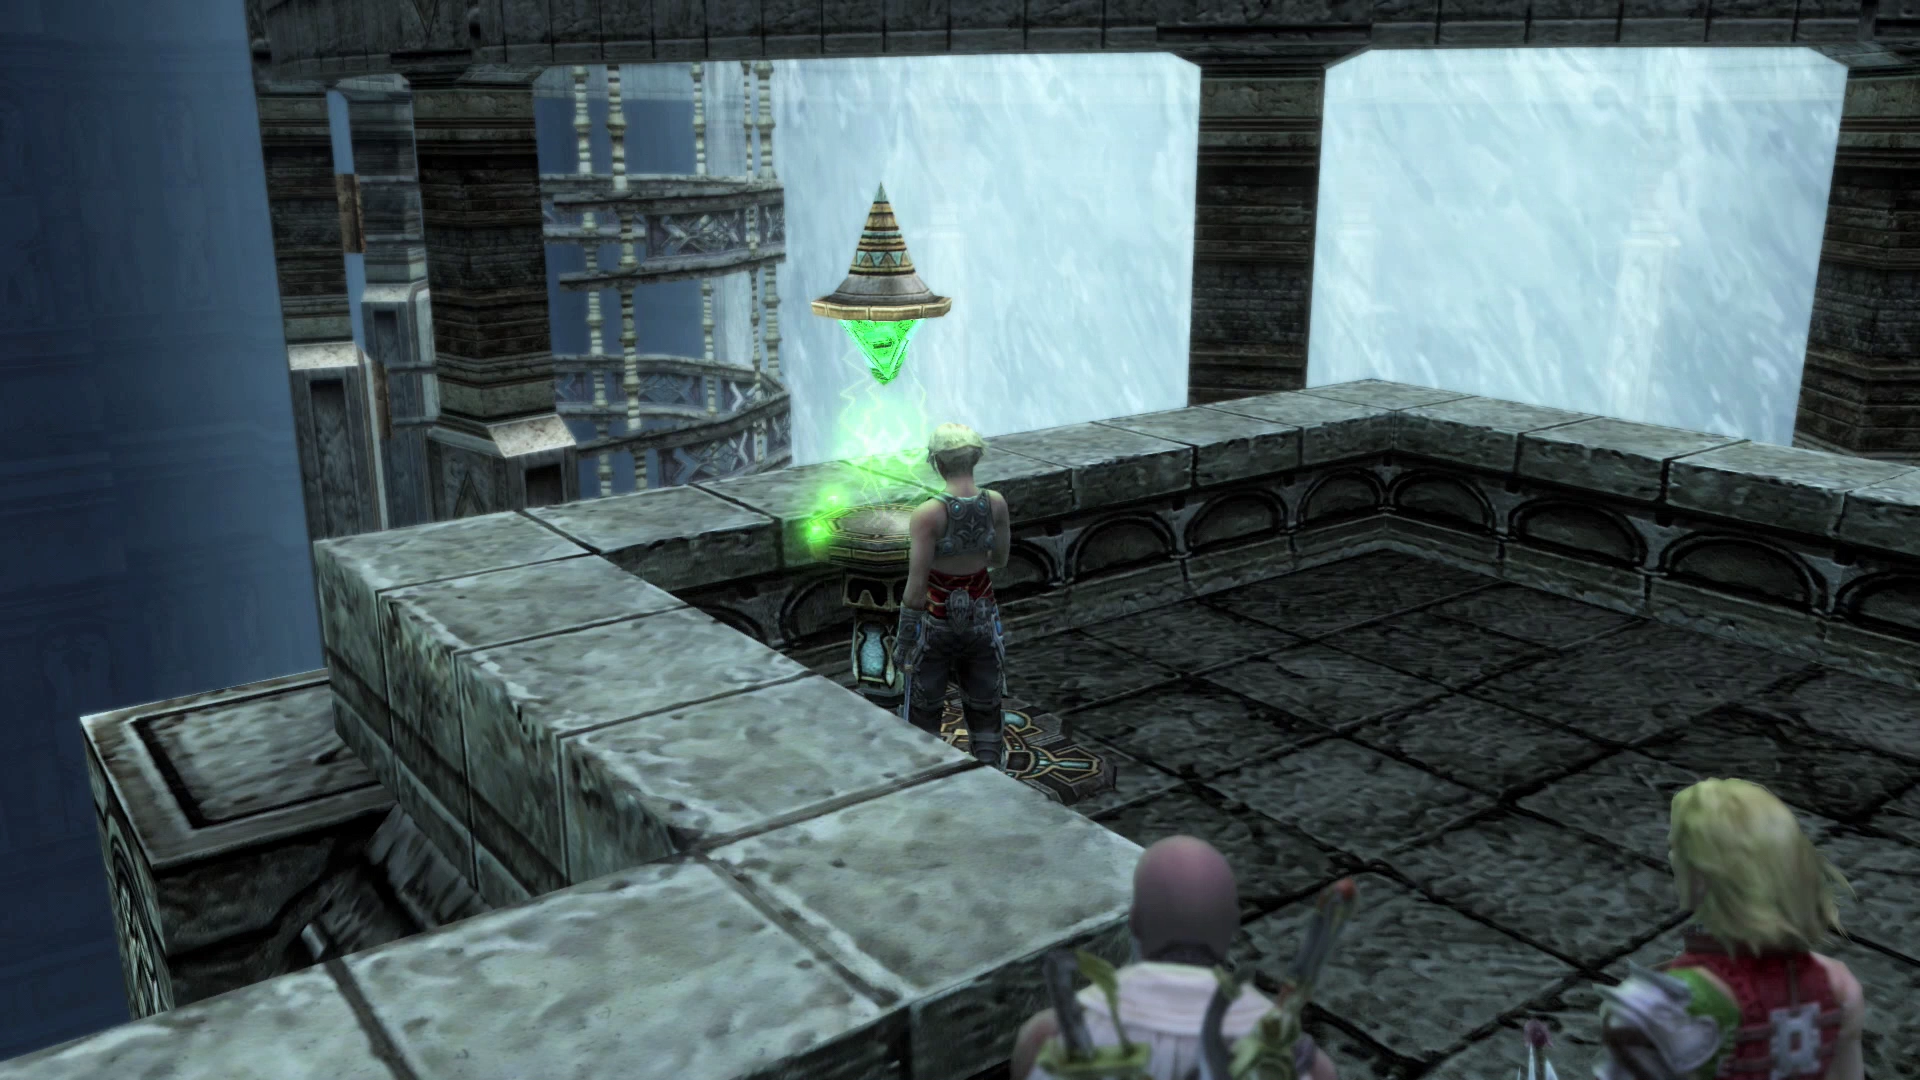
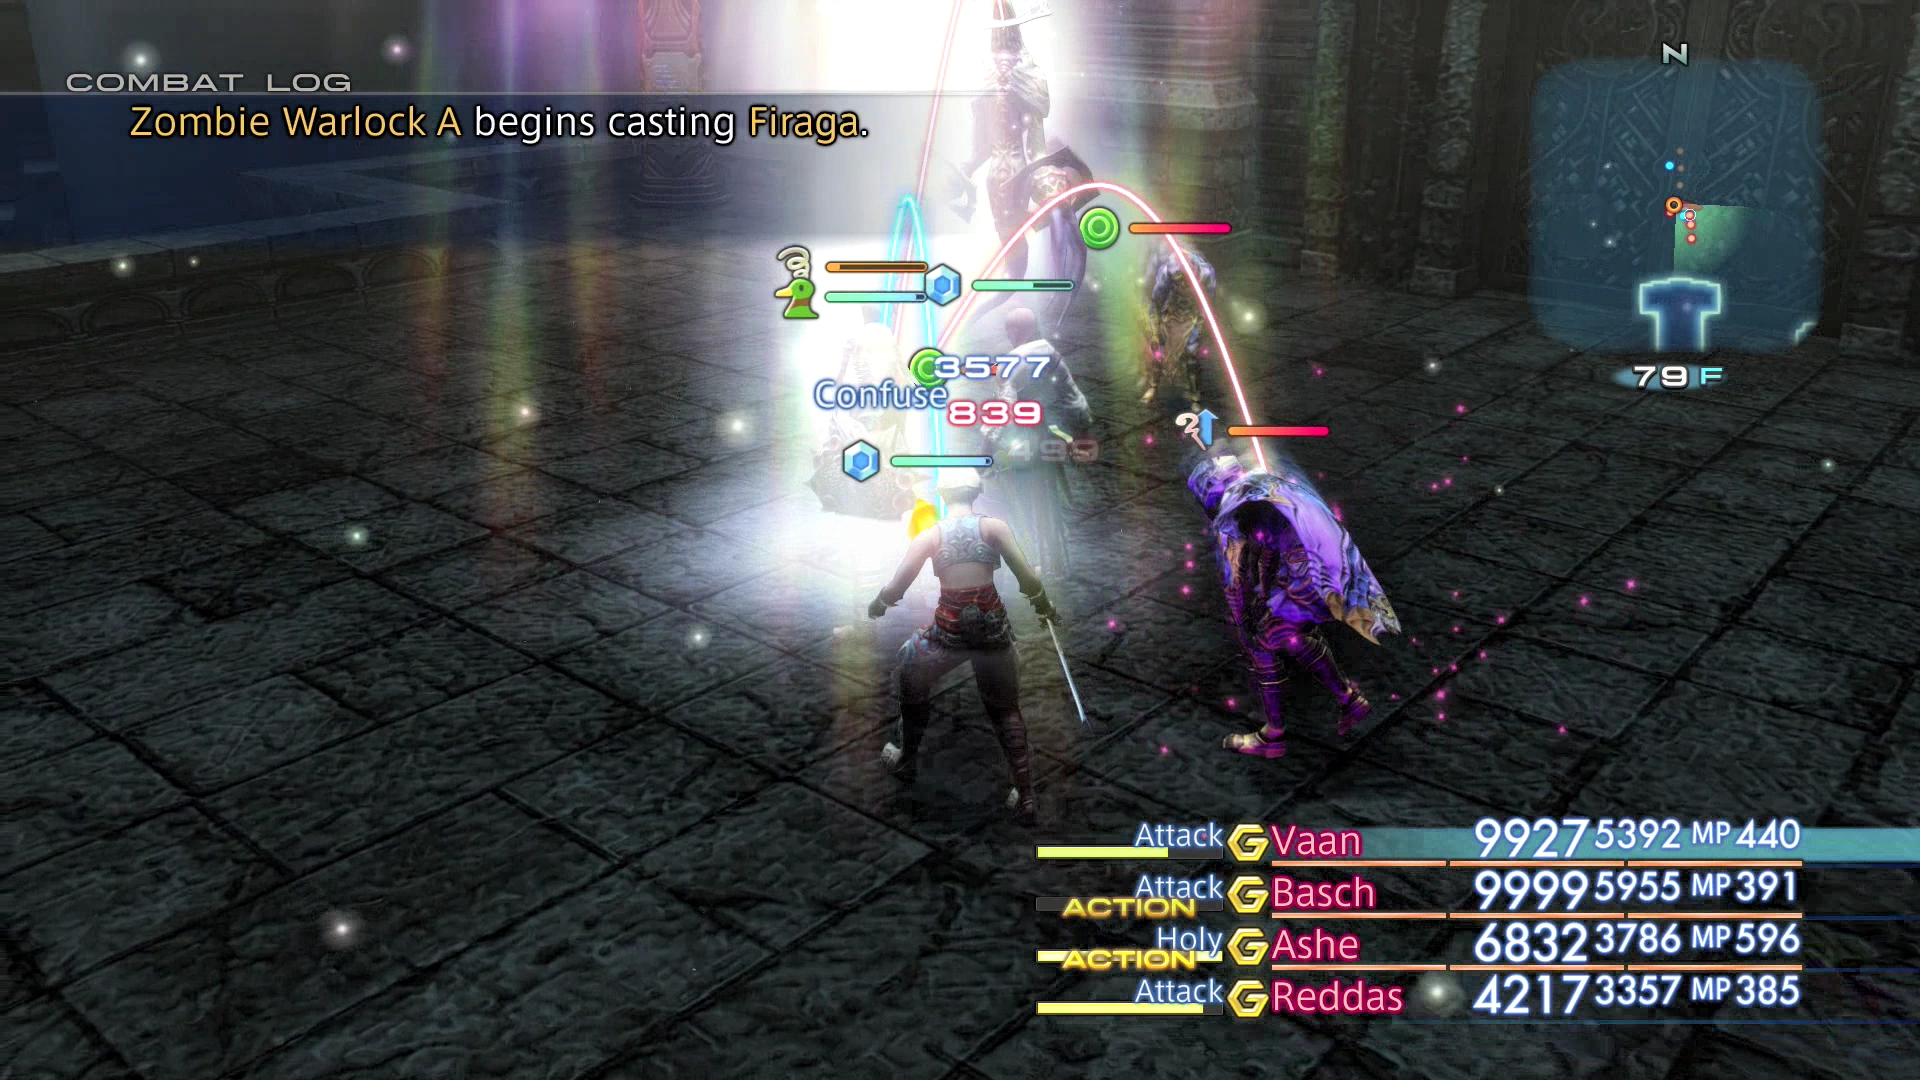
Slowly work your way over to the urn but be careful not to let your party members spread out too far or too fast or you will be overwhelmed by enemies. Prepare for a long battle that is marred with negative status effects; take your time and make sure that your party focuses on taking down one enemy at a time.
Go through the Ancient Door after you have obtained the map and head up the stairs. This stairwell will lead you back up to the entrance to the Spire Ravel on 80F. This time, touch the Black Sigil to be teleported to the next area.
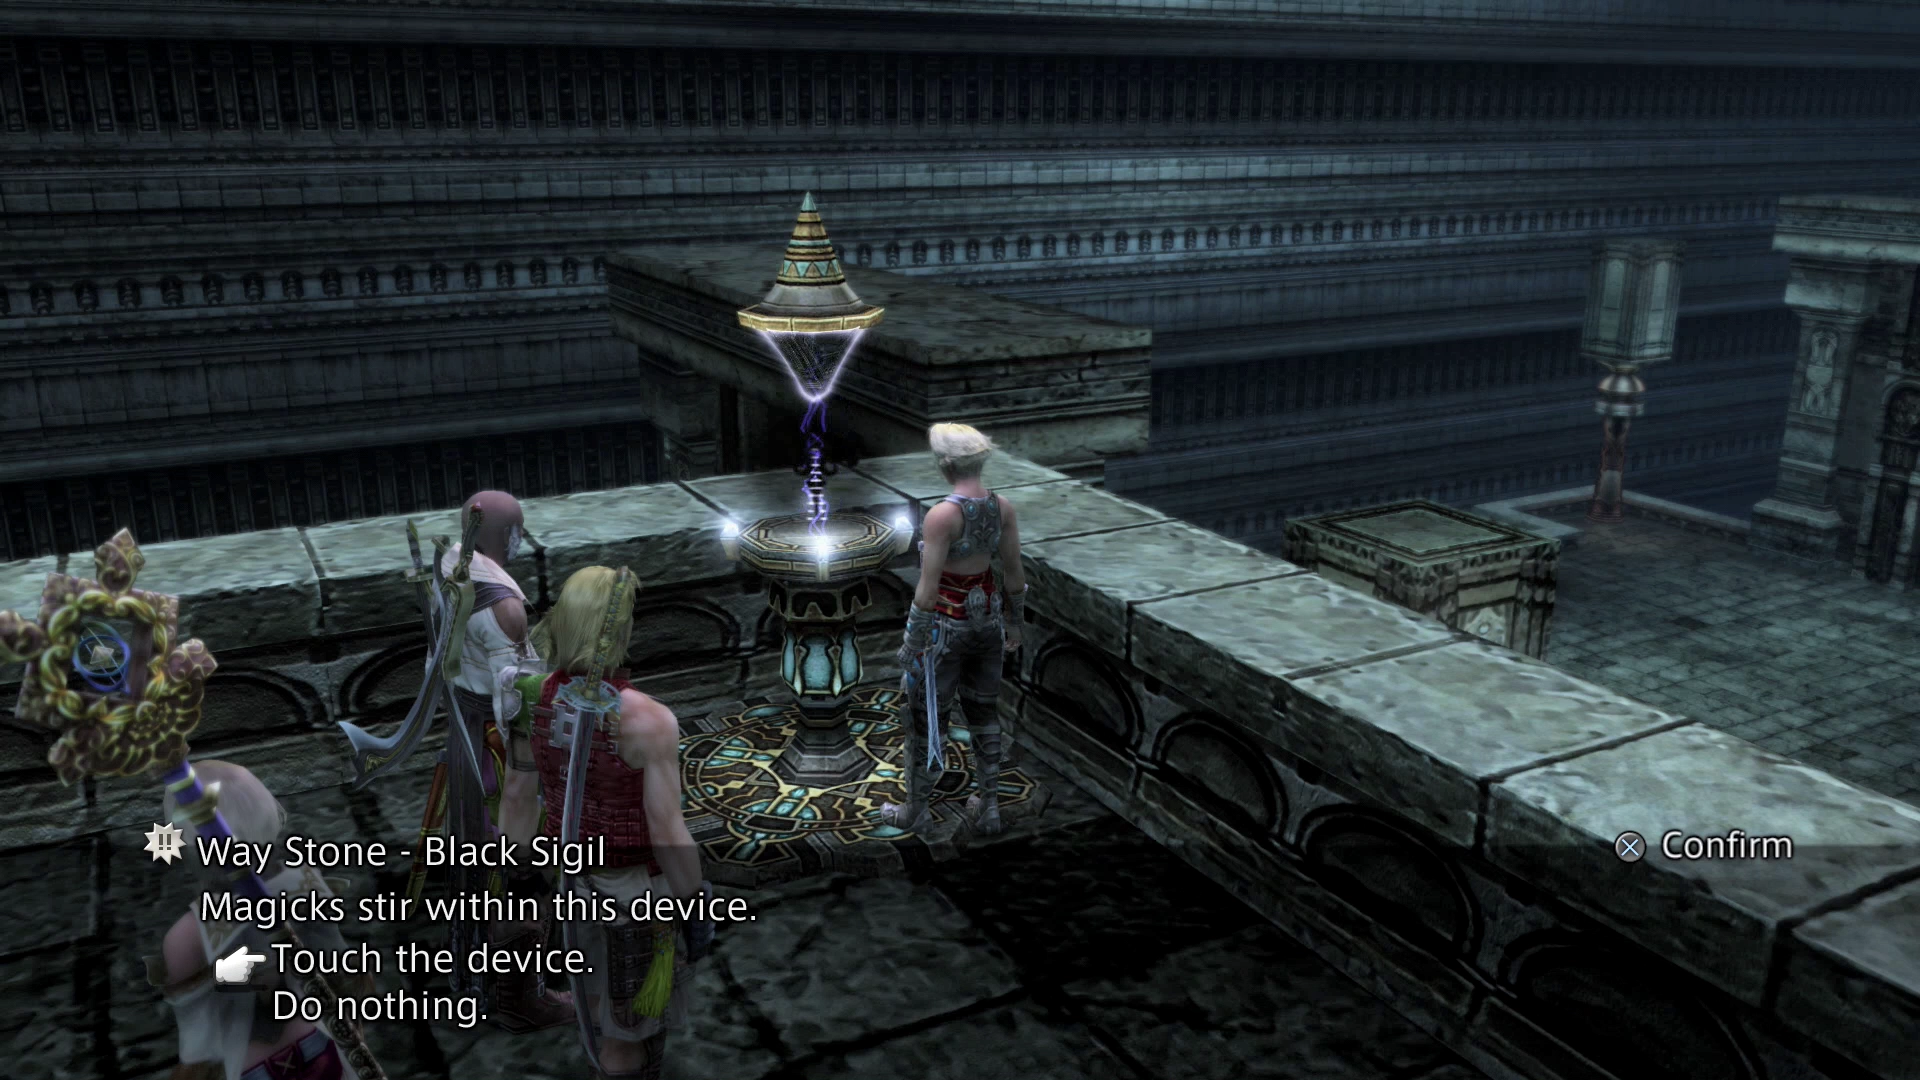
Follow the pathway to the east and take an immediate right (heading south) once you see the stairs and pathway leading into a small room. You will find a Fool’s Façade down this hallway. Break through it and enter the hidden hallway to find another Green Sigil.
Before you touch the Green Sigil, travel north from here to find a treasure chest (blocked by a trap). The treasure chest contains the powerful ![]() Flare Magick spell. Go back and touch the Green Sigil once you have obtained it to be taken to the next area.
Flare Magick spell. Go back and touch the Green Sigil once you have obtained it to be taken to the next area.
Spire Ravel – 2nd Flight
The Green Sigil will transport you to 83F. Turn immediately around to find a treasure chest that contains ![]() Ardor Magick—one of the most powerful Fire-elemental Magicks in the game.
Ardor Magick—one of the most powerful Fire-elemental Magicks in the game.
There is another treasure chest inside a trap just up ahead. The trap is a Rejuvination trap which will heal your party members—the treasure chest contains ![]() White Robes.
White Robes.
Follow the pathway out (both pathways lead to the same area) until you reach an elevated platform with four Sigils and an Aeronite on it. Defeat the Aeronite and then touch the Red Sigil next.
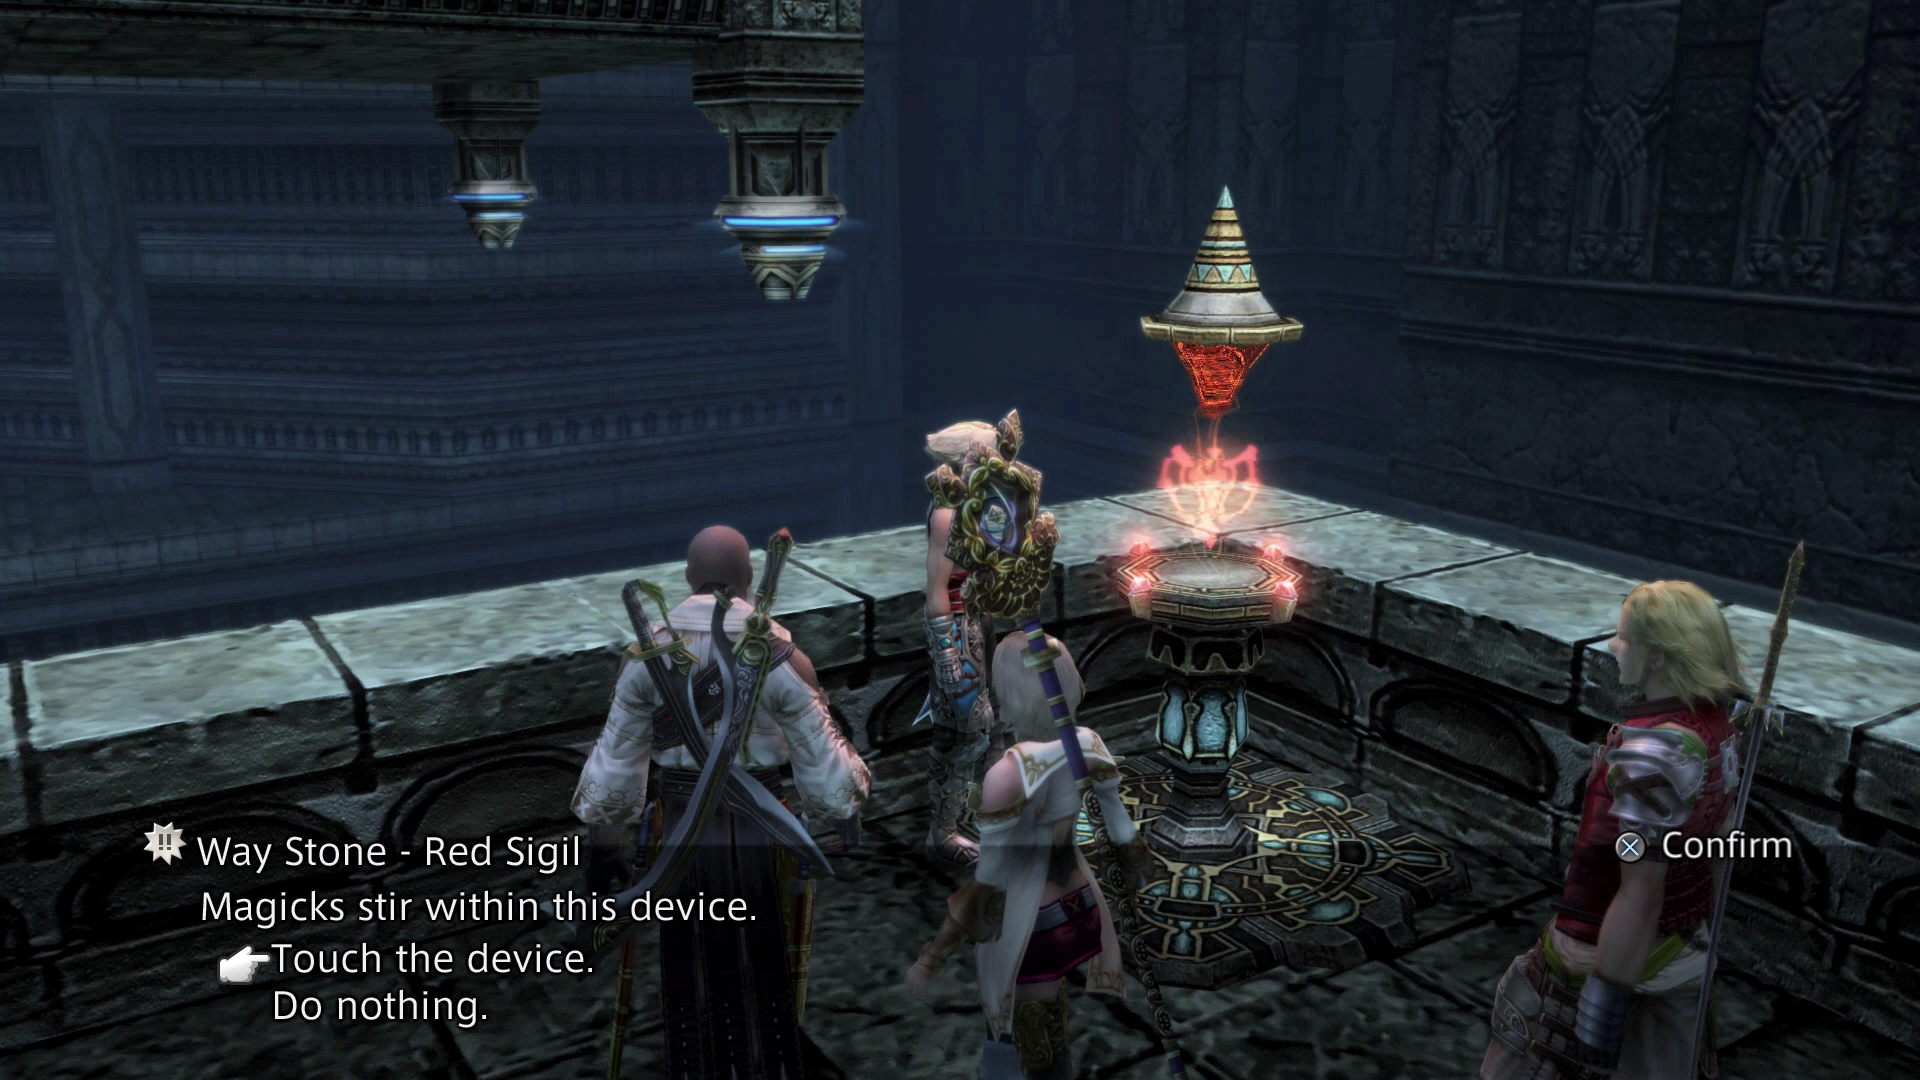
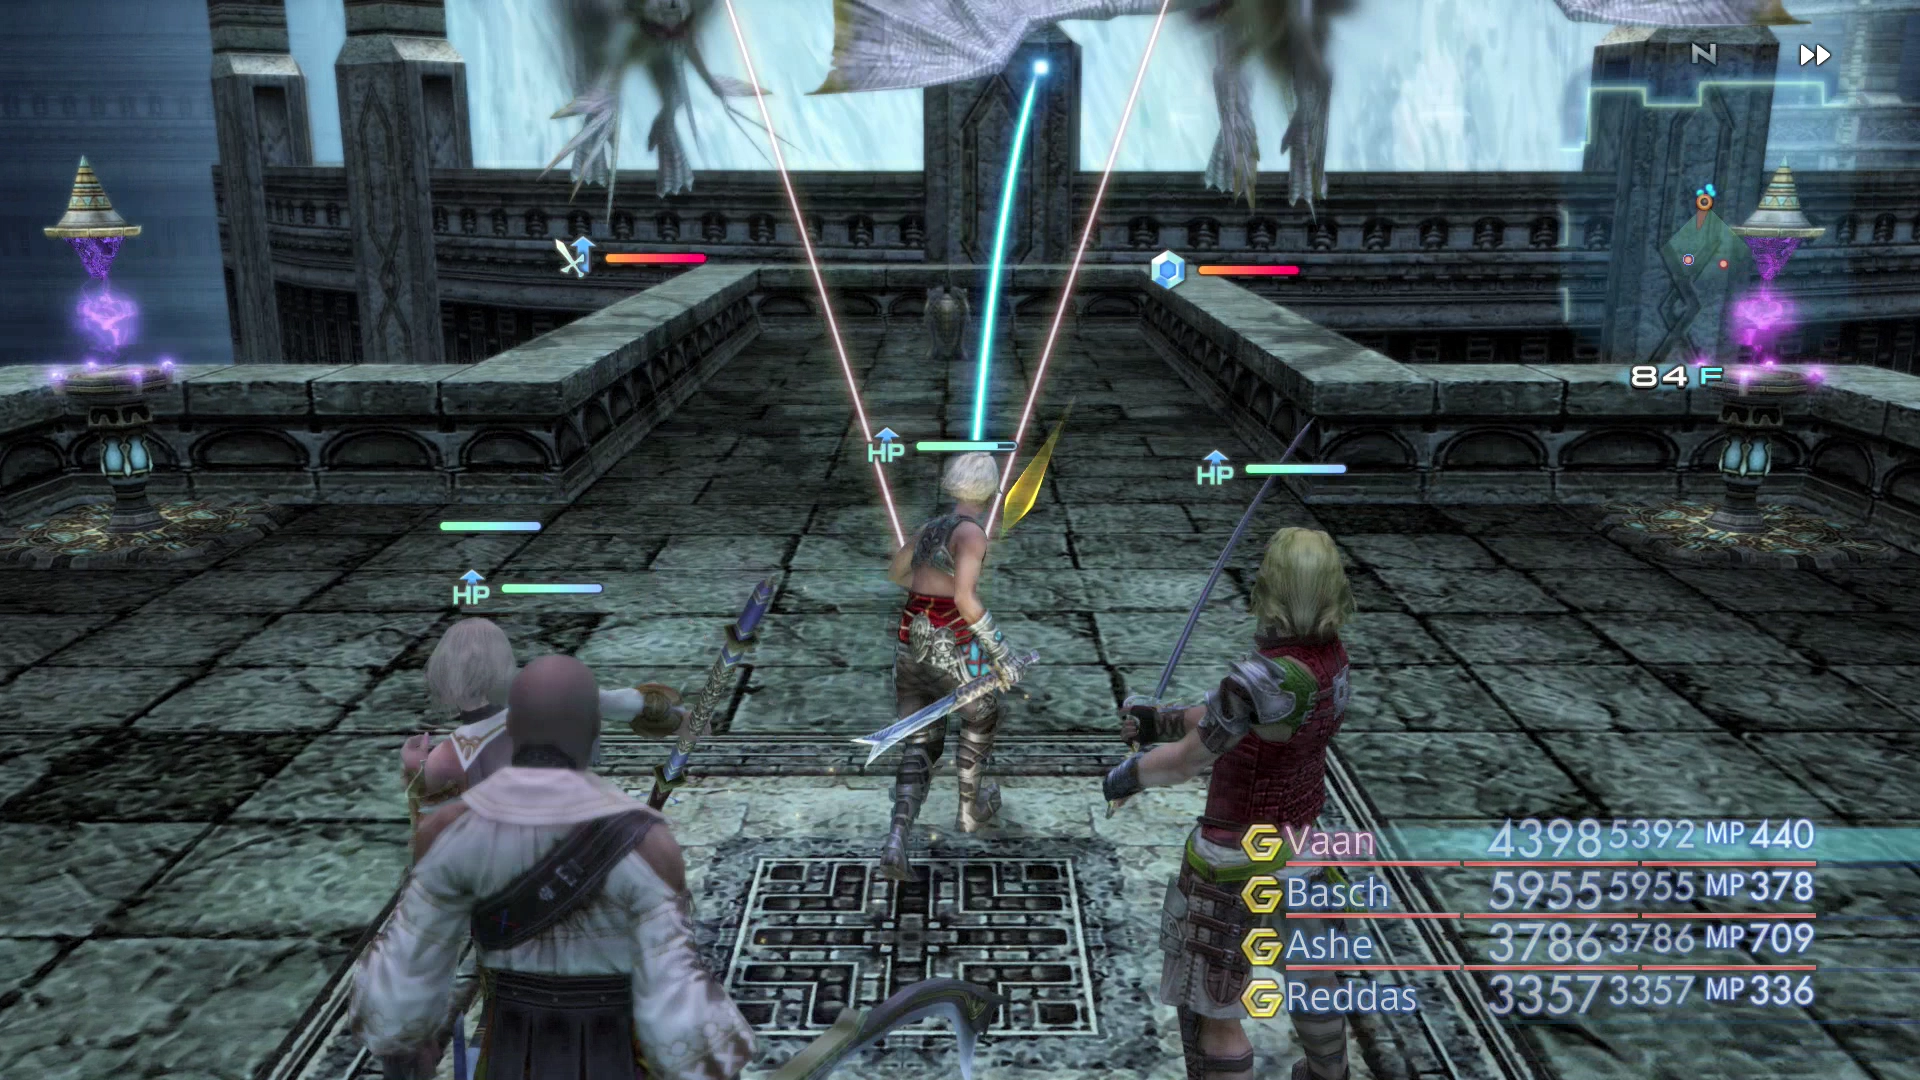
The Red Sigil will transport you to another hidden area on 84F. Defeat the two Aeronites circling up ahead and open the treasure chest which contains an ![]() Ultima Blade.
Ultima Blade.
From here, you must select the color of Sigil that corresponds to the command that you gave up when you selected an Altar of something. If you followed this guide and selected the Altar of Knowledge to remove your mini-map, choose the Sigil of Sacrifice (Pink). Otherwise:
- If you selected the Altar of Magicks, touch the Purple Sigil
- If you selected the Altar of Steel, touch the White Sigil
- If you selected the Altar of Wealth, touch the Yellow Sigil
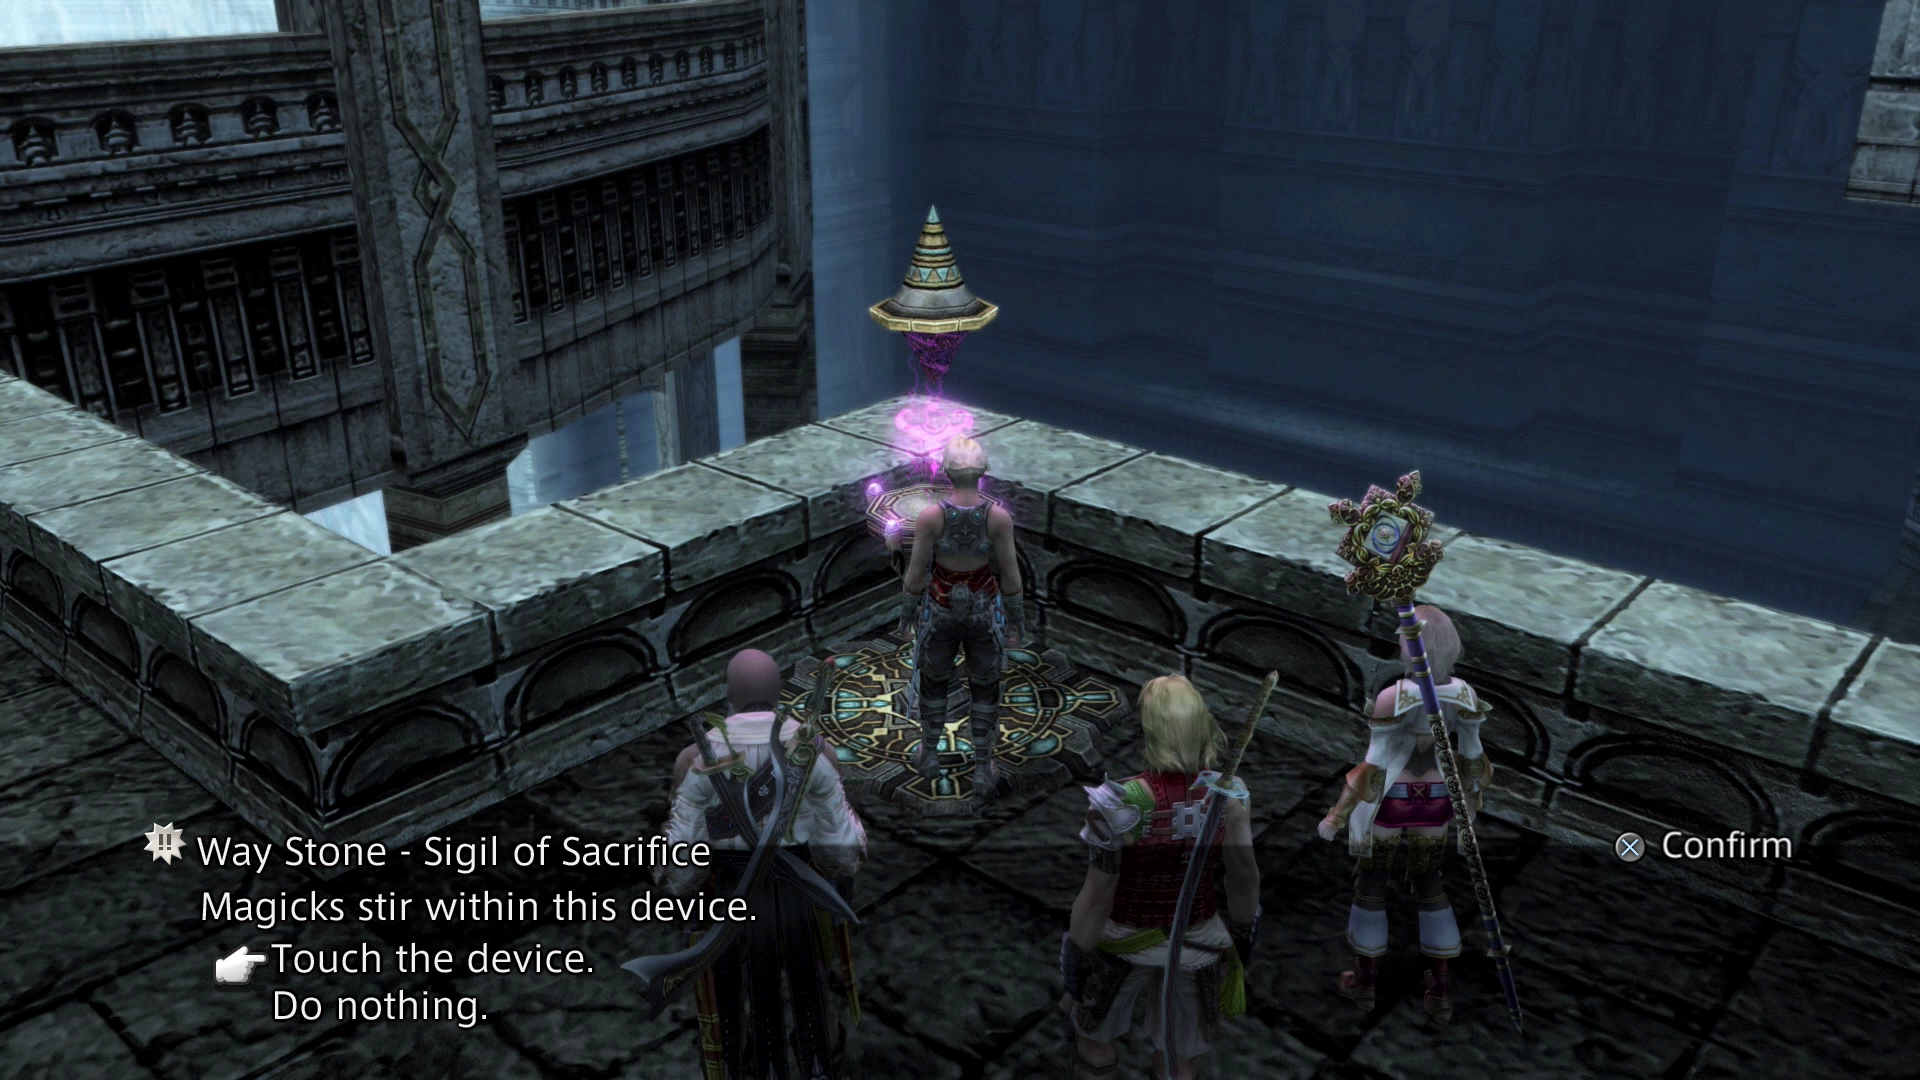
This will transport you to the center of 86F still on the Spire Ravel - 2nd Flight. Travel north from the starting area and break through the Fool’s Façade on the western wall.
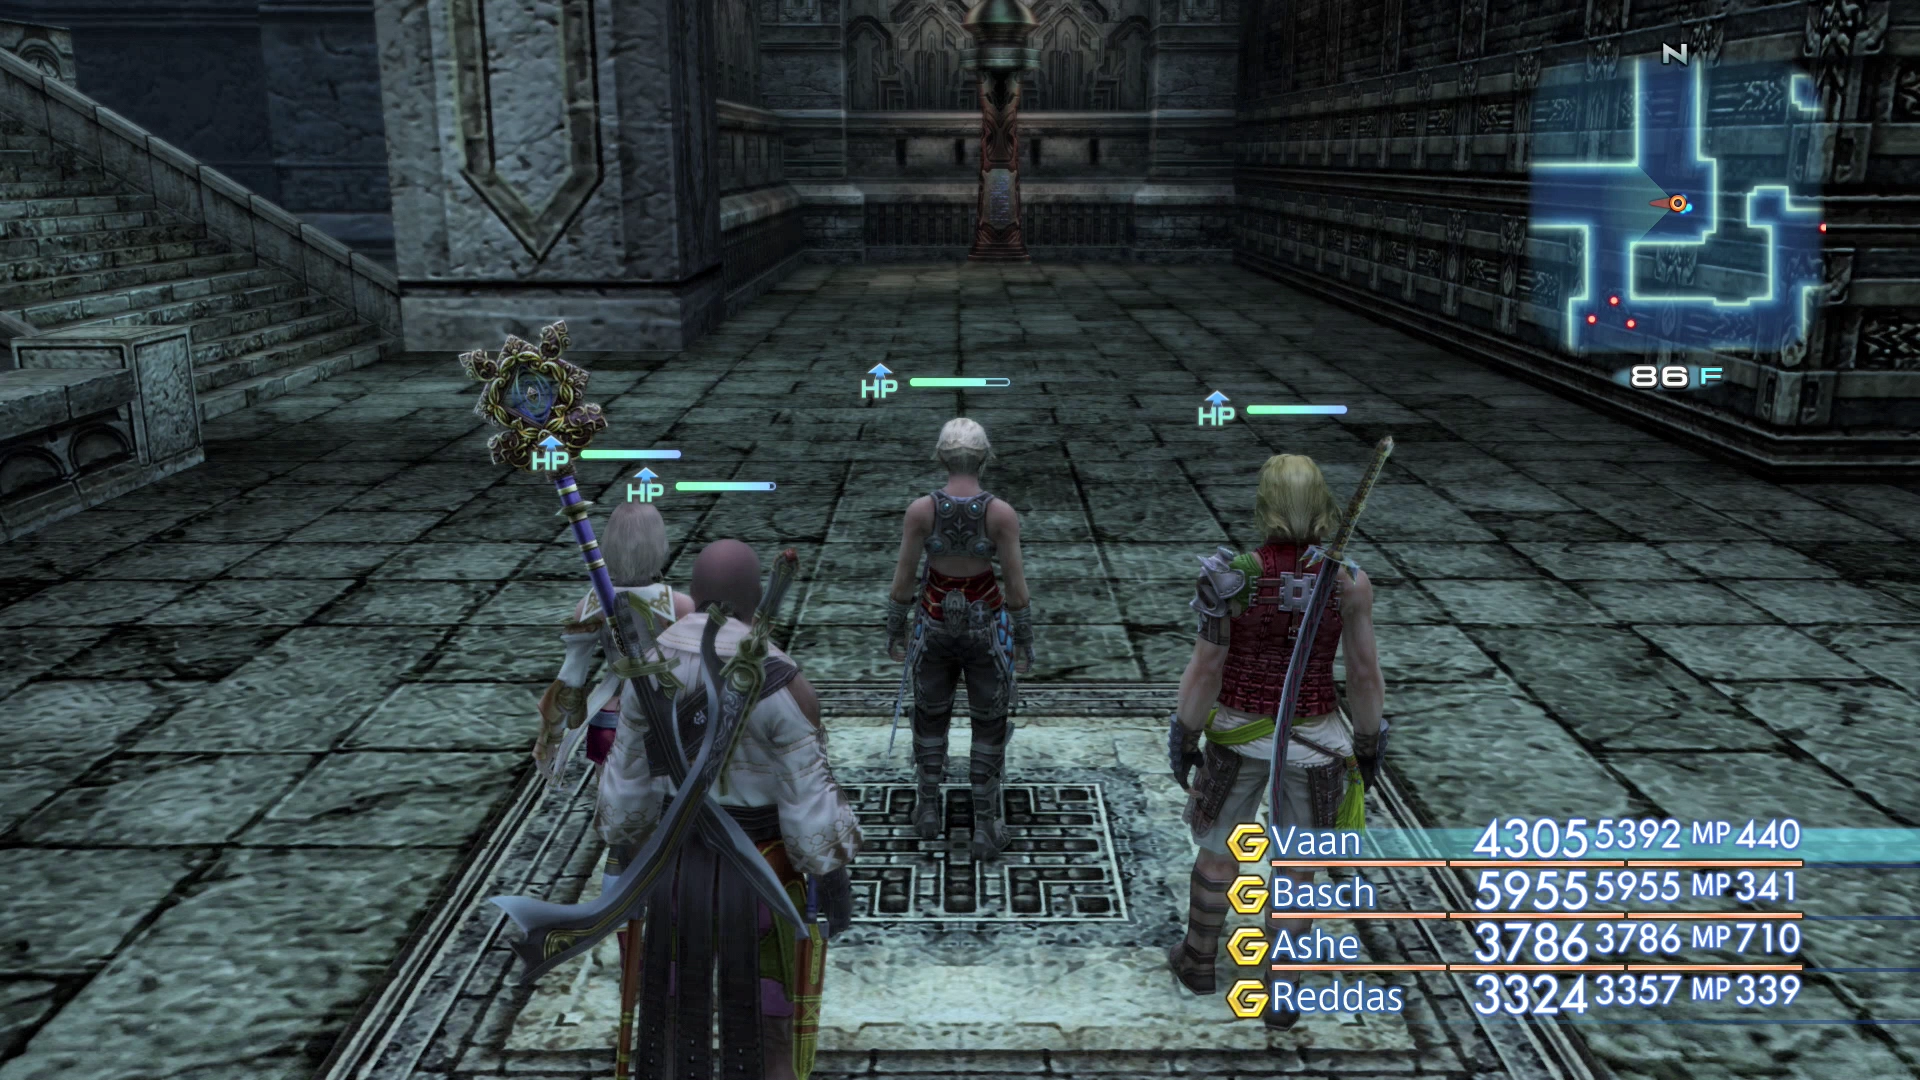
Follow the pathway to the end and use the Way Stone to be transported up to 88F.
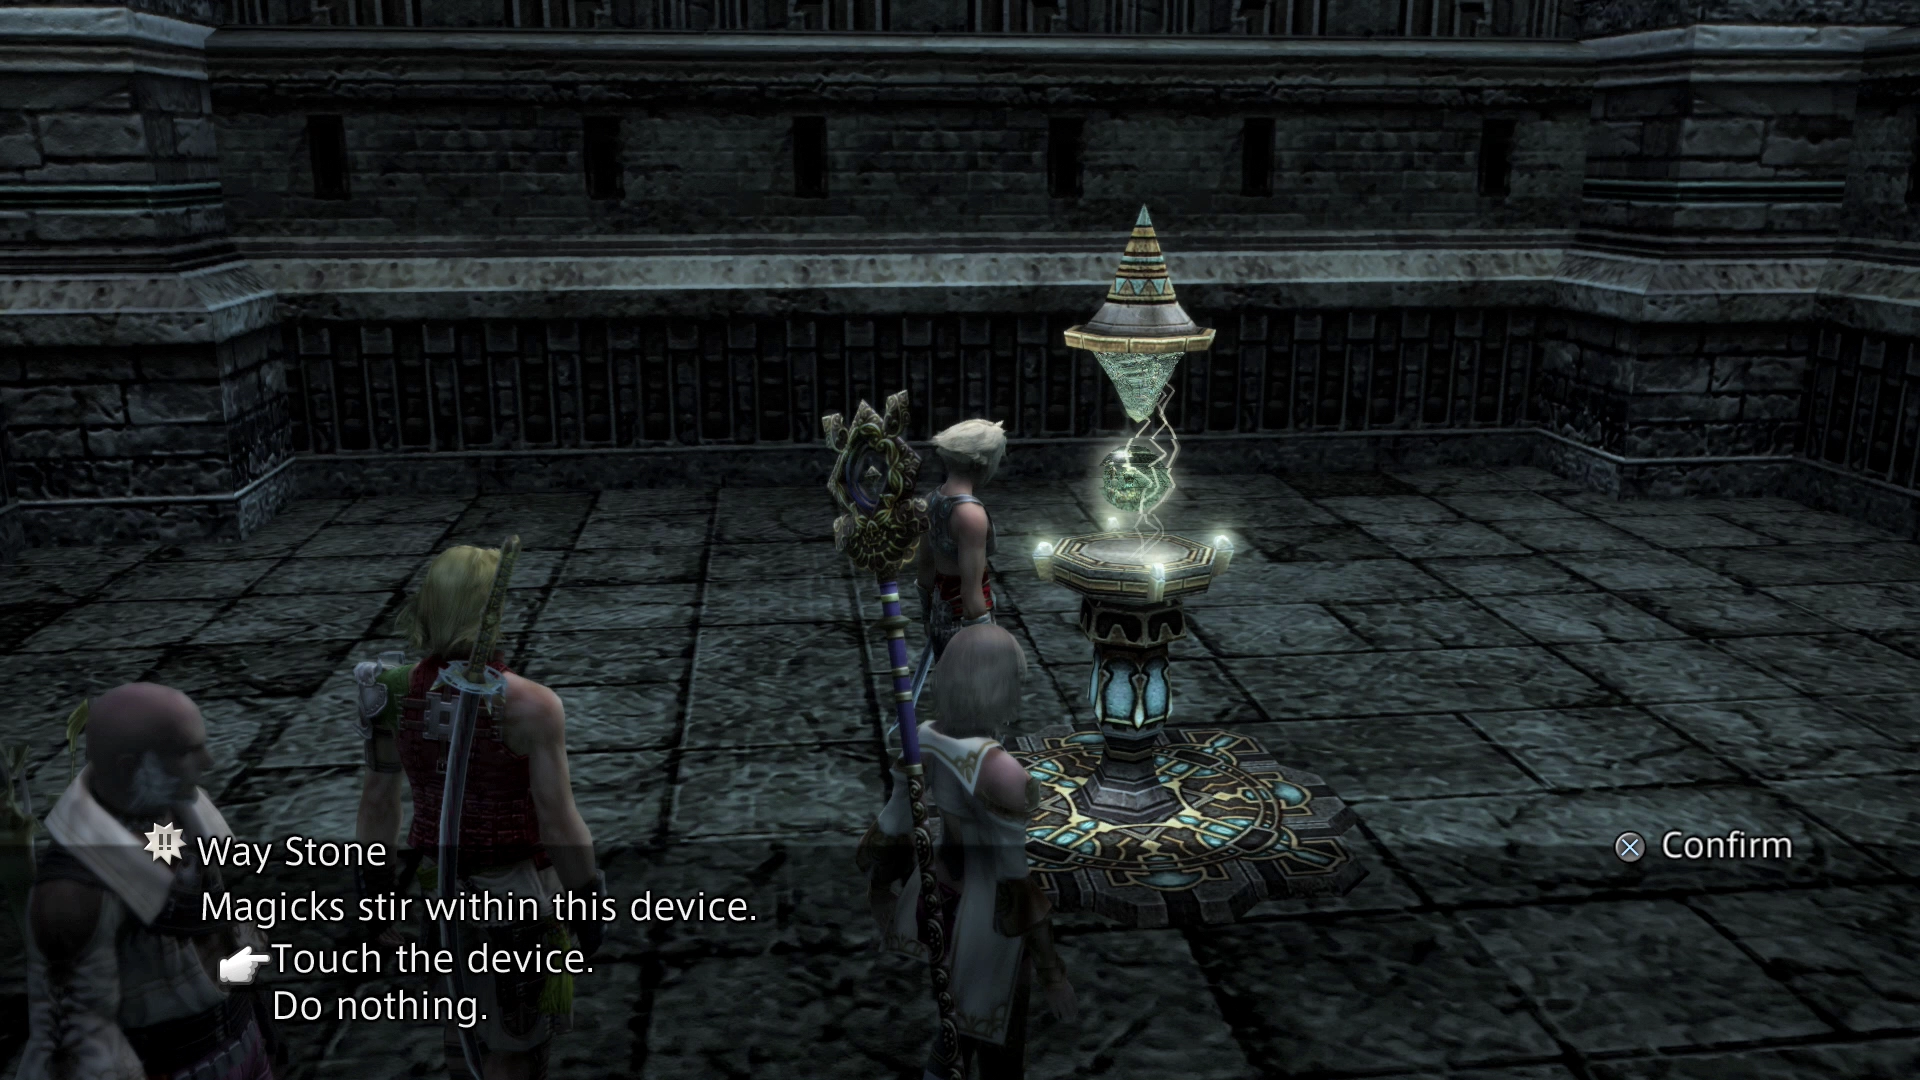
Once transported to 88F, there is a very good chance that you will face a rare and difficult enemy known as Tower.
Tower is not particularly difficult to defeat, but it does have a ton of HP that you will have to deal with (136,638 to be exact). Make sure that you attempt to steal a nugget of ![]() Einherjarium from Tower before you defeat it.
Einherjarium from Tower before you defeat it.
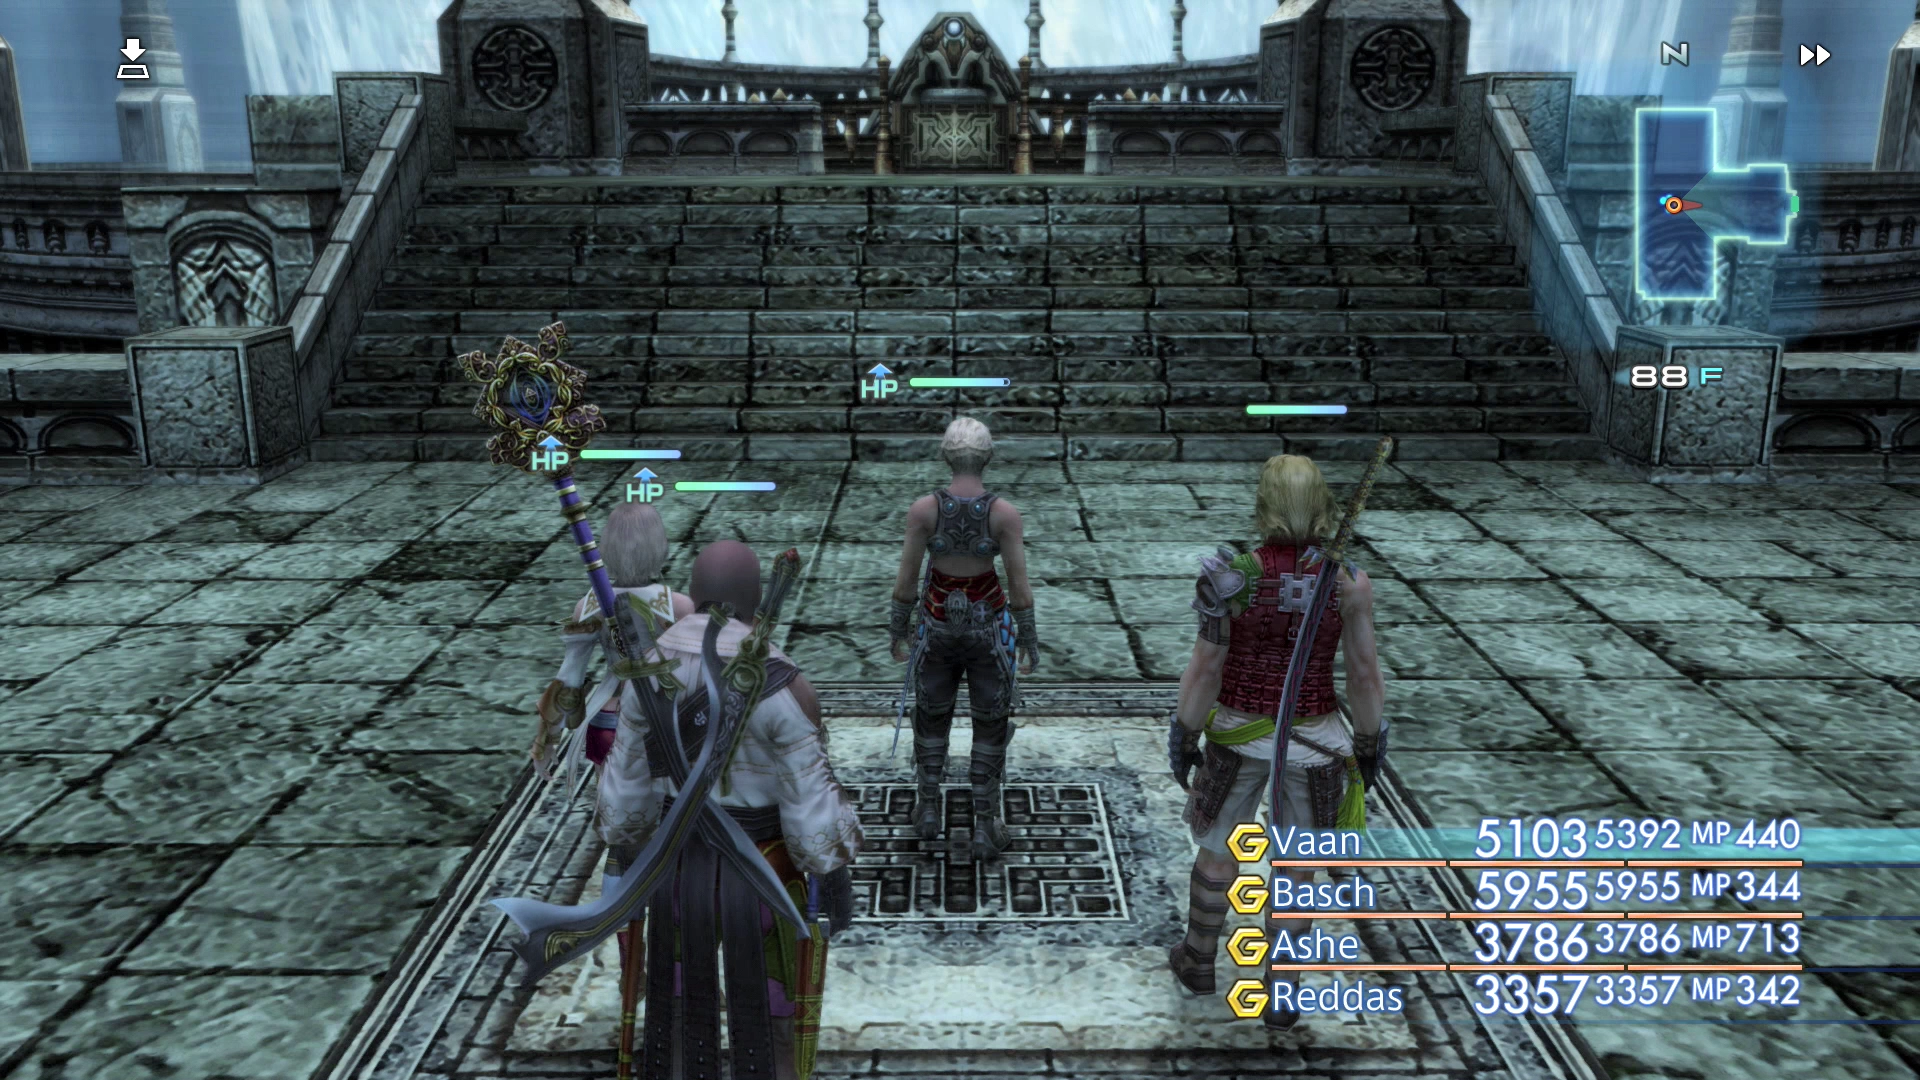
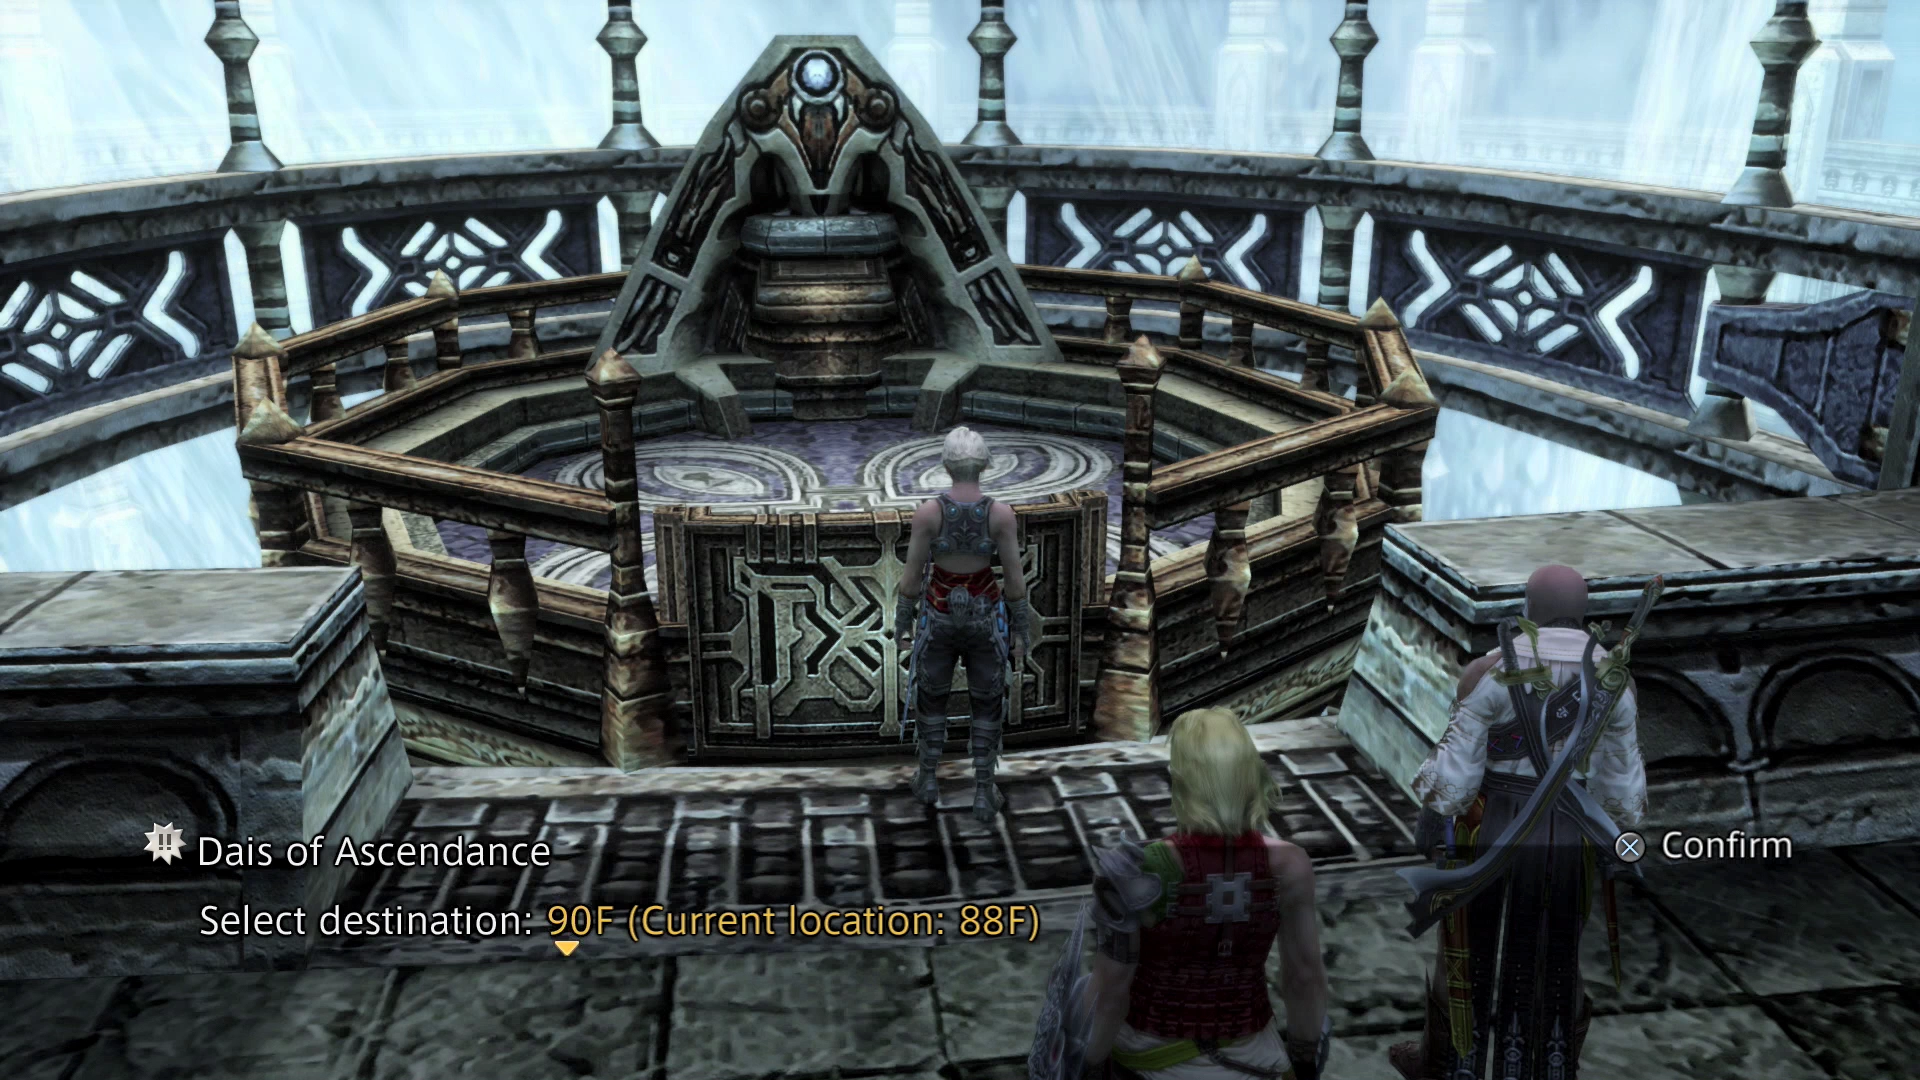
A treasure chest containing an ![]() Elixir is located on the northwest corner of the platform. There is another transport elevator up ahead that will take you to the next boss battle against an Esper. Select “90F” when you are ready.
Elixir is located on the northwest corner of the platform. There is another transport elevator up ahead that will take you to the next boss battle against an Esper. Select “90F” when you are ready.
Heaven’s Challenge
The battle will begin as soon as you step off the elevator.
Esper Battle
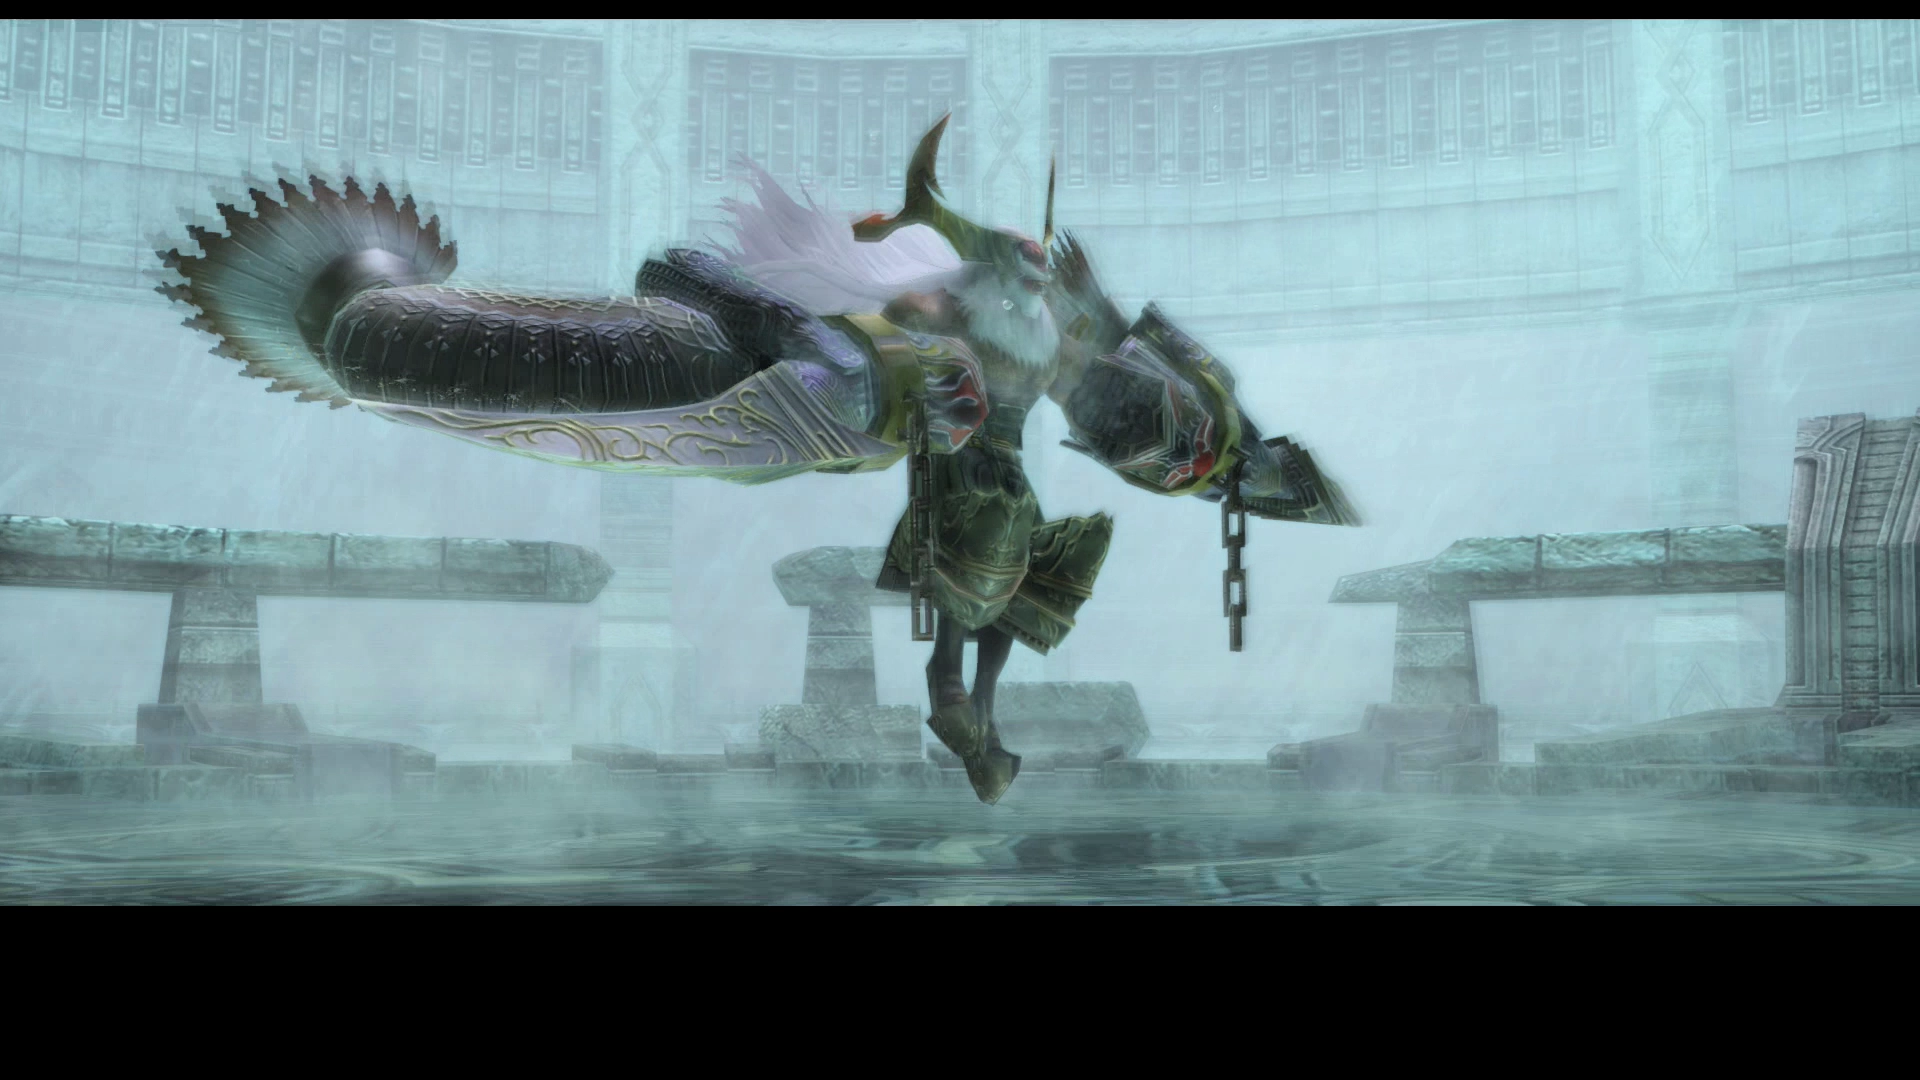
Level: 50
HP: 209,060
Steal: ![]() Leo Gem (55%),
Leo Gem (55%), ![]() Hi-Ether (10%),
Hi-Ether (10%), ![]() High Arcana (3%)
High Arcana (3%)
Prepare your party by casting the standard assortment of buff spells: ![]() Protect,
Protect, ![]() Shell,
Shell, ![]() Bubble and
Bubble and ![]() Haste.
Haste. ![]() Bubble will be particularly important during this battle as Hashmal can cause the Disease status effect with its regular attacks. Have your characters equip a
Bubble will be particularly important during this battle as Hashmal can cause the Disease status effect with its regular attacks. Have your characters equip a ![]() Bubble Belt or have your healer cast Bubble on all them to prevent Disease.
Bubble Belt or have your healer cast Bubble on all them to prevent Disease.
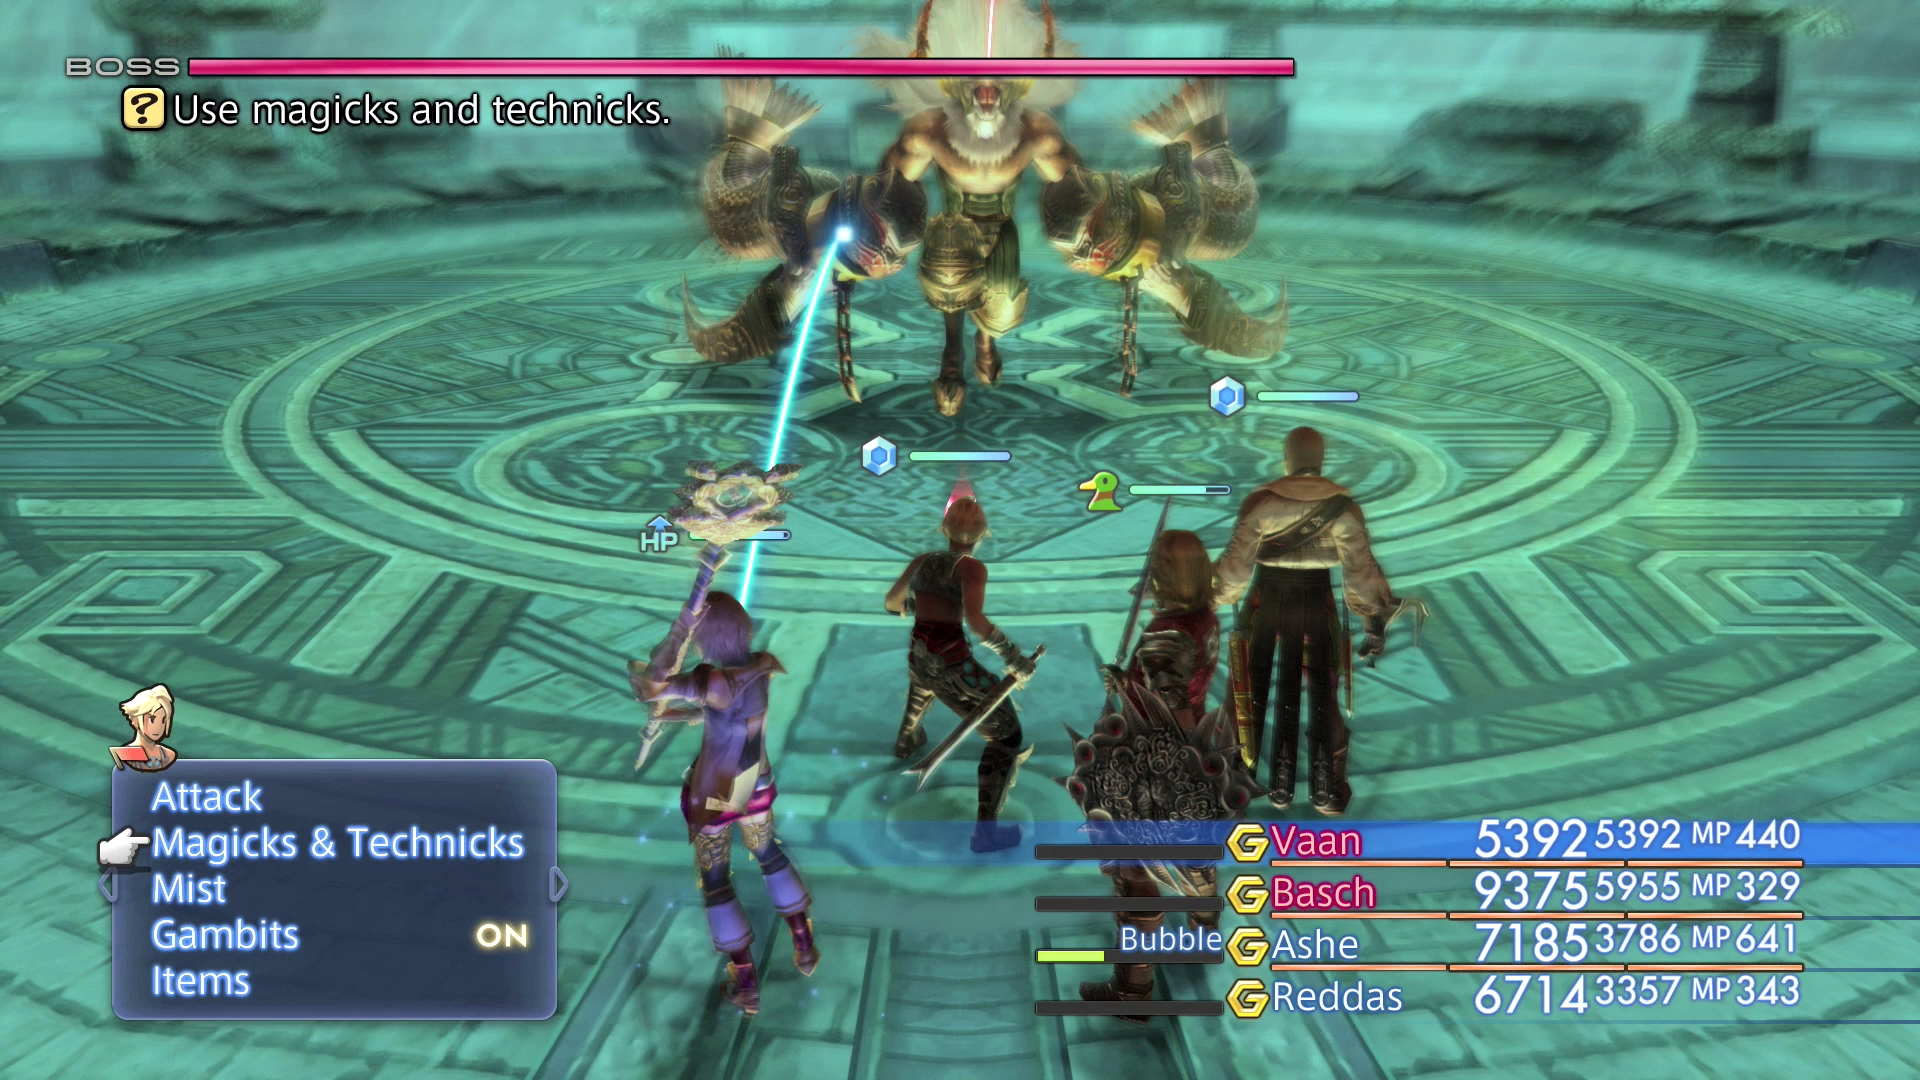
This is a fight where you will want to add another beneficial buffing spell to your arsenal. Cast ![]() Float on all of your party members which will prevent Earth-type Magicks from affecting them. This will prevent Hashmal’s Quakeja attack from doing any damage to your party.
Float on all of your party members which will prevent Earth-type Magicks from affecting them. This will prevent Hashmal’s Quakeja attack from doing any damage to your party.
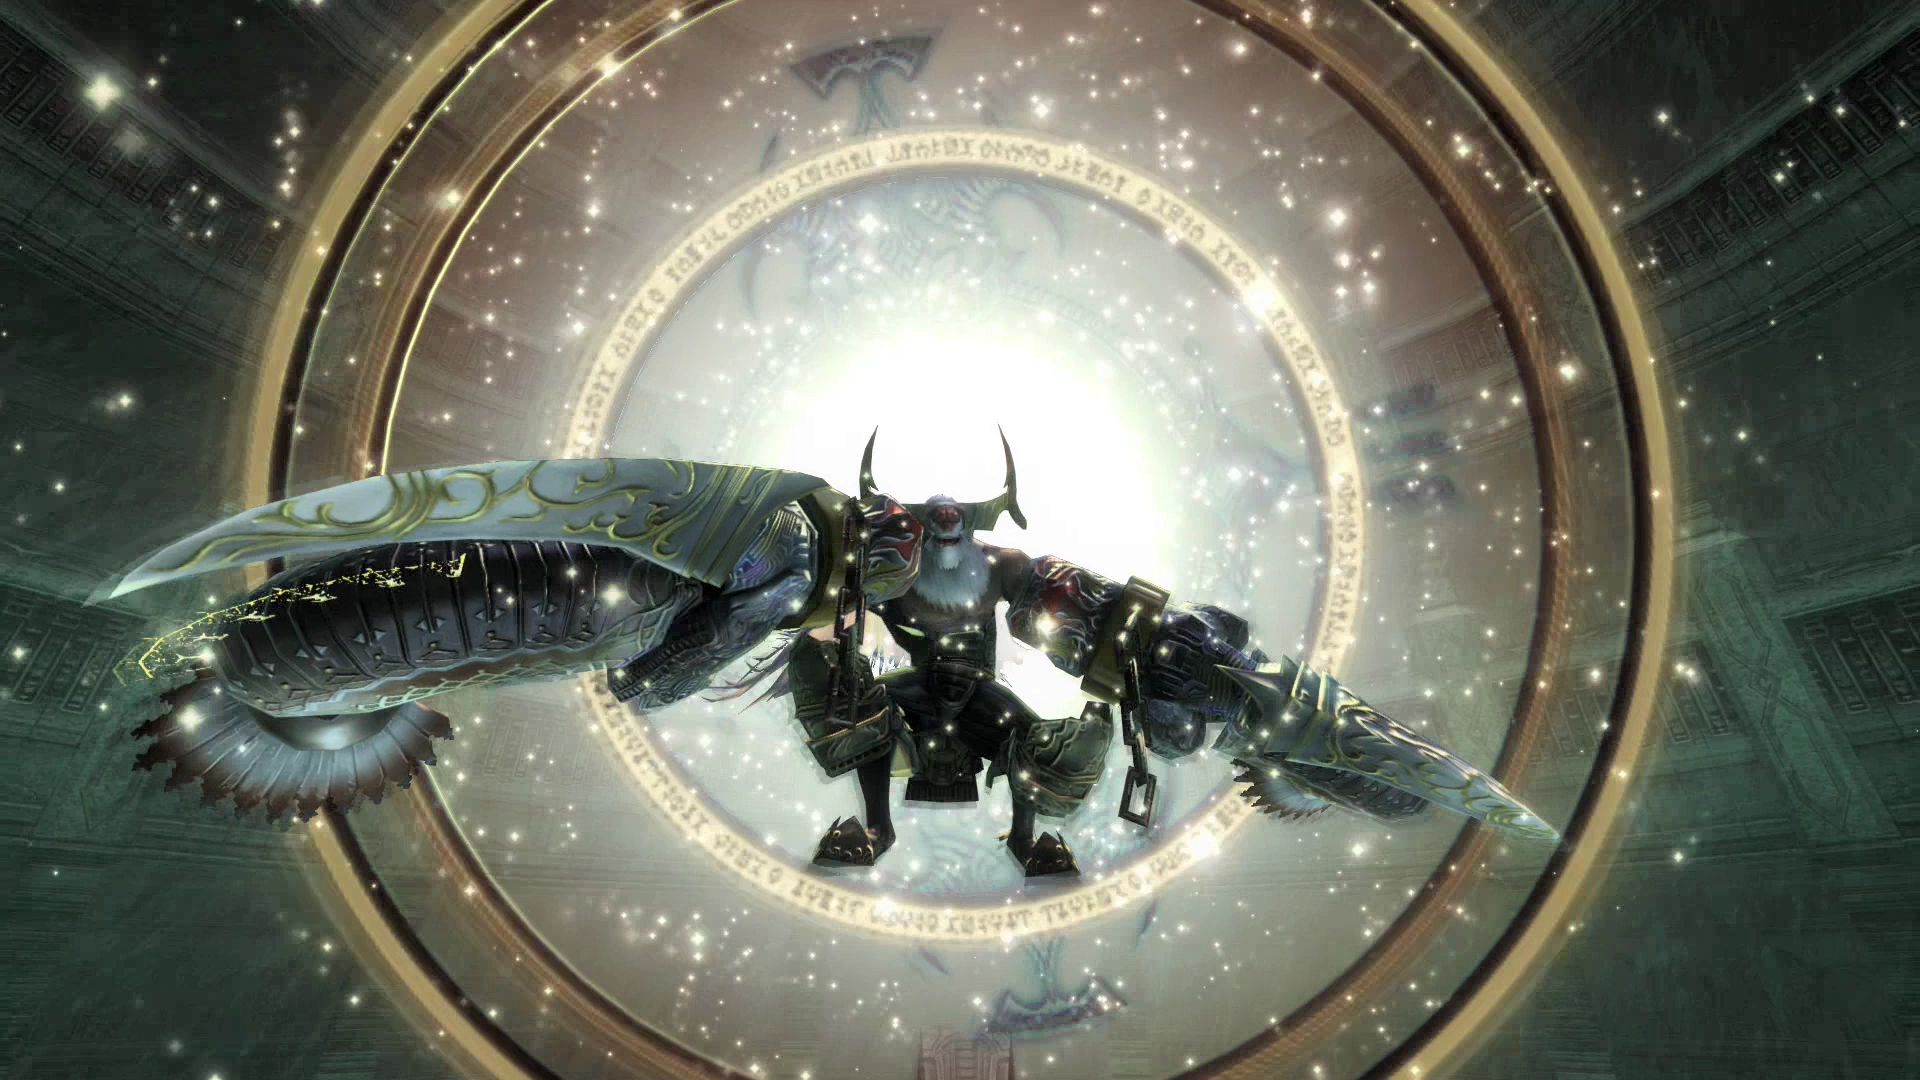
Dispel Hashmal of its positive status effects at the beginning of the fight and be prepared to take a fair bit of physical damage. You should have your tank equipped with strong equipment and make sure to use ![]() Decoy on that party member to have Hashmal focus its attacks. It will do more damage once its HP falls below 50% and will start using a new move called Roxxor once its HP falls below 20%.
Decoy on that party member to have Hashmal focus its attacks. It will do more damage once its HP falls below 50% and will start using a new move called Roxxor once its HP falls below 20%.
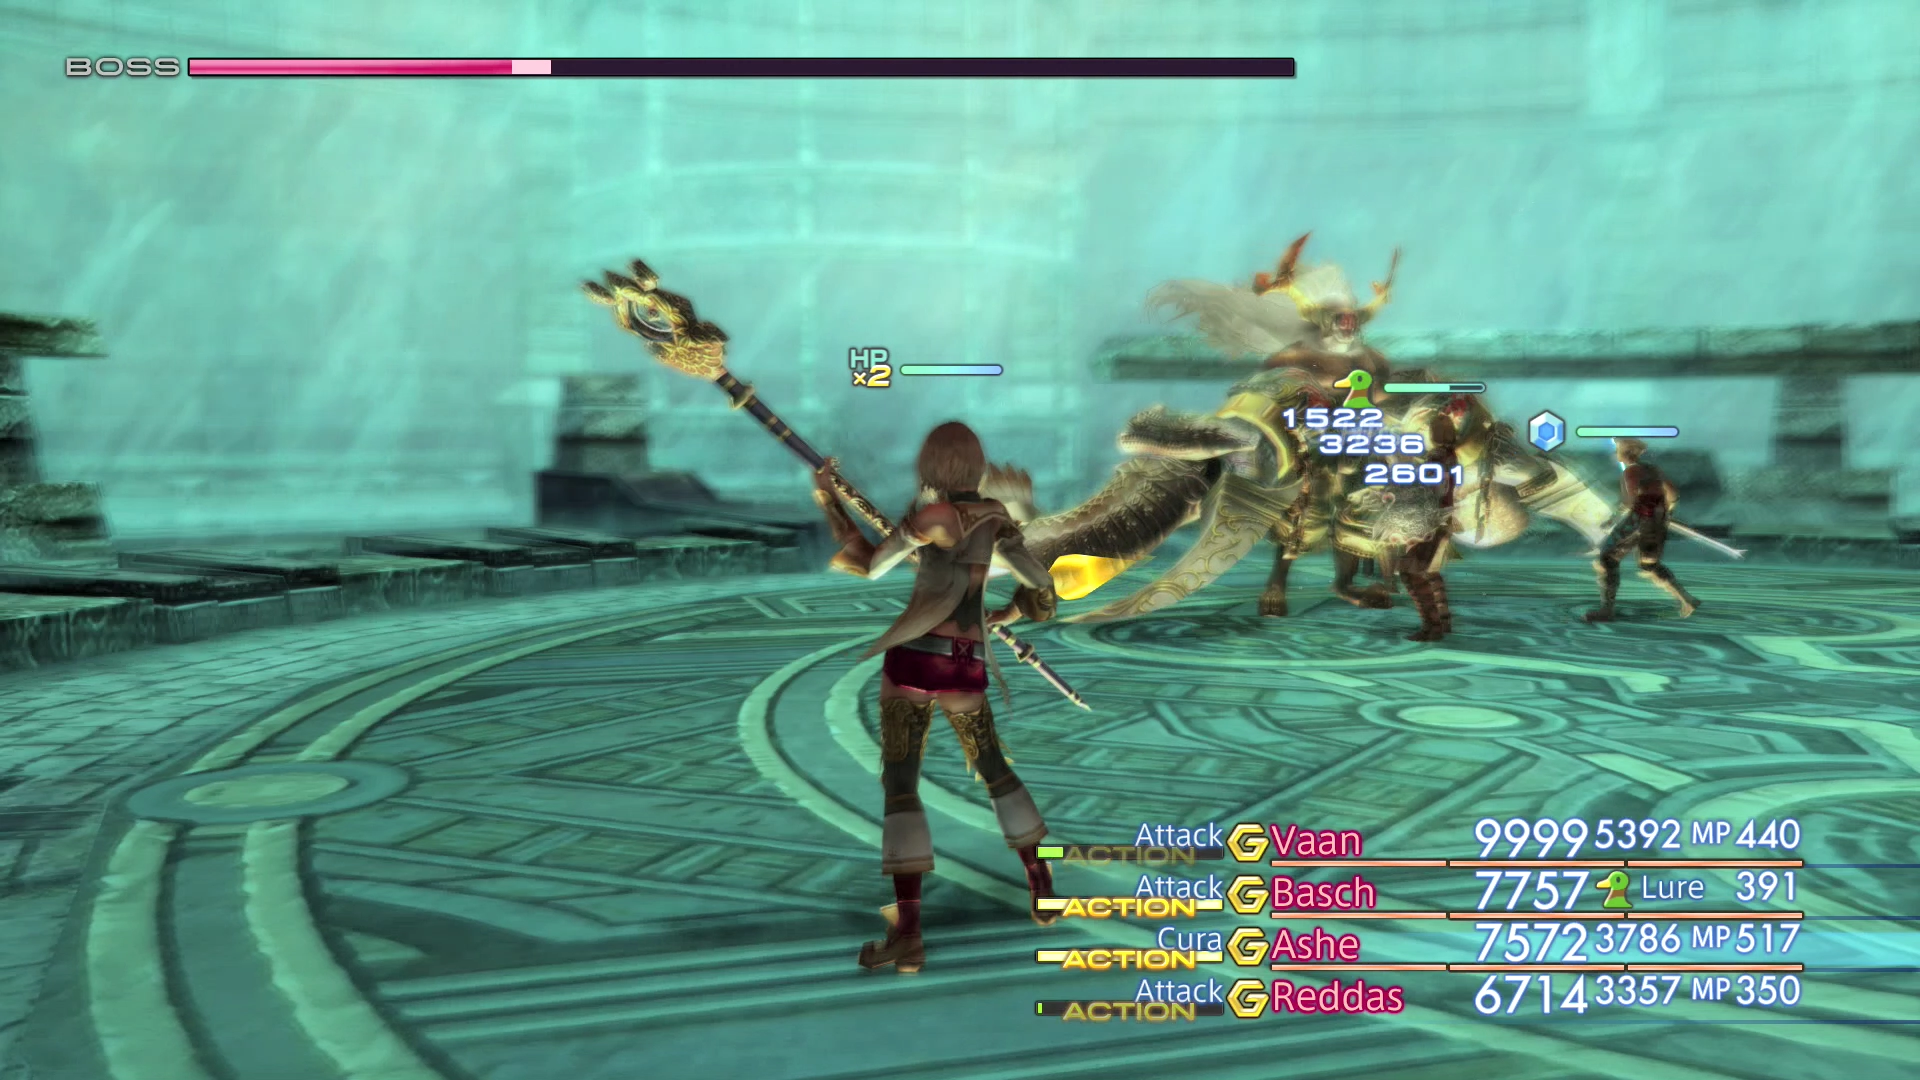
You can find a video of this battle in the Zodiac Age version below.
You now have the ability to summon another Esper!

Empyrean Ravel
Continue following the pathway around (grabbing the treasure chest with the ![]() Dark Matter in it as you pass) and a cutscene will take place once you get part way around the Empyrean Ravel. This cutscene will actually help you skip past a majority of this floor.
Dark Matter in it as you pass) and a cutscene will take place once you get part way around the Empyrean Ravel. This cutscene will actually help you skip past a majority of this floor.
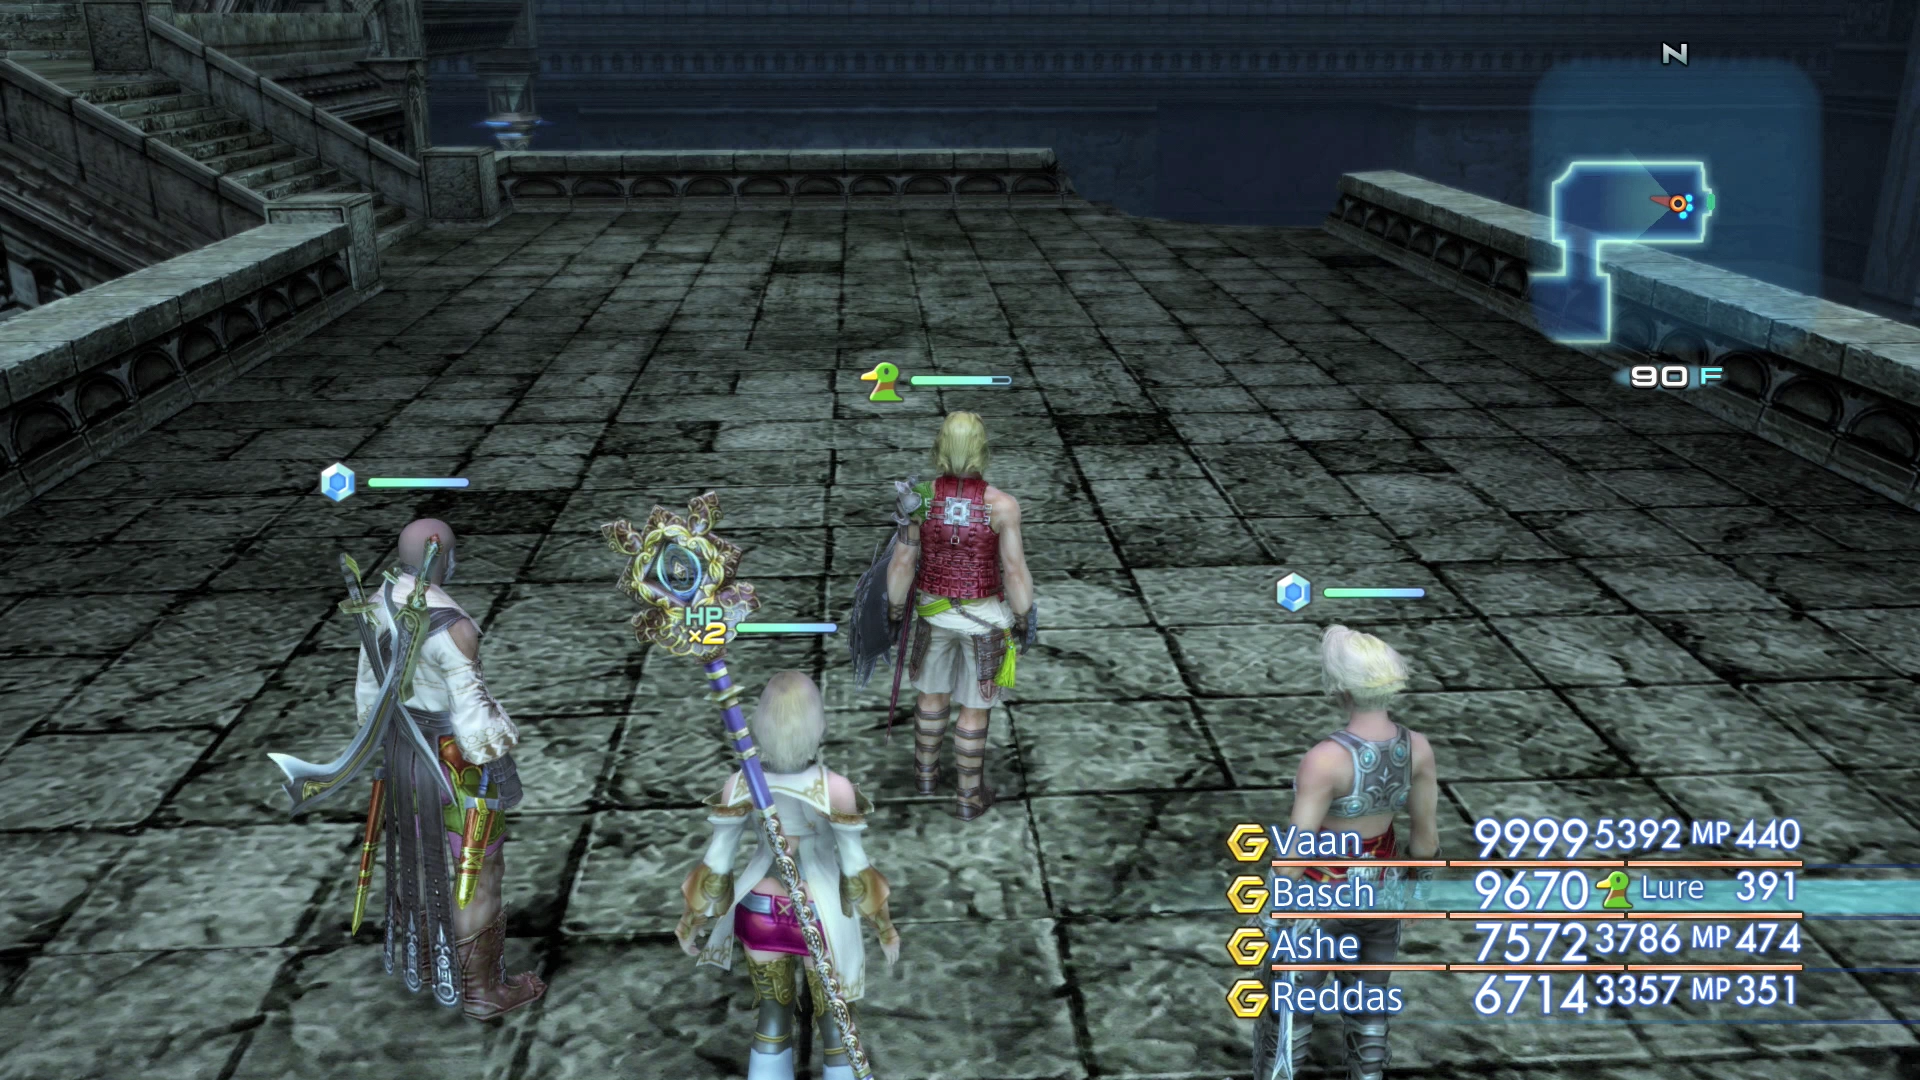
Use the Save Crystal to save your game and proceed up the next flight of stairs to find another Way Stone. Use the Way Stone to warp to the next area and initiate another boss battle.
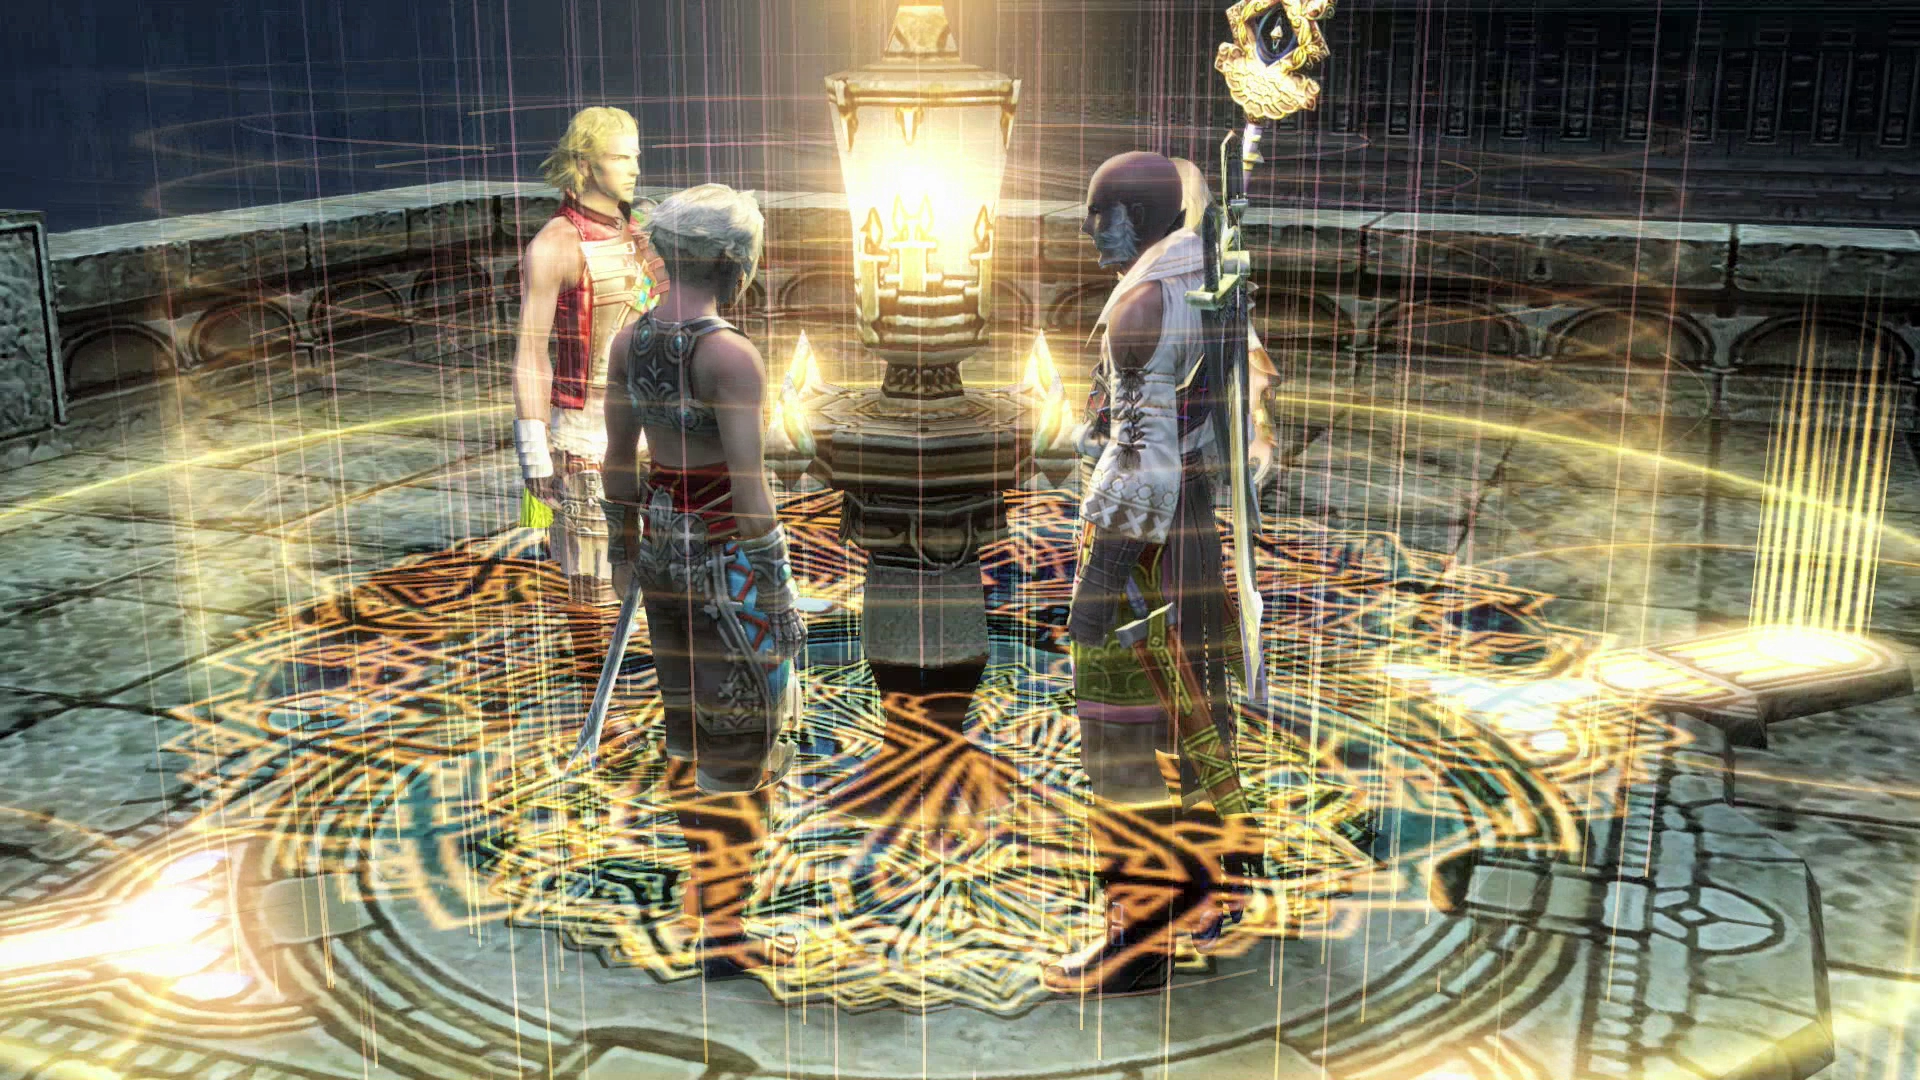
Womb of the Sun-cryst
Another cutscene will take place when you enter this area. Ashe will contemplate her next move before being interrupted by Judge Master Gabranth – Basch’s brother who killed Reks and Ashe’s father.
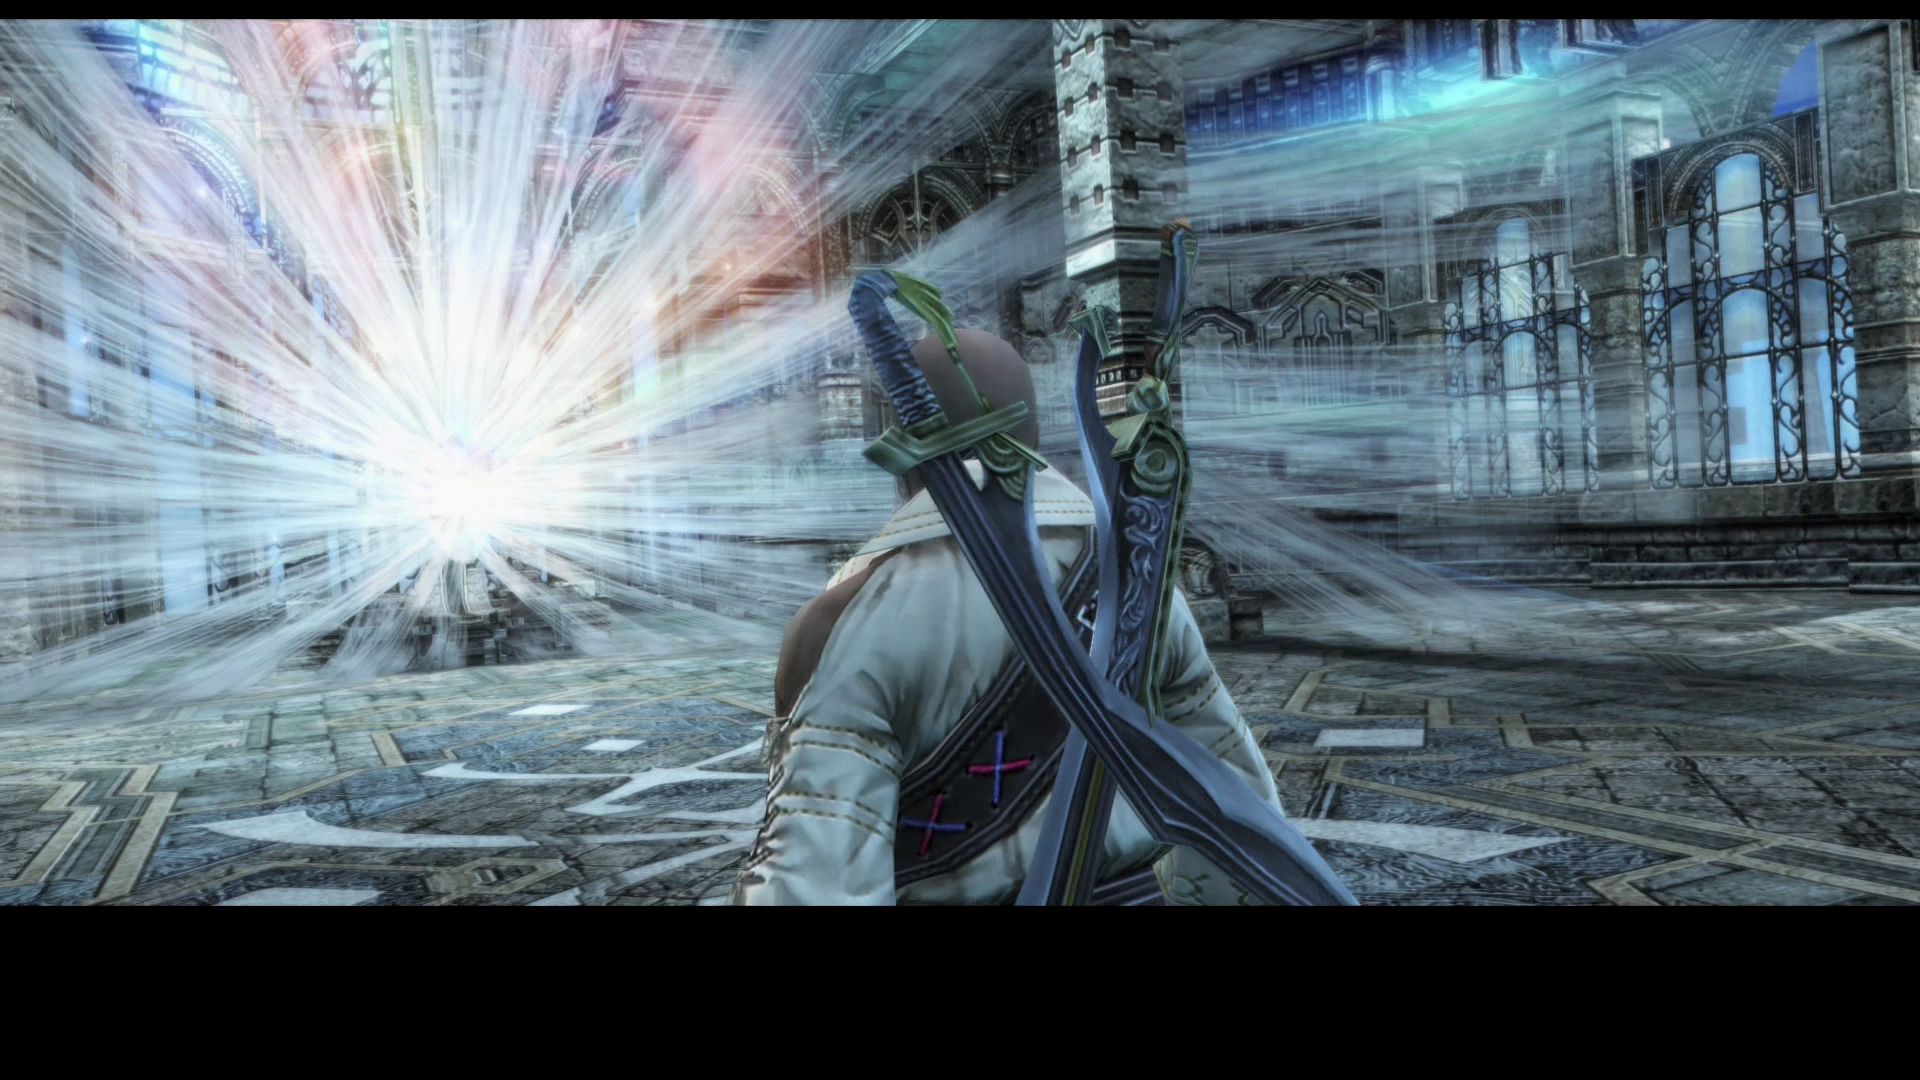
Reddas will reveal himself to be a former Judge Magister who swore to never allow Nethicite to be used for ill again; his true name being Judge Zecht. Reddas will encourage Ashe not to give in to despair and revenge and to destroy the Sun-cryst.
Ashe will look to Vaan as she decides and will realize that revenge is not the proper course of action. She will slice the sword through the apparition of Lord Rasler, revealing that it has actually been Venat in disguise. Ashe will decide not to use the power of Nethicite to extract revenge.
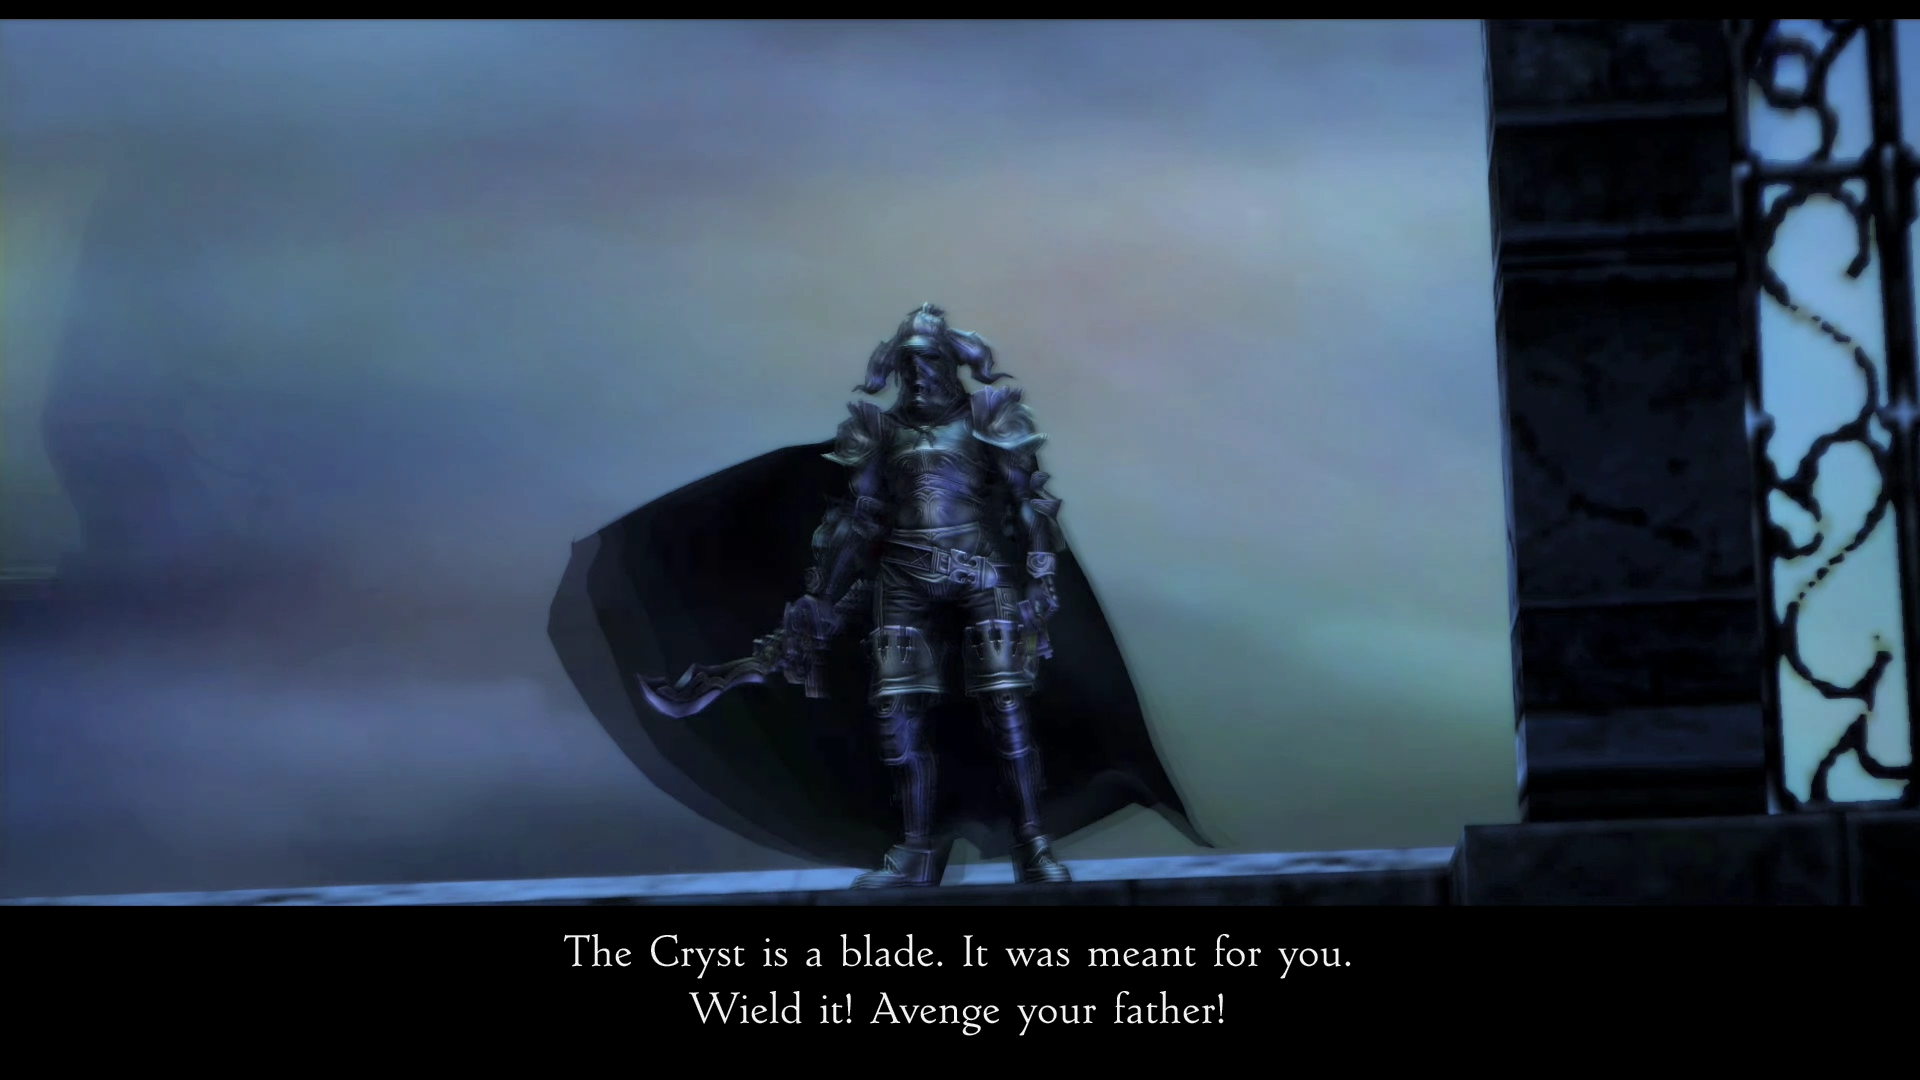
Judge Master Gabranth will attack the party initiating the next boss battle.
Boss Battle
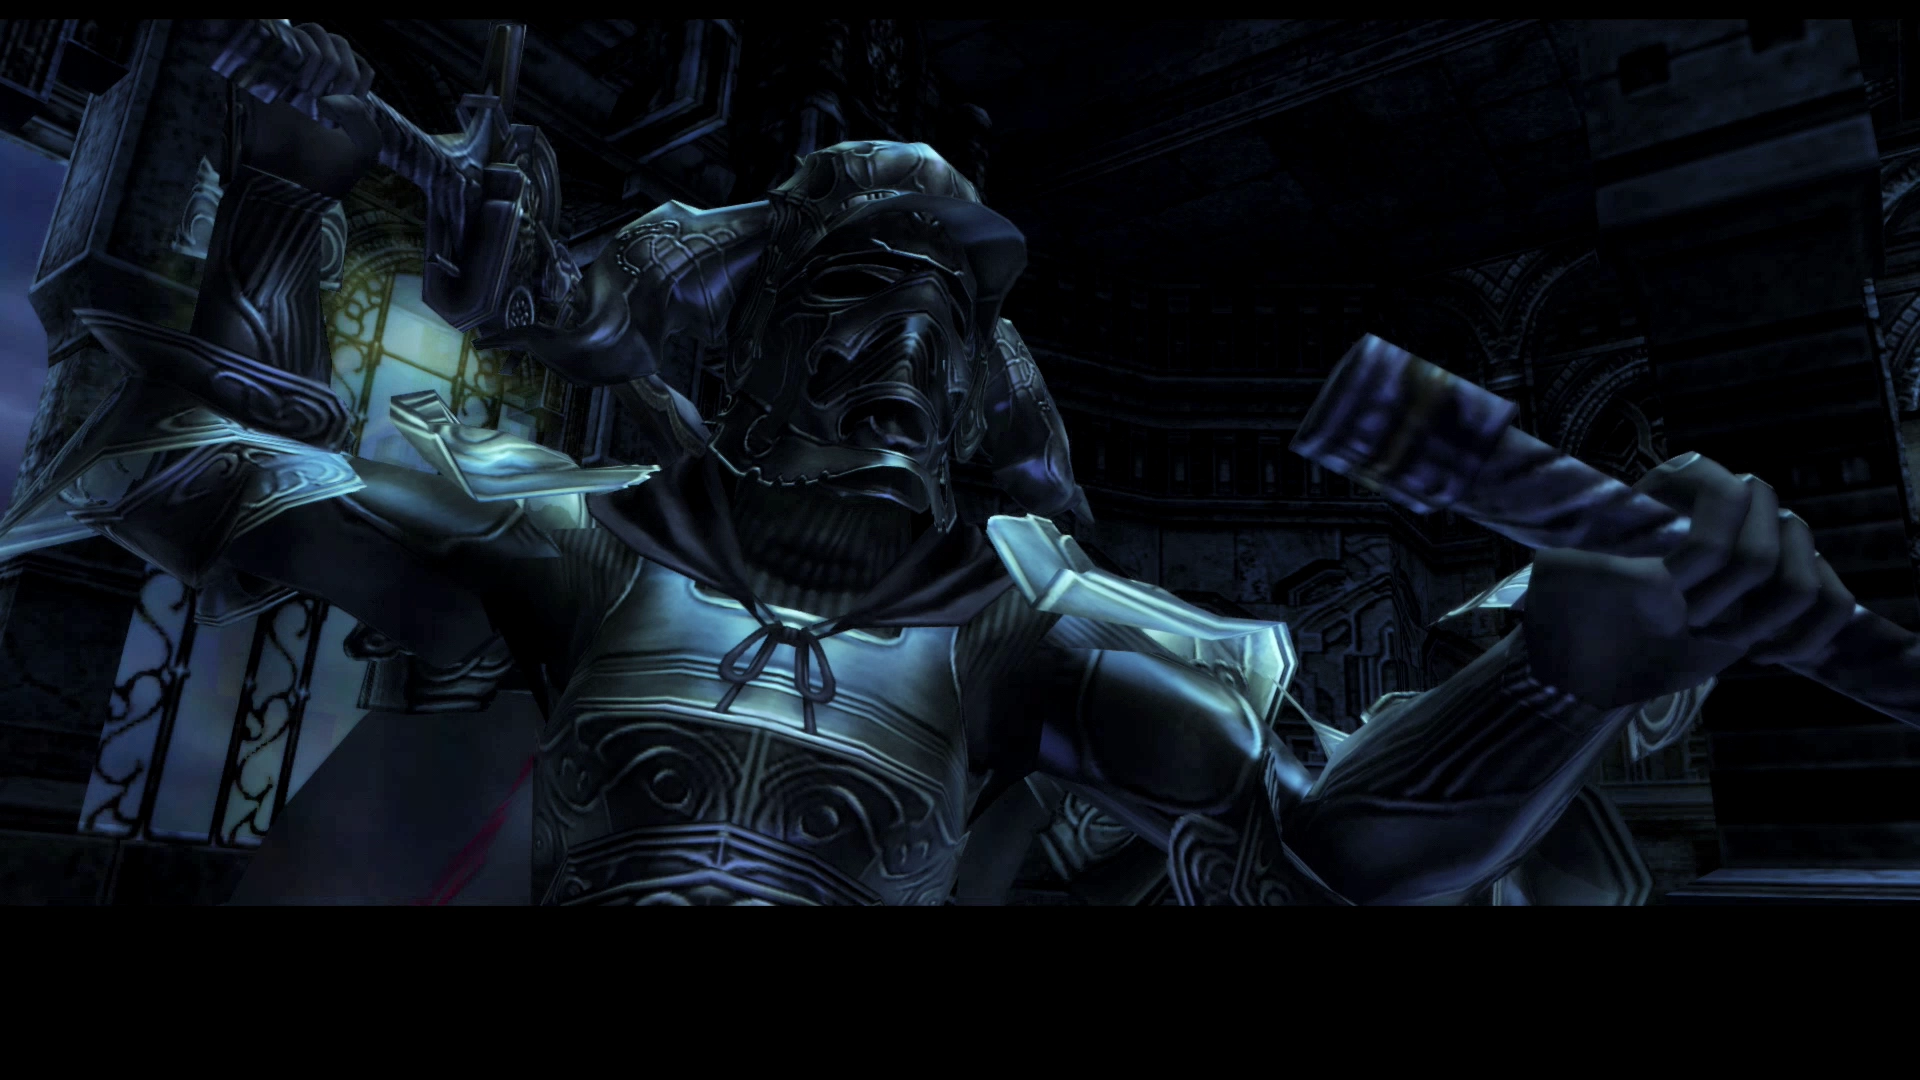
Level: 49
HP: 64,049
Steal: ![]() Potion (55%),
Potion (55%), ![]() Hi-Potion (10%),
Hi-Potion (10%), ![]() X-Potion (3%)
X-Potion (3%)
Judge Gabranth is a very straight forward battle. He uses all physical attacks and, although he can get quite a few combo attacks, they are definitely not difficult to deal with. Cast ![]() Dispel on him early on in the battle to remove his beneficial status effects.
Dispel on him early on in the battle to remove his beneficial status effects.
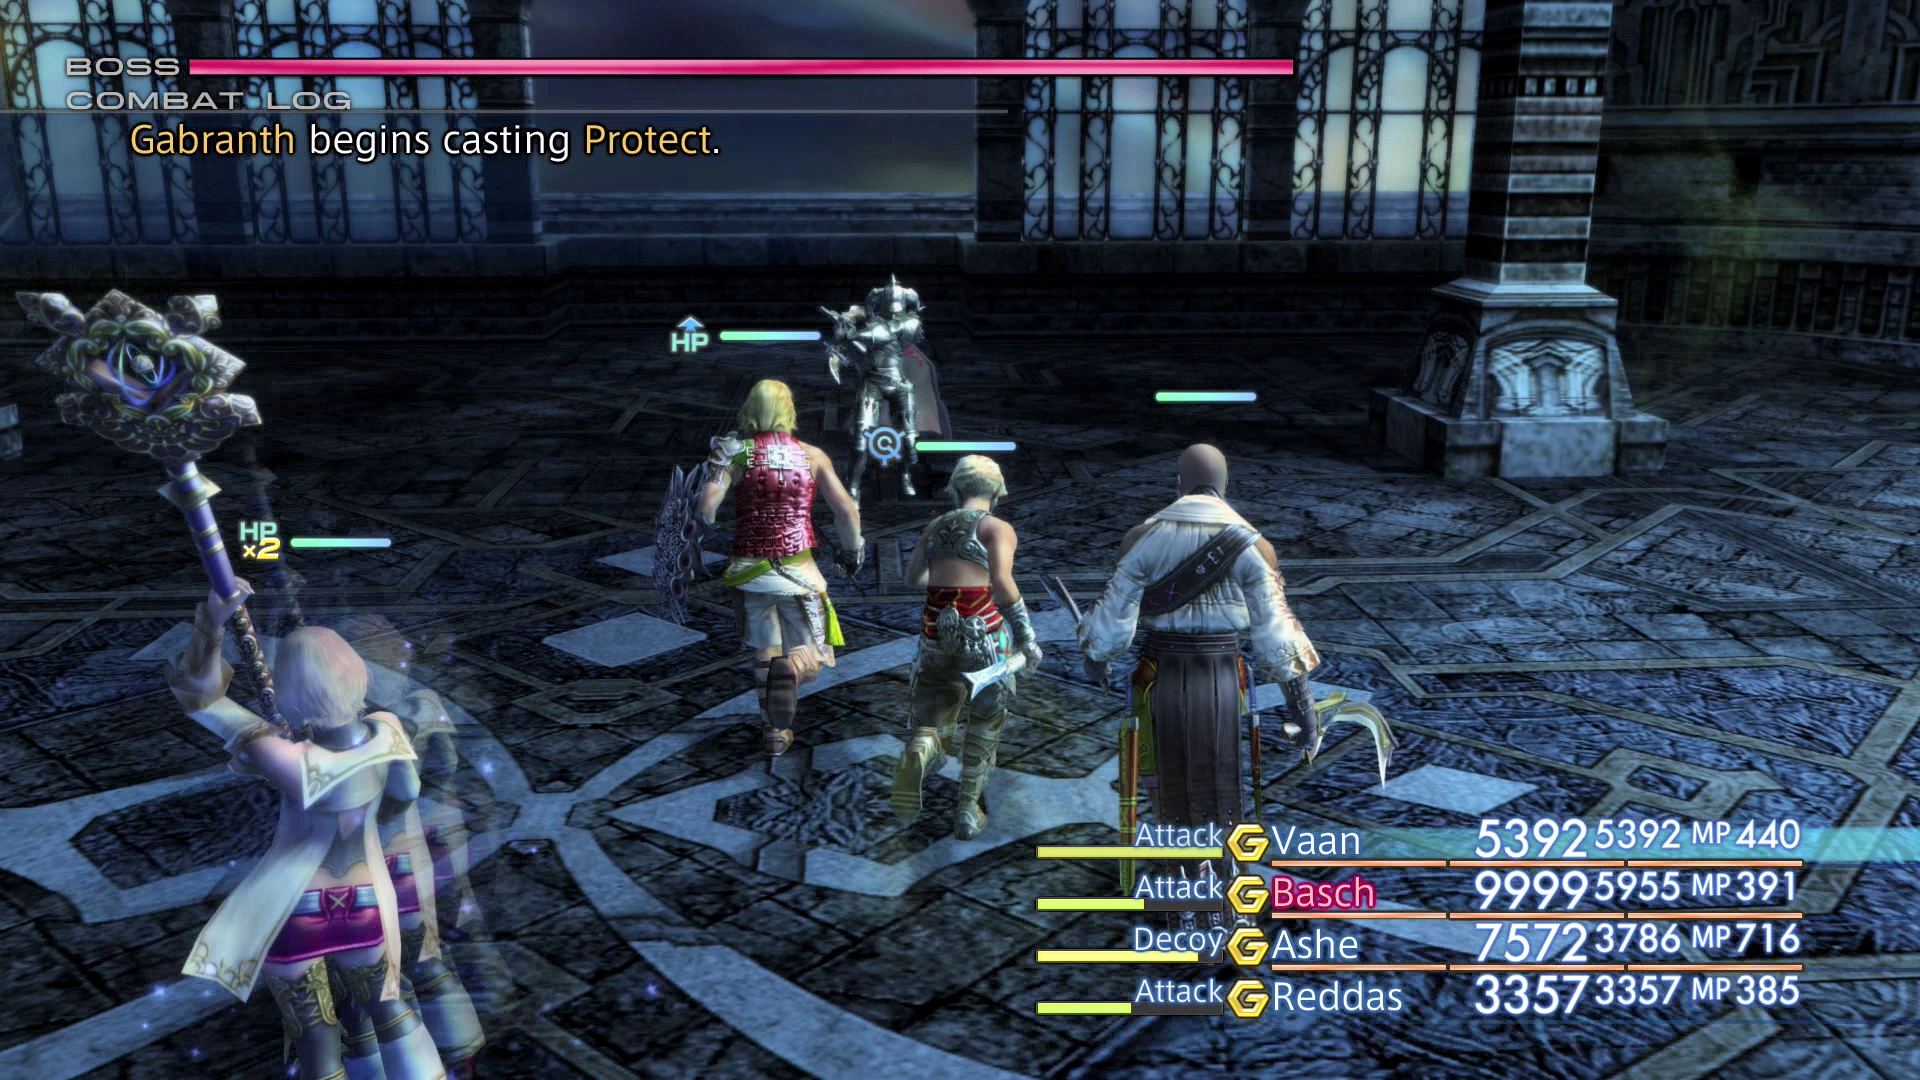
A cutscene will take place when Gabranth reaches 50% HP. If Basch is in your party, he will respond to what Gabranth says. You can ![]() Steal from Gabranth one more time after the cutscene has taken place.
Steal from Gabranth one more time after the cutscene has taken place.
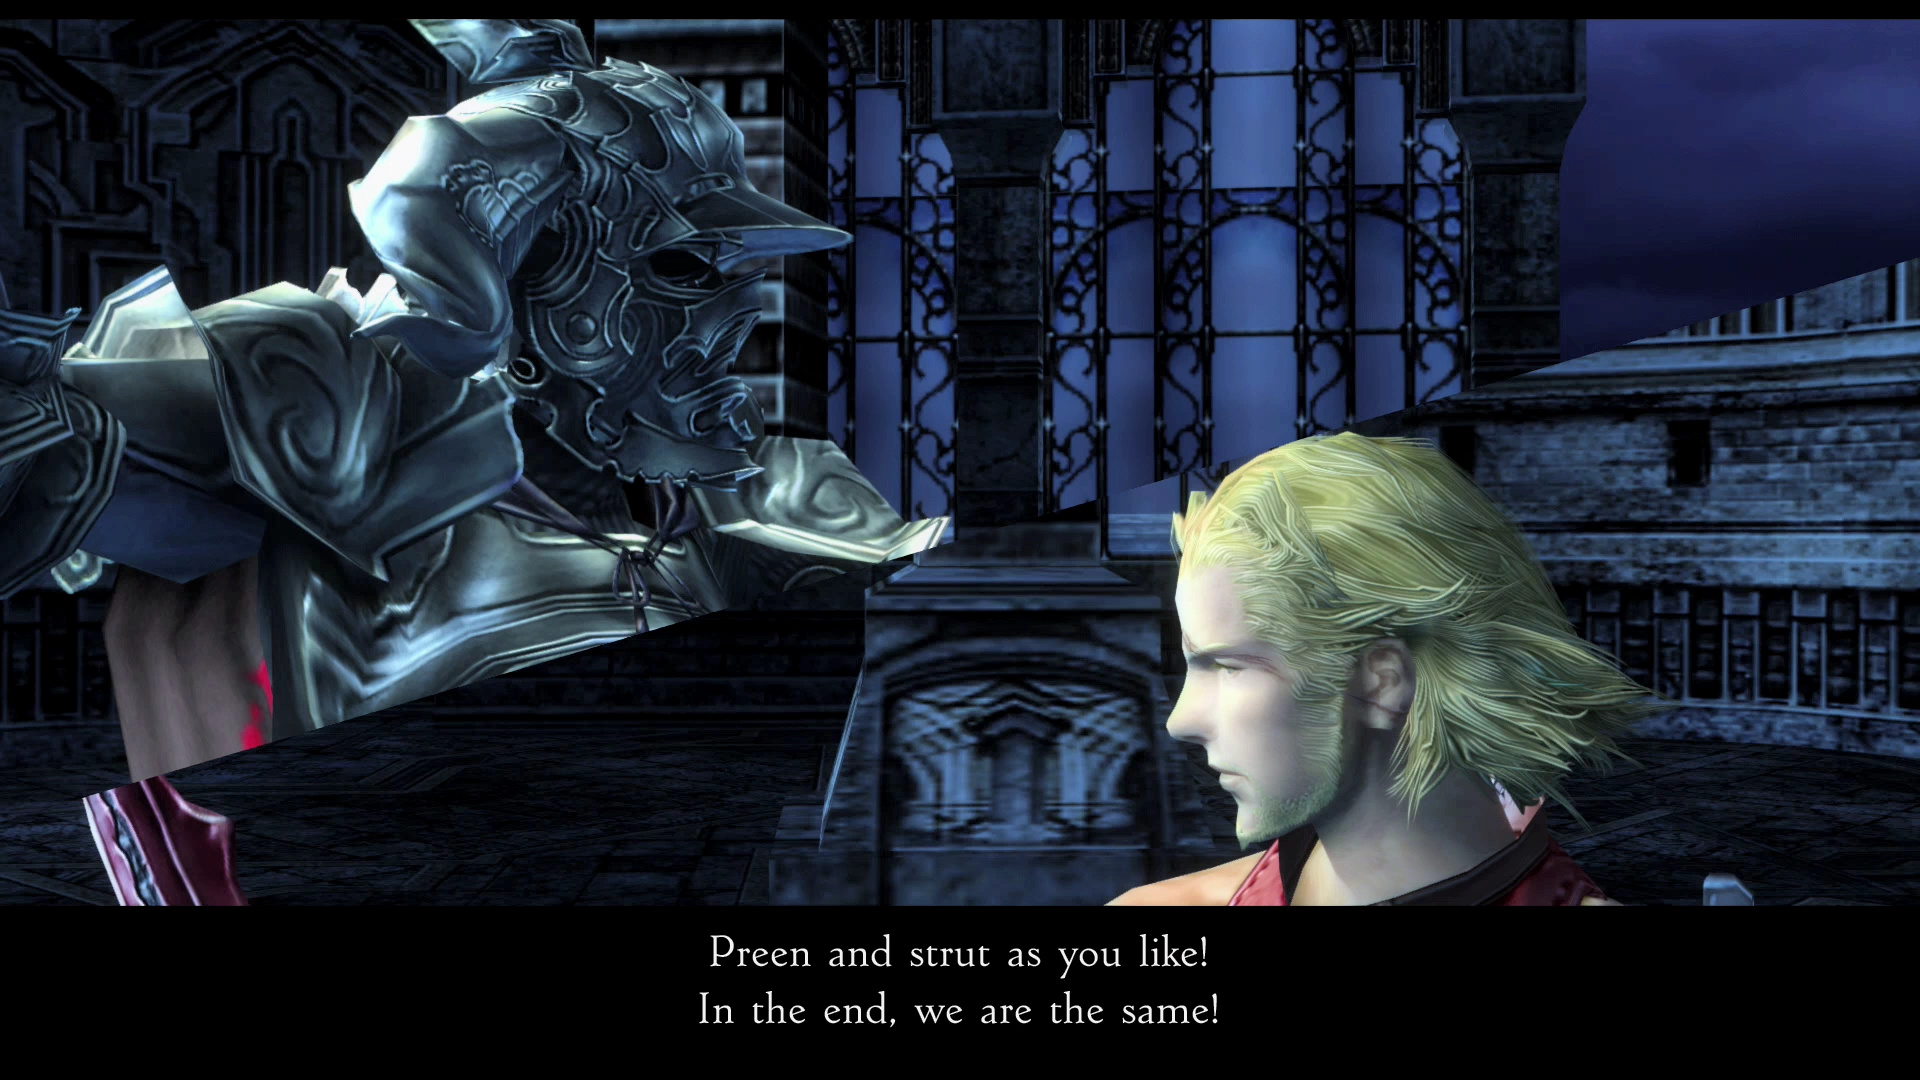
You can find a video of this battle in the Zodiac Age version below.
Doctor Cid will appear once the battle has concluded. He will encourage Ashe to stay her Occurian sword and use the stone to take power away from the gods and “take the reins of history back into the hands of man.”
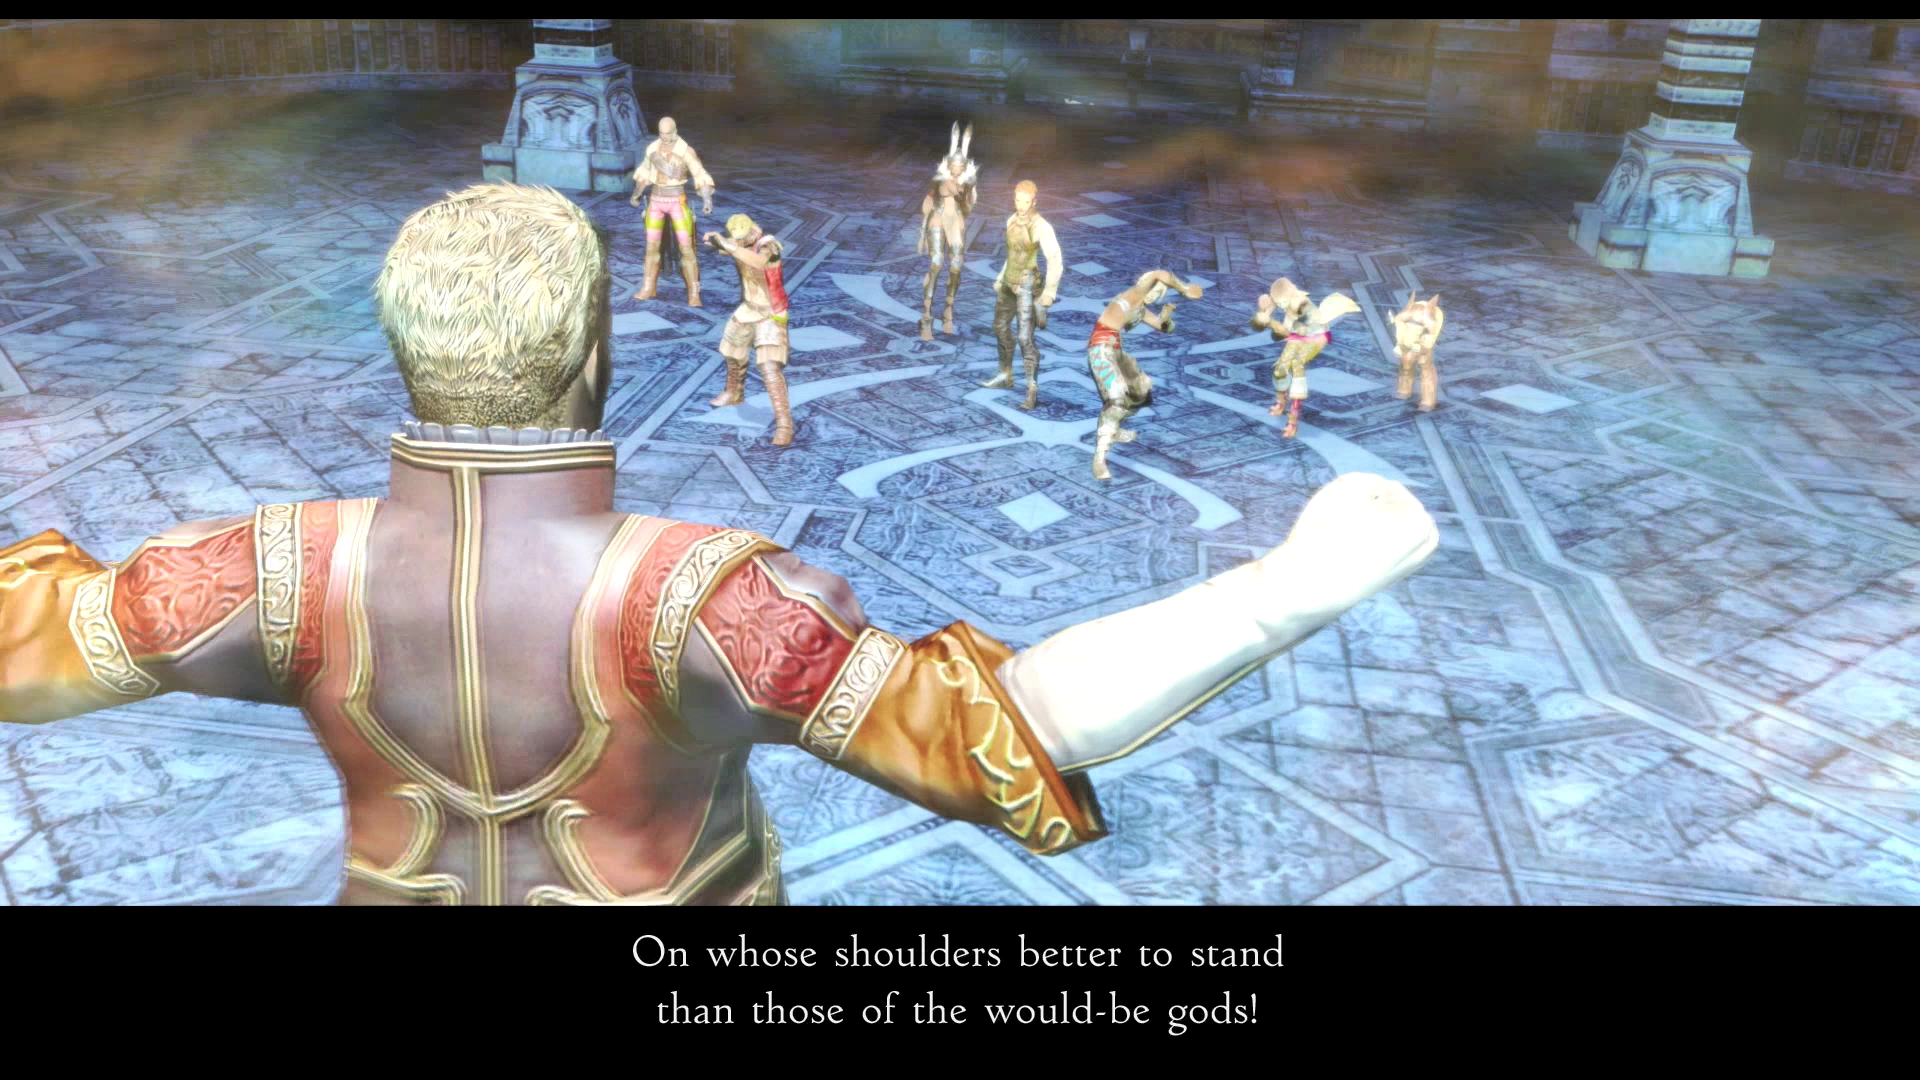
The team will then battle Doctor Cid. The battle is broken out into two separate parts.
Boss Battle
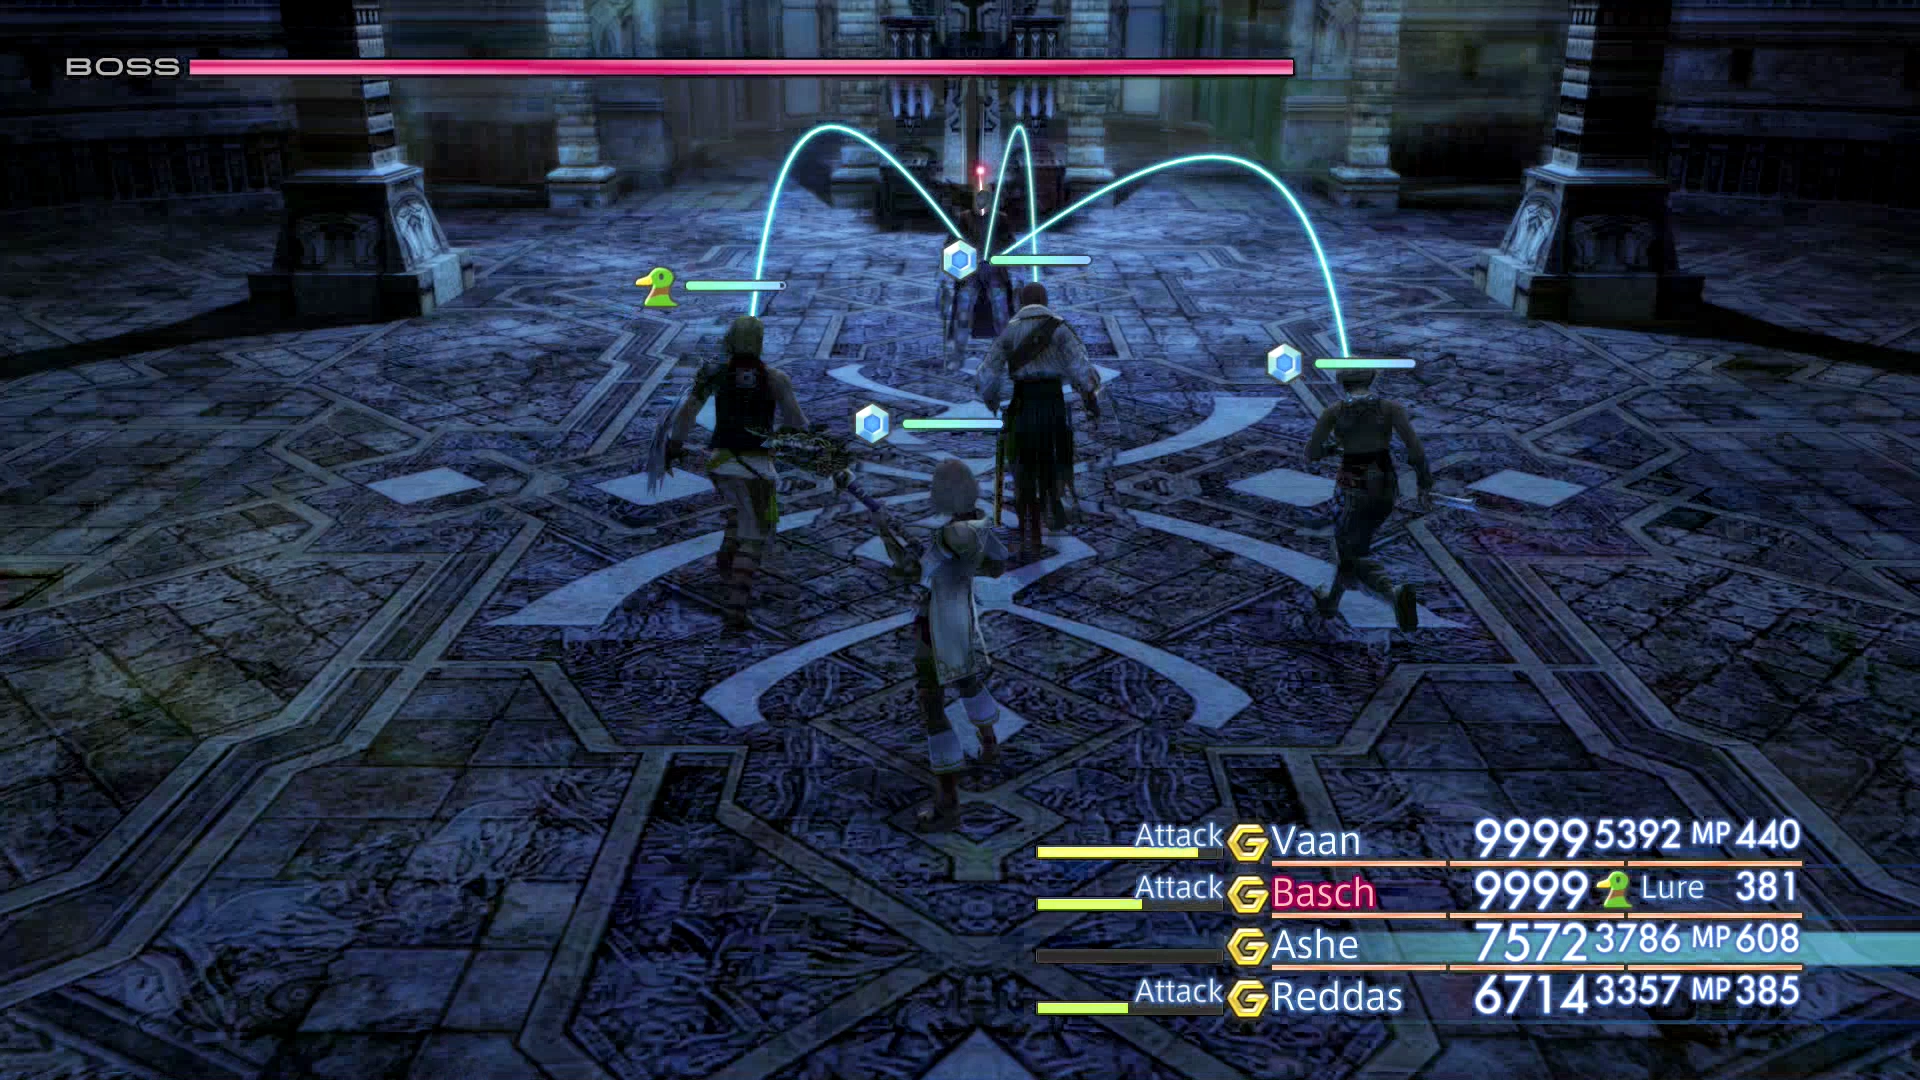
Level: 50 and 52
HP: 82,093 and 149,060
Steal: ![]() Hi-Potion (55%),
Hi-Potion (55%), ![]() Ketu Board (10%),
Ketu Board (10%), ![]() Magepower Shishak (3%) and
Magepower Shishak (3%) and ![]() Aquarius Gem (55%),
Aquarius Gem (55%), ![]() Elixir (10%),
Elixir (10%), ![]() High Arcana (3%)
High Arcana (3%)
This boss battle is broken out into two distinctive parts – both before and after Famfrit joins the battle.
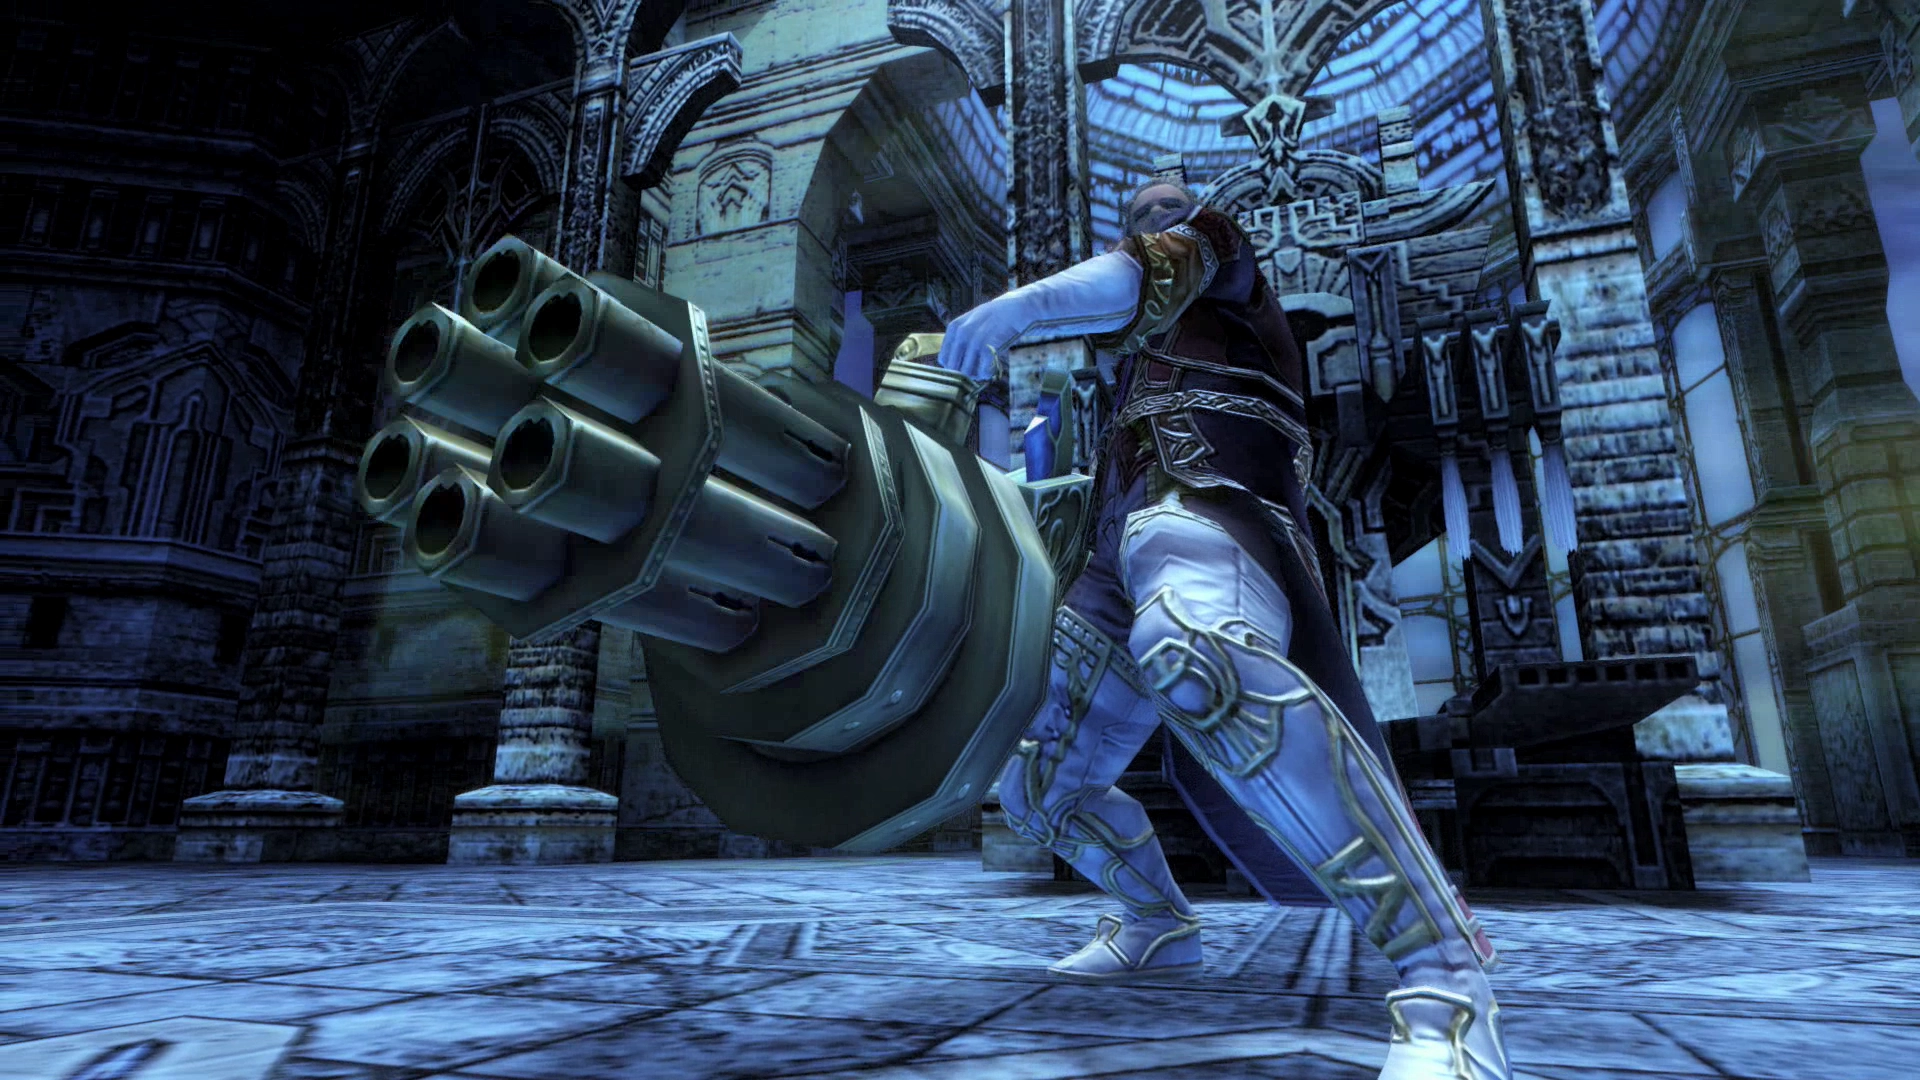
For the first part of this battle you will face just Doctor Cid alone. Once he reaches 50% HP though he will summon Famfrit to do battle by his side.
The first battle against Doctor Cid is extremely straight forward. Cid will only use regular physical attacks. Set up your party at this point again by renewing all of your beneficial status effects such as ![]() Protect,
Protect, ![]() Shell,
Shell, ![]() Bubble and
Bubble and ![]() Haste. You may want to equip your healer with a
Haste. You may want to equip your healer with a ![]() Rose Corsage in preparation for the next battle.
Rose Corsage in preparation for the next battle.
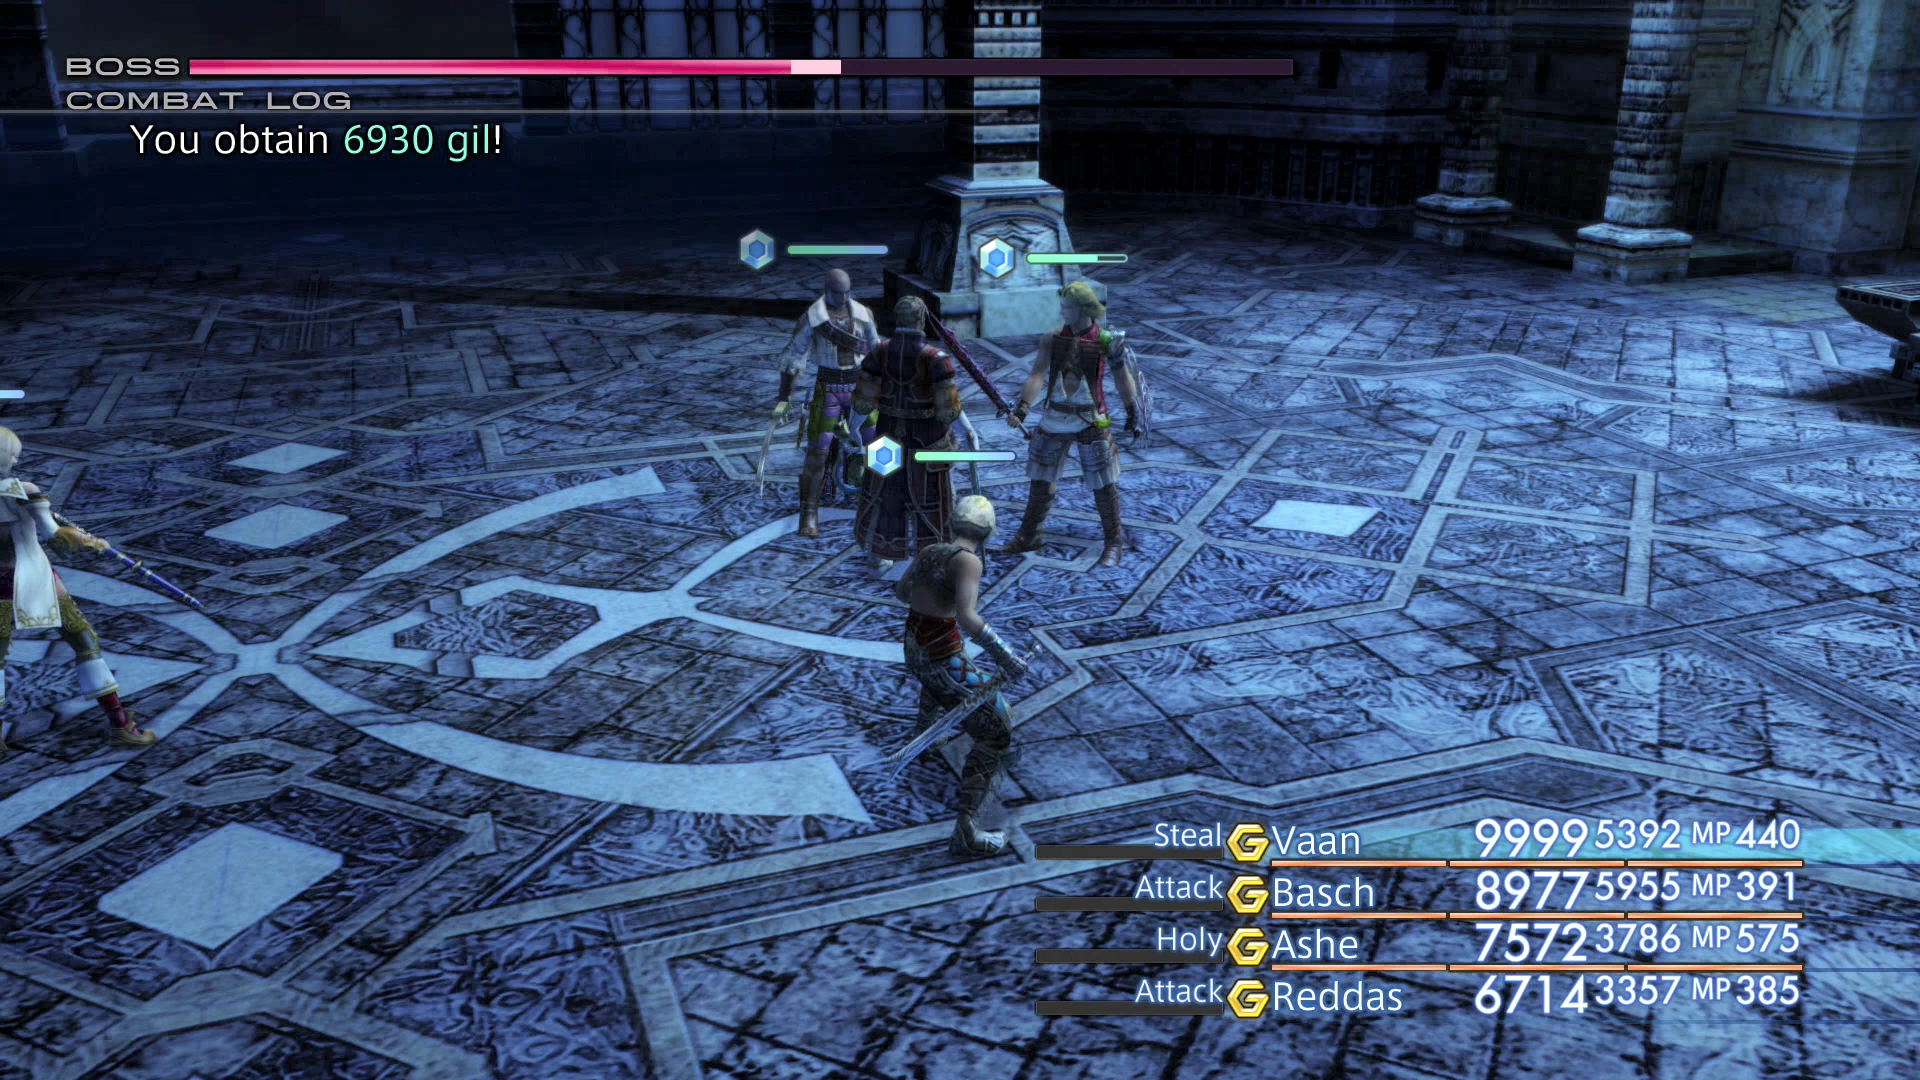
At 50% HP, Doctor Cid will use his manufactured Nethicite summon Famfrit to do battle by his side. Doctor Cid will become immune to attacks while Famfrit is summoned. Switch your Attack Gambits to attack the Foe with the highest level and this will cause your party members to properly shift to Famfrit when it is summoned and back to Doctor Cid as soon as it is defeated.
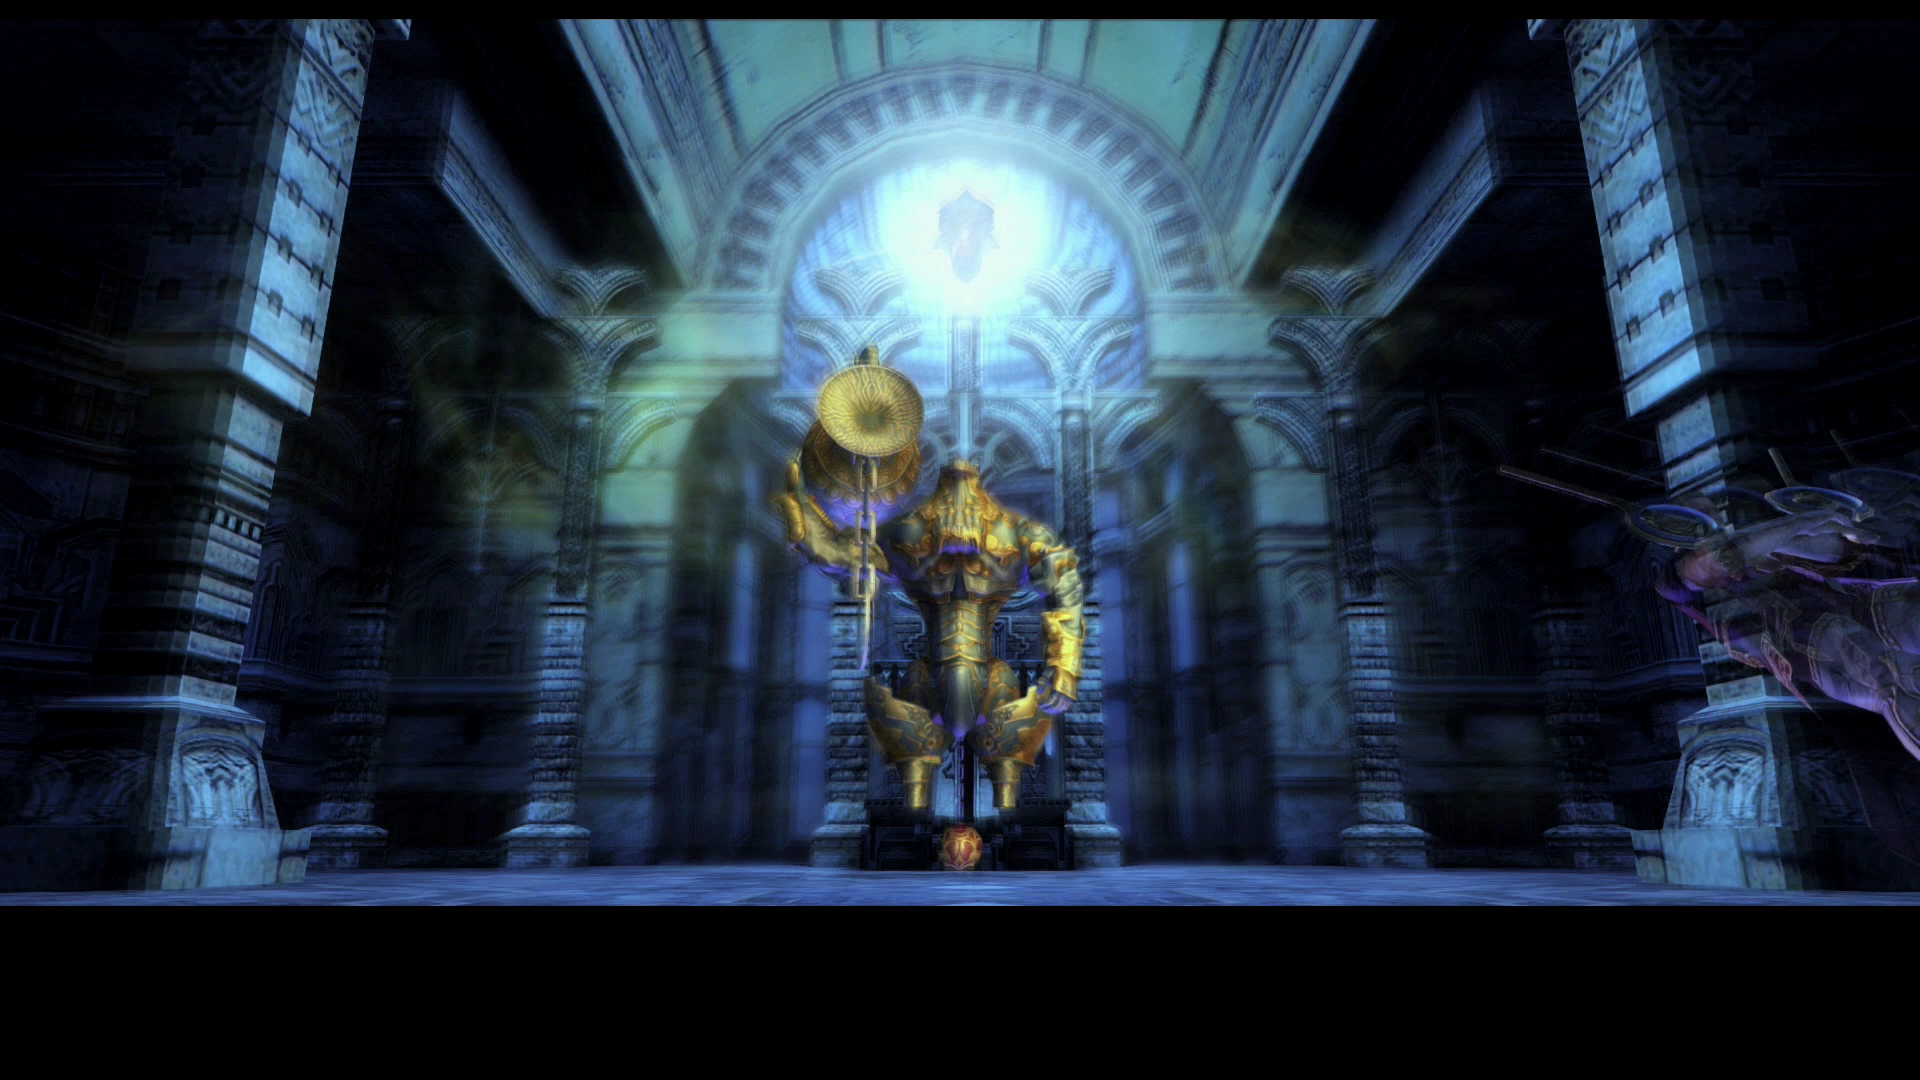
Remove any Dispel Gambits that you have set up for the moment as well as your party members will attempt to Dispel Doctor Cid which will not work until Famfrit is defeated. As a reminder, your healer should have a ![]() Rose Corsage equipped and should be set up with an
Rose Corsage equipped and should be set up with an ![]() Esuna Gambit to remove the effect from other party members. Alternatively, set up a Gambit to use
Esuna Gambit to remove the effect from other party members. Alternatively, set up a Gambit to use ![]() Echo Herbs on party members who are Silenced.
Echo Herbs on party members who are Silenced.
Both Famfrit and Doctor Cid are weak to Fire-based Magick which makes using ![]() Oil Magick on either of them extremely successful. Famfrit will increase its defense when it reaches low HP and it will use some special attacks during the fight that cut into a cinematic.
Oil Magick on either of them extremely successful. Famfrit will increase its defense when it reaches low HP and it will use some special attacks during the fight that cut into a cinematic.
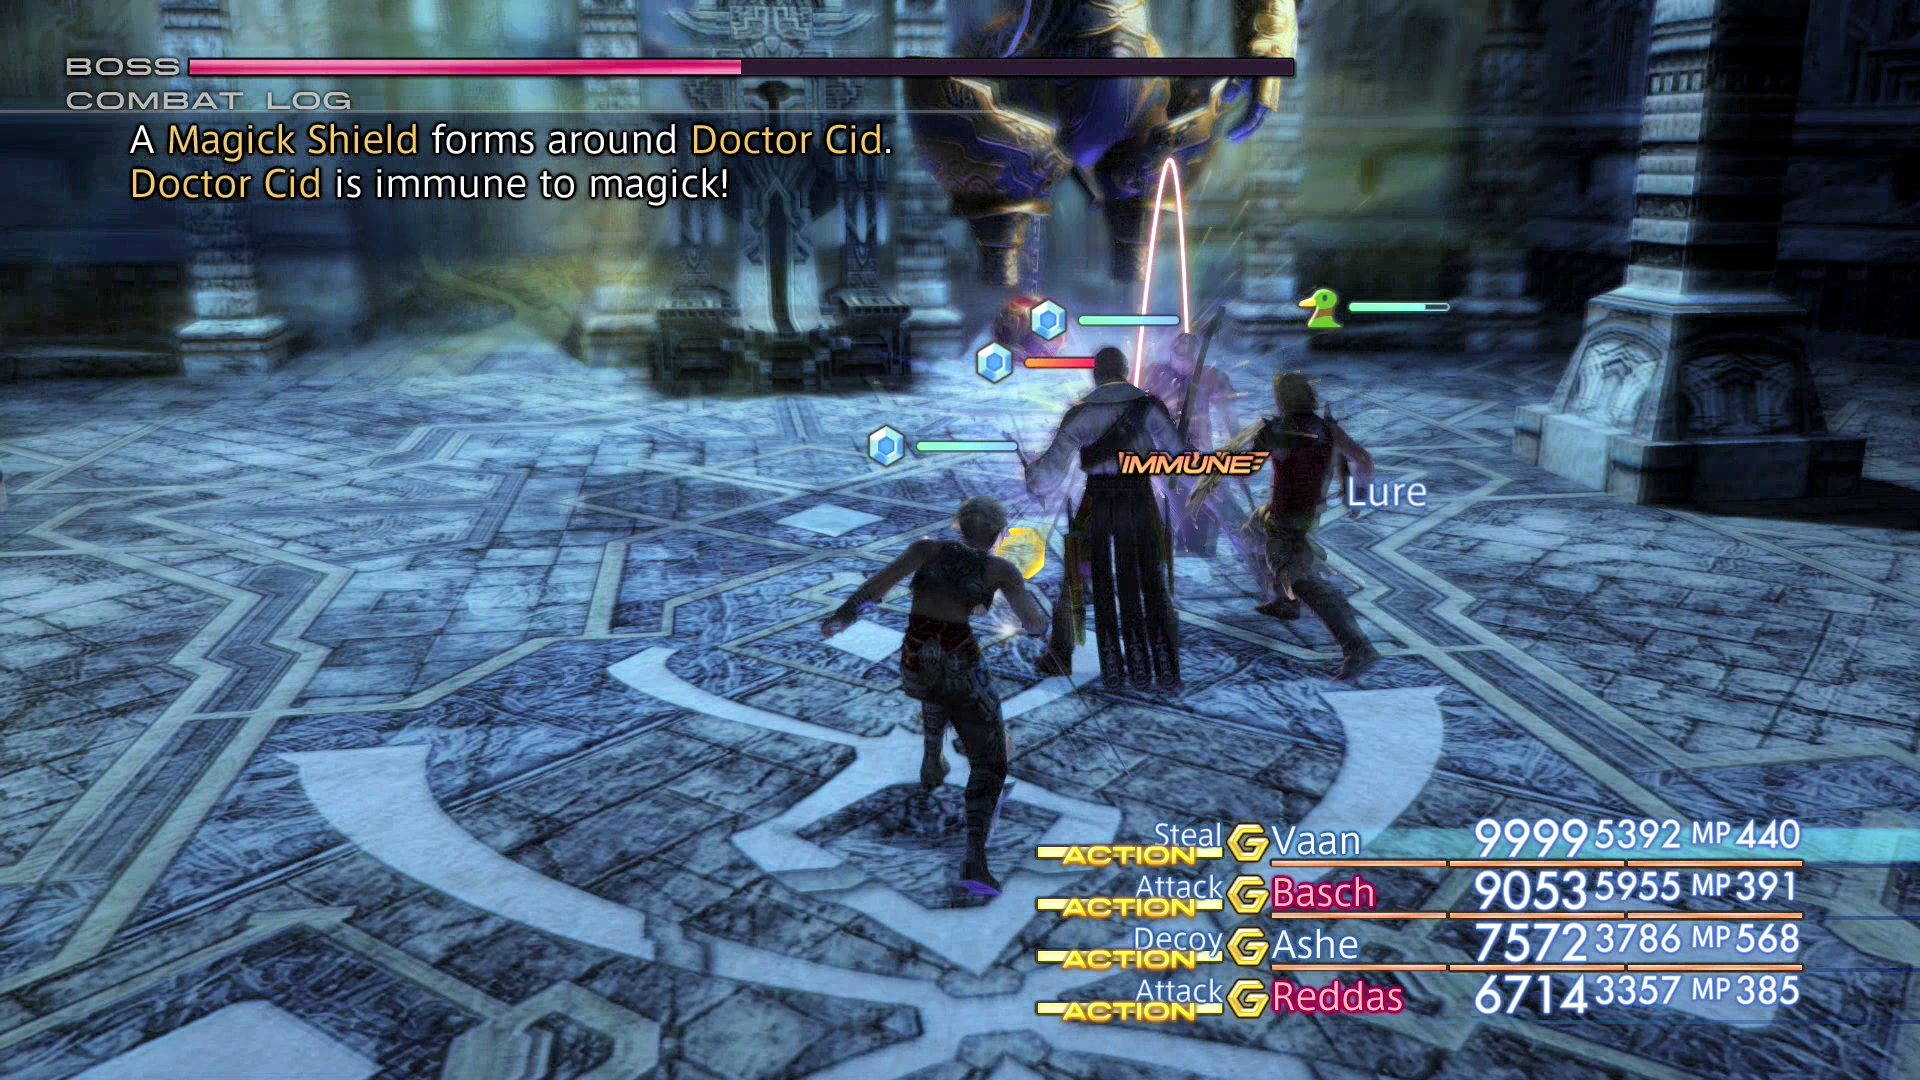
Go back to attacking Doctor Cid once Famfrit has been defeated. Doctor Cid’s attacks will now do more damage.
You can find a video of this battle in the Zodiac Age version below.
Famfrit, another Esper, will be added to the License Board once the fight has ended.
Balthier will approach his father, Doctor Cid, at the end of the battle. Doctor Cid won’t have any kind words for Balthier before he eventually dies, leaving the party to finally destroy the Sun-cryst.
There are quite a few more cutscenes that take place after the battle. Once they are over, the team will return to Balfonheim Port. You will be given the option to save your game before continuing.
