
Missable Items and Events
Final Fantasy IX is generally more forgiving than other entries in the series when it comes to permanently missable content. Most side quests and items remain available throughout the game. However, there are still several items, side quests, and achievements that can be permanently missed if you are not careful, particularly those tied to one-time areas and time-sensitive encounters.
This page provides a comprehensive breakdown of everything that can be missed, organized by category, so you can plan ahead and avoid losing anything important. If you are following the walkthrough, all of these items and events are flagged at the appropriate points.
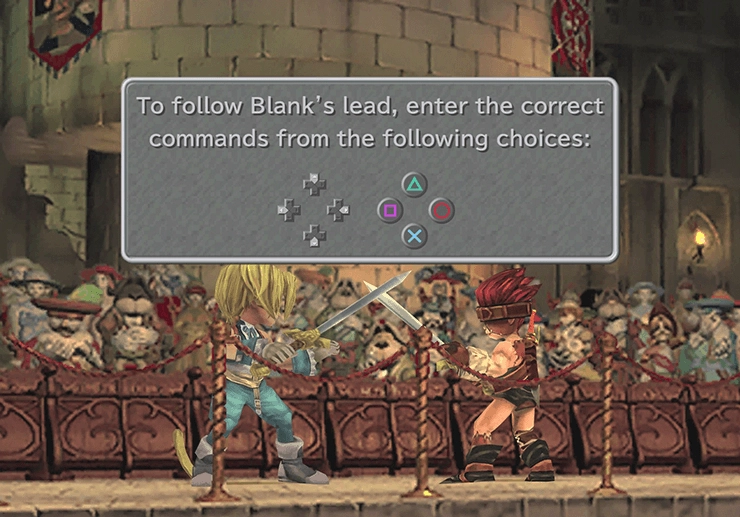
Sword Fight Performance
The “I Want to Be Your Canary” sword fight performance at the very beginning of the game is a one-time event. Your score determines your reward, and a perfect score of 100/100 is needed for the first ![]() Moonstone (required for the
Moonstone (required for the  Over the Moon trophy).
The  A Round of Applause achievement/trophy requires impressing at least 80 out of 100 nobles.
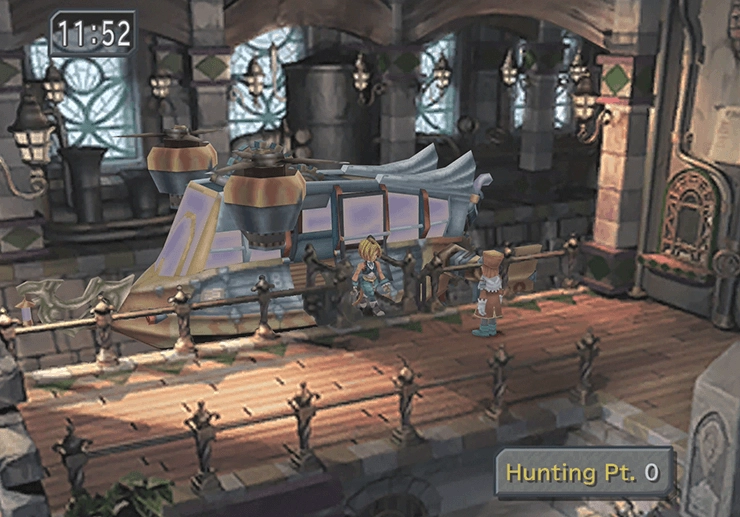
Festival of the Hunt
The Festival of the Hunt in Lindblum occurs once during the story on Disc 1 and cannot be repeated. The outcome determines which prize you receive:
| Winner | Prize |
|---|---|
| Zidane | 5,000 Gil |
| Freya | |
| Vivi |
The A-Hunting We Will Go achievement/trophy requires Vivi to win the festival, which means intentionally having Zidane and Freya be KO’d during the Zaghnol battle.
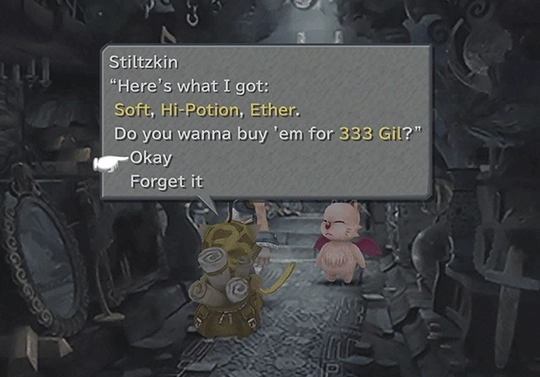
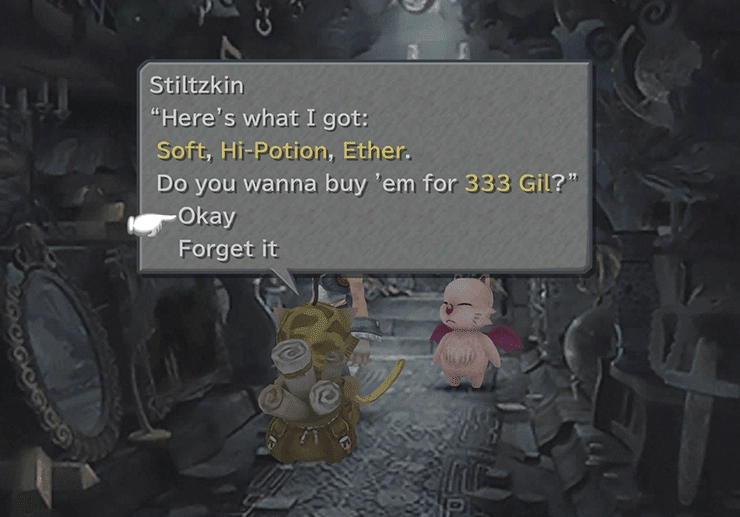
Stiltzkin
Stiltzkin is a traveling Moogle merchant who appears at eight different locations throughout the game, selling a bundle of items at each stop. Purchasing all eight bundles rewards you with a ![]() Ribbon, one of the best accessories in the game. If you miss even one purchase, you cannot obtain the Ribbon from him.
Ribbon, one of the best accessories in the game. If you miss even one purchase, you cannot obtain the Ribbon from him.
Several of ![]() Stiltzkin’s locations are in areas that cannot be revisited, making this side quest particularly easy to miss:
Stiltzkin’s locations are in areas that cannot be revisited, making this side quest particularly easy to miss:
| # | Location | Disc | Cost |
|---|---|---|---|
| 1 | Burmecia | 1 | 333 Gil |
| 2 | Cleyra | 2 | 444 Gil |
| 3 | Fossil Roo | 2 | 555 Gil |
| 4 | Conde Petie Mountain Path | 2 | 666 Gil |
| 5 | Alexandria Steeple | 3 | 777 Gil |
| 6 | Oeilvert | 3 | 888 Gil |
| 7 | Bran Bal | 3 | 2,222 Gil |
| 8 | Alexandria | 4 | 5,555 Gil |
The encounters in Burmecia, Cleyra, and Fossil Roo are the most critical as those areas become permanently inaccessible. This walkthrough flags each ![]() Stiltzkin encounter at the appropriate time.
Stiltzkin encounter at the appropriate time.
Side Quest
A full breakdown of all eight ![]() Stiltzkin encounters with locations, items, and the Ribbon reward.
Stiltzkin encounters with locations, items, and the Ribbon reward.
One-Time Areas
Several areas in the game can only be visited once. Any items, equipment, or treasure you miss in these areas is gone forever.
| Area | Disc | Notes |
|---|---|---|
| Burmecia | 1 | Can only be explored during the Disc 1 visit. Collect all treasure chests before completing the area. |
| Cleyra | 2 | Destroyed during the story and cannot be revisited. Pick up all items and purchase from Out of Harm’s Way trophy requires specific dialog choices here. |
| Fossil Roo | 2 | You can technically return through the entrance, but |
| Oeilvert | 3 | Can only be visited during the specific story sequence. Any treasure missed inside is permanently lost. |
| Mount Gulug | 3 | Can only be explored during the Disc 3 story sequence. Any items or equipment missed inside cannot be obtained later. |
| Pandemonium | 3 | Garland’s fortress on Terra is a one-time dungeon. All items must be collected during the story visit. |
| Memoria / Crystal World | 4 | You can leave and return to Memoria before completing it, but the Crystal World is a point of no return. |
Friendly Monsters
The Friendly Monsters side quest involves encountering nine special monsters on the world map and giving them specific jewels. Completing all nine encounters gives your party the ability to deal physical damage to Ozma and provides a large AP reward.
The key concern is resource management. You must have the correct jewels in your inventory when you encounter each friendly monster. If you sell or synthesize a required jewel before encountering the corresponding monster, you may not be able to complete the quest.
| Monster | Required Jewel |
|---|---|
| Mu | 1 |
| Ghost | 1 |
| Ladybug | 2 |
| Yeti | 2 |
| Nymph | 3 |
| Jabberwock | 1 |
| Feather Circle | 1 |
| Garuda | 1 |
| Yan | 1 |
Additionally, the Yan will flee permanently if you encounter it before befriending all eight other friendly monsters first.
Side Quest

A complete guide to all nine friendly monster encounters, their locations, and the jewels required.

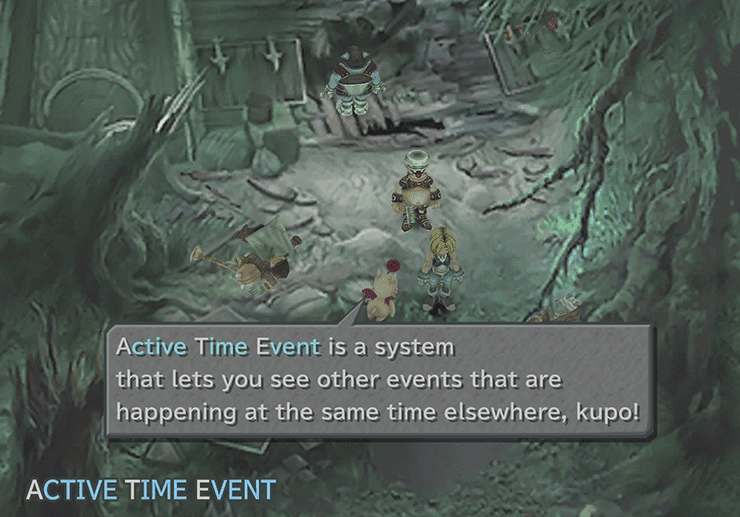
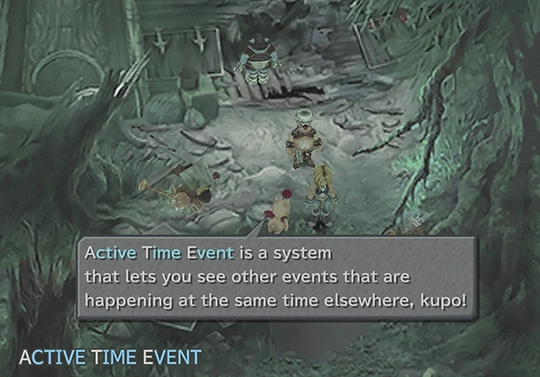
Active Time Events
Active Time Events (ATEs) are optional cutscenes that appear at specific points throughout the game. Many ATEs are only available during a narrow window and cannot be viewed later. The  Movie Critic achievement/trophy requires viewing 79 ATEs, making this one of the most difficult trophies to obtain without a guide.
The most commonly missed ATEs occur during:
- The first visit to Treno
- The first visit to Conde Petie
- The first visit to Black Mage Village
- The second visit to Treno
- The third visit to Lindblum (the “Give Me My Money” ATE being the easiest to miss)
If you are following this walkthrough, ATEs are flagged at each appropriate point.
Moonstones (Over the Moon)
The Over the Moon achievement/trophy requires collecting four ![]() Moonstones during your playthrough. There are exactly four opportunities to obtain them, which means missing even one locks you out of this trophy:
Moonstones during your playthrough. There are exactly four opportunities to obtain them, which means missing even one locks you out of this trophy:
| # | Source |
|---|---|
| 1 | Score a perfect 100/100 during the sword fight performance at the very beginning of the game |
| 2 | Locate the four colored stones in the Conde Petie Mountain Path |
| 3 | Give an Emerald to the Jabberwock during the Friendly Monsters side quest |
| 4 | Complete the |
Note that the Friendly Monsters quest requires you to give a ![]() Moonstone to the Feather Circle, but this does not count against the four needed for the trophy.
Moonstone to the Feather Circle, but this does not count against the four needed for the trophy.
Mognet Central
The Mognet Central side quest involves delivering letters between Moogles throughout the game. Some letter deliveries can only be completed during specific story windows. If you miss speaking to certain Moogles before progressing past their areas, you may not be able to complete the full delivery chain on Disc 4.
The final quest on Disc 4 involves a chain of deliveries that ultimately leads to obtaining a Superslick, which is used to repair the machine at Mognet Central. The reward is a ![]() Protect Ring.
Protect Ring.
Side Quest
A complete guide to the Mognet Central letter delivery chain, including all Moogle locations and the Disc 4 quest sequence.
Excalibur II
The single most difficult missable item in the game. Excalibur II is Steiner’s most powerful weapon and can only be obtained by reaching the Gate to Space room in Memoria with less than 12 hours of total playtime on the in-game clock. If you exceed this time limit, the weapon cannot be obtained for the rest of the playthrough.
This is essentially a speedrun challenge and is not practical for players who want to complete other side quests along the way.
Side Quest

A detailed strategy for obtaining Excalibur II, including tips for reaching Memoria within the 12-hour time limit.
Achievements and Trophies
For players aiming for 100% achievement completion, several trophies have specific missable requirements:
Achievement/Trophy
Obtain Excalibur II. Requires reaching the Gate to Space in Memoria with under 12 hours of total playtime. Check out the Excalibur II side quest page for a detailed strategy.
Achievement/Trophy
Purchase all items from every ![]() Stiltzkin encounter. Several encounters are in one-time areas that cannot be revisited.
Stiltzkin encounter. Several encounters are in one-time areas that cannot be revisited.
Achievement/Trophy
Obtain 4 ![]() Moonstones. Requires a perfect sword fight score, Conde Petie Mountain Path stones, Friendly Monsters completion, and Stiltzkin completion. See the Moonstones section above for all four sources.
Moonstones. Requires a perfect sword fight score, Conde Petie Mountain Path stones, Friendly Monsters completion, and Stiltzkin completion. See the Moonstones section above for all four sources.
Achievement/Trophy
View 79 Active Time Events. Many ATEs are permanently missable and only available during narrow story windows. See the Active Time Events section above for the most commonly missed locations.
Achievement/Trophy
Befriend all 9 friendly monsters. Requires keeping the required jewels in your inventory and encountering the Yan last.
Achievement/Trophy
Guide all residents of Cleyra to safety. Requires specific dialog choices during the one-time Cleyra events on Disc 2.
Achievement/Trophy
Win the Festival of the Hunt with Vivi. This is a one-time event on Disc 1 that requires intentionally KO’ing Zidane and Freya.
Achievement/Trophy
Score 80 or higher during the sword fight performance at the beginning of the game. A perfect score of 100 is needed for the first ![]() Moonstone.
Moonstone.
Achievement/Trophy
Complete the Mognet Central side quest. Requires completing the full letter delivery chain throughout the game.
Achievement/Trophy
Obtain a Superslick. This is part of the Mognet Central quest chain and requires completing the letter deliveries.
Summary
Final Fantasy IX is more forgiving than most games in the series when it comes to permanently missable content. The most critical items to watch for are:
- The Stiltzkin encounters in one-time areas (Burmecia, Cleyra, Fossil Roo)
- The sword fight performance score at the very beginning of the game
- The Moonstone sources (all four are needed for the Over the Moon trophy)
- The Friendly Monsters jewel requirements (do not sell or synthesize required jewels)
- Active Time Events throughout the game
- The Cleyra resident dialog choices for Out of Harm’s Way
- The Festival of the Hunt outcome on Disc 1
If you are following this walkthrough, all of these items and events are flagged at the appropriate points so you will not miss them.