
Advanced Tips and Tricks
You can use tactics and tricks during your trip through Iutycyr Tower to make things easier, including starting with Rikku, repeatedly stealing from the Founder, and using advanced movement techniques, all of which are outlined below.
Start With Rikku
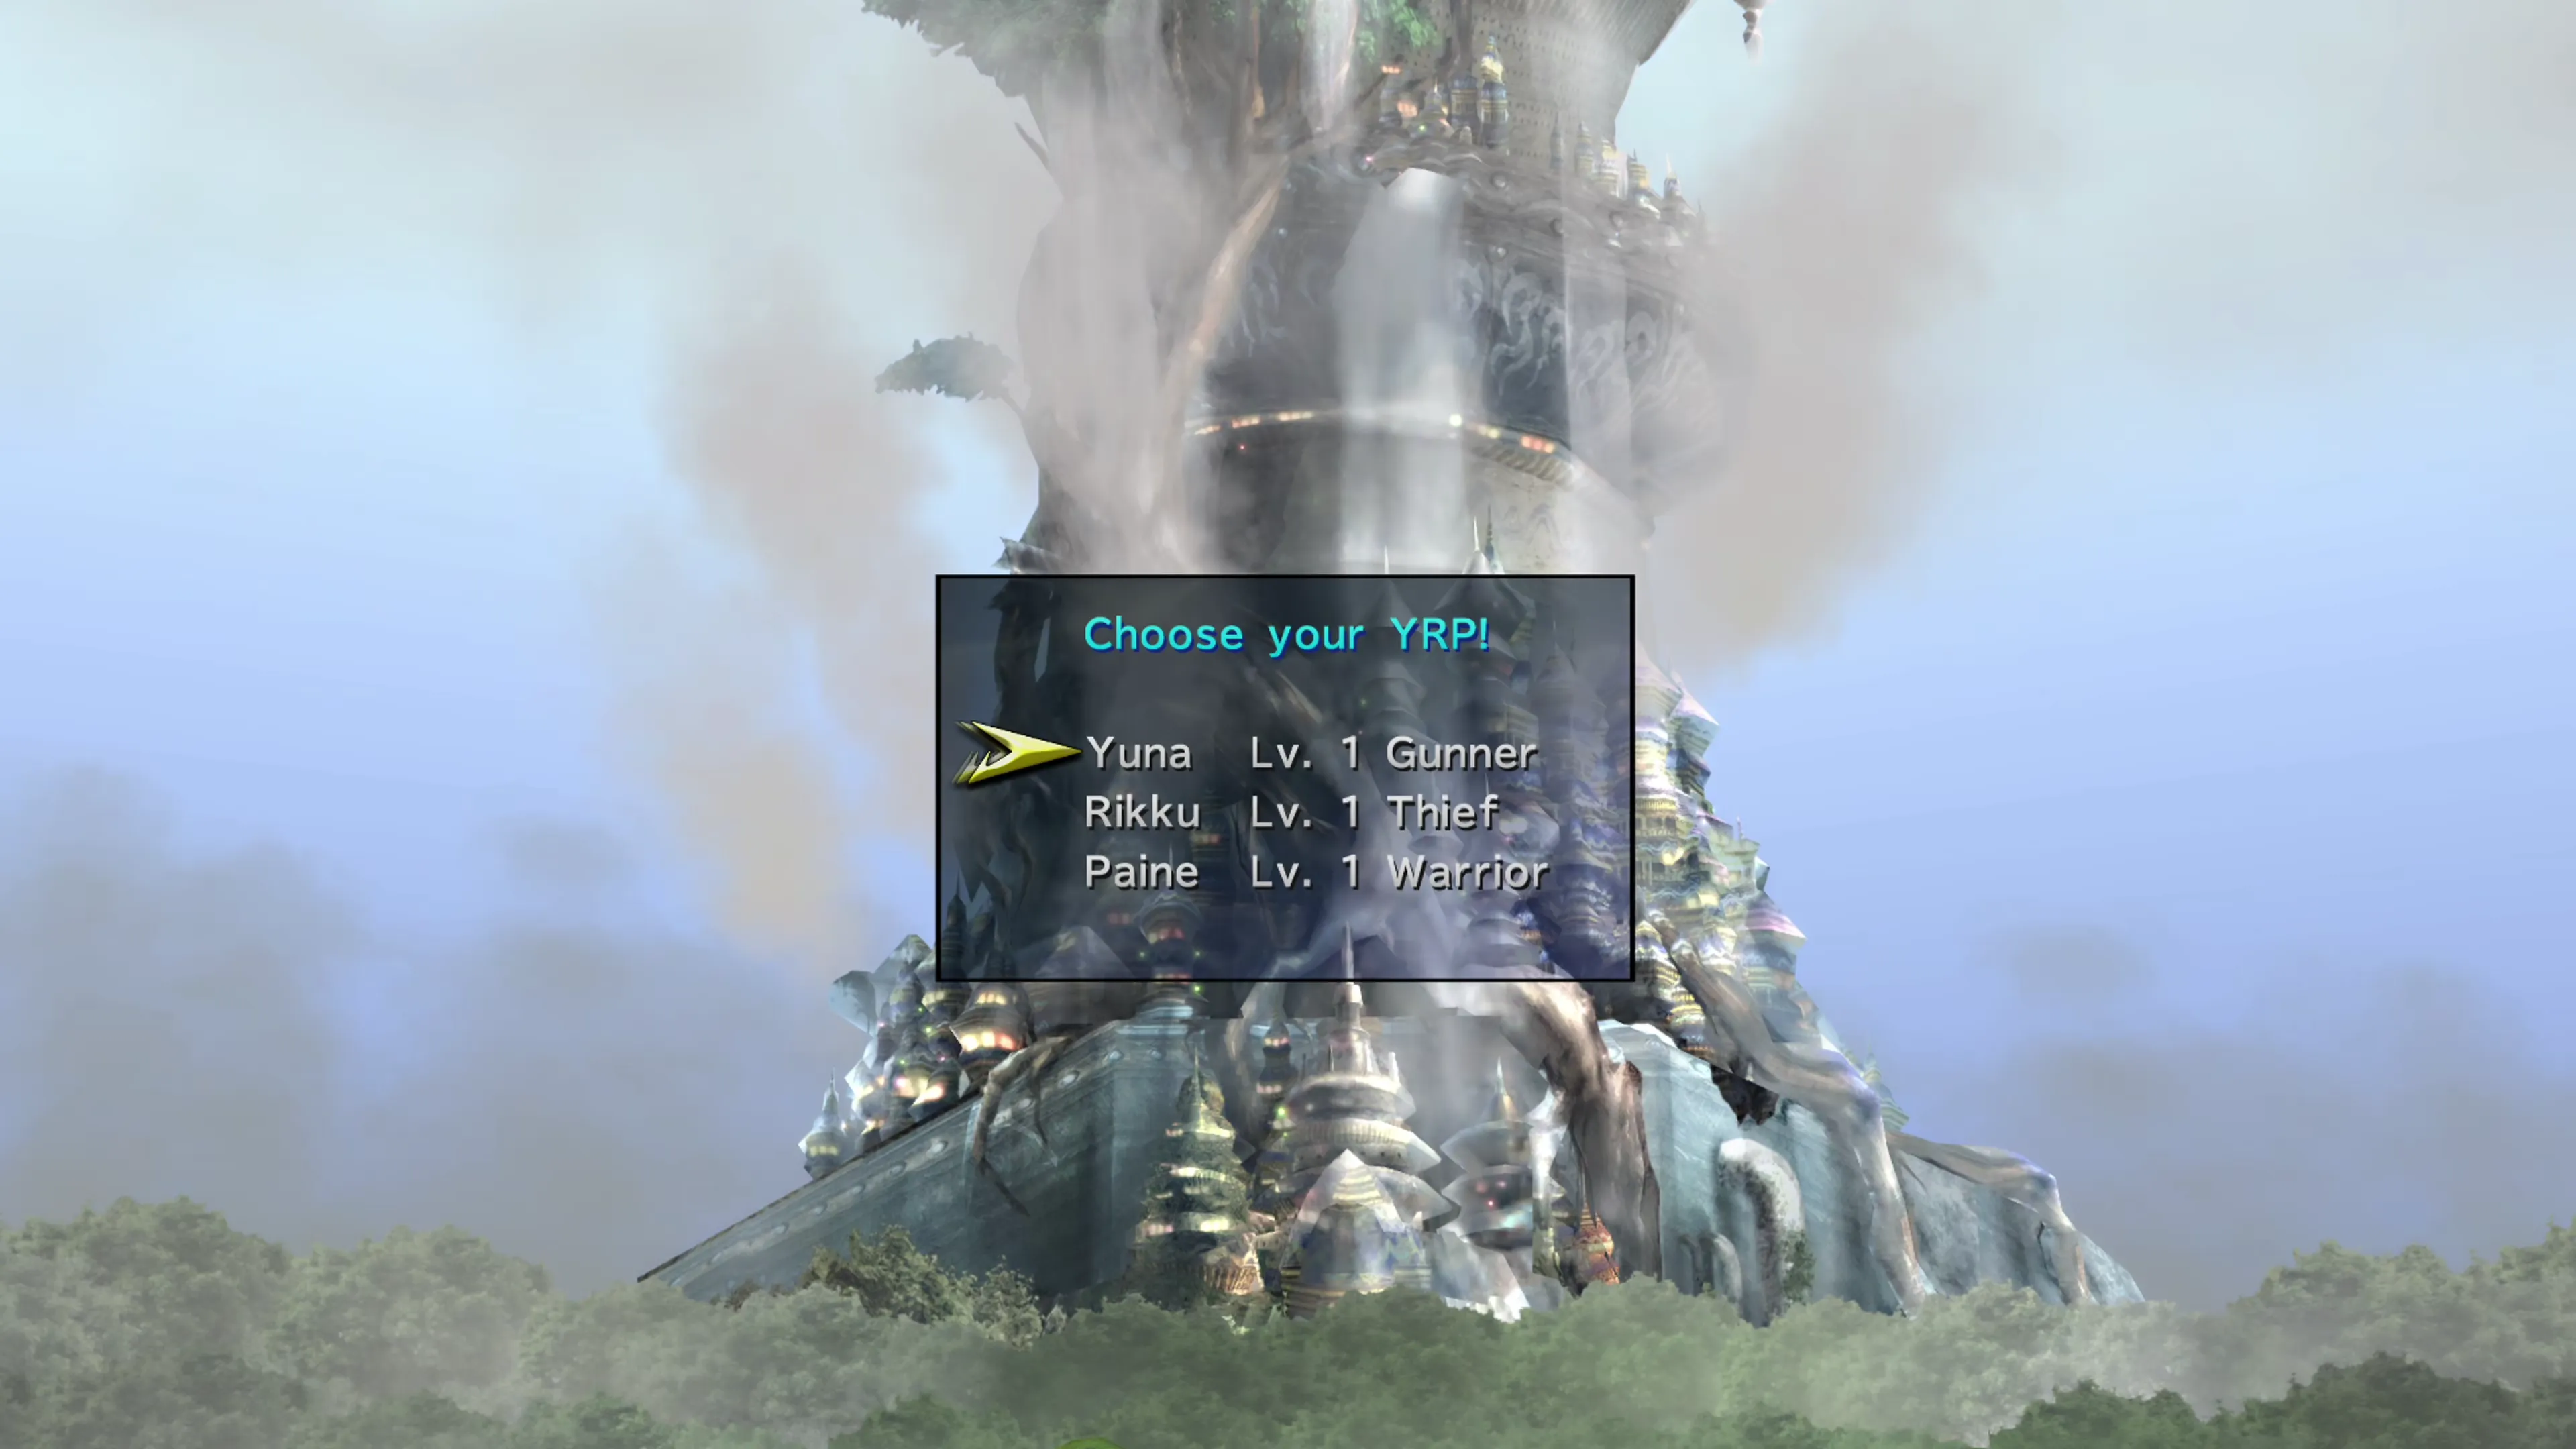
When you first enter Iutycyr Tower, the game will ask you to “Choose your YRP!” Very awkward wording, but that’s how the game phrases it. You can choose Yuna as a Lv. 1  Gunner, Rikku as a Lv. 1
  Thief, or Paine as a Lv. 1
  Warrior.
The Warrior Dressphere is probably the strongest you can start with, while Yuna’s Gunner Dressphere is the most versatile and lets you attack enemies from a distance. However, it is strongly recommended that you select “Rikku” to begin the game so that you get the Thief Dressphere as soon as possible. Being able to steal from enemies (namely, the Founder, as outlined below) is incredibly helpful.
Of course, not all players will want to be stuck with Rikku for their full run through, and if that’s the case, you can use the  Songstress’s Change Out ability to swap from Rikku to another character. Alternatively, you can choose another character and hold off on using the Founder strategy below until you obtain a random Thief Dressphere, but this isn’t recommended.
The Founder
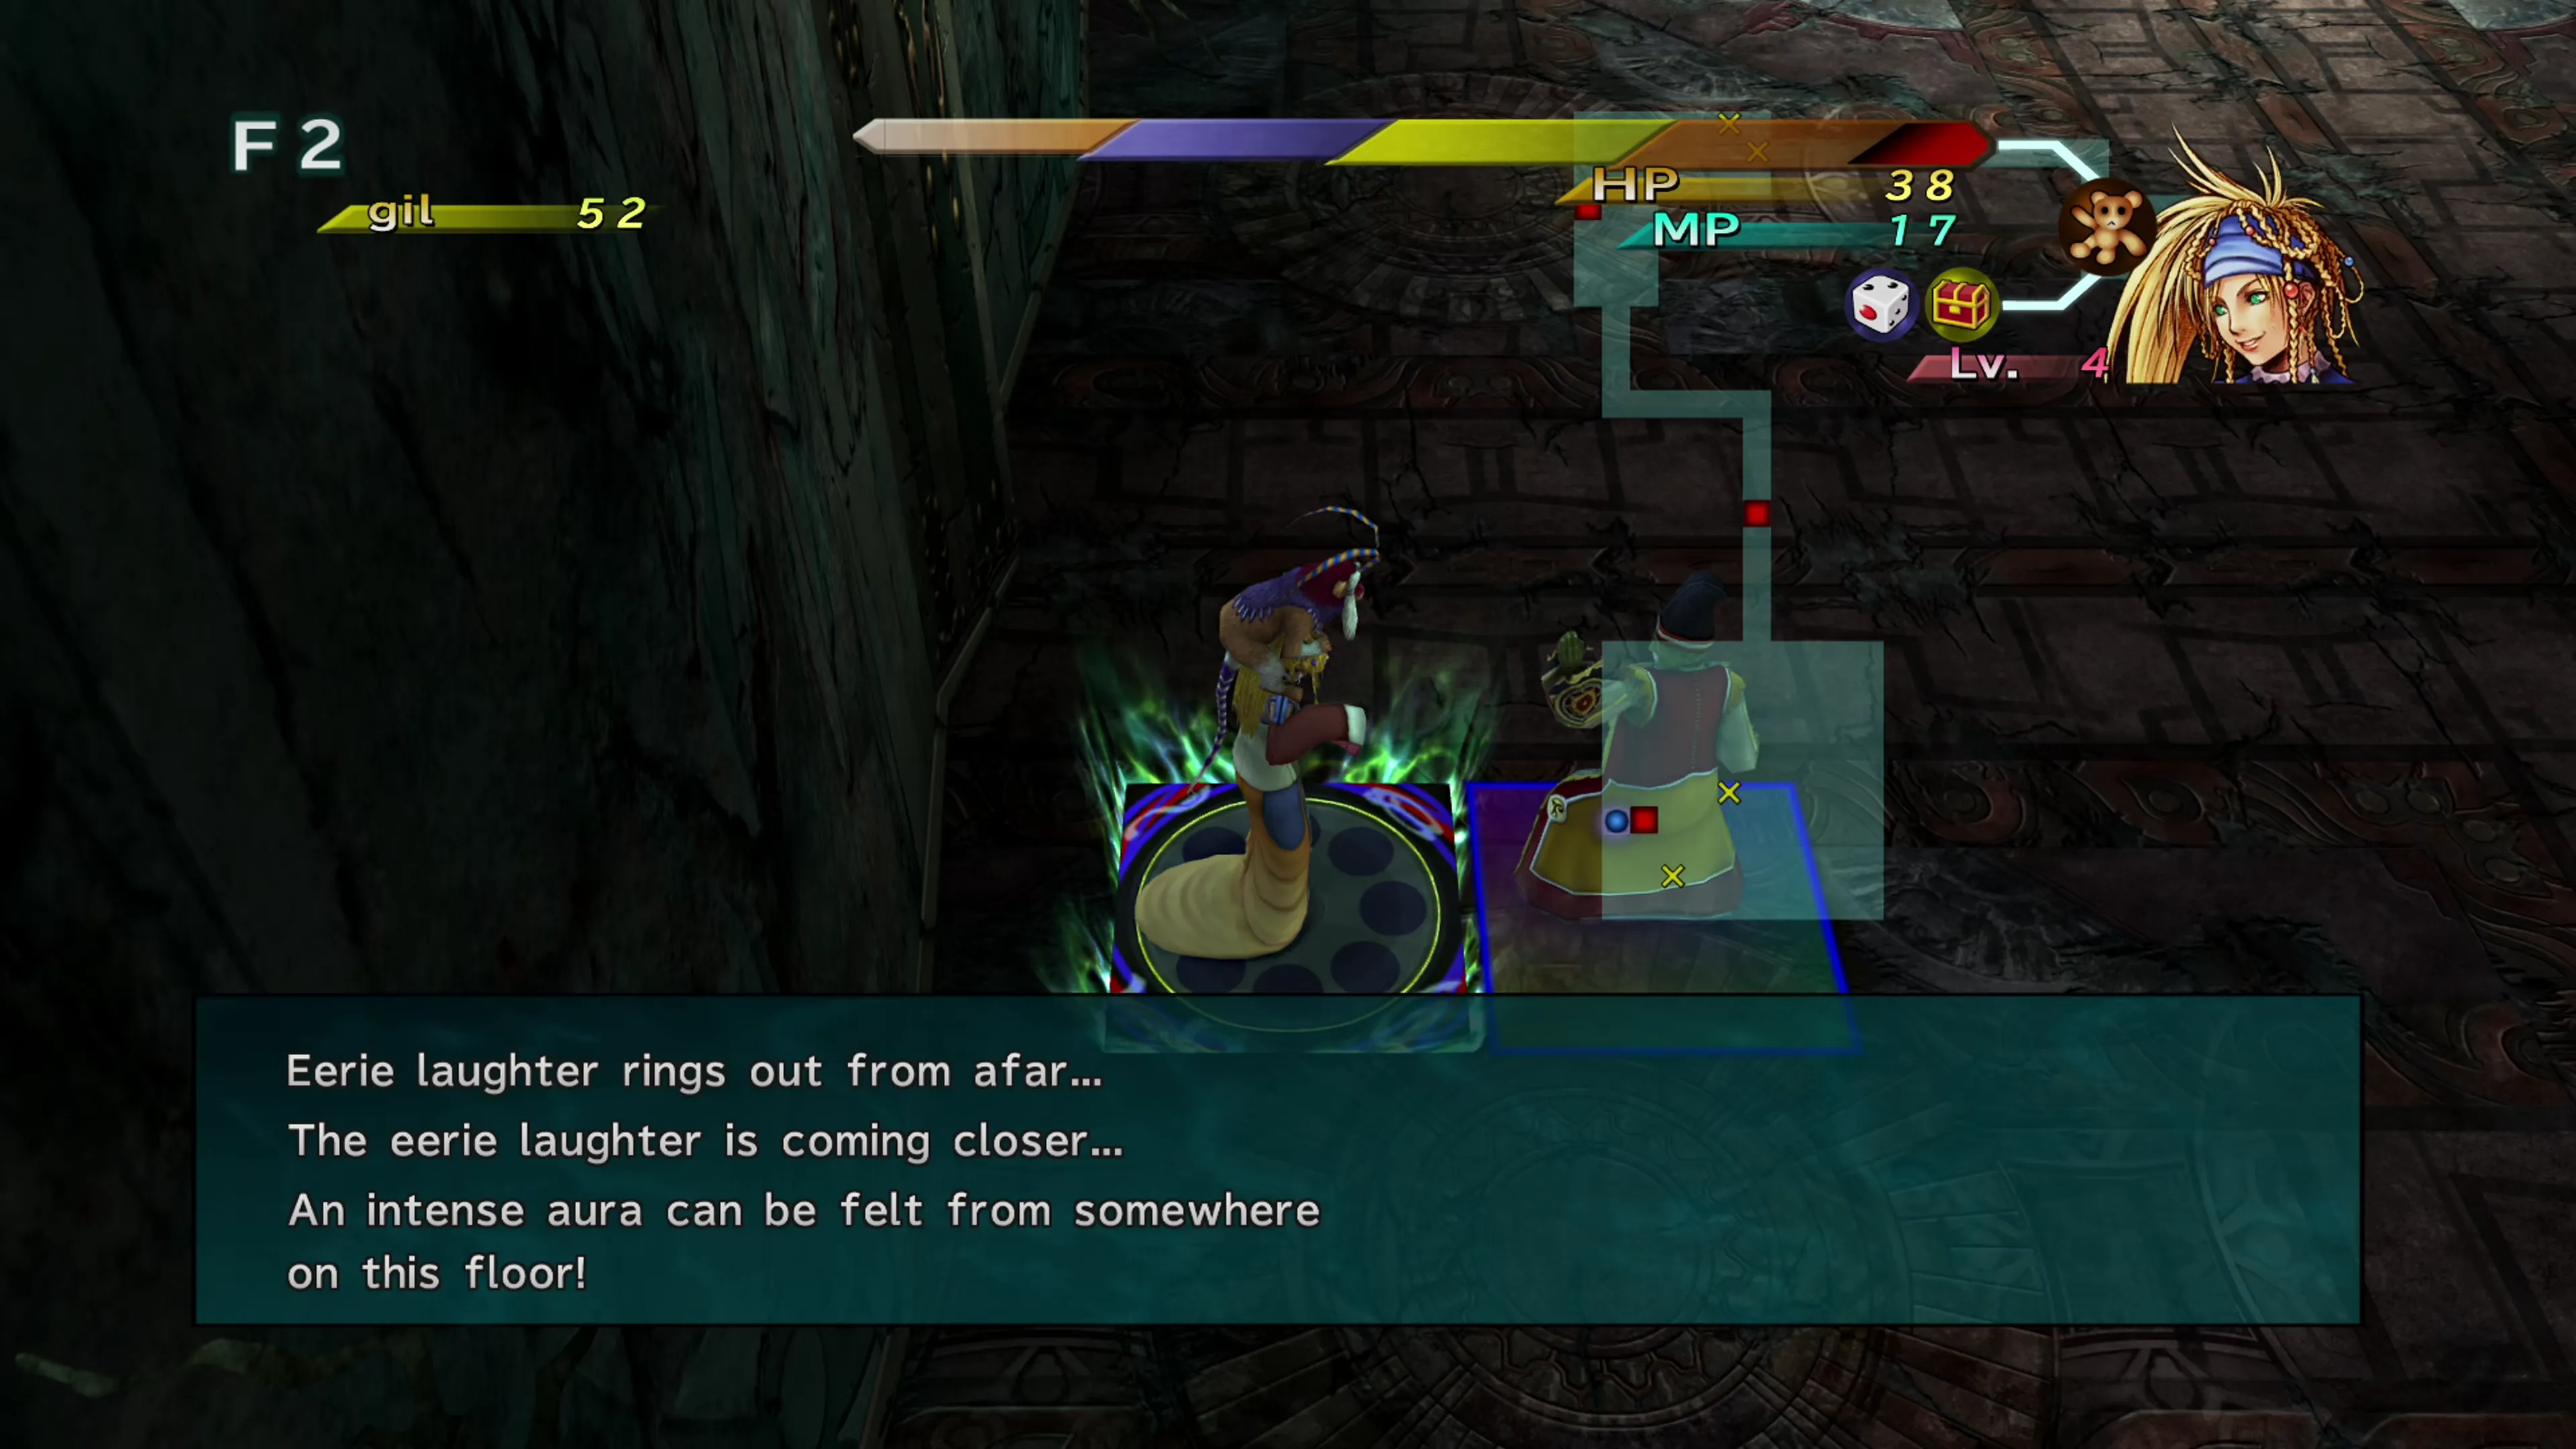
The Founder is an enemy that appears if you stay on a floor too long. Before he shows up, you’ll see three messages:
- “Eerie laughter rings out from afar…”
- “The eerie laughter is coming closer…”
- “An intense aura can be felt from somewhere on this floor!”
Then, after a random number of turns (through testing, it seems to be around 5 to 10 turns), the Founder will appear in the same room as you, typically a short distance away (sometimes right beside you if you get unlucky). The Founder has the same model as Trema in the main game, and you can see a picture of what he looks like below:
The Founder will slowly walk toward your character, and when he reaches you, he will shout, “This is the form you deserve…” and transform you into a Goon. While your character is a Goon, they can’t use any abilities or items. Following that, the Founder will then chase you down one more time, and if he reaches you a second time, he’ll eject you from the tower.
- First touch: Transform into a goon.
- Second touch: Ejects you from the tower, and you’ll have to start again from the first floor.
The idea behind the Founder strategy is knowing that the Founder won’t damage you or eject you from the tower the first time he touches you. He’ll just transform you into a Goon. So if you’re standing on the elevator already when he does this (as Rikku is in the screenshot above), you can steal from him, get transformed into a Goon, and then immediately take the elevator up to the next floor with no repercussions.
In other words, this strategy has you steal from the Founder on every floor before you leave, except floors 20, 40, 60, and 80, where he doesn’t appear. You can do this with zero issues, and the Founder has a ton of great, helpful items that you can steal. Most importantly, you can steal Level 4 Dresspheres from him if you get lucky, and on floor 44, you can steal the  Triple Tiara from him, which is arguably the most powerful item in the game.
So here’s what your course of action should be for each and every floor. Navigate through the rooms collecting items, then spend some time defeating the extra fiends that spawn to stack up experience. Then make your way to the elevator and press 

 +
+ 

 to skip turns until you see the three warning messages. Get ready for the Founder to spawn, and when he’s one square away, make sure you’re facing him, then open the menu and use the “Steal Item” ability on him.
Keep in mind that once you steal from the Founder, you can’t access your items until you take the elevator, so you won’t be able to use a  Save Memo on that floor. Every fifth floor still lets you save for free.
Sometimes you’ll get unlucky and get something dumb like a Bedtime Novel like in the screenshot, but here are some of the items you can steal from him:
| Type | Item | Floors |
|---|---|---|
| Accessories | Triple Tiara | Floors 44 and 66 |
| Valkyrie Nails | Floors ending in 4, except Floor 44 | |
| Ace Gloves | Floors ending in 6, except Floor 66 | |
| Special Pass | Floors ending in 9 | |
| Dresspheres | Level 4 copies of most Dresspheres | Random |
| Vials |  Enhancing PotionEvolutionary WaterElixirEtherTurbo EtherPremiere Ether Enhancing PotionEvolutionary WaterElixirEtherTurbo EtherPremiere Ether | Random |
| Folios | The DressmakerDress Fusion SecretsHope: A MemoirShop GuideRestart GuideFleeing ManualQuake RecordsDemi LexiconThe Quiet LifeBasic HealingEssence of HealingCursebreakingTrap Evading PrimerRemaking BasicsSelling TipsTidying UpGoon Bookmark | Random |
Warning
Make sure you check a few things every time before you encounter the Founder. Make sure you have the Thief Dressphere equipped so you can use “Steal Item,” that you have at least 3 MP to use it, and that you have an open inventory slot to hold the item that you steal. There’s nothing worse than waiting around for the Founder to spawn only to see an “inventory full” message. When he’s one square away, make sure you’re facing him before you steal.
Revisiting Floors
Even with the Founder strategy above, and even if you fully clear each floor of the tower on your way up, you may get unlucky with the Dresspheres and items that drop. If you reach floor 20 and haven’t seen any Find Secret Rooms folios, or haven’t seen a Dressphere to use as your primary Dressphere, or even if you’re missing too many Dresspheres that you need to create the accessories and trigger the Auto-Abilities you need to ascend the rest of the tower, consider getting yourself kicked out of the tower intentionally or using a Restart Guide. Keep in mind that getting kicked out drops you back to Level 1 and costs you items, while a Restart Guide lets you keep your level, gil, and items.
Nothing’s worse than reaching the upper levels of the towers and desperately hoping you get the loot you need, so don’t be afraid to revisit the first 10 to 15 floors to stack up valuable loot before you move on.
Advanced Movement Techniques
Getting used to the movement in Last Mission can be a bit of a challenge. Specifically, knowing which direction you’re facing and getting the character to move diagonally. Rather than trying to press two D-pad buttons at the same time, an easier way to move is to use the 

 to rotate the camera around and behind your character at all times so that you only have to press

 to move. This makes navigating through rooms and aiming at enemies much easier.
You also need to get used to abusing the hallway barrier that exists at the entry to every room. While you’re in a hallway near a room entrance, press + to advance a turn, which makes all enemies in the room move. Make sure enemies advance at least one square toward your character’s position before they can attack. This method helps you ensure you always get the first attack in (it’s a little harder with ranged enemies), and you’ll often be able to defeat enemies without taking any hits or damage. The barrier works both ways: you can’t attack across a doorway either, and enemies can’t follow you through one, so you can always retreat into the hallway if a room goes badly.
This is a “practice makes perfect” situation, but the enemies in this game do not have complicated movement patterns. Once you’ve seen one, you’ve seen them all, and they behave this way all the way up to the tower’s top levels.
Memorize the Controls
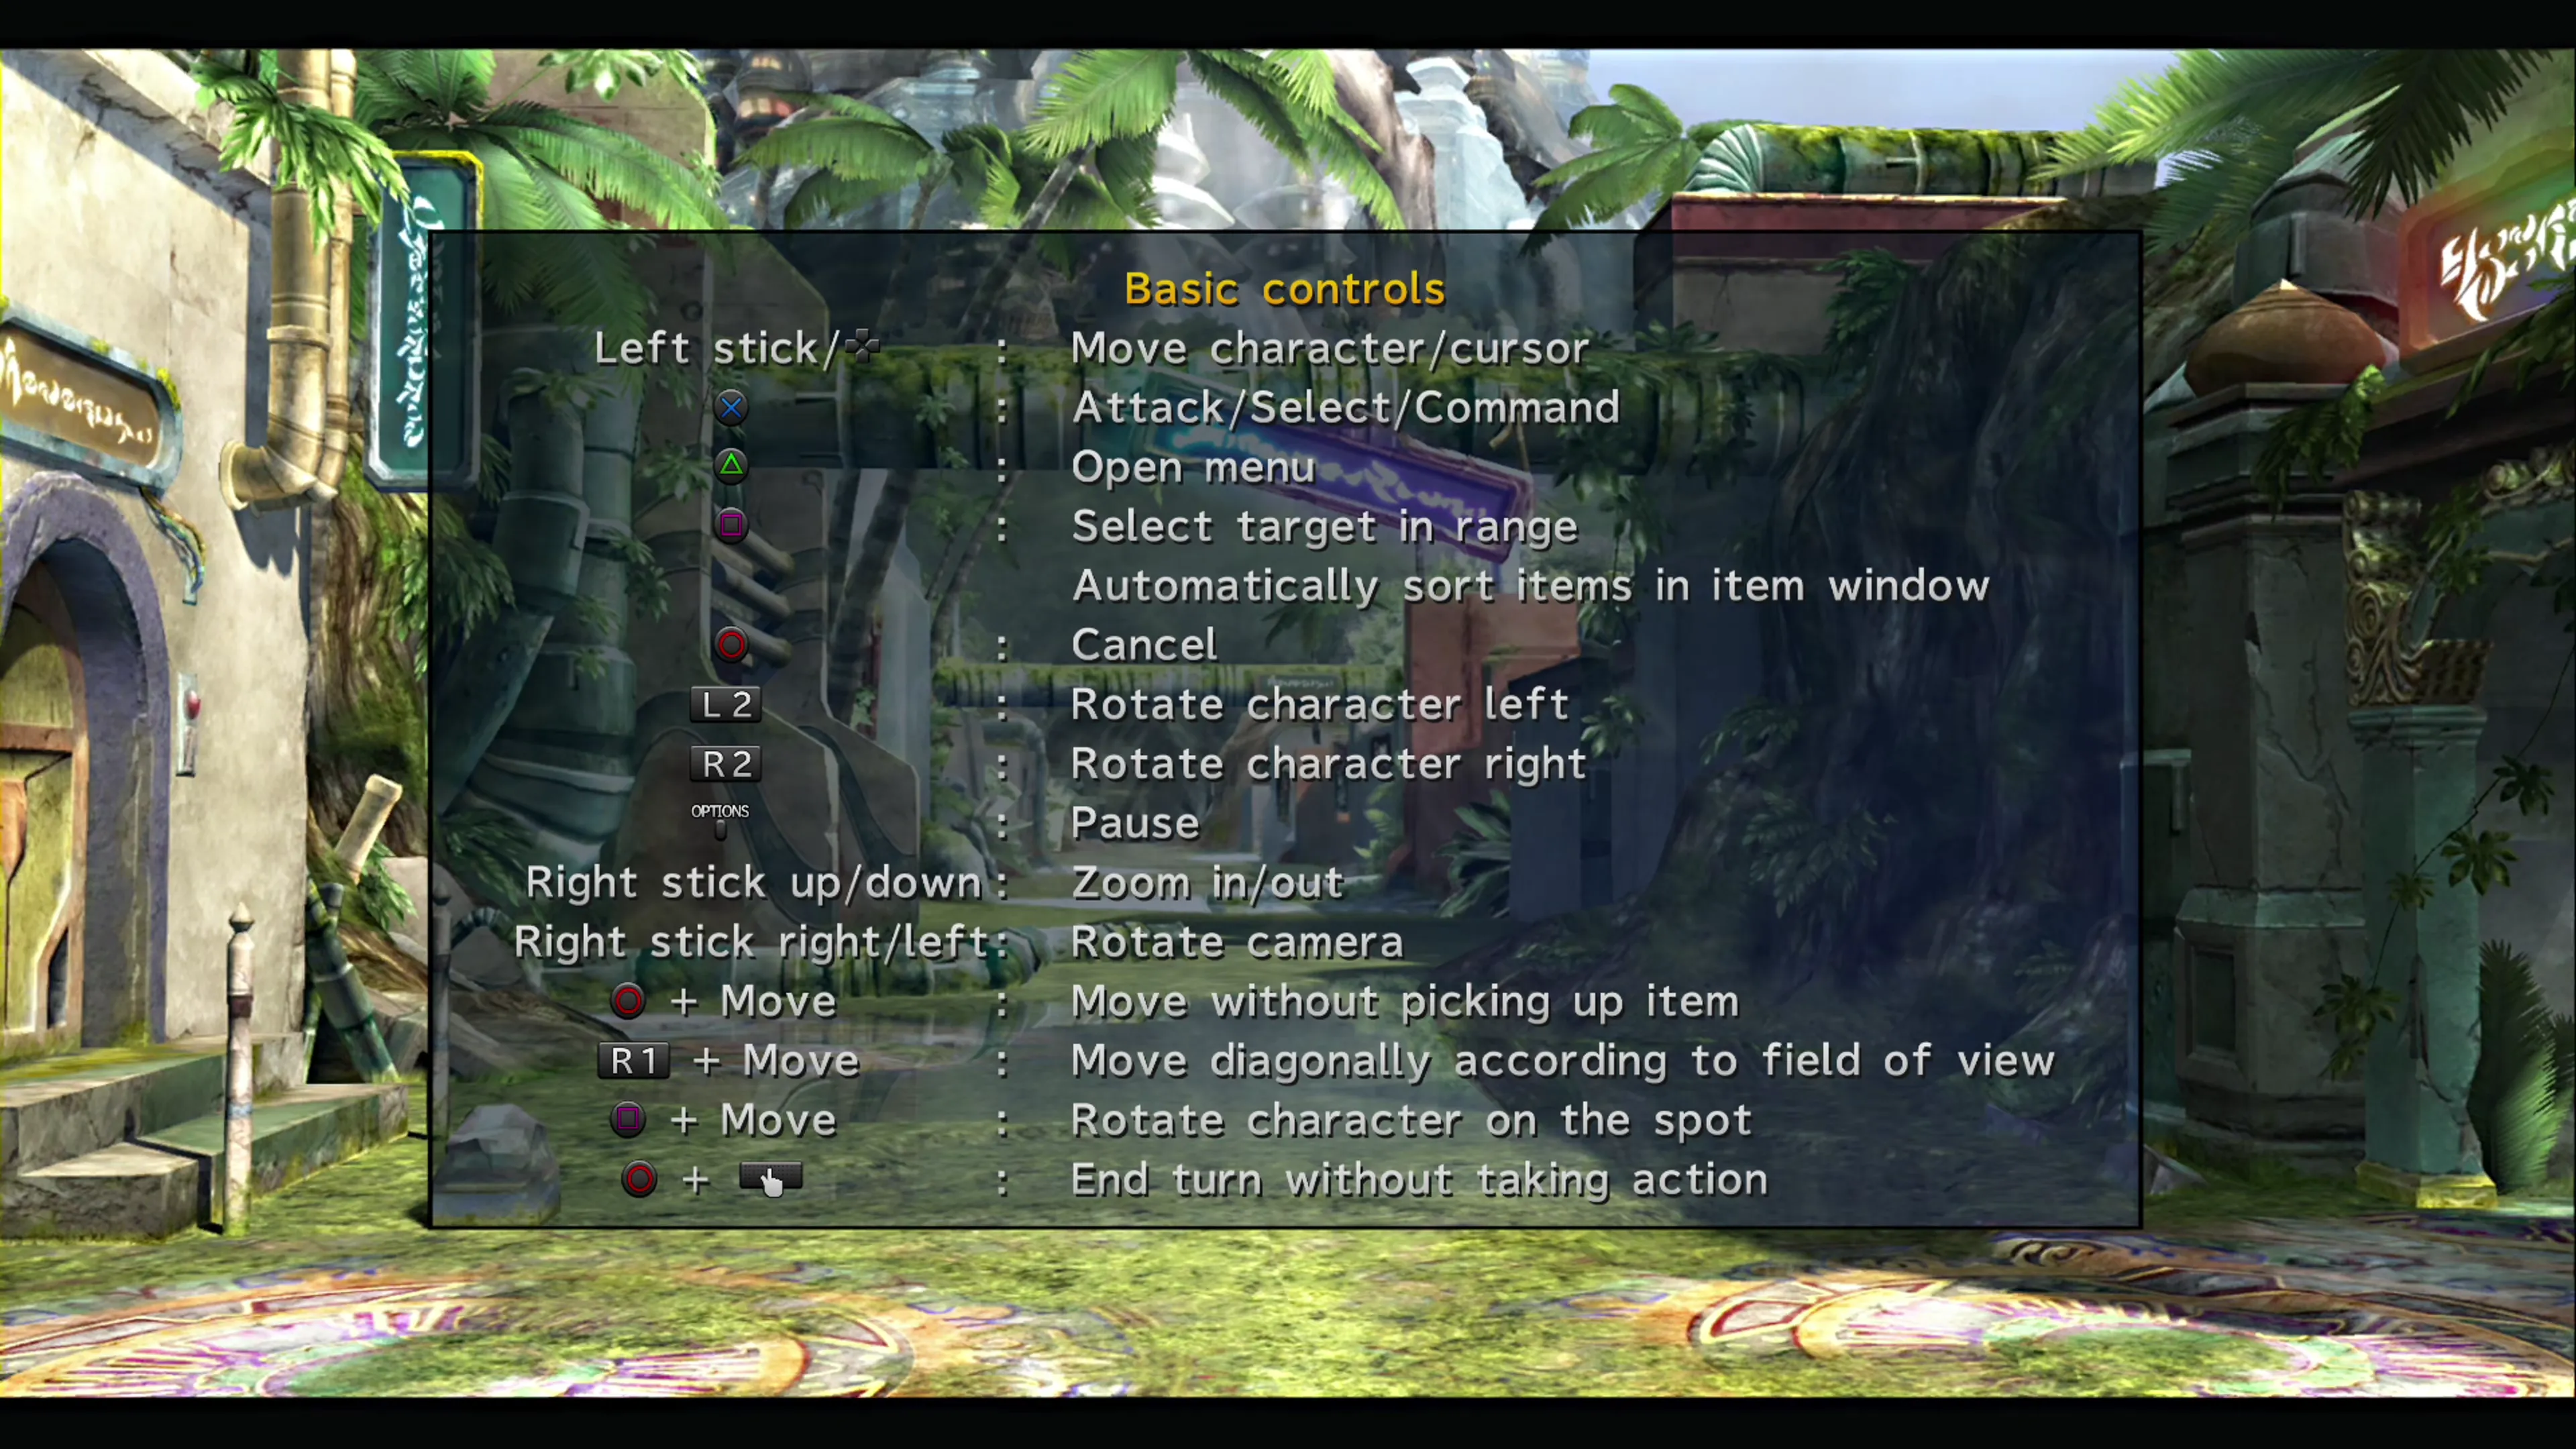
Last Mission’s basic controls screen ends with four button combinations that are easy to overlook, but they’ll be very helpful as you make it to the higher levels of the game:
- + Move: Move without picking up an item


 + Move: Move diagonally according to your field of view

 + Move: Rotate your character on the spot
- + : End your turn without taking an action