

Kilika Island
You can explore this first section of the docks and pick up the new treasure chests that have spawned. Their locations are identified on the maps below, and don’t forget to grab the treasure chest at the top of Dona’s Hut. This time it contains 3,000 Gil.
Kilika Port South
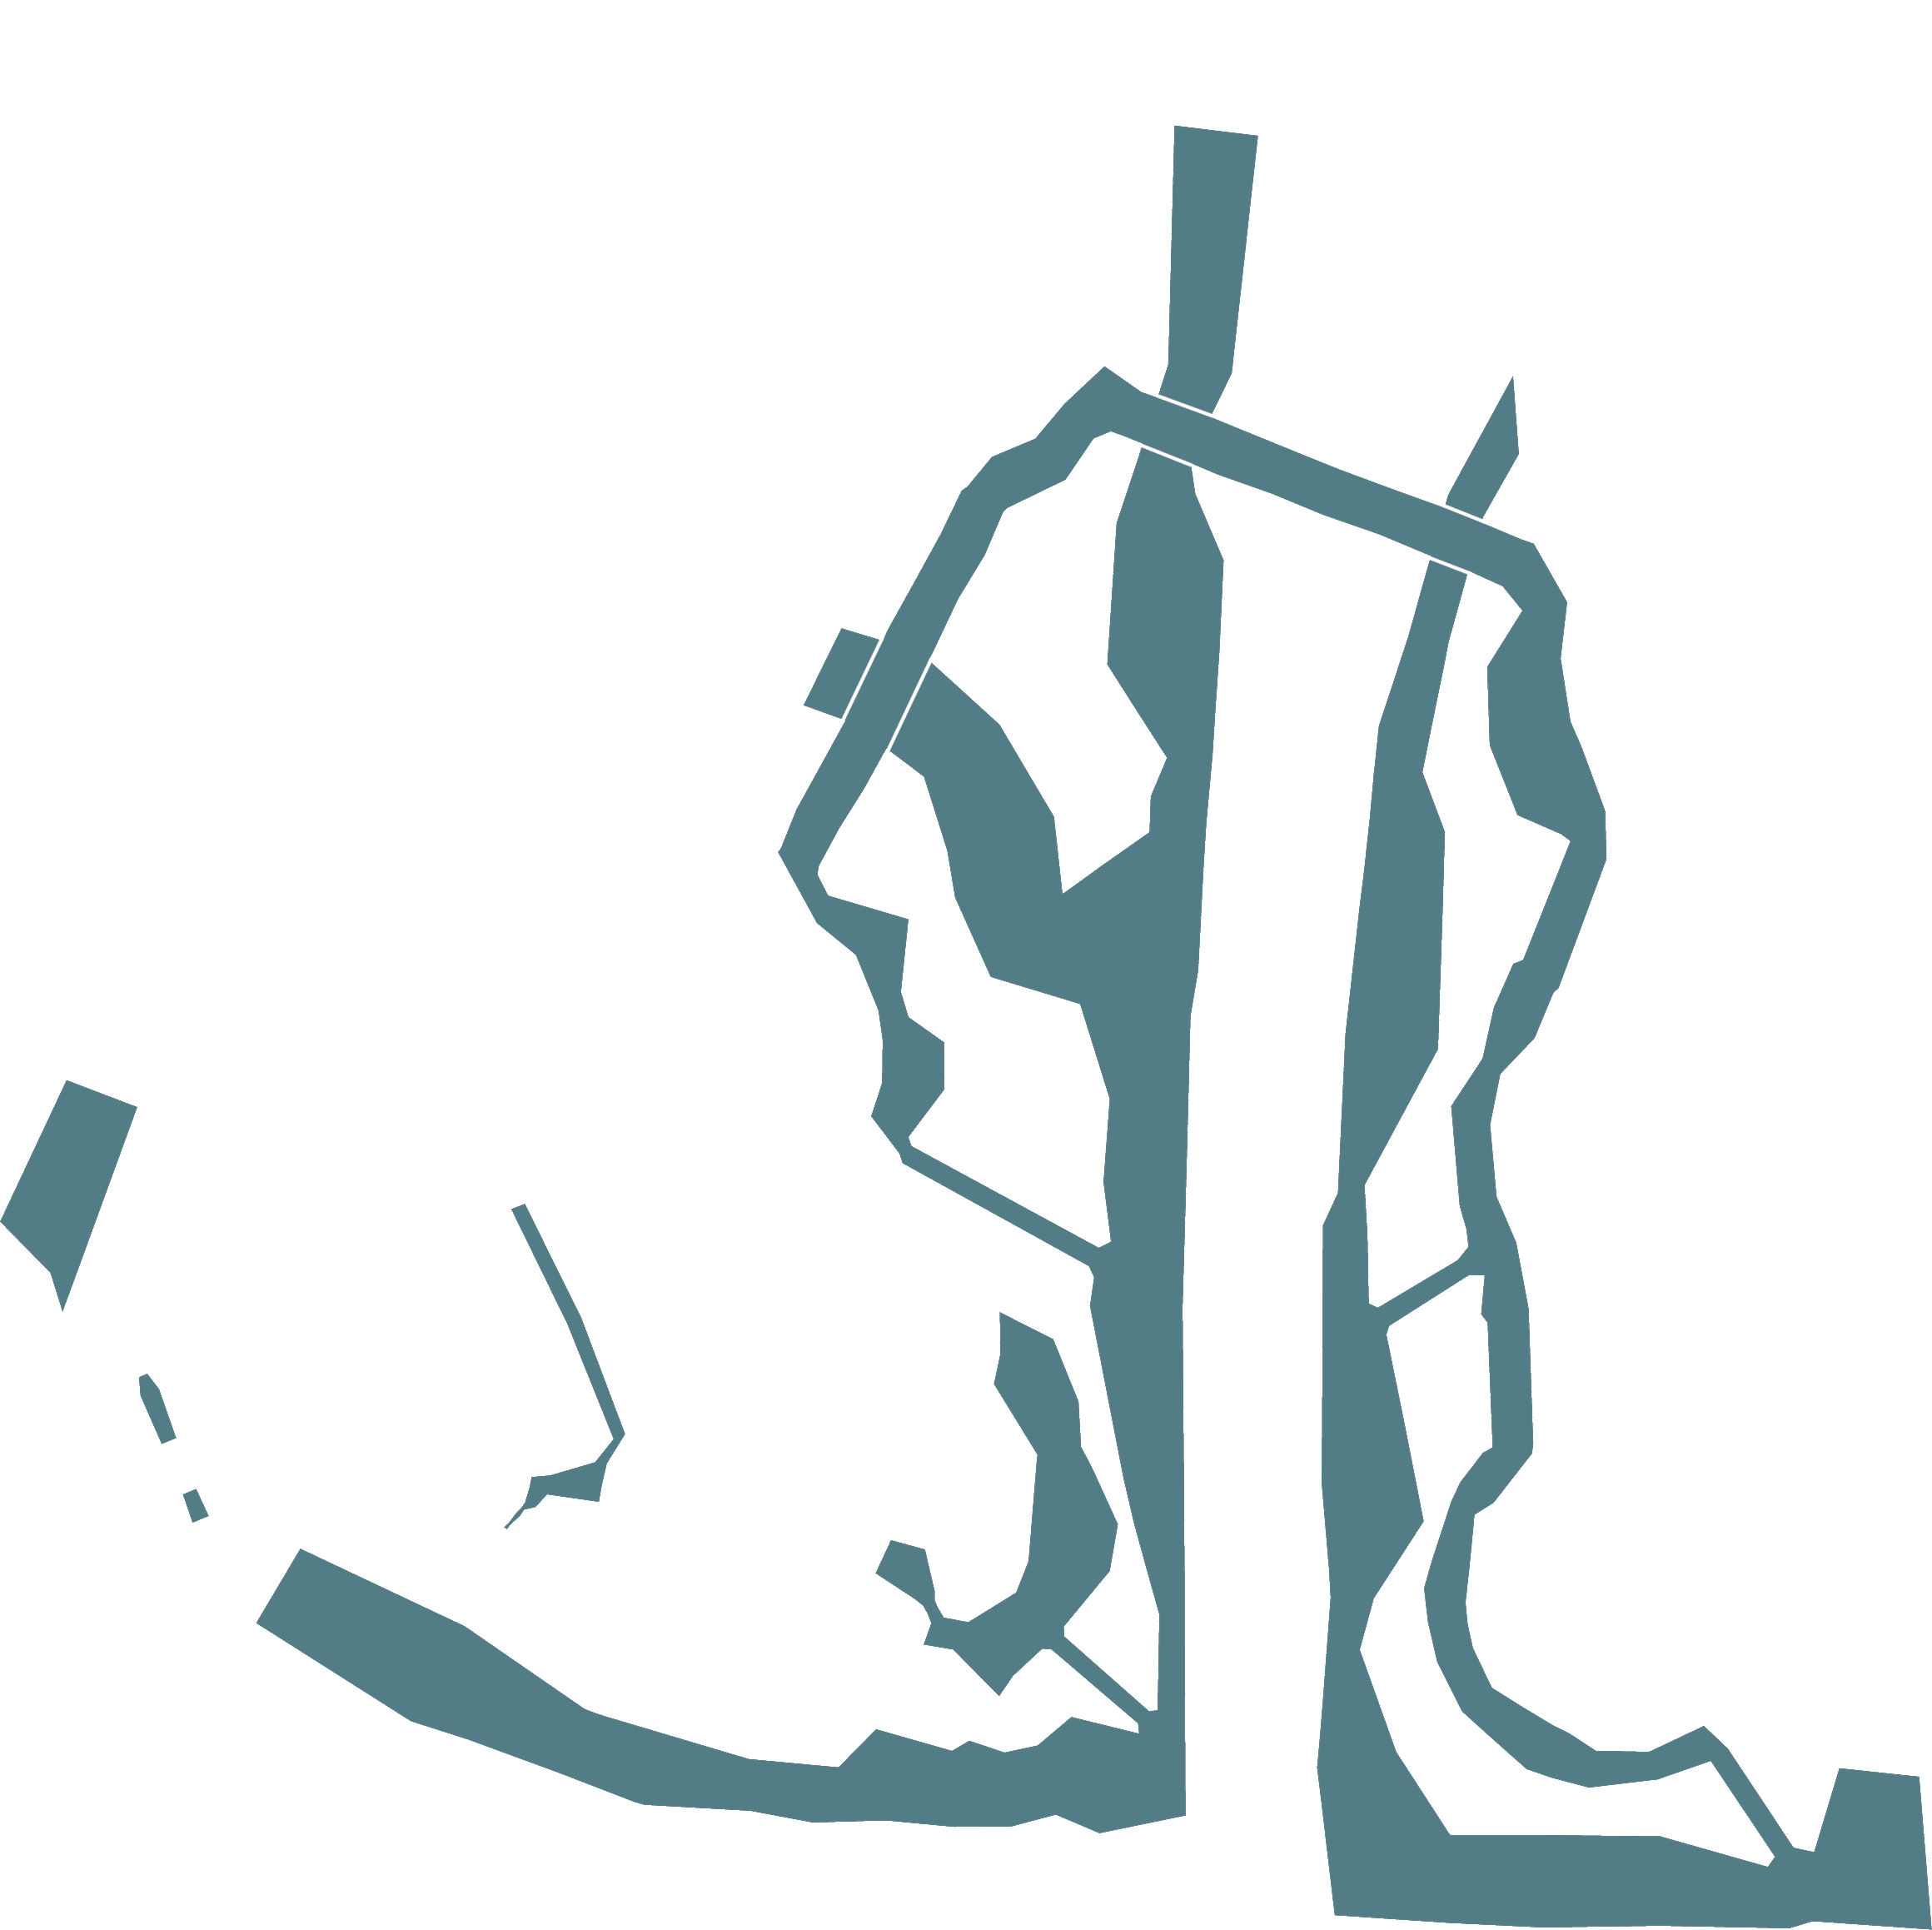


 1 1 |  Ether Ether |
| 2 |  Mana Tablet ×2 Mana Tablet ×2 |
| 3 | Remedy |
| 4 | Remedy |
| 5 | Phoenix Down ×3 |
Kilika Port North
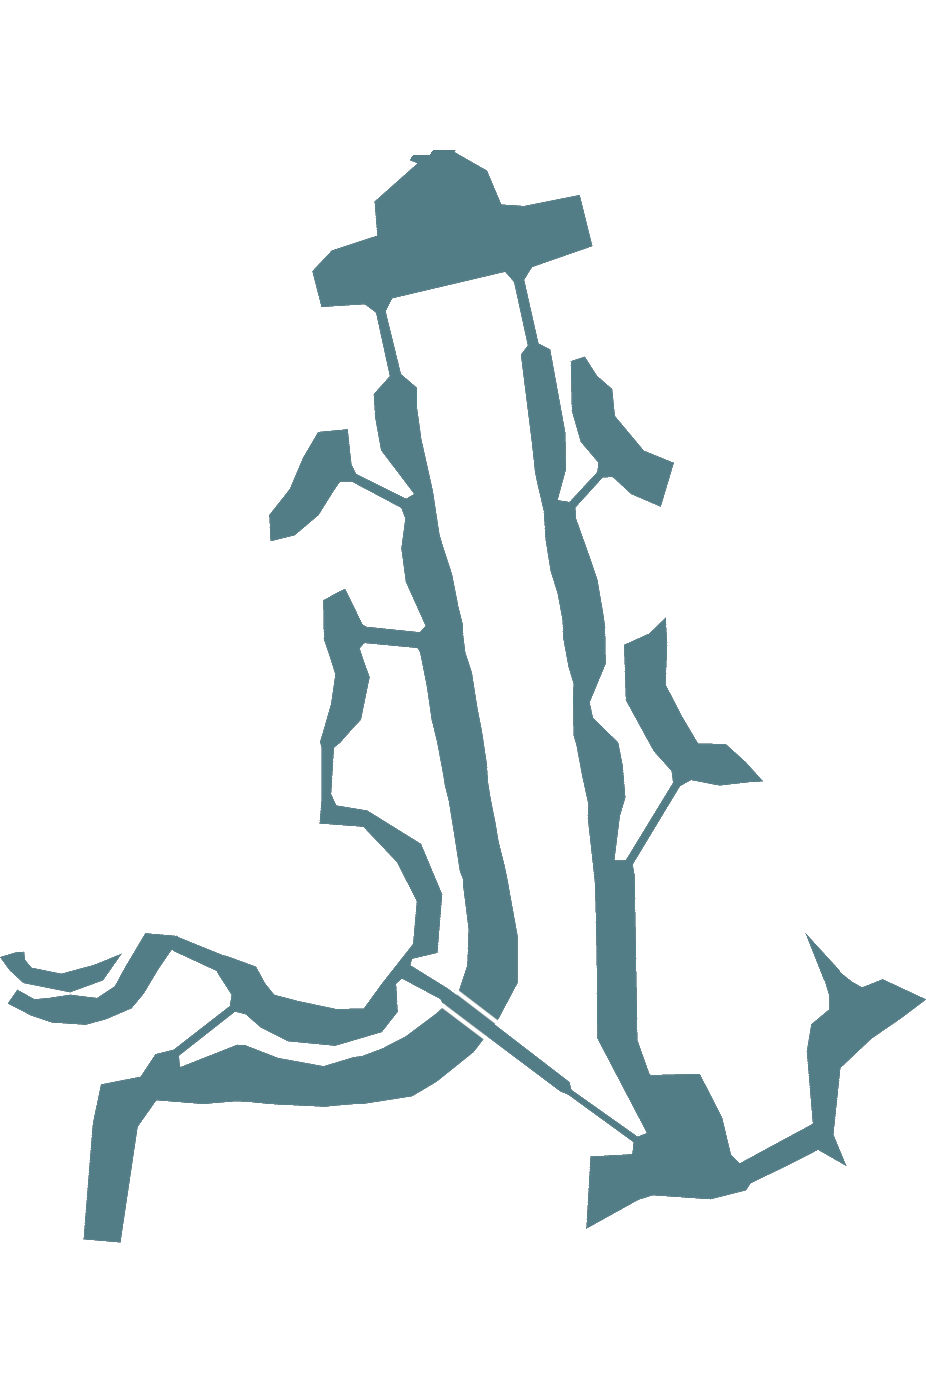
| 1 | Light Curtain ×3 |
| 2 |  Dispel Tonic Dispel Tonic |
| 3 | Star Curtain ×3 |
| 4 | Lunar Curtain ×3 |
| 5 | 3,000 Gil (Roof of Dona’s Hut) |
| 6 | Camera Operator |
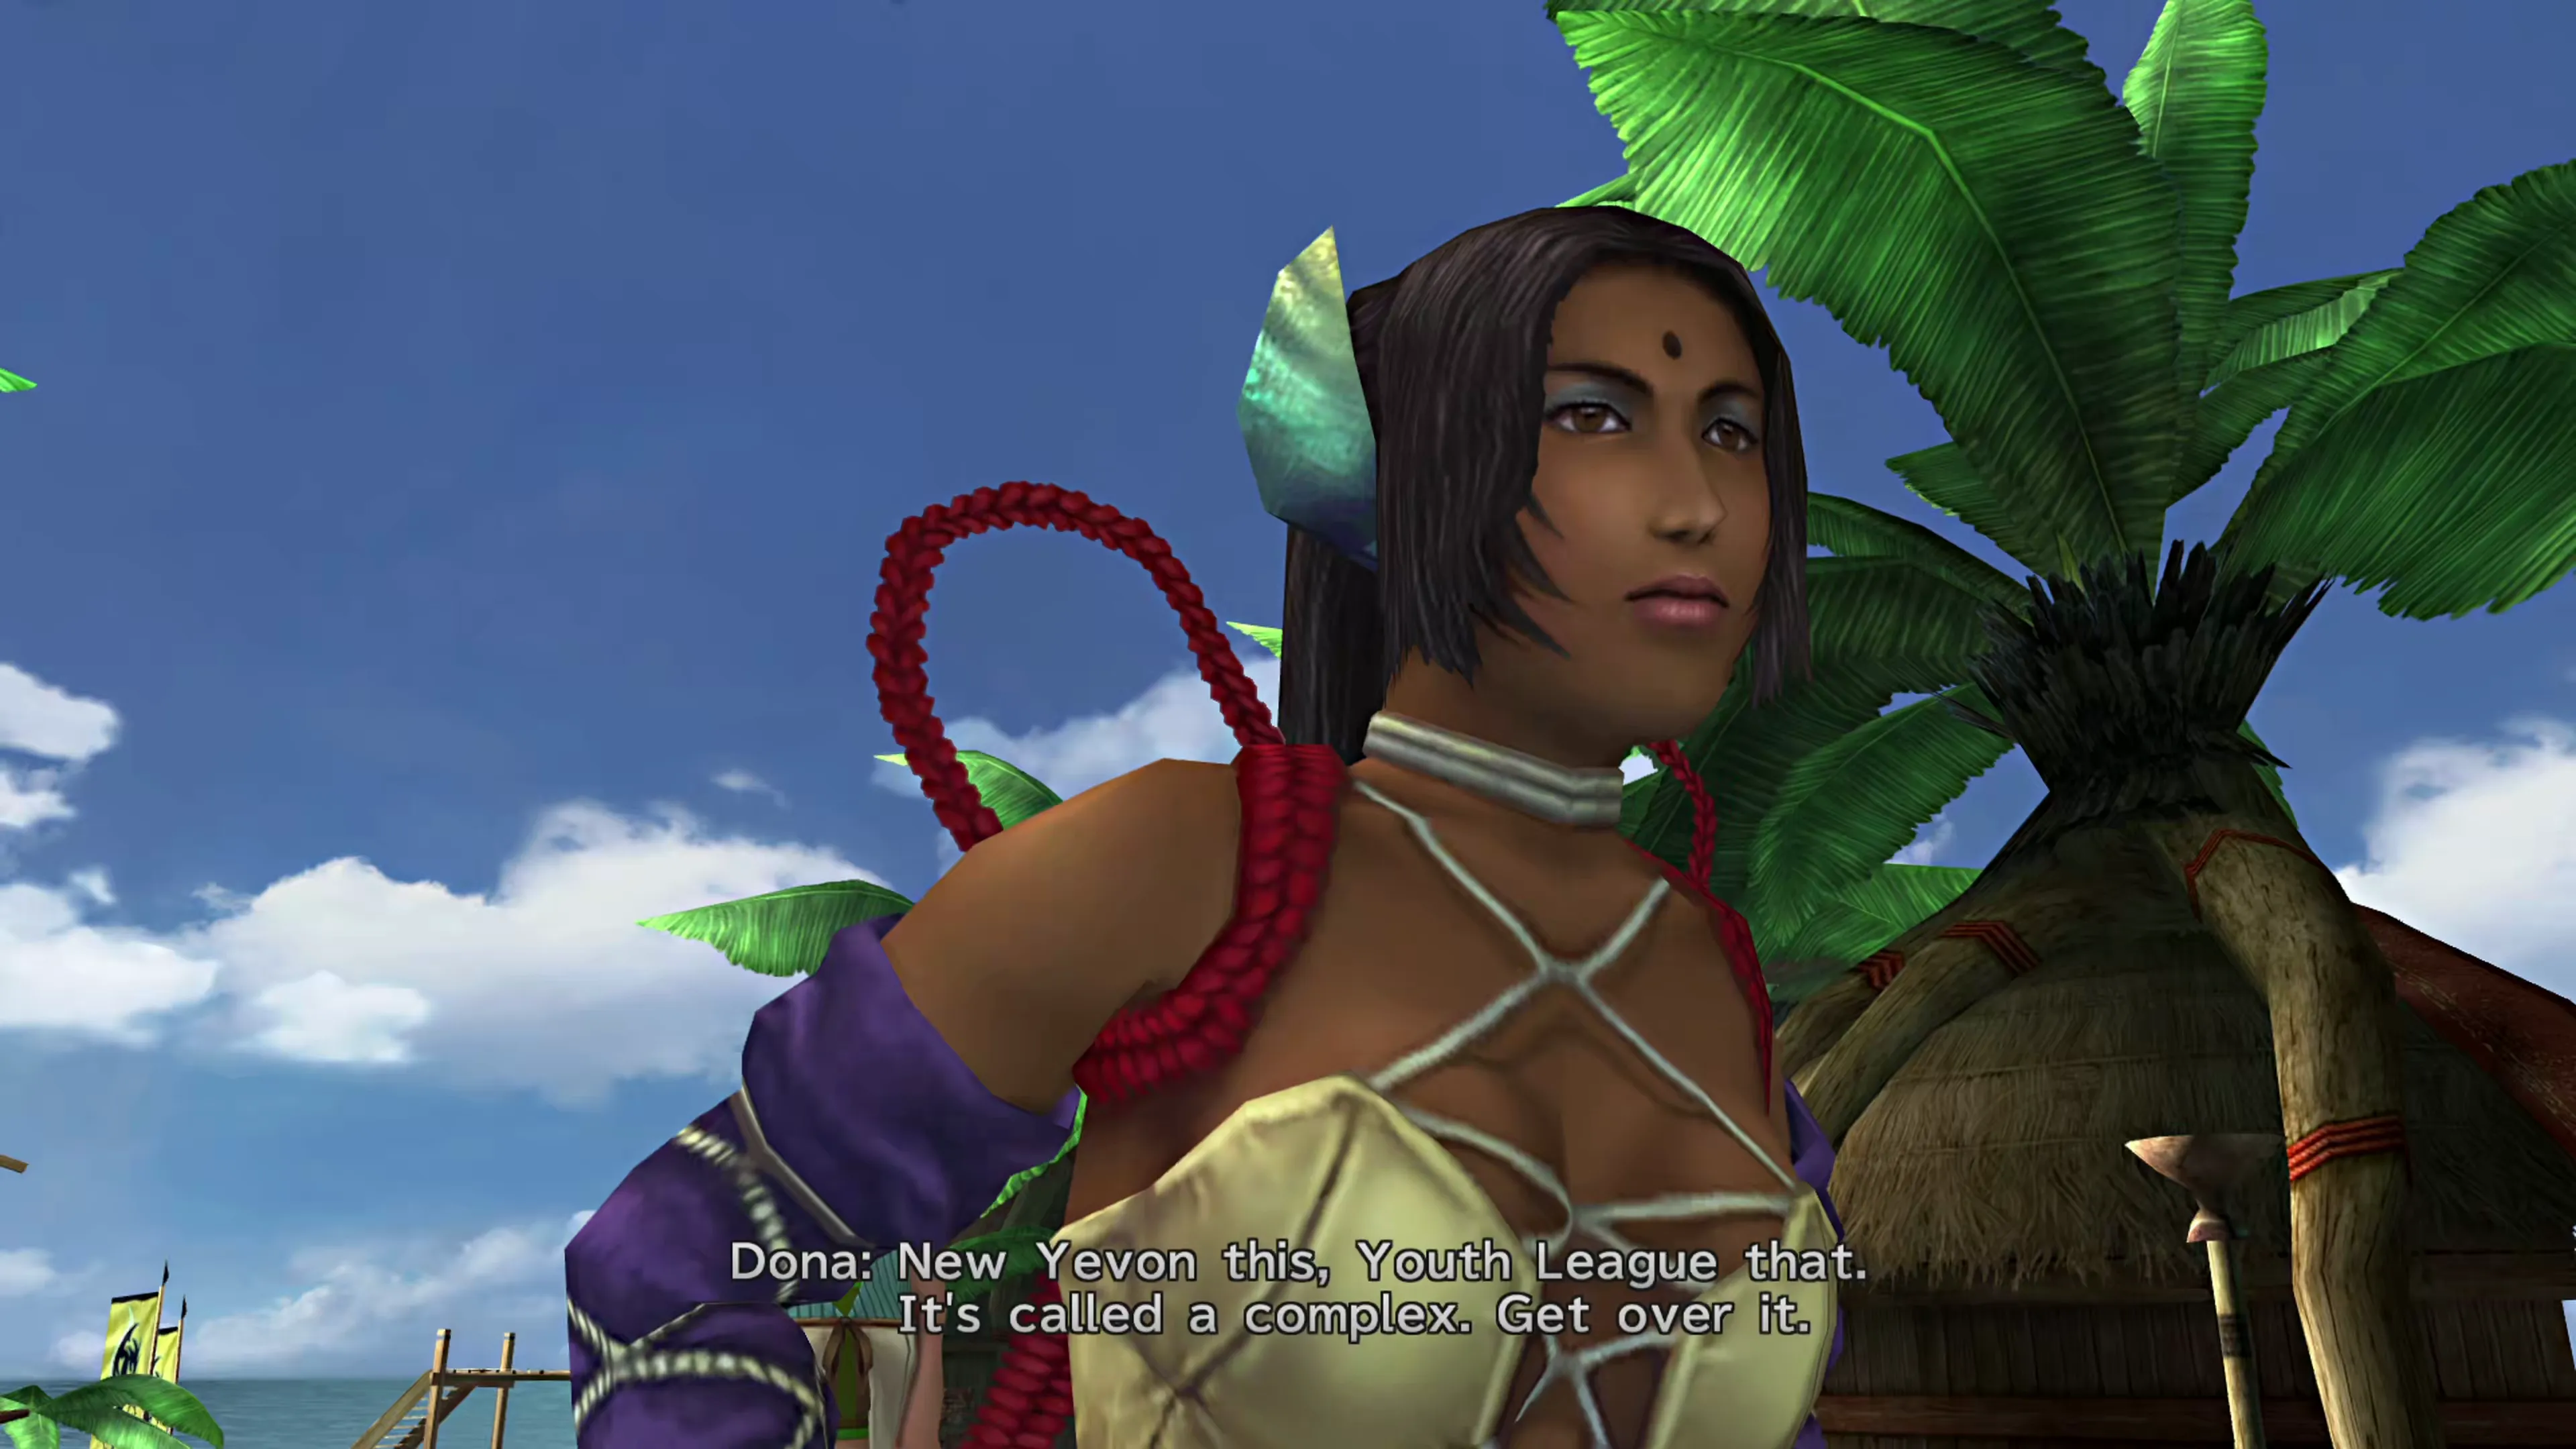
Proceed north into the next section of the Kilika docks, and a cutscene will trigger at the gate. Dona, Yuna, Rikku, and Paine will help ‘negotiate’ with the guard blocking the entrance to Kilika Woods and Kilika Temple.
Kilika Woods
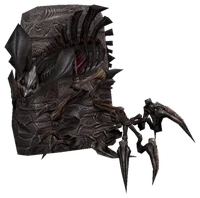
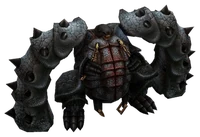
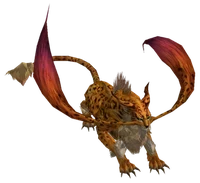
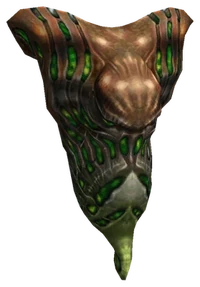
Continue traveling through the woods after the scene out front ends and head straight for the temple; the new chests can wait for the return trip.
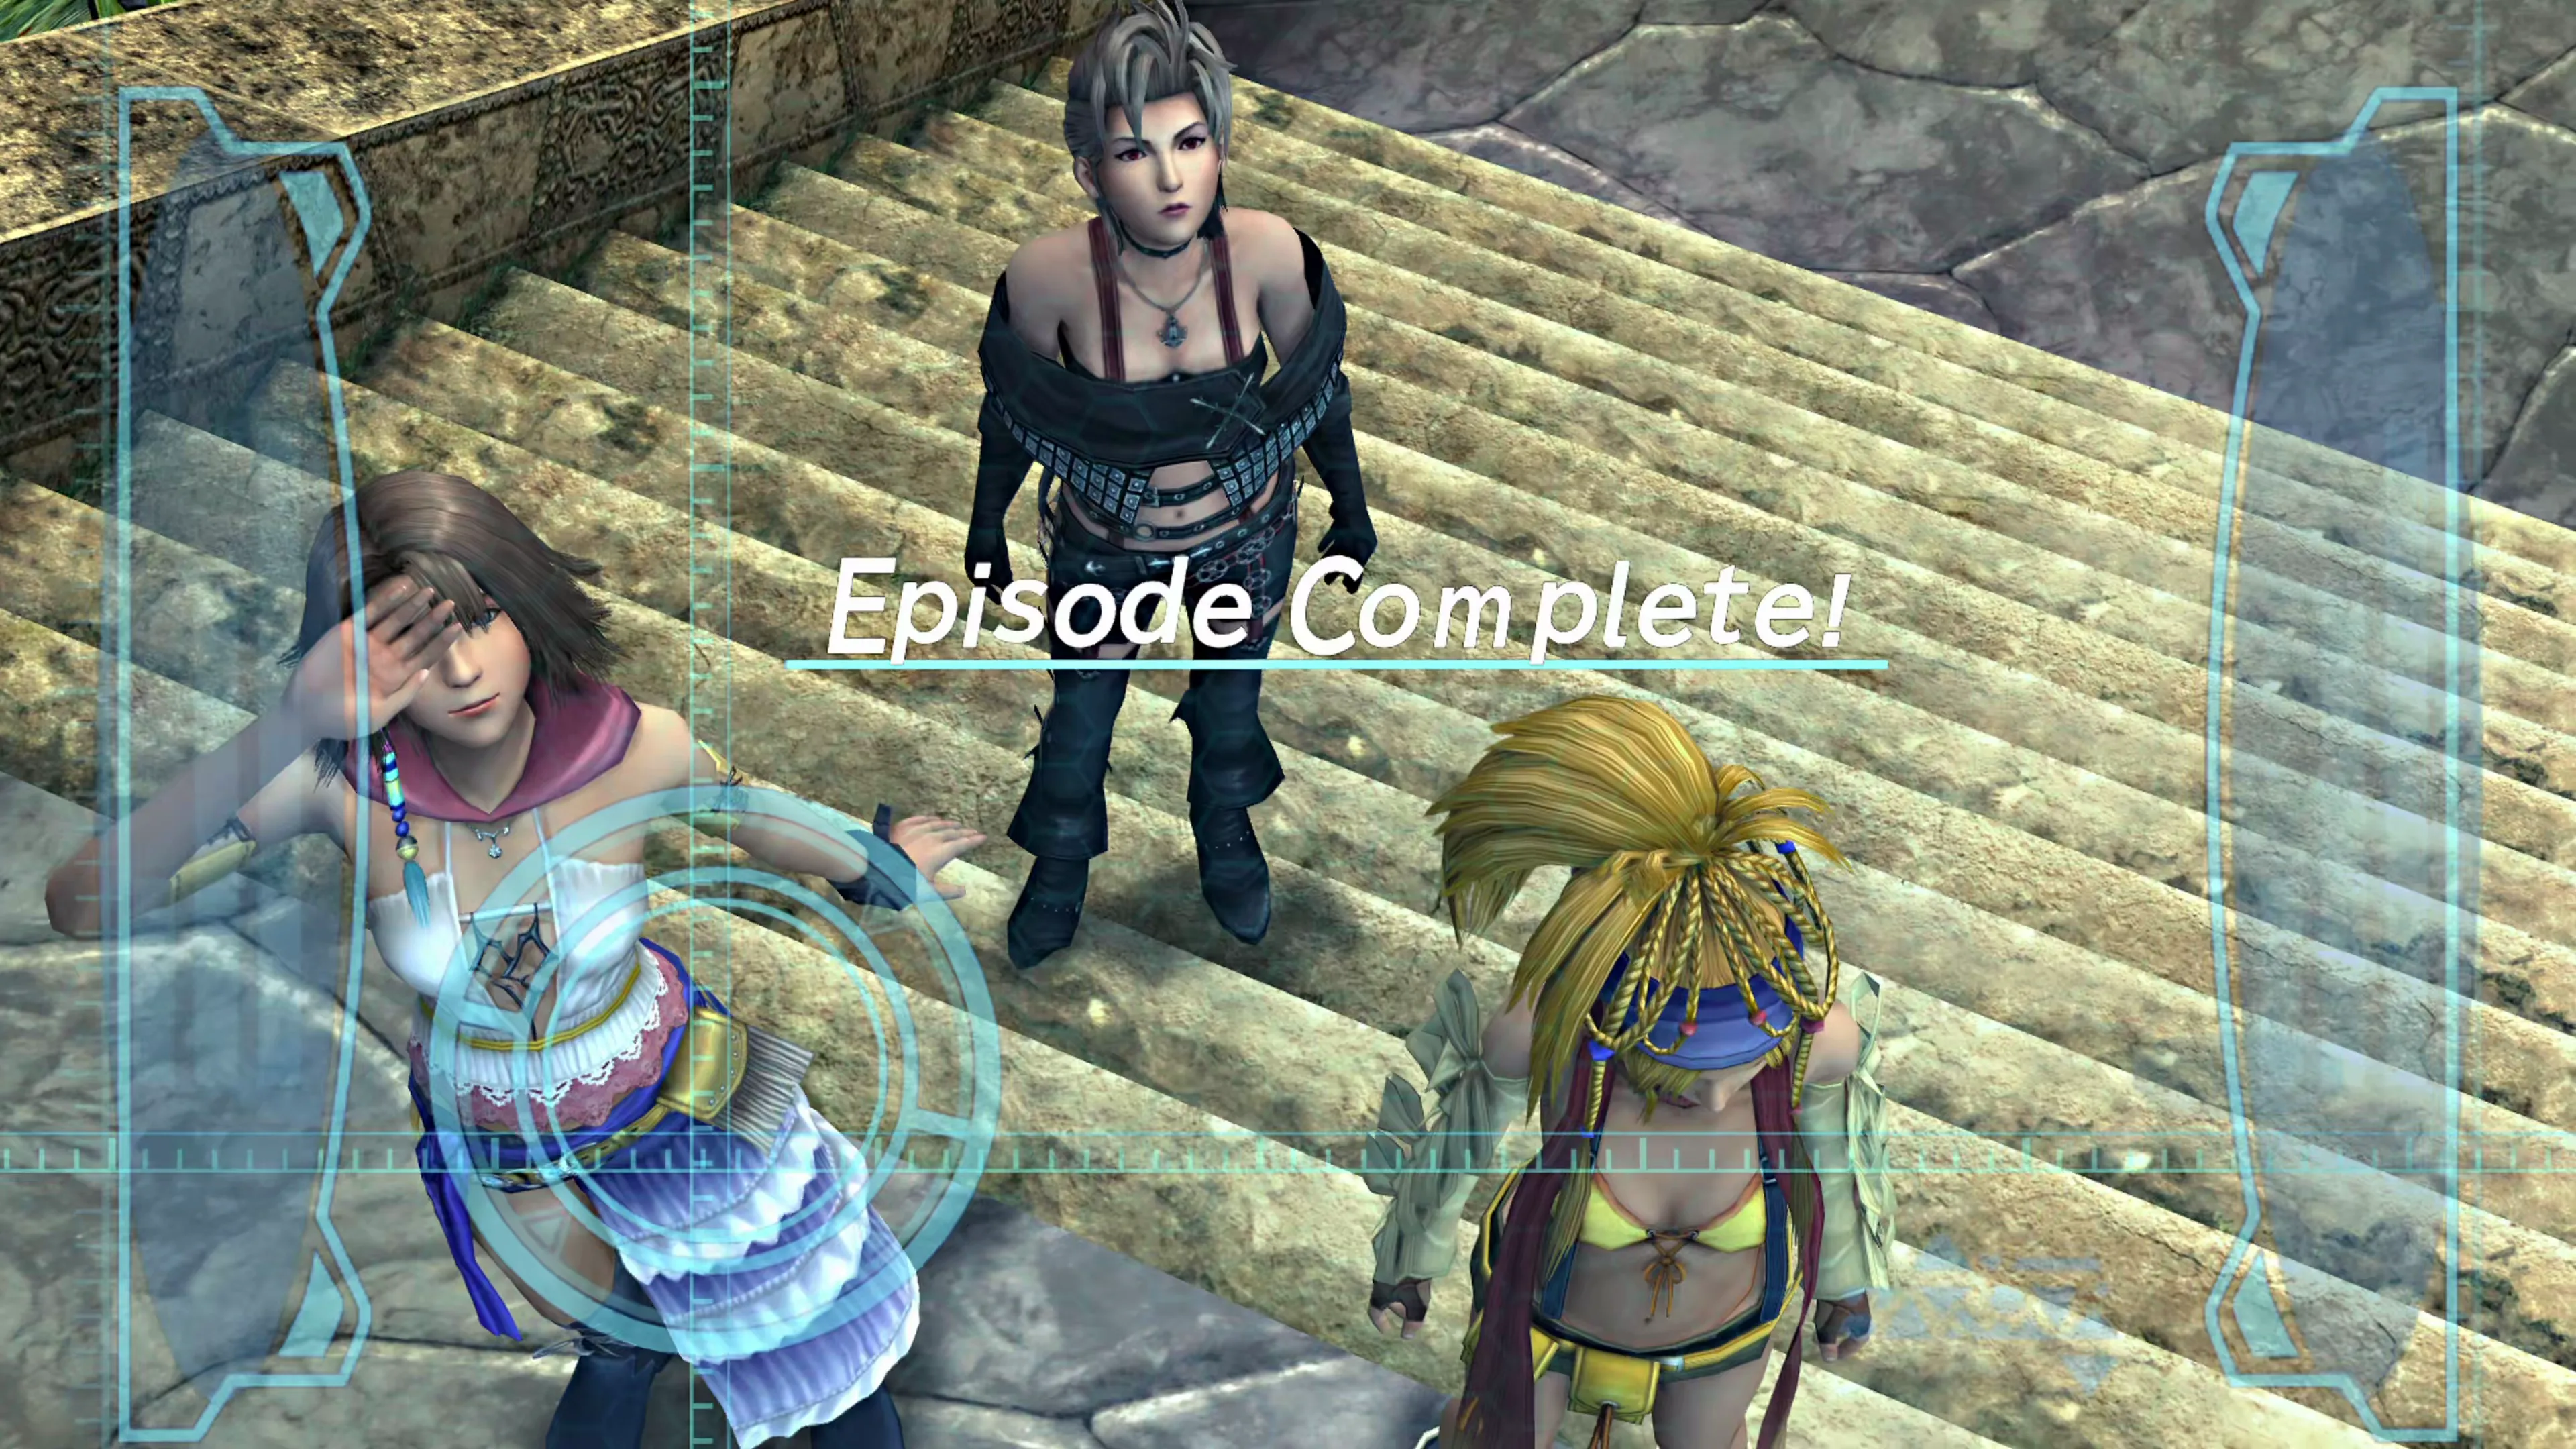
Another brief scene will play out between Barthello and Dona, and you’ll see another “Episode Complete” screen. Yep, that’s all there was to do here… at least for the episode, that is. You’ll receive a  Tricks of the Trade Garment Grid and be warped back up onto the Celsius.
Return Journey
That wrapped up almost too quickly, though! Head back down to Kilika Island and make your way back to the northern section of the docks. The cutscene with the guard interrupted, but there are items you can pick up in this area too:
You should also speak to the camera operator on the boat one more time. If you spoke to him in Chapters 1 and 3, he will now offer to speak to the ferryman and ask him to take you to the base. Select “Definitely!” when given the option.
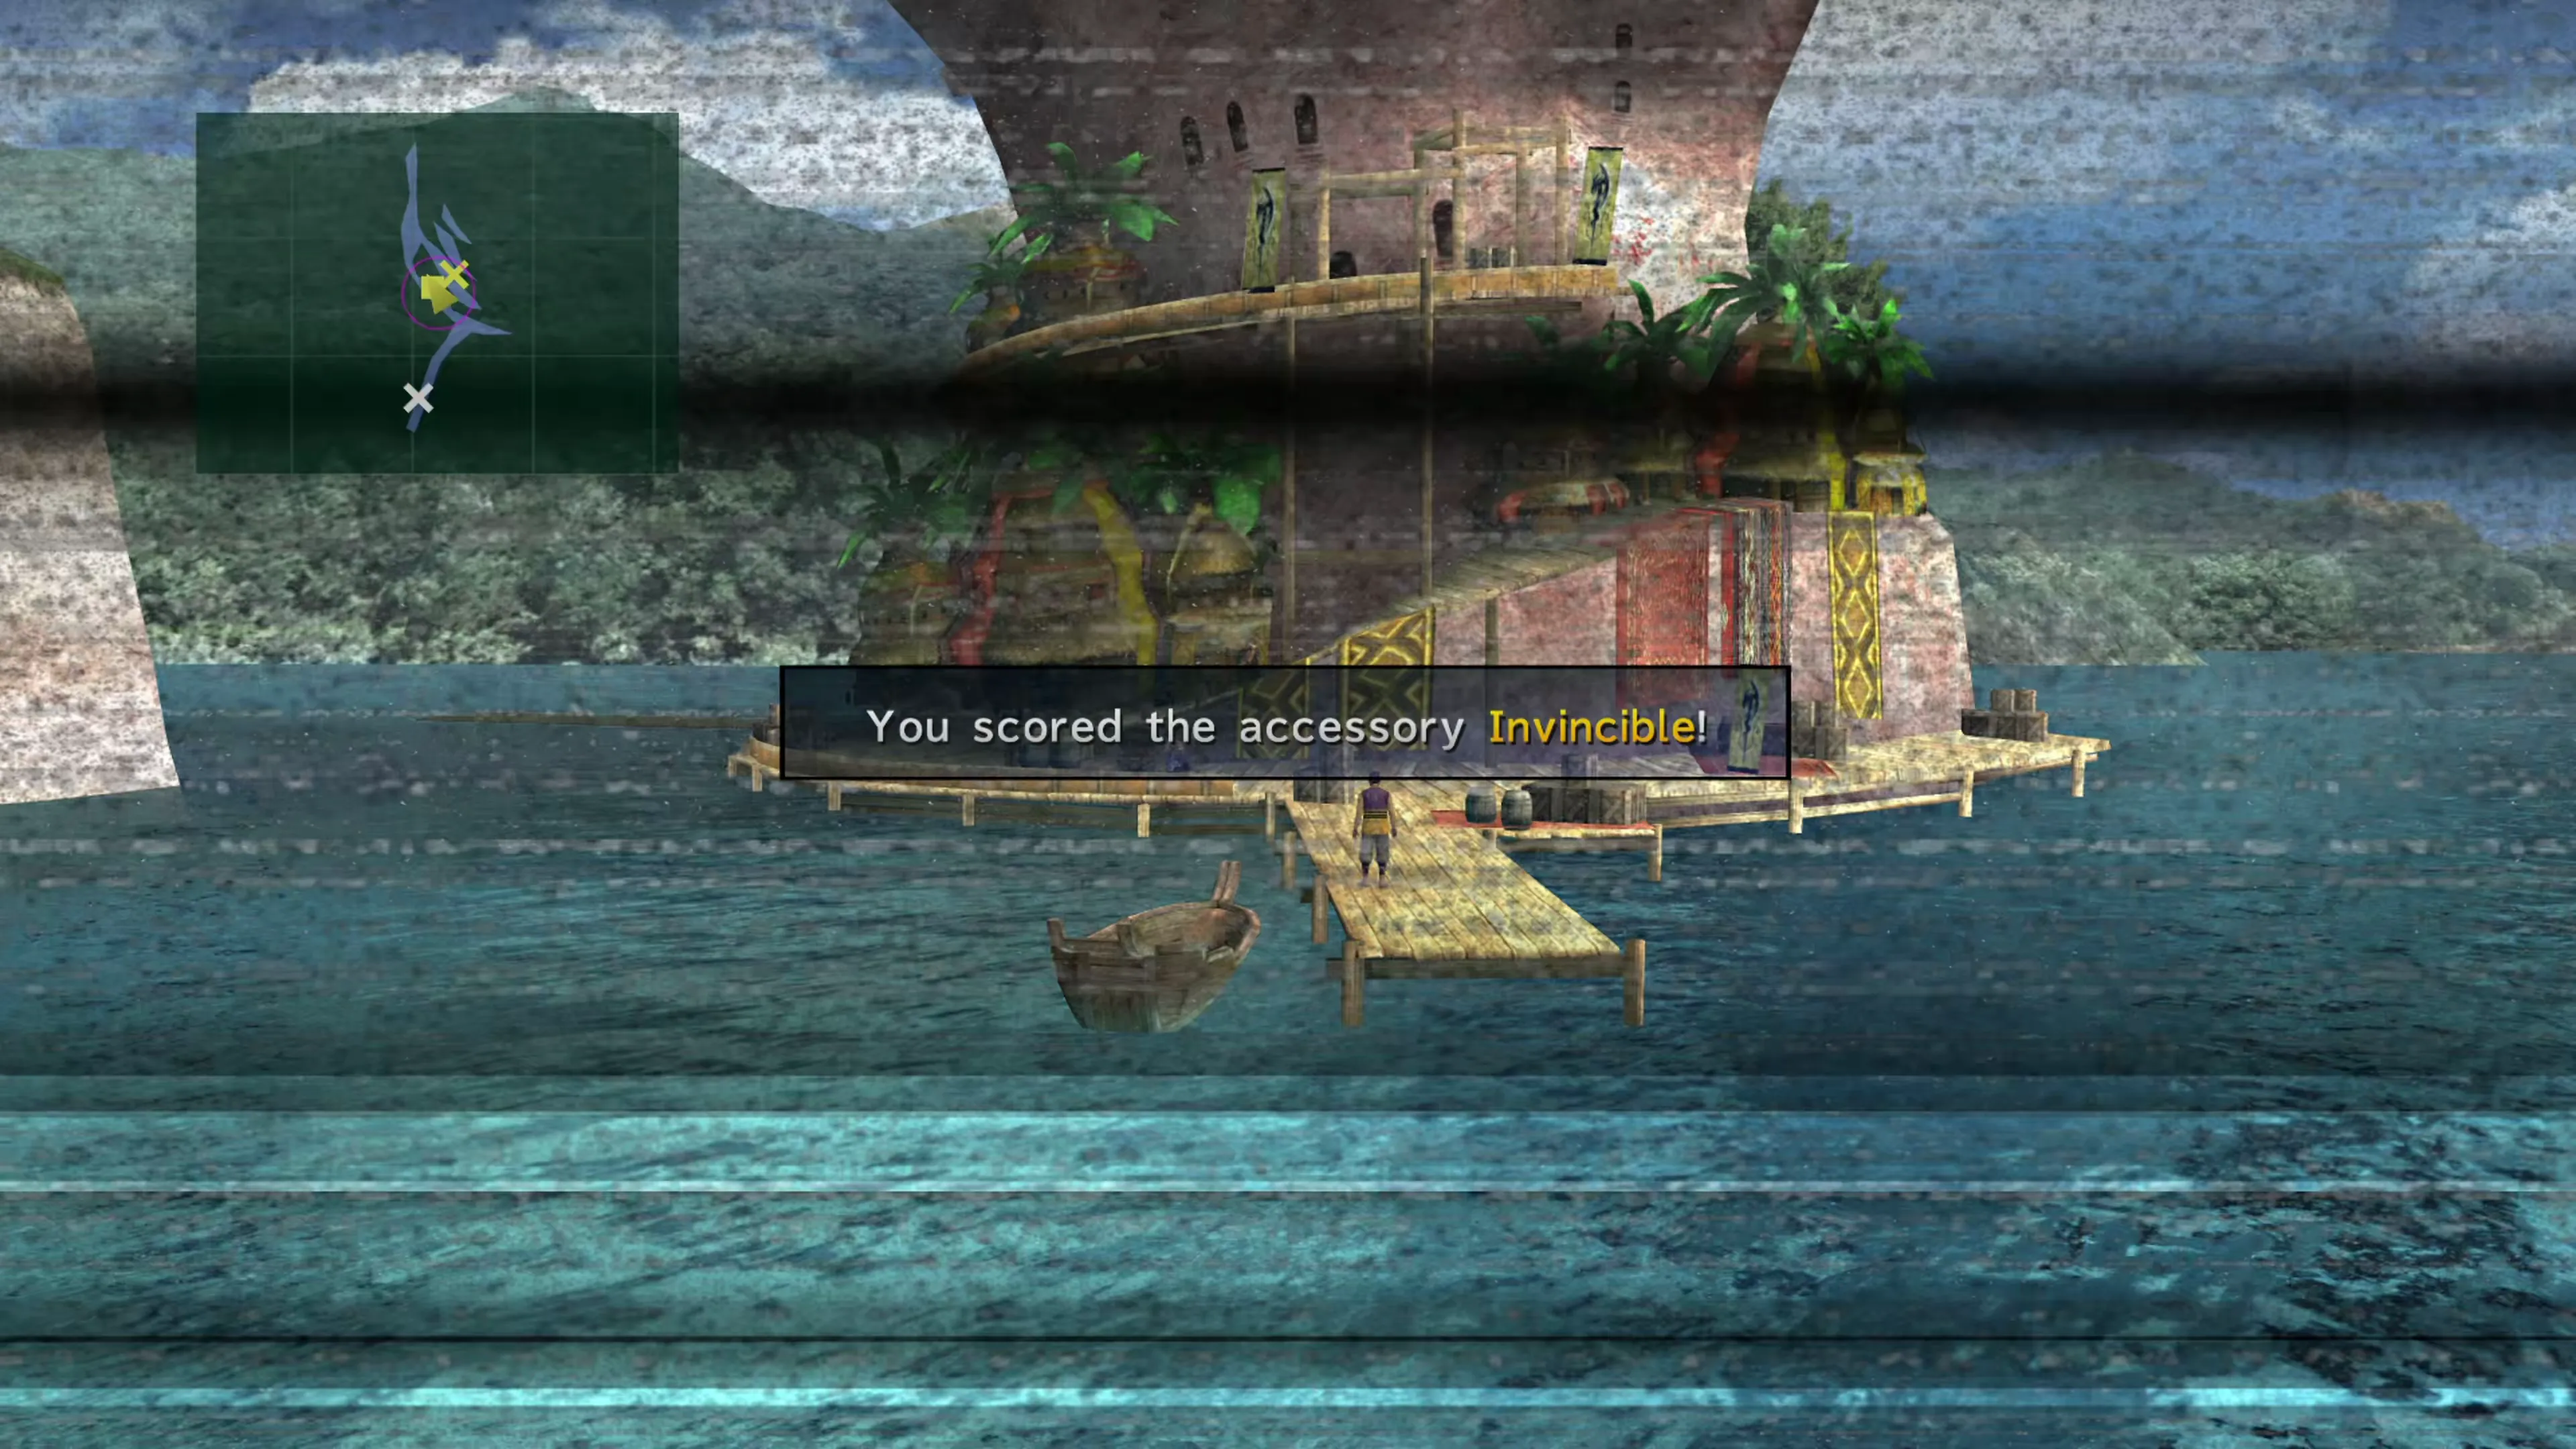
There’s a treasure chest on the bottom level near the dock that contains the  Invincible accessory. This accessory isn’t really required yet, because it’s unlikely that you’ve found your characters hitting the 9,999 damage limit often at this early stage of Chapter 5, but it will come in very handy later.
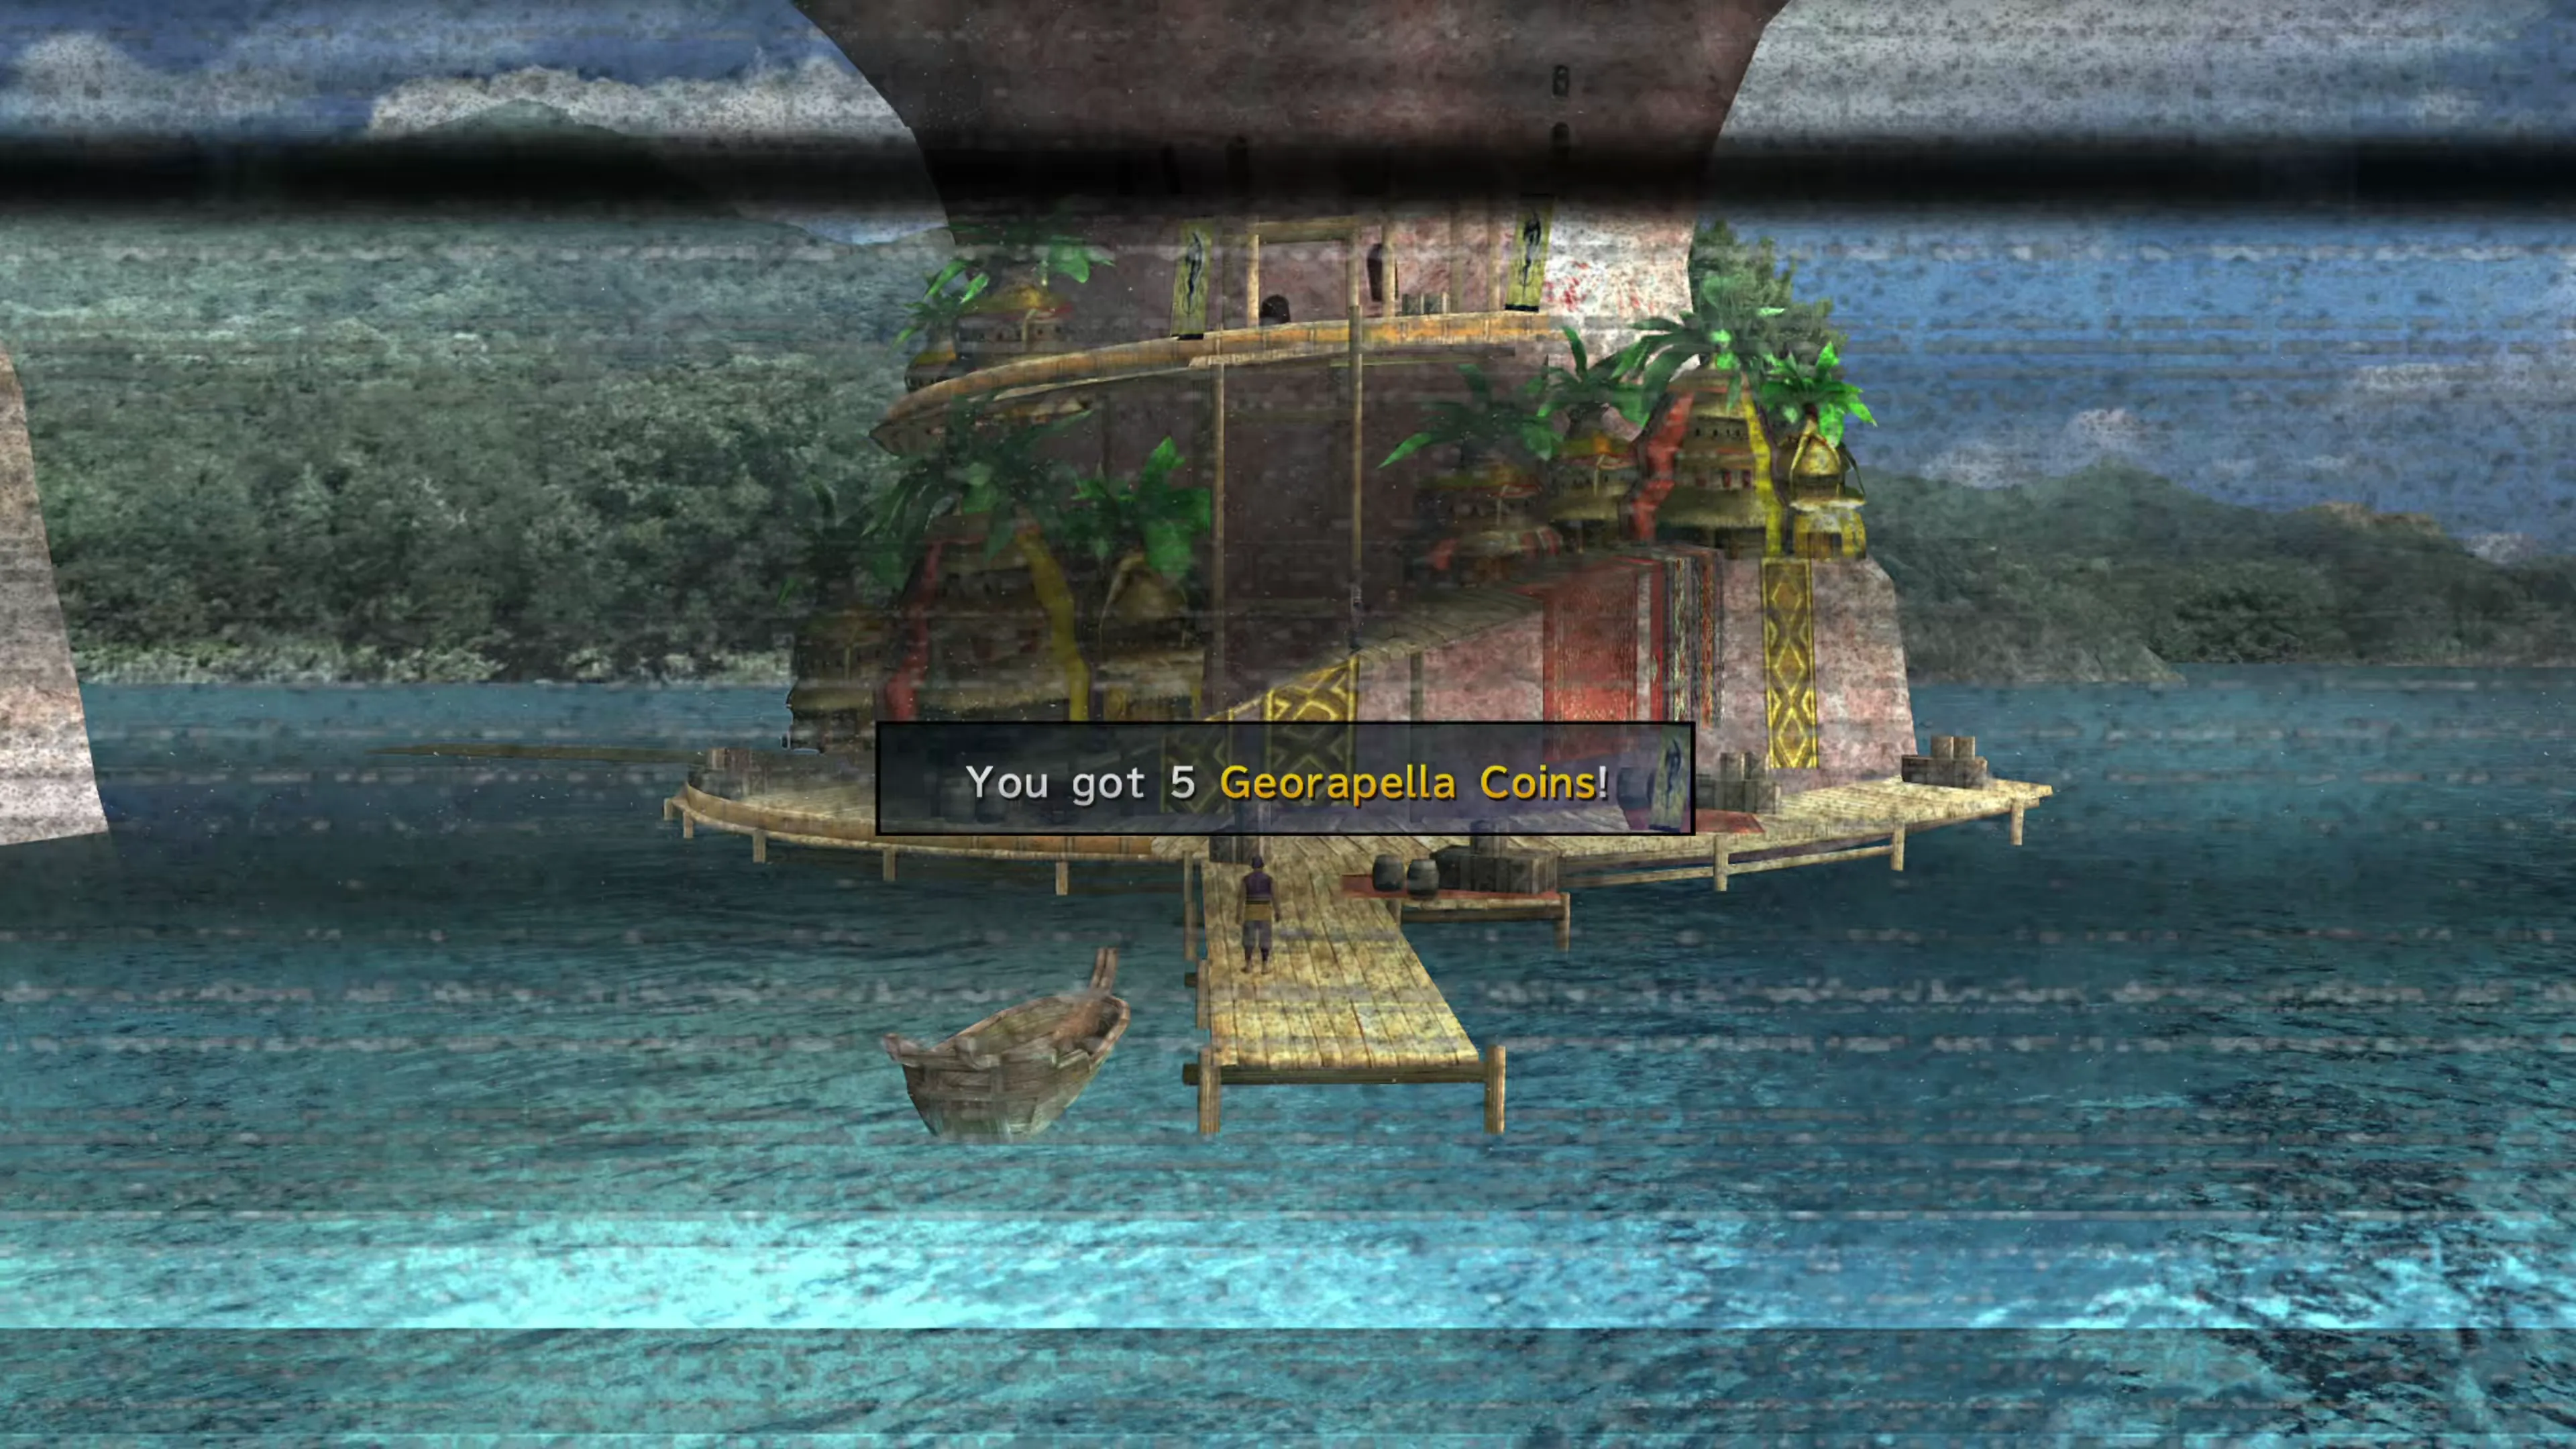
You can also talk to the young child up on the ramp leading into the base. He will give you 5 “Georapella Coins” for use in Sphere Break.
Next, head back into Kilika Woods. Climb the same leaning tree you used in Chapter 1 (marked on the map below) and open the chest up top for an  Arcane Lore accessory.
Kilika Woods
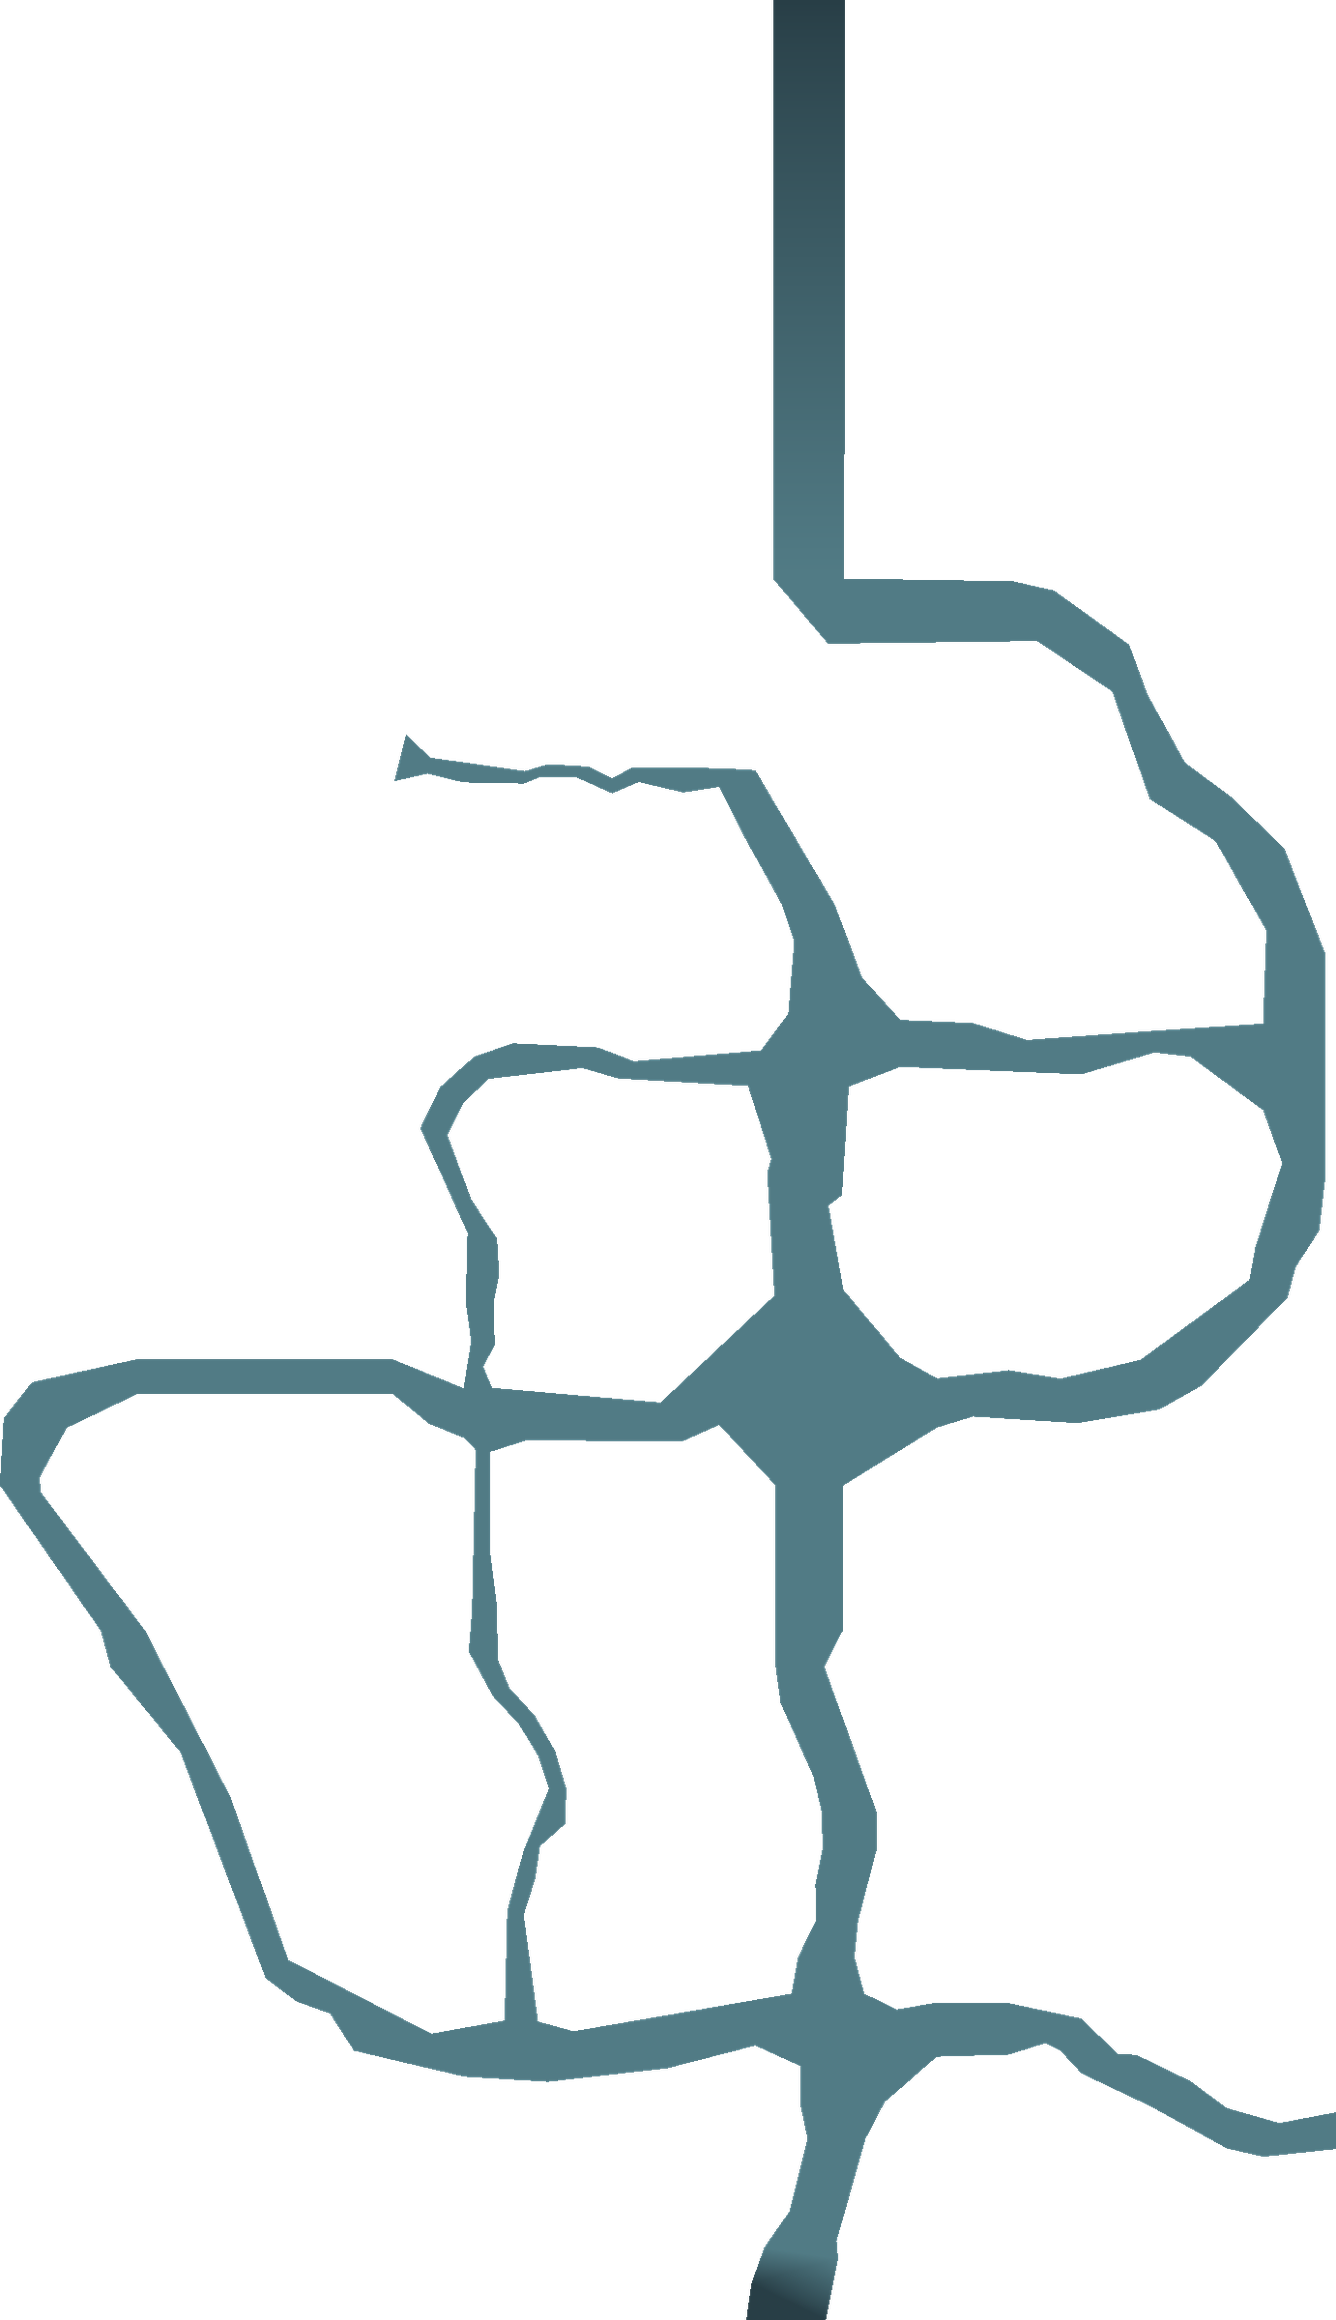
| 1 | Arcane Lore |
Continue on to the temple, where more chests have appeared: an X-Potion, a Mega-Potion, and an Ether on the temple grounds, a Megalixir in the Monks’ Chambers, and a  Wall Ring and Regen Bangle in the Nuns’ Chambers.
Finally, go through the Cloister of Trials for a Cat’s Bell, a Wizard Bracelet, two Ethers, and two Turbo Ethers.
Helpful Hint
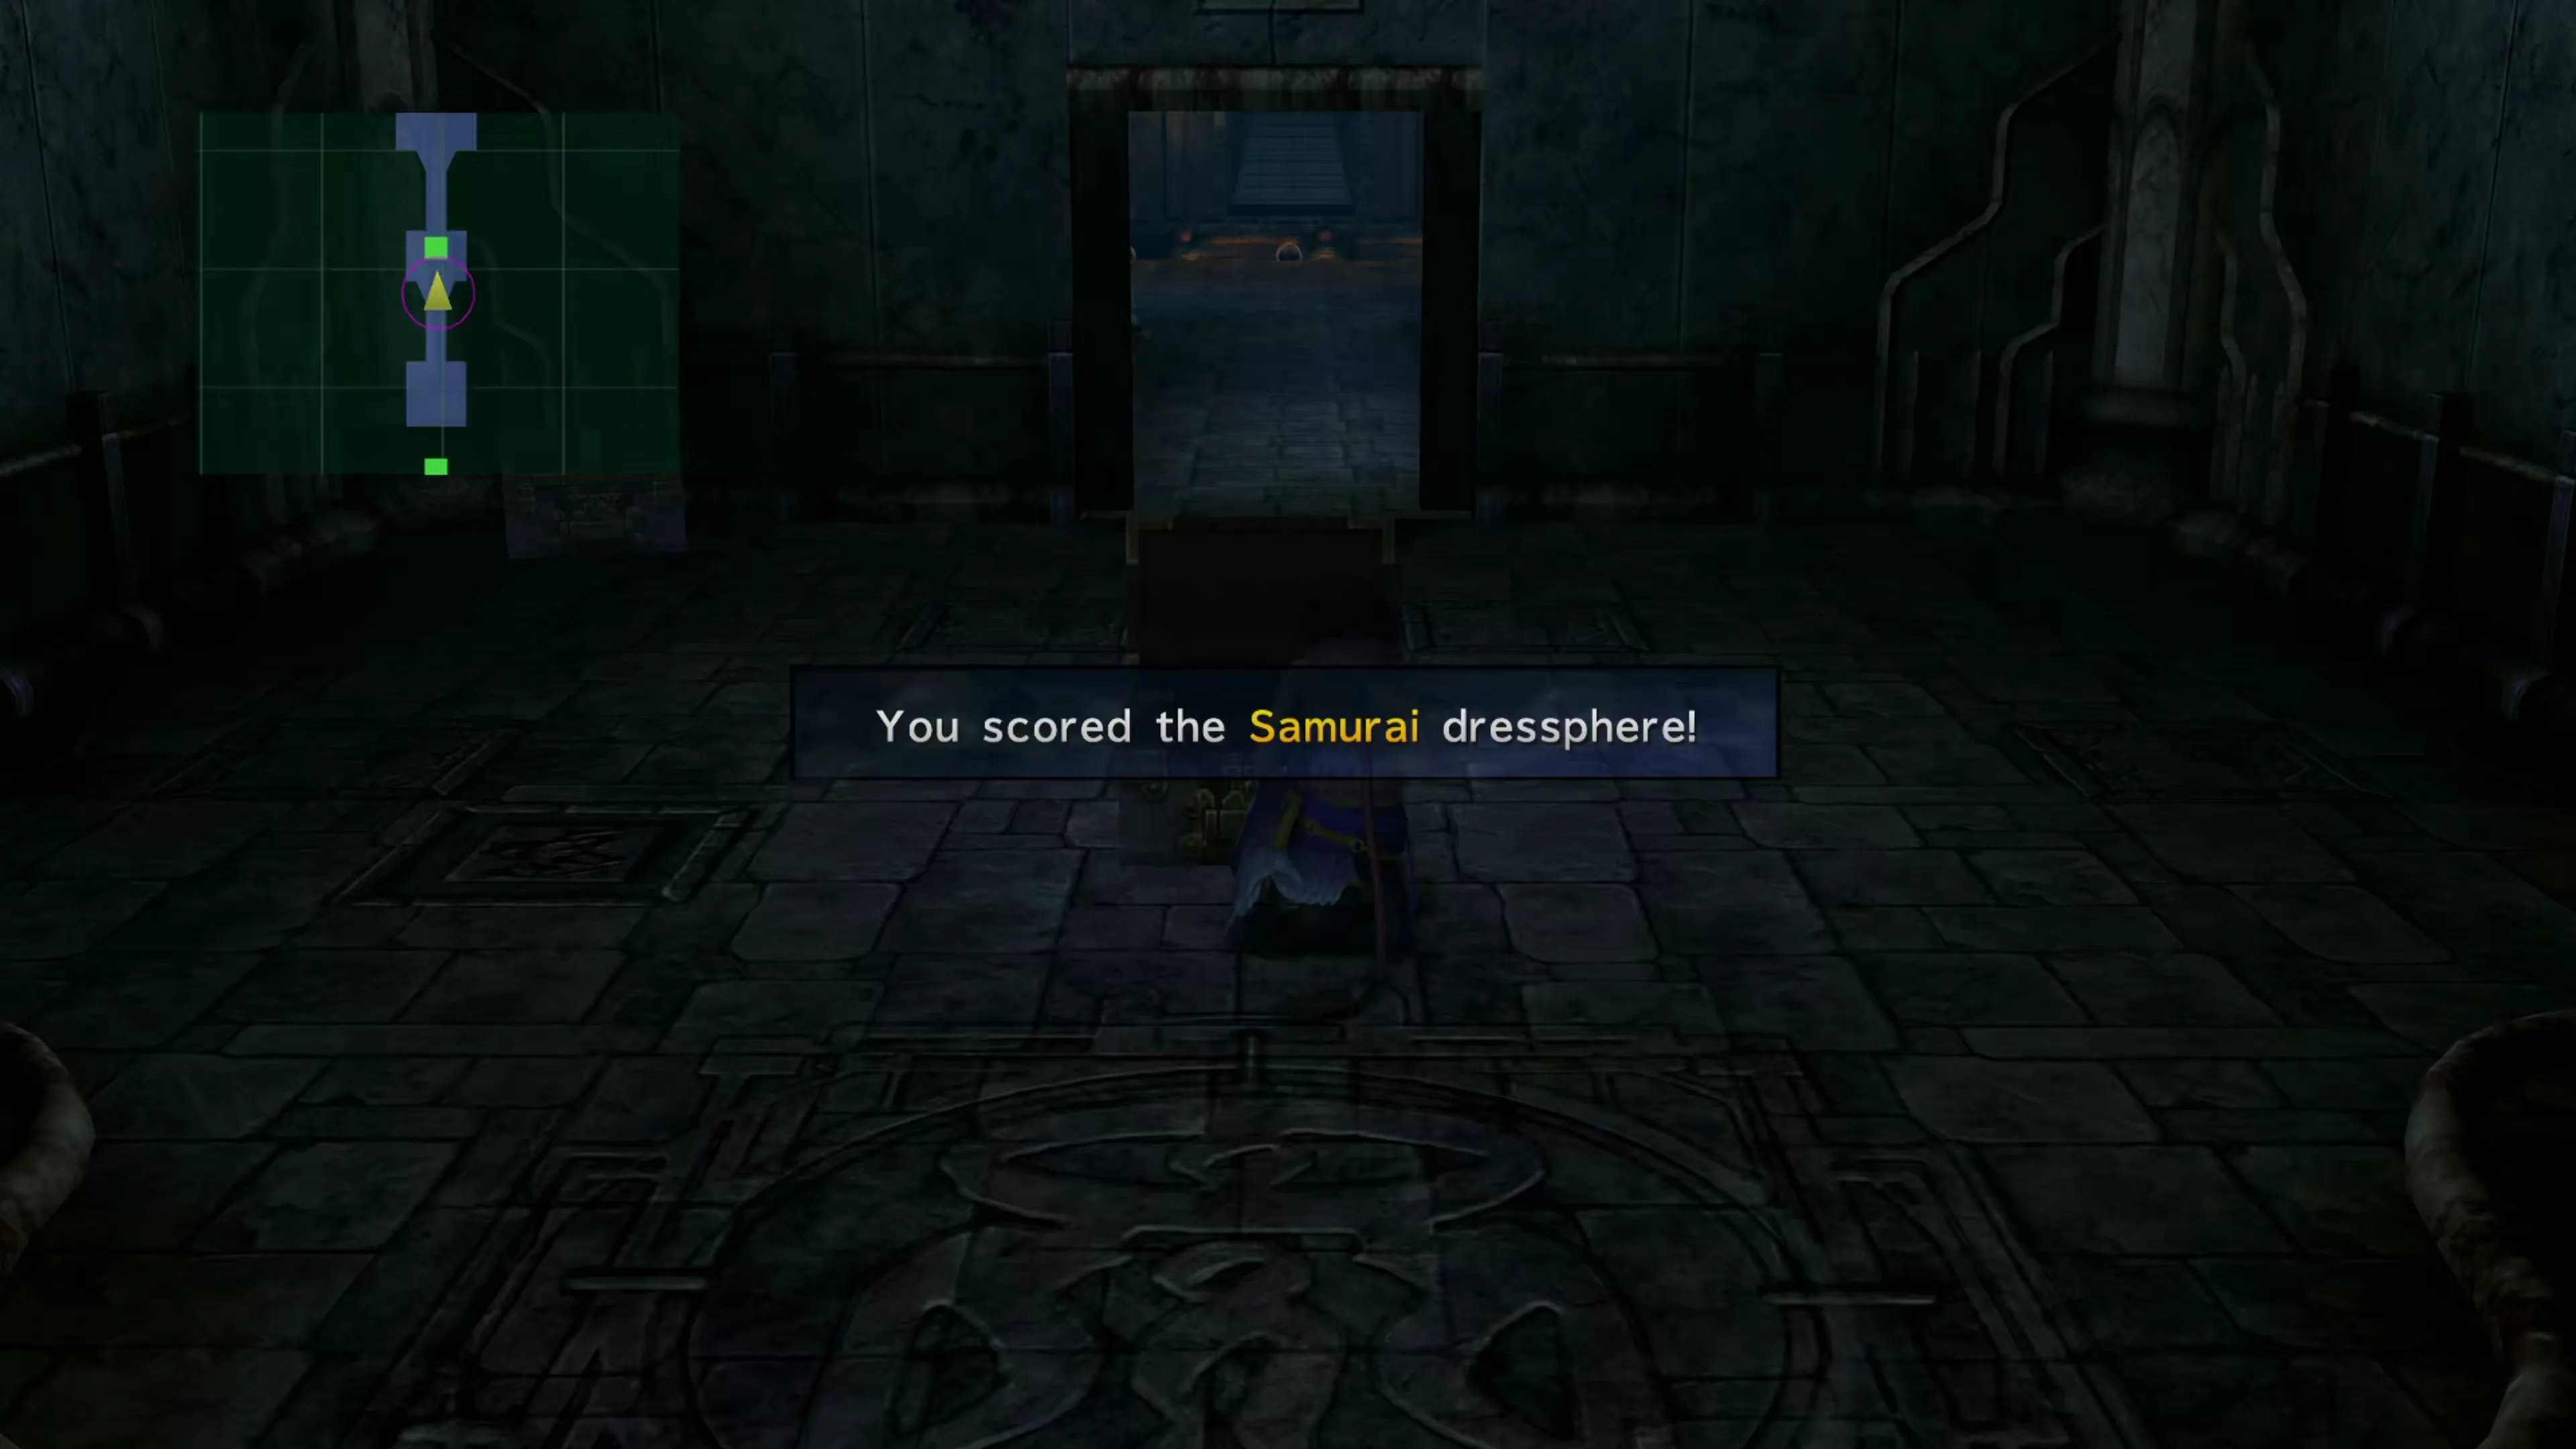
This Dressphere is easy to miss, and you may have navigated to this page wondering how/when you overlooked the  Samurai Dressphere. If you accidentally left it behind, you can walk all the way back to Kilika Temple and the Dressphere will be in a treasure chest in the middle of the temple.
Alright, now you’re actually done with Kilika, and it’s time to move on to the next location: Luca.
Checking the “Kilika Island Complete” box adds the Story Completion Percent for the automatic scenes in Kilika Island.