

Bevelle
Bevelle is home to one of the more difficult new dungeons in the game, the Via Infinito, which you can start in this visit and come back to later on after you have completed all of the remaining episodes.
Approach the entrance to Bevelle for a quick cutscene involving Maroda. You’ll automatically trigger an Episode Complete for this area after this scene. Some guides say that it only triggers under certain conditions. Still, you’ll receive it at the end of this scene no matter which faction you sided with (Youth League or New Yevon), and you’ll automatically be transported back up to the Celsius before you can enter Bevelle proper (with a  Scourgebane Garment Grid as a reward).
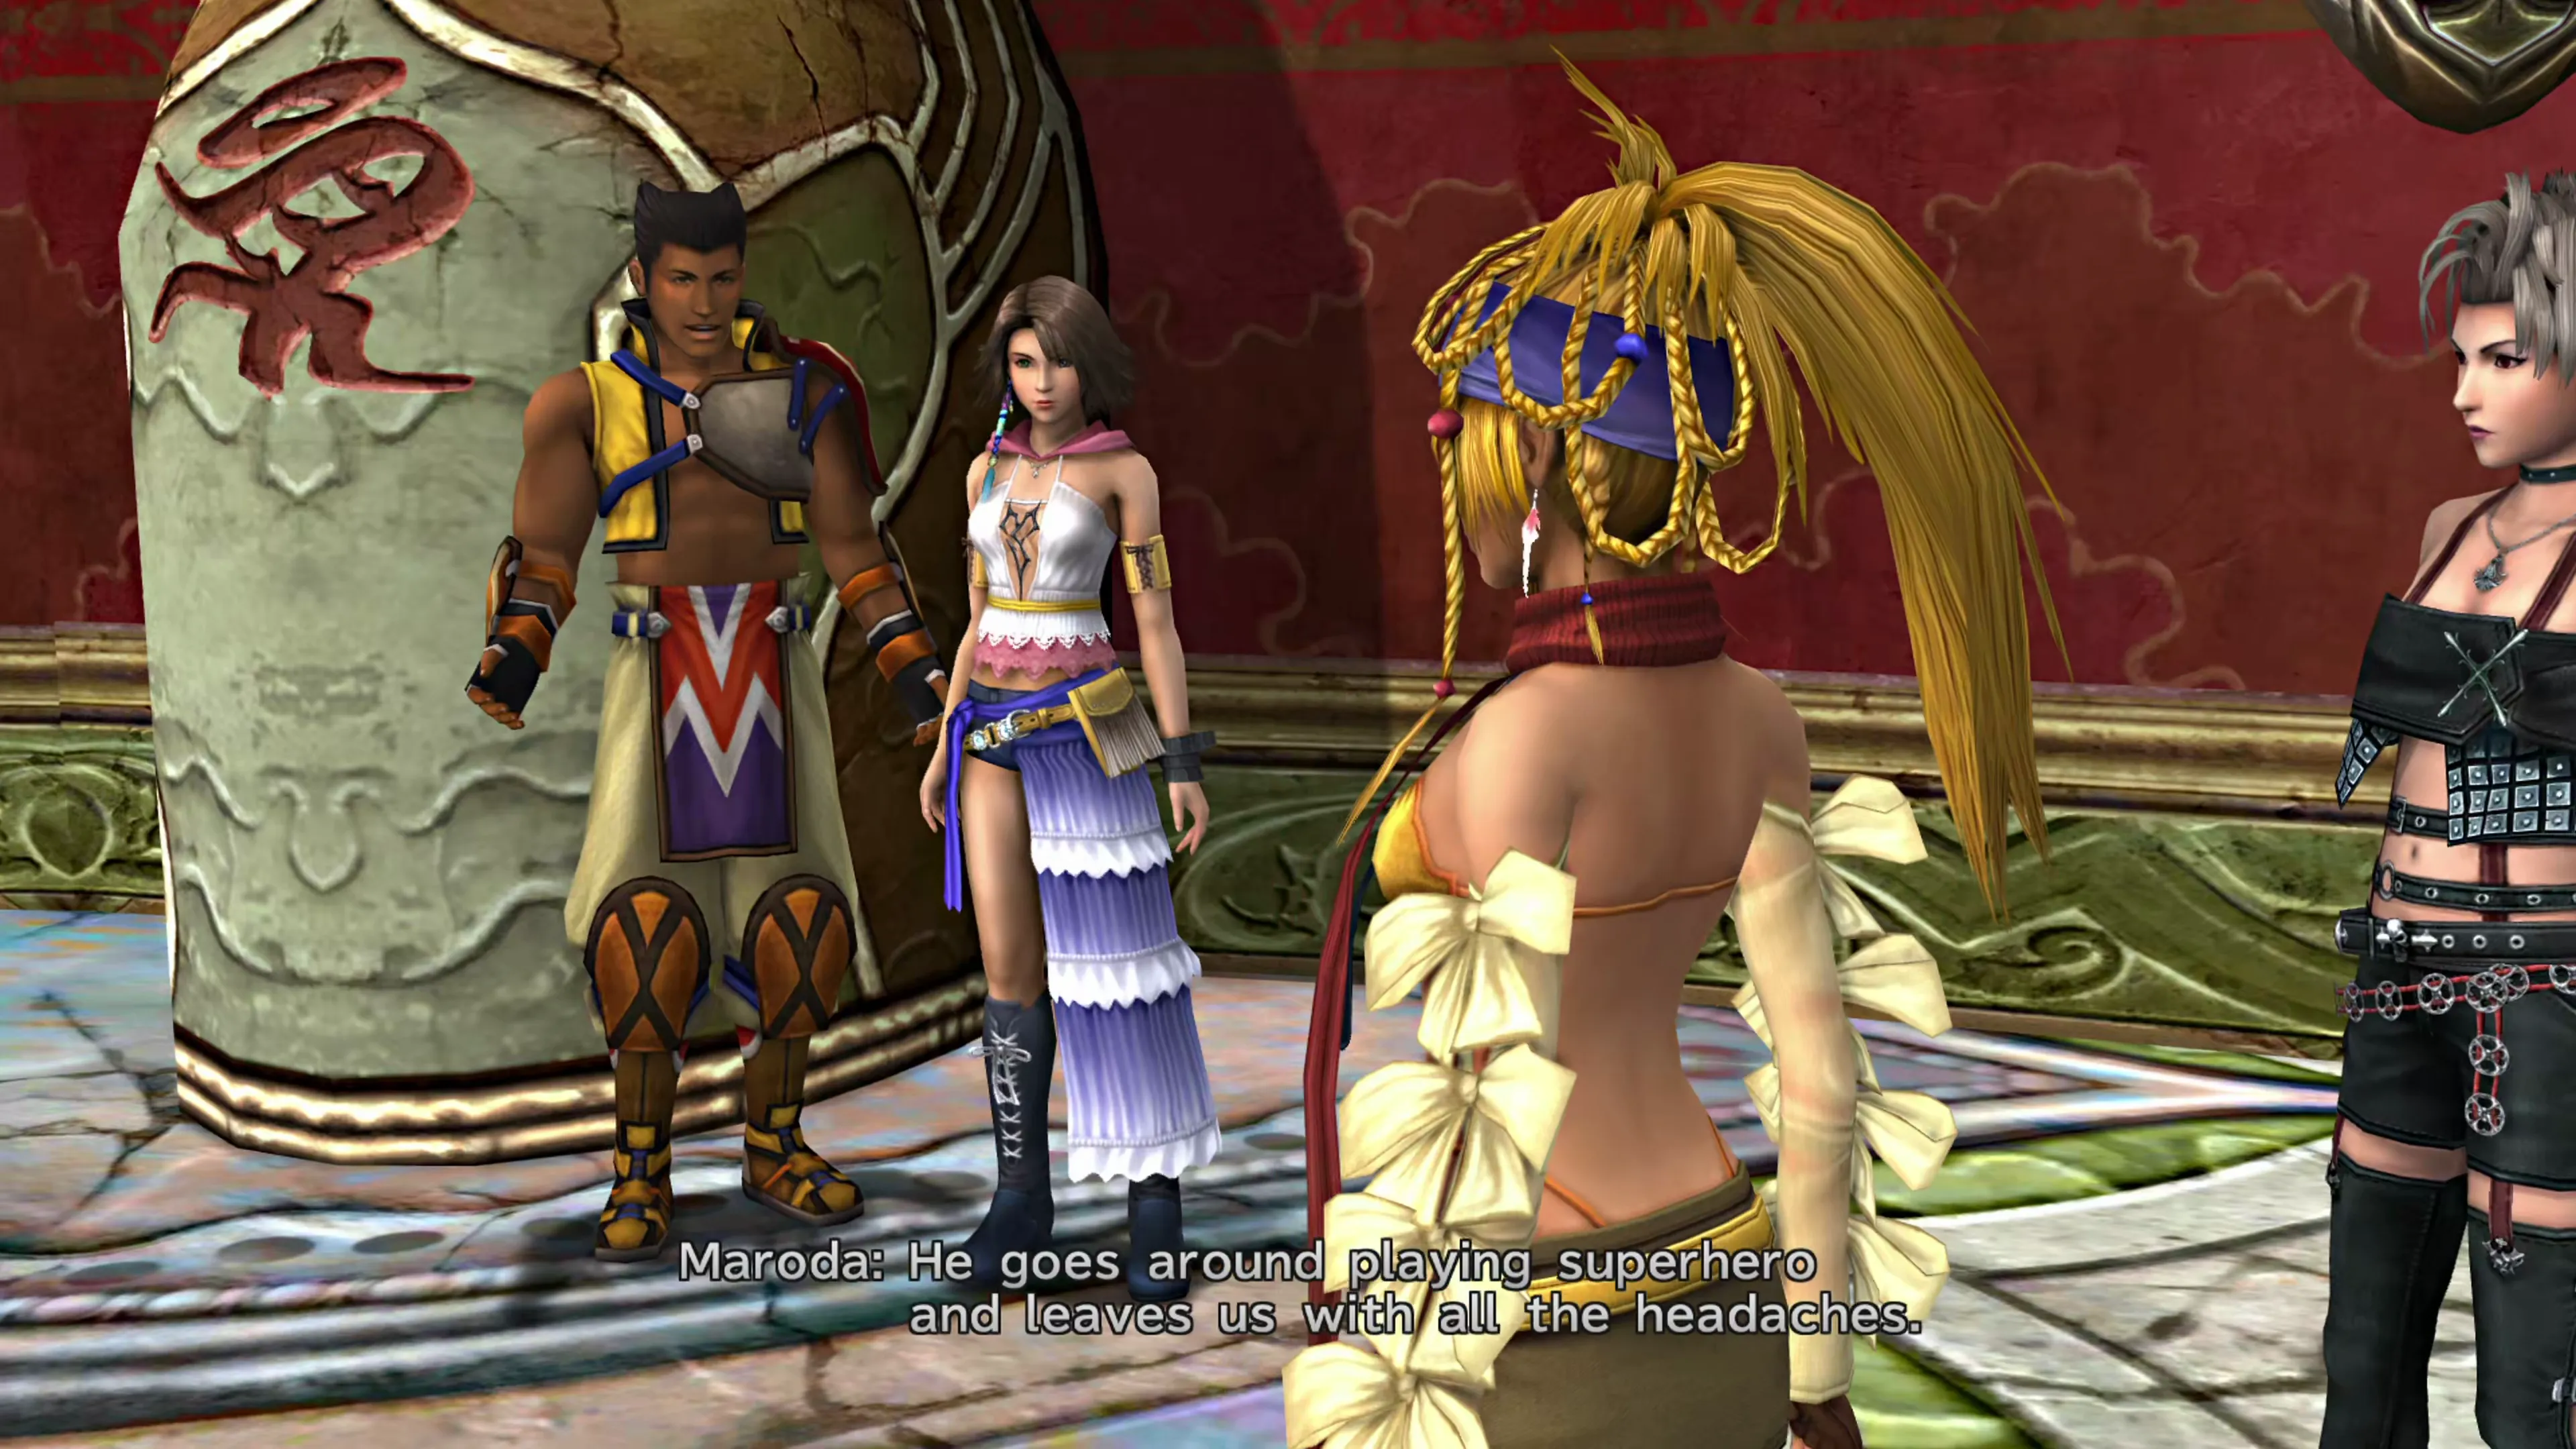
Head straight back down to Bevelle and head inside New Yevon Headquarters. You can navigate through the Bevelle Cloister, Temple, Underground, Labyrinth and Gaol areas to pick up treasure chests, if you’re interested in taking a long walk. Check out the Maps section to see what you can find.
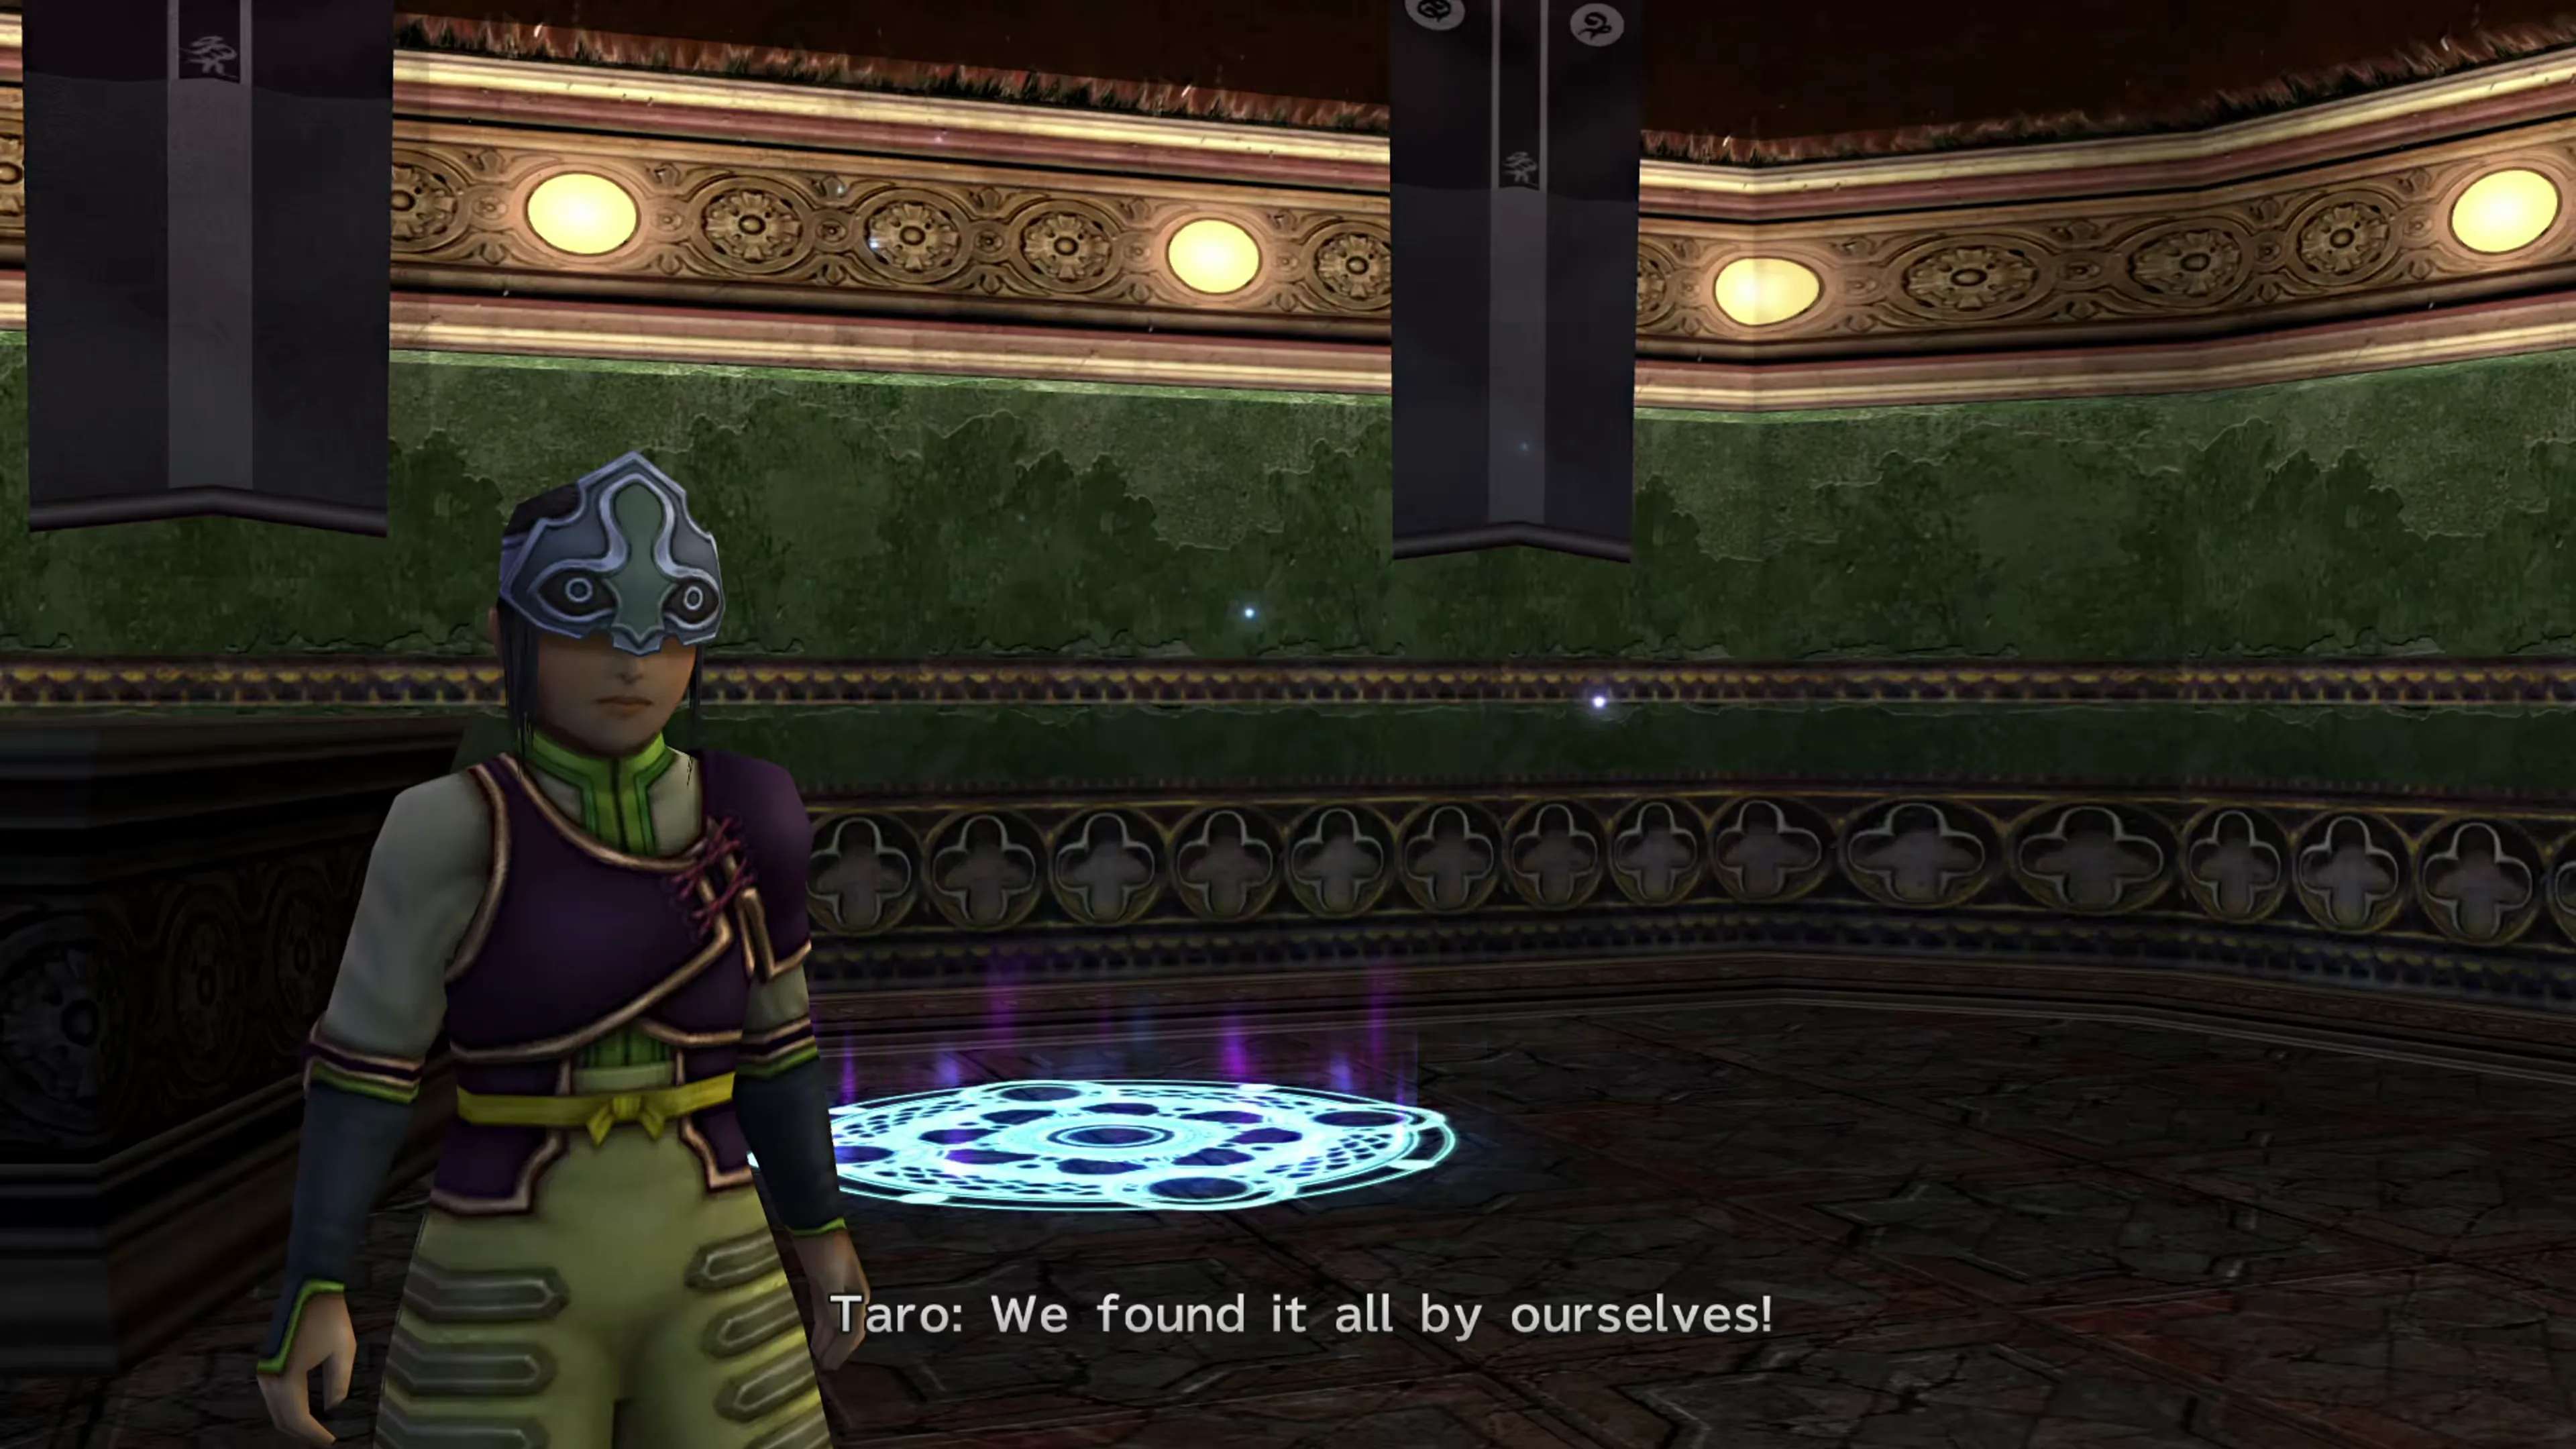
Go through the doorway on the right/east side of the main floor to find the Kinderguardians near a teleporter. They’ve stumbled upon the entrance to the Via Infinito. Save your game at the  Save Sphere, and then you can get started on this new, incredibly expansive dungeon. But don’t worry, you don’t need to go too far into it just yet.
Via Infinito
The Via Infinito is an optional dungeon that you can access from this room where you found the Kinderguardians. It consists of 100 Cloisters that you must descend to reach the final boss. This page will provide a brief overview of how to navigate through the first 20 Cloisters, because that’s all you need right now, but if you’d like to learn more about the Via Infinito dungeon and its related side quests, click on the link below:
Side Quests
An optional late-game dungeon that has 100 Cloisters to navigate through. This dungeon holds two Crimson Spheres along with some of the toughest bosses in the game.
As noted in the description above, there are two Crimson Spheres that can be found in Via Infinito, and your focus should be on procuring those two Spheres first and then coming back. The Crimson Spheres can be found down on floor 20, so that’s as far as you should go for now, but you can come back very shortly to complete the rest.
Overview
After the opening cutscene with the ghostly figure, pick up the first of the two Spheres, which is lying on the ground ( Crimson Sphere 6). A message will appear allowing you to watch the Sphere now, if you choose, so you may as well.
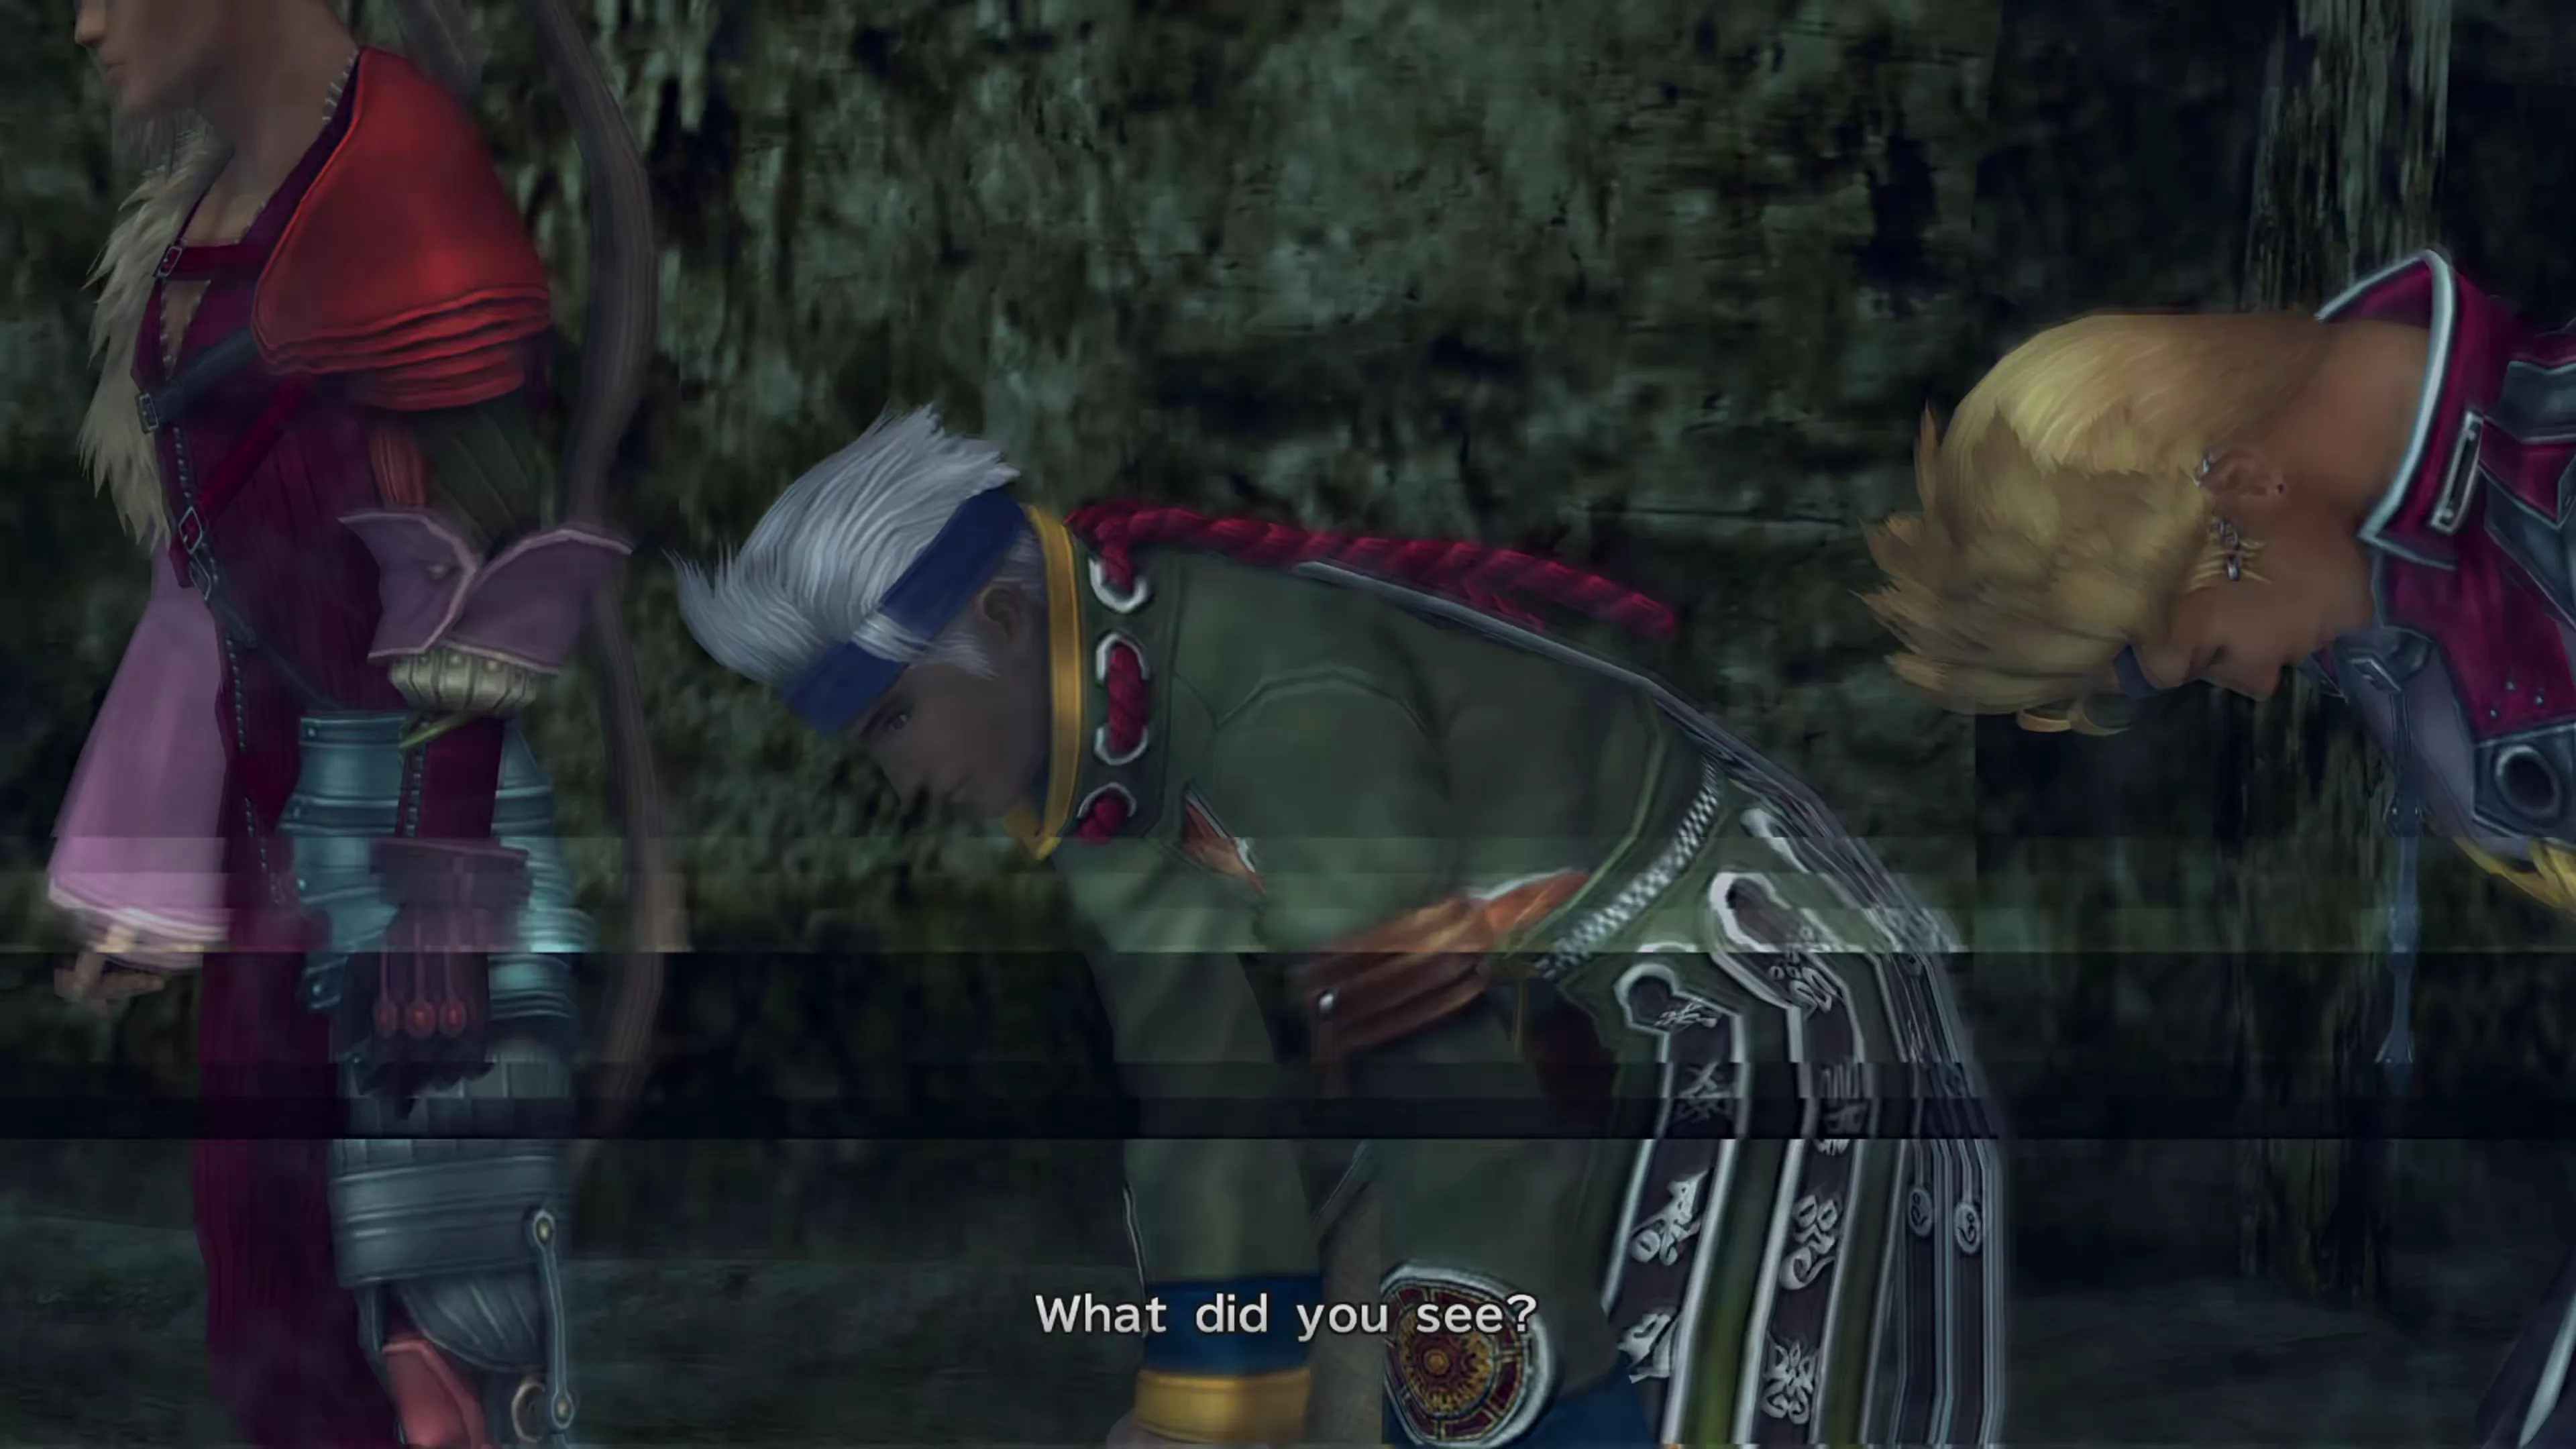
Yuna, Rikku, and Paine have a conversation with the Kinderguardians on the first floor of the Via Infinito. Rikku exclaims “Farplane!” during this sequence, and you receive Crimson Record 6 at the end of it. You can watch it now, or later through Shinra’s “Treasure Spheres” menu back on the Celsius.
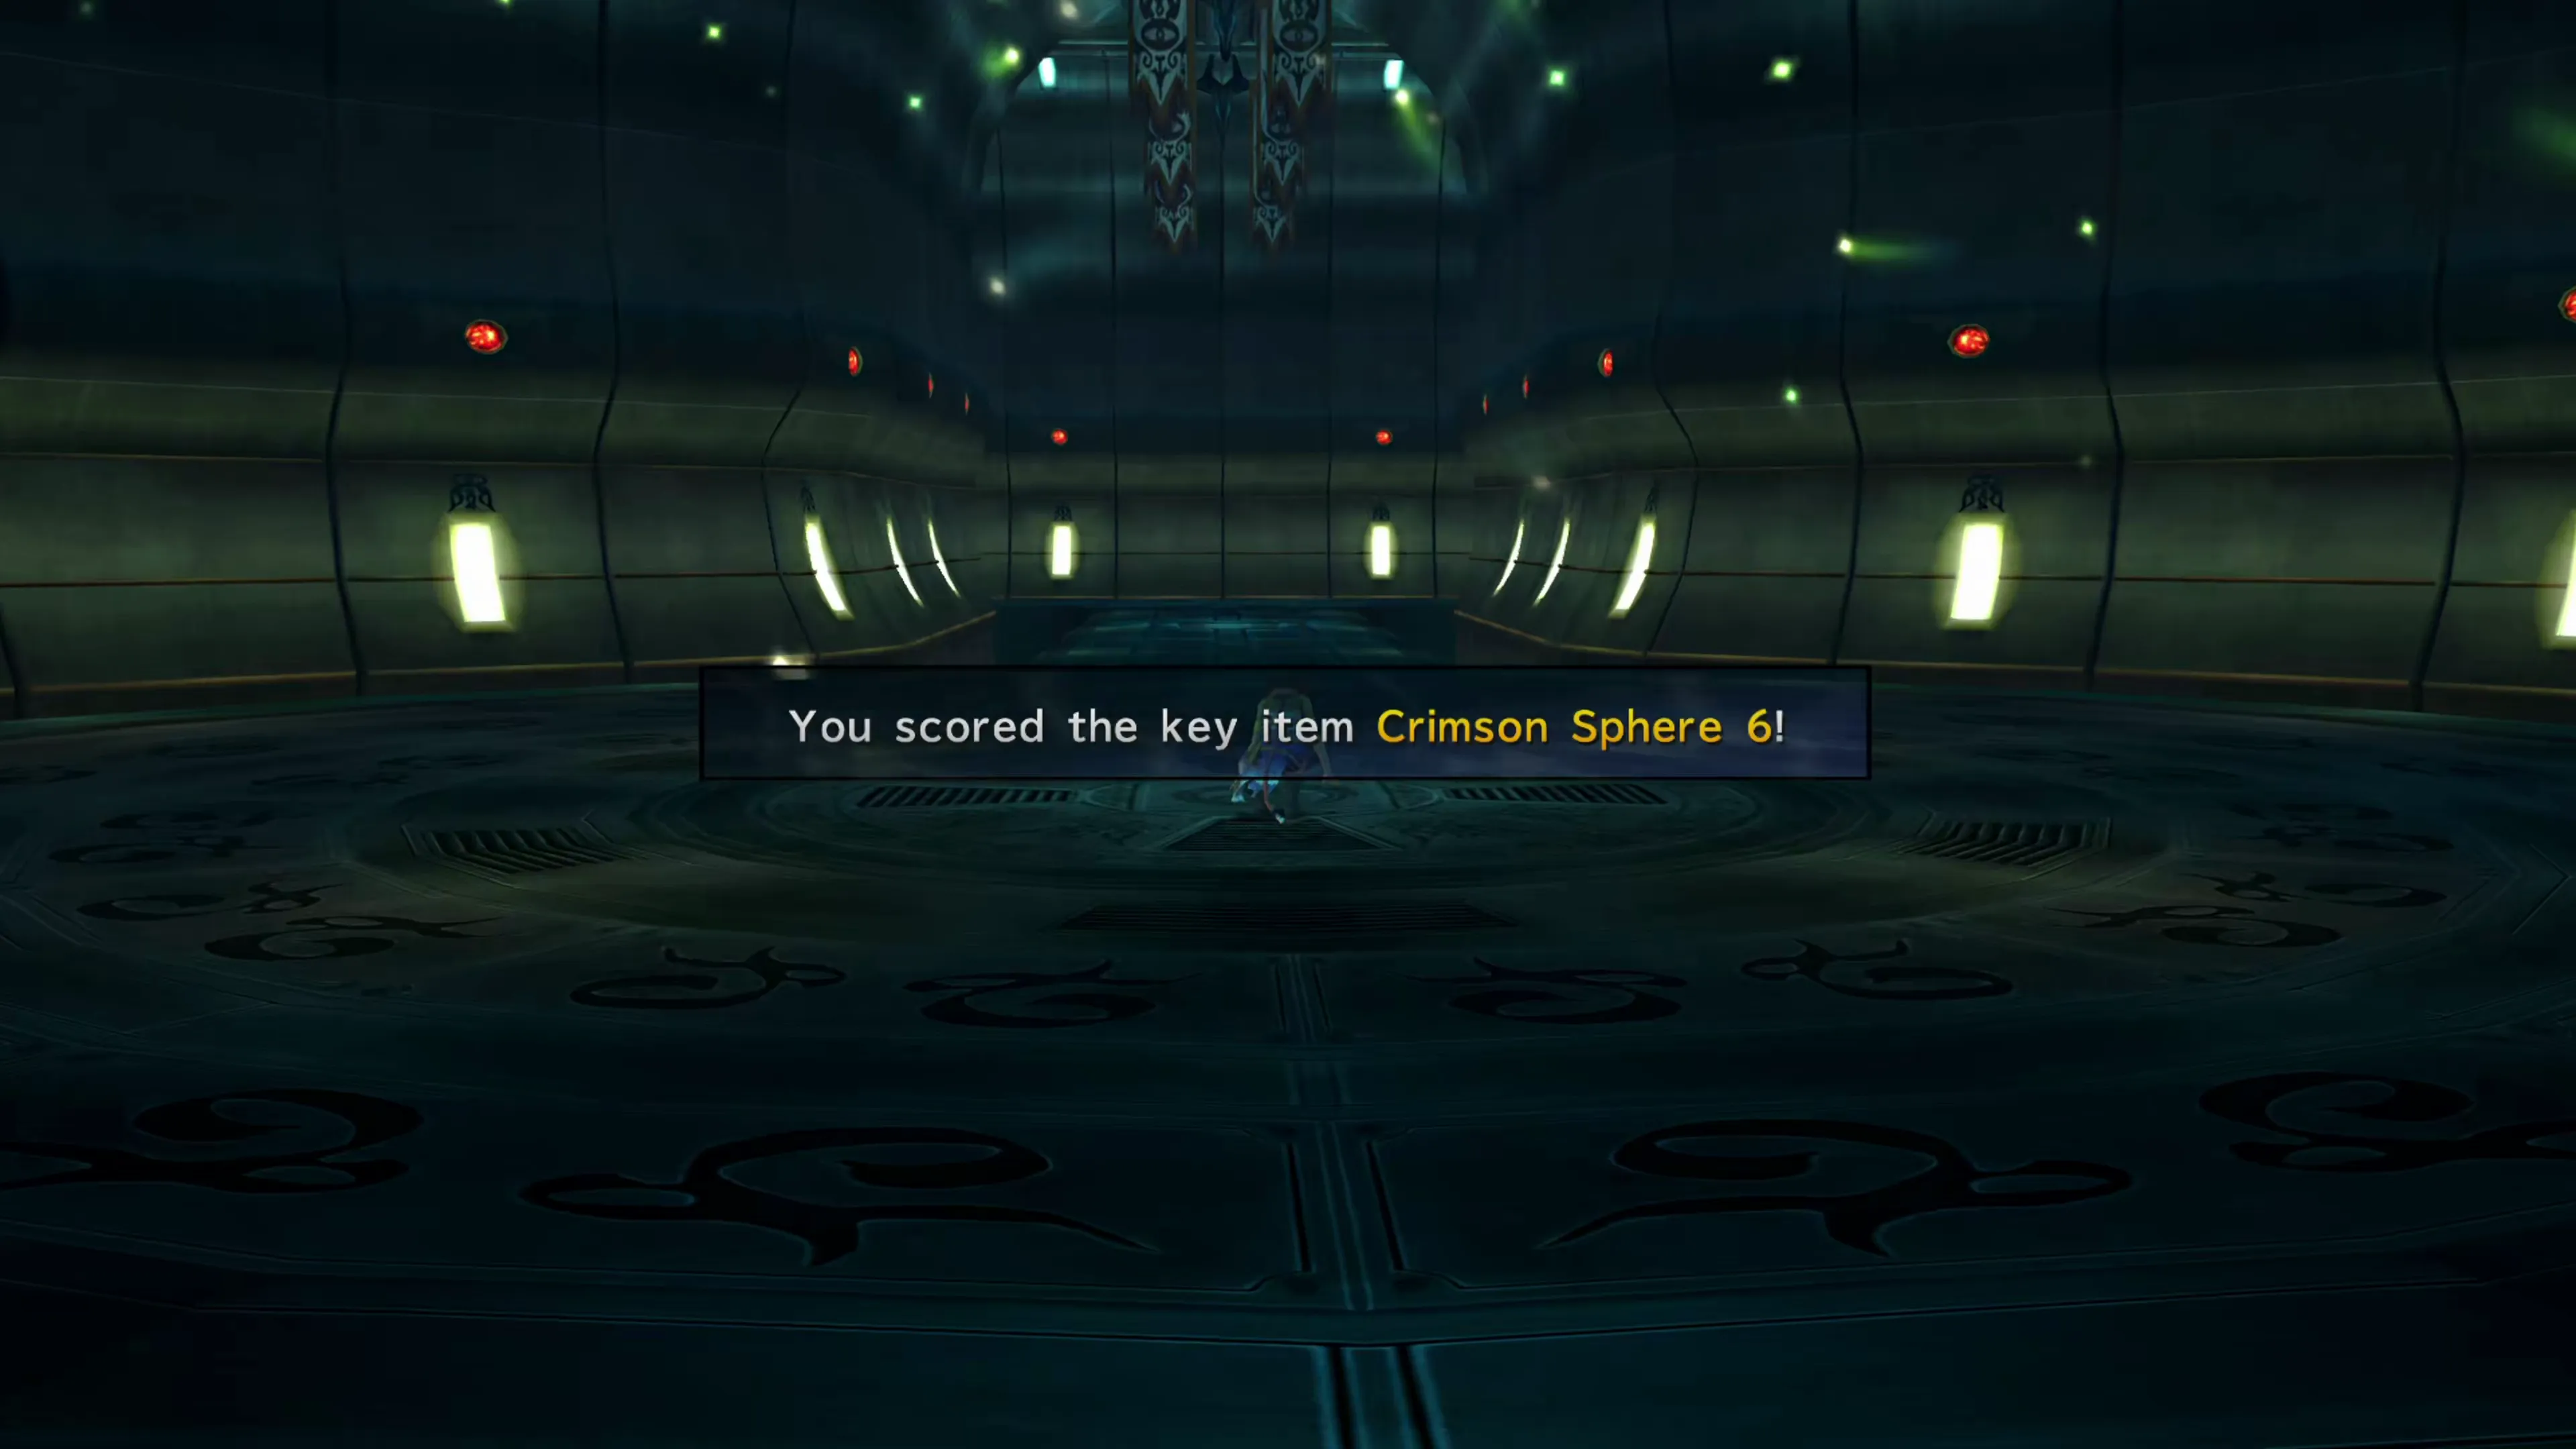
Then cross the platform and look for a small hole in the ground you can use to move from Cloister 0 to Cloister 1. Each of the Cloisters you visit on your way to Cloister 20 will have a random map layout that follows one of the three patterns below. Your goal is to drop down the hole in each Cloister to the next level. Here are the things you’ll need to know about each floor:
- Enemy Encounters: A message will pop up when you enter the first Cloister that states “within this labyrinth, fiends will appear despite any special abilities or equipment you may be using.” In other words,
 Charm Bangles don’t work here. Fiend battles are mandatory.
 - Tonberries: Map 1 and Map 3 have a visible Tonberry that you can see outside of battle. Touching them immediately throws you into battle, and you’ll have to defeat it, which isn’t too hard, but you can avoid them entirely. On Map 1, you can sidestep them to the left and right, and on Map 3, the Tonberry blocks a teleporter that warps you closer to the exit, but you don’t need to use it (though it’s not difficult to defeat and many players opt for the shortcut).
- Teleporters: Every map has a teleporter you can use to warp back outside of the Via Infinito. Use them any time you want to exit the Via Infinito, including if you want to save your game at the Save Sphere and take a break. When you re-enter the Via Infinito, you can teleport back to whichever Cloister you were on. More importantly, though, is that these Teleporters also refill your party member’s HP and MP like a Save Sphere, so touch them every time you can.
- Difficulty: The Cloisters get progressively more difficult as you descend. Cloisters 1 through 40 are easy; Cloisters 41 through 60 can be a bit more challenging, and it scales up from there.
- Revisiting Cloisters: You can return to any of the Cloister floors later on if you choose to, but for now, the objective is to get down to Cloister 20 to defeat the boss there and pick up the Crimson Sphere. Later on, you can warp to Cloister 20, 40, 60, 80, and ∞ after you’ve defeated the bosses on those Cloisters.
- Shinra’s Bestiary: If you plan to complete Shinra’s Bestiary and earn the
 Monster Master Achievement/Trophy, the Via Infinito is one of the easiest methods to track down each of the Oversouled creatures. You can save it for later, but a full overview of how to complete this task can be found in the Shinra’s Bestiary area of the Side Quests section.
Via Infinito Maps (Cloisters 1 through 20):
Random Map 1




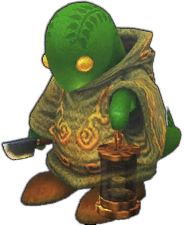
| Touching this Tonberry will initiate a battle. Fighting it is optional. |
Random Map 2

| Touching this Tonberry will initiate a battle. Fighting it is optional. |
Random Map 3

| Touching this Tonberry will initiate a battle, but defeating it is required to reveal the Teleporter. |
Random Map 4
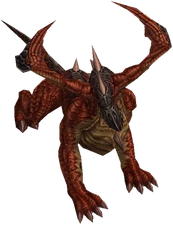
| These Elder Drakes may not always appear in lower level Cloisters. When they do appear, they jump out on a timer, so be careful running past. |
Random Map 5

Random Map 6

| Touching this Tonberry will initiate a battle. You must defeat it to reveal the pathway. |
Your goal is to reach Cloister 20, where you’ll face the first boss, Aranea.
Boss Battle
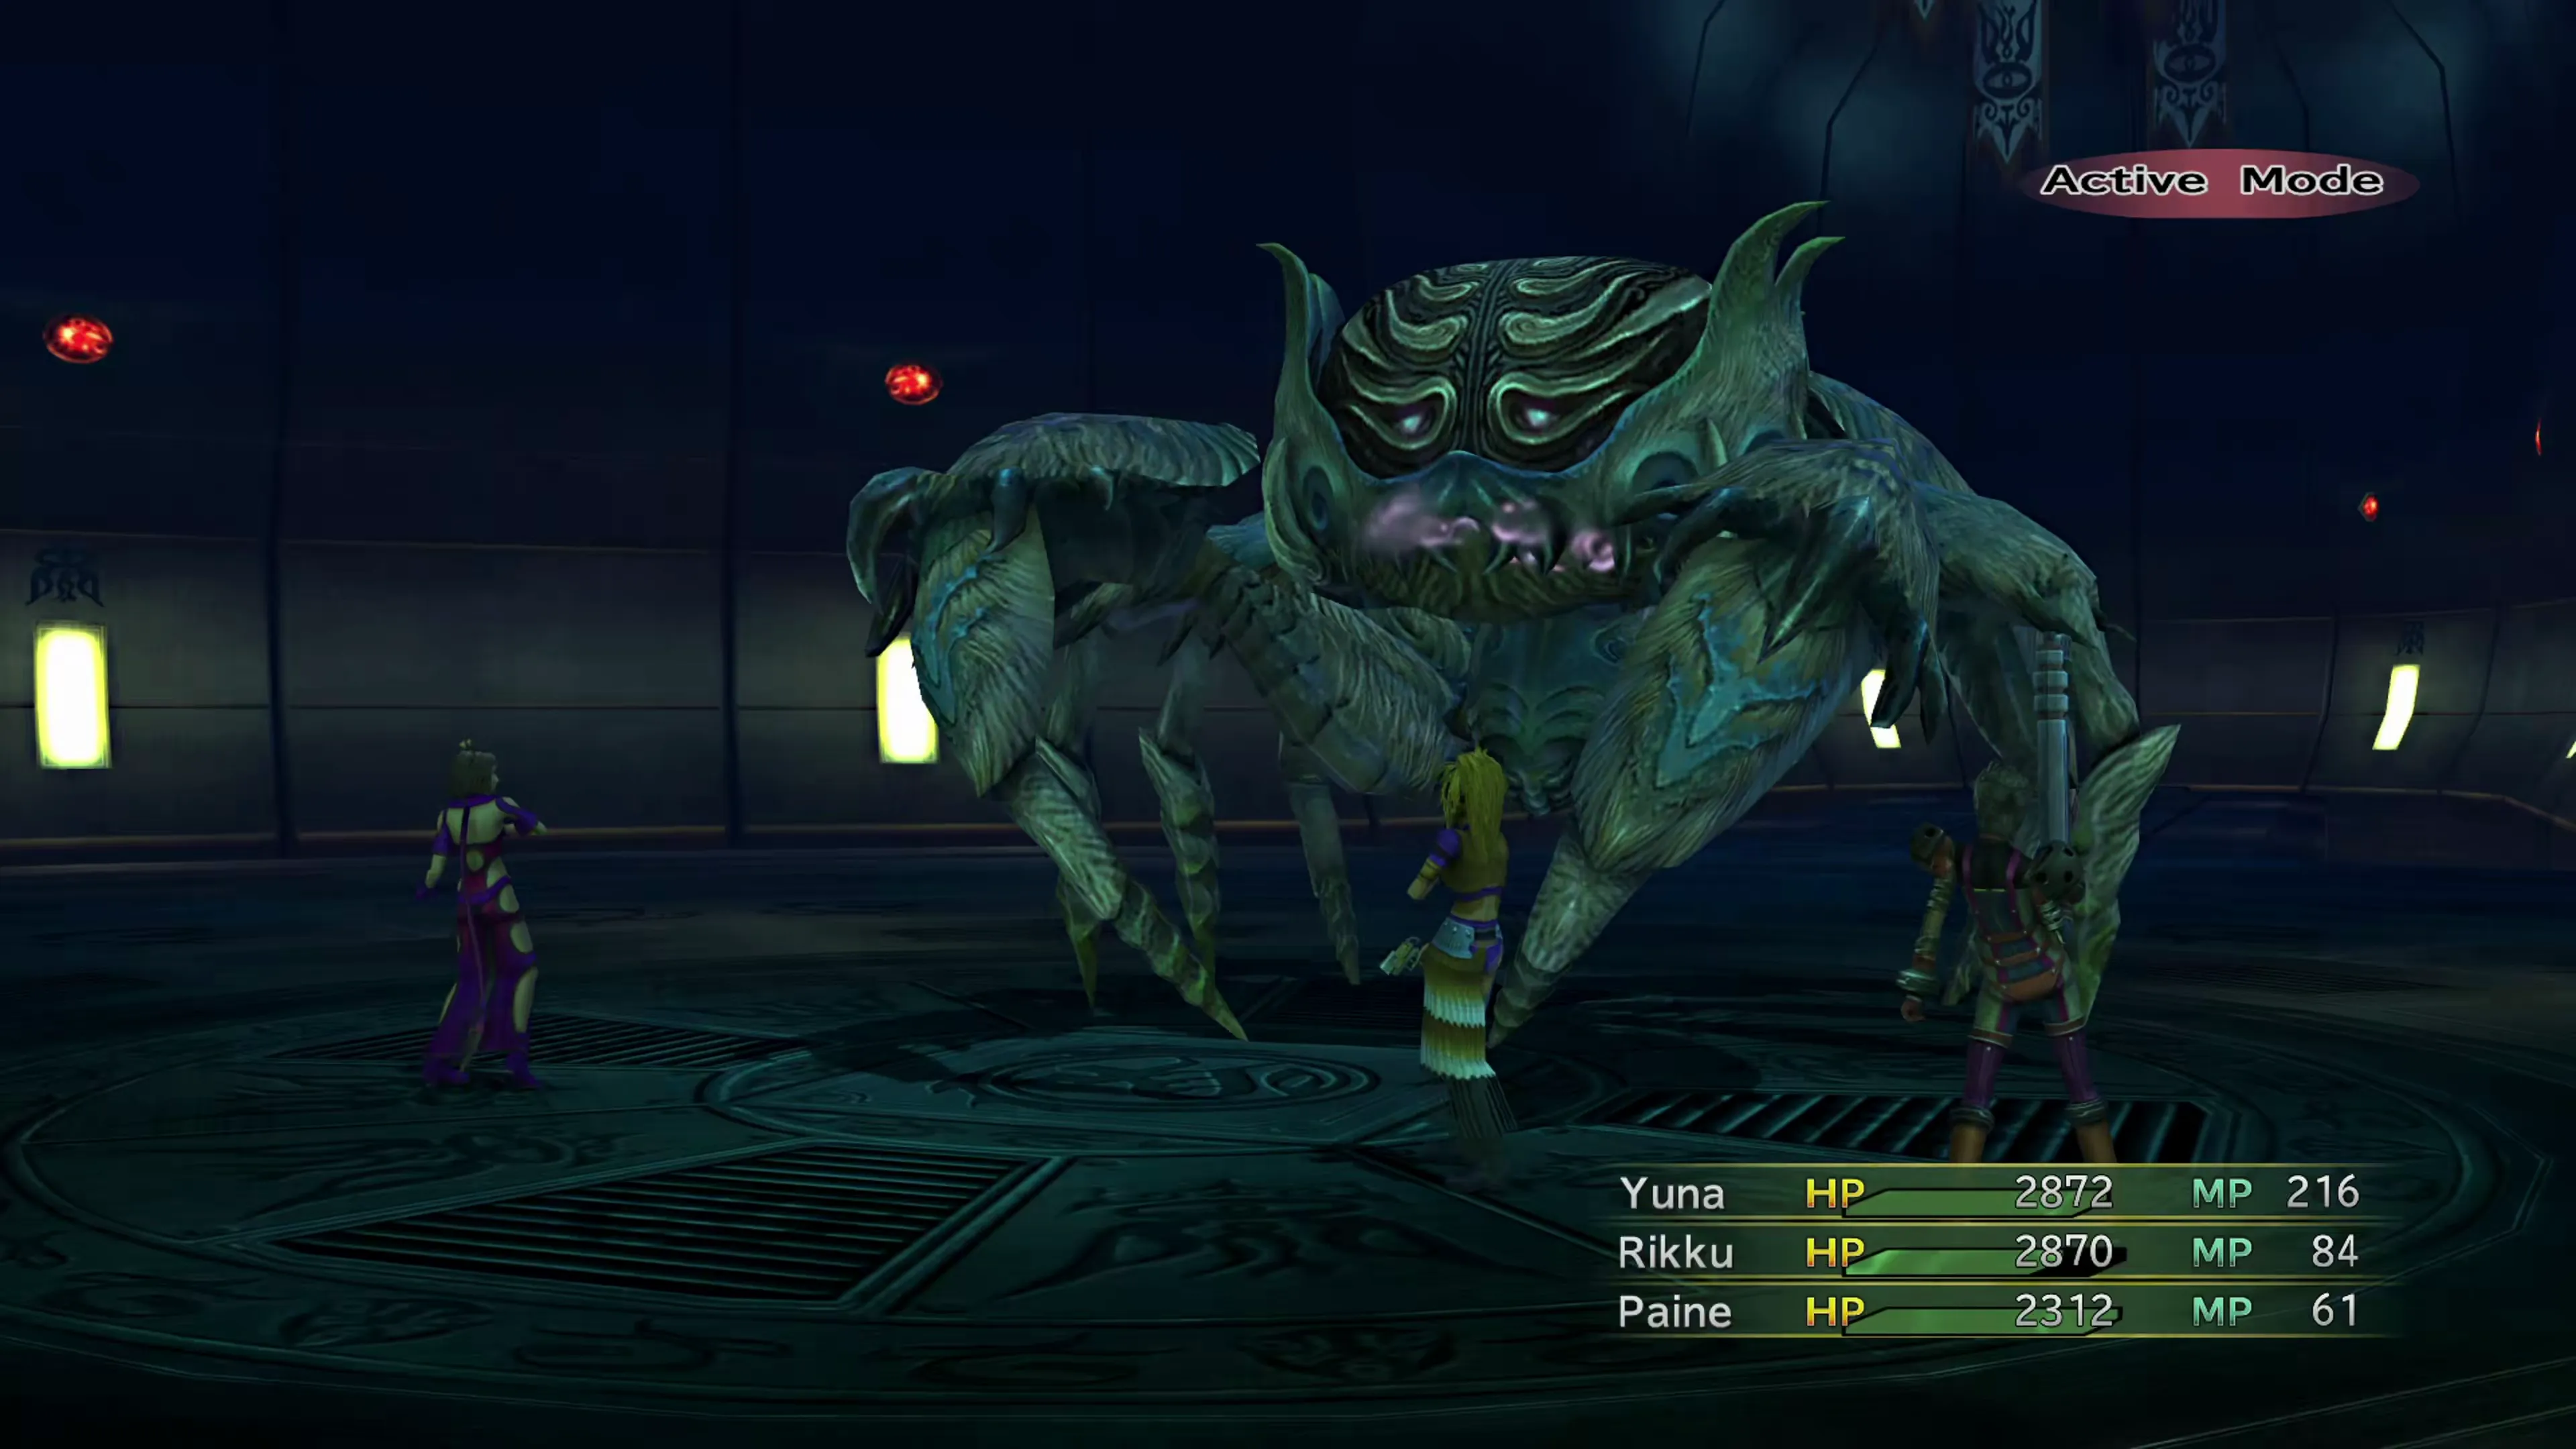
This boss battle is nothing compared to some of the bosses you’ll eventually face here in the Via Infinito. It’s essentially a slightly stronger version of the spider boss you faced at the top of the Floating Ruins (Boris). It will use the following attacks:
- Normal attack, which deals physical damage twice
- A defense ignoring bite attack
- “Gooey End,” which deals damage to any party members in front of Aranea and inflicts
 Poison and
  Stop
Stop
Protect yourself against the two status effects, and you’re good to go.
| Enemy | HP | Steal | Drop |
|---|---|---|---|
| Aranea | 18280 |  Turbo Ether (common)Kinesis Badge (rare) Turbo Ether (common)Kinesis Badge (rare) |  Stamina Tonic (common) Stamina Tonic (common) Mythril Bangle (rare) Mythril Bangle (rare) |
After the boss fight, turn around and pick up Crimson Sphere 8, and watch it through Shinra’s “Treasure Spheres” menu once you are back on the Celsius, where it appears as “Crimson Record 8.” With that, you’ve done everything you need to do in the Via Infinito up to this point. It’s possible to continue progressing your way down the remaining Cloisters, but there are a few things you should take care of before you continue, starting with the “Den of Woe,” which you can enter now that you have all of the Crimson Spheres.
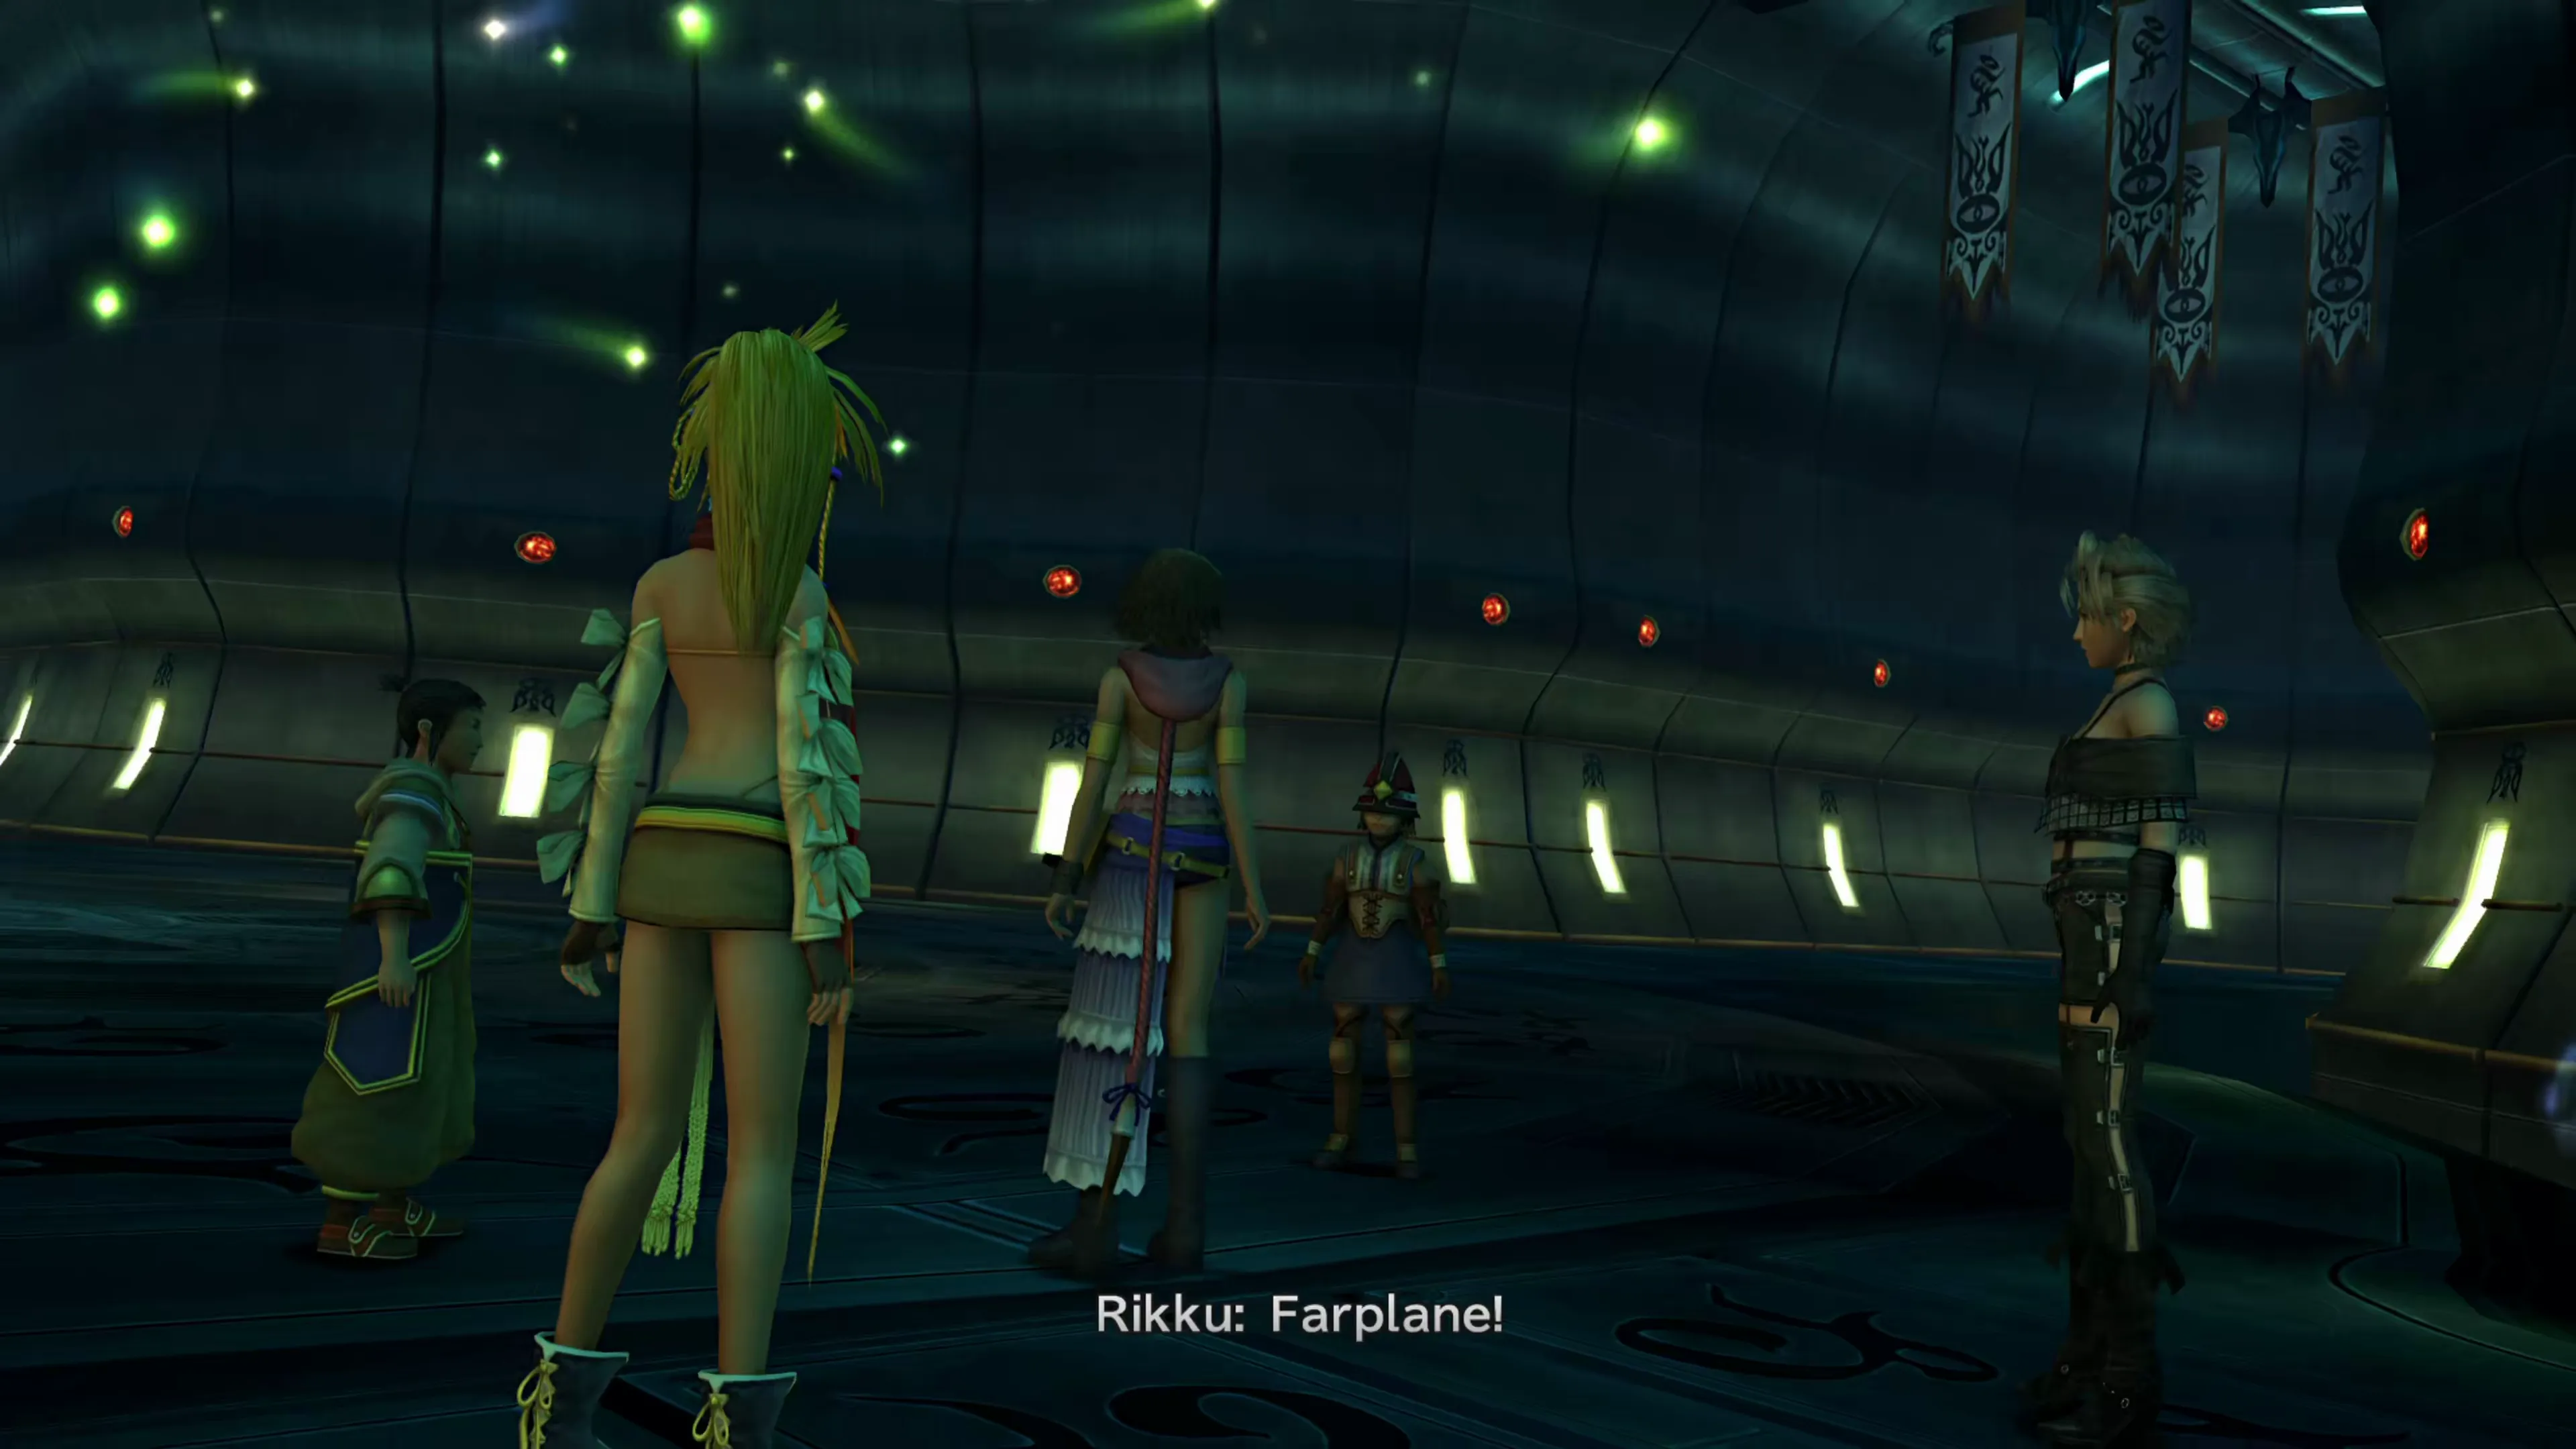
After the battle against Aranea, Yuna, Rikku, and Paine have an encounter with Maester Kinoc, and Paine says his name during the cutscene. You also receive Crimson Record 8, which you can watch now or back on the Celsius.
Warp back to the surface, then use the Save Sphere to return to the Celsius. Before your next stop, watch both new spheres with Shinra, which appear as Crimson Records 6 and 8 in the “Treasure Spheres” menu. Each viewing counts toward Story Completion. Your next destination is Mushroom Rock Road.
Checking the “Bevelle Complete” box adds the Story Completion Percent for the automatic scenes in Bevelle.