

Bikanel Desert
As soon as you land, Nhadala and Benzo will approach the team to let them know that fiends have begun attacking Cactuar Nation. Before you can do anything here in the Bikanel Desert, you’ll need to head out to save Marnela and the other Cactuars. She’ll describe how the team needs to raise a magical barrier by finding the “Ten Gatekeepers.”
If you’ve been following the guide up to this point, you’ll have already captured 6 of the Cactuars that make up the Ten Gatekeepers that Marnela is referring to. Either way, though, it’s time to finish the side quest and track down all 10 of them. Use the link below to go to the Cactuar Nation page in the Side Quest section of the guide:
Side Quests
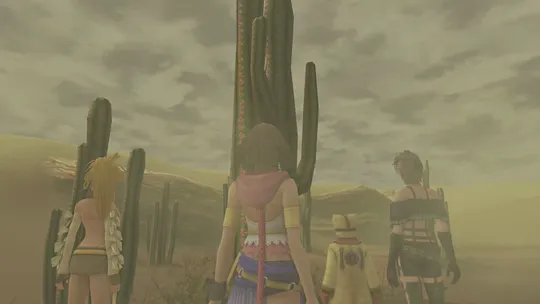
Completing the “Cactuar Connection” Mission to locate ‘ten gatekeepers,’ Cactuars who have hidden themselves throughout Spira.
After you’ve captured the last Cactuar, Frailea, and defeated Jumbo Cactuar, exit “Cactuar Hollow” for another cutscene outside of the dungeon back in the Cactuar Nation Area.
Mission: Showdown in the Sands
After the Mission initiation message pops up, you’ll have the opportunity to return to the Celsius to ‘gear up.’ You can make the upcoming boss battle a bit easier by protecting your characters against  Poison,
  Silence, and
  Darkness. Equipping a character with the
  Ribbon accessory will help a lot. You may want to equip a character with Shmooth Shailing even though it slows their attacks down.
 Dark Knights do really well during this fight, and recall that your Dark Knights may already have
  Poisonproof learned. They’ll be relying on their
  Darkness ability, which will not be impacted by Silence or Darkness, so save your Ribbon for whichever character you plan to have healing.
The battle begins as soon as you select the Bikanel Desert location from the world map.
Boss Battle
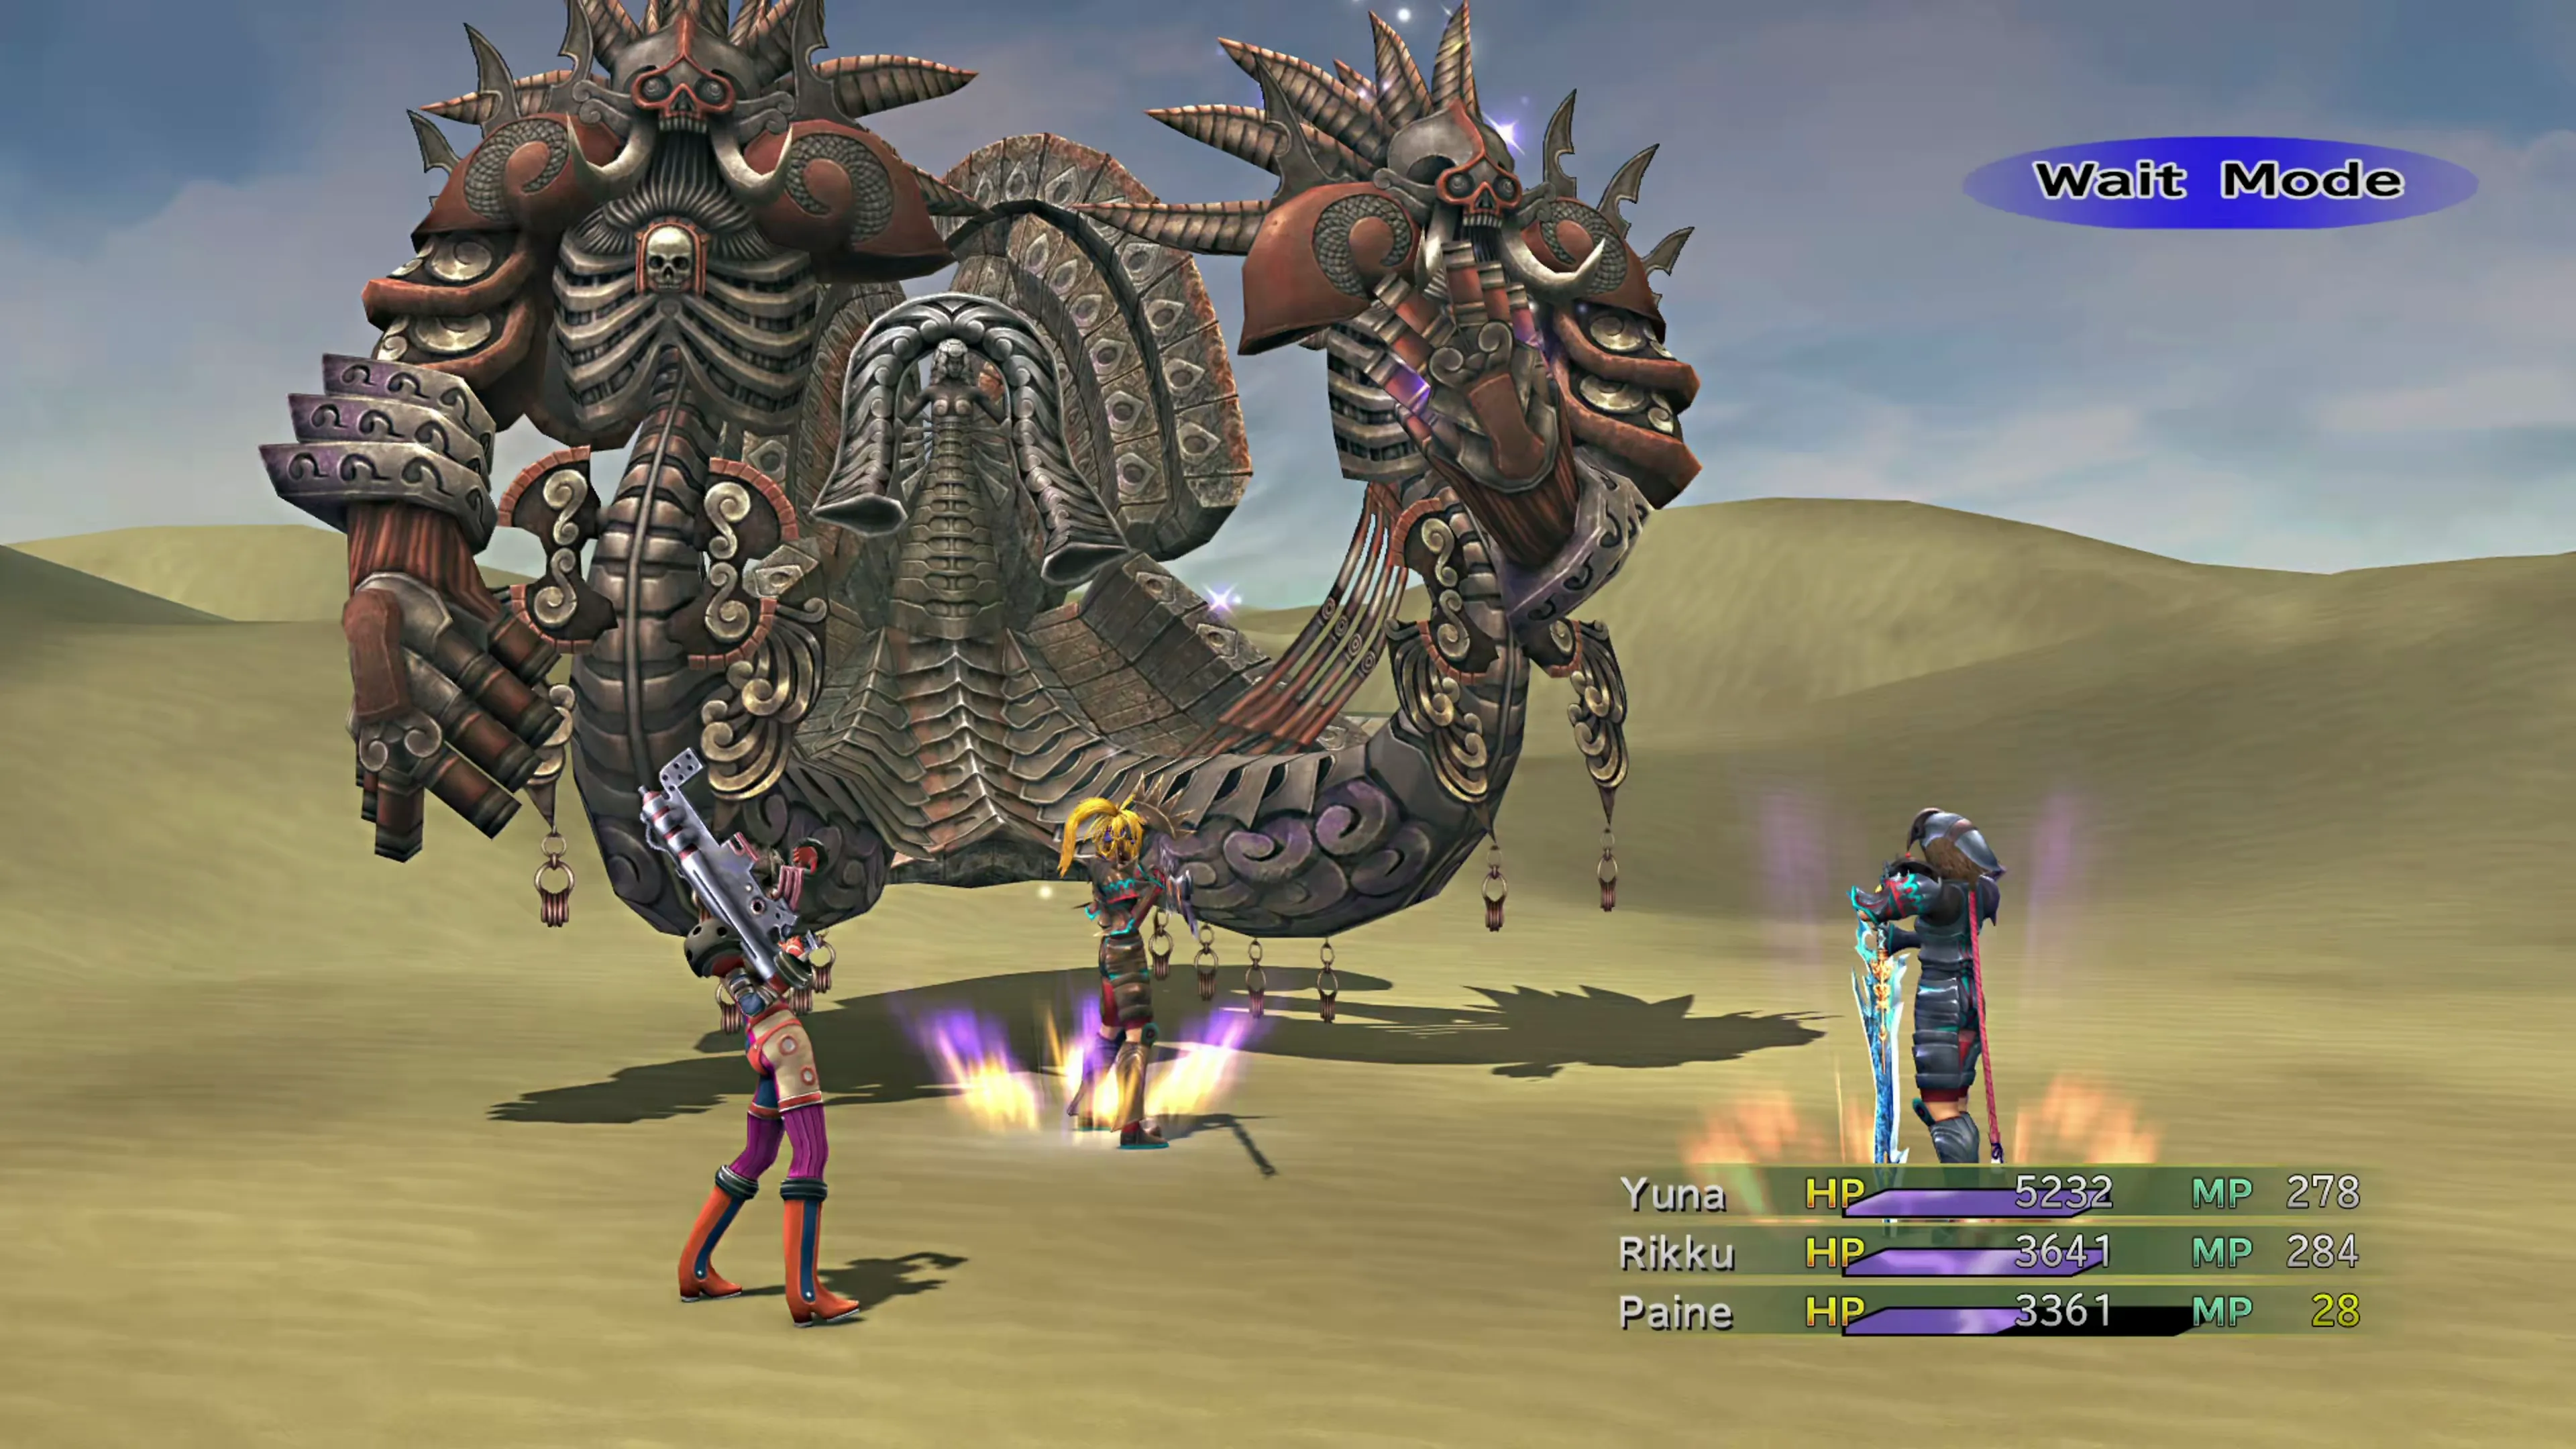
This is one of the more challenging boss battles you’ll have faced so far if you don’t come in with a strategy. This fight has three targets: Angra Mainyu (the main body) and its left and right arms (Zarich/Tawrich). They will use the following attacks:
Angra Mainyu:
- “Perdition’s Flame” hits 10 times at random, with each attack dealing 18.75% of HP
- “Demi” deals damage equal to 25% of current HP
- “Flare” deals non-elemental damage to one target
- “Osmose” drains MP
- “Curaga” is used to heal left/right arms (Zarich/Tawrich)
- “Full-Life” revives a KO’d arm
- “Dispel” is used when the party uses
 Reflect
Its attacks follow the same pattern every time. If it’s low on MP, it uses Osmose. If the arms are KO’d, it will revive them. If 15 turns have passed, it will use “Perdition’s Flame.” And if none of those conditions are true, it has a 40% chance of casting Demi, a 20% chance of casting Flare, a 20% chance of casting “Perdition’s Flame,” and a 20% chance of casting Curaga on one of its arms. It’ll also start by using “Perdition’s Flame” at the beginning of the fight, and again 7 turns later.
Zarich (the left arm) will use “Glimmer of Despair,” which reduces all party members’ stats. It will also use elemental magic from time to time. Tawrich, on the other hand, will use “Punch,” which deals standard physical damage, and “Bloody Breath,” which is the attack that inflicts all of the negative statuses ( Confusion, Silence, Darkness, and Poison).
Whichever party member you have assigned to healing, either as an  Alchemist using
  Mega-Potions or a
  White Mage casting
  Curaga, you’ll need to have them focused on healing the whole fight and ready to heal up any low-HP party members after “Perdition’s Flame” is cast.
There are two strategies you can use to make this fight much easier:
- Have one of your party members in a healing role while the other two make use of their Dark Knight Dresspheres. These two Dark Knights will take less damage on account of their high defensive attributes, but they can also use their Darkness ability to really lay on the damage. This attack does hurt the Dark Knight who uses it, but it hits all enemies for a high amount of damage, so use it over and over again to take the two arms more quickly and keep the body focused on reviving/healing them. Zarich is immune to physical damage, and Tawrich is immune to magic damage, meaning that Darkness is one of the few abilities that can damage all three targets at the same time (it deals “special damage”).
- Drain Angra Mainyu’s MP and keep your party member’s MP low as well. This strategy works well if you’re using Dark Knights and an Alchemist because they don’t rely on MP, but you can start off having one character drain MP first. Here are the options:
You can use these same abilities to drain your own party member’s MP as well to speed up the process. Once Angra Mainyu is out of MP, it will only use its “Osmose” ability, and if your party members have no MP for it to absorb, it’ll get stuck in an endless loop, greatly reducing the amount of damage dealt.
 Gunner
 Target MP
 Samurai
 Magicide
 Thief
Thief Pilfer MP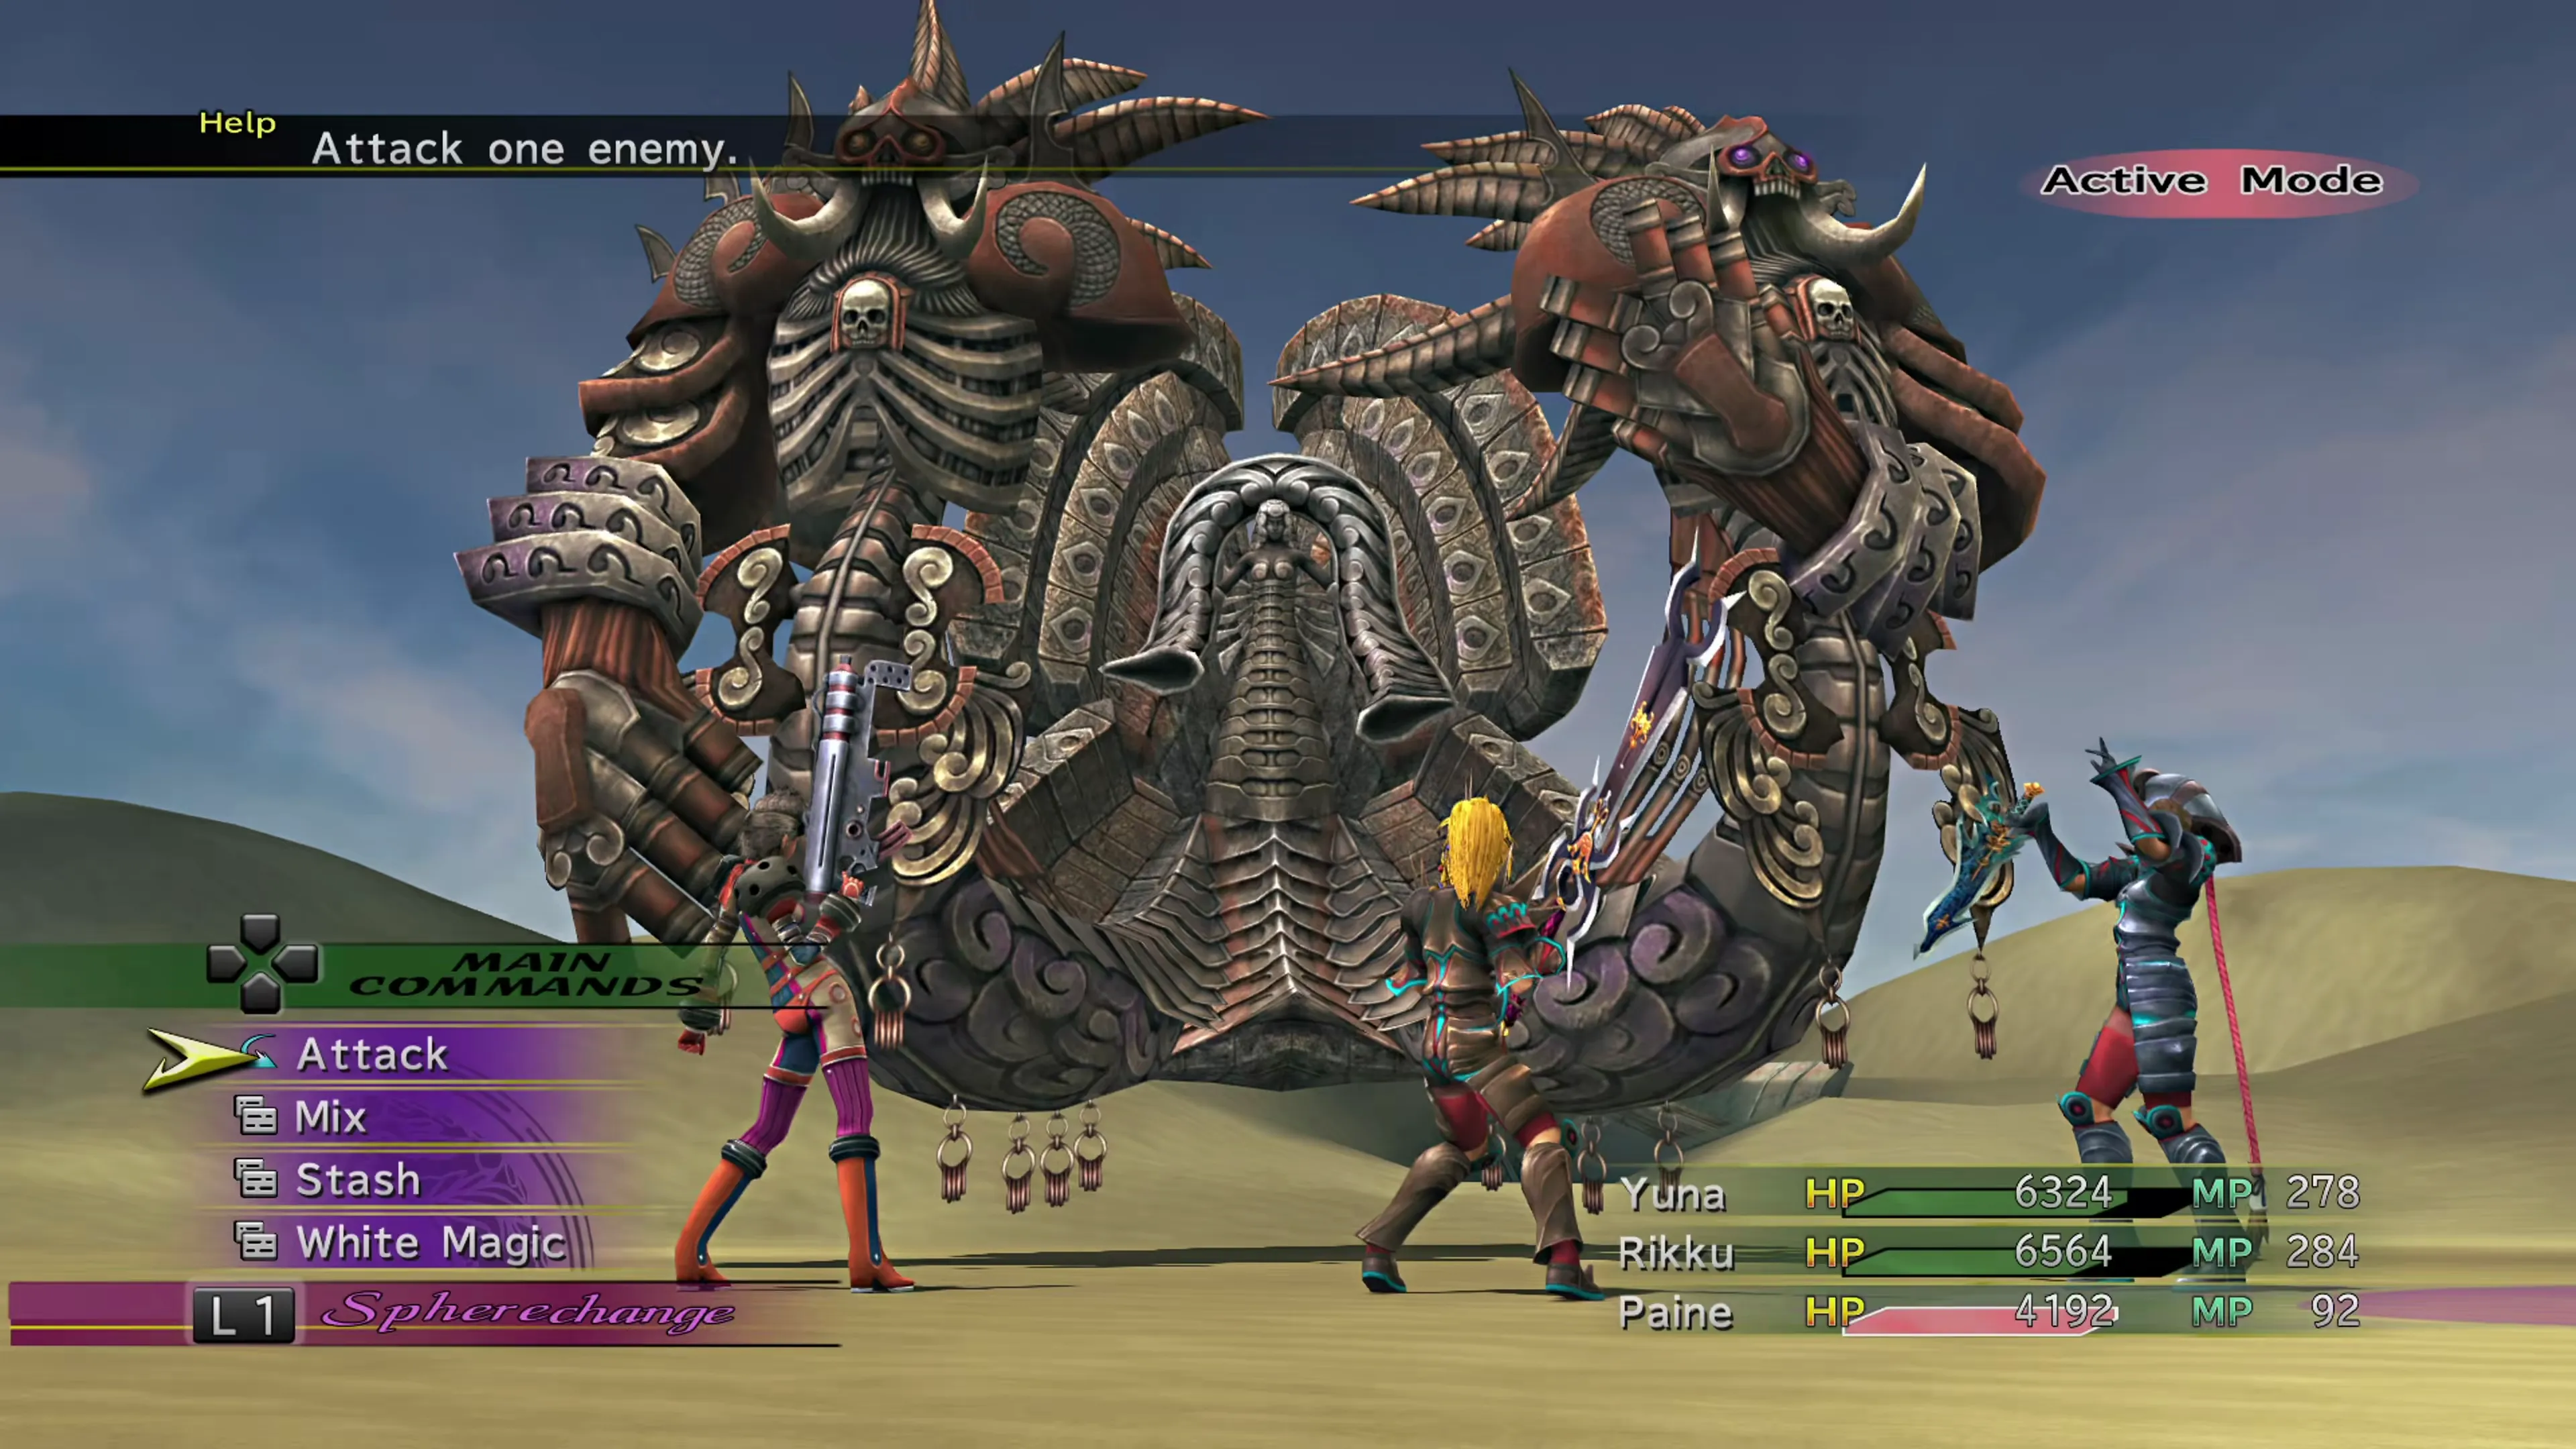
Defeating the boss also concludes the Mission. That’s all there is to it!… For the boss fight, that is. There’s still some digging you’ll need to do in Bikanel Desert, though, so head back down there after you get transported back up to the Celsius.
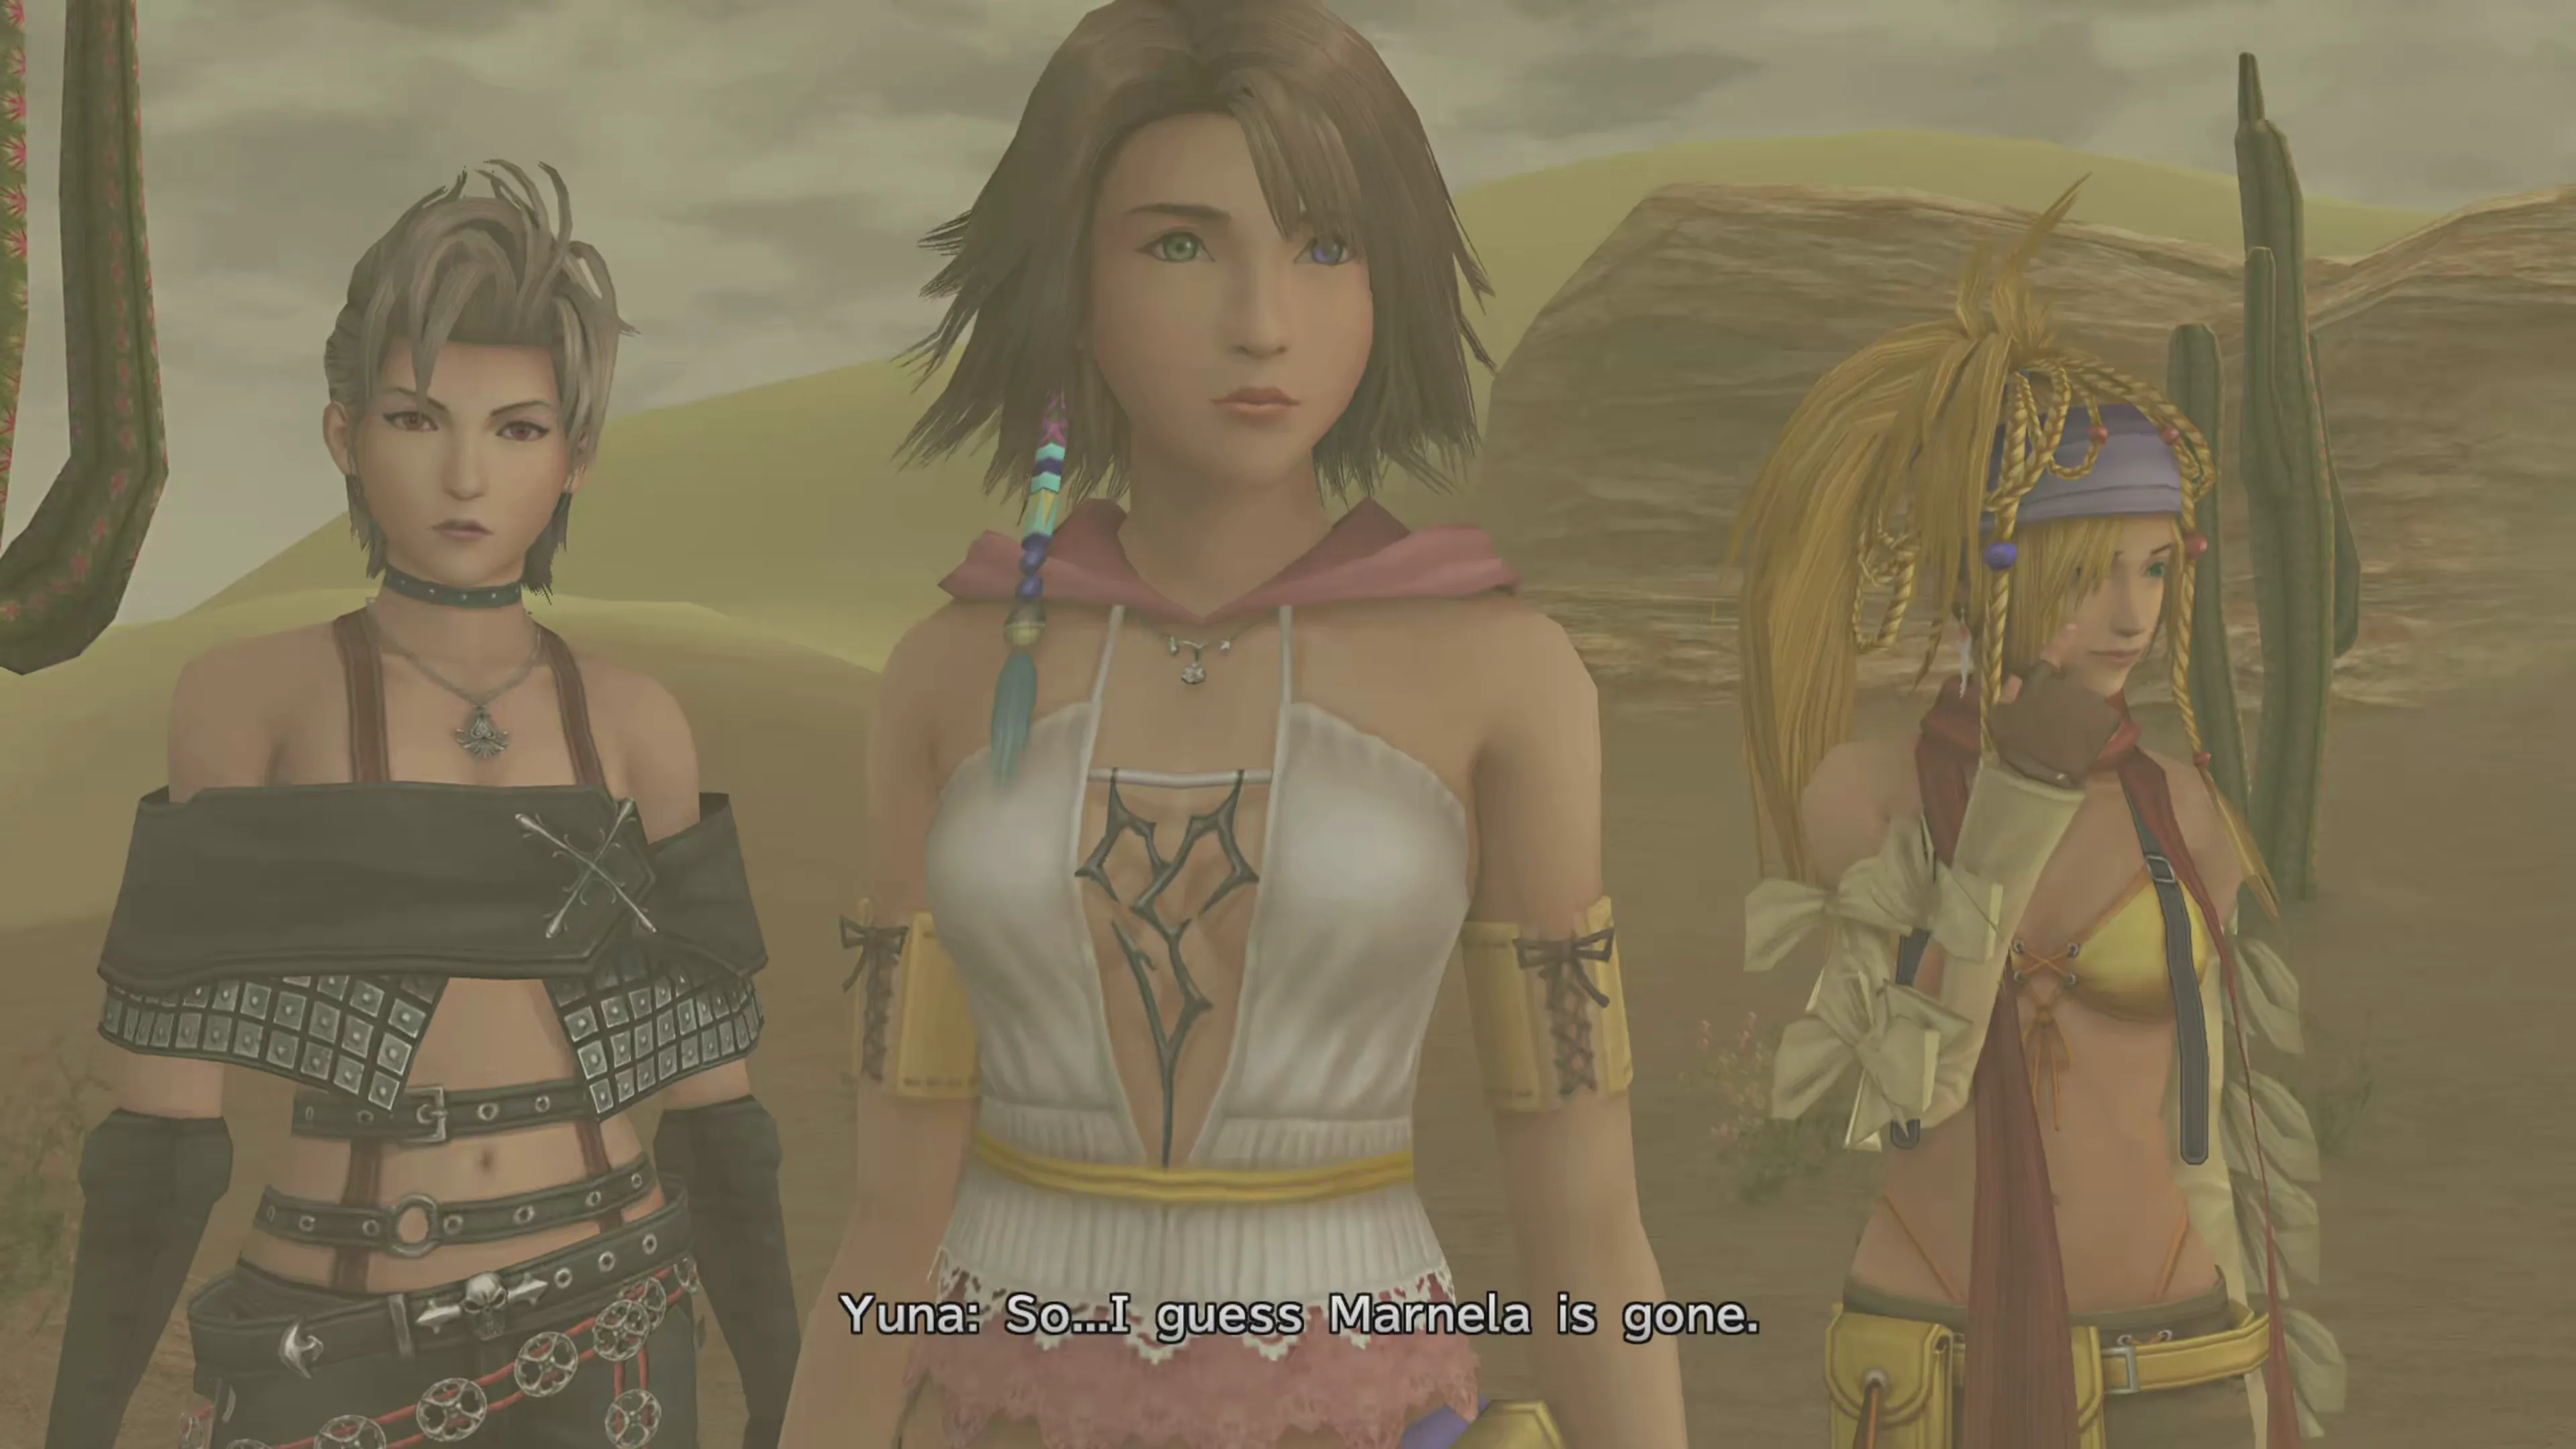
Return to Cactuar Nation before heading out to excavate. A short scene plays on its own as soon as you arrive.
Head back over to the hover and use it to return to the Excavation Camp.
Bikanel Excavations
Now that you’ve reached Chapter 5, you should have experienced the digging/excavation mini-game out in the Bikanel Desert at least one time (or, ideally, just the one time that you needed to dig to complete the Mission here) back in the first chapter of the game. As a refresher, the steps for digging are very straightforward:
- A
 marks the key item you want to dig up. Your dig is only considered successful if you get the yellow item.
 - A
 marks a regular item; this could include Gil, Potions, Sphere Break coins, and even
  Al Bhed Primers
 - The
 marks the hover; make it back to the hover before time expires, and you win!
This time, though, you’re hunting specifically for “Assembly” pieces instead of the  Scrap Metal piece that you found last time. The Assembly pieces are marked by the yellow “X” and are used to upgrade Experiment back in Djose Temple.
Helpful Hint
The fully-leveled Experiment is the only enemy in the game that uses “Annihilator,” which makes the rematch your only chance to teach it to your  Gun Mages. Bring one to the second battle and keep them alive through the attack; once the Episode is complete, Experiment can never be fought again.
Warning
This page describes leveling up Experiment for what should be your second battle against it. If you haven’t fought Experiment yet, make sure you turn to the previous page (Djose Temple) and follow the steps there; otherwise, you could lose out on 100% Story Completion requirements.
While digging in the desert, you’ll find “Attack Assembly”, “Defense Assembly”, and “Special Assembly” items, and these items will have a letter at the end of them (for example, “Attack Assembly Z”). The letter denotes how many points the Assembly is worth according to the following chart:
| Assembly Type | Points |
|---|---|
| Attack Assembly A Defense Assembly A Special Assembly A | 1 |
| Attack Assembly S Defense Assembly S Special Assembly S | 3 |
| Attack Assembly Z Defense Assembly Z Special Assembly Z | 5 |
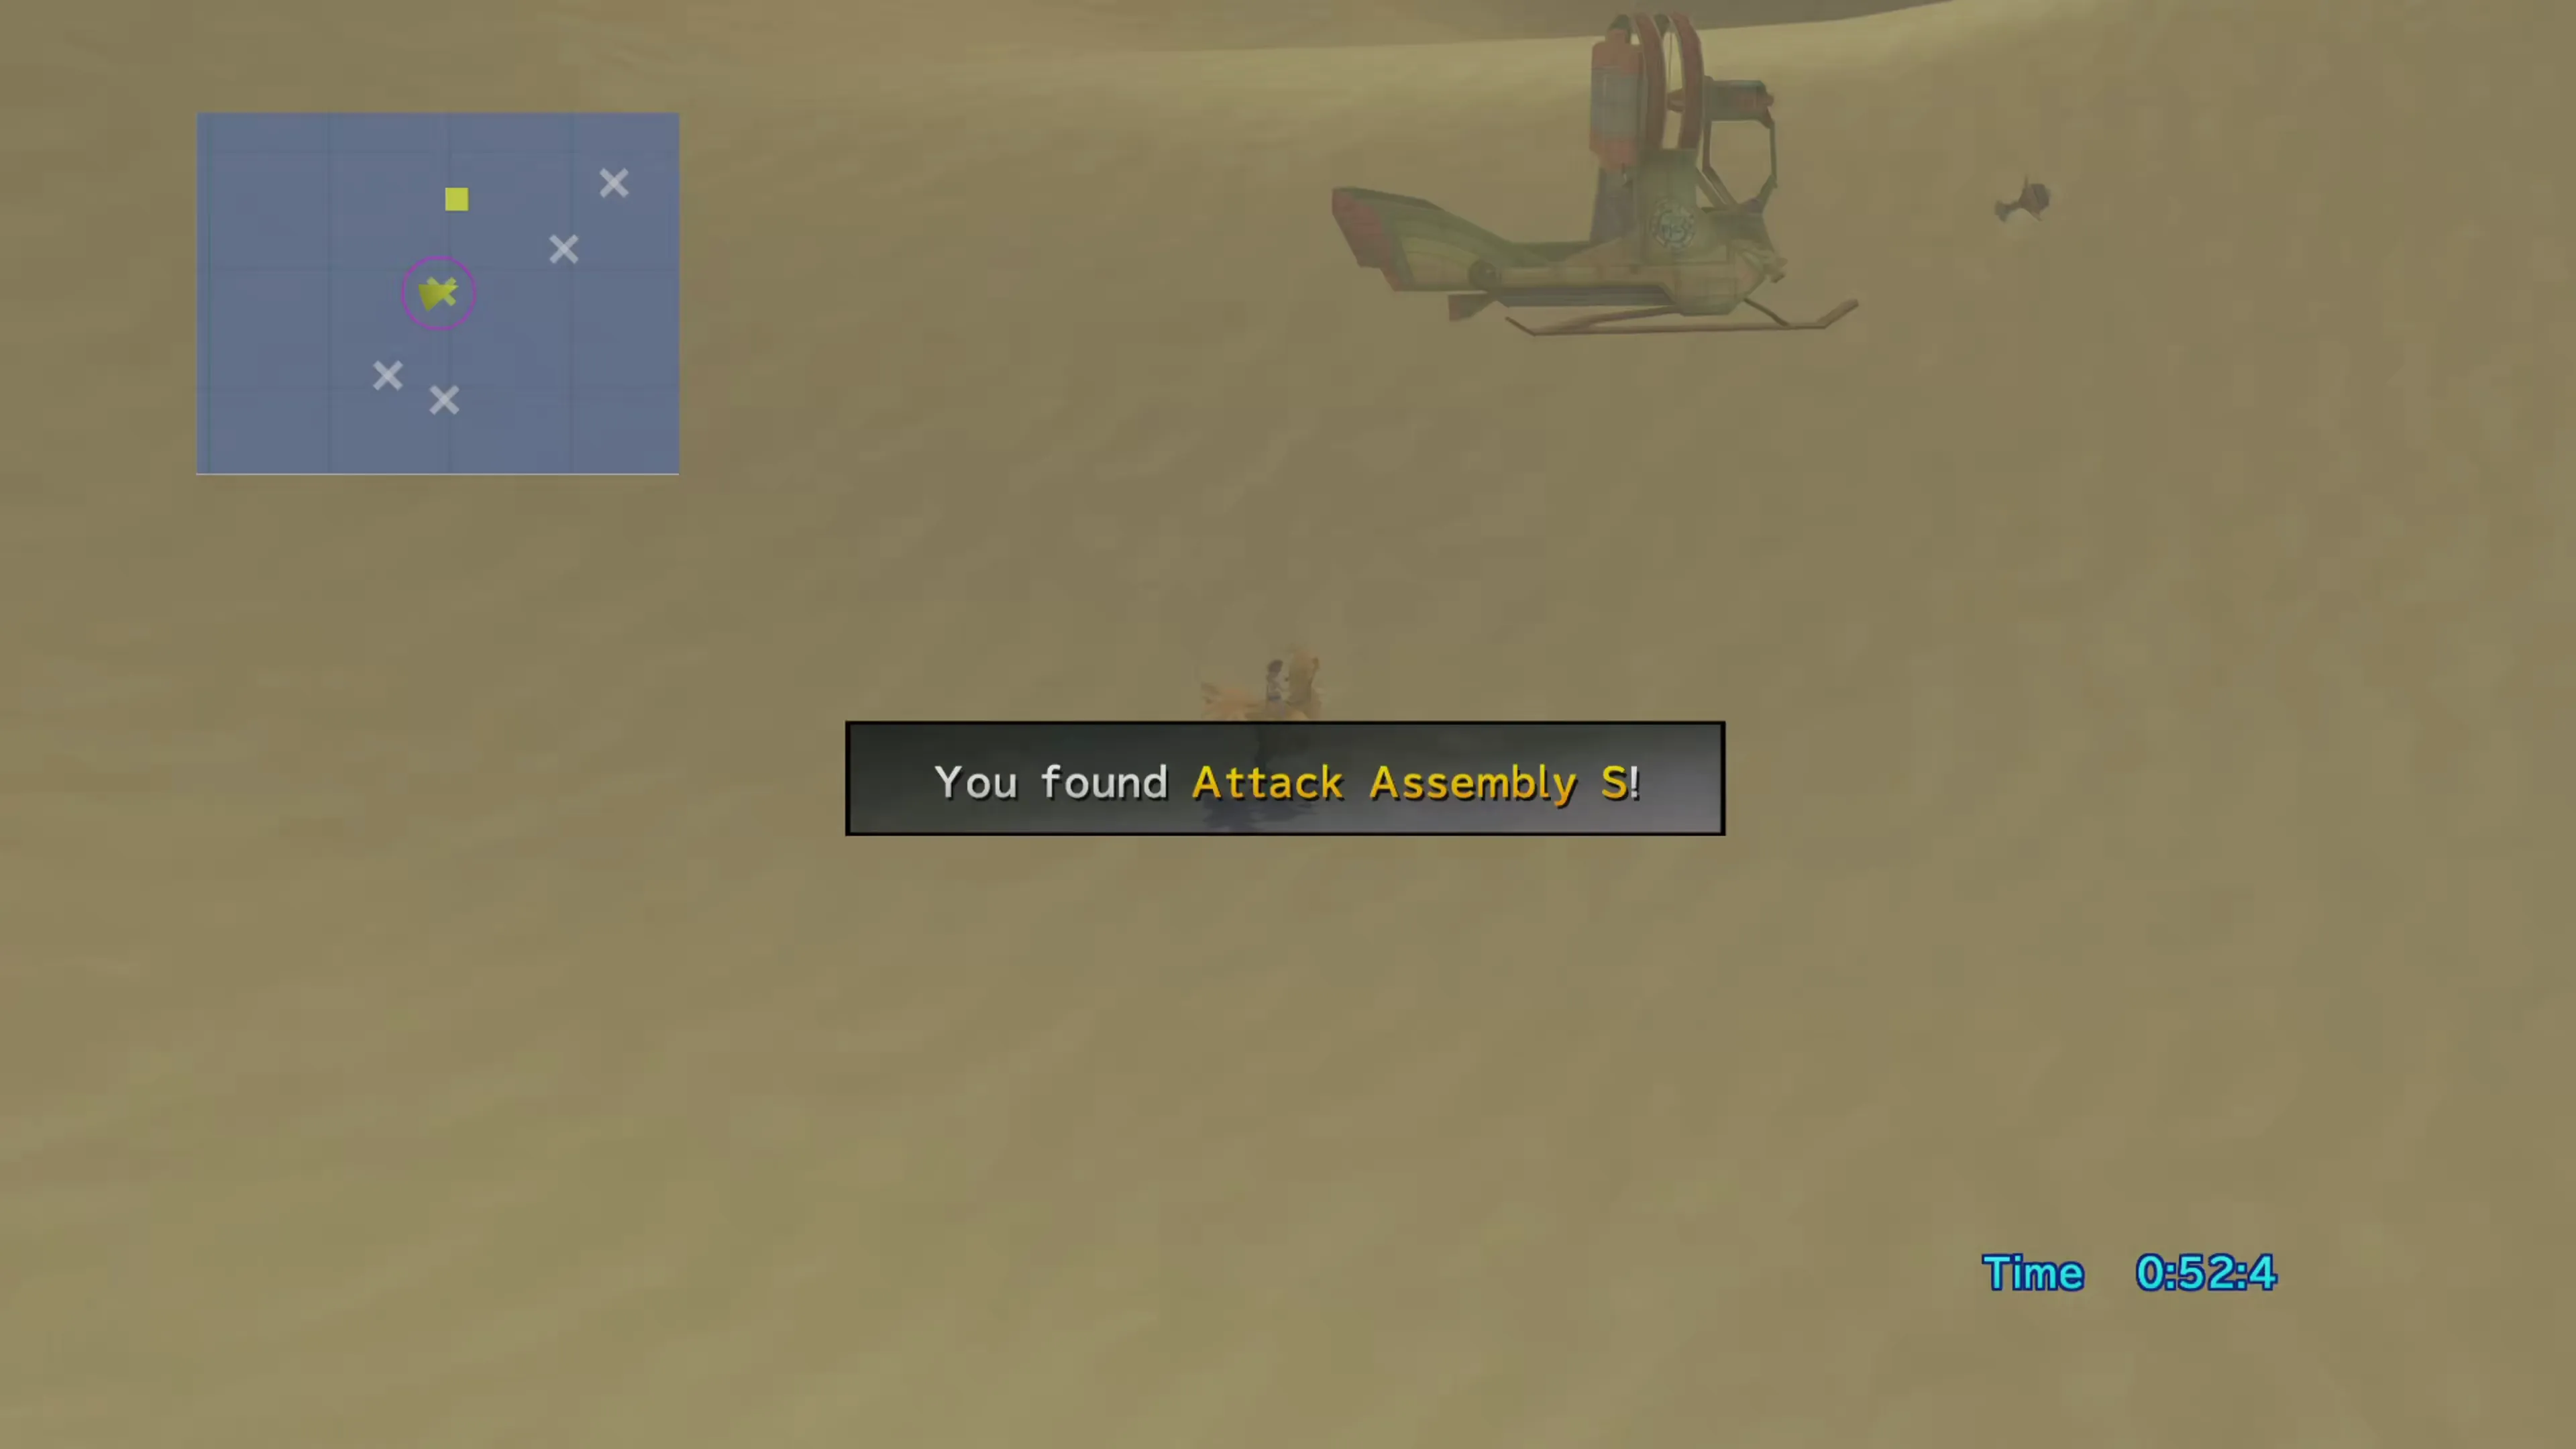
The more points you get for attack, defense, and special stats, the more quickly you can level up Experiment. You’ll need a total of 38 or more points to level up Experiment to its maximum level of 5, according to the following chart:
| Total Points | Experiment’s Level |
|---|---|
| 0 to 3 | 1 |
| 4 to 9 | 2 |
| 10 to 19 | 3 |
| 20 to 37 | 4 |
| 38 or more | 5 |
So that means you’ll need to collect Special Assembly A/Special Assembly S/Special Assembly Z until your total “Special Assembly” points are 38 or higher. Unfortunately, you have no control over what type of Assembly you dig up; it’ll randomly be an Attack, Defense, or Special, and the letter (A/S/Z) is random too.
You will have a higher likelihood of finding Attack Assemblies in the Western Expanse, Defense Assemblies in the Southern Expanse, and Special Assemblies in the Eastern/Northern/Central Expanse. Still, you can get all the Assembly parts you need anywhere… so which should you pick?
If you sent a Chocobo to Bikanel Desert during the Chocobo Ranch side quest, you should be able to visit the “Central Expanse.” The benefit of going to this location is that you can ride around on a Chocobo to search the area. This both prevents enemy encounters and lets you get around much faster. That said, if you want to dig at the other locations, equip a  Charm Bangle, as you can prevent encounters that way as well.
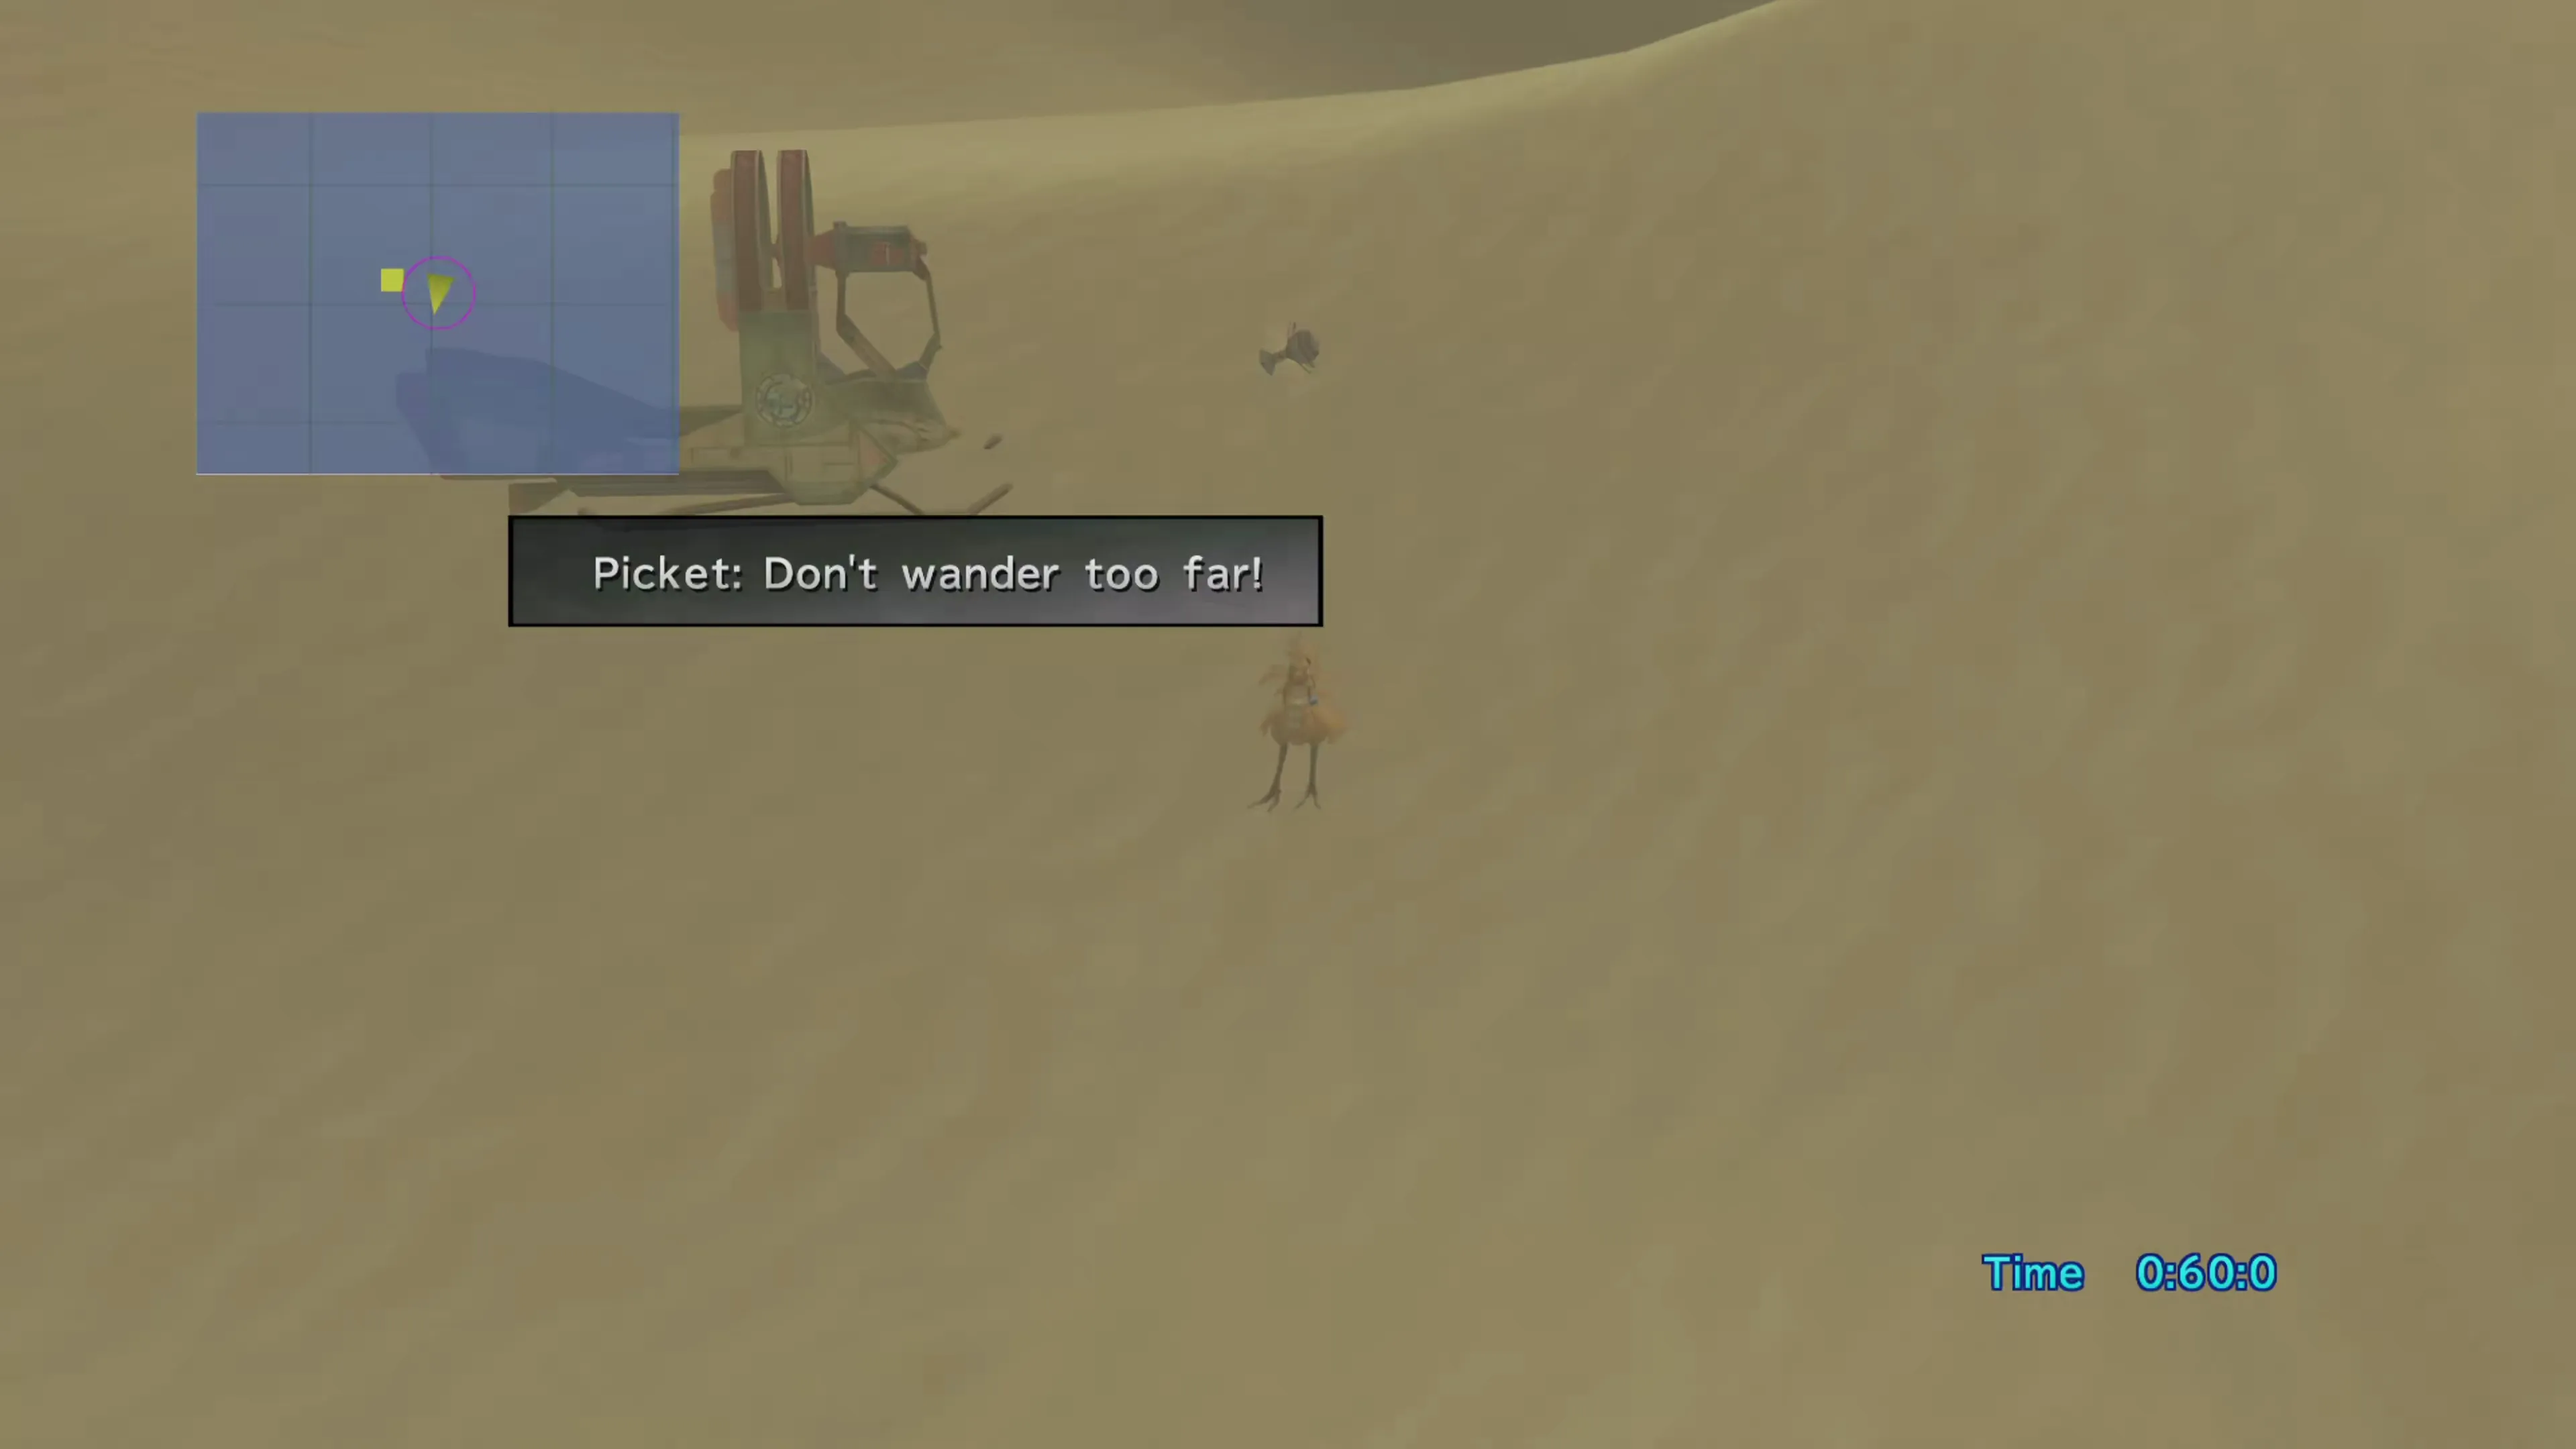
Keep track of the assemblies as you dig them up. They’re not stored in your inventory, so if you’ve lost count, the only way to know what level Experiment is at is to go back to Djose Temple and check. Once you’ve leveled Experiment up to “Attack Lv. 5,” “Defense Lv. 5,” and “Special Lv. 5,” head back to Djose Temple using the link below to challenge Experiment one more time:
Walkthrough
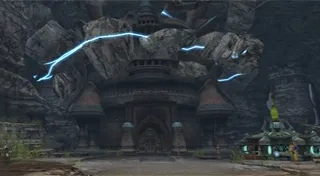
Return to the Djose Temple to review the strategies for defeating Experiment. This battle will be much more challenging now that it is fully leveled up.
Achievement/Trophy
Defeating Experiment at its maximum level (“Attack Lv. 5,” “Defense Lv. 5,” and “Special Lv. 5”) will earn you the Magical Dances, Vol. II item, which will also earn you the  Dancing Queen achievement/trophy.

This completes the Episodes at both Djose Temple and Bikanel Desert. The next destination is Bevelle.
Checking the “Bikanel Desert Complete” box adds the Story Completion Percent for the automatic scenes in Bikanel Desert.