

Djose Temple
Grab the treasure chest outside the temple and then head inside.
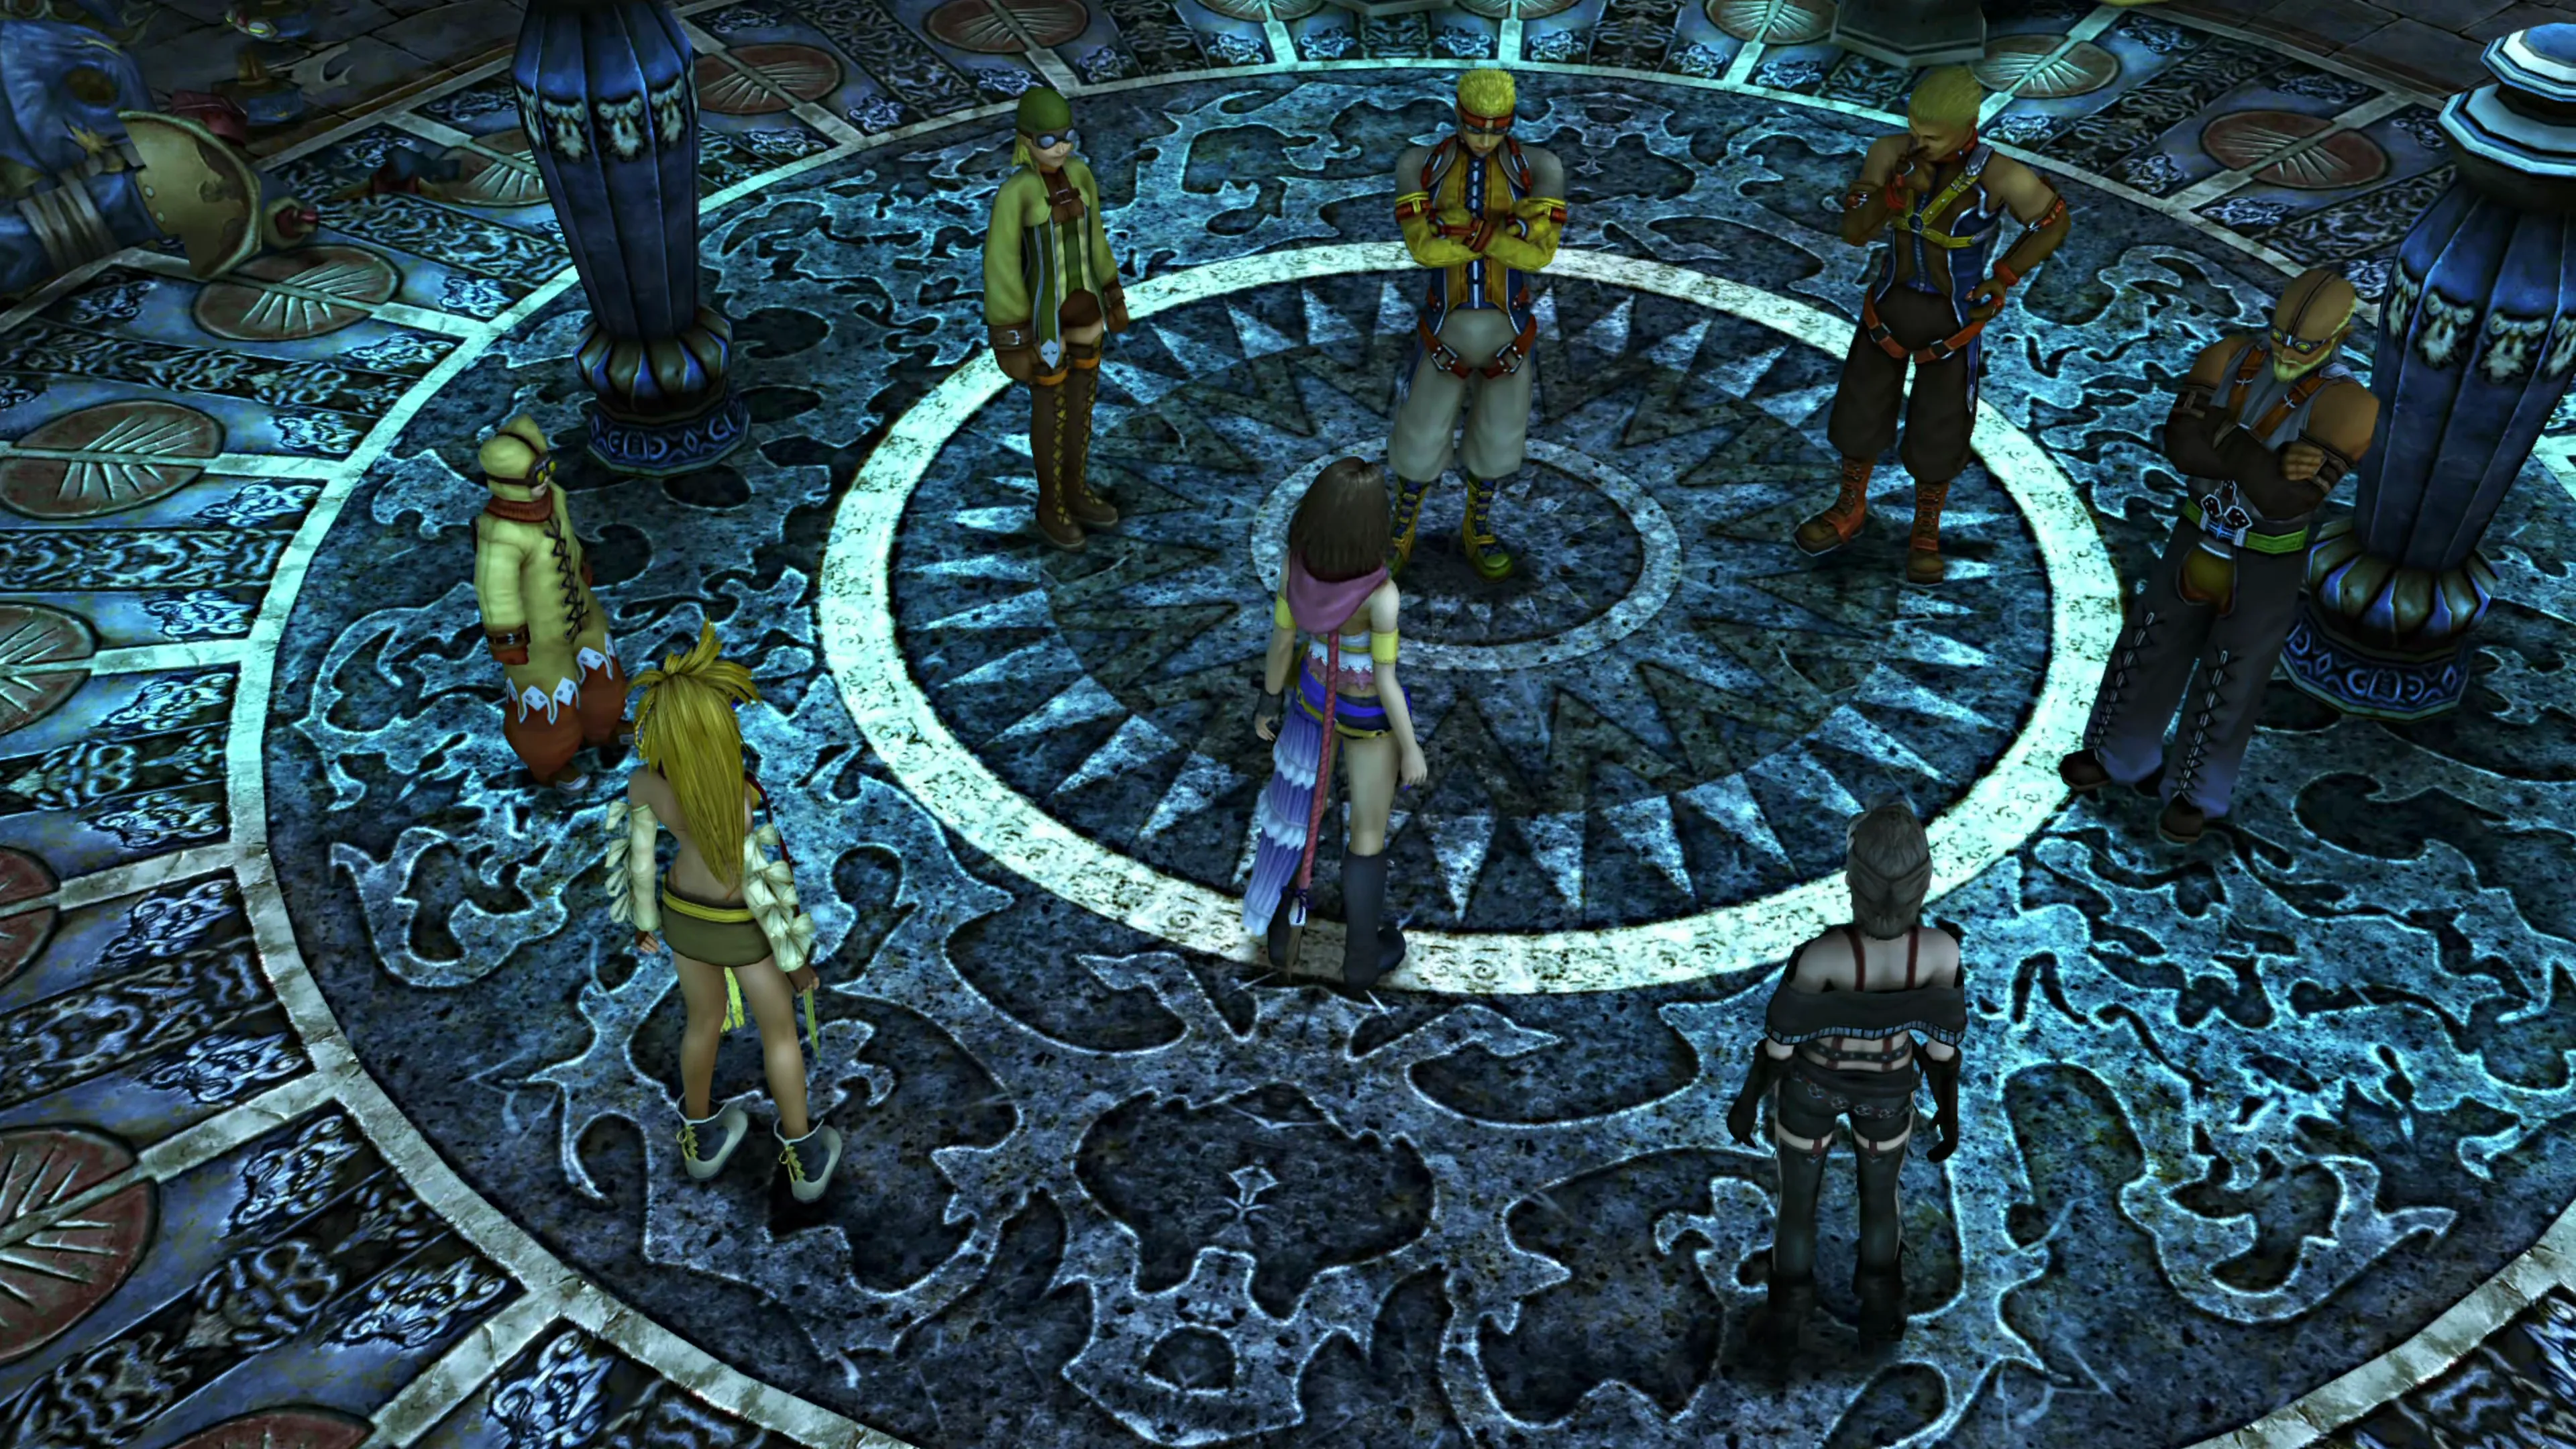
A cutscene will begin as soon as you enter. The Al Bhed inside will tell you about the new “superweapon” they’ve built, and they dare Yuna and her team to take it on. The superweapon is called “The Experiment,” and its power level increases depending on how many assemblies you dug up out in the Bikanel Desert.

Paine has a line of dialogue that she will only say if you defeat Experiment before it has reached its maximum levels of “Attack Lv. 5,” “Defense Lv. 5,” and “Special Lv. 5,” and this line is required for 100% Story Completion.
She and Rikku also have lines of dialogue that they will say after defeating the maximum-level Experiment, so the plan of action is simple. Defeat Experiment once first at lower levels, then complete the digs out at Bikanel Desert, and then come back and beat Experiment one more time at maximum level.
At present, Experiment should be at low levels, or even its lowest levels (“Attack Lv. 1,” “Defense Lv. 1,” “Special Lv. 1”), which means this next Mission should be pretty easy.
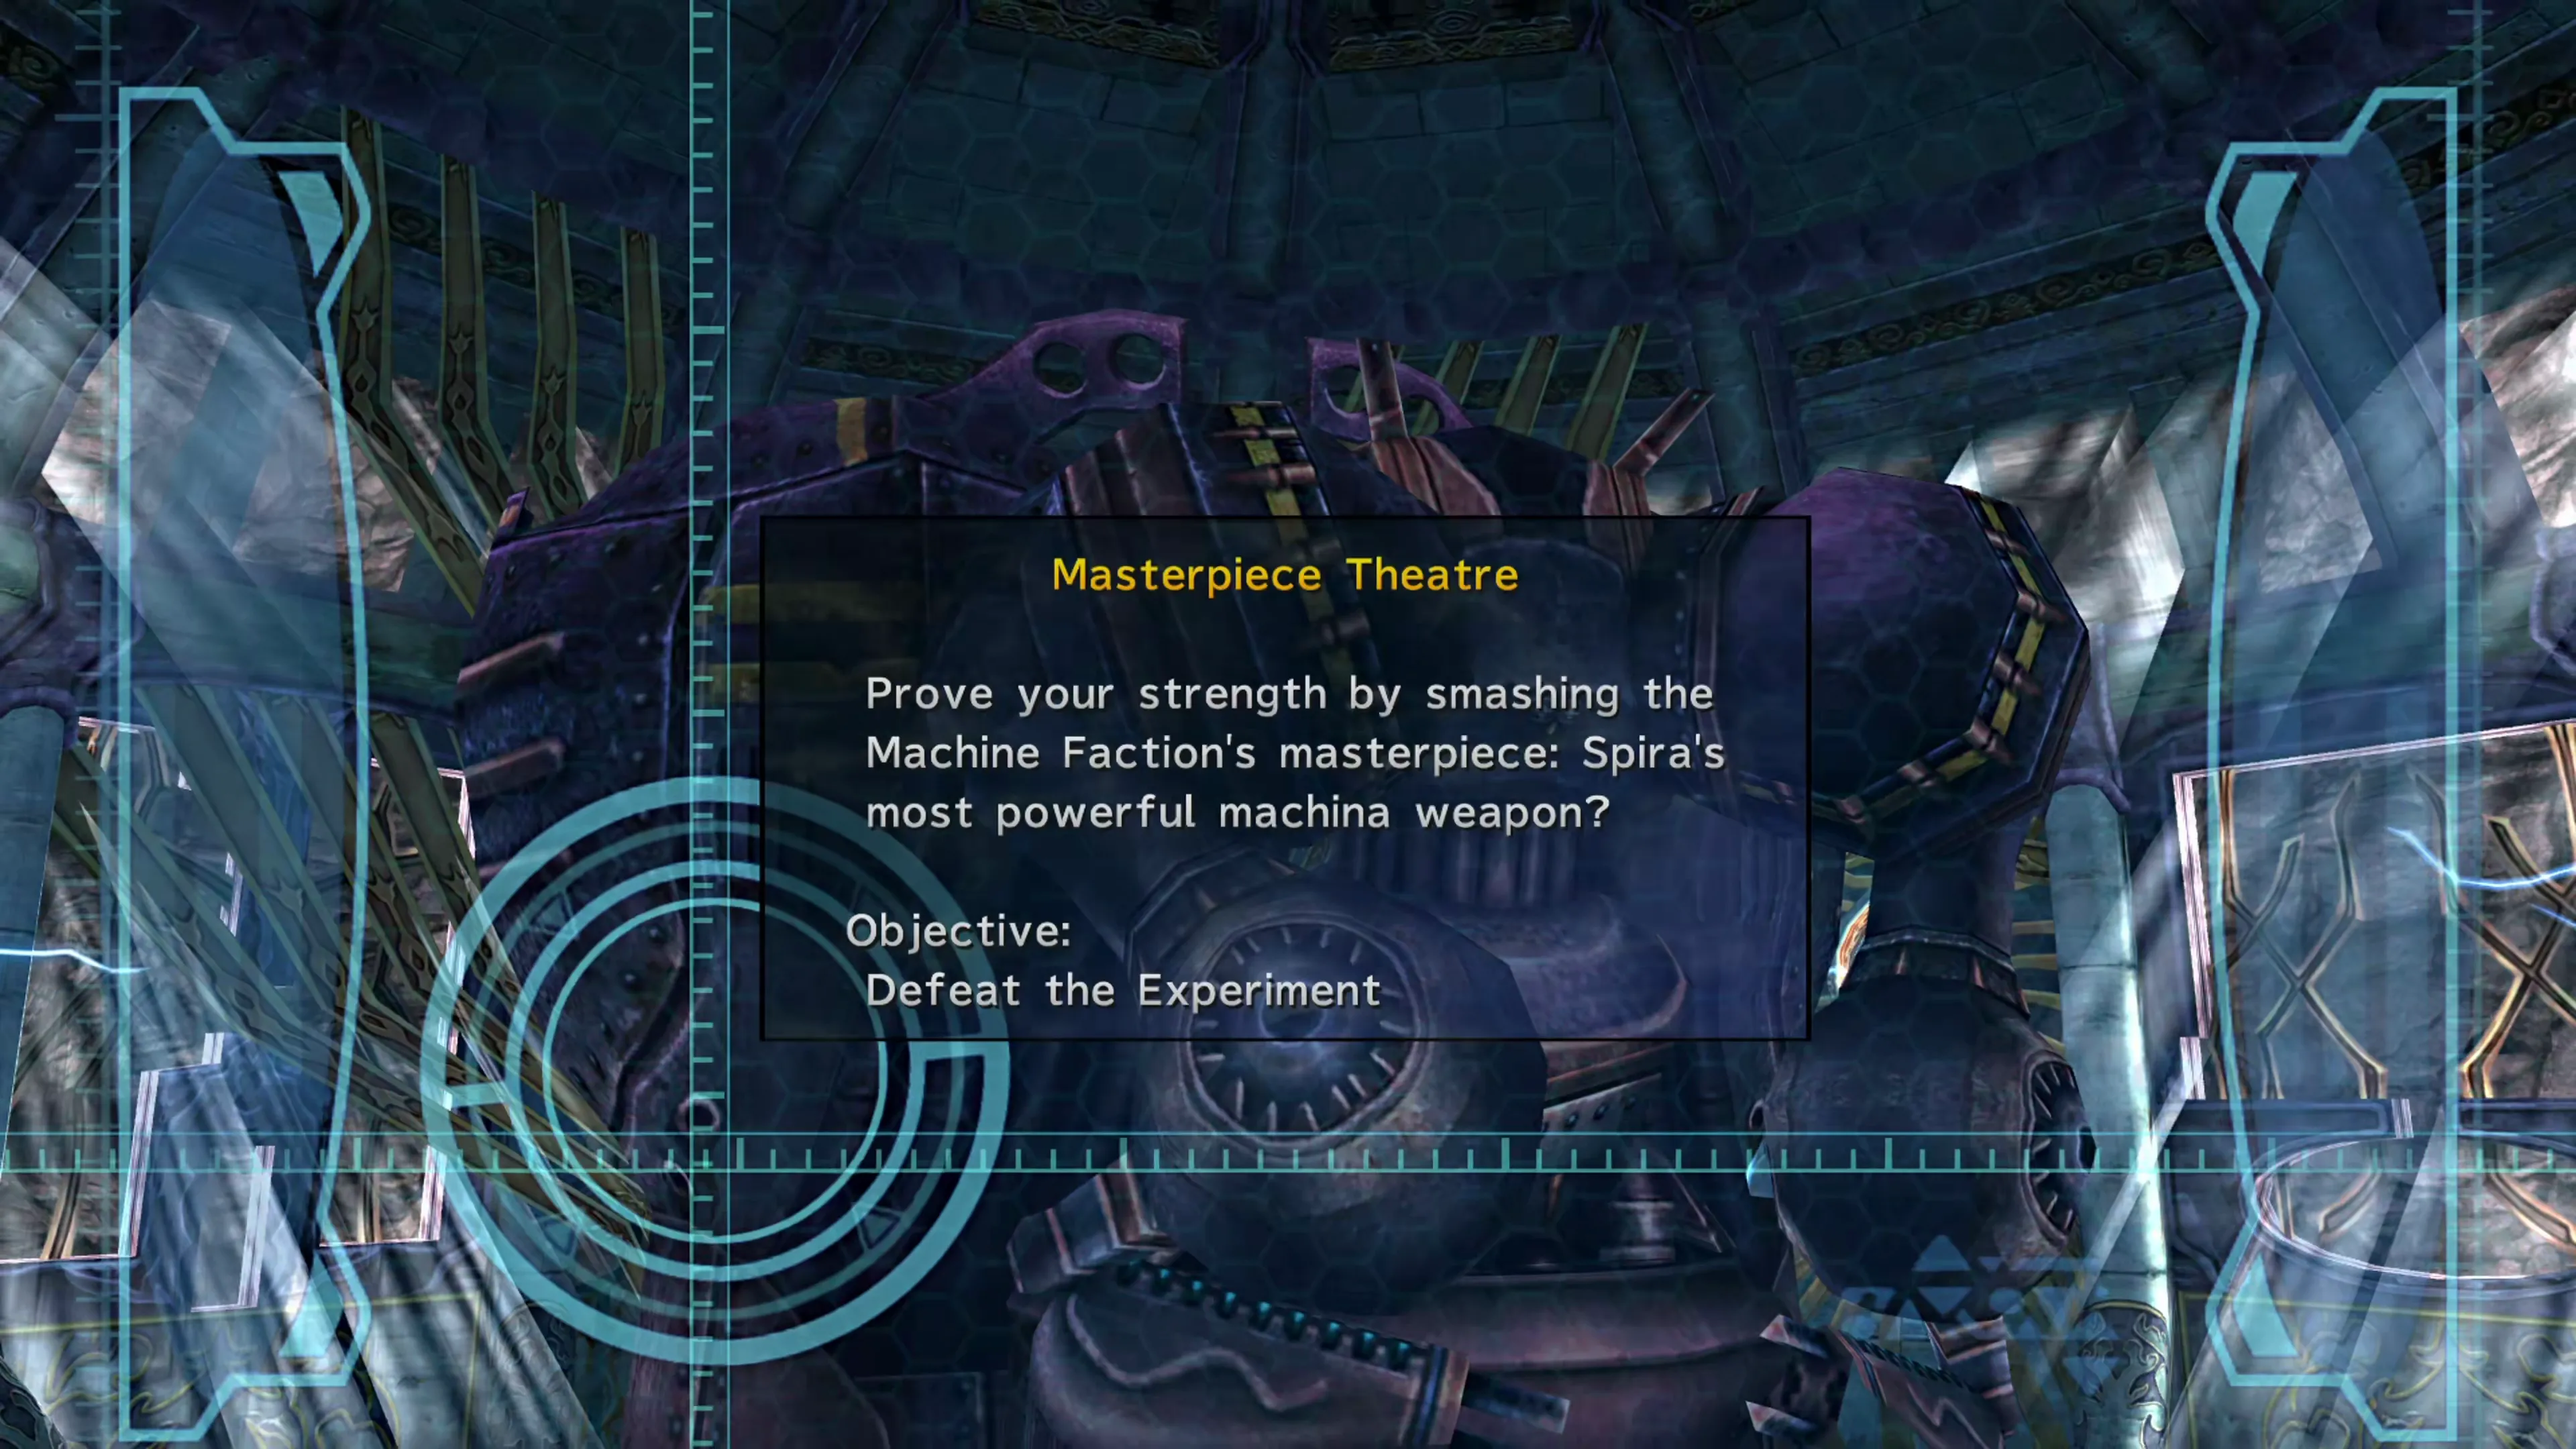
Mission: Masterpiece Theatre
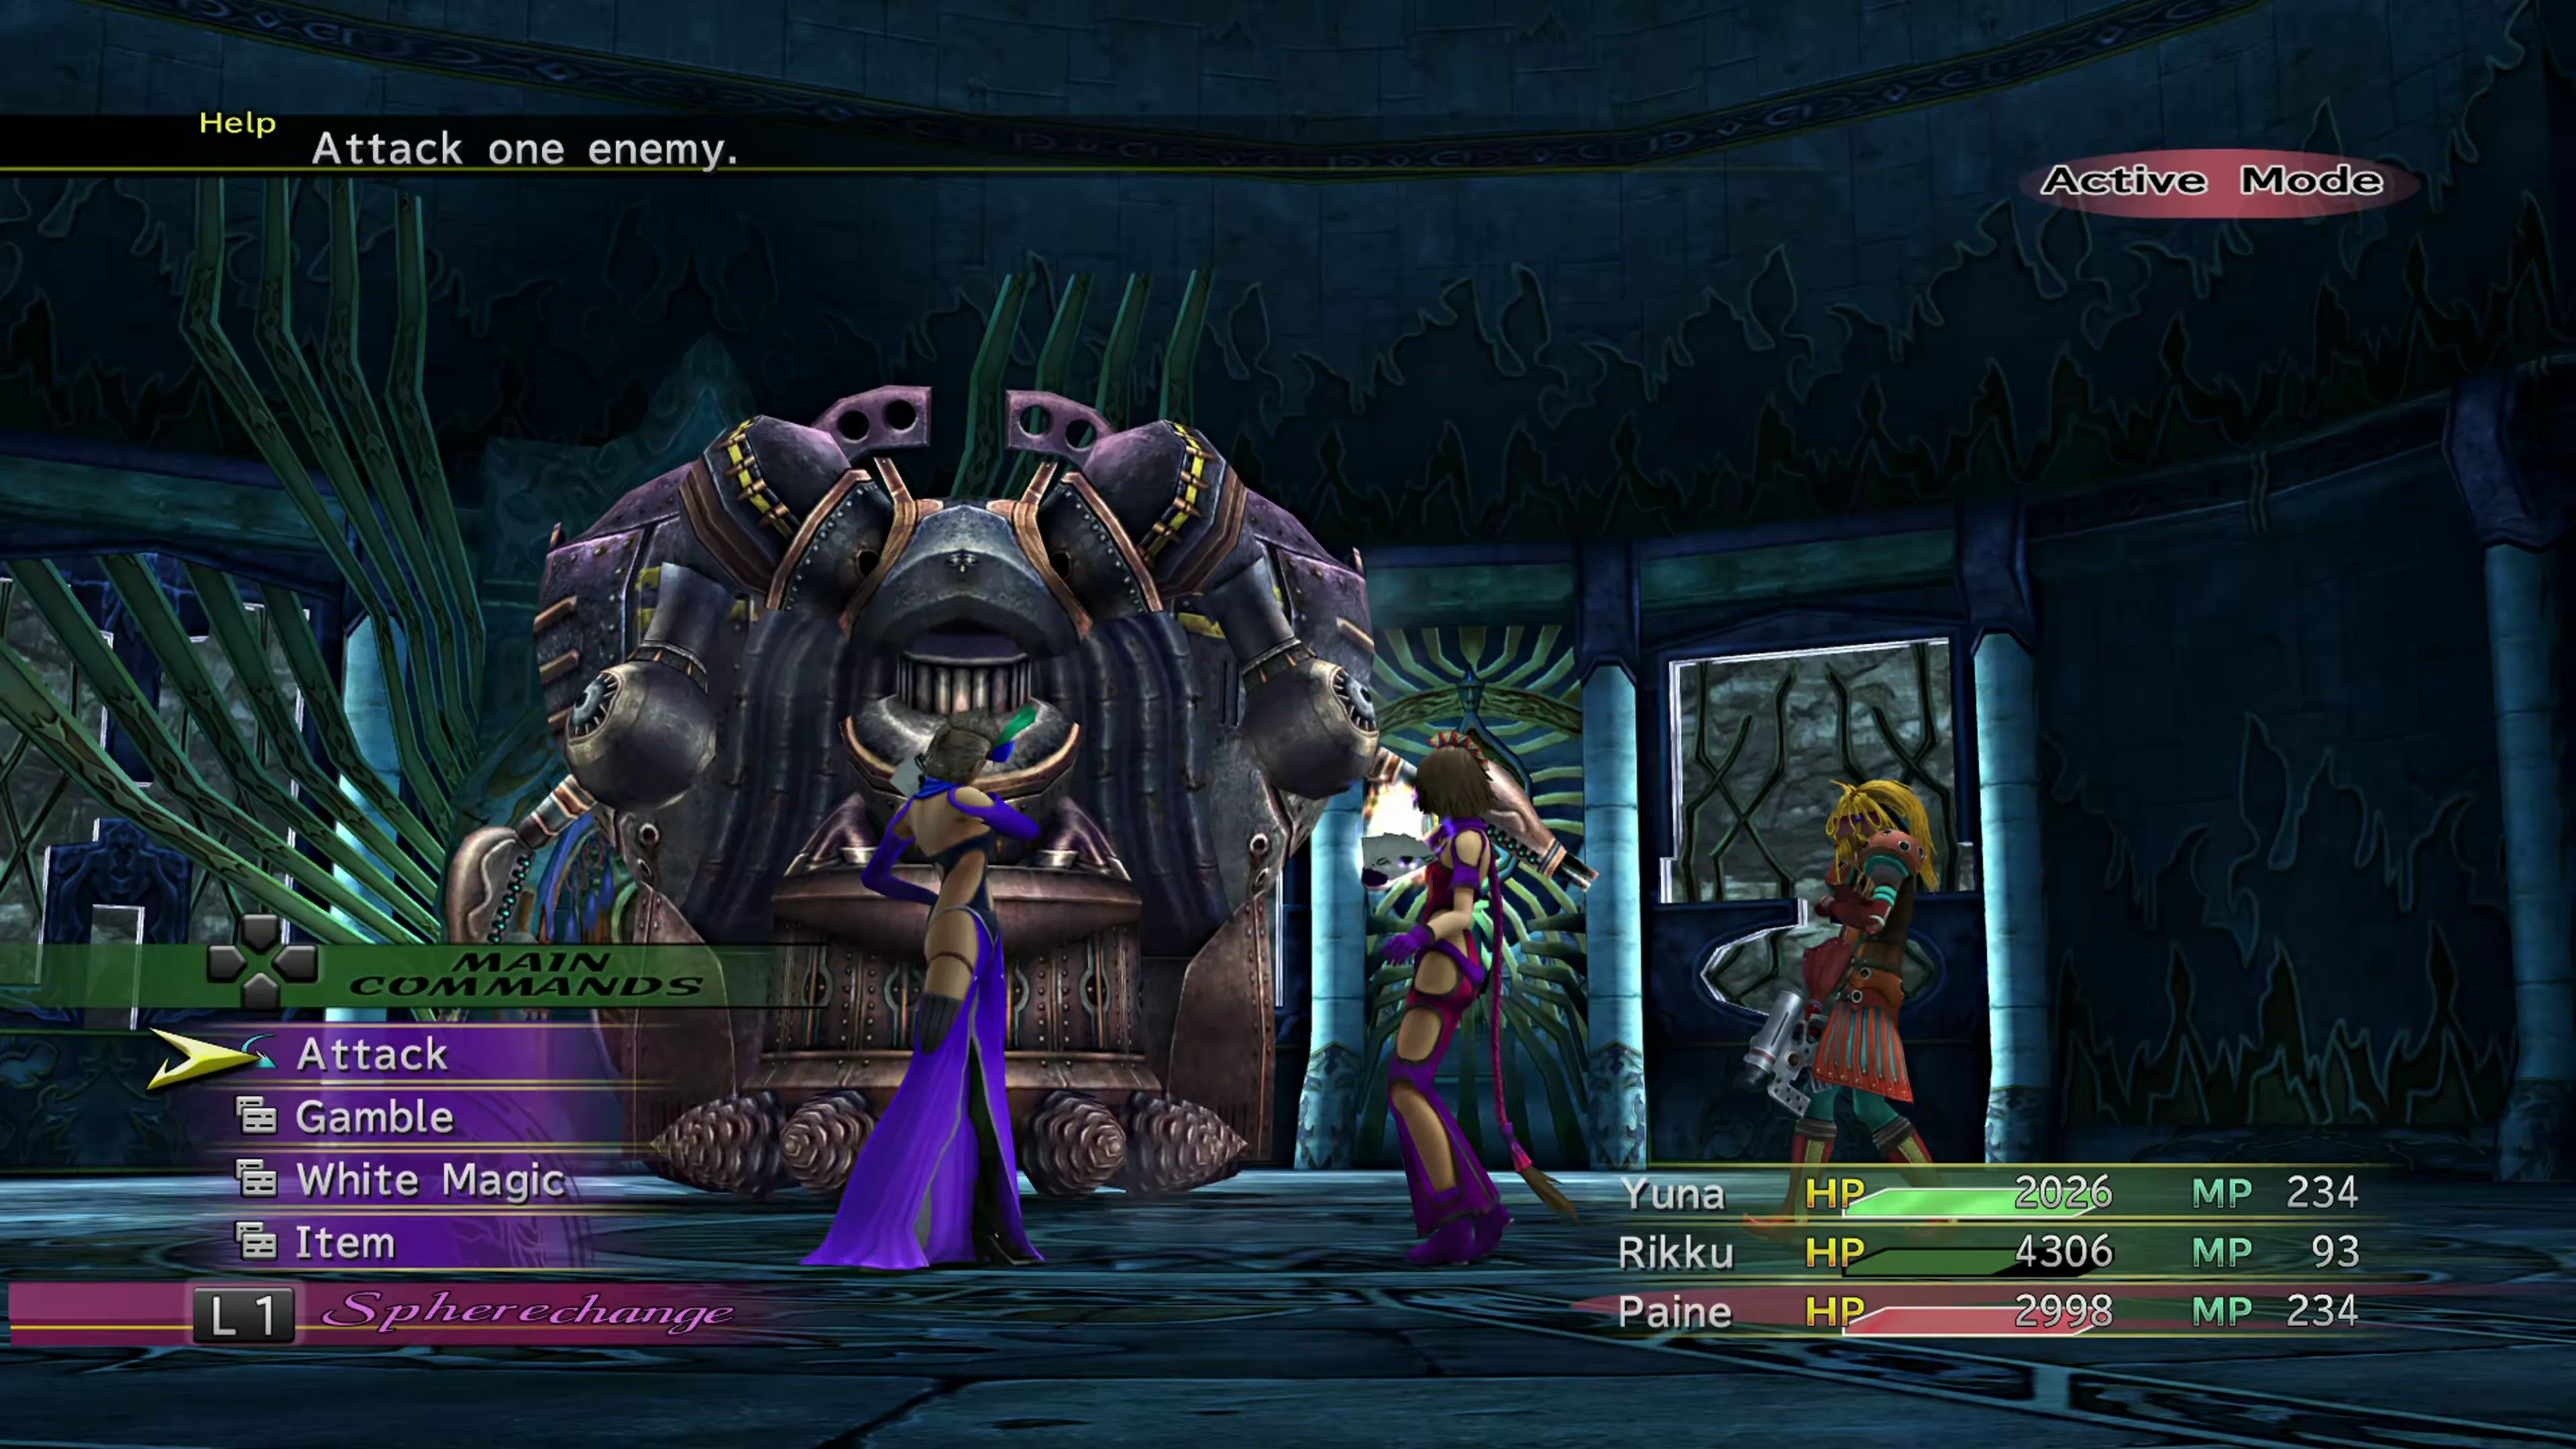
This battle begins as soon as you accept the Mission, and this is okay because you should be facing off against the weakest version of Experiment. Preparation isn’t really required for this first fight, but you can use the boss explanation provided below to help you defeat the higher-level versions of Experiment as well.
Boss Battle
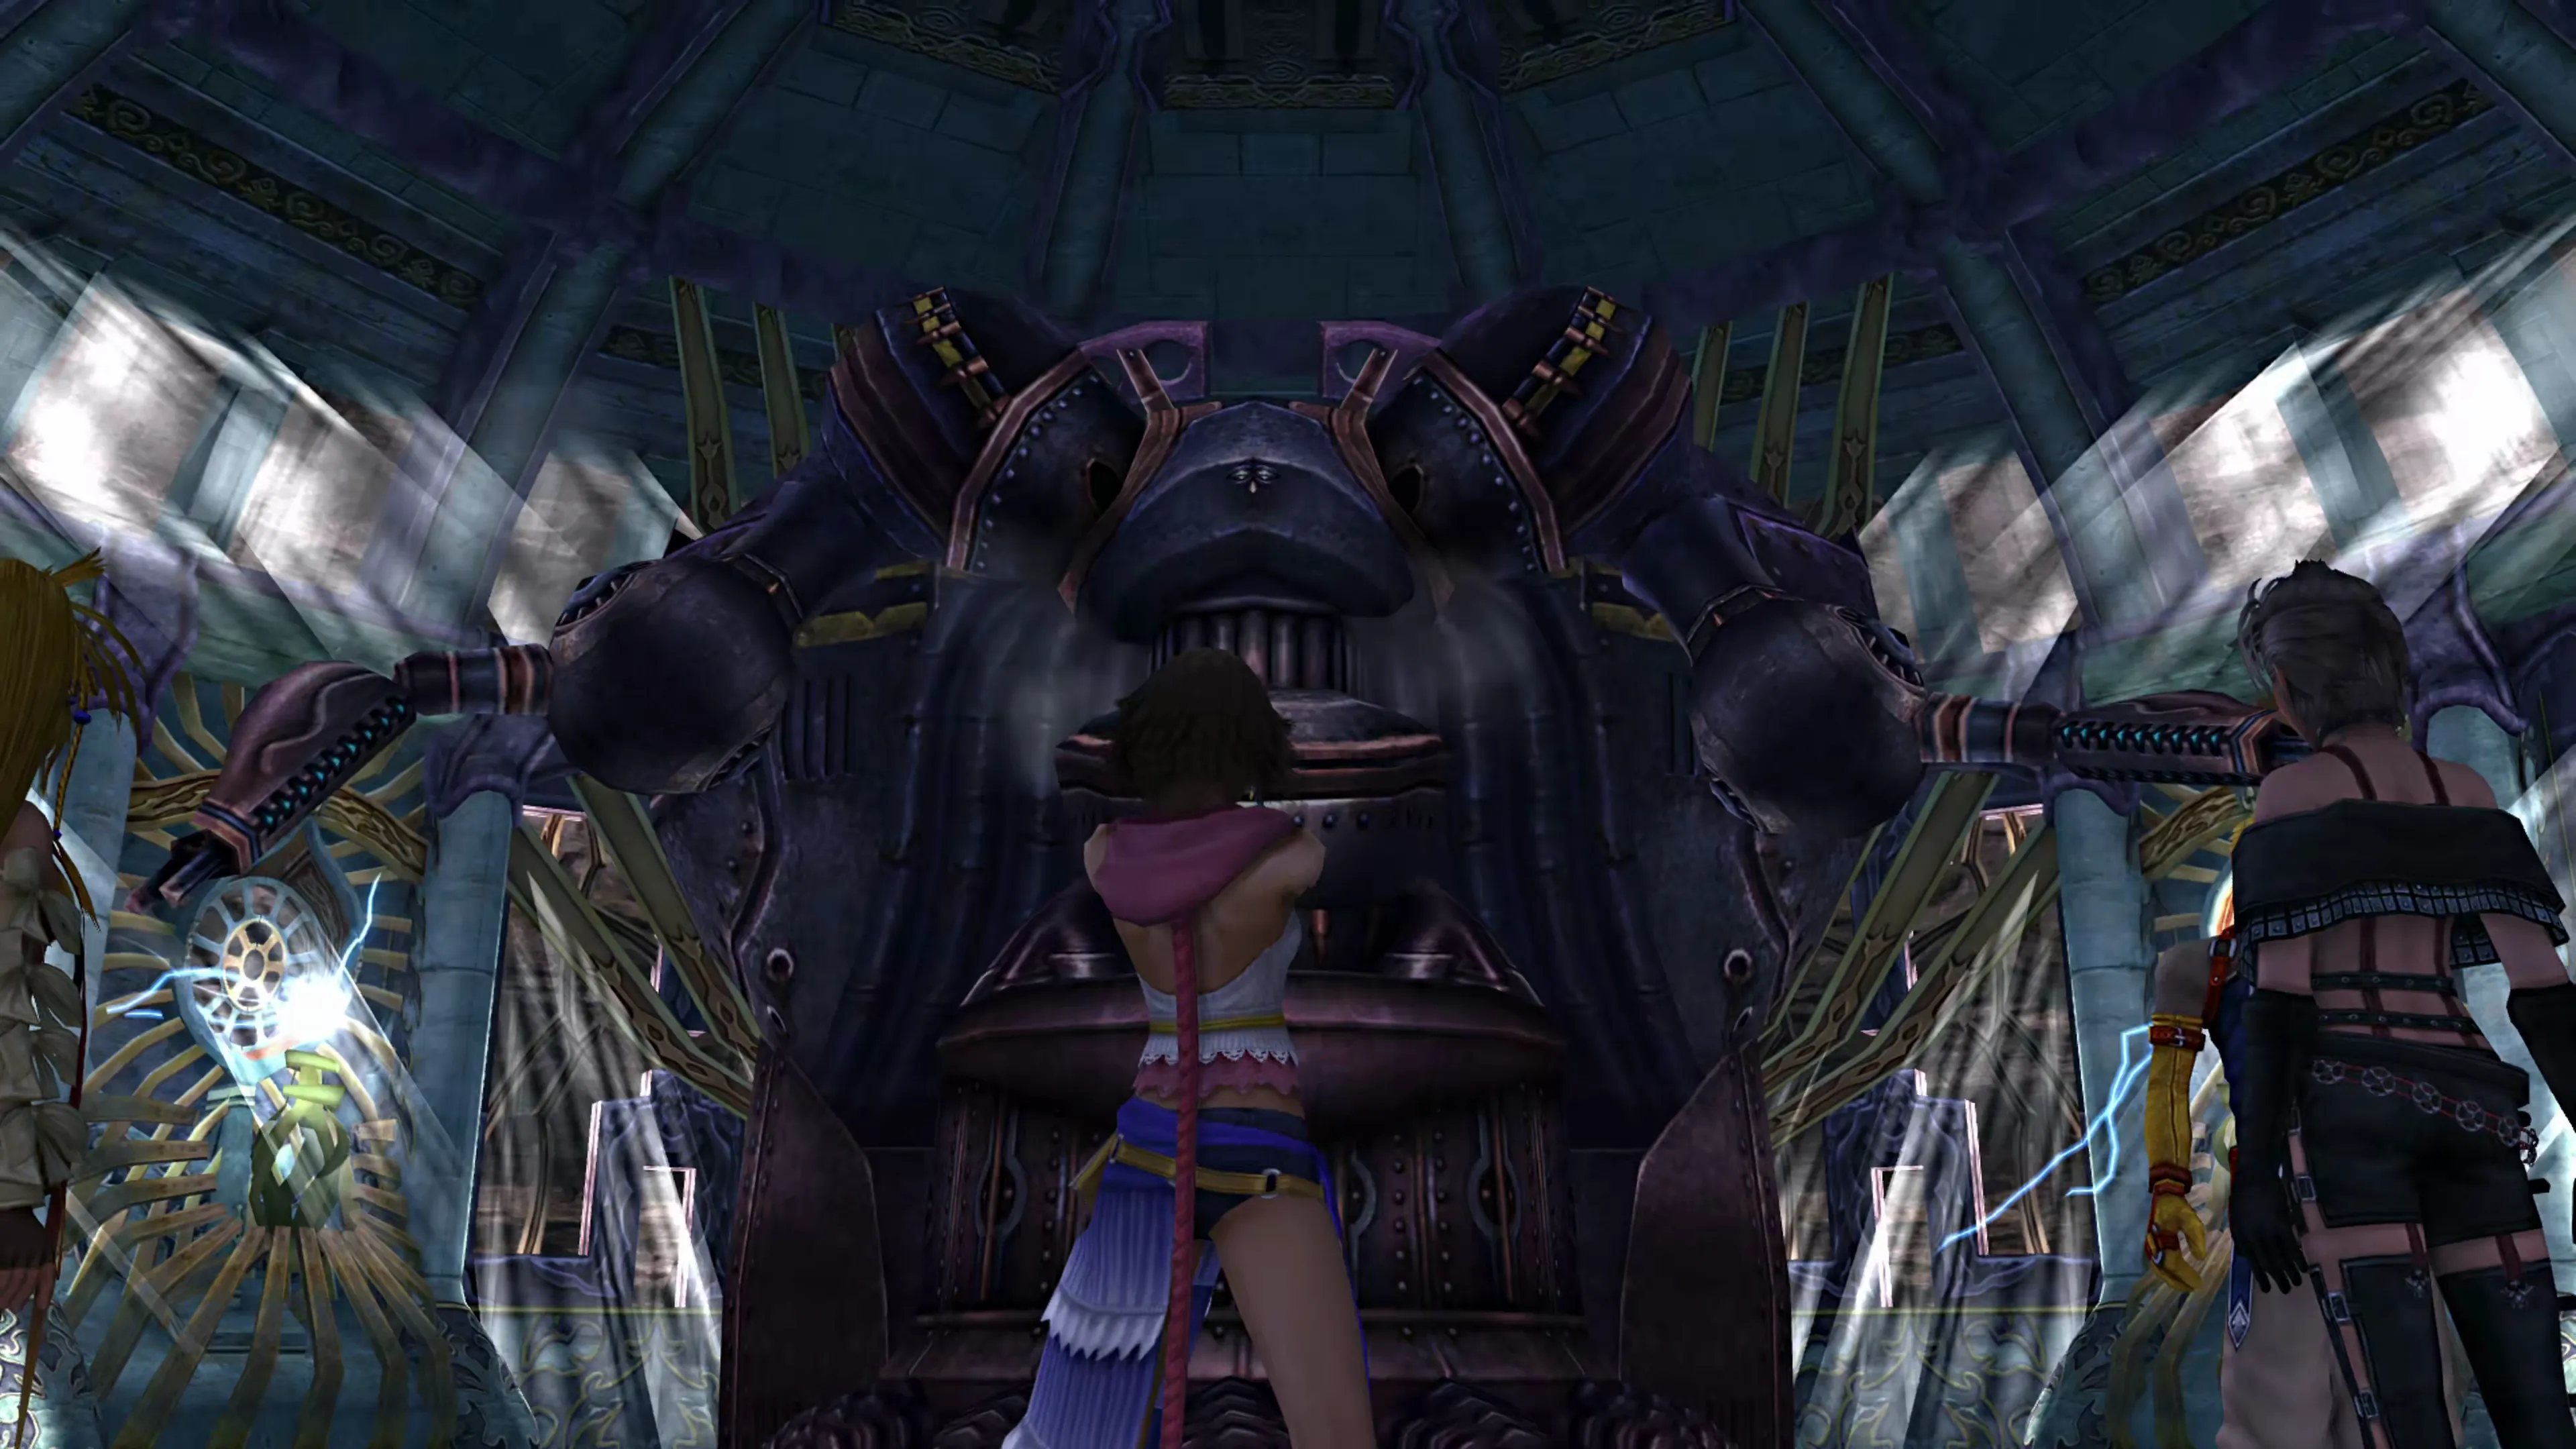
Experiment’s level dictates all its stats. Its “Attack” and “Defense” levels dictate its strength and defensive stats according to the following chart:
| Level | Attack | Defense |
|---|---|---|
| 1 | Strength: 112 Magic: 1 | Defense: 1 Magic Defense: 1 |
| 2 | Strength: 130 Magic: 20 | Defense: 50 Magic Defense: 50 |
| 3 | Strength: 155 Magic: 45 | Defense: 100 Magic Defense: 100 |
| 4 | Strength: 180 Magic: 72 | Defense: 150 Magic Defense: 150 |
| 5 | Strength: 215 Magic: 100 | Defense: 205 Magic Defense: 205 |
On the other hand, its “Special” level dictates which attacks it will use against you and in what pattern:
| Level | Special (Attack Pattern) |
|---|---|
| 1 | Attack |
| 2 | Attack, Attack, Attack, Rocket Launcher (4 hits) |
| 3 | Attack, Attack, Rocket Launcher (6 hits) |
| 4 | Random: Attack (50%), Rocket Launcher (8 hits) (33%), Lifeslicer (17%) |
| 5 | Rocket Launcher (10 hits), Attack, Rocket Launcher, Attack, Lifeslicer, Annihilator, Attack |
As you can see from the table above, its attacks get much more powerful and much more difficult to deal with as it reaches levels 4 and 5. Here is an overview of each of the attacks you’ll see during the fight:
- “Attack” is a standard physical attack against one character.
- “Rocket Launcher” hits random targets with each hit. If you get unlucky, these attacks will be focused on one character and quickly KO them.
- “Lifeslicer” will instantly KO the target as it deals damage equal to the target’s maximum HP.
 Annihilator deals heavy magic damage (approximately 1,500 damage) and delays each party member’s turn. It only appears in the “Special Lv. 5” attack pattern, and it’s the last chance for your
  Gun Mages to learn it, so make sure one survives the hit during the rematch.
This fight doesn’t require any complex strategies; it just requires you to have well-leveled characters that can survive the damage and deal enough damage to the boss quickly. If your characters are having trouble surviving the attacks, swap one or more of them into their  Dark Knight Dressphere, as this role has higher strength and defense than other Dresspheres.
If you plan on using an  Alchemist to heal your party members, you’ll have to get into the habit of timing the use of
  Stash/
 Mega-Potions so that they’re used right after one of Experiment’s more powerful attacks. Additionally, any healer that you have is likely going to need support keeping party members up, especially with “Lifeslicer” instantly KO’ing party members from time to time. Have your non-healer party members use items (Phoenix Down, Mega Phoenix, X-Potion, Mega-Potion) as needed.
Another strategy for surviving Experiment’s heavy attacks (including “Lifeslicer”) is to make use of the  Auto-Life buff. This effect will automatically revive a KO’d party member, and you can gain it by making use of the
  Salvation Promised Garment Grid.
| Enemy | HP | Steal | Drop |
|---|---|---|---|
| Experiment | 18324 | Turbo Ether (common)Turbo Ether x2 (rare) | Elixir |
The strategy listed above covers all of the different levels of Experiment, but the increased stats it gains from the assemblies can make the Lv.5 version much harder to deal with. If you’re struggling with it, you may need to spend some time leveling up your characters and/or come back later on.
Speaking of leveling Experiment up, it’s now finally time to move on to digging up “Assembly” parts in the Bikanel Desert, but before that, it’s worth going over how to set up a follow-up battle against Experiment.
Repairing Experiment
Once Experiment has been defeated, and after a brief discussion with the Al Bhed technician, a tutorial message will pop up explaining that you’ll need to find “Repair Manuals” to fight it again. Unfortunately, it doesn’t give you much more information about how to find them.
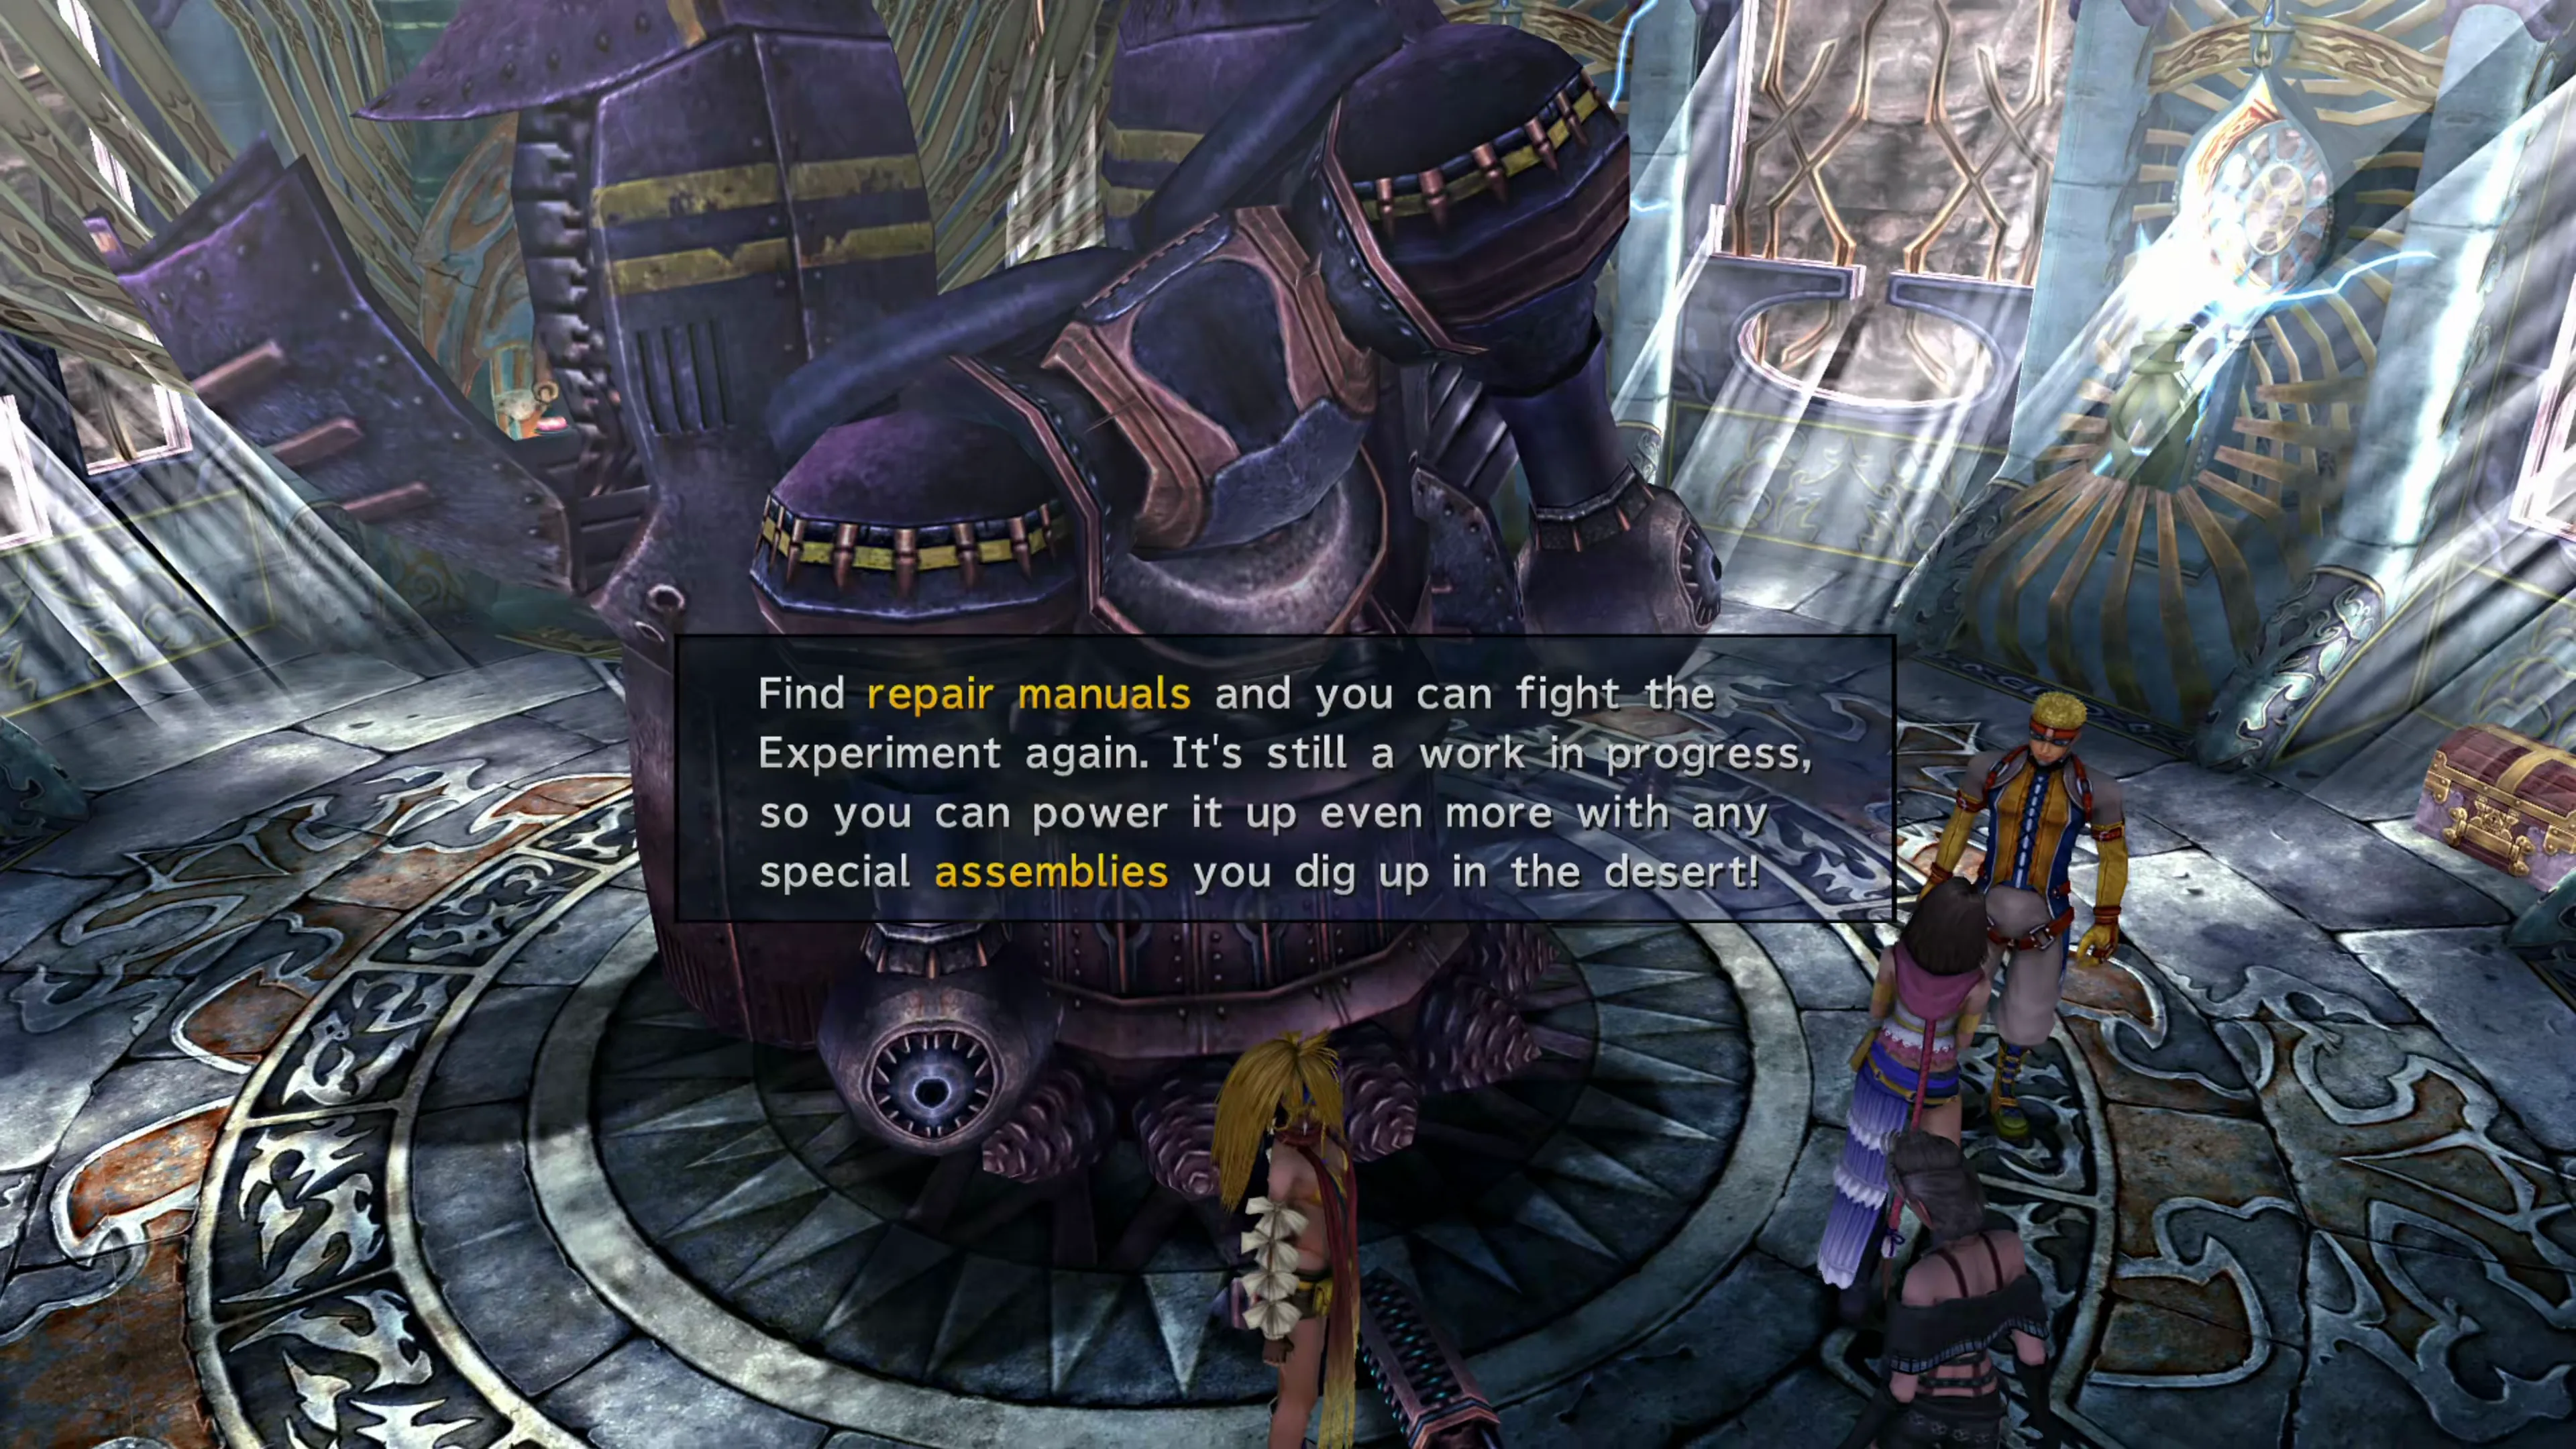
The “Repair Manuals” essentially function like a ‘rematch ticket,’ and you can find 5 of them in areas across Spira. Thankfully, if you’re only planning to battle against Experiment once at low levels and another time at maximum level, you’ll only need to pick up one repair manual, and it can be found right here in Djose Temple.
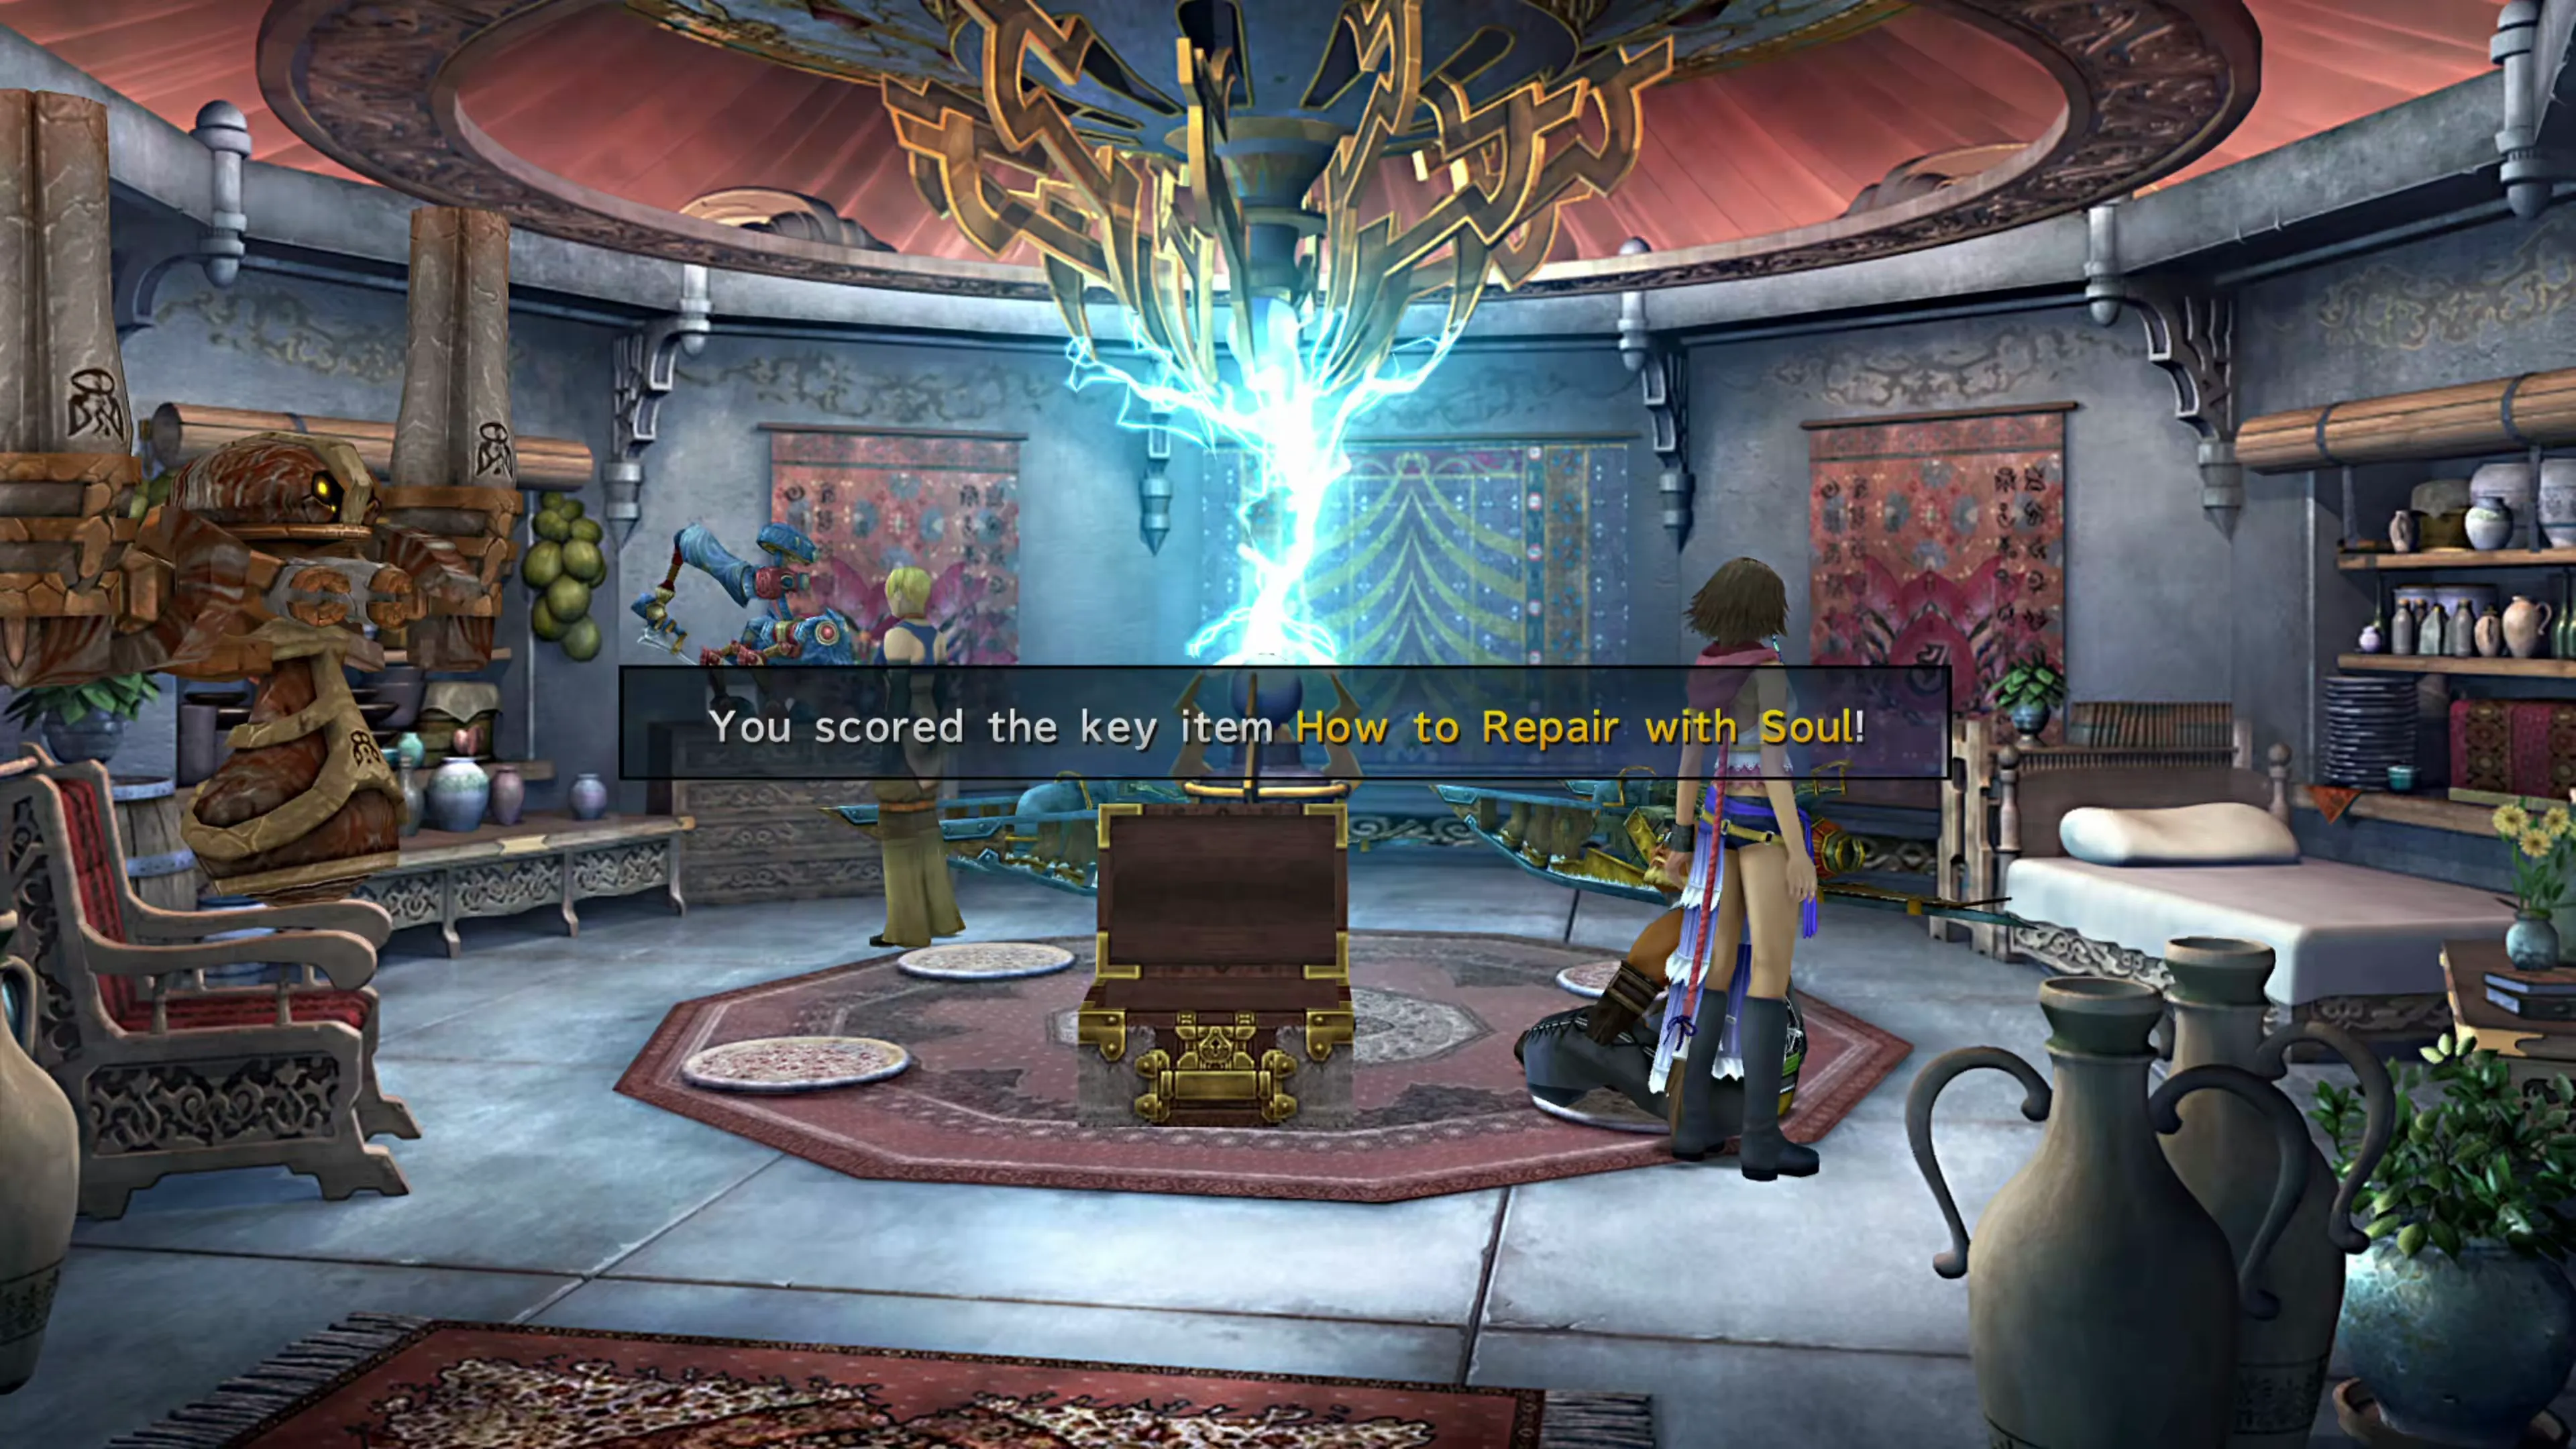
Head through the doorway to the left of the stairs in Djose Temple and speak to the man sitting on the floor. He will thank you for ‘saving their hides’ and give you the  How to Repair with Soul key item, which is the first of five repair manuals you can find. As noted, you only need the one if you plan to battle Experiment twice, but here is where you can find the others:
| Repair Manual | Location |
|---|---|
| How to Repair with Soul | From the seated Al Bhed man in Djose Temple. |
| The Spirit of Recycling | A man standing on the pedestal in the pedestal room on the upper floors of the Djose Temple. He’ll ask for a password: “MARNELA.” The clue came up in passing while you were observing the CommSpheres. The female Al Bhed will say, “The password, what was it?” and “What’s the name of that talking cactus again?” She’ll say this in Al Bhed, making it tougher to decipher during your first playthrough, but the Cactuar being referred to here is Marnela, the Cactuar that kicks off the Cactuar Nation page in the Side Quest section. |
| Repairing for Dummies | Stand between the three monkeys that are loitering about just outside of Djose Temple. Wait until all three of them jump and then press the    button. button. |
| The ABC’s of Repair | Found in one of the treasure chests in the Ruin Depths dungeon in the Chocobo Ranch. |
| Everyman’s Repair Manual | Interact with one of the Machina along the Mi’ihen Highroad. |
Leveling Up Experiment
You can level up Experiment’s Attack, Defense, and Specials by digging up “Assembly” items in Bikanel Desert, which is where you will need to head next. By now, you should have sent a Chocobo to Bikanel Desert, which will open up the “Central Expanse” location and make this process much easier for you.
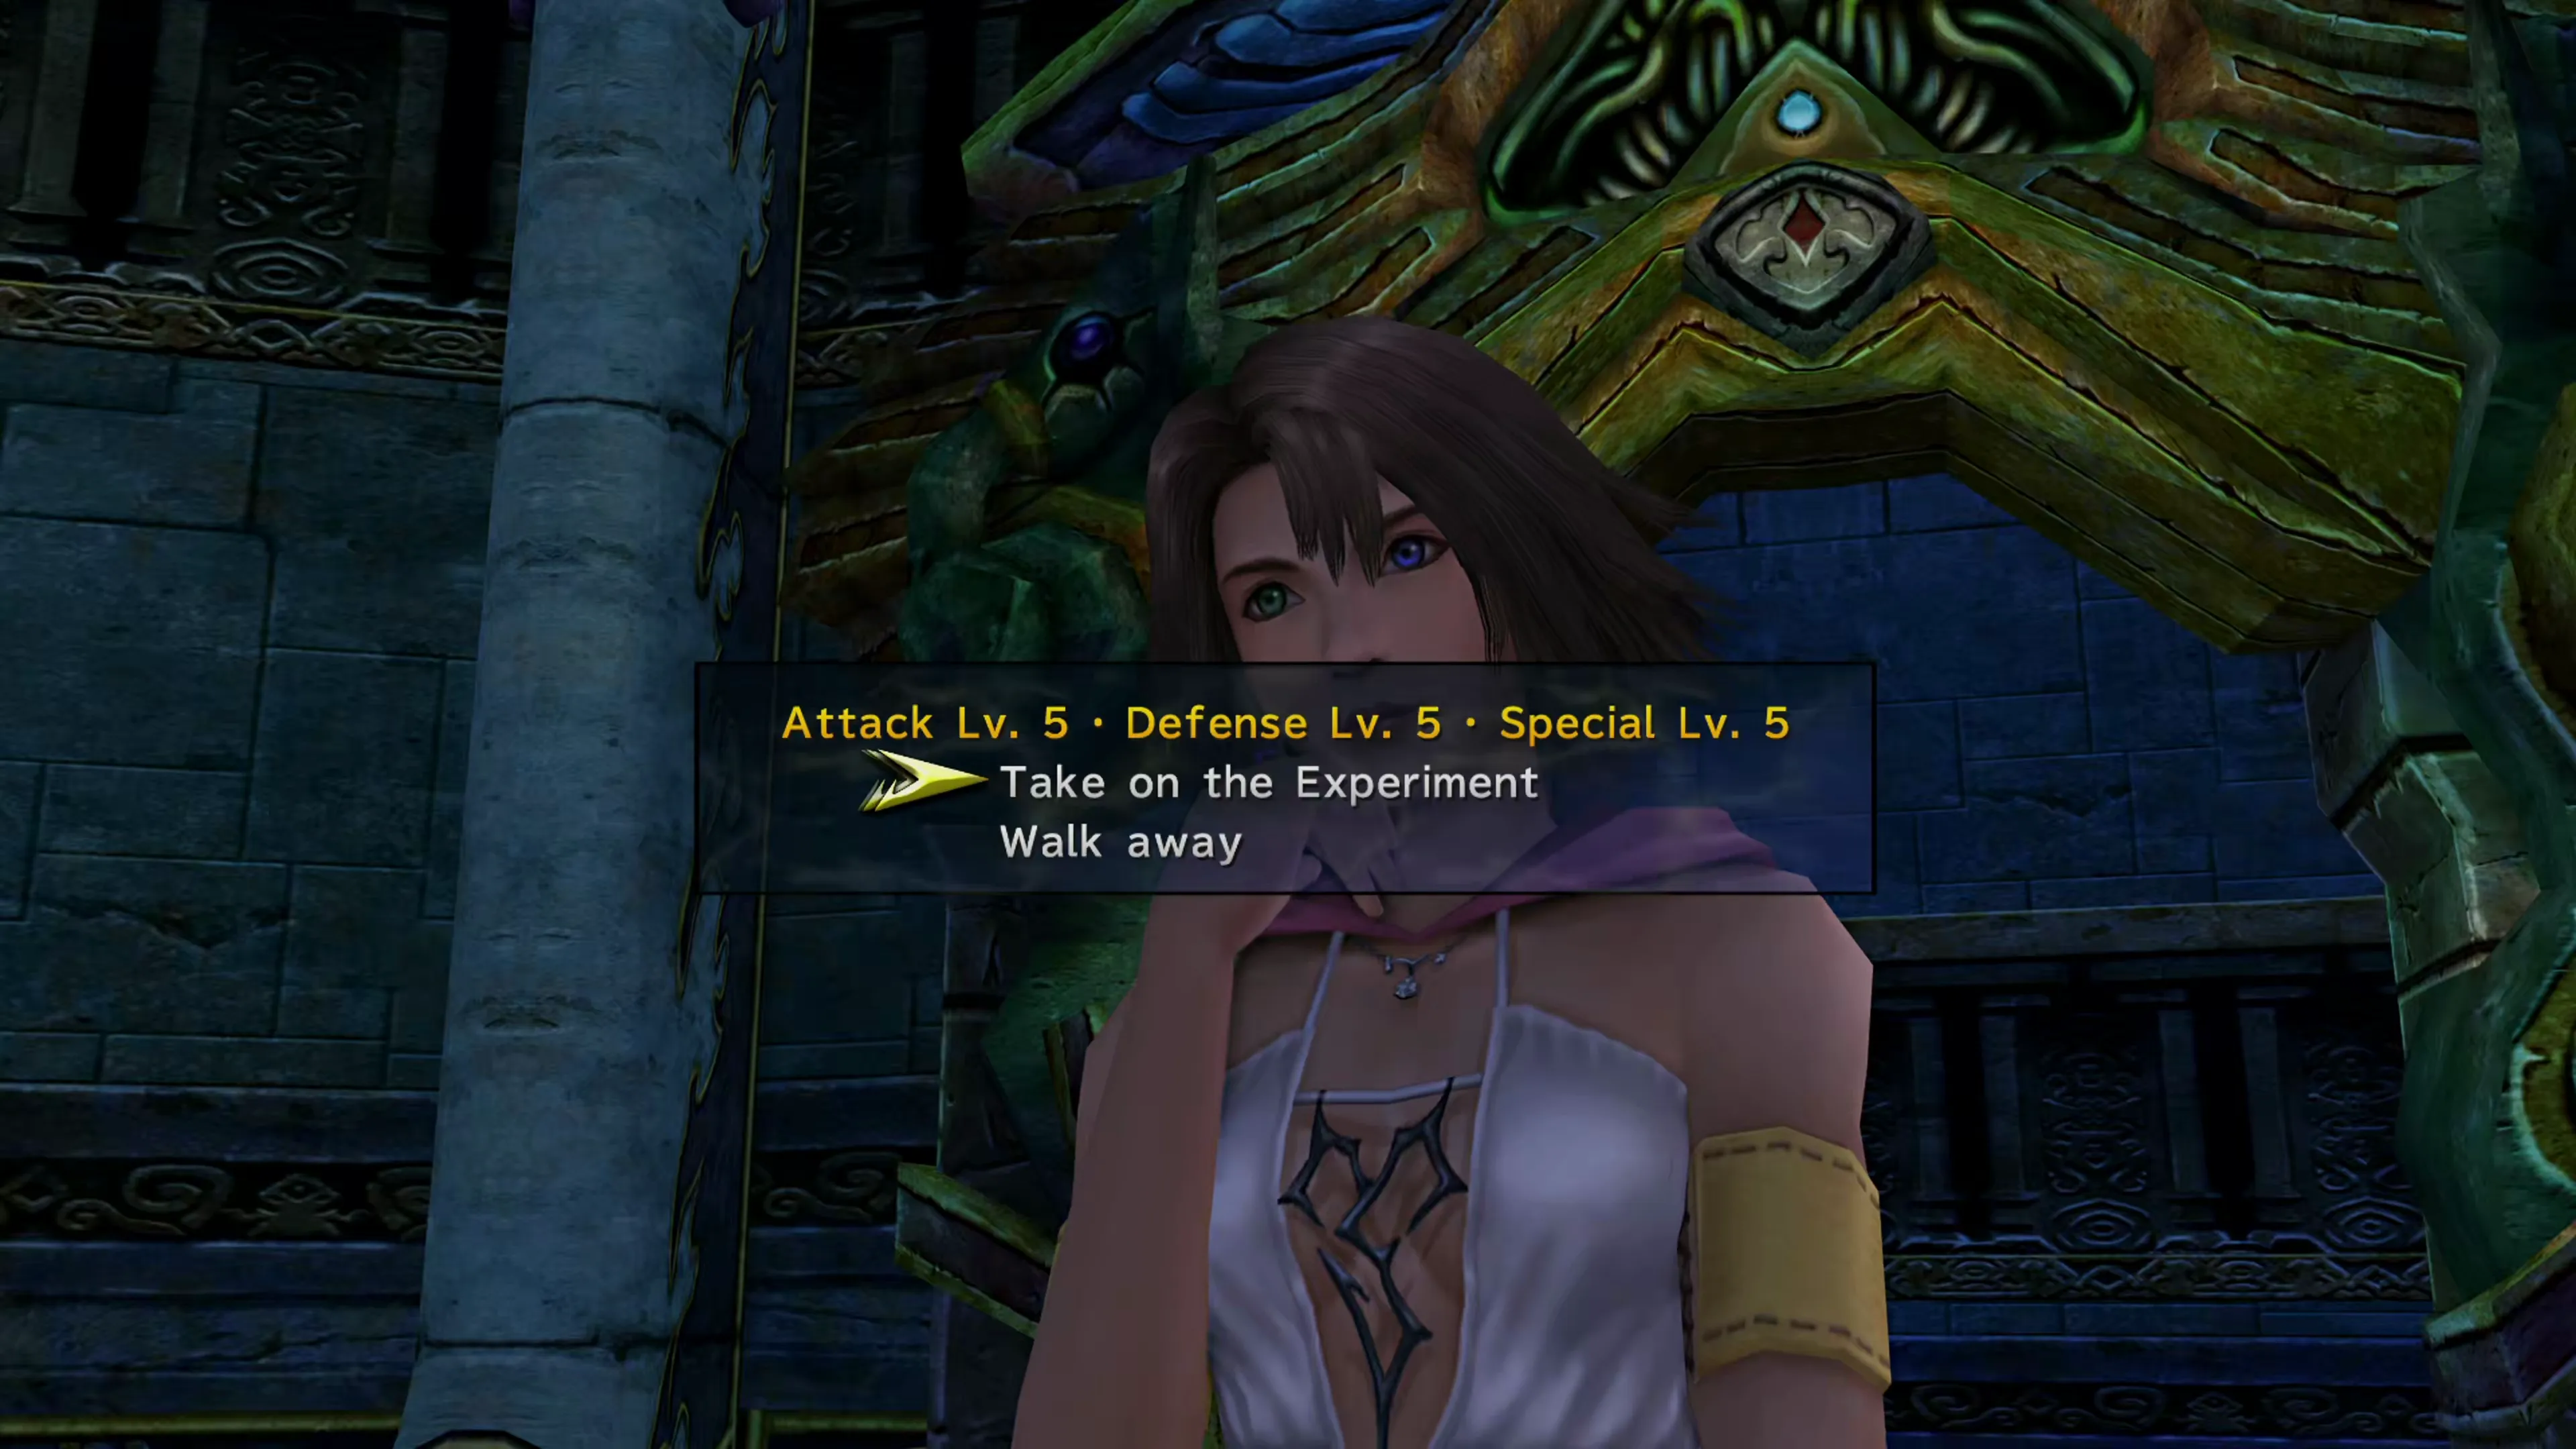
Head over to the Bikanel Desert page to learn more, but there’s a Mission to take care of before you can jump into any digging/excavations.
Checking the “Djose Temple Complete” box adds the Story Completion Percent for the automatic scenes in Djose Temple.