Sin
Are you ready for the last chapter of the game?
Keep in mind that there are a ton of side quests and a lot of endgame content that you can complete before you beat the game if you’d like. You should complete all the side quests and endgame content if you want to get the full experience of Final Fantasy X, so don’t rush to the end of the game too quickly. Use the following link to head back to the side quest:
Walkthrough Guide
A complete list of the endgame content and side quests that you can complete now that you have reached the end of the game.
The next few battles are against Sin itself. Sin has a very high amount of armor, so you should make sure that Auron (or one of your other party members) has obtained the ![]() Armor Break ability. You can easily train up and level your party members by returning to the Zanarkand Ruins and battling fiends in that area.
Armor Break ability. You can easily train up and level your party members by returning to the Zanarkand Ruins and battling fiends in that area.

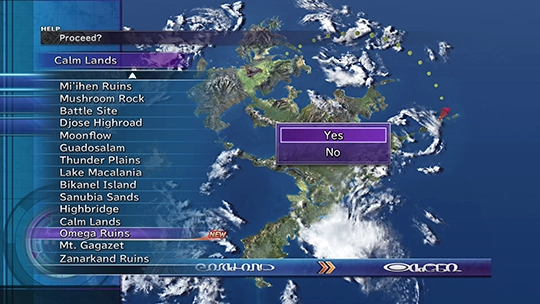
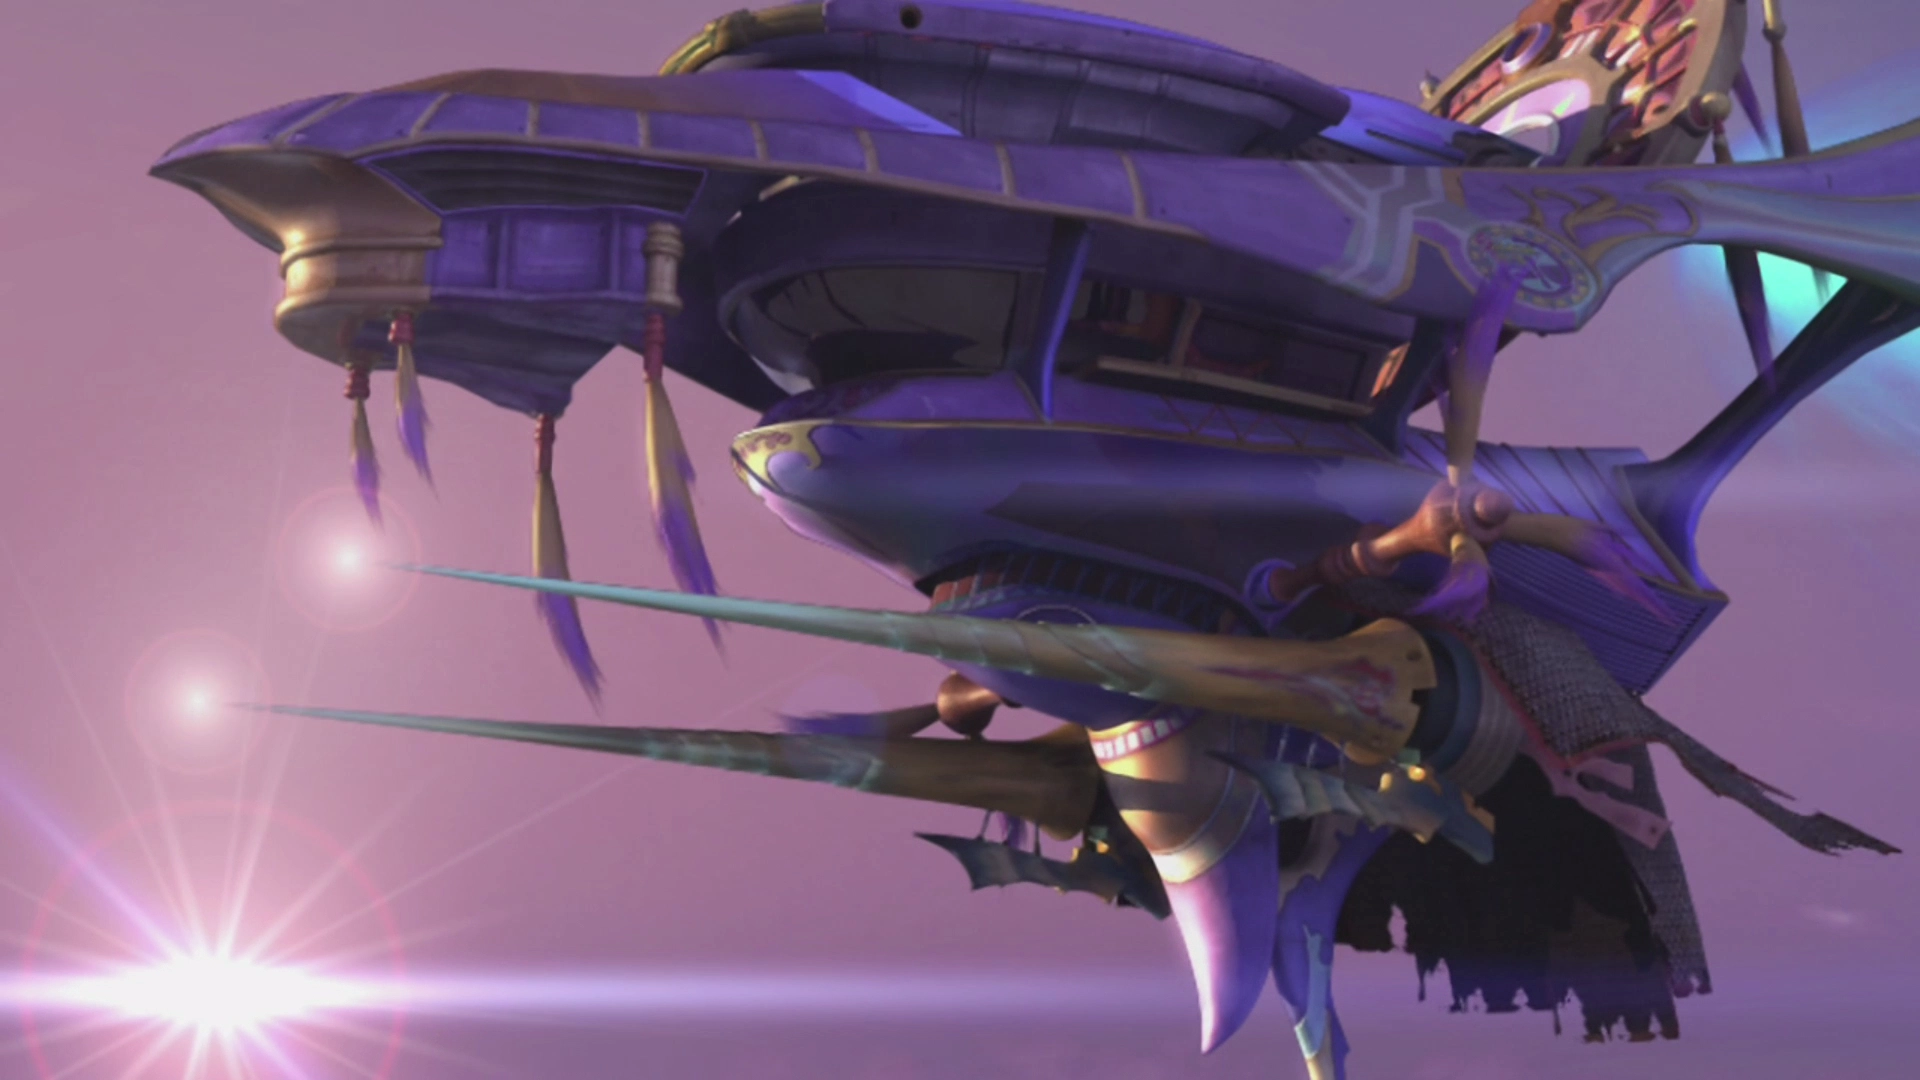
Start by selecting Sin on the “NavMap” aboard the Airship (Fahrenheit), and Cid will begin playing the Hymn of the Fayth. Travel back to the Cabin of the ship and ride the elevator up to get back to the exterior of the ship.

Note: The next two bosses (Left Fin and Right Fin of Sin) are the same fight that you have to complete twice in a row.
Boss Battle
HP: 65,000
This battle is very similar to the fight against Evrae on the exterior of the Airship. The Fin will attack less frequently if you use the Trigger Commands to have Cid pull the Airship further away from Sin.
The Airship starts far away from Sin, so you will have to use the “Move In” command before you can initiate any attacks. Before you move the Airship closer, though, you should use the time in between to charge up your characters using Tidus’ ![]() Cheer ability, Rikku’s
Cheer ability, Rikku’s ![]() Luck ability, etc. Remember that you can use these abilities up to five times, and the effects will stack.
Luck ability, etc. Remember that you can use these abilities up to five times, and the effects will stack.
Use ![]() Hastega on your party early on, but be aware that the Sin can use an attack called “Negation,” which will remove any positive status effects from your party members. You will have to recast them afterwards.
Hastega on your party early on, but be aware that the Sin can use an attack called “Negation,” which will remove any positive status effects from your party members. You will have to recast them afterwards.
Sin has a fairly high armor stat, so you may wish to use Auron’s ![]() Armor Break ability to help speed things up. But be aware that Negation will also remove the Armor Break negative status ailment from Sin. Just reapply it if Sin removes it.
Armor Break ability to help speed things up. But be aware that Negation will also remove the Armor Break negative status ailment from Sin. Just reapply it if Sin removes it.
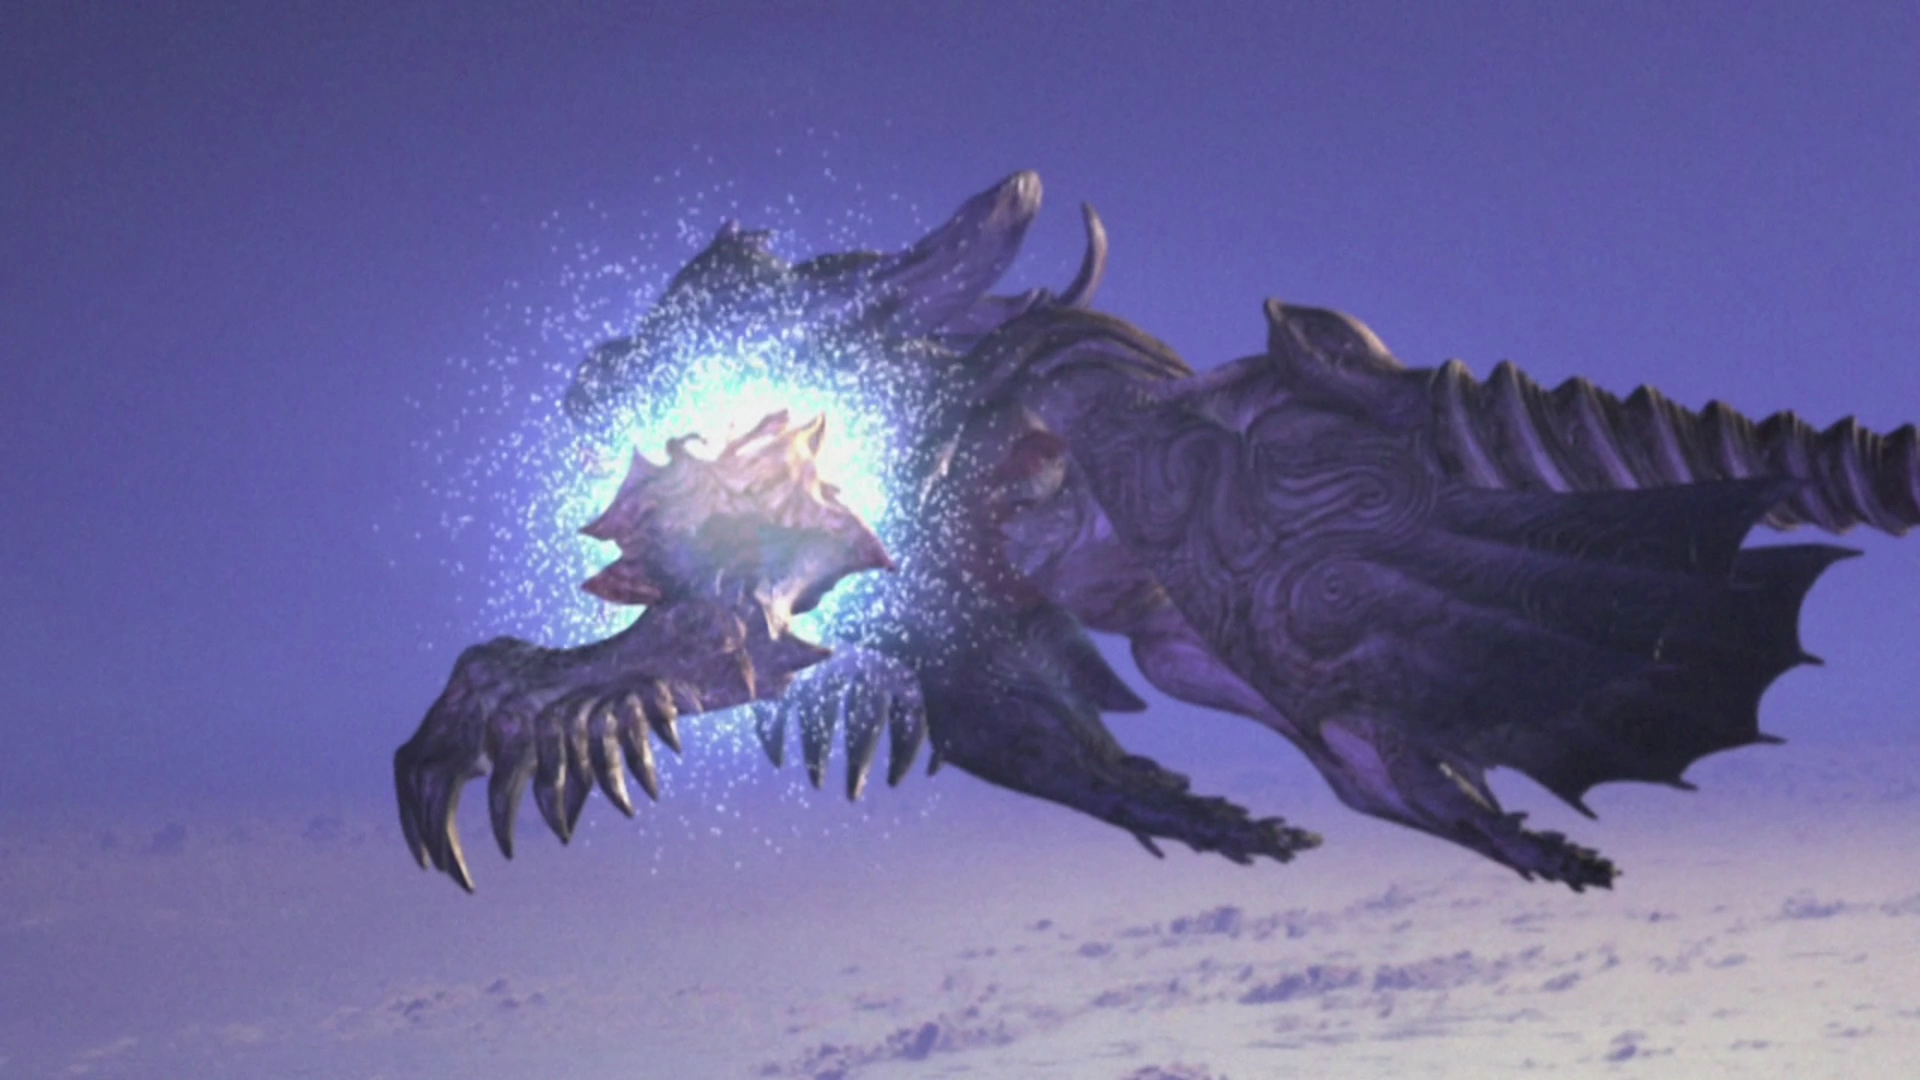
If you see the message “Core Gathers Energy,” immediately use the Trigger Commands to pull the Airship away from Sin. Sin will be using Gravija shortly, which will hit for approximately 3⁄4 of each character’s total HP.
Steal:
 Mega-Potion (common)
 Supreme Gem (rare)
Drops:
Boss Battle
In Game Description: Unleashes Gravija once the core is energized, reducing all characters’ HP by 3/4. To avoid this, get Cid to back off. Dispels with Negation and sometimes attacks all with a physical attack.

This fight has the same battle mechanics as the previous fight.
Steal:
![]() X-Potion (common)
X-Potion (common)
![]() Shining Gem (rare)
Shining Gem (rare)
Drops:
![]() Lv. 3 Key Sphere (common)
Lv. 3 Key Sphere (common)
![]() Lv. 3 Key Sphere (x2) (rare)
Lv. 3 Key Sphere (x2) (rare)
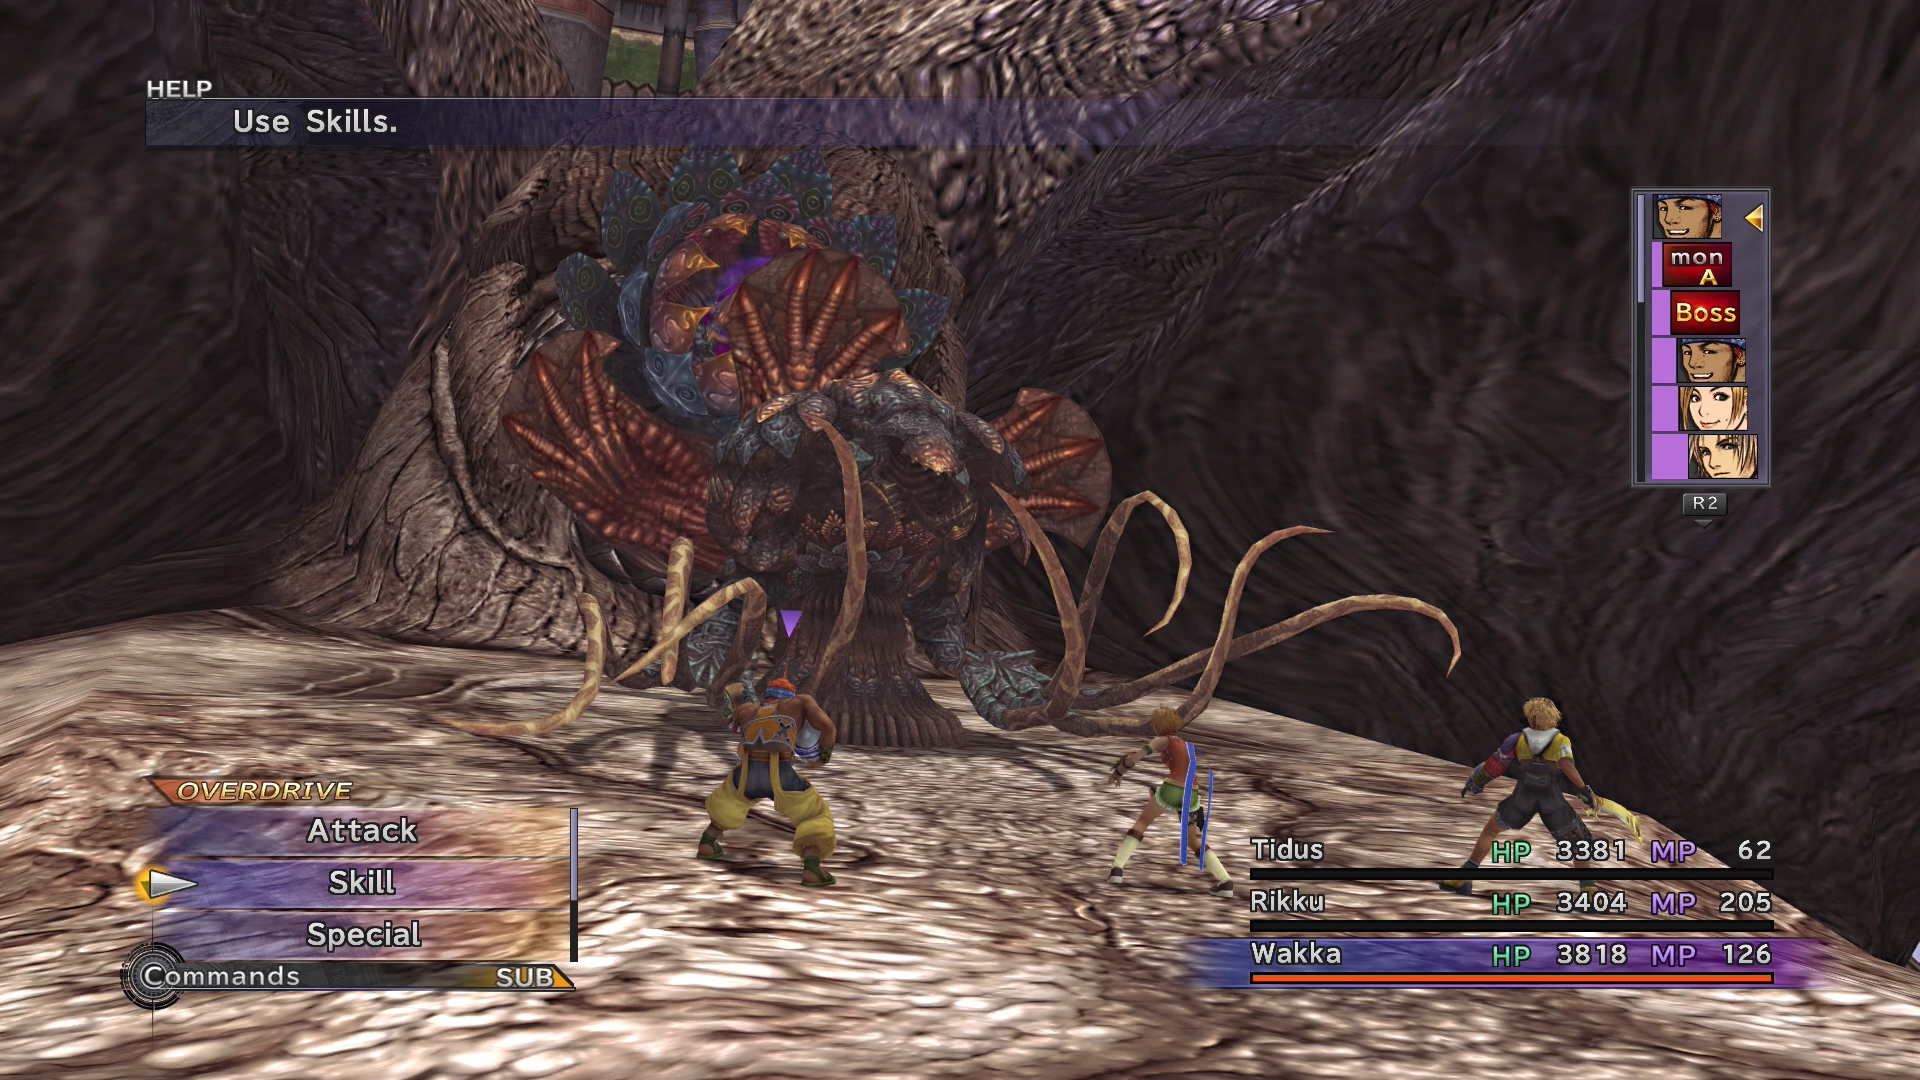
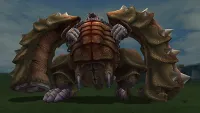
Boss Battle
In Game Description: After losing half its HP, it enters its shell on its next turn. If hit there, it recovers with Cura and exits the shell on its next turn. Protected from Gravija when inside the shell.
HP: 20,000
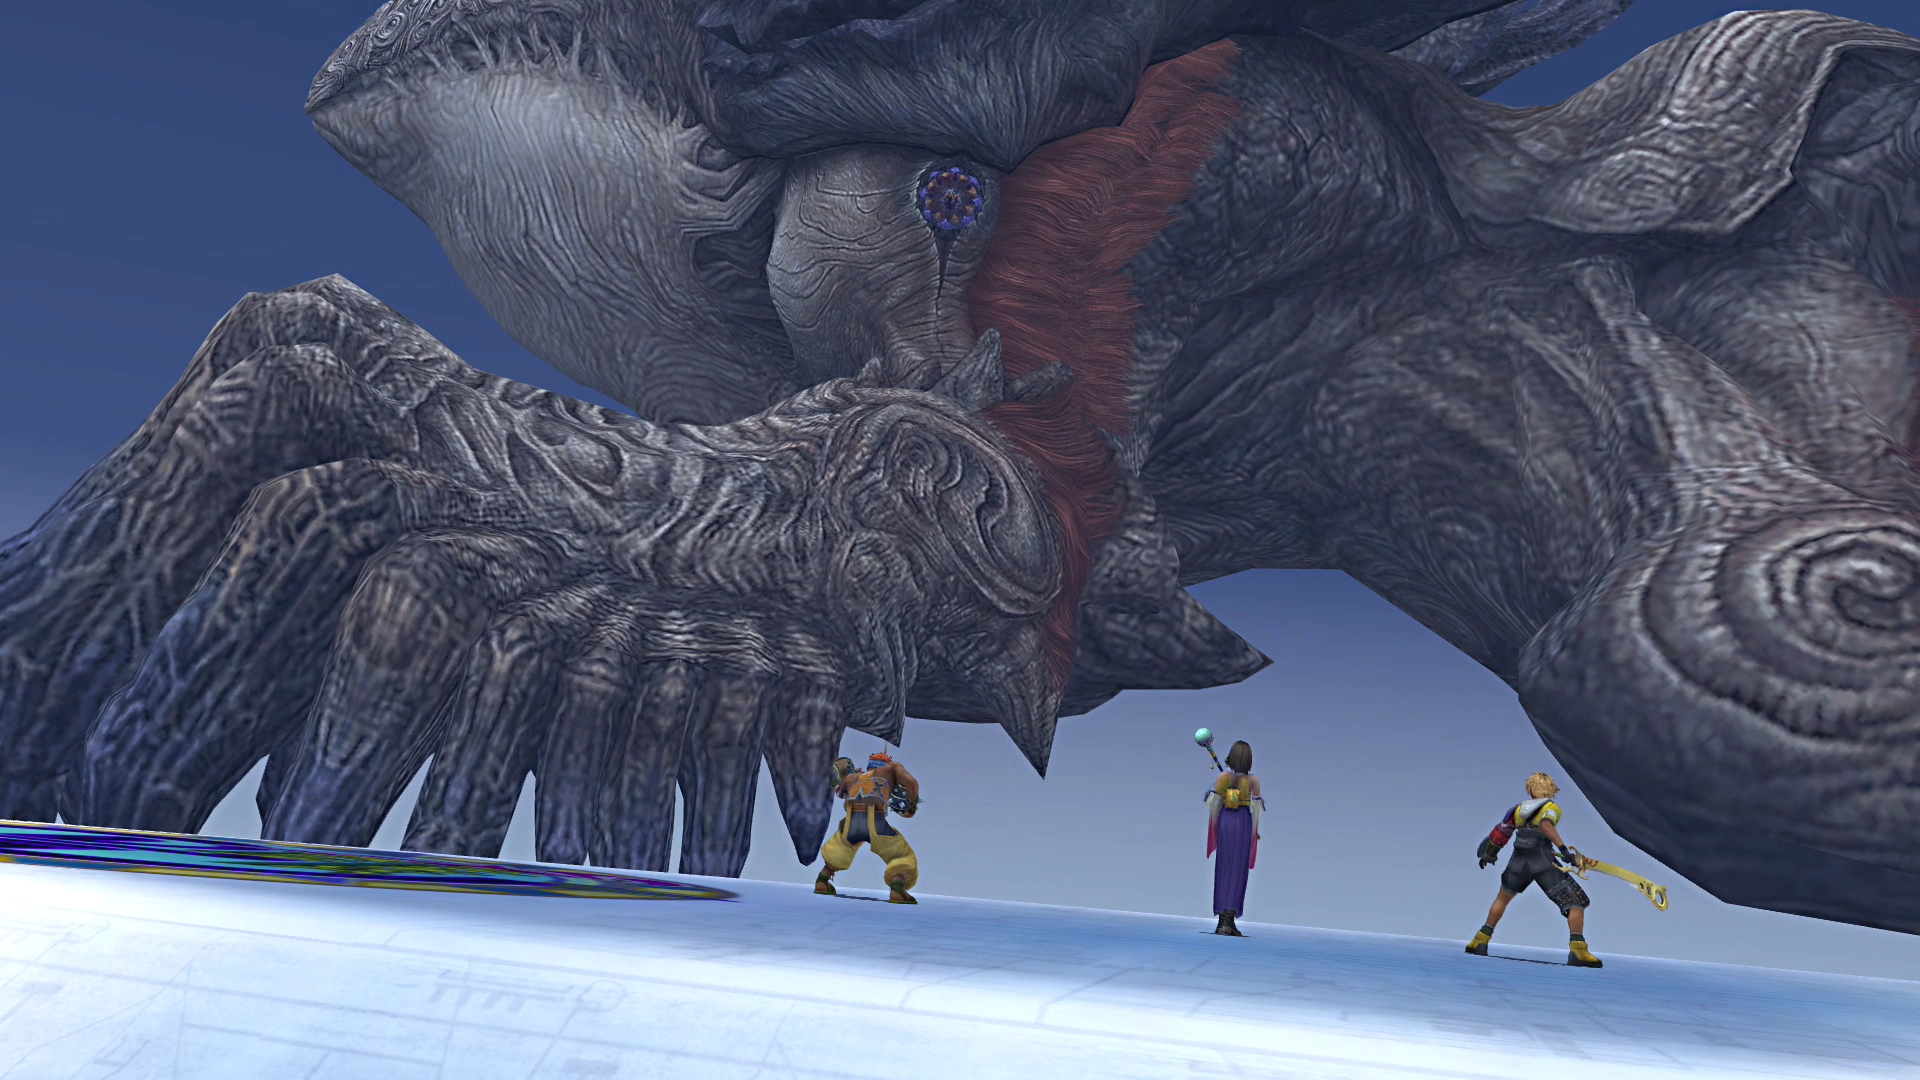
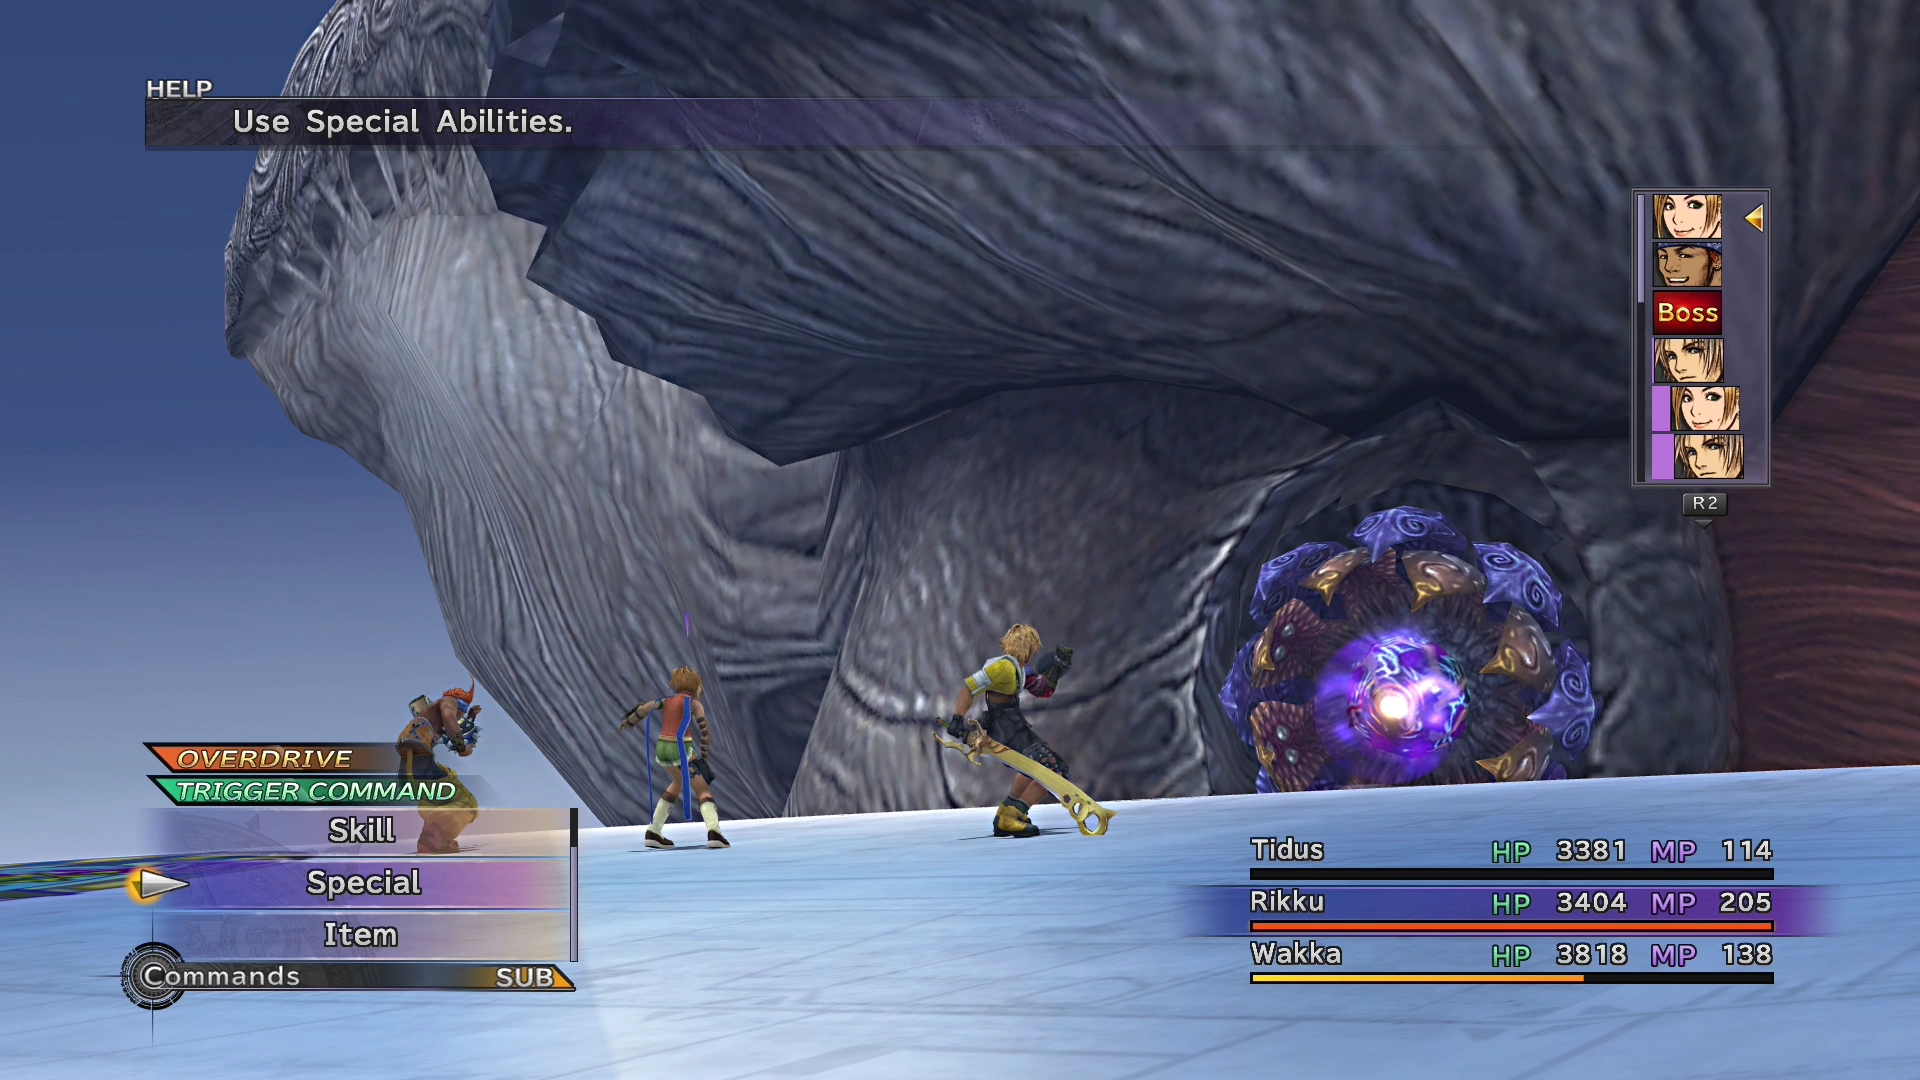
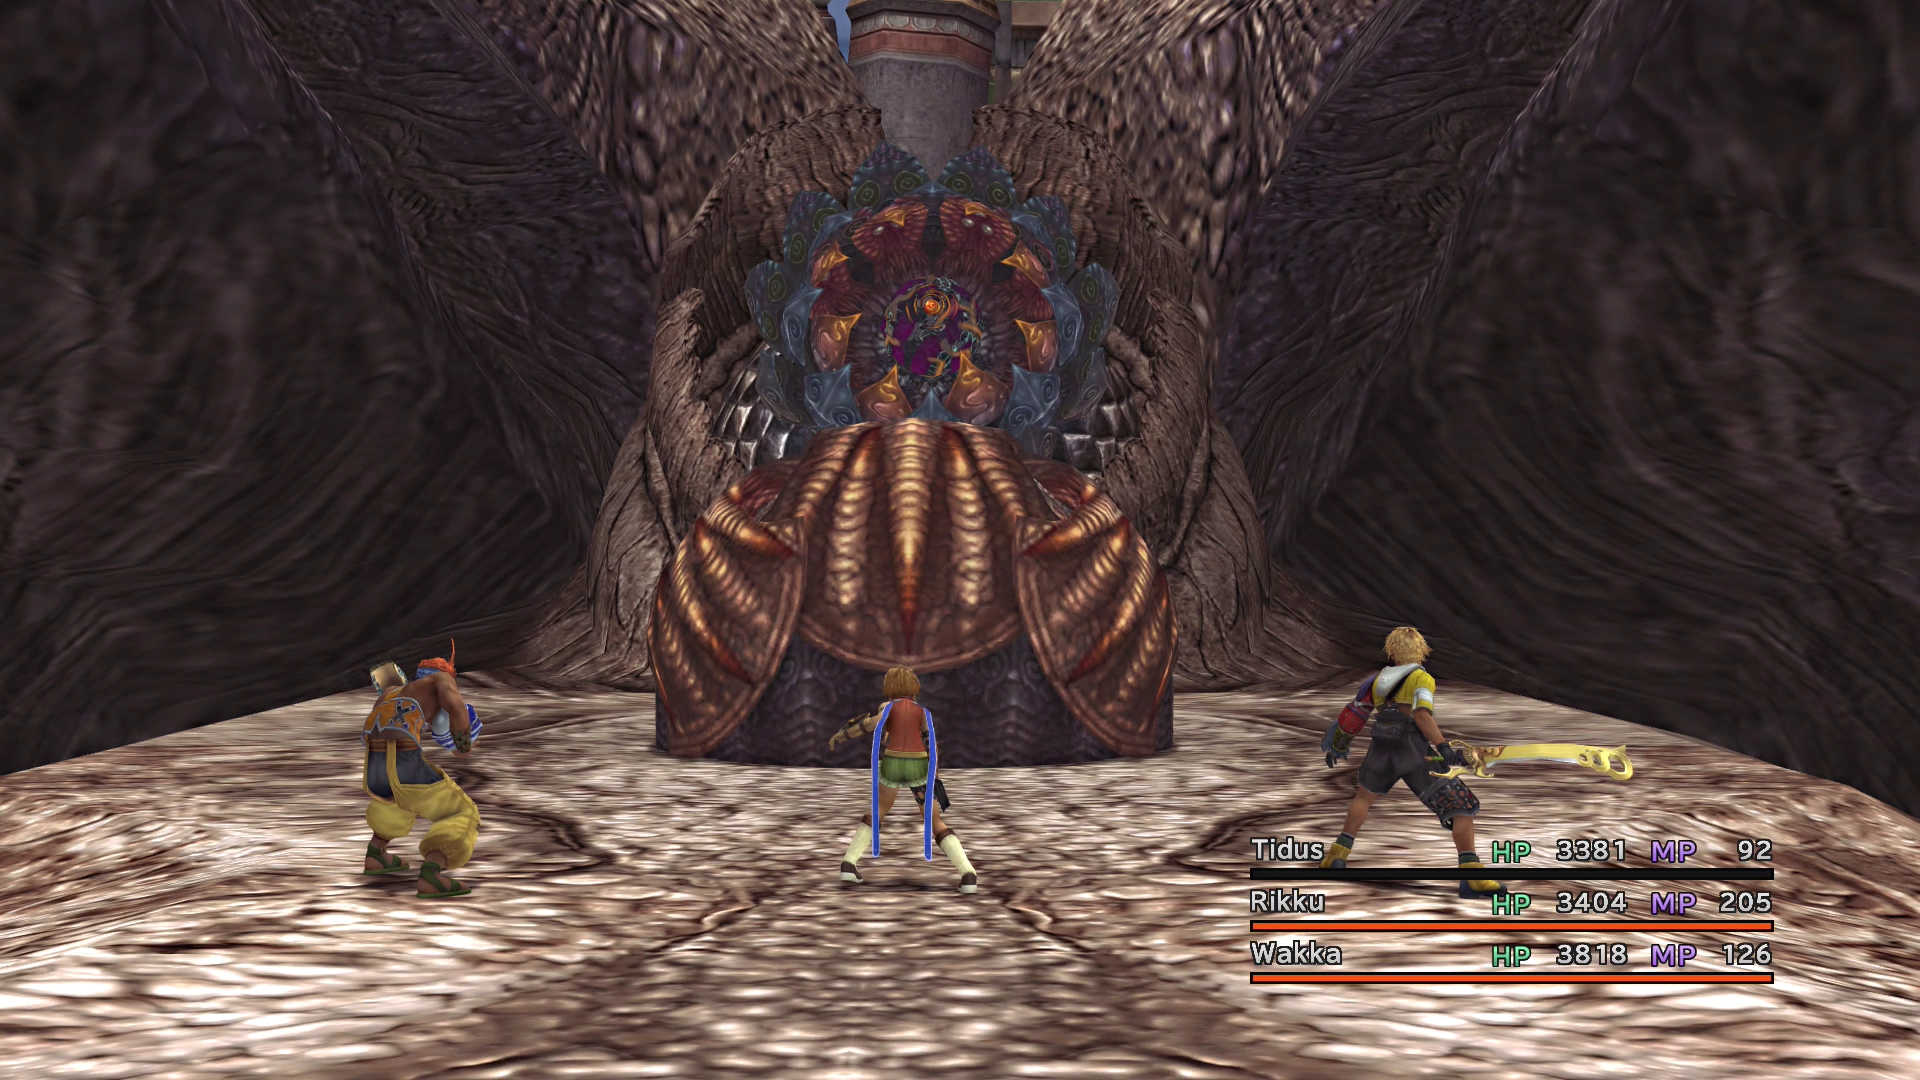
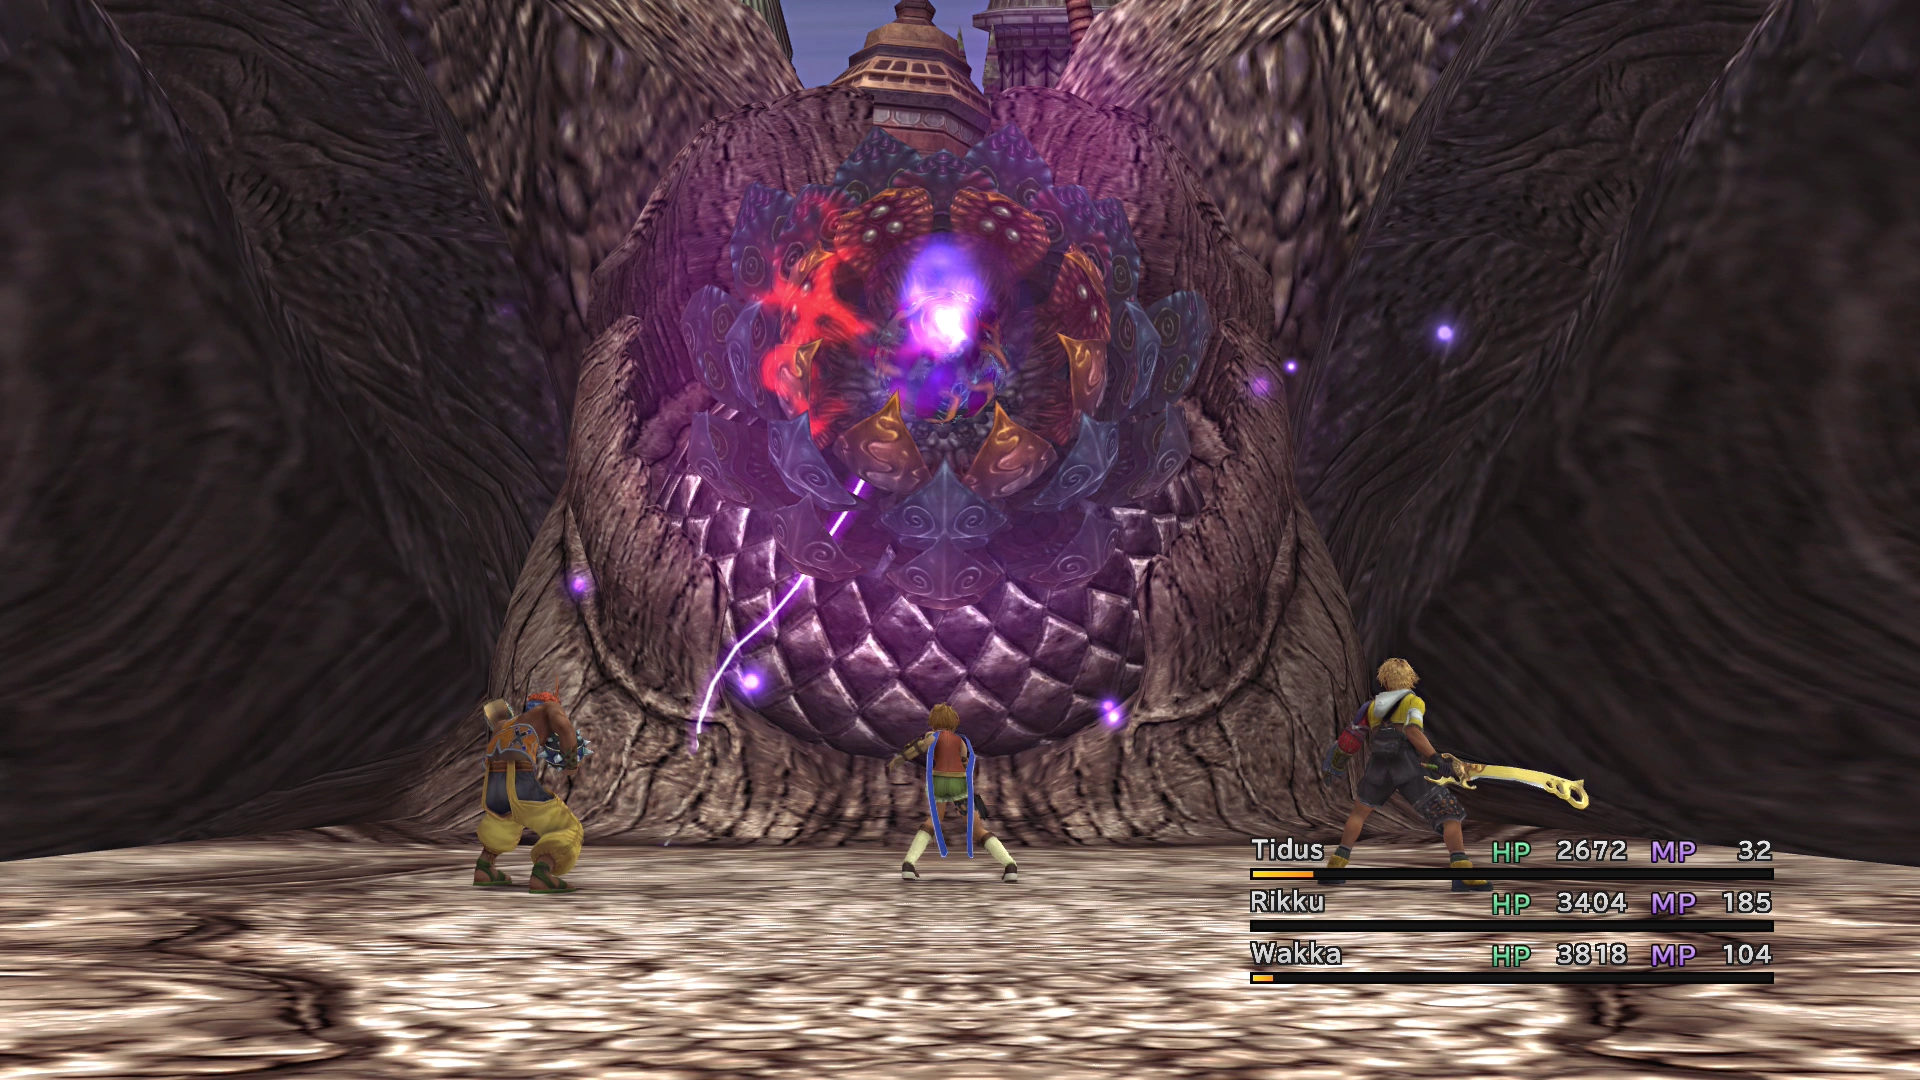
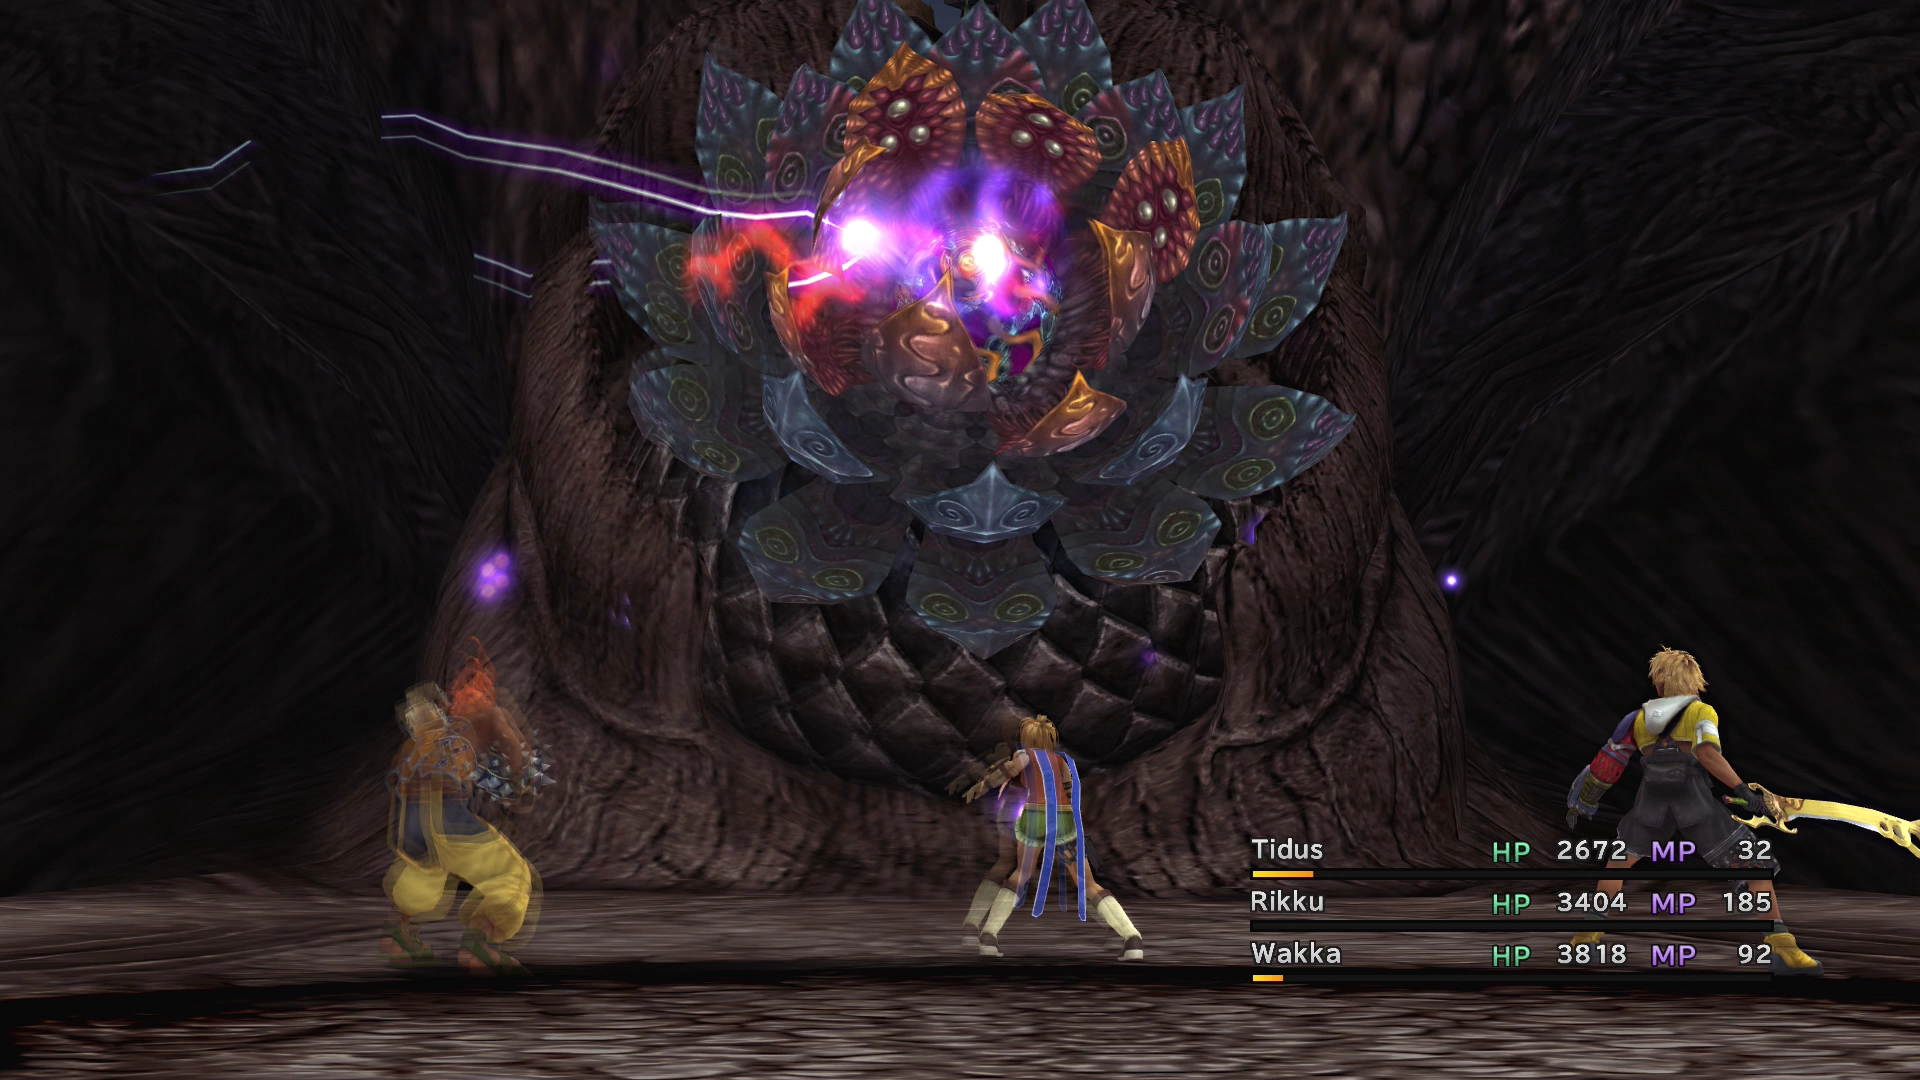
Start this fight off by destroying Sinspawn Genais, which is the creature sitting in front of Sin’s core. Genais will absorb any magic that you try to use directly on Sin. This Sinspawn starts outside of its shell, unlike Sinspawn Geneaux which you fought at Kilika Temple.
Sinspawn Genais is weak to Fire-based magic attacks. It will also retreat into its shell once it goes below 50% of its HP and will begin casting ![]() Cura on itself. It does not have much HP (about 20,000), so hammer away at it with regular attacks until you bring it down.
Cura on itself. It does not have much HP (about 20,000), so hammer away at it with regular attacks until you bring it down.
You can cast ![]() Slow or use
Slow or use ![]() Silence Buster on Genais to prevent it from casting Cura (as often).
Silence Buster on Genais to prevent it from casting Cura (as often).
Steal:
![]() Star Curtain (common)
Star Curtain (common)
![]() Shining Gem (rare)
Shining Gem (rare)
Drops:
![]() Return Sphere (common)
Return Sphere (common)
![]() Return Sphere (x2) (rare)
Return Sphere (x2) (rare)
Sin (Core)
This fight is exactly the same as the Left Fin and Right Fin fights. The only difference is that you will no longer be able to dodge “Gravija” attacks by moving the ship around, and it will counterattack your regular attacks with low-level magic spells.
Sin may hit your party members with the Poison status effect. Have Rikku use an ![]() Al Bhed Potion, have Yuna use
Al Bhed Potion, have Yuna use ![]() Esuna, or have any of your team members use an
Esuna, or have any of your team members use an ![]() Antidote or a
Antidote or a ![]() Remedy to remove it.
Remedy to remove it.
Steal:
![]() Stamina Spring (x3) (common)
Stamina Spring (x3) (common)
![]() Stamina Spring (x4) (rare)
Stamina Spring (x4) (rare)
Drops:
![]() MP Sphere (common)
MP Sphere (common)
![]() MP Sphere (x2) (rare)
MP Sphere (x2) (rare)
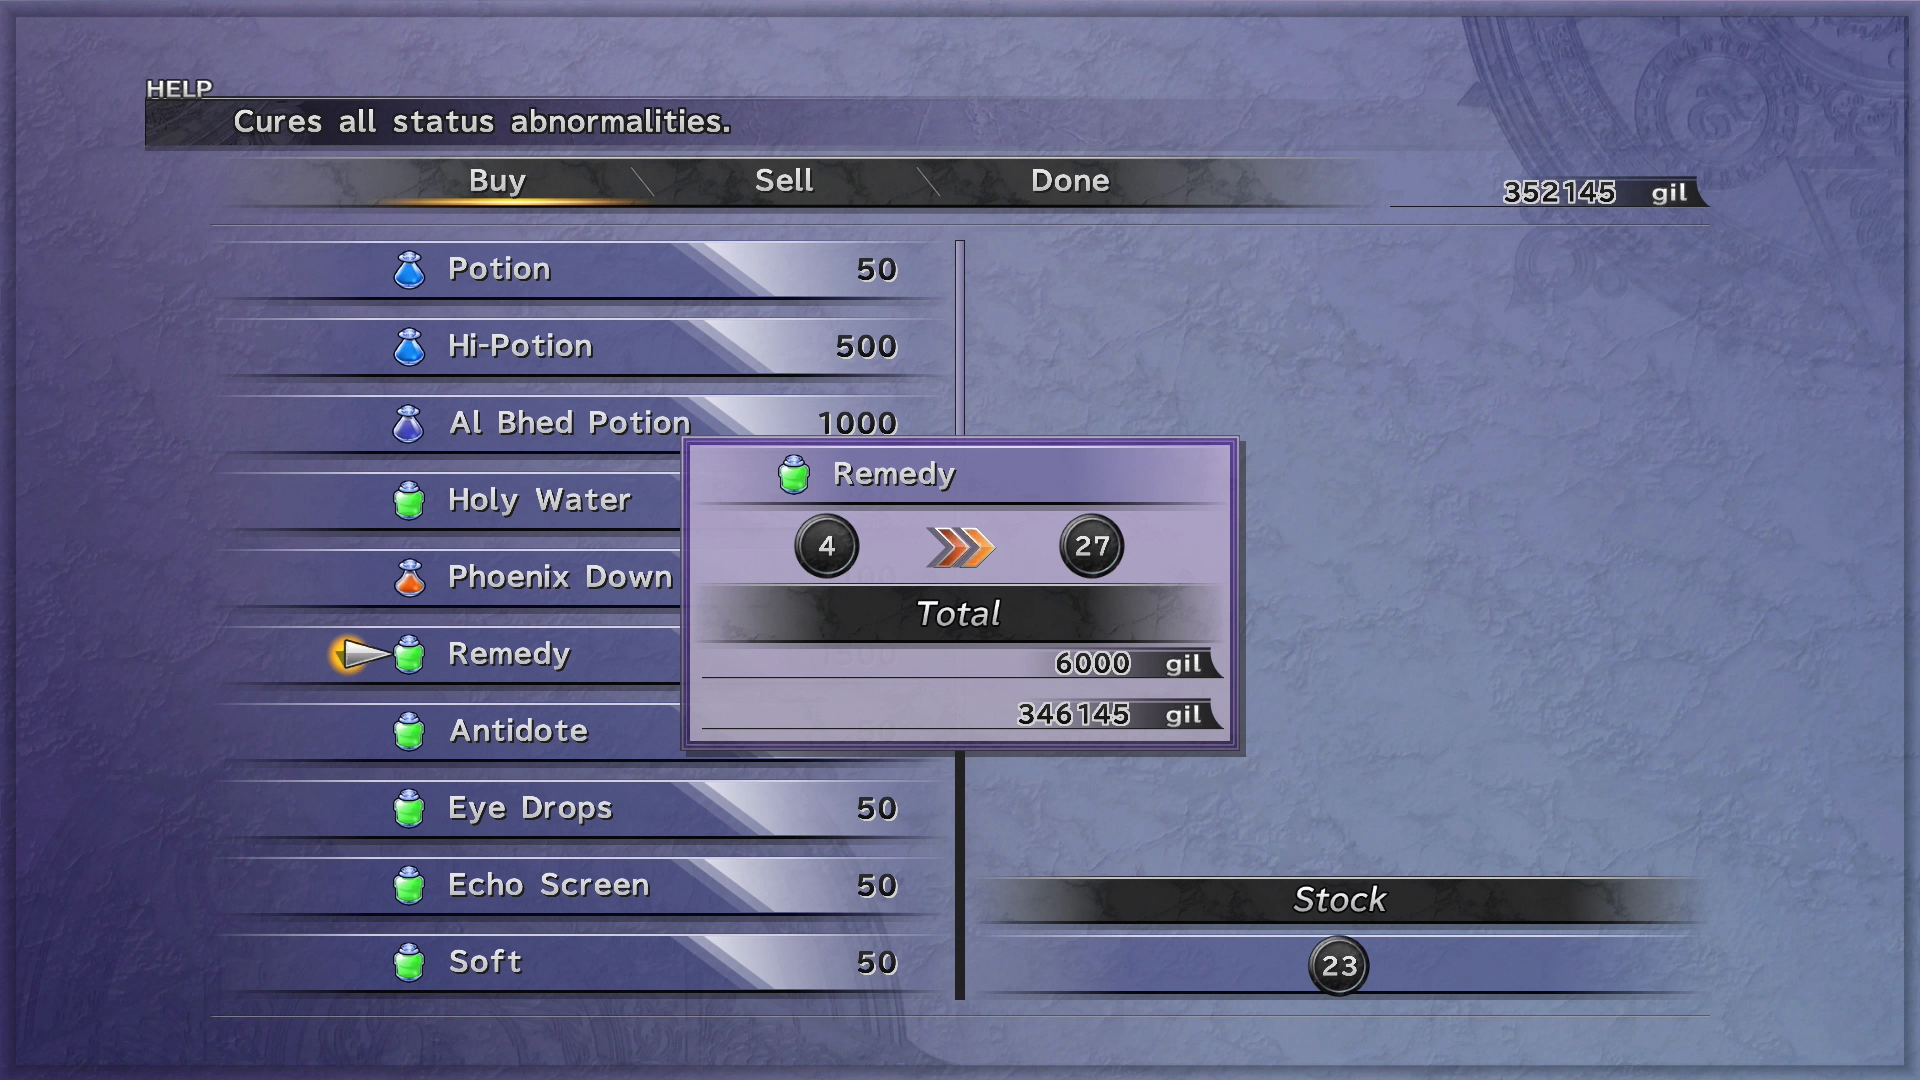
Level up your characters through the Sphere Grid and grab any items that you may have run low on. In preparation for the next fight, equip each of your characters with any armor they have that contains the following abilities:
Alternatively, you can customize your equipment and add the ![]() Auto-Med ability, which will cause your characters to automatically use a
Auto-Med ability, which will cause your characters to automatically use a ![]() Remedy if they are inflicted with a status ailment.
Remedy if they are inflicted with a status ailment.
You can use 20 ![]() Remedies to customize your equipment and add the
Remedies to customize your equipment and add the ![]() Auto-Med ability. You will also want to keep a stockpile of
Auto-Med ability. You will also want to keep a stockpile of ![]() Remedies on hand so that your characters can use them mid-battle. This step is not a requirement, but it can make the battle much easier.
Remedies on hand so that your characters can use them mid-battle. This step is not a requirement, but it can make the battle much easier.
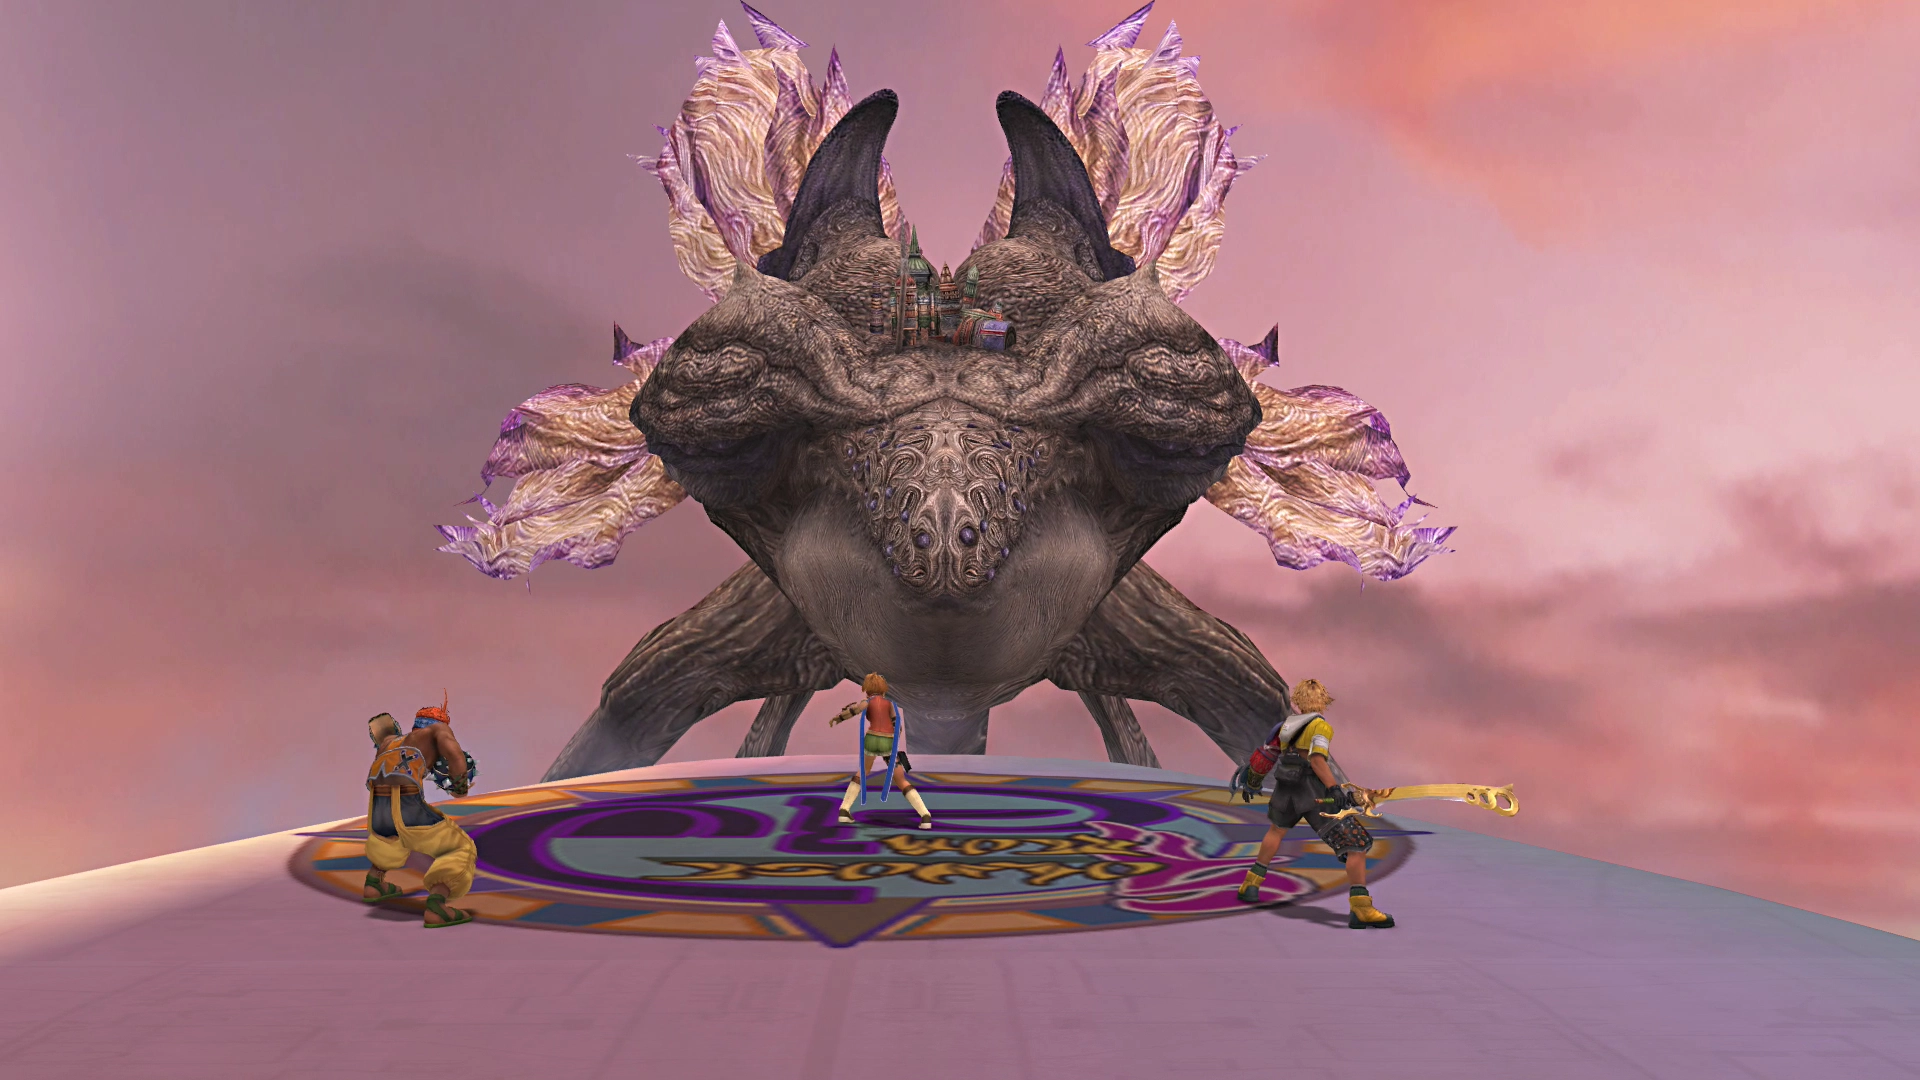
Make your way back up to the elevator and head to the outer deck of the ship to speak to Yuna. Yuna will hint that she knows that Tidus is part of the dream of the Fayth and that there is more to his story than he is revealing.
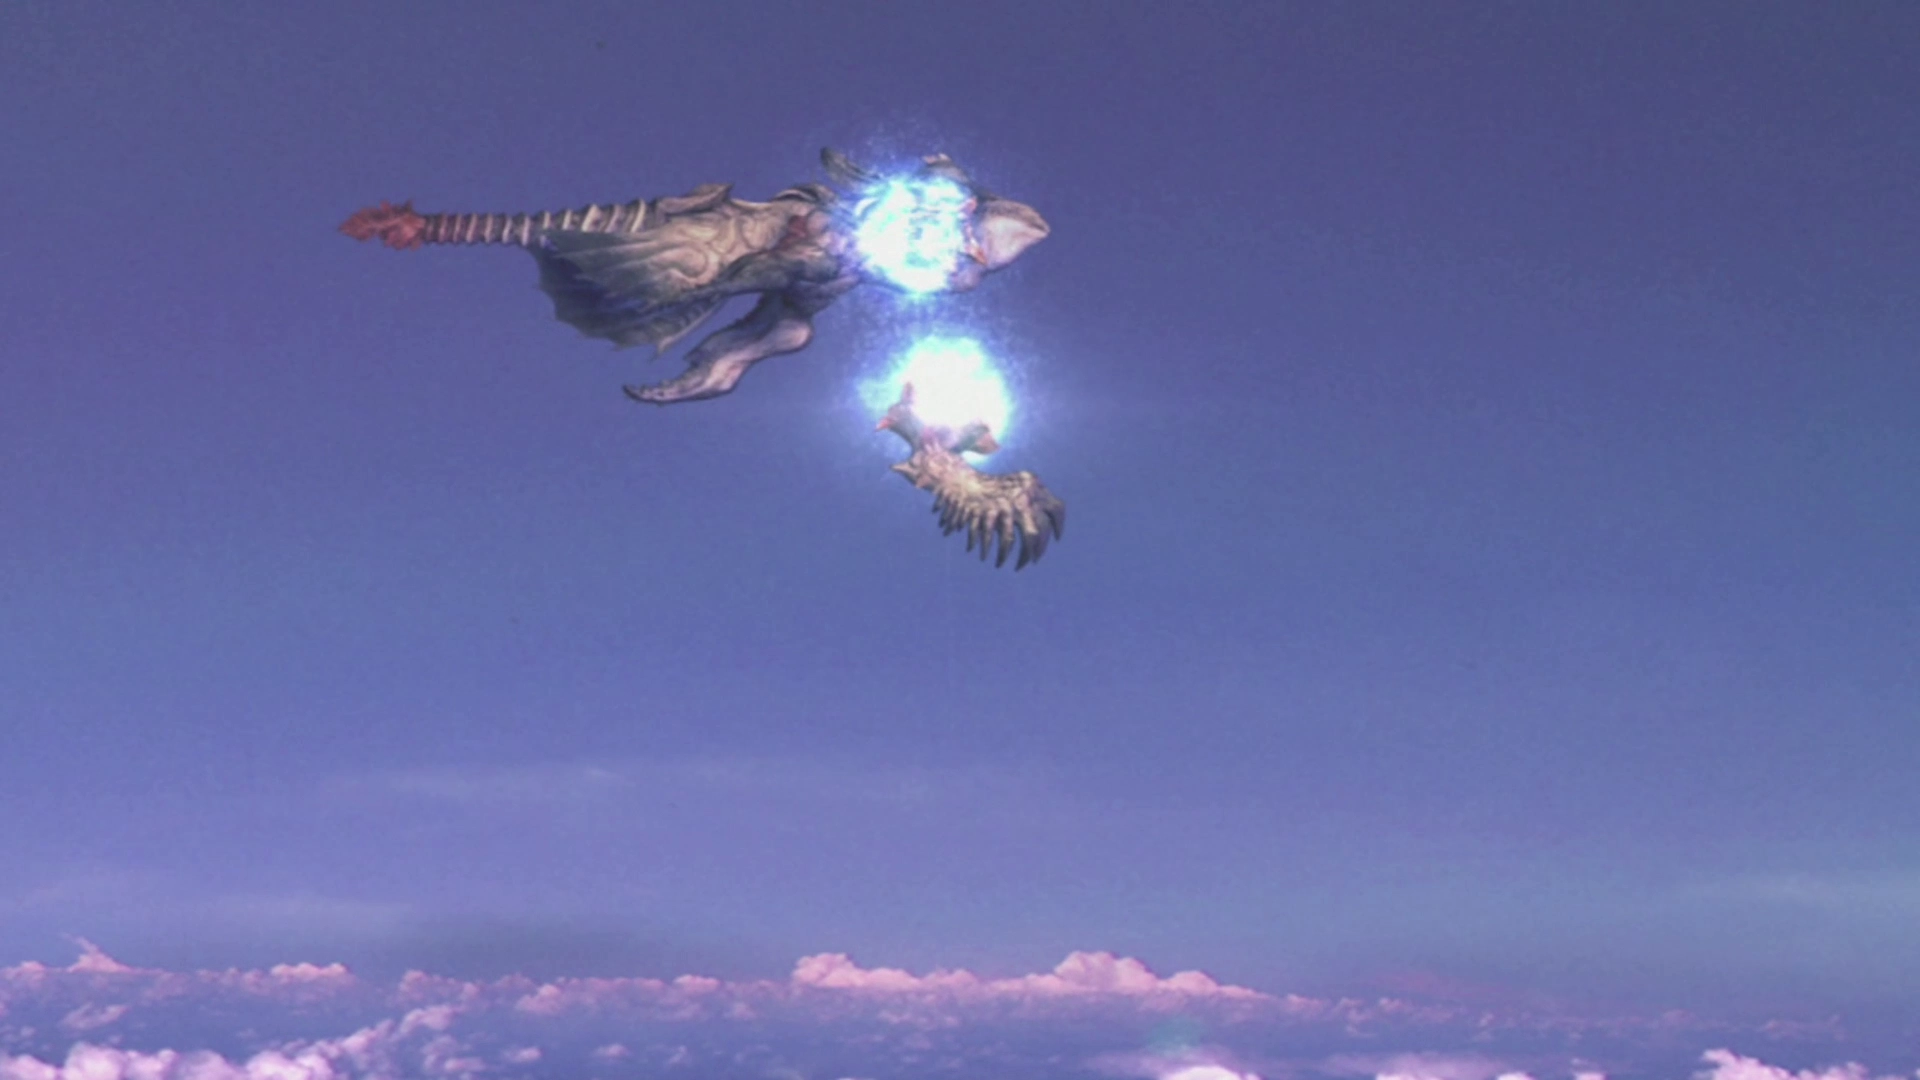
Sin will approach the Airship again one more time for one last showdown…
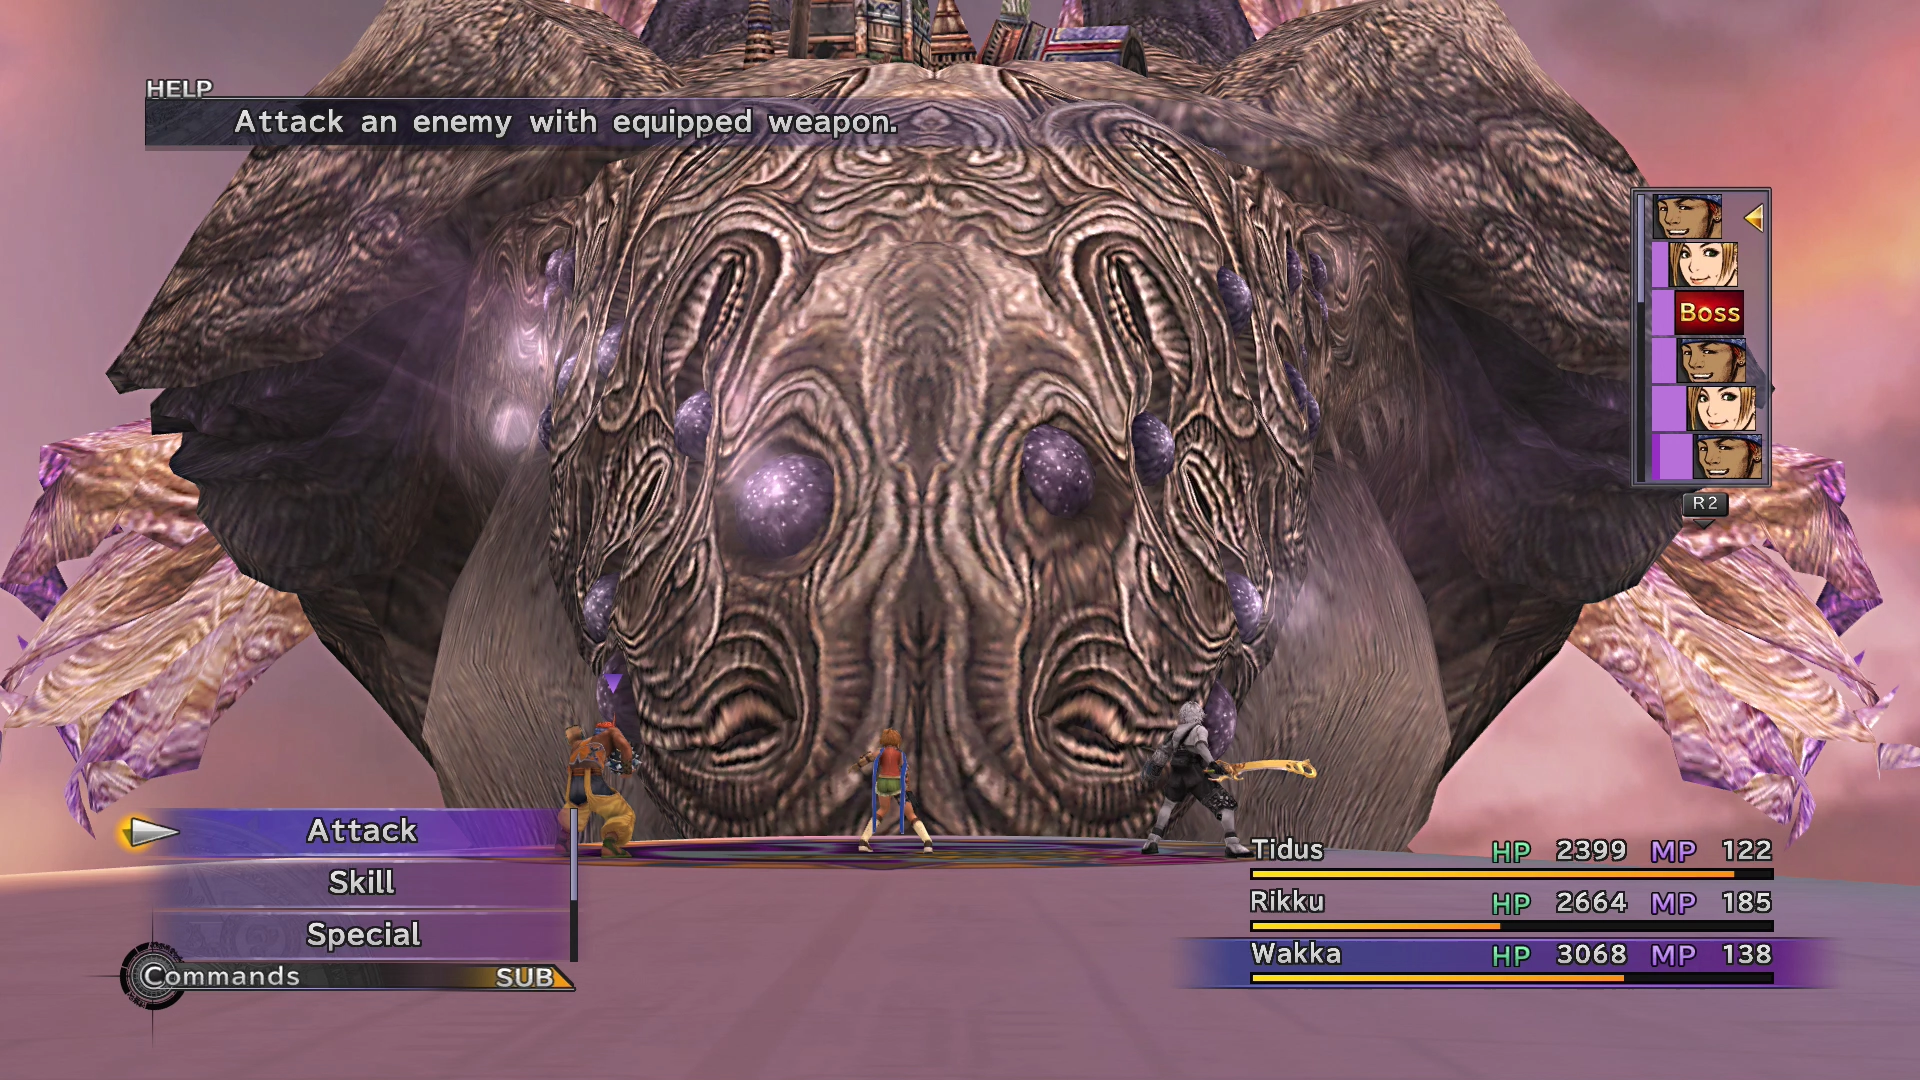
Boss Battle
In Game Description: Pulls the Airship in while gathering all his strength to cast the ultimate terror, Giga-Graviton. Stop him before he wipes everyone out!
HP: 140,000
This battle has a time limit. After approximately sixteen turns, the fight will end as Sin will use its Overdrive ability, “Giga-Graviton,” which is an instant game over.
The charging bar above its head indicates how close it is to activating its Overdrive. Summoning an Aeon will not prevent death, which means you have to do 140,000 worth of damage before then.
Sin will start the battle being too far away for you to hit it, but it will slowly move closer (to within melee range) as the battle progresses. Use the first few turns to enhance your characters using ![]() Cheer,
Cheer, ![]() Luck, etc., and have Tidus cast
Luck, etc., and have Tidus cast ![]() Hastega on the party. Use either Lulu or Wakka in your party to do some damage even when Sin is at a distance.
Hastega on the party. Use either Lulu or Wakka in your party to do some damage even when Sin is at a distance.
You should have Auron use ![]() Armor Break once Sin gets close enough. Alternatively, you can have Rikku use her Mix ability and have her Mix two items (such as two
Armor Break once Sin gets close enough. Alternatively, you can have Rikku use her Mix ability and have her Mix two items (such as two ![]() Power Spheres or two
Power Spheres or two ![]() Ability Spheres, creating a
Ability Spheres, creating a ![]() Frag Grenade), which can cause the same Armor Break status ailment.
Frag Grenade), which can cause the same Armor Break status ailment.
Sin will begin attacking your party once it gets close enough to the ship, so be prepared to deal with the Petrify, Confuse, and Zombie status effects as they come. Good luck!
Steal:
![]() Ether (common)
Ether (common)
![]() Supreme Gem (rare)
Supreme Gem (rare)
Drops:
![]() Lv. 3 Key Sphere
Lv. 3 Key Sphere
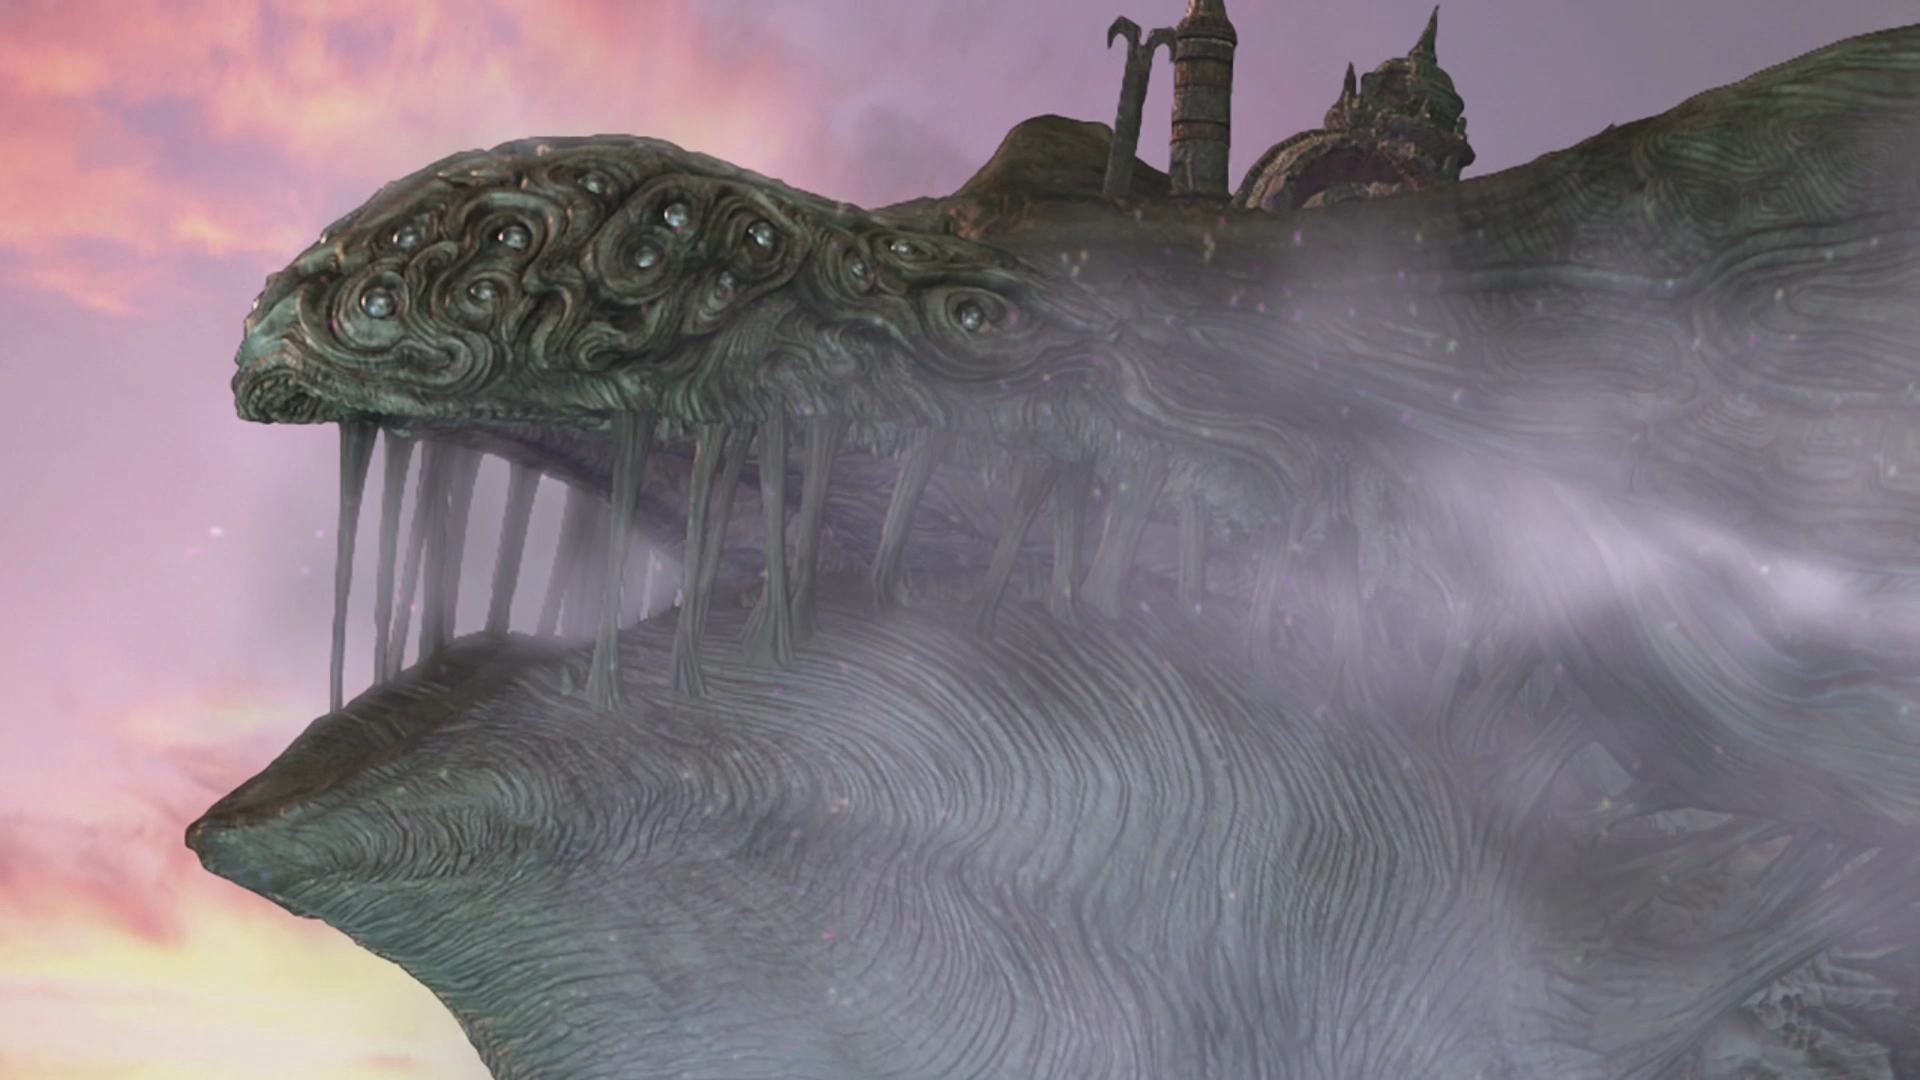
The next portions of the game involve approaching Sin on foot after the team leaves the Airship.
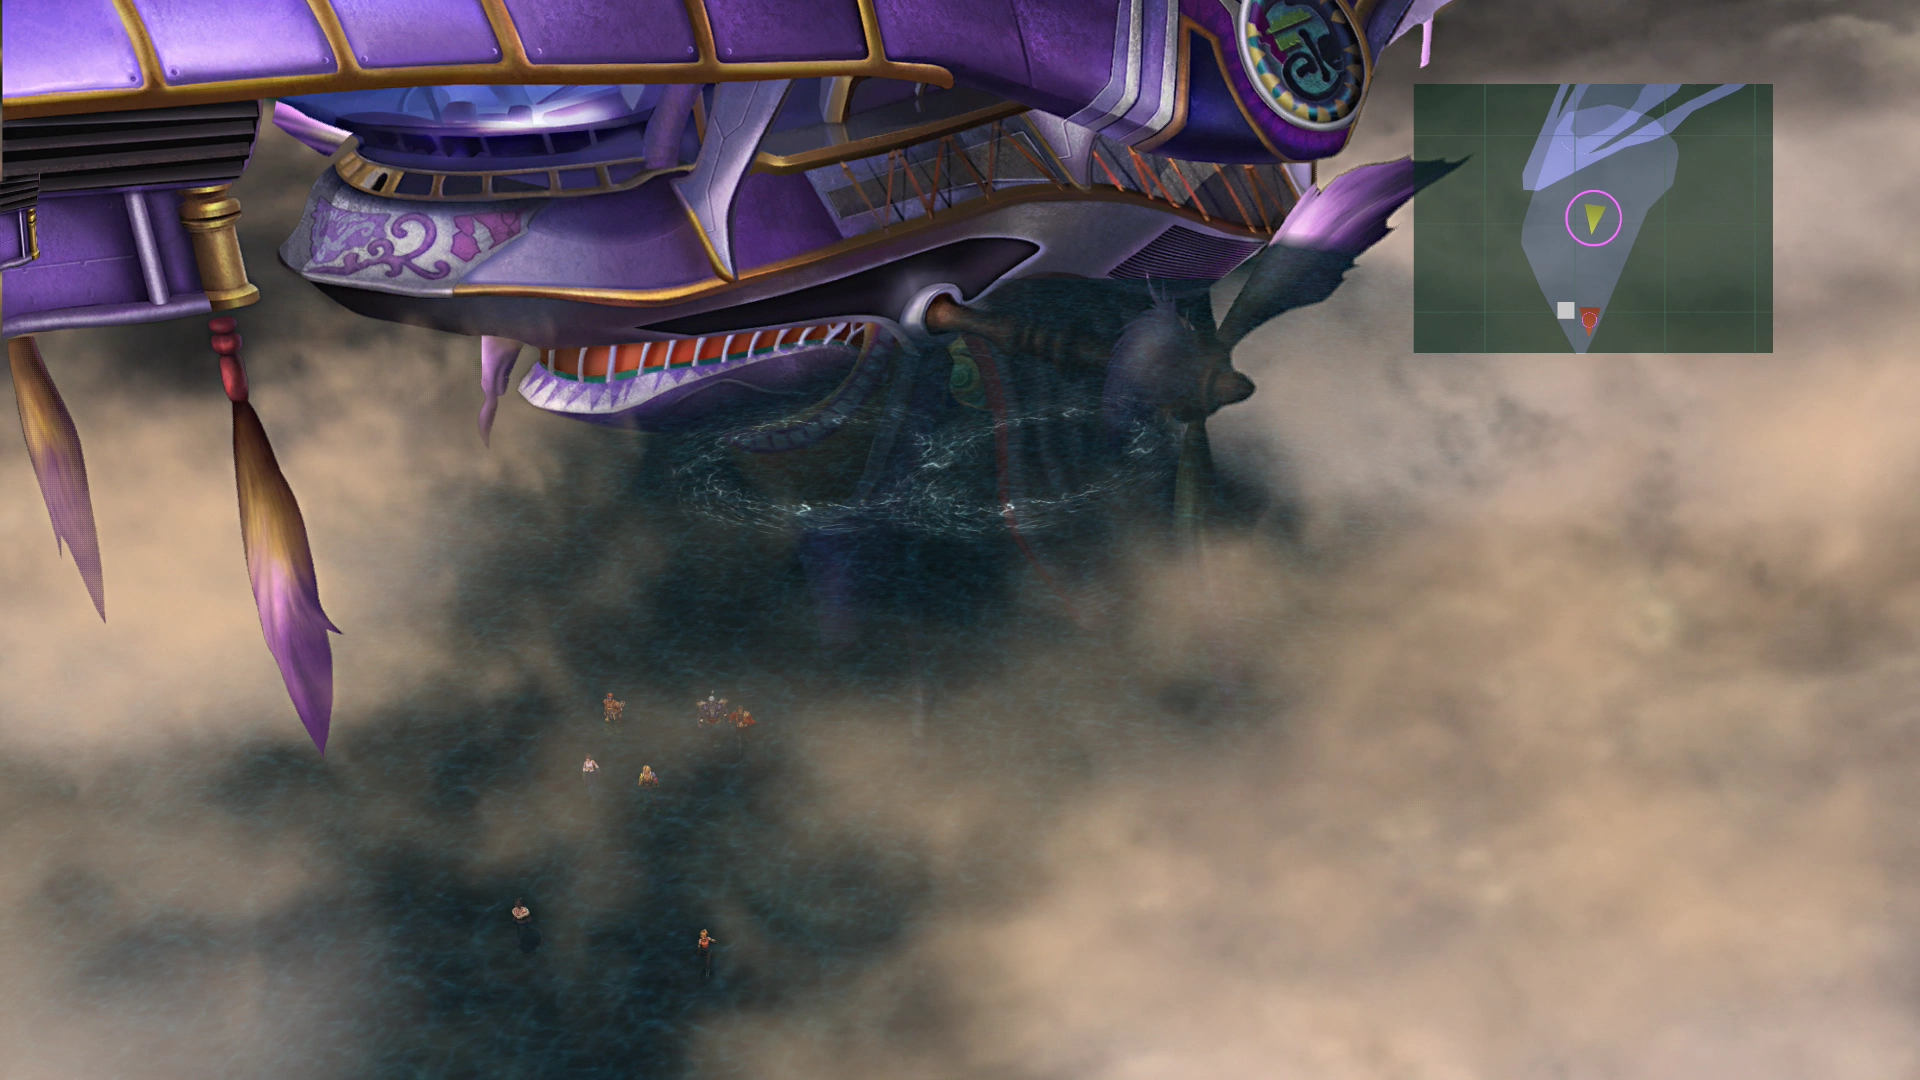
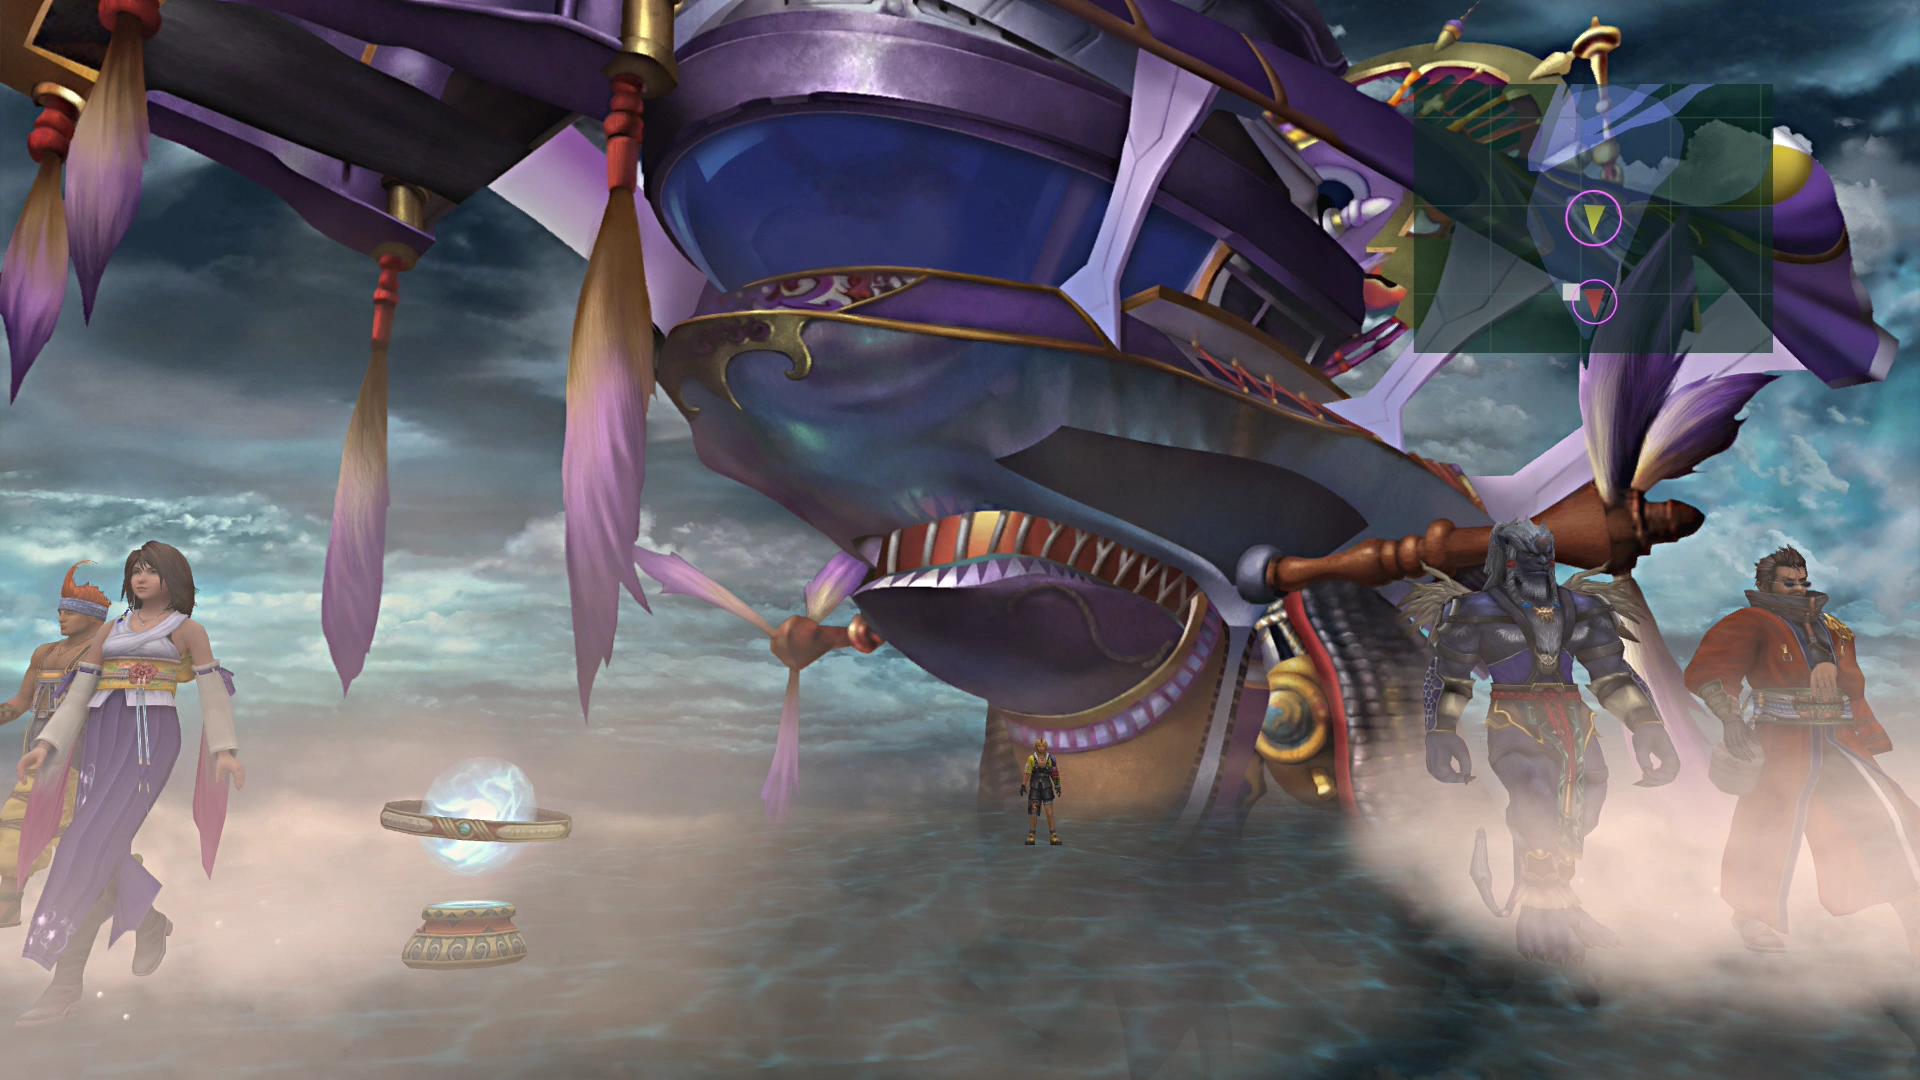
Sin - Near Airship
The Airship will land, and Tidus and company will move through the water towards Sin. Save your game at the ![]() Save Sphere and follow the rest of the team.
Save Sphere and follow the rest of the team.
Note that at this point in the game, you can still turn back around and look to complete some of the side quests rather than finishing the game. Going any further will lead to the final chapters of the game. This guide will provide ample warning before you reach the point of no return.


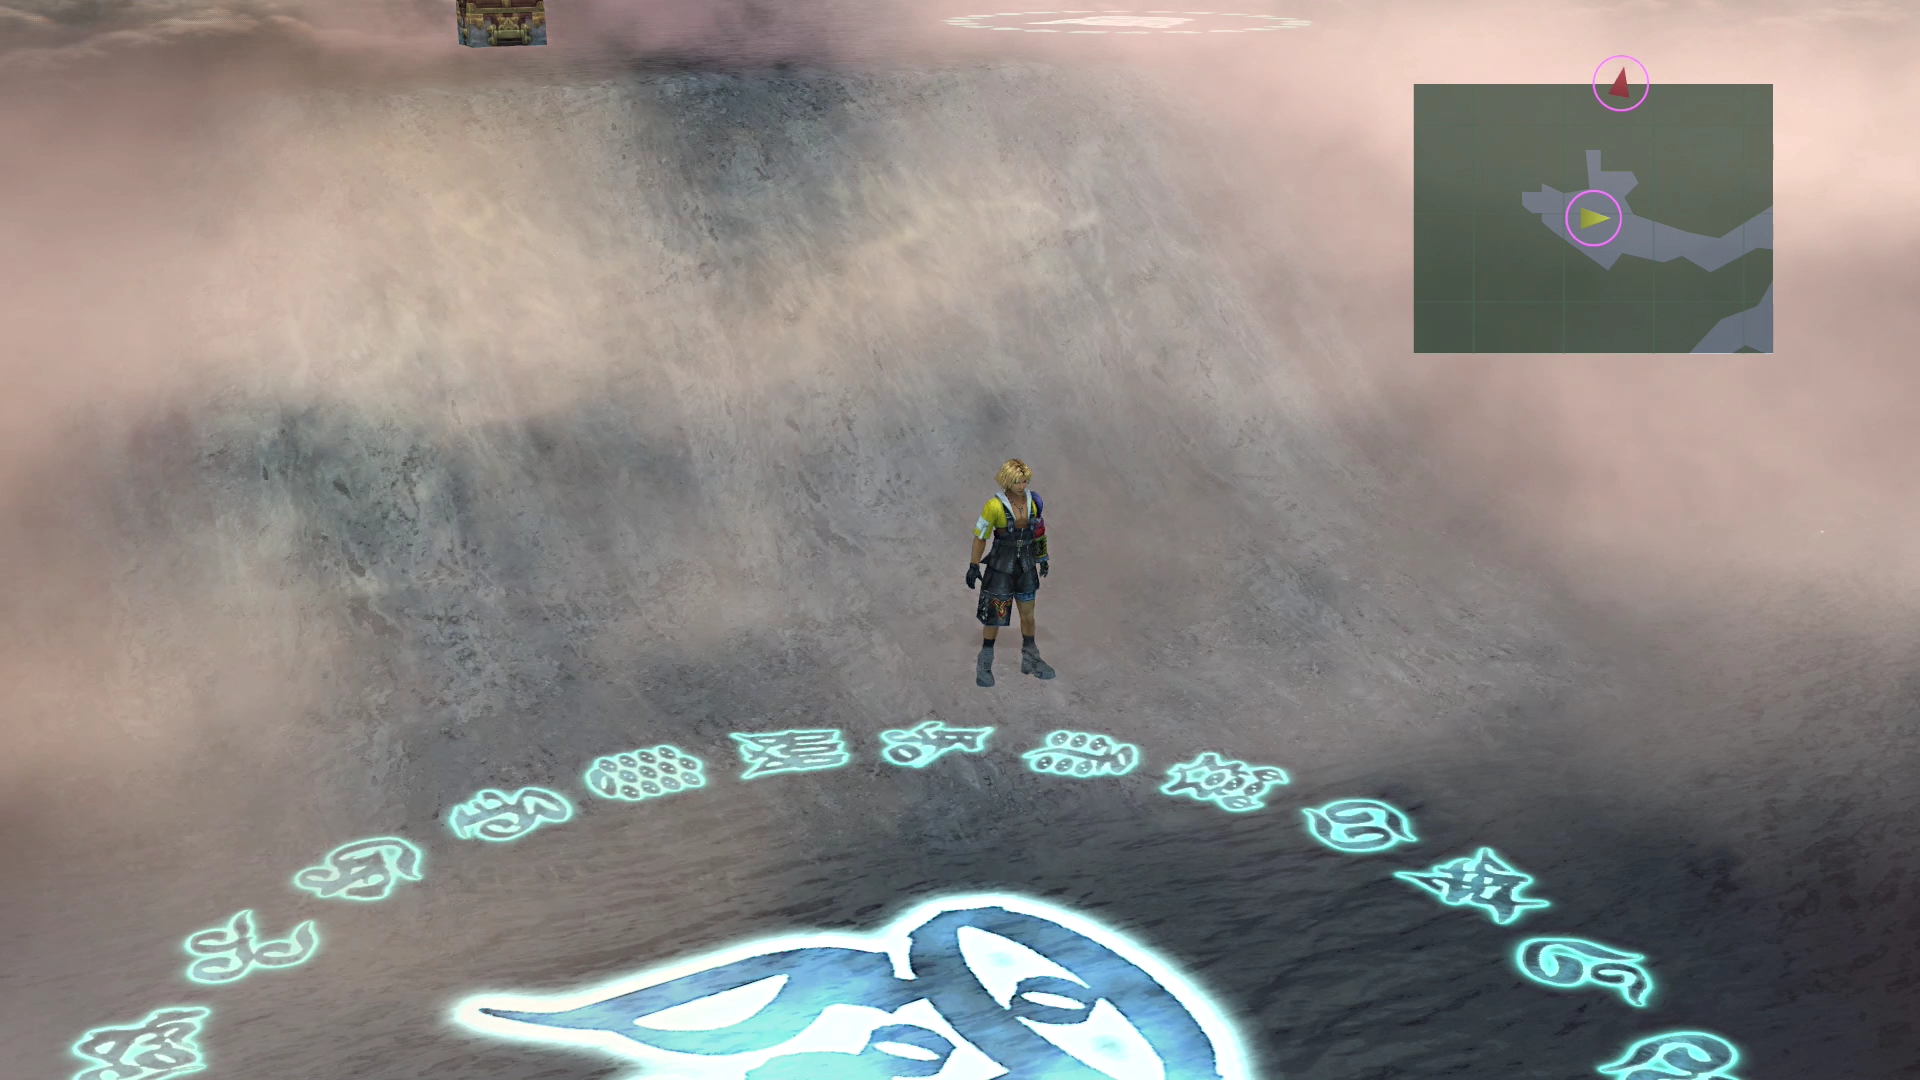
Sin - Sea of Sorrow
The mini-map for this area will contain some fog of war, making it difficult to know which path is the correct one.
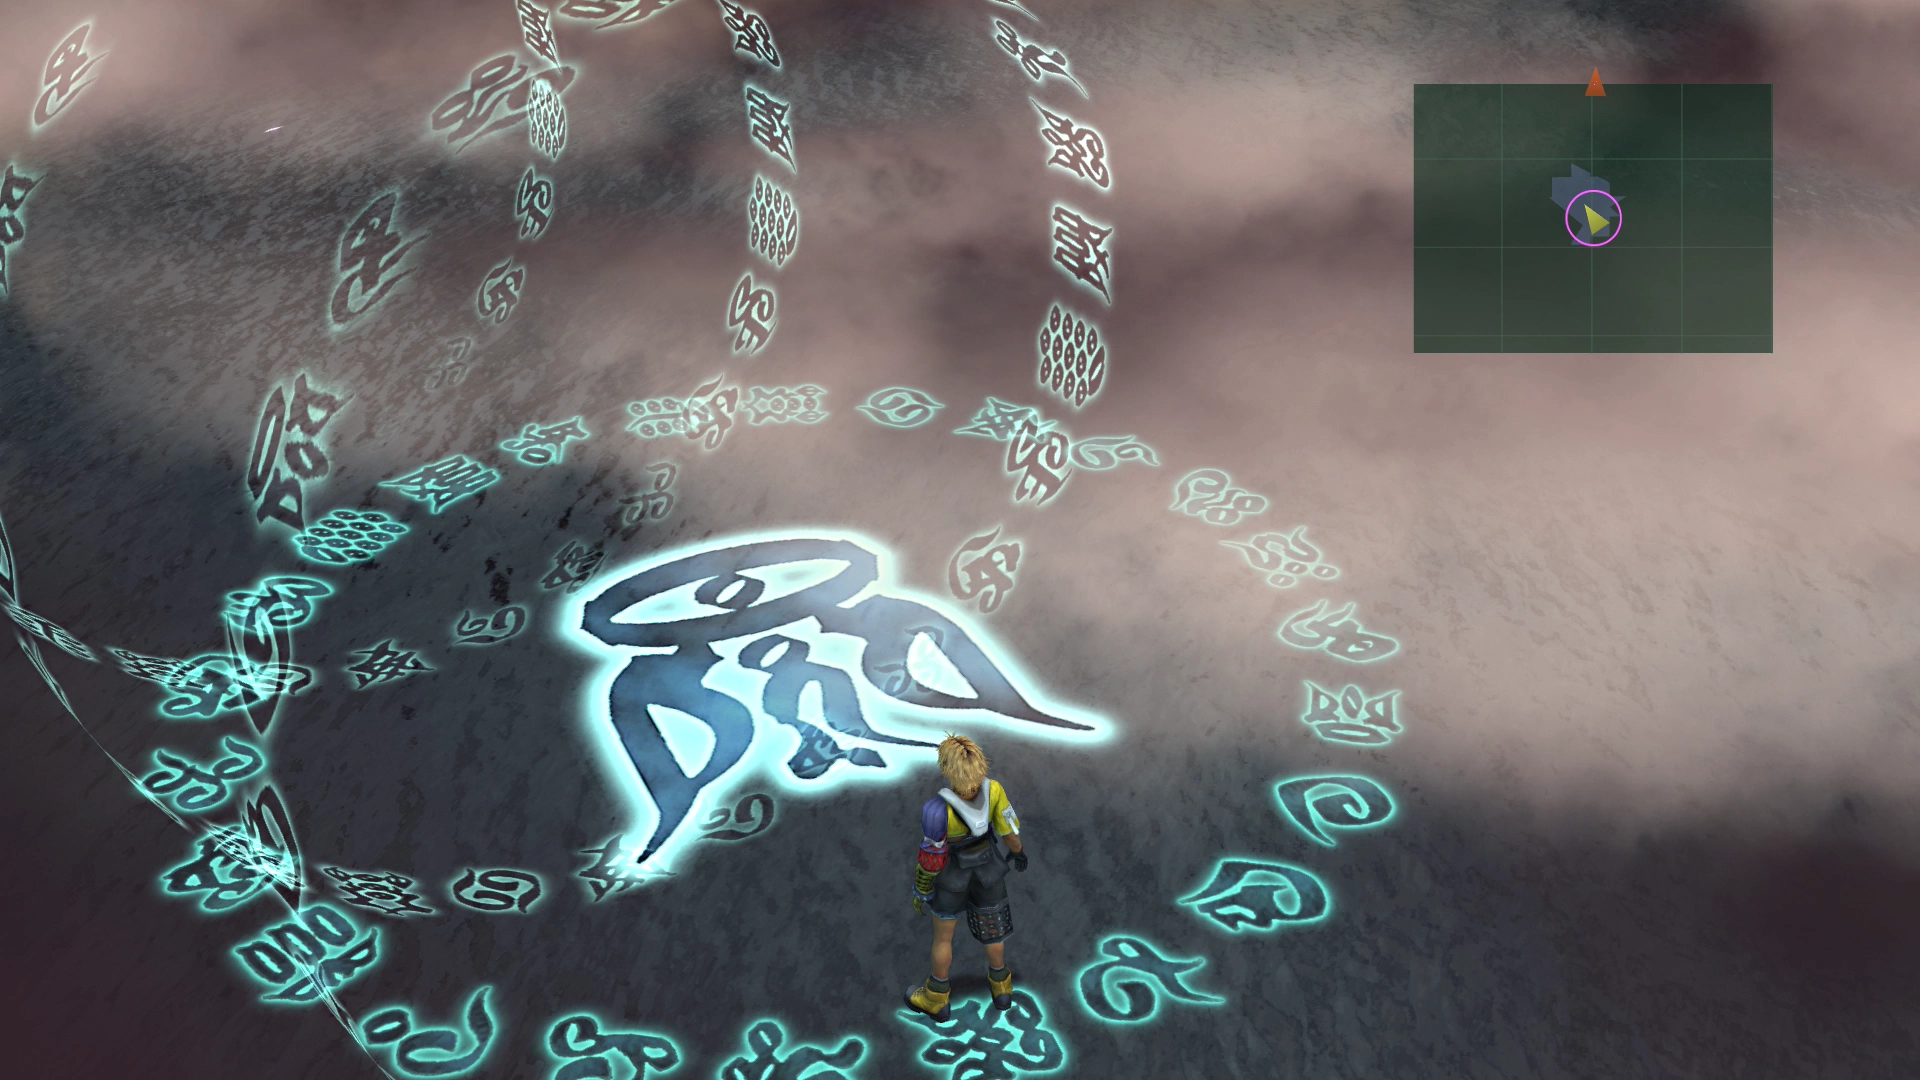
Use the grey-looking water walkway on the mini-map to help you navigate through this location. Just follow the red arrow ![]() north as you work your way through the Sea and use the map below (as a generic guideline) to help you get through.
north as you work your way through the Sea and use the map below (as a generic guideline) to help you get through.
Sea of Sorrow Map

| One-Way Wall |
Note that there are waterfalls along each of the pathways, though, so in many cases you will have to take the long way around to reach the treasure chests shown on the map. Because of this, you should make your way to Treasure Chest (1) first, followed by Treasure Chest (2) at the top of the waterfall.
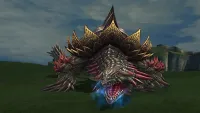
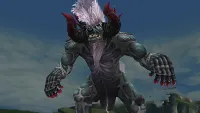
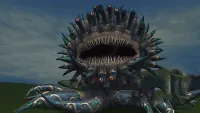
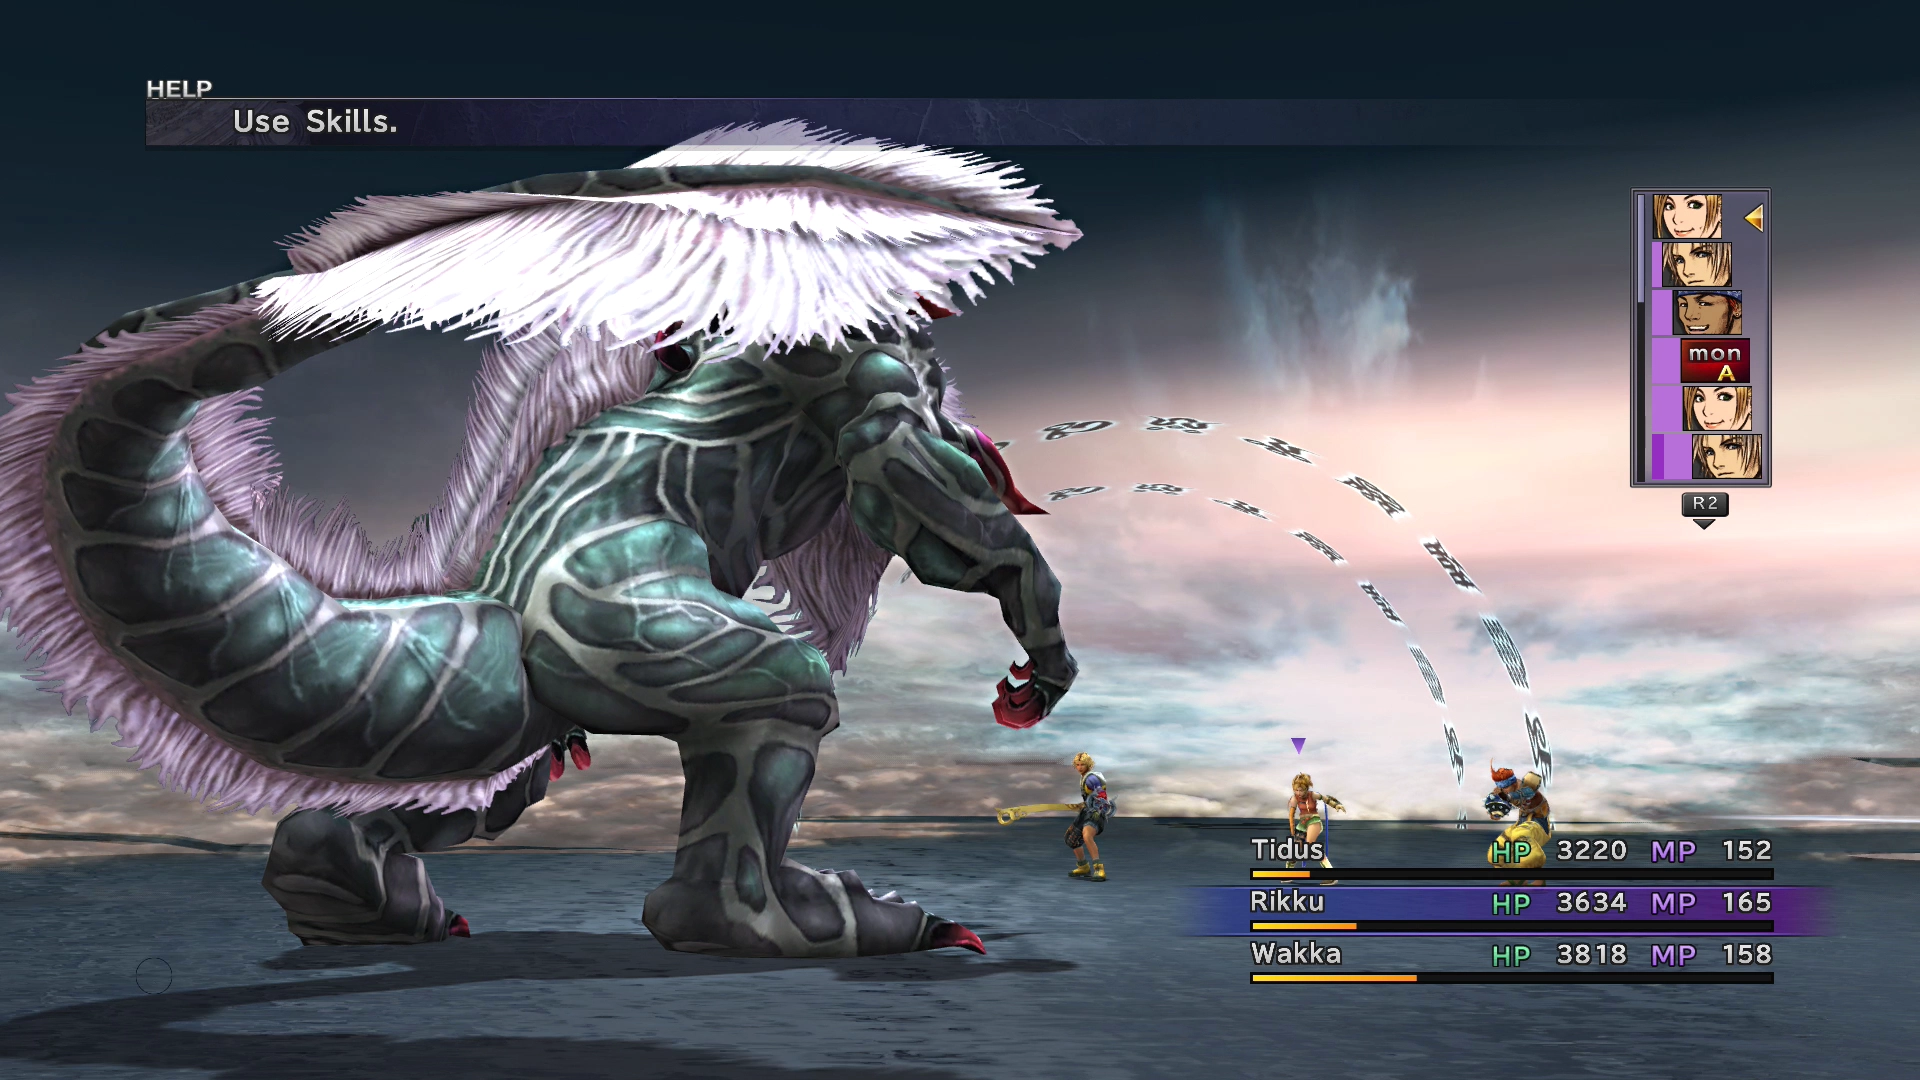
Warning
The Behemoth Kings in this area (shown in the screenshot below) can be particularly challenging. They will unleash a Meteor counterattack once you have exhausted their HP, which can cause up to 7,000+ damage. It is highly recommended that you run away from them unless you have trained up using the side quests, obtained your Celestial Weapons, etc.
Some alternative strategies for surviving Meteor, if you want to brave it, are to cast ![]() Protect on your party members and have them use the Defend command when Behemoth King is getting low on health.
Protect on your party members and have them use the Defend command when Behemoth King is getting low on health.
Also note that Meteor is not triggered if you defeat Behemoth King using a counterattack, which means that you can have a character with the “Counterattack” ability use the ![]() Provoke ability when Behemoth King’s HP is low and just wait for it to kill itself eventually.
Provoke ability when Behemoth King’s HP is low and just wait for it to kill itself eventually.
Save your game at the ![]() Save Sphere at the end of the Sea of Sorrows before you proceed on to the next area.
Save Sphere at the end of the Sea of Sorrows before you proceed on to the next area.

The upcoming boss fight against Seymour Omnis is an entirely magic-based fight. You should equip each of your characters with any armor that they have that protects against magic. This armor includes:
 Fire Ward,
Lightning Ward,
Water Ward,
Ice Ward
Fire Ward,
Lightning Ward,
Water Ward,
Ice Ward- Fireproof,
Lightningproof,
Waterproof,
Iceproof
- SOS NulBlaze,
SOS NulShock,
SOS NulTide,
SOS NulFrost
- Magic Def+
You should remove any weapons your party members have equipped if they have the ![]() Firestrike,
Firestrike, ![]() Lightningstrike,
Lightningstrike, ![]() Waterstrike, or
Waterstrike, or ![]() Icestrike abilities. They could all potentially heal Seymour if used to attack him.
Icestrike abilities. They could all potentially heal Seymour if used to attack him.
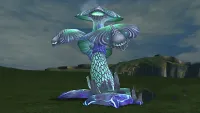
Sin - Garden of Pain
Boss Battle
In Game Description: Casts spells once energized by the four Mortiphasms behind him. Their positions somehow affect his actions. Physical attacks turn the Mortiphasms to the left, while magic turns them to the right.
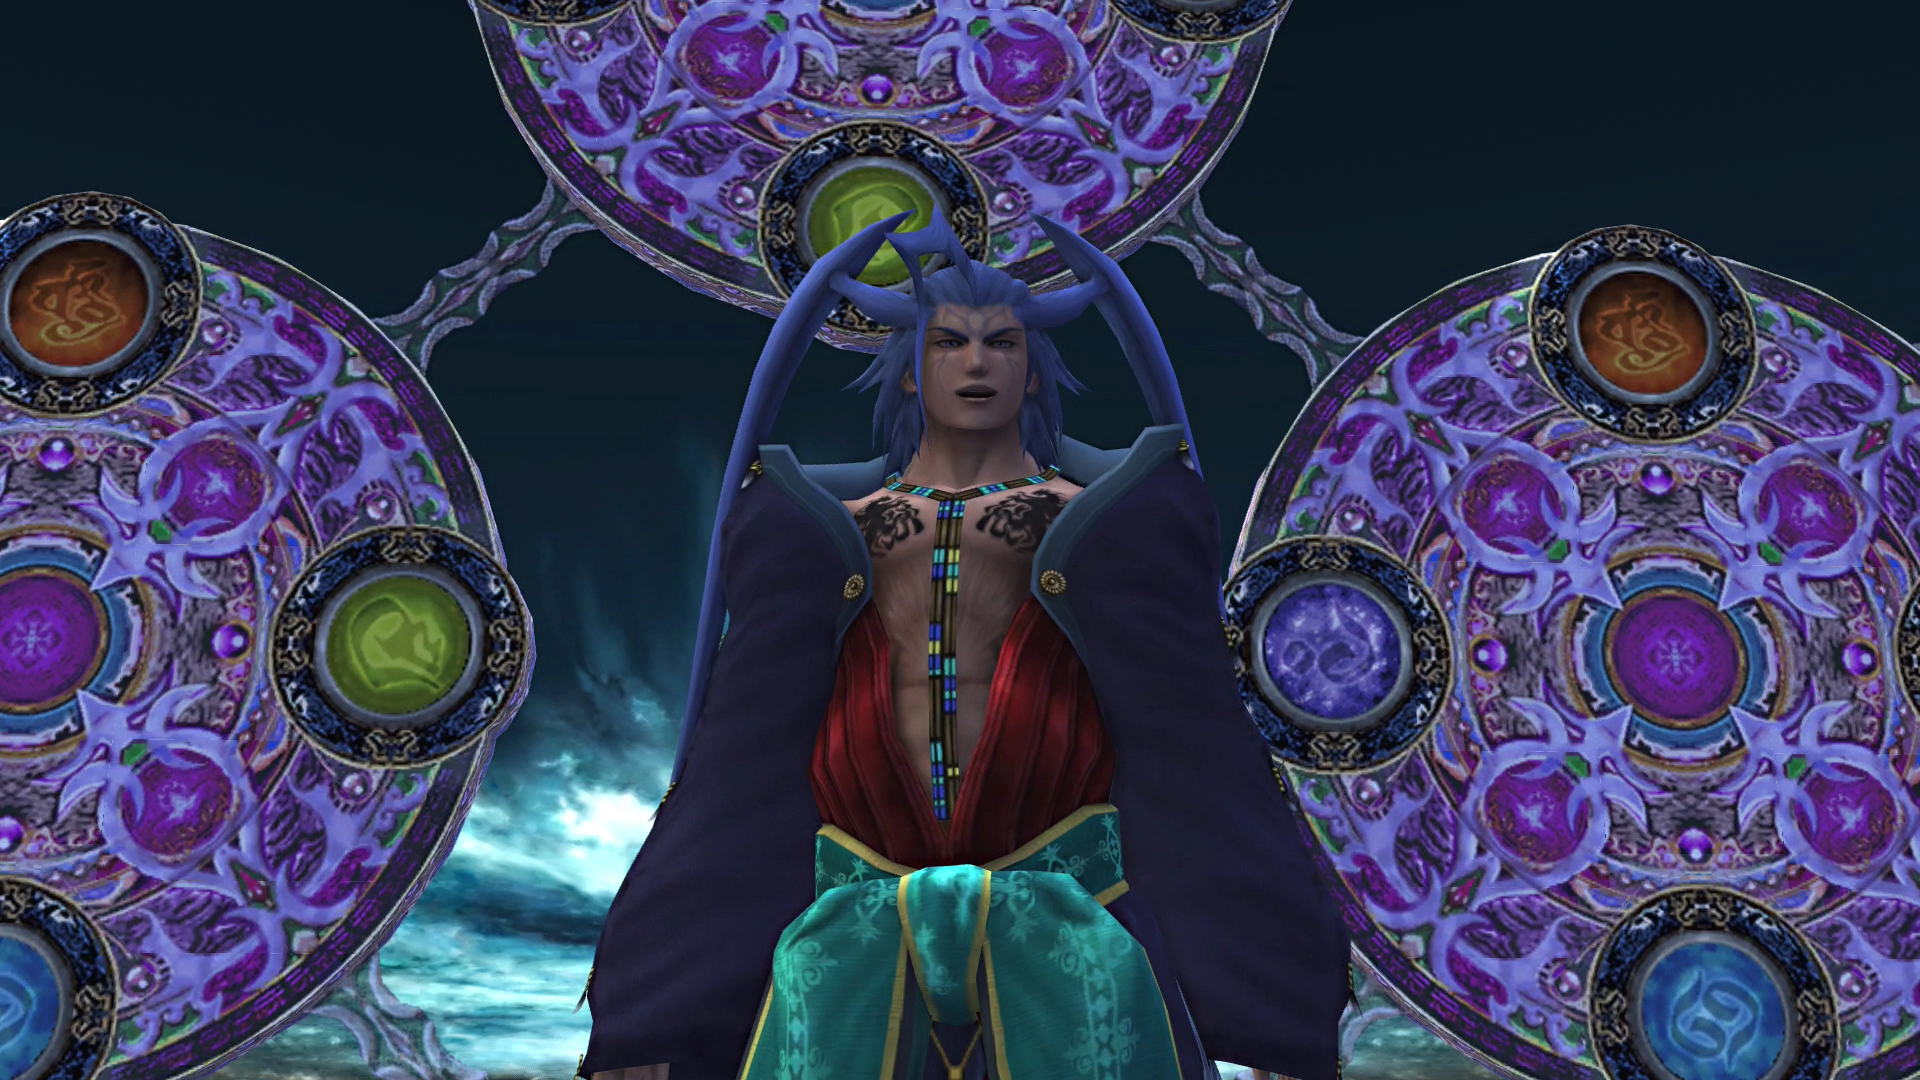
HP: 80,000
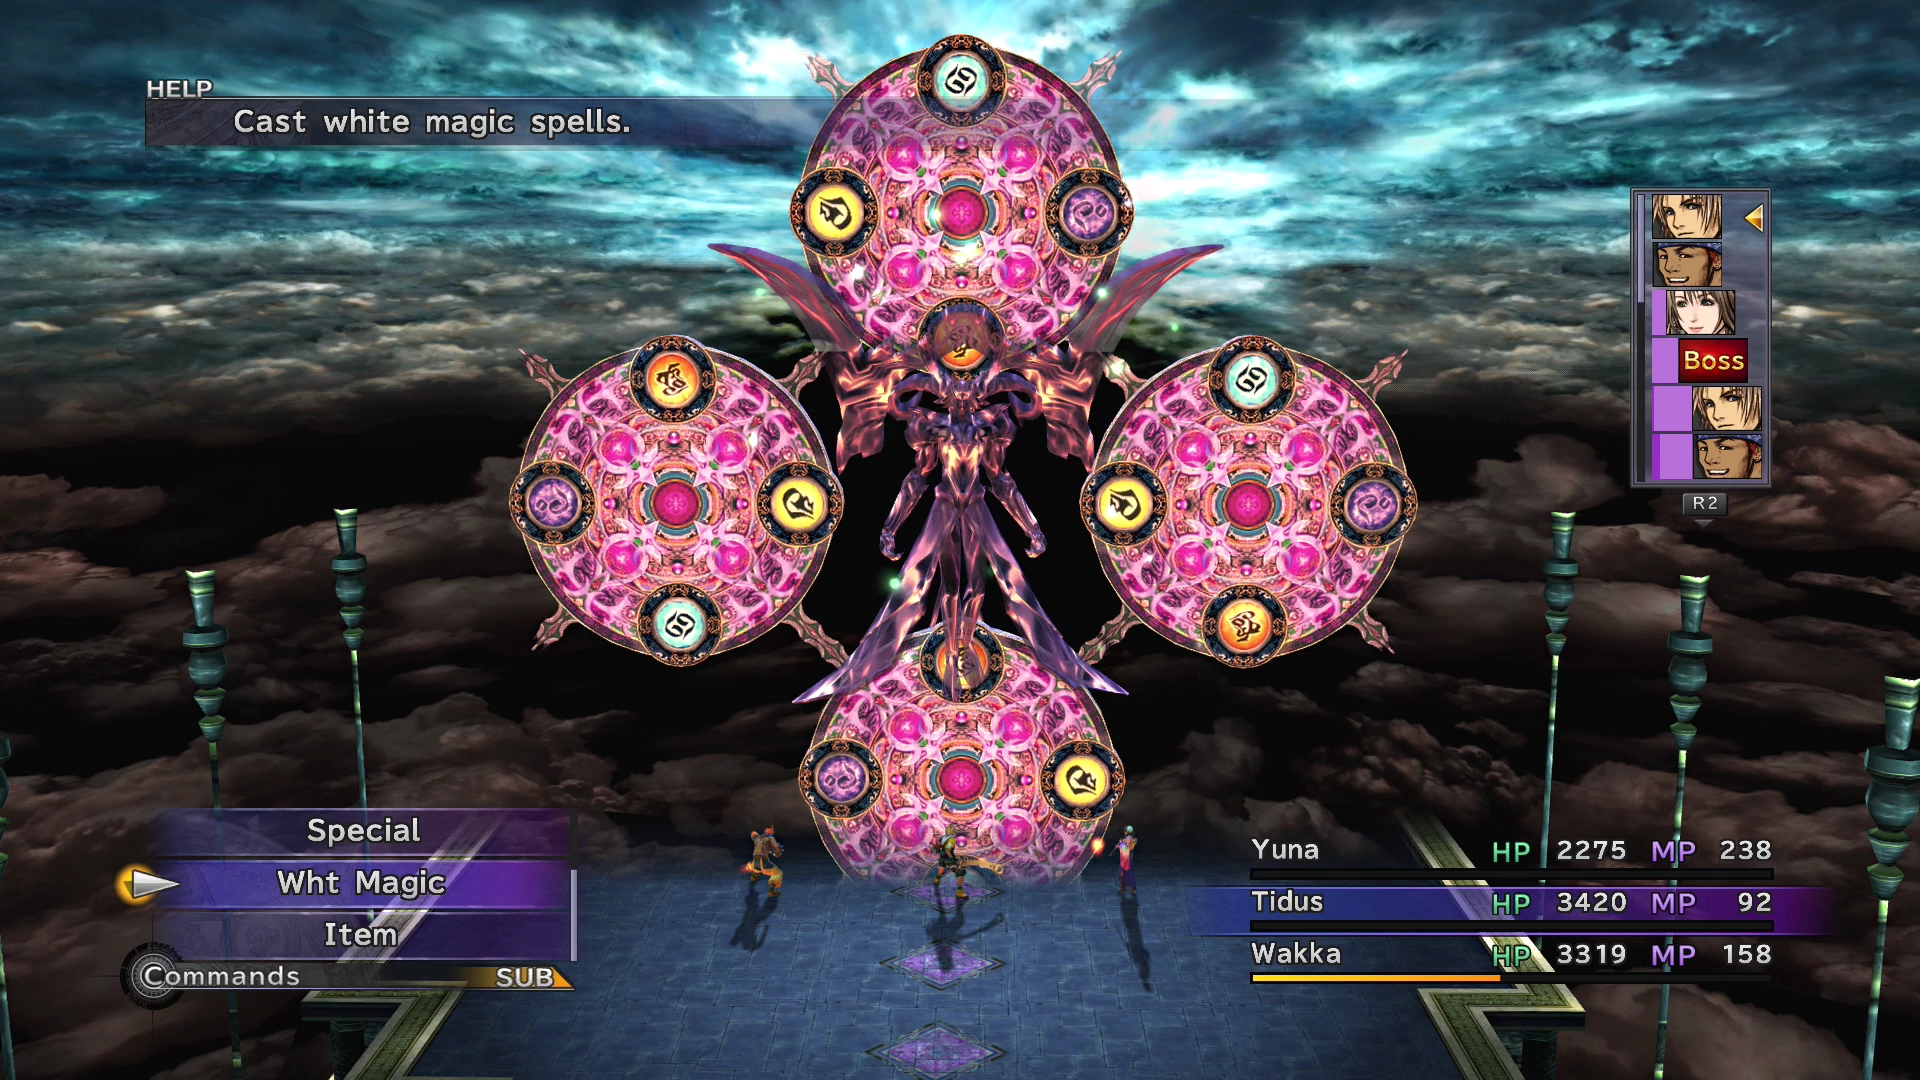
The four floating discs behind Seymour Omnis are Mortiphasms. These discs will rotate throughout the battle, and the colors that are closest to Seymour will determine the strength and the element of the spells he will cast.
The discs have four colors: orange/red for Fire, yellow/green for Lightning, blue for Water, and purple for Ice.
Seymour will cast four spells every turn. If all four discs have a matching color, he will cast the strongest versions of the spells (![]() Firaga,
Firaga, ![]() Thundaga,
Thundaga, ![]() Waterga, or
Waterga, or ![]() Blizzaga), and he will also absorb that element if you cast a spell of that type on him.
Blizzaga), and he will also absorb that element if you cast a spell of that type on him.
He will also be weak to the opposite element. If three discs match in color, he will absorb that element as well; however, he will no longer be weak to the opposite element. Two matching discs make him immune to the element, while a single disc will make him resistant to that element. You can use the ![]() Scan ability to verify his elemental strengths and weaknesses.
Scan ability to verify his elemental strengths and weaknesses.
Seymour will begin glowing red after you attack him six times. He will also begin casting ![]() Dispel at this stage of the battle and will begin using
Dispel at this stage of the battle and will begin using ![]() Ultima against your party. He stops glowing red after he has cast Ultima.
Ultima against your party. He stops glowing red after he has cast Ultima.
Seymour’s ![]() Ultima isn’t nearly as powerful as the one accessible in the Sphere Grid, but it can still do some significant damage (around 4,000 HP to each party member). Make sure you heal up before he casts it and use the Shield command if you are having trouble surviving it. You can also use Lulu’s
Ultima isn’t nearly as powerful as the one accessible in the Sphere Grid, but it can still do some significant damage (around 4,000 HP to each party member). Make sure you heal up before he casts it and use the Shield command if you are having trouble surviving it. You can also use Lulu’s ![]() Focus spell or Yuna’s
Focus spell or Yuna’s ![]() Shell spell to increase your resistance to it.
Shell spell to increase your resistance to it.

This fight is one of the few against Seymour where you can utilize your Aeons. He will not banish them if you utilize them during the fight. You can also use Yuna’s Nul spells to reduce the amount of damage done.
Use ![]() Hastega on your party early on and use
Hastega on your party early on and use ![]() Armor Break and
Armor Break and ![]() Mental Break. Just be aware that you may have to recast some of these spells if Seymour uses
Mental Break. Just be aware that you may have to recast some of these spells if Seymour uses ![]() Dispel.
Dispel.
You can also attack the Mortiphasms to rotate them, reducing the likelihood of Seymour using his strongest attacks. Some of the Mortiphasms are in the back row, so you will have to use either Wakka or Lulu to hit them.
Steal:
![]() Shining Gem (common)
Shining Gem (common)
![]() Supreme Gem (rare)
Supreme Gem (rare)
Drops:
![]() Lv. 3 Key Sphere (common)
Lv. 3 Key Sphere (common)
Achievement/Trophy
You will receive  The Destination of Hatred Achievement/Trophy after you have defeated Seymour Omnis.
Go back to the Sea of Sorrow before you move forward and save your game at the ![]() Save Sphere for a free HP and MP refill.
Save Sphere for a free HP and MP refill.
The next portion of the game takes place “Inside Sin.”