
Inside Sin
This section of the game takes place after you battle Sin aboard the Airship (Fahrenheit) and navigate through the Sea of Sorrow area.
Remember, there is a ton of endgame content and side quests that you can complete before “finishing” the game. More information on these side quests is available here:
Walkthrough Guide

A complete list of the endgame content and side quests that you can complete now that you have reached the end of the game.
That said, you have not yet reached the point of no return. This strategy guide will provide you with ample warning before you cross that threshold. If you’re ready to proceed, though, continue reading below…


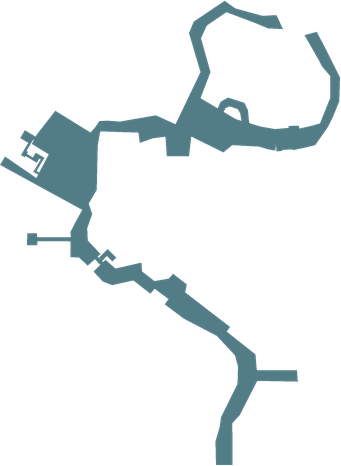
City of Dying Dreams Map
| 20,000 Gil | |
Sin - City of Dying Dreams
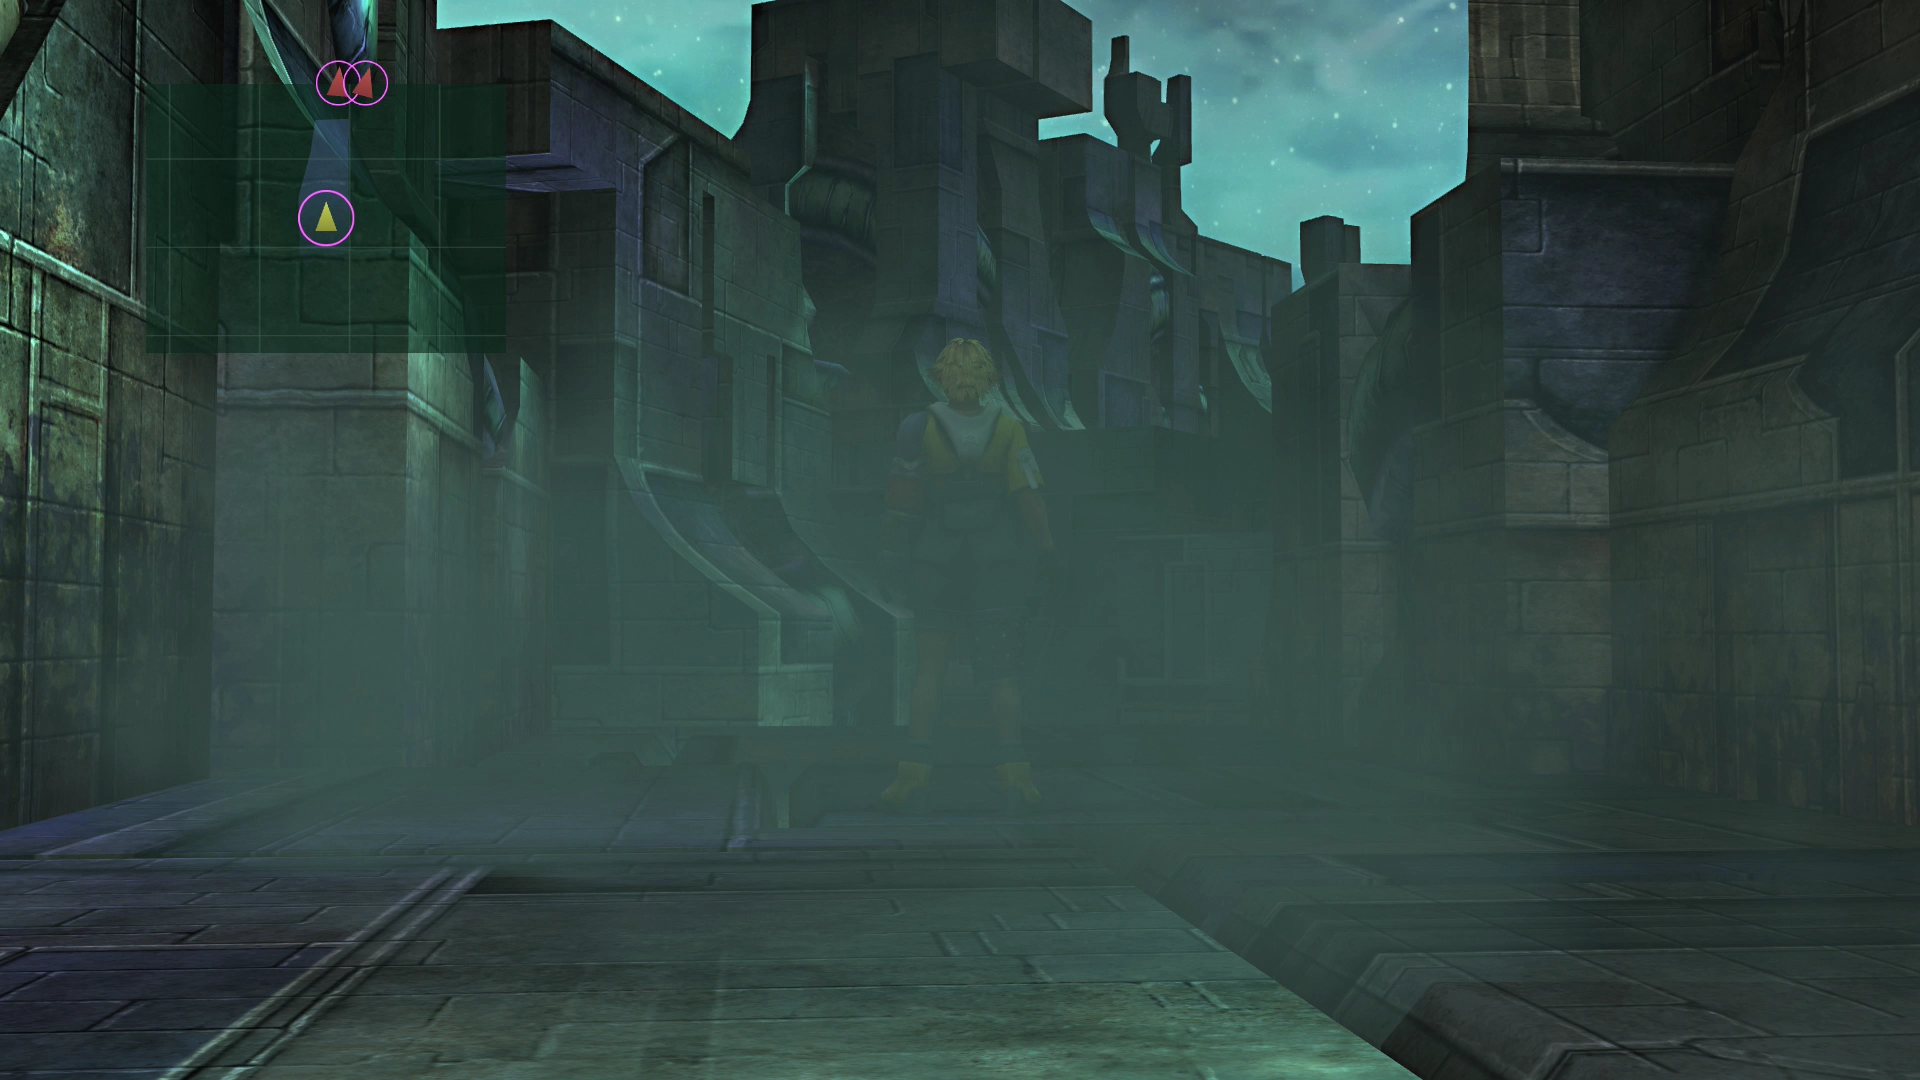
Move forward down the pathway, and you will encounter a glyph on the wall on the right side of the screen. Touch it and it will tell you that “Ten fiends still seek eternal repose.” You have to kill ten fiends to get through this doorway.

Through that doorway will be another door asking you to kill ten more fiends, and finally a third doorway asking you to kill 15 fiends. The reward for completing all four doorways is a ![]() Lv. 4 Key Sphere which means that this task is a complete waste of time. The reward is an item that you likely already have in abundance.
Lv. 4 Key Sphere which means that this task is a complete waste of time. The reward is an item that you likely already have in abundance.
Warning
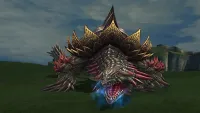
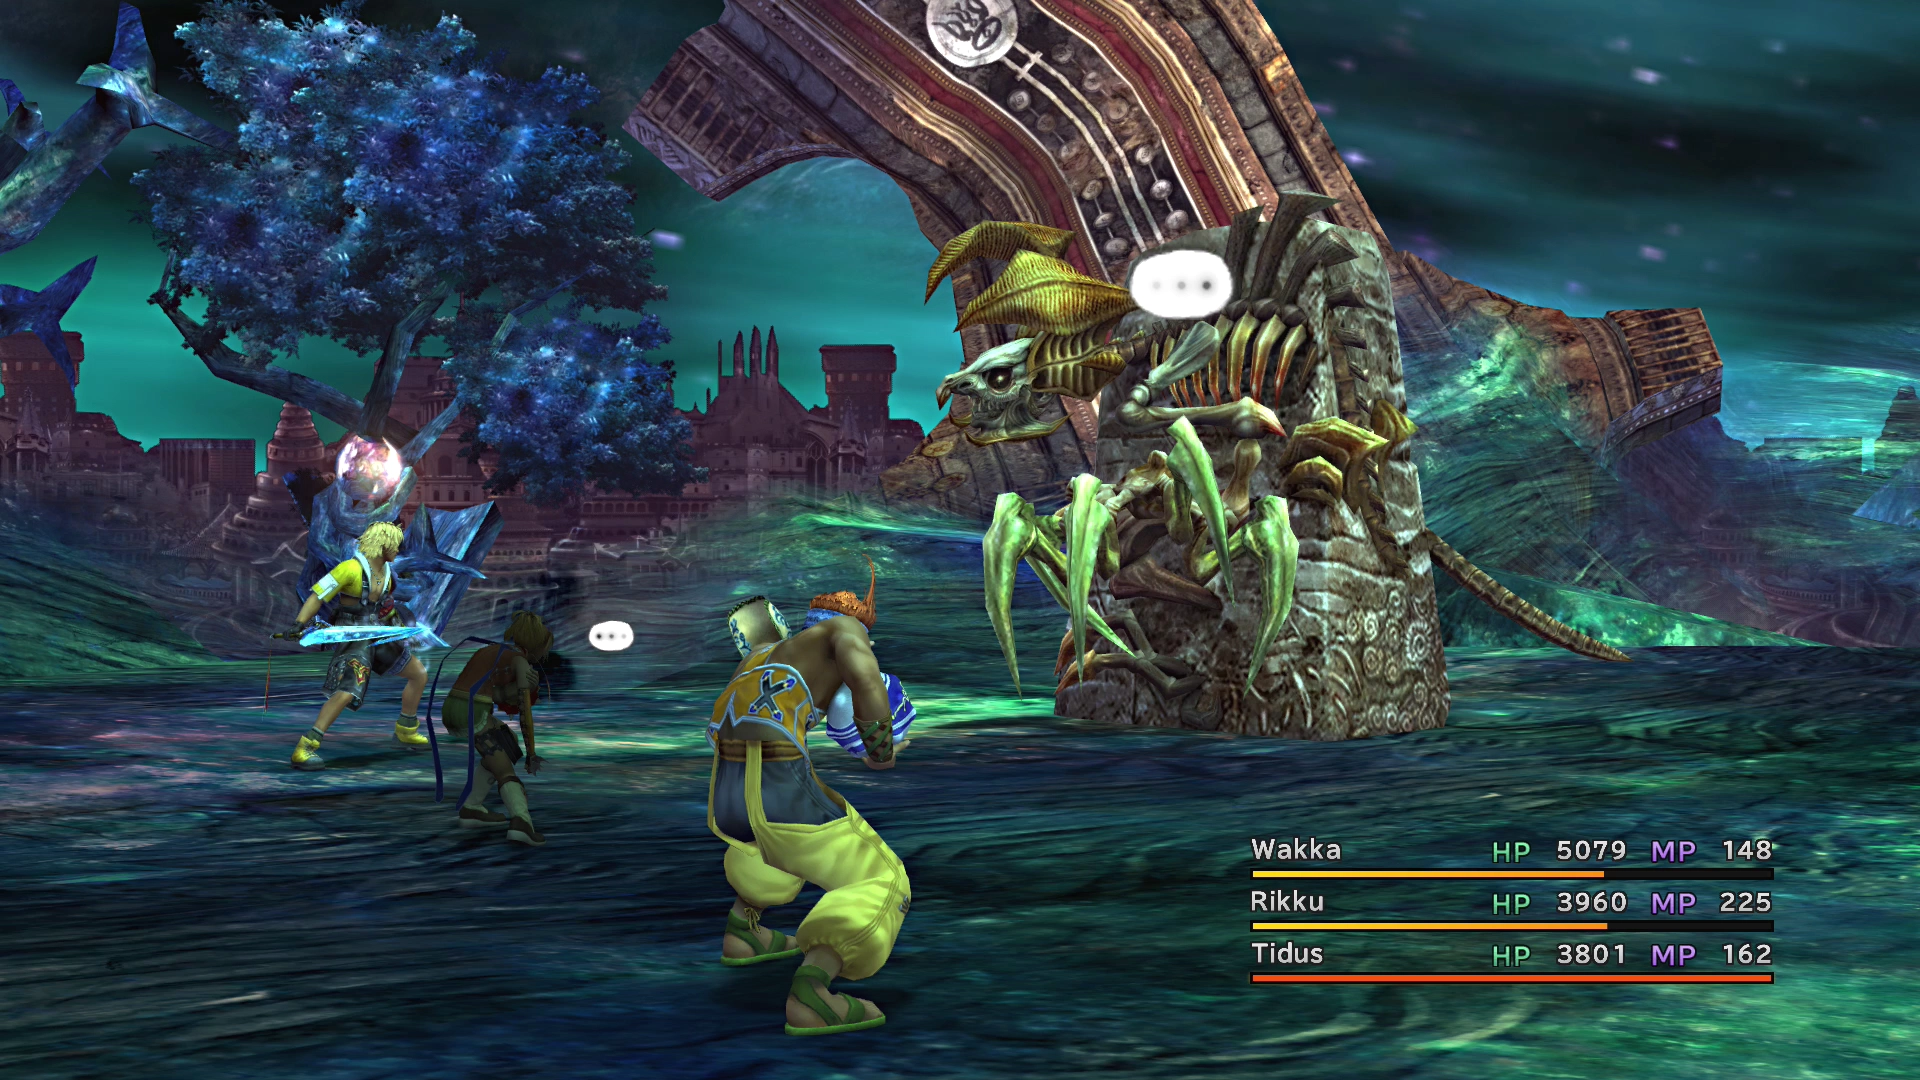
There is an enemy in this area known as a Demonolith, which resembles a large stone block. This enemy will counter your attacks with an attack called “Pharaoh’s Curse,” which will inflict Darkness, Silence, Poison, and Curse. It will also use an attack called “Breath,” which will inflict the Petrify status on all party members.
“Pharaoh’s Curse” can be nullified by using Silence on Demonolith, but Petrify is a dangerous attack that can wipe out your entire party if you’re not prepared. Be sure to have one or more party members equipped with armor that has the ![]() Stone Ward, or better yet, the
Stone Ward, or better yet, the ![]() Stoneproof ability.
Stoneproof ability.
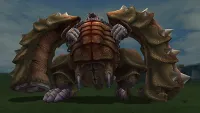
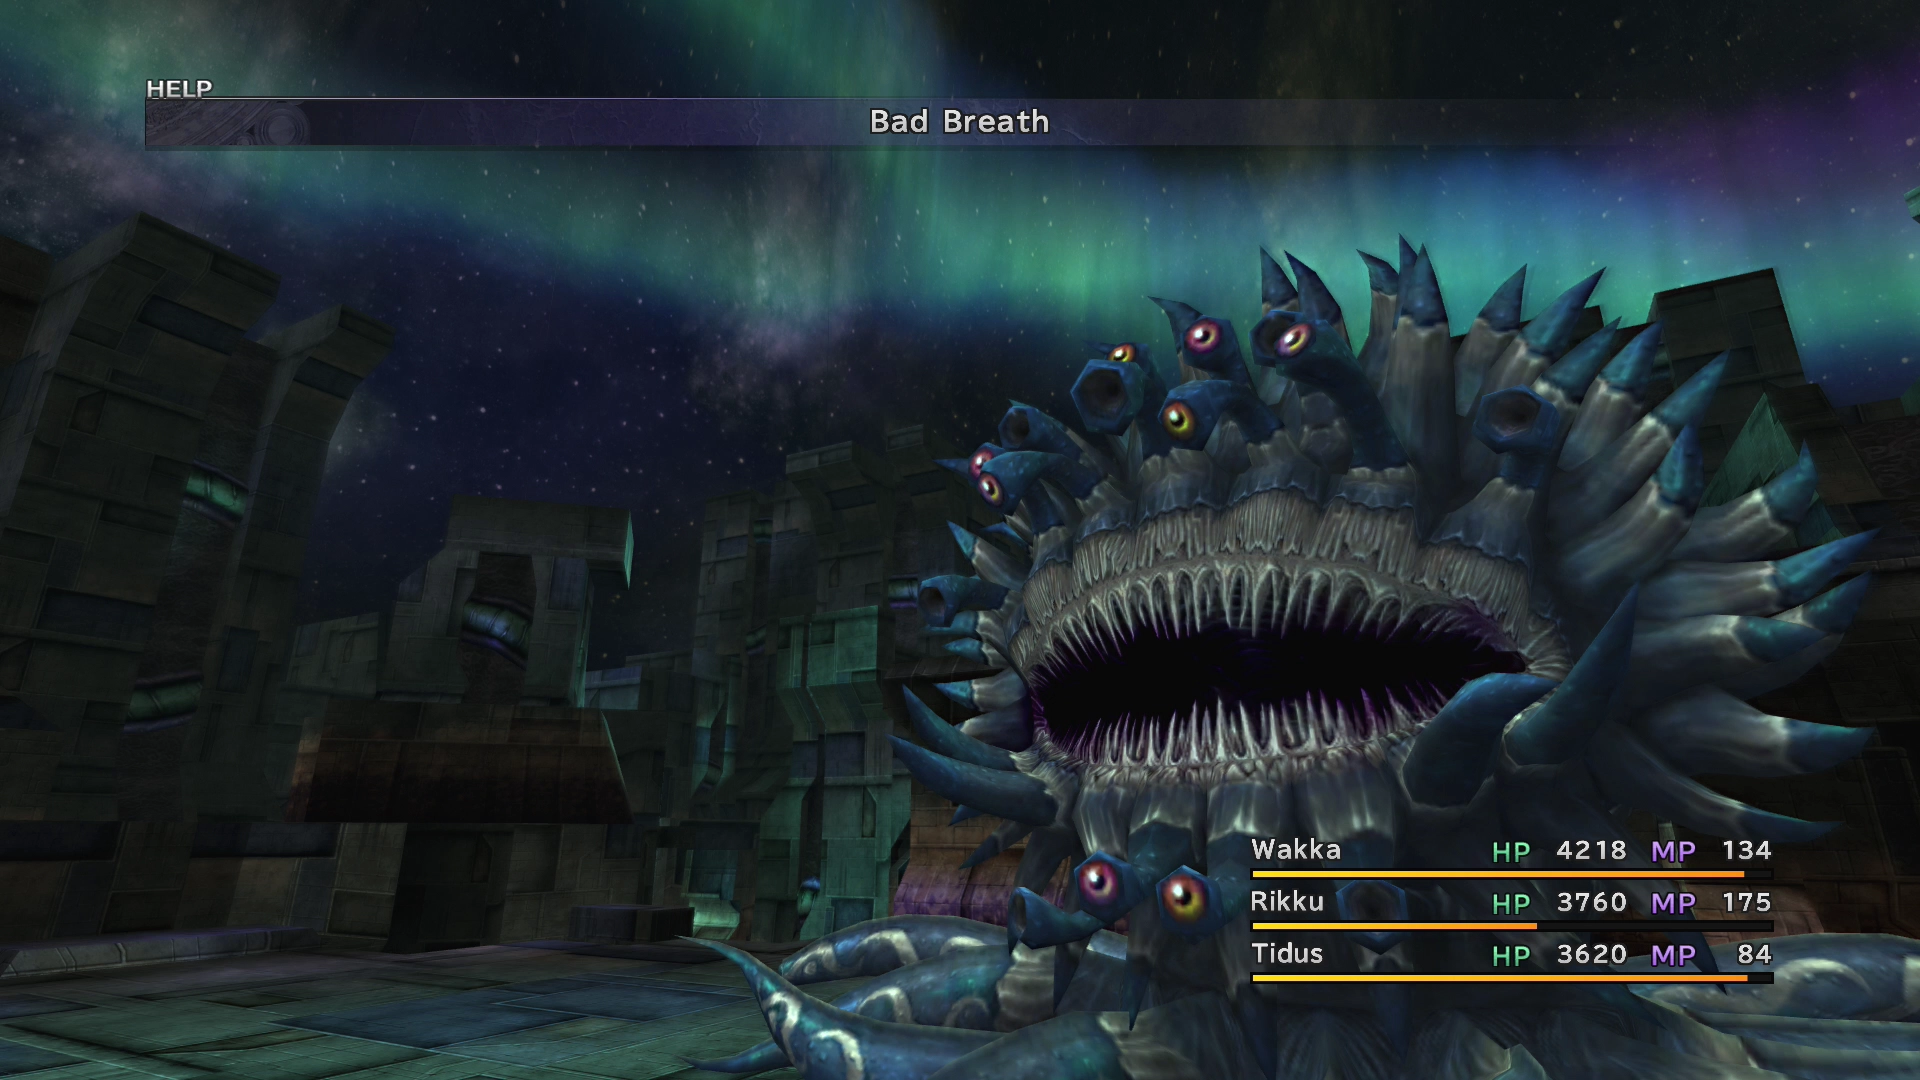
You may also run into a Great Malboro in this area. Great Malboros attack with “Bad Breath,” which hits your entire party with Darkness, Silence, Poison, Slow, Confusion, and Berserk all at once. Berserk and Confuse are the worst of them because both take a character out of your control: berserked characters mindlessly attack the enemy, confused characters attack their own allies, and neither can be given commands to use items or heal the rest of the party.
Equip your party members with equipment that also has some of the following abilities: ![]() Berserk Ward,
Berserk Ward, ![]() Berserkproof,
Berserkproof, ![]() Confuse Ward, or
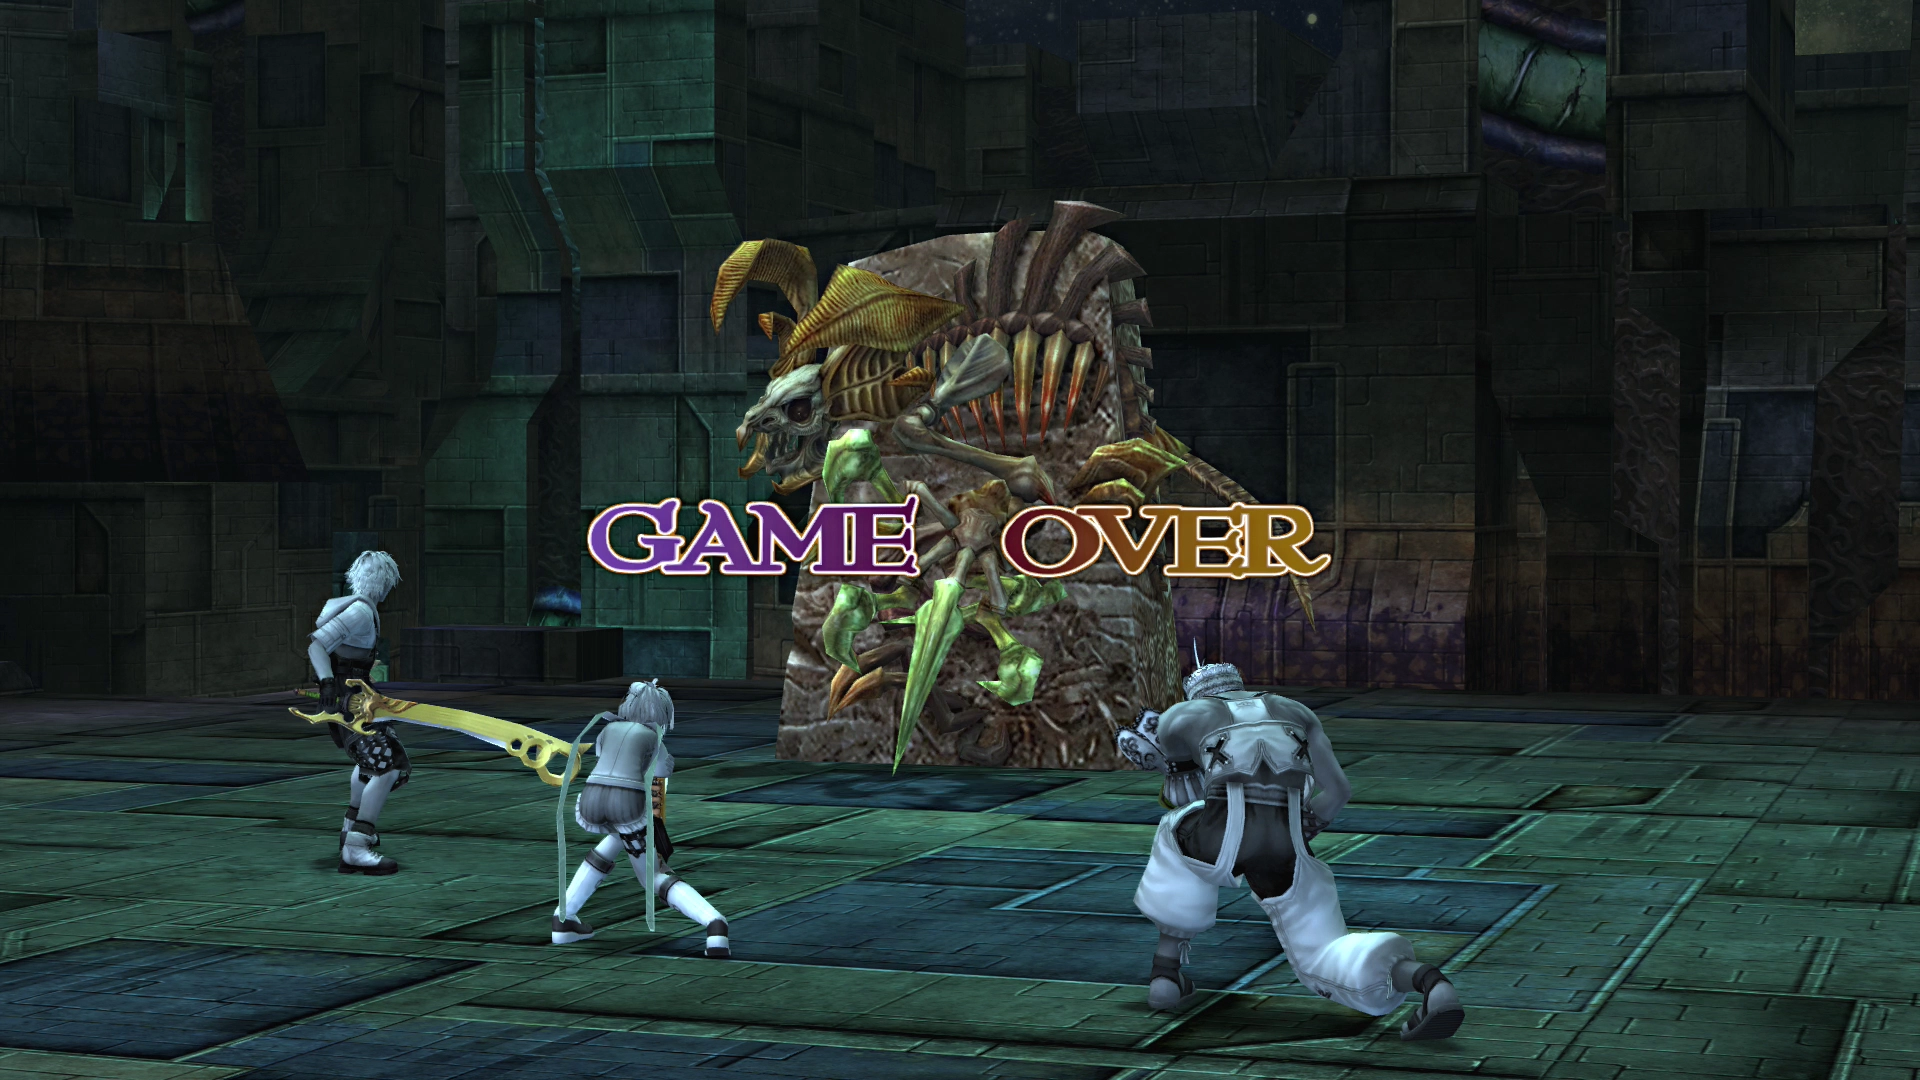
Confuse Ward, or ![]() Confuseproof. It’s difficult to protect against all these statuses, but make sure that your party members have a diverse set of protection so that you don’t end up seeing the “Game Over” screen.
Confuseproof. It’s difficult to protect against all these statuses, but make sure that your party members have a diverse set of protection so that you don’t end up seeing the “Game Over” screen.
You can also use ![]() Provoke on a Great Malboro if you get the chance to. A provoked Great Malboro is forced to use its regular physical attack on the character who provoked it instead of “Bad Breath,” taking its status effects out of the battle entirely.
Provoke on a Great Malboro if you get the chance to. A provoked Great Malboro is forced to use its regular physical attack on the character who provoked it instead of “Bad Breath,” taking its status effects out of the battle entirely.
Helpful Hint
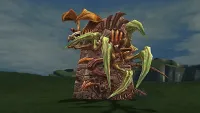
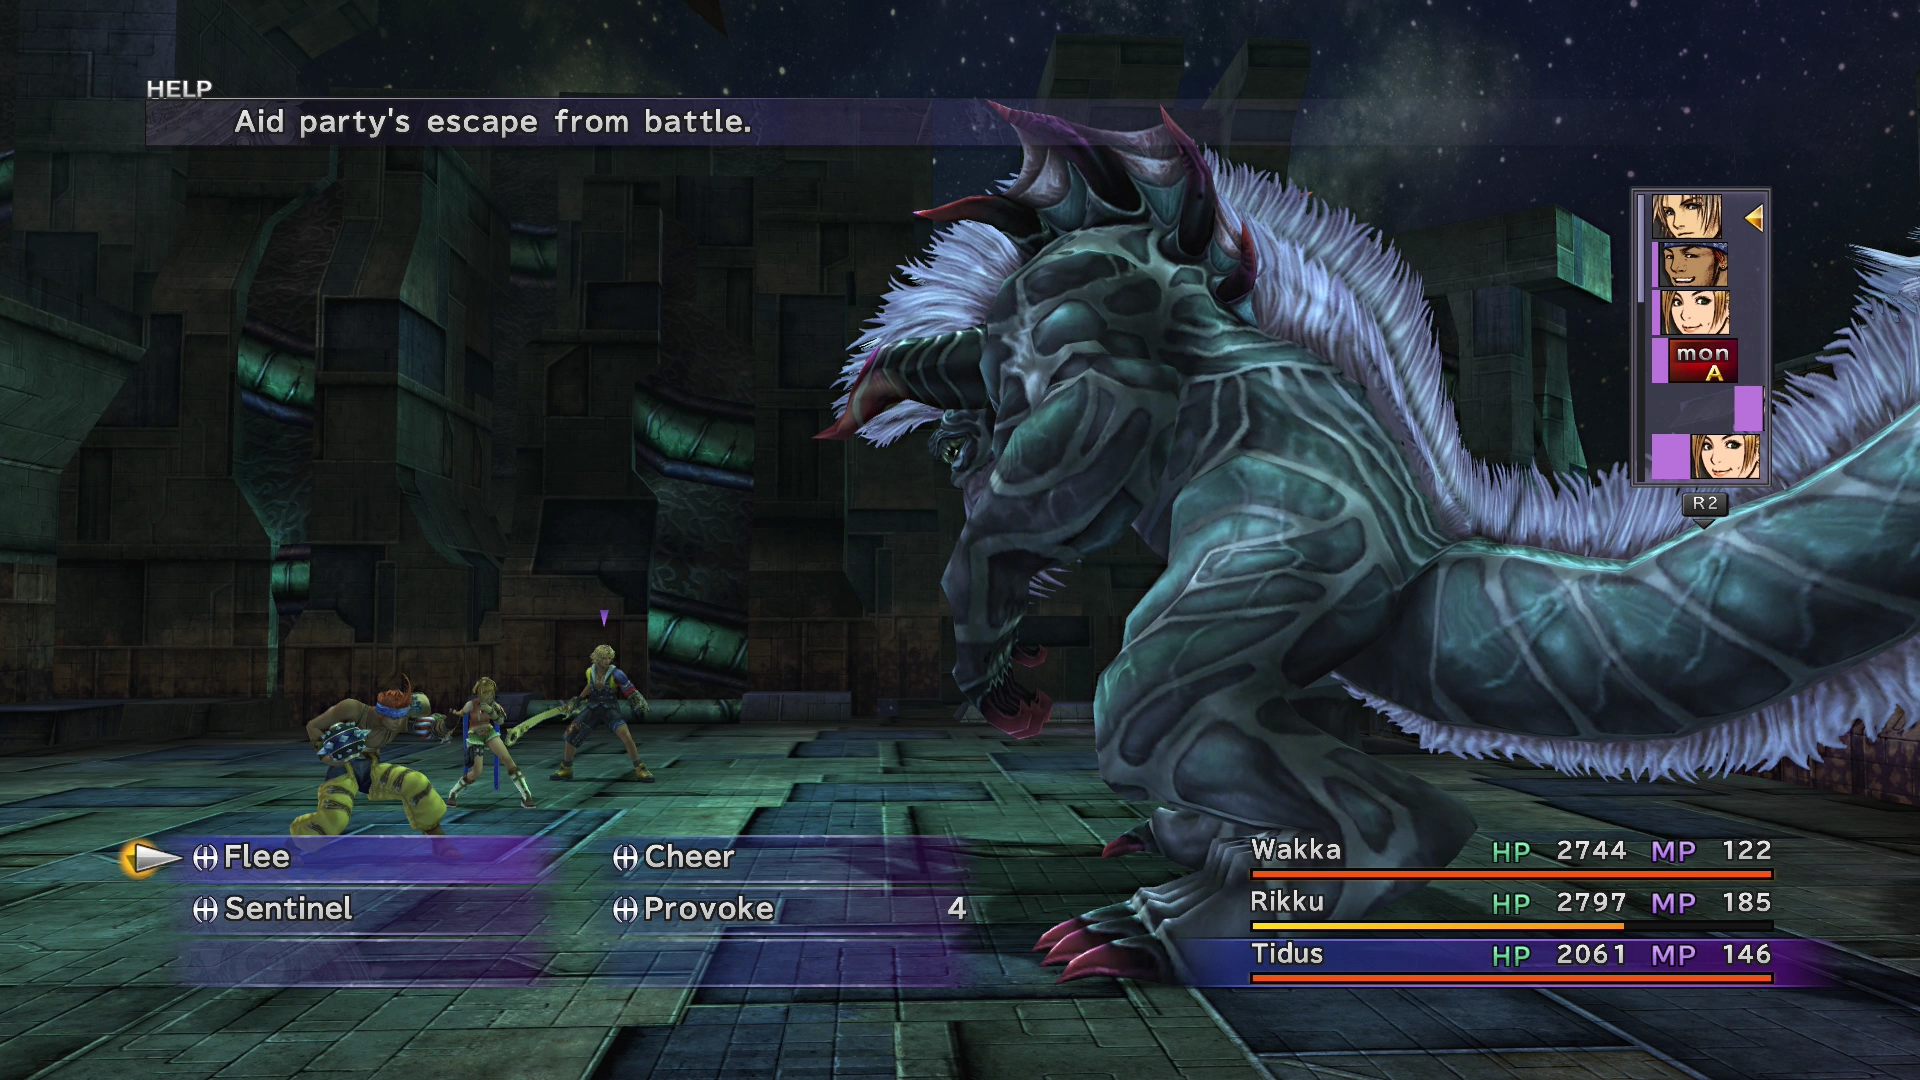
You should still use Tidus’ ![]() Flee ability to run away from any Behemoth Kings that you encounter in this area. These are just as difficult to survive against as the previous ones.
Flee ability to run away from any Behemoth Kings that you encounter in this area. These are just as difficult to survive against as the previous ones.
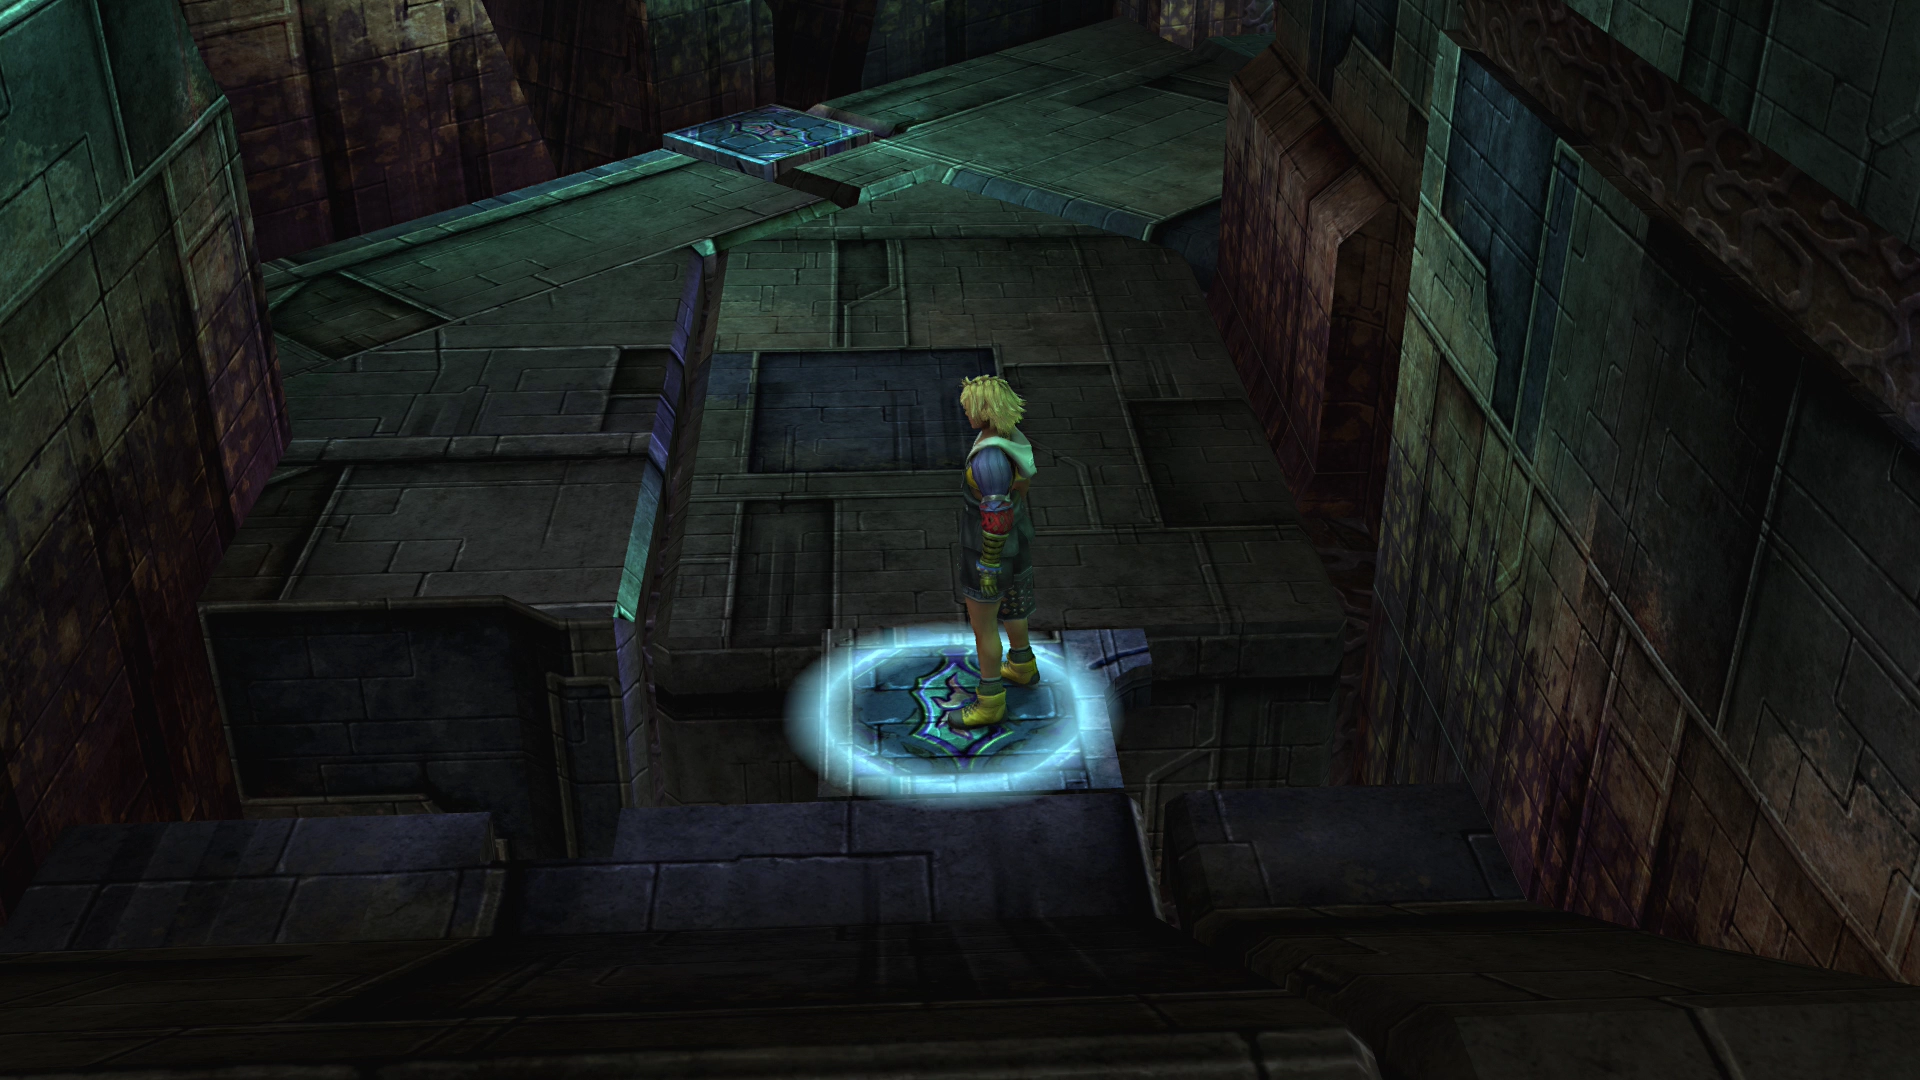
Continue moving forward until you reach a small bridge that connects the two sides of the pathway. Stand on the glyph on the bridge, and it will activate and carry Tidus to the upper level.
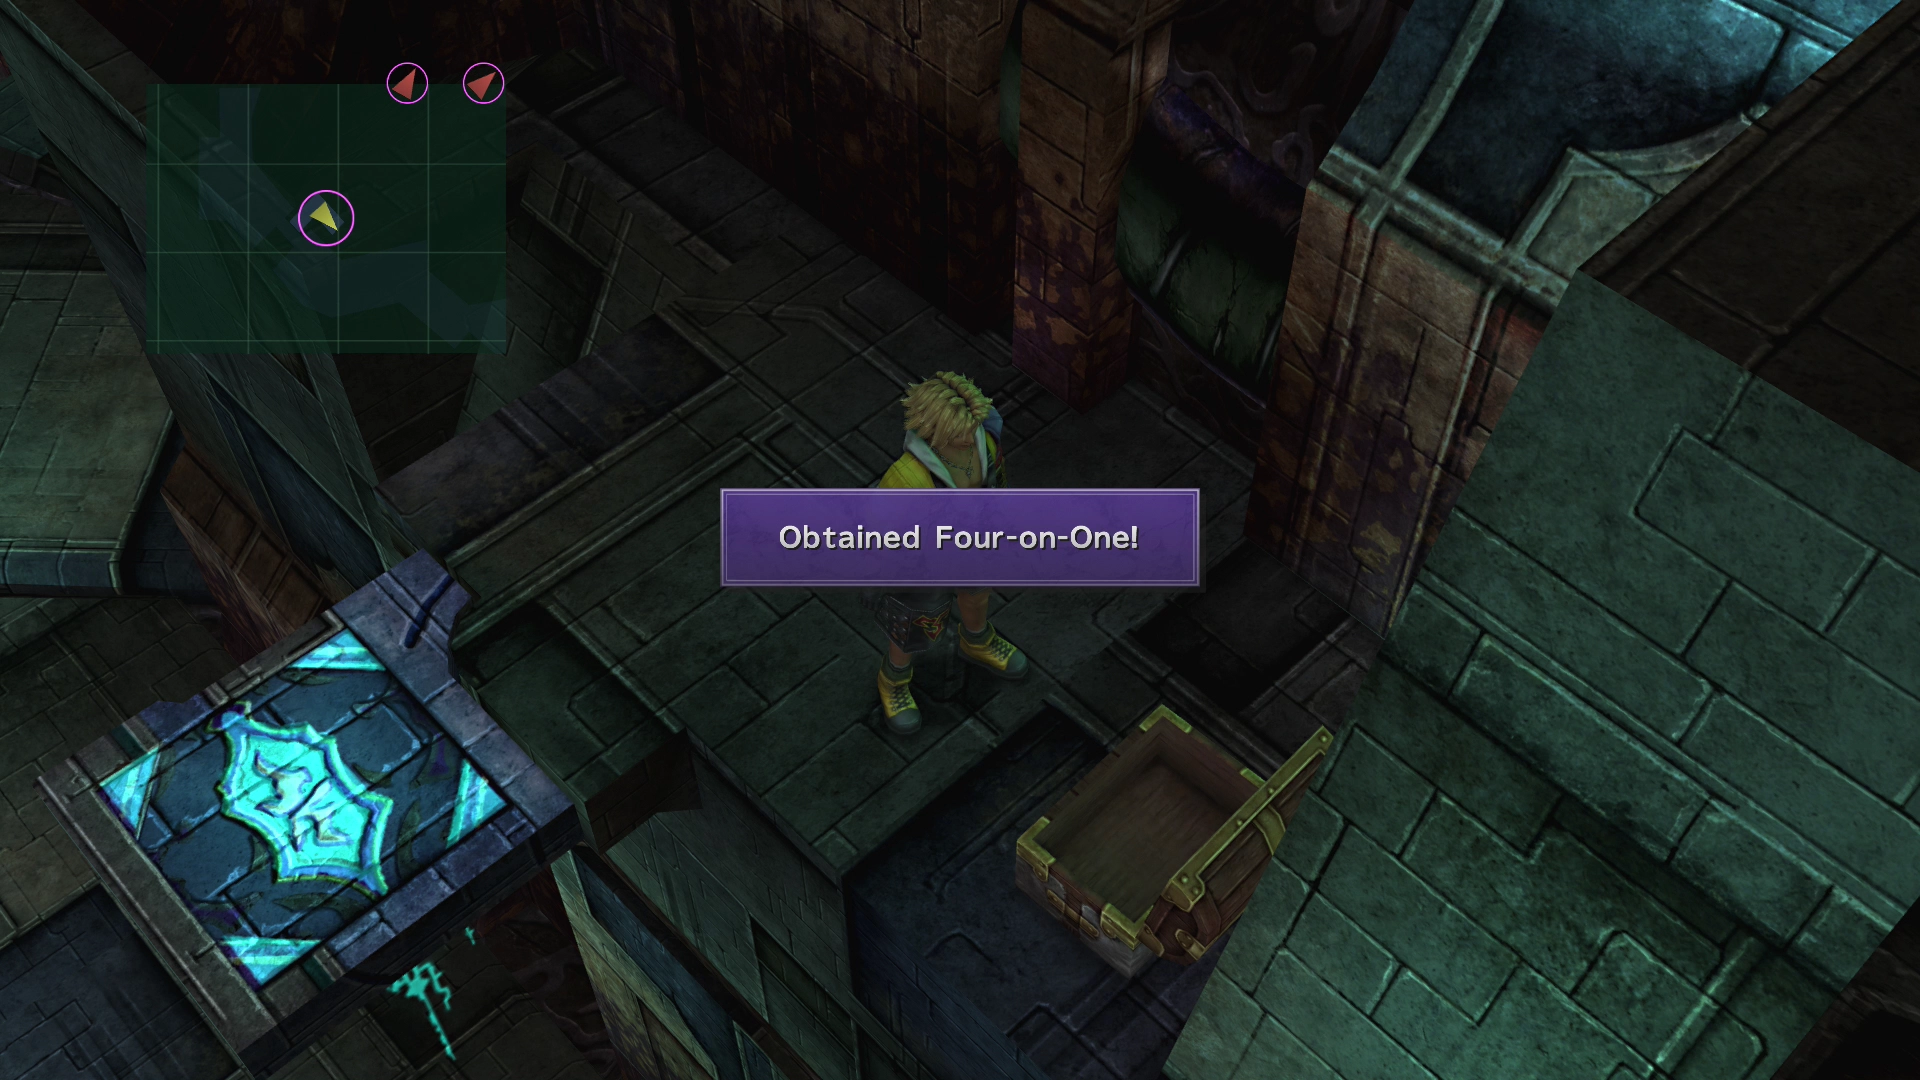
There is a treasure chest here that contains the ![]() Four-on-One weapon for Wakka. Take the glyph/elevator back down to the lower level.
Four-on-One weapon for Wakka. Take the glyph/elevator back down to the lower level.
Stand on the glyph in front of the large column-like structure just up ahead to push it down.
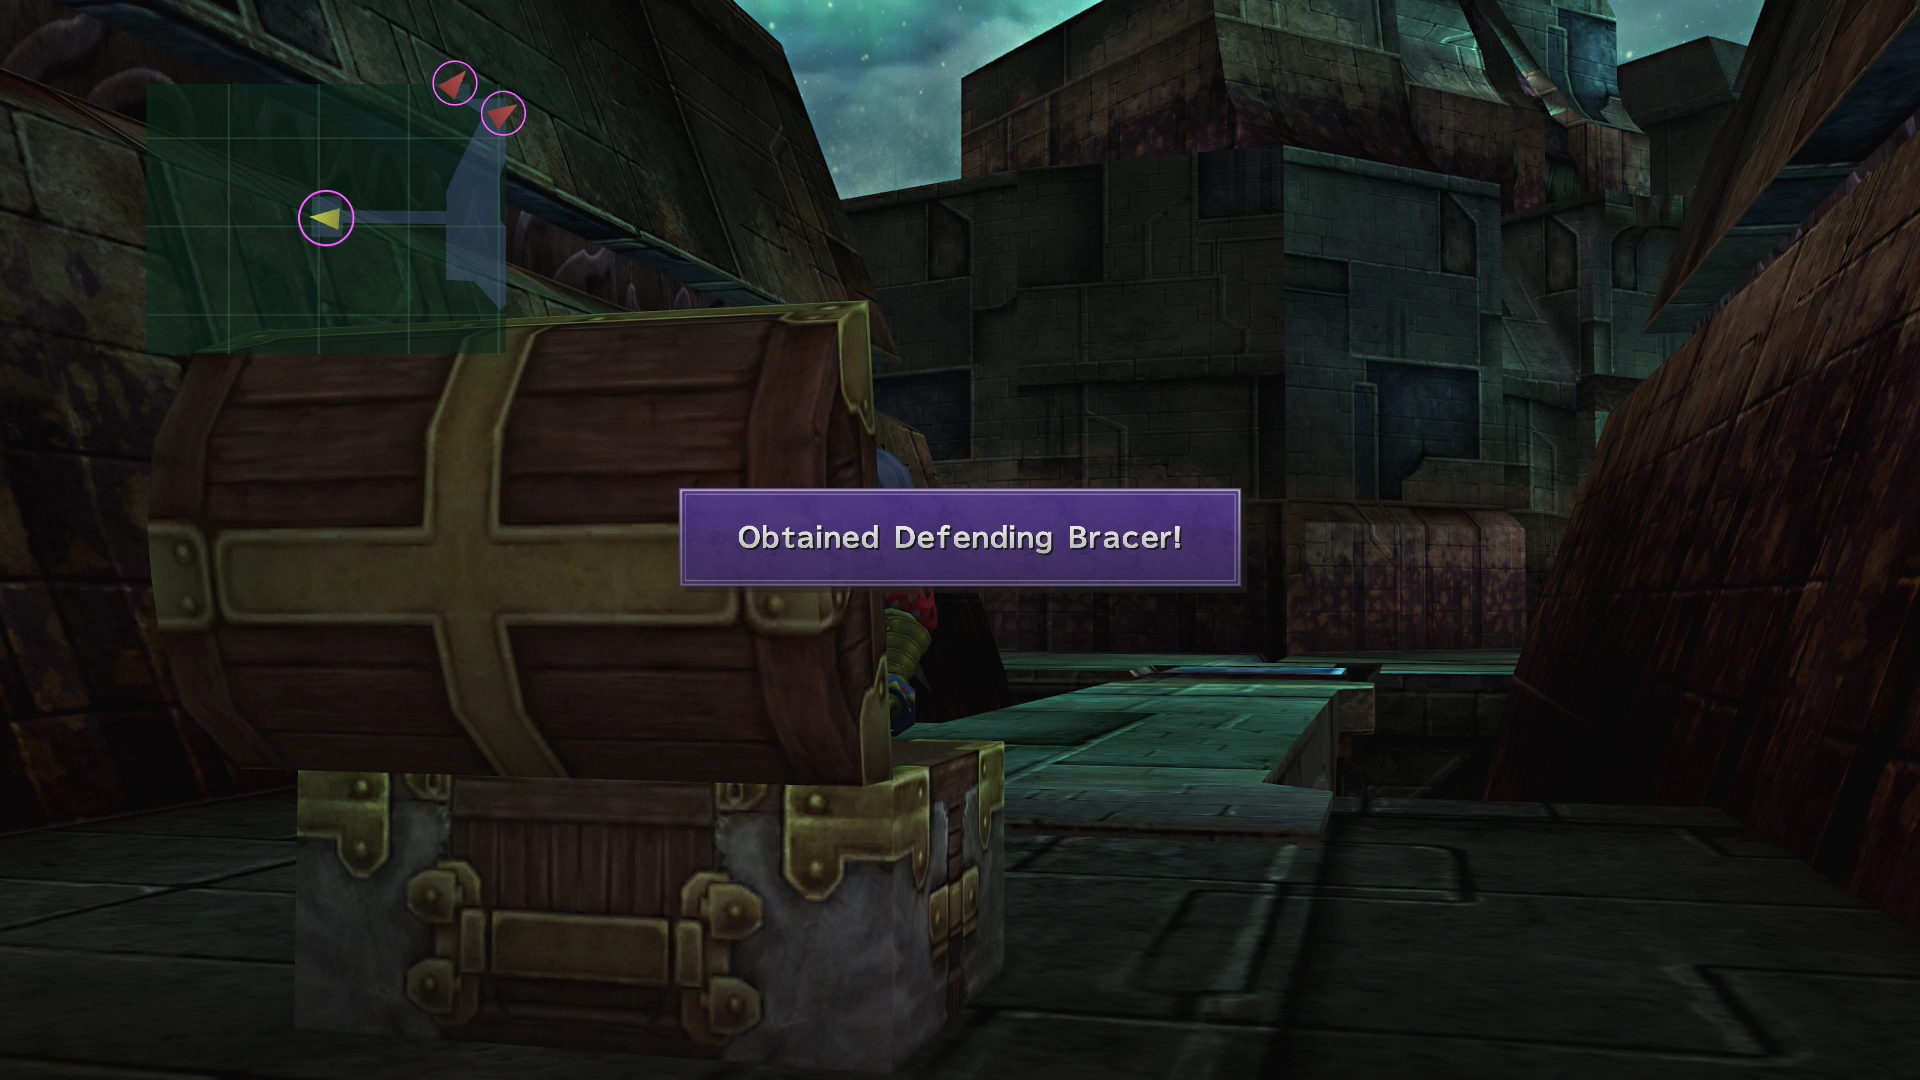
Walk along the pathway leading to a treasure chest. It contains a ![]() Defending Bracer.
Defending Bracer.
You will eventually reach a large open area with a large open pit in the center. There is a ramp on the far side that you can use to climb down. There is a treasure chest that contains 20,000 Gil, as well as a glyph that you can stand on that will turn into a large pillar.
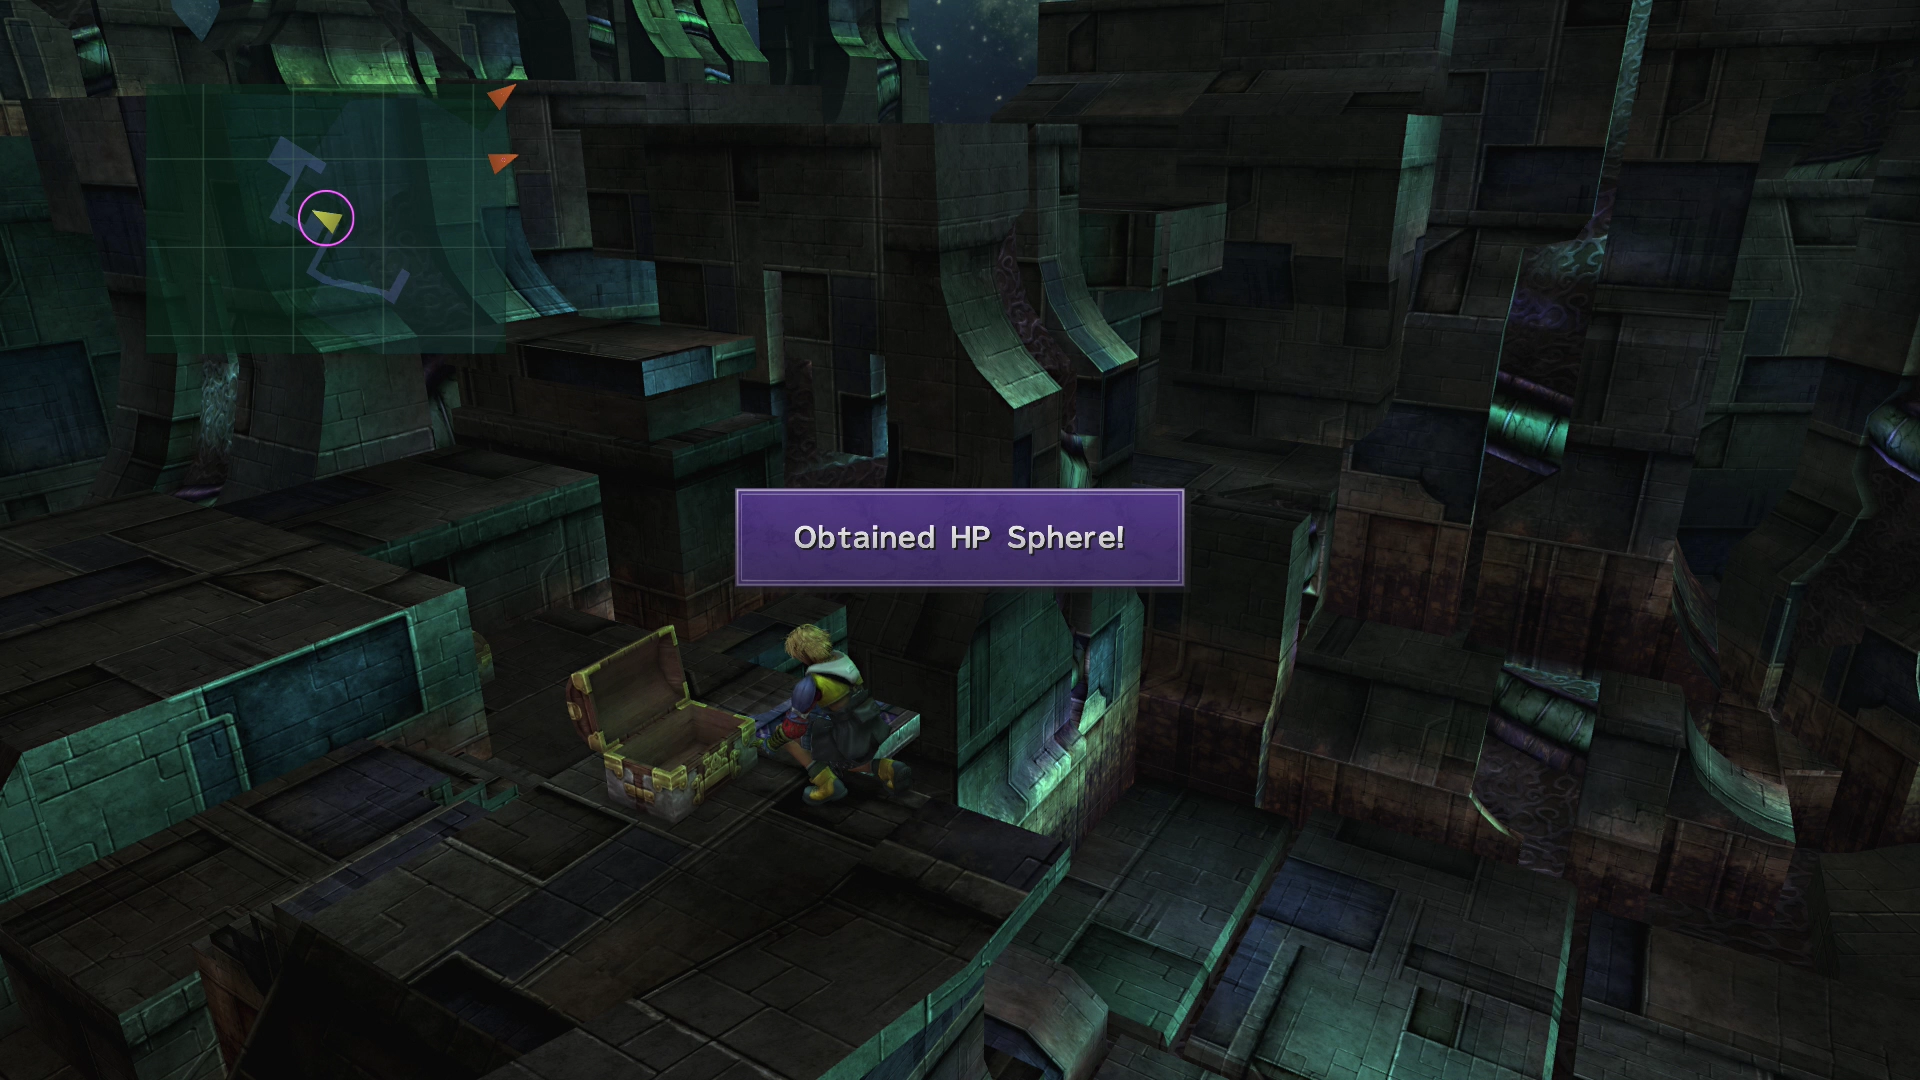
Follow the walkway along to find one treasure chest that contains an ![]() HP Sphere and another treasure chest that contains a
HP Sphere and another treasure chest that contains a ![]() Defense Sphere. There is a glyph platform right beside this chest that you can use to return to the main level (the elevator you rode up will no longer function).
Defense Sphere. There is a glyph platform right beside this chest that you can use to return to the main level (the elevator you rode up will no longer function).
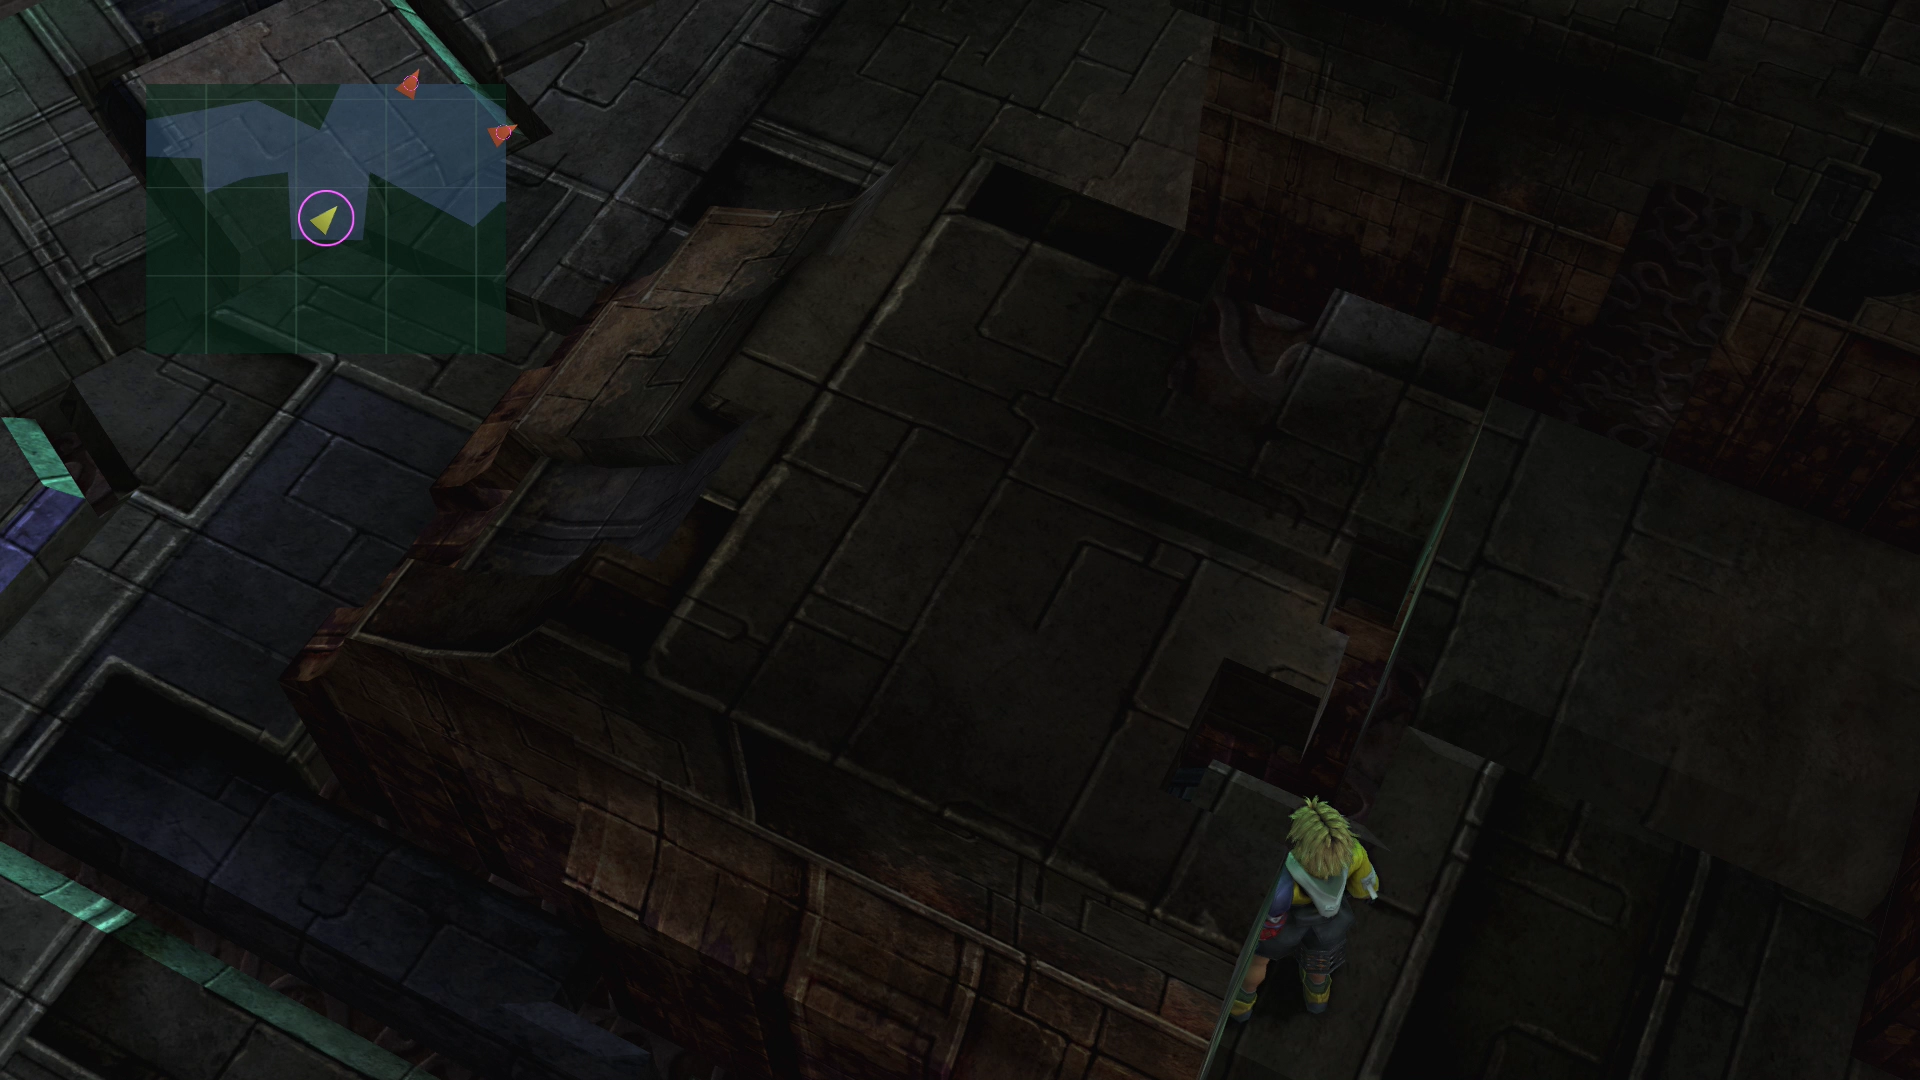
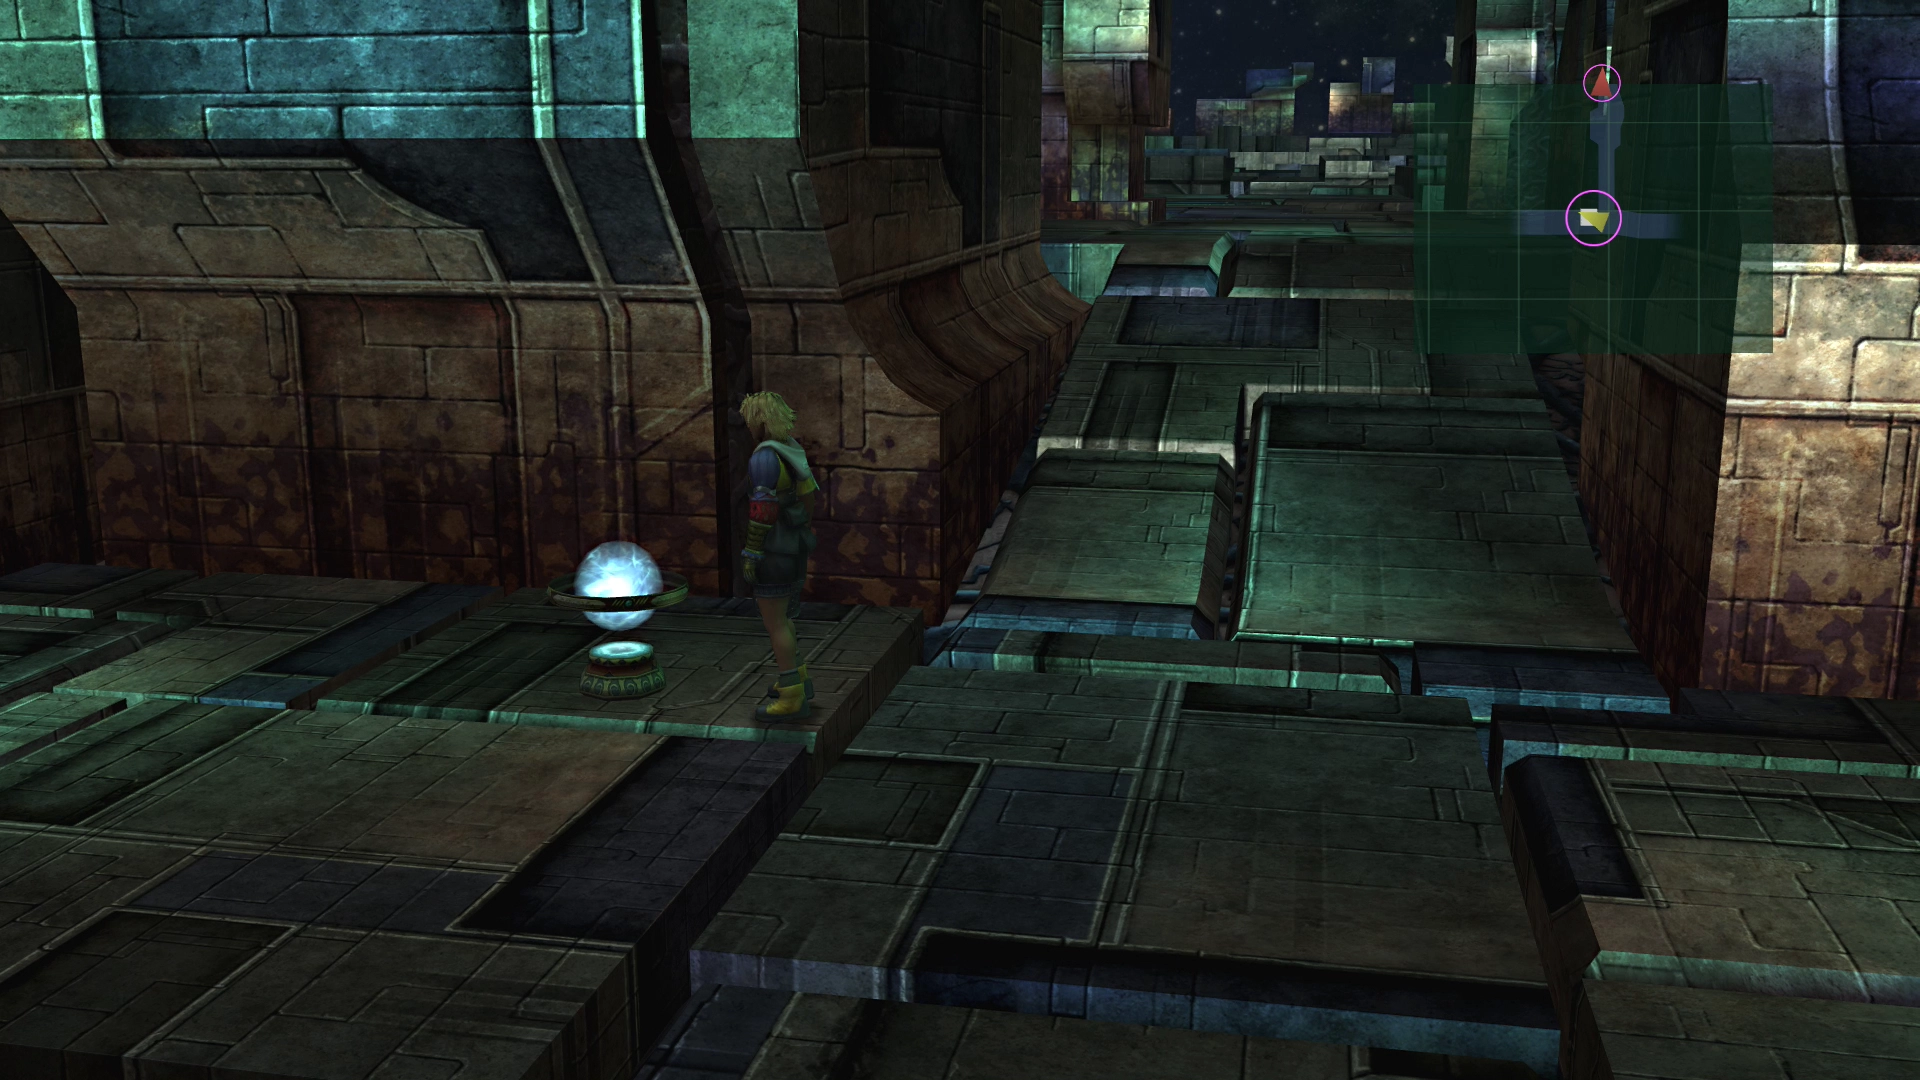
Continue down the pathway following the red arrows ![]() on the mini-map. The next wide open area contains walls that will jump up through the floor to prevent you from moving through.
on the mini-map. The next wide open area contains walls that will jump up through the floor to prevent you from moving through.
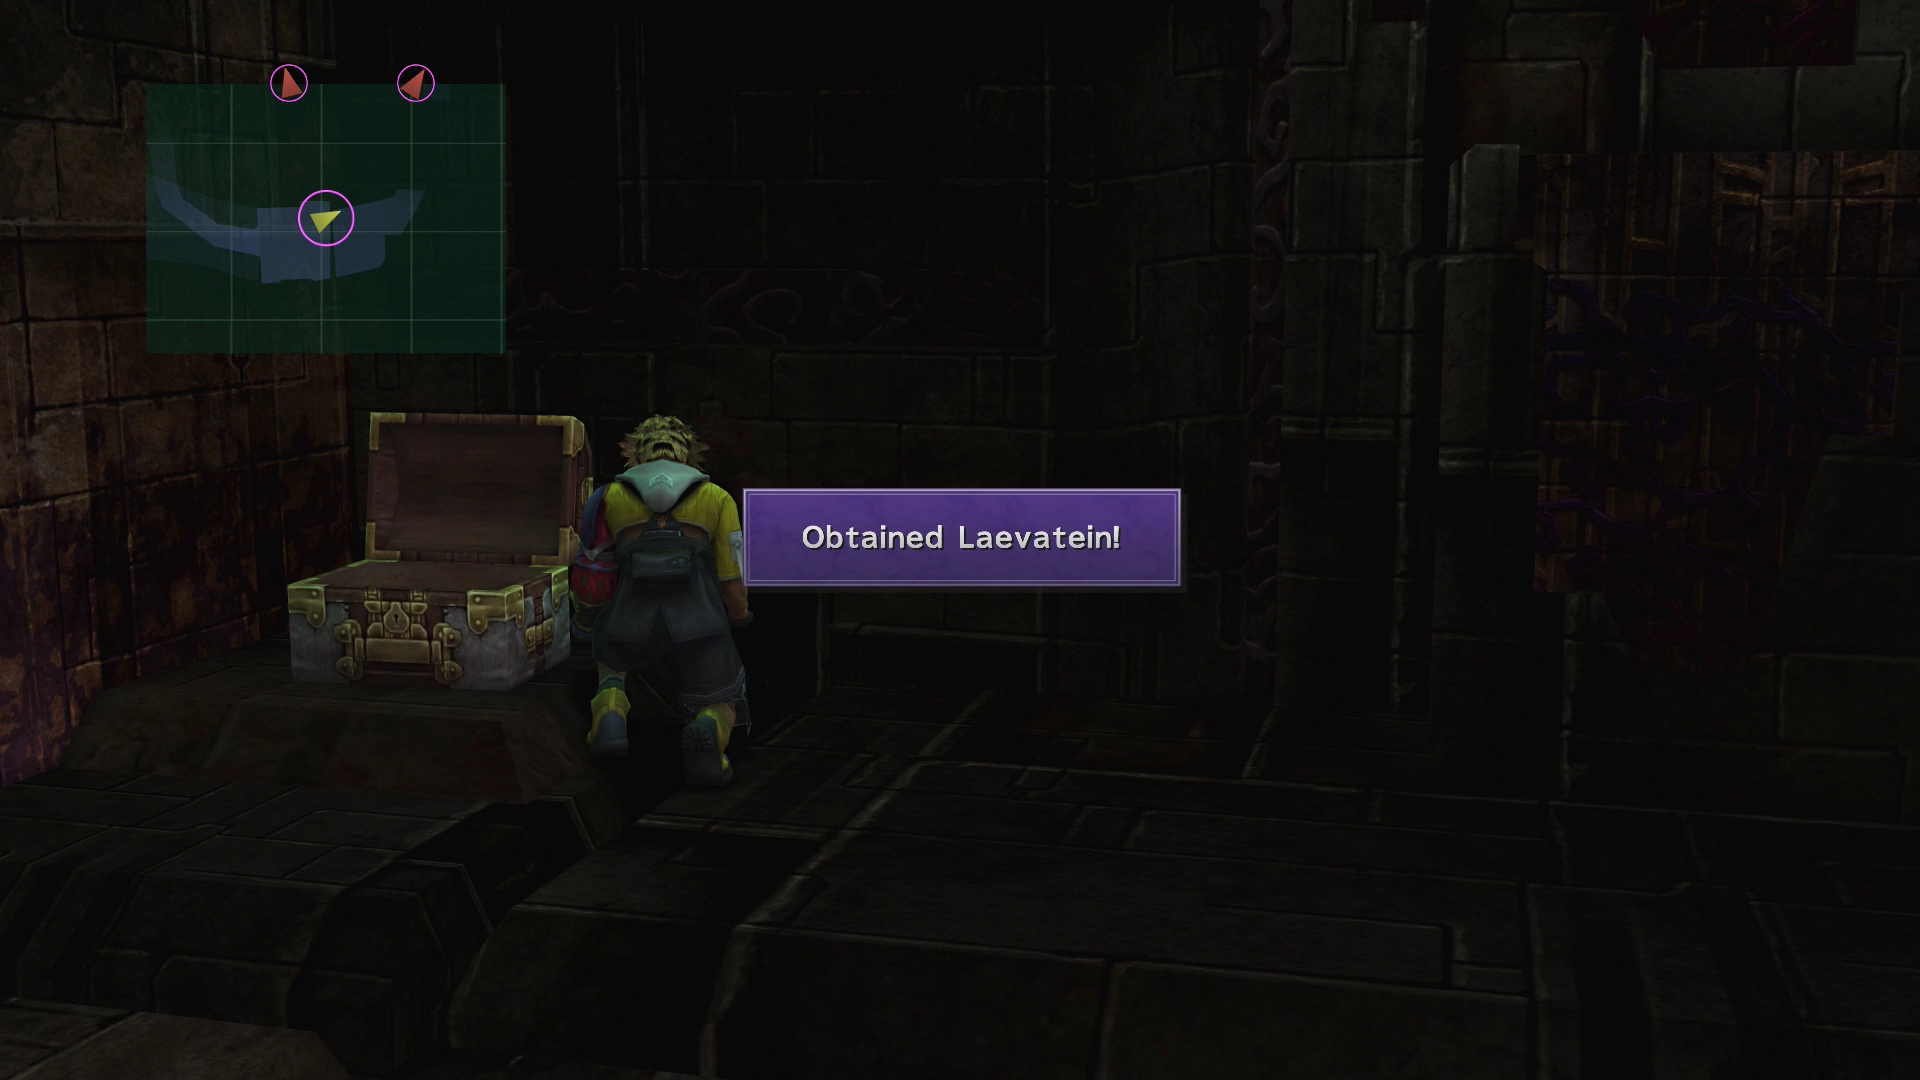
Go to the south section of this room, and you will find a secret slide that leads to a passageway below the main level. The treasure chest on the left side of the room contains a ![]() Laevatein, which is a staff for Yuna that contains the
Laevatein, which is a staff for Yuna that contains the ![]() SOS Overdrive ability (which is not very useful).
SOS Overdrive ability (which is not very useful).
Move over to the right side of the room and press the ![]()
![]()
![]() button to begin climbing back up to the main level. Exit by heading north.
button to begin climbing back up to the main level. Exit by heading north.
Sin - Tower of the Dead
There is a ![]() Save Sphere here where you can save your game. This Save Sphere is the last one on the way to the final battles of Final Fantasy X. You can still choose to return to the Airship if you would like to.
Save Sphere here where you can save your game. This Save Sphere is the last one on the way to the final battles of Final Fantasy X. You can still choose to return to the Airship if you would like to.
Warning
This point in the dungeon is the furthest you can go in the game while still being able to turn back. There is no way to leave and go back once you have entered “The Nucleus.”
A short cinematic will occur as you move forward into the next area. A large structure will drop out of the sky and land in front of your party. Move forward towards the door, and Tidus will look up and then go inside
Sin - The Nucleus
You will be thrown into an arena-like area where icicles will pop up through the ground. If you are hit by one or if you run into one after it has popped up, you will be thrust into battle against a powerful enemy.
Wraiths in this area are even more powerful than the ones on the Inside of Sin, as they can cast Instant Death rather than the one that requires a timer (Doom).
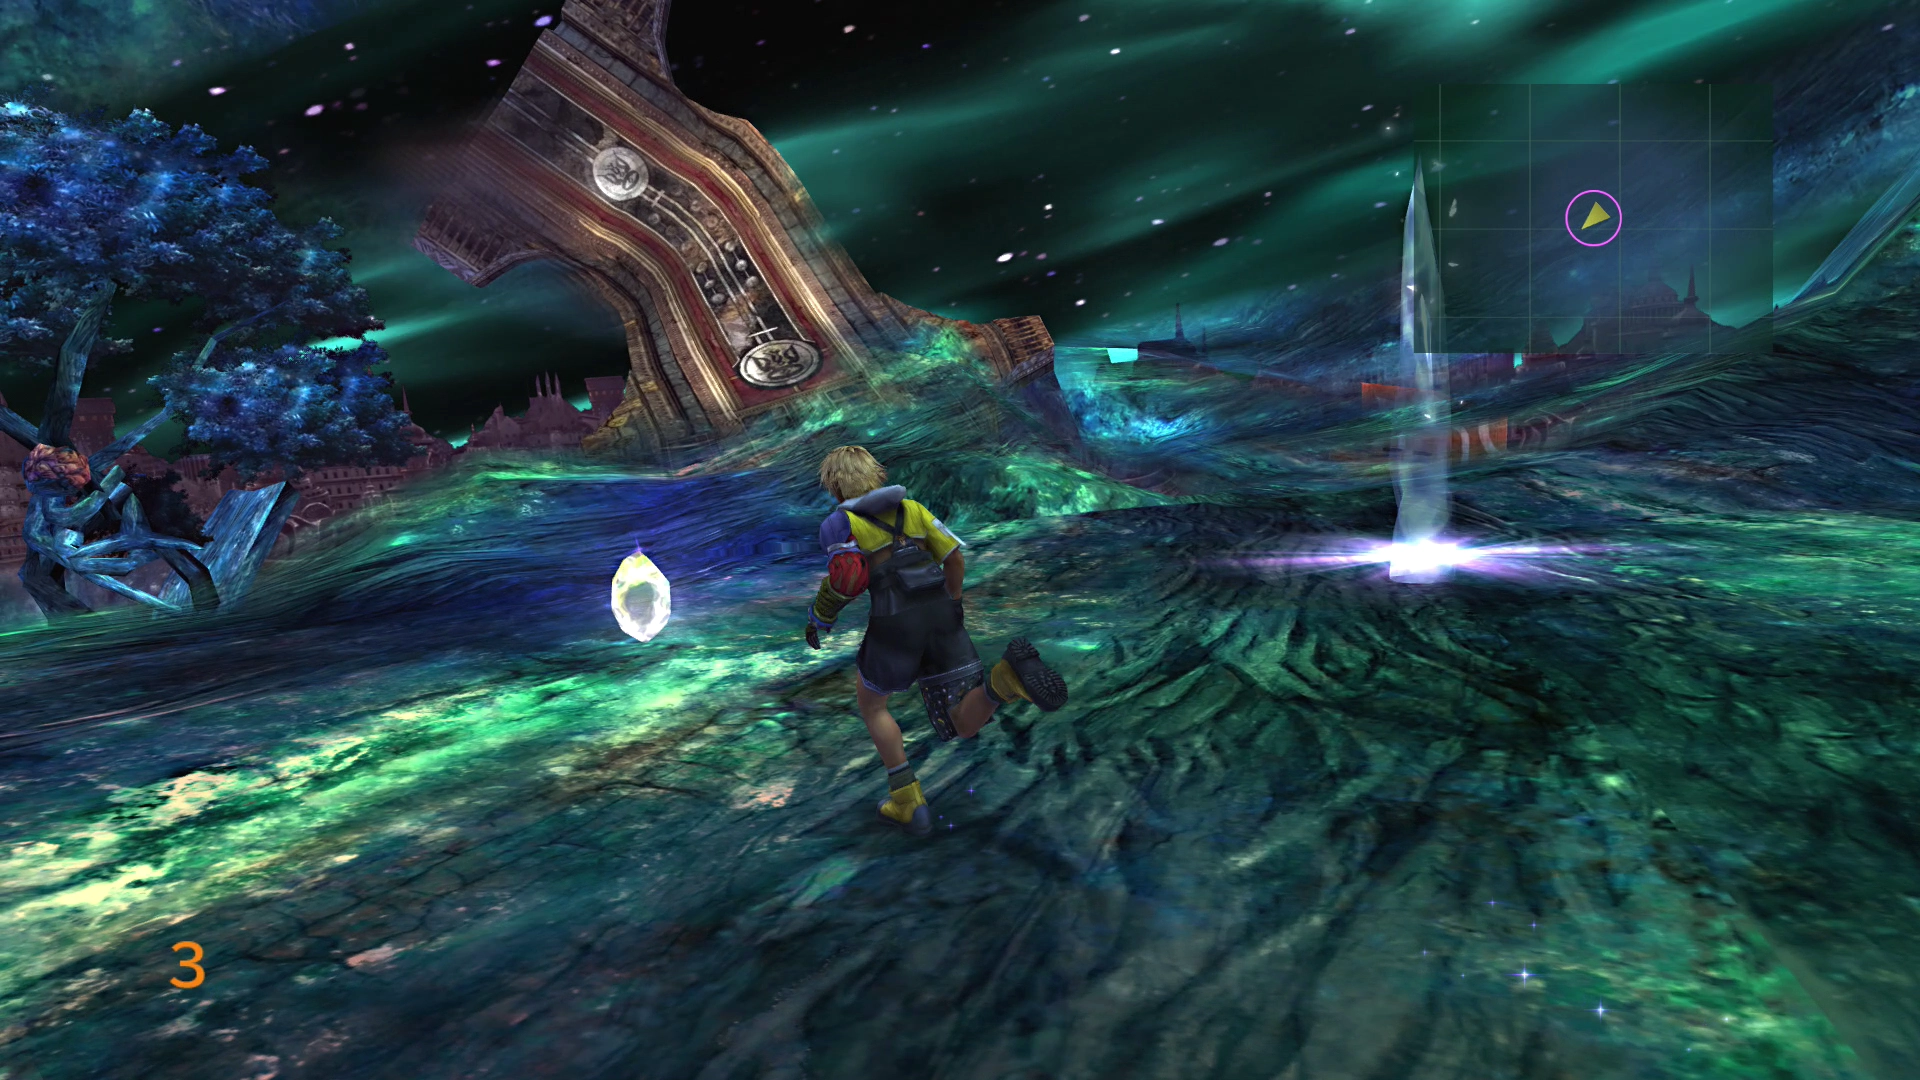
Stay close to the center of the room so that you can keep a wider-angle view of the surroundings. This viewpoint will make it easier to see and run towards the shining crystals when they appear.
The ground will start to glow just before an icicle pops up, so if you are fast, you can avoid them altogether. Do not run around the room if you are having trouble locating one or more crystals. Stand in one place and let the camera rotation do the work for you while you dodge incoming icicles.
The goal is to touch each of the golden crystal-shaped objects. Each time you grab one, you will receive one of the following items:
 Attribute Sphere
 Hrunting
 Infinity
 Knight Lance
 Prism Ball
 Skill Sphere
 Still Blade
 Mage’s Staff
 Wht Magic Sphere
 Wicked Cait Sith
Each of these items is quite strong, so double-check and equip them if they are better than the weapons that your characters are currently using.
Helpful Hint
This sequence is the end of the game, so there is no reason for you to save your most powerful items and consumables. Feel free to make use of any items that you have been saving, including ![]() X-Potions,
X-Potions, ![]() Mega-Potions,
Mega-Potions, ![]() Turbo Ethers,
Turbo Ethers, ![]() Elixirs,
Elixirs, ![]() Megalixirs, and
Megalixirs, and ![]() Mega Phoenix.
Mega Phoenix.
You will be transported out of the area for the concluding battles once you have obtained all 10 items.
Sin - Dream’s End
Heal yourself up with potions and ethers if required. Equip any equipment that you have with the ![]() Stone Ward or
Stone Ward or ![]() Stoneproof abilities before the fight. Finish preparing your party, and then proceed to speak with Jecht when you are ready.
Stoneproof abilities before the fight. Finish preparing your party, and then proceed to speak with Jecht when you are ready.
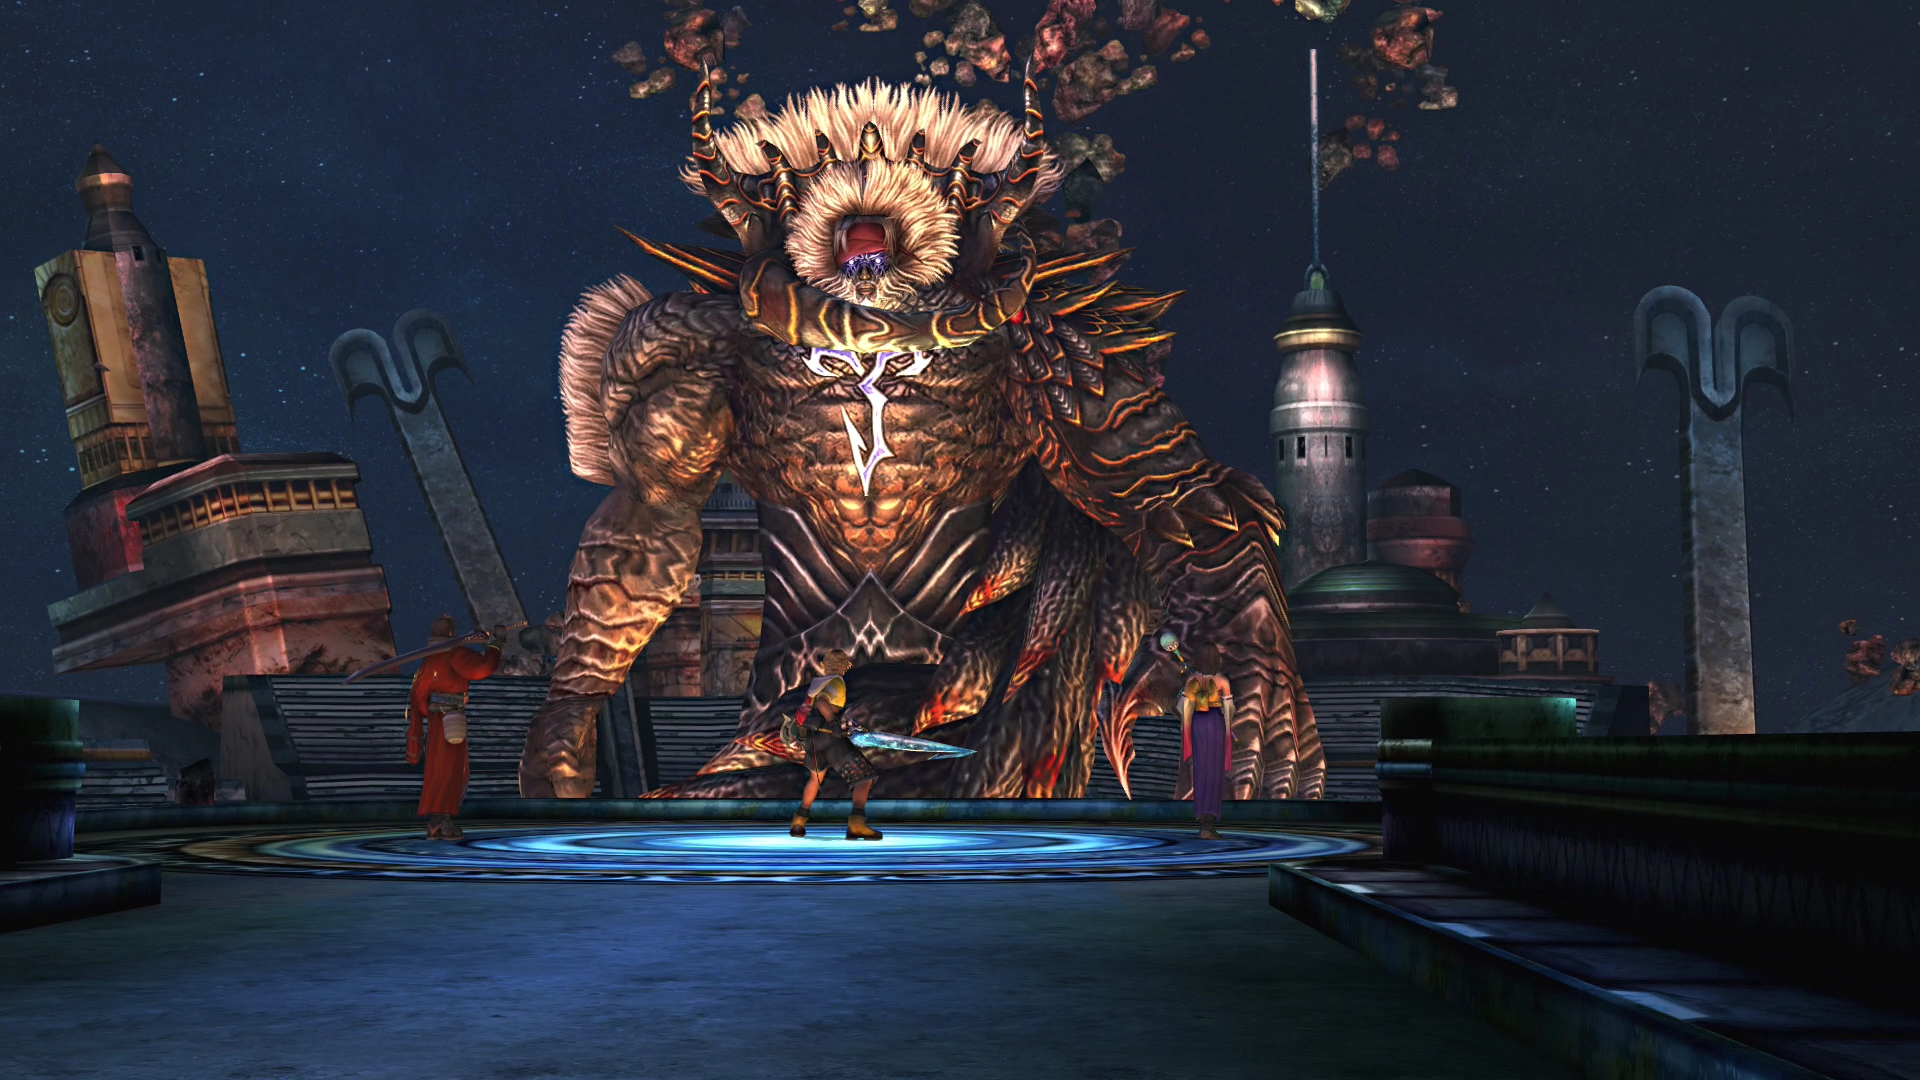
Final Boss Battle
In Game Description: Draws power from the Yu Pagodas and unleashes Overdrive attacks once his gauge is charged. Stop him from using Overdrives. Have Tidus talk to lower the gauge.
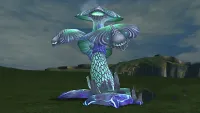
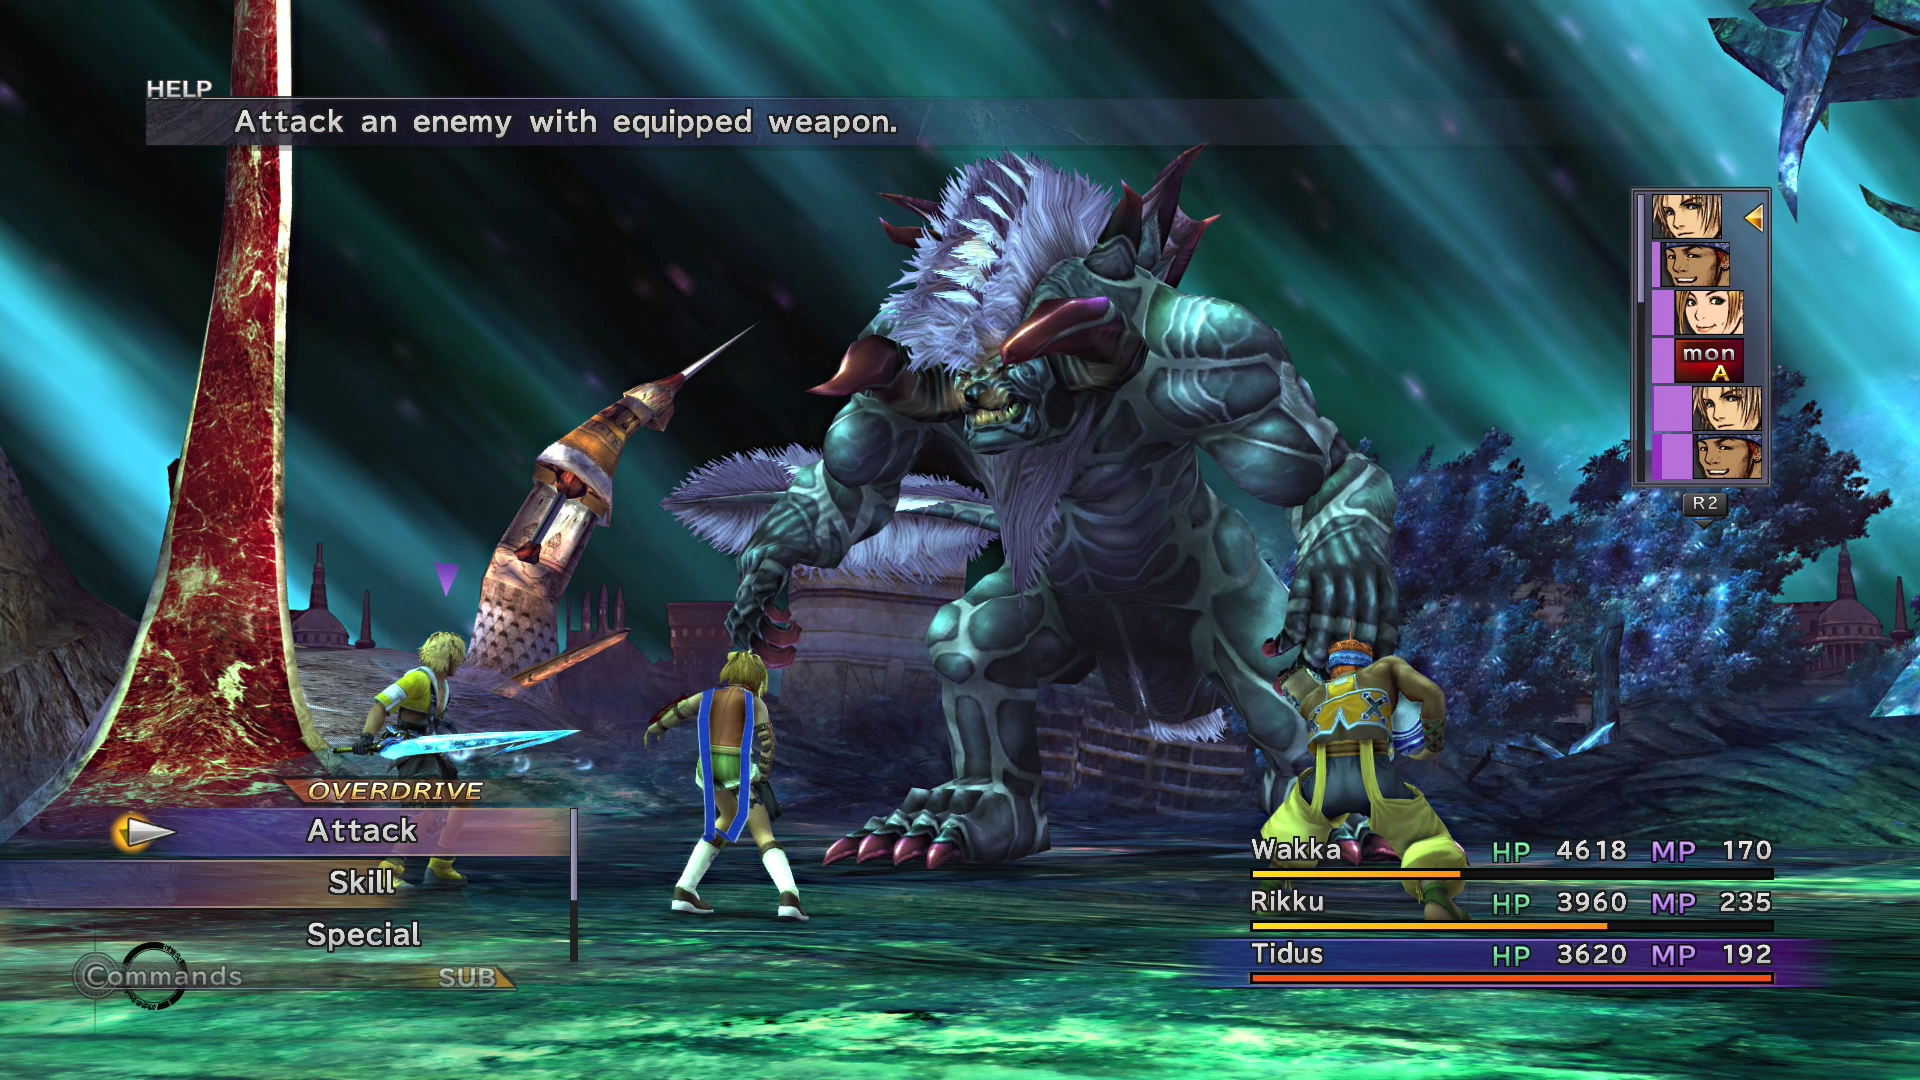
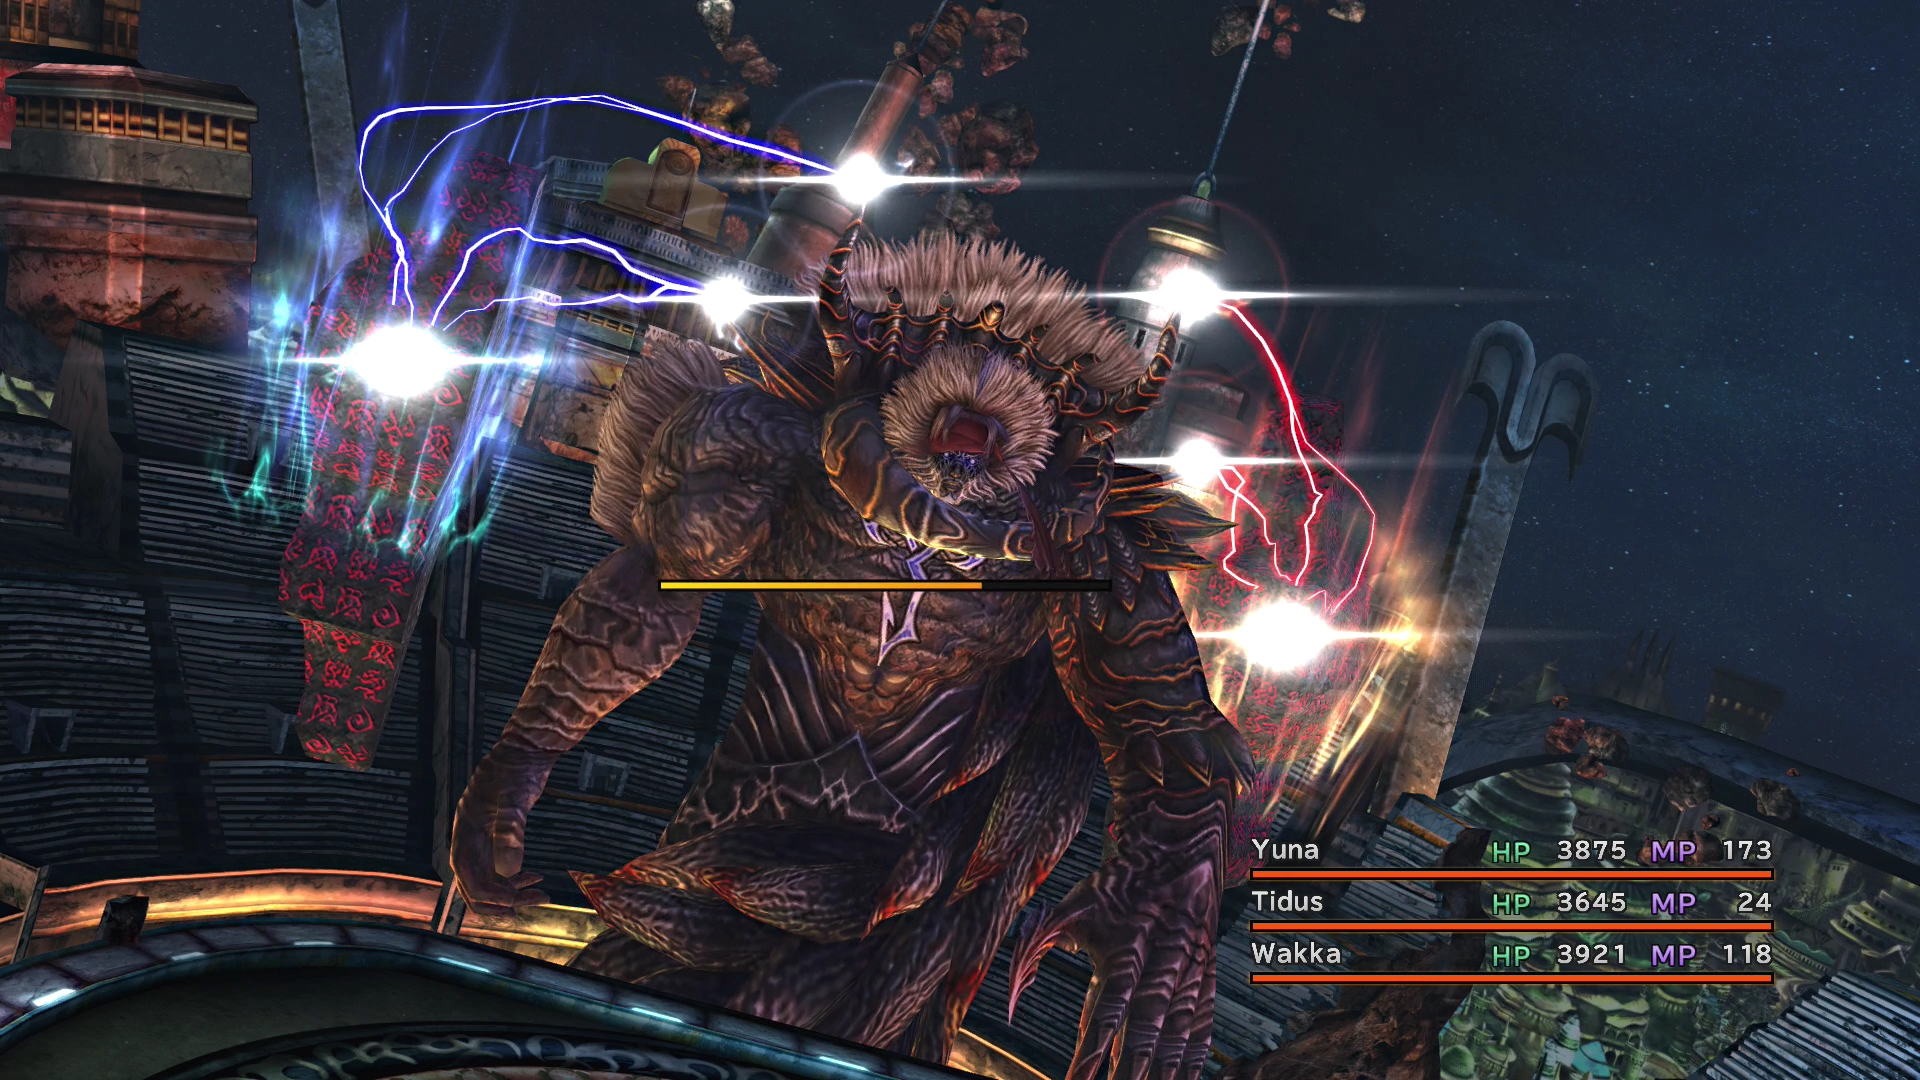
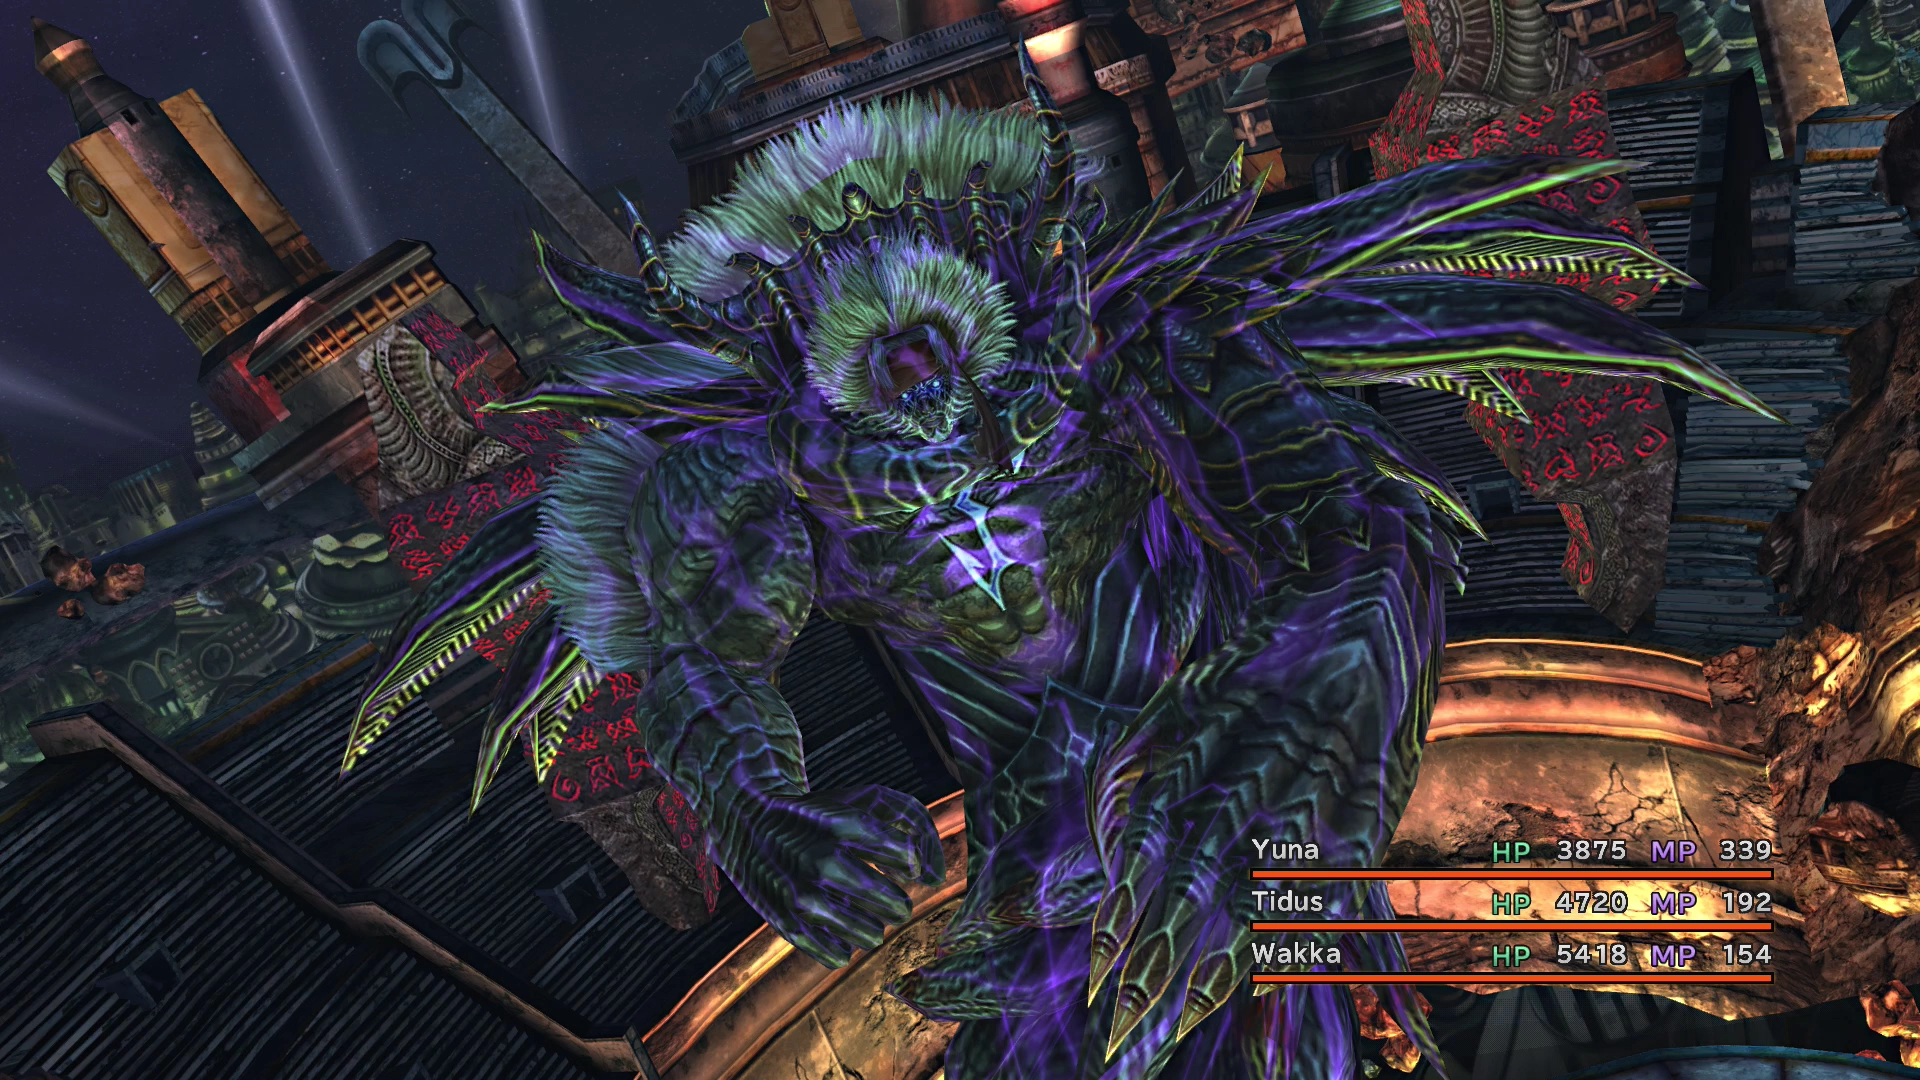
The final fight consists of two different battles against the first form and the second form of Braska’s Final Aeon. The Aeon will pull a sword out of its chest in its second form and grow wings.
Yu Pagodas
There are two Yu Pagodas in this fight, which float on either side of Braska’s Final Aeon. They will use an ability called “Power Wave,” which will heal Braska’s Final Aeon and charge up its Overdrive gauge (the black bar near the boss that charges during the fight). You can attack them directly and destroy them, but they will revive after a few turns, though, with more HP than they started with.
They start with 5,000 HP and will return with an additional amount of HP equal to the amount that you overkilled them by. For example, if you destroyed one of them with an attack that dealt 3,000 damage, followed by another attack that did 3,000, it would return with 6,000 HP.
This mechanic can be particularly problematic if you destroy the Yu Pagodas with very high damage attacks. Make sure that you destroy them at the same time, though, as defeating one of them will cause the other one to use some particularly painful spells, including Curse. It is also advisable to hold off on defeating them until phase 2 of the fight.
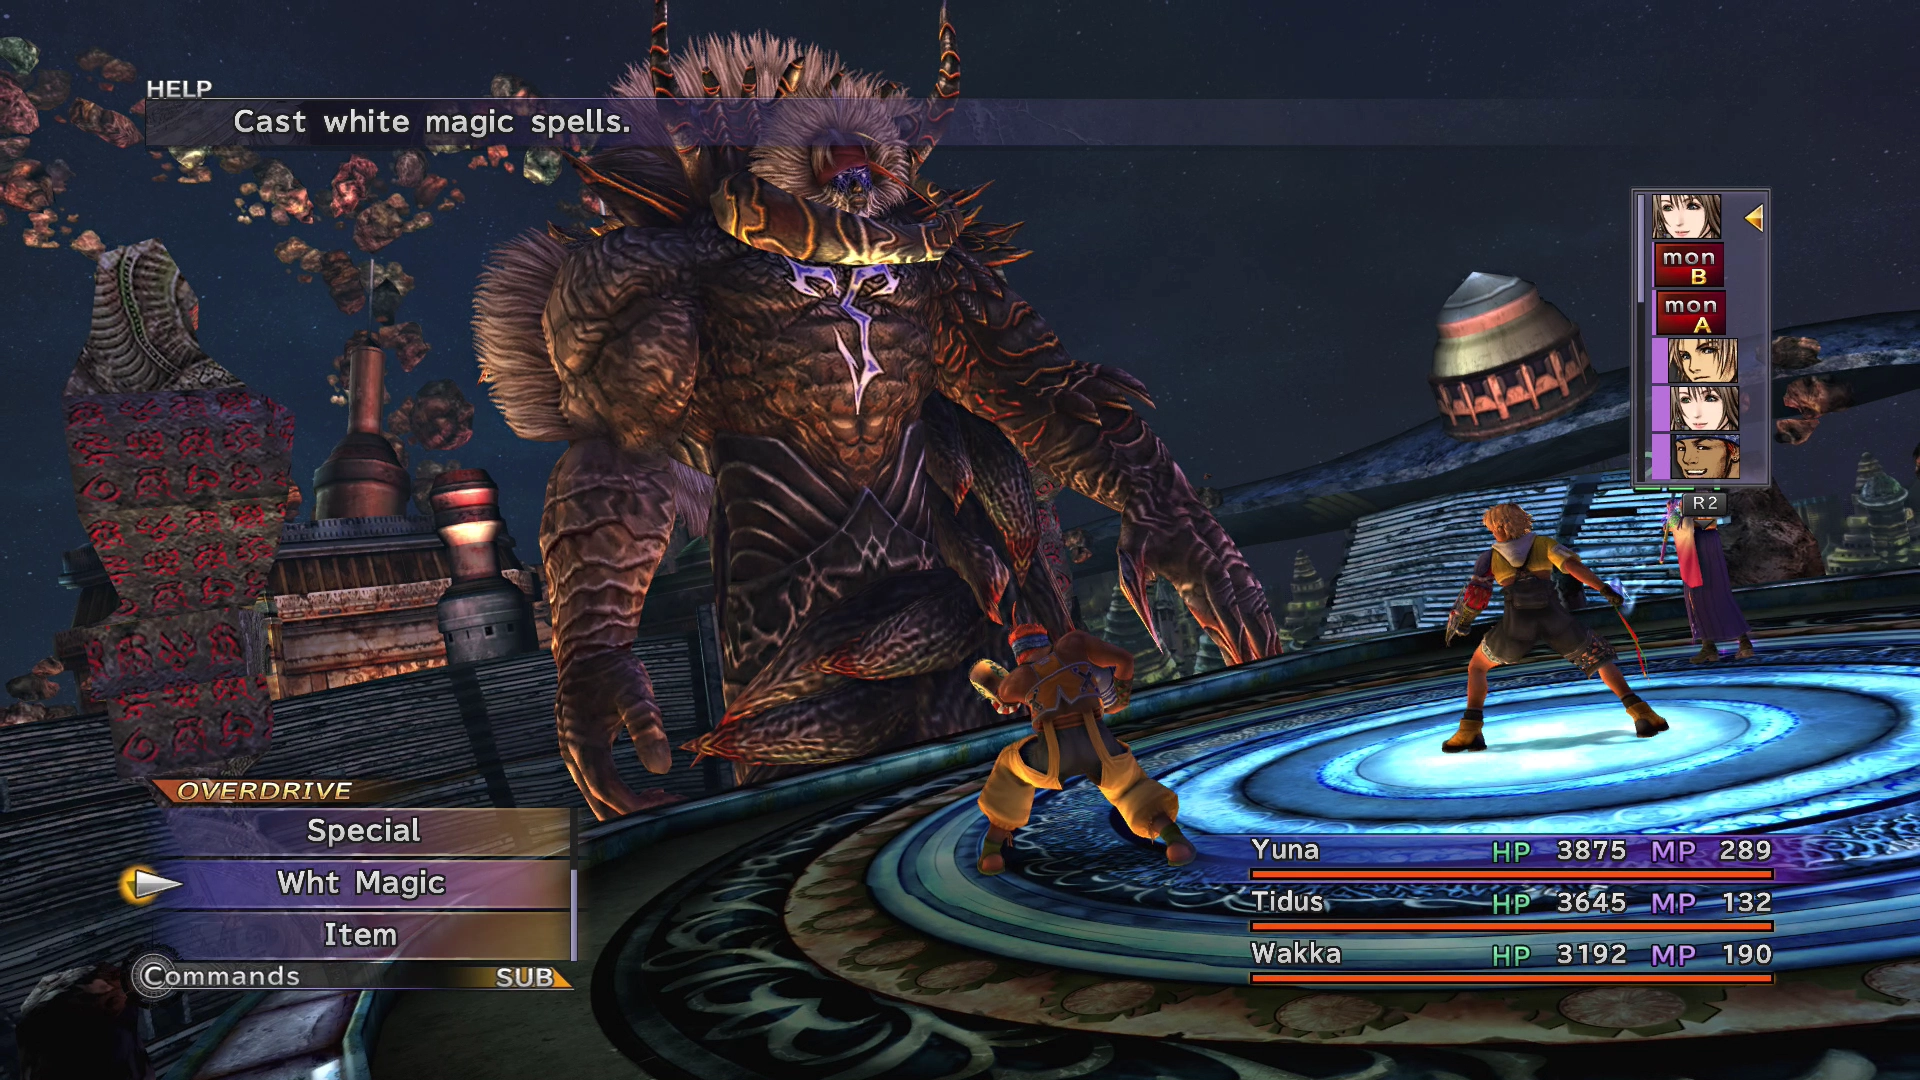
Ensure you utilize the full range of beneficial status effects on your party members. ![]() Hastega,
Hastega, ![]() Protect, and
Protect, and ![]() Regen are all incredibly helpful. Also, ensure that you immediately use a
Regen are all incredibly helpful. Also, ensure that you immediately use a ![]() Soft or a
Soft or a ![]() Remedy on any petrified party member, as Braska’s Final Aeon will use an attack called “Shatter” on that character, permanently removing them from the battle. It will be extremely difficult to defeat the final boss with only two characters!
Remedy on any petrified party member, as Braska’s Final Aeon will use an attack called “Shatter” on that character, permanently removing them from the battle. It will be extremely difficult to defeat the final boss with only two characters!
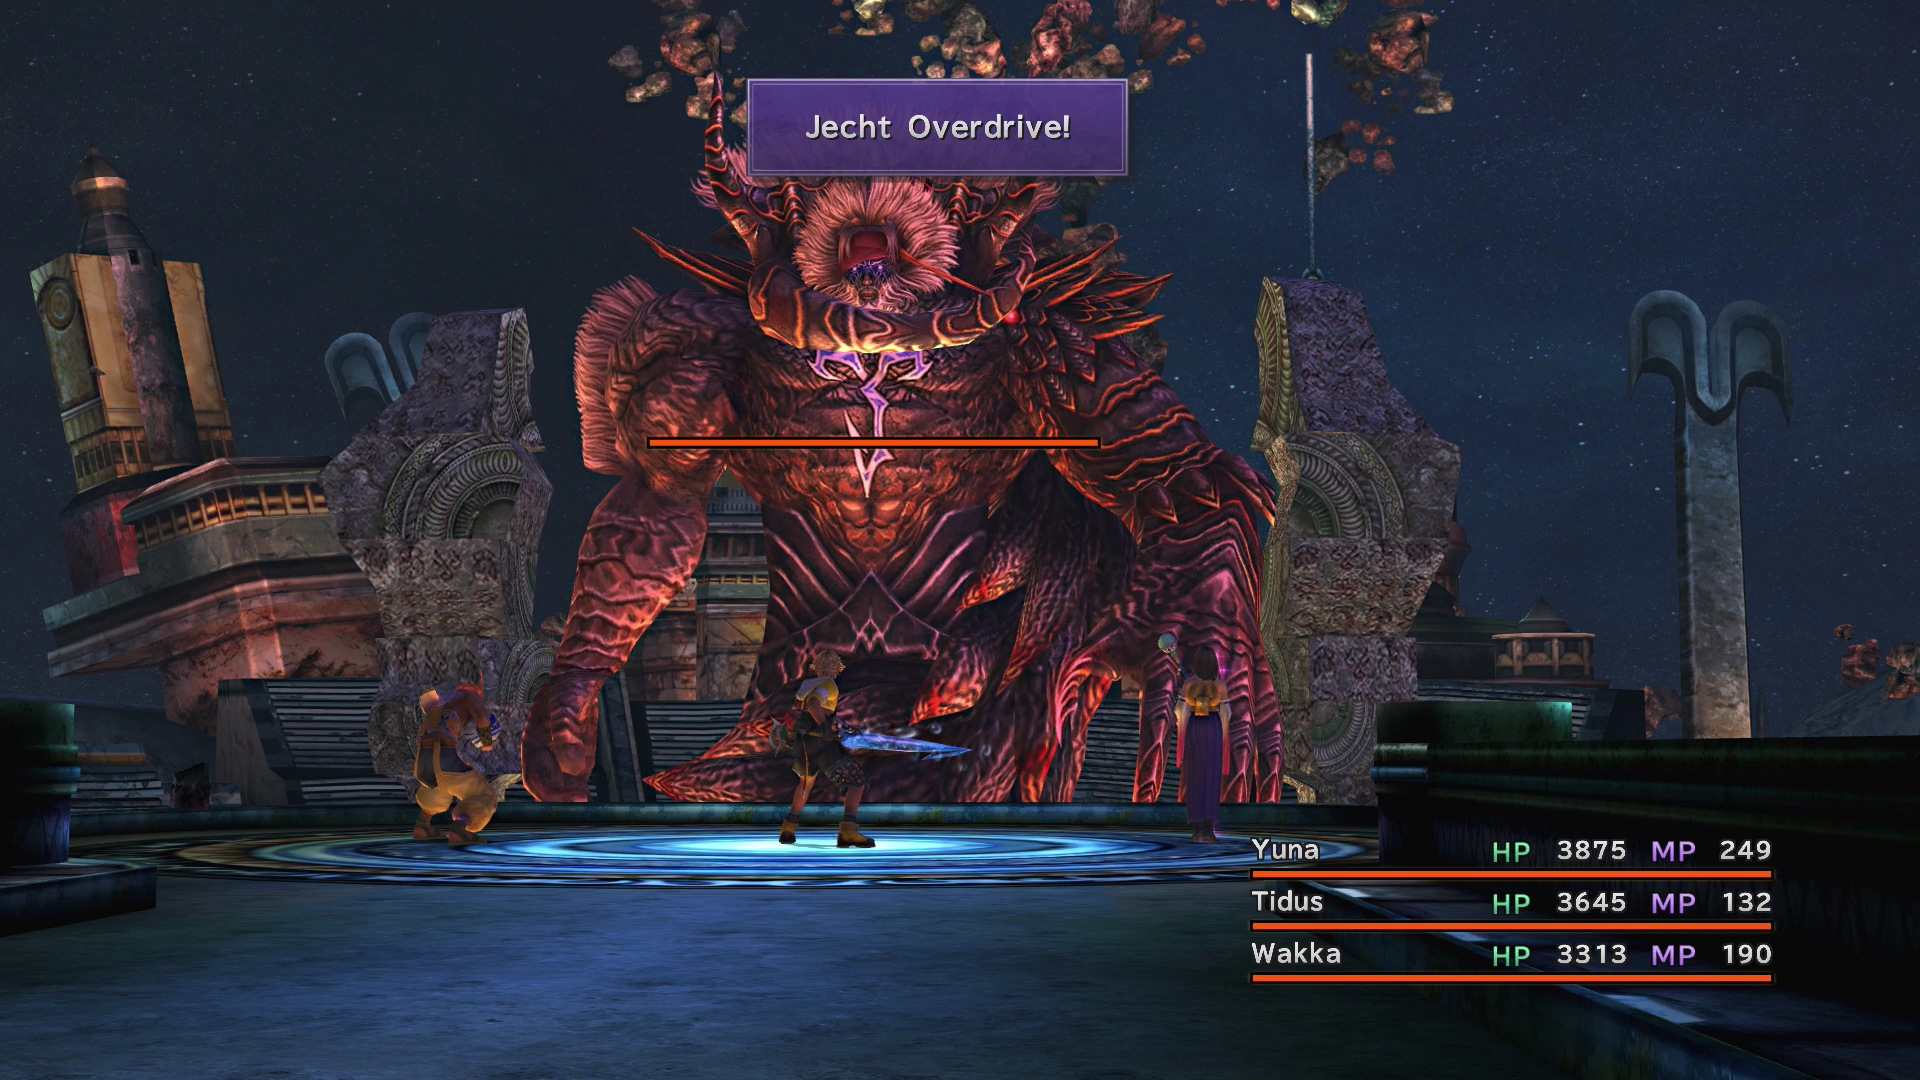
You can use Tidus’ Trigger Commands to talk to Braska’s Final Aeon. Doing so will cause its Overdrive meter to drain, but save this for the boss’s second form (when it pulls a sword out of its chest) as its Overdrives become much more powerful later on.
You can use the Talk command to reduce the Overdrive gauge back down to zero. You can use it twice during the course of the final battle.
Lord Braska’s Final Aeon is susceptible to Poison if you use ![]() Bio. You may need to use it several times for it to take effect. You will also want to use the different Break attacks (
Bio. You may need to use it several times for it to take effect. You will also want to use the different Break attacks (![]() Armor Break,
Armor Break, ![]() Power Break, and
Power Break, and ![]() Mental Break, or just
Mental Break, or just ![]() Full Break) to help bring down its HP faster.
Full Break) to help bring down its HP faster.
Good luck!
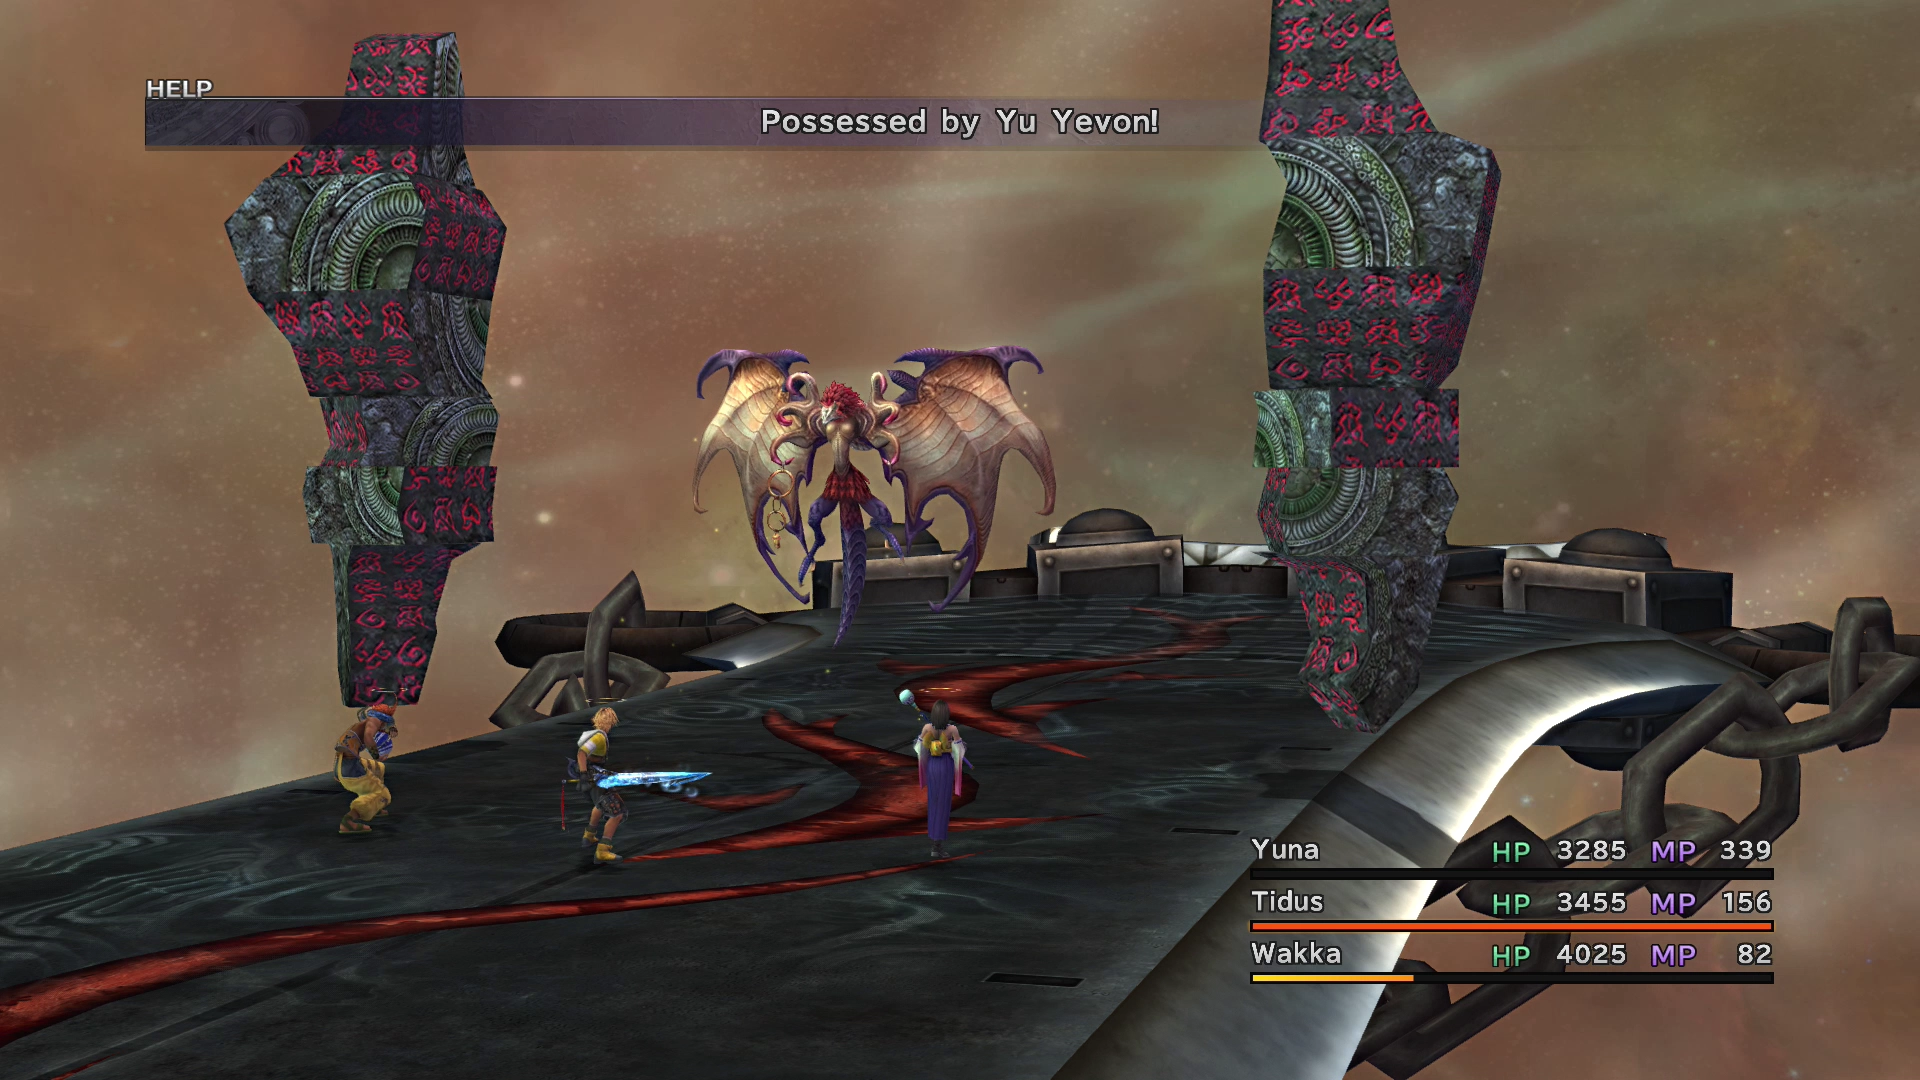
There will be one final fight against Yu Yevon that you cannot lose. If you’re having trouble defeating Yu Yevon, you can have Yuna cast ![]() Reflect on it. Enjoy the final cinematic!
Reflect on it. Enjoy the final cinematic!
Achievement/Trophy
You will receive  The Eternal Calm Achievement/Trophy once you have successfully defeated Yu Yevon during the final battle of the game.
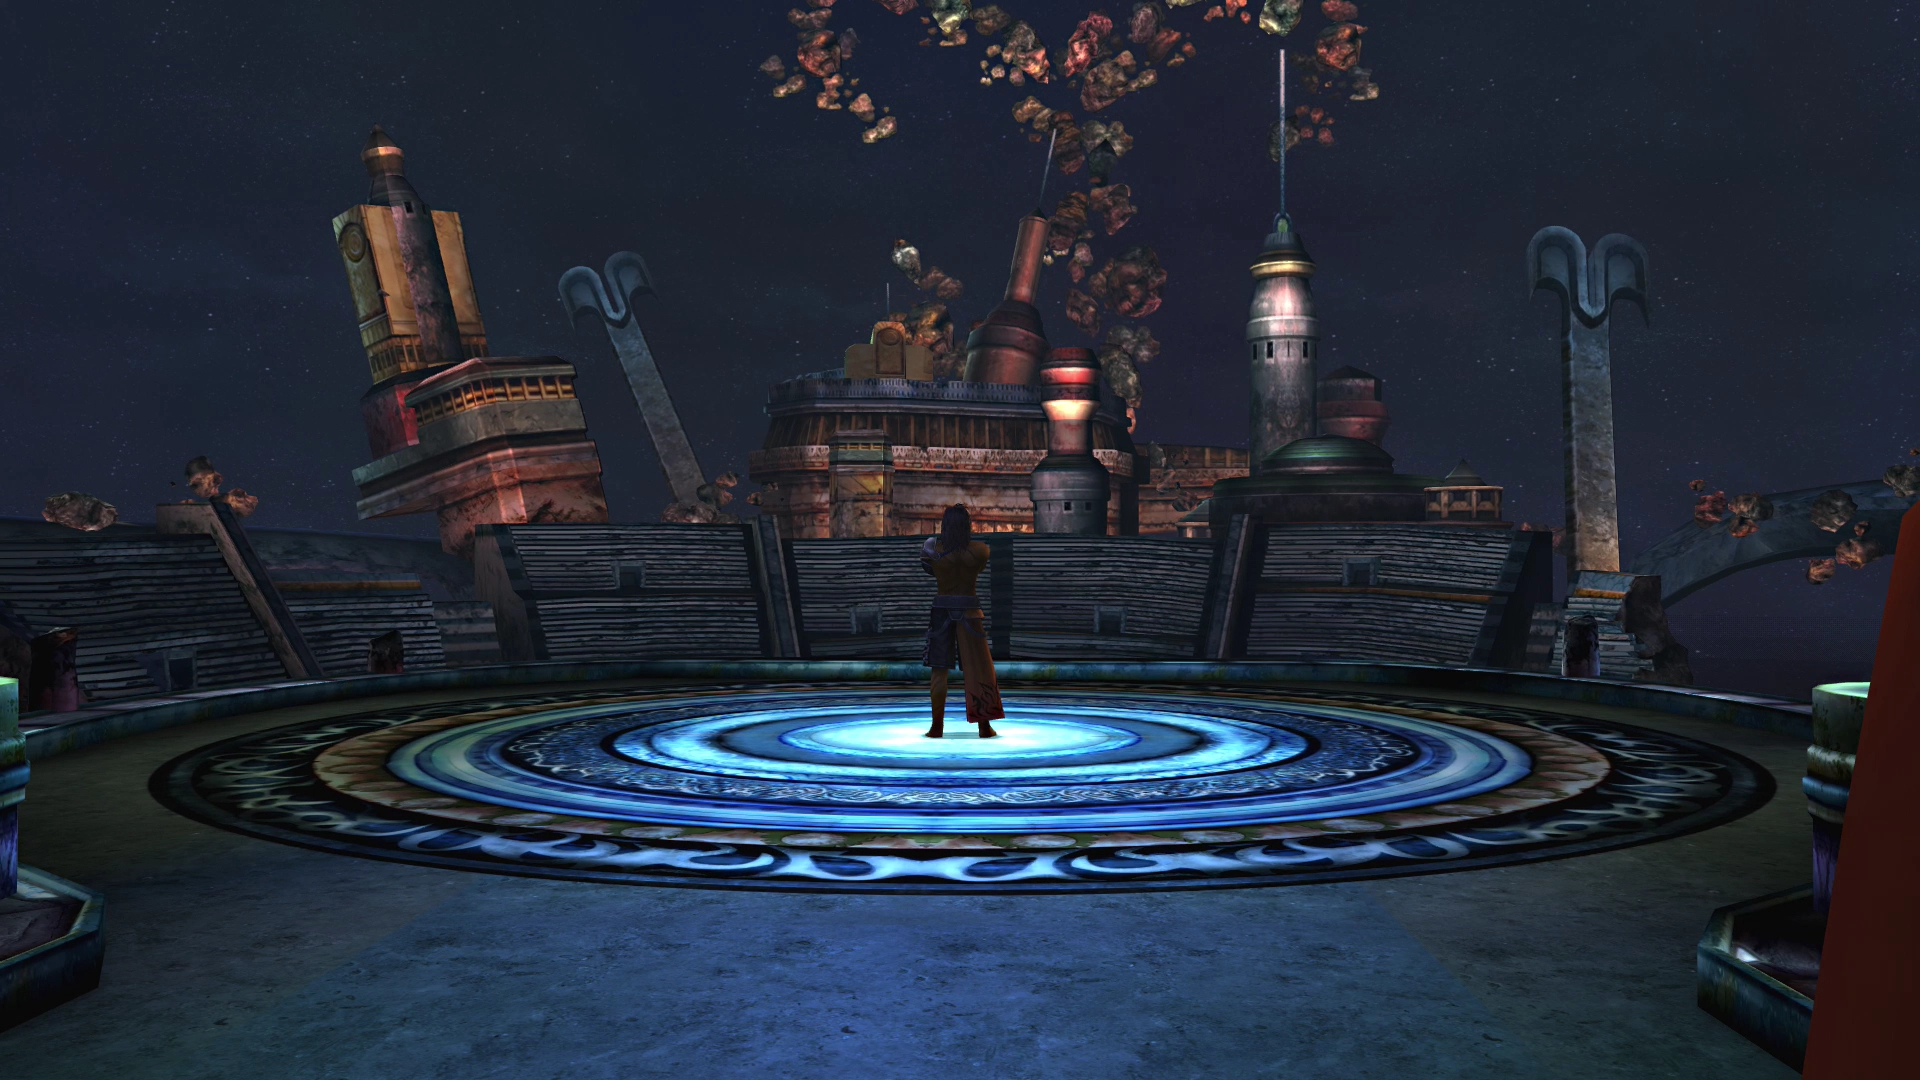
Here are a few screenshots from the final cutscene:


Thank you for reading this strategy guide! Be sure to return to Jegged.com if you move on to any of the other Final Fantasy titles!