

Missable Items and Events
Unlike many other games in the Final Fantasy series, Final Fantasy XII: The Zodiac Age has very little in the way of permanently missable content. While it is easy to skip past optional side quests, Espers, and hidden treasures during the main story, the game makes it simple to return to virtually every area at any time. That said, there are a few exceptions worth knowing about, including a final point of no return once you board the Sky Fortress Bahamut.
If you are the type of player who worries about missing something important, the good news is that you can relax. The sections below cover the few things worth being aware of, but none of them should cause any stress.
Zodiac Spear
The Zodiac Spear is the most famous "missable" item in Final Fantasy XII history, though its missable nature depends entirely on which version of the game you are playing.
In the original PS2 version, the Zodiac Spear could only be obtained from the Necrohol of Nabudis if you avoided opening four specific "forbidden" treasure chests throughout the game. Opening any one of these chests would permanently prevent the spear from appearing. The four forbidden chests were located in:
| Location | Details |
|---|---|
| Lowtown (Rabanastre) | Chests outside Old Dalan's place |
| Royal Palace Cellars | Chests in the rooms where Vaan begins the palace infiltration |
| Nalbina Dungeons (The Confiscatory) | Chests where the party retrieves their equipment |
| Phon Coast (Vaddu Strand) | One specific chest among a grid of 16 treasure chests |
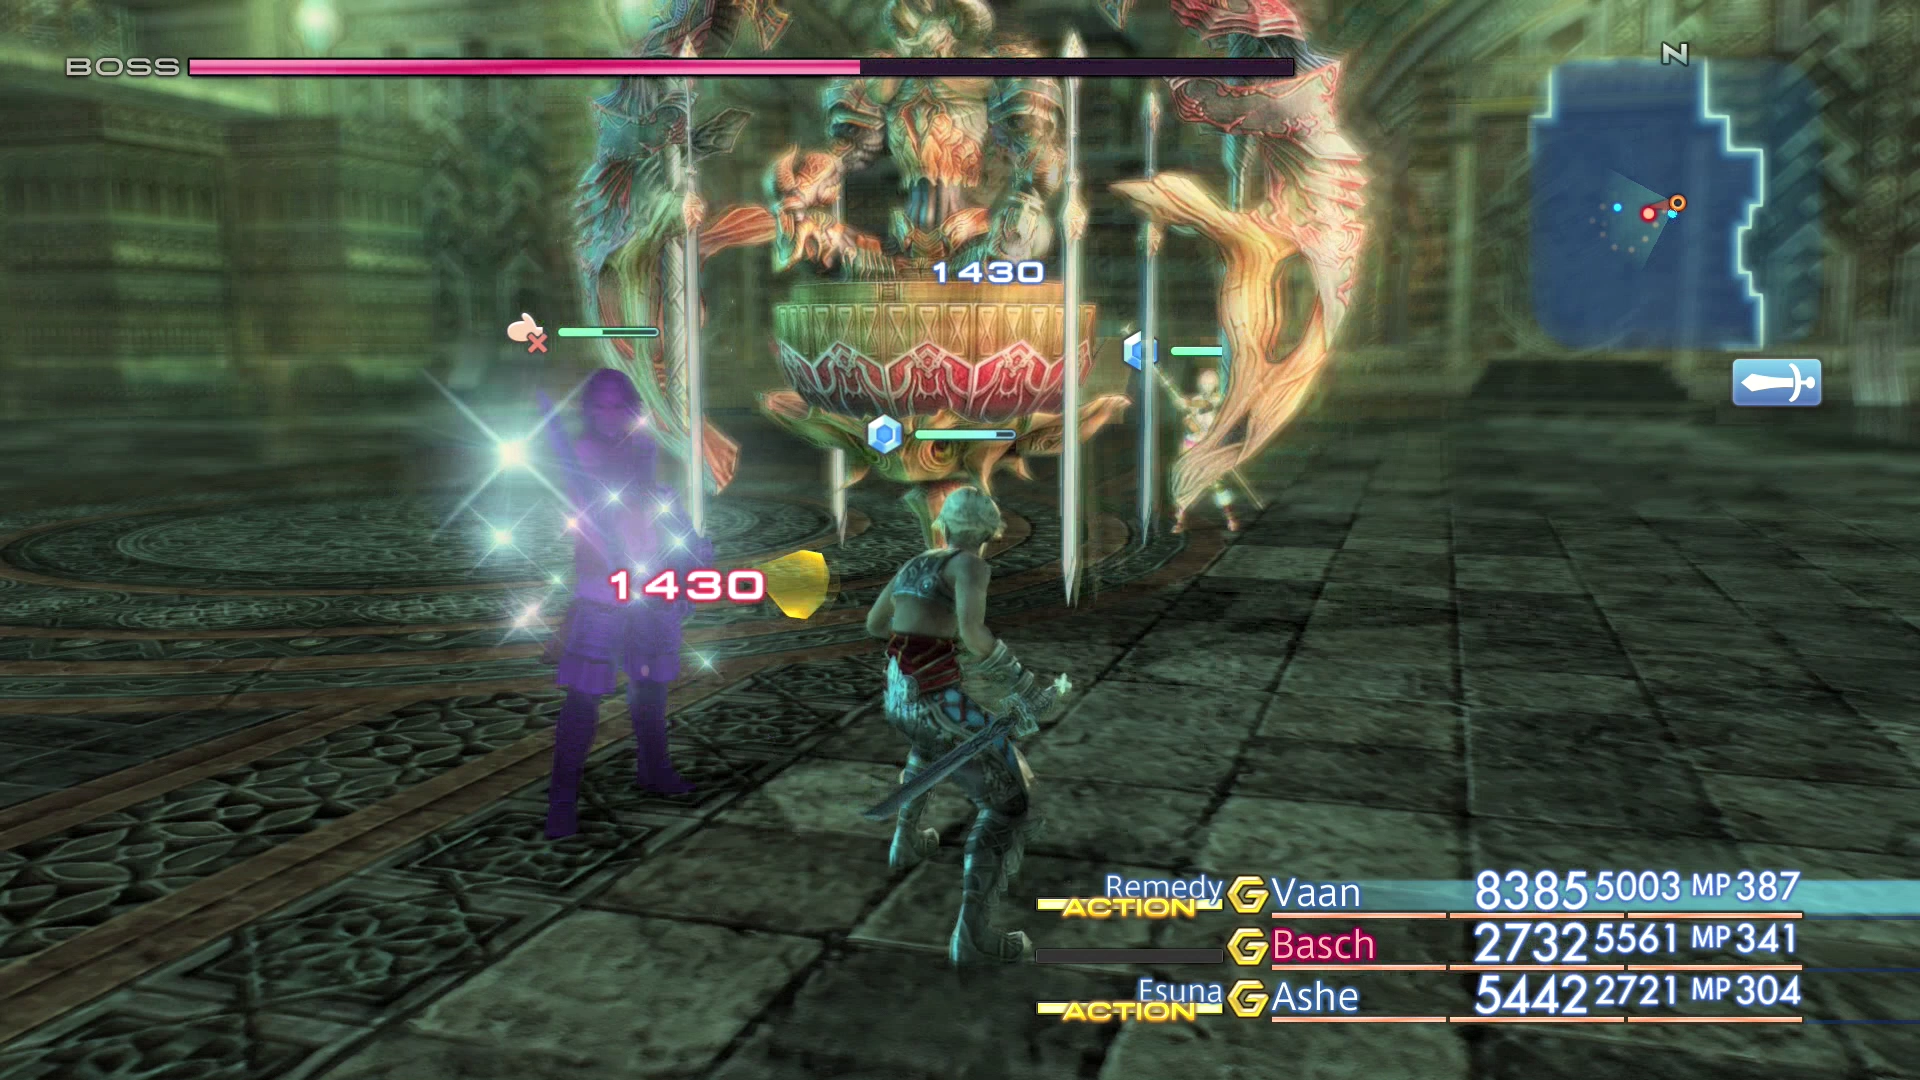
In The Zodiac Age, the forbidden chest restriction was removed entirely, but so was the Necrohol of Nabudis spear itself. The Zodiac Spear is instead found in a rare treasure chest in the Phase 2 Dig area of the Henne Mines, which is unlocked by obtaining 10 Espers, completing Hunt 15: The Mine Flayer, and speaking to Geomancer Yugelu in Jahara. The chest odds are very low and you must be wearing the Diamond Armlet to have a chance at the spear.
Side Quest
A detailed guide to obtaining the Zodiac Spear, including location details and version differences.
Diamond Armlet
The  Diamond Armlet is not missable, but it is one of the most important accessories in the game. When equipped, it changes the contents of treasure chests throughout Ivalice, often replacing common items with rare or powerful equipment.
Understanding how the Diamond Armlet works is essential for treasure hunting. In the original PS2 version, equipping it while opening the Zodiac Spear chest in the Necrohol of Nabudis would give you a Knot of Rust instead of the spear. In The Zodiac Age, the requirement is reversed: you must be wearing the Diamond Armlet for the Henne Mines chest to have a chance of containing the spear.
Tips and Tricks
A guide to finding the Diamond Armlet and understanding how it affects treasure chest contents.
Optional Espers
While five Espers are obtained through the main story (Belias, Mateus, Shemhazai, Hashmal, and Famfrit), the remaining eight are entirely optional and must be sought out on your own. None of them are permanently missable, but several are hidden in locations that are easy to overlook or require completing specific prerequisites.
| Esper | Location | Prerequisites |
|---|---|---|
| Adrammelech | Zertinan Caverns | None |
| Cúchulainn | Garamsythe Waterway | Sluice Gate puzzle |
| Zalera | Barheim Passage | Return visit via Dalmasca Estersand |
| Exodus | Mosphoran Highwaste | Shrine activations |
| Zeromus | Stilshrine of Miriam | Stone of the Condemner |
| Ultima | Great Crystal | Complex gate navigation |
| Chaos | Necrohol of Nabudis | Three Medallions side quest |
| Zodiark | Henne Mines (Phase 2) | 10 Espers + Hunt 15 completed |
Chaos and Zodiark are the two most commonly missed, as both require completing specific side quest chains before they become accessible.
Great Crystal Treasures
The Great Crystal is one of the most complex areas in the game, with a confusing gate system that only allows one gate type to be active at a time. It contains some of the most powerful equipment in the game, including the  Excalibur (which requires defeating the Esper Ultima first).
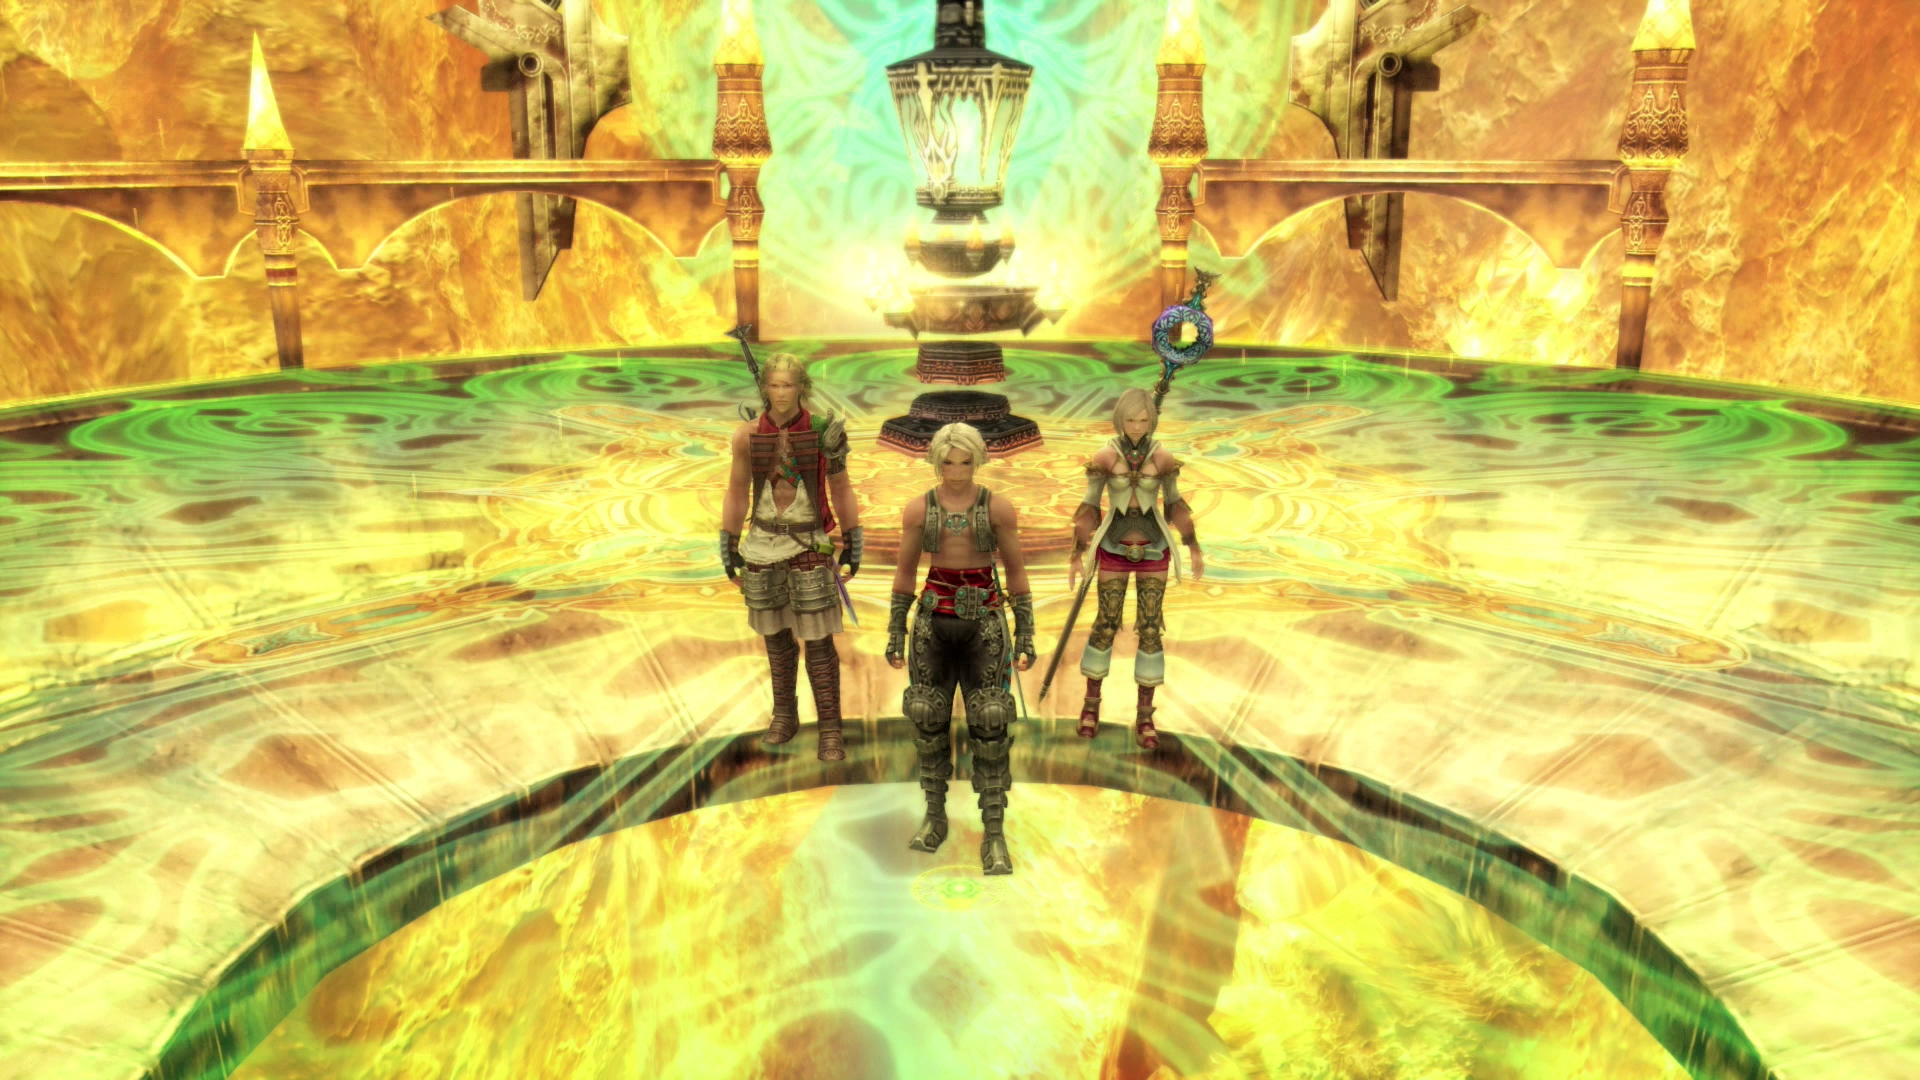
None of the treasures here are permanently missable, but the area is so confusing that many players leave without finding everything. Notable items include:
 Staff of the Magi
 Holy Rod
 Artemis Bow
 Ring of Renewal
Side Quest
A complete guide to navigating the Great Crystal and finding all of its hidden treasures.
Genji Equipment (Gilgamesh)
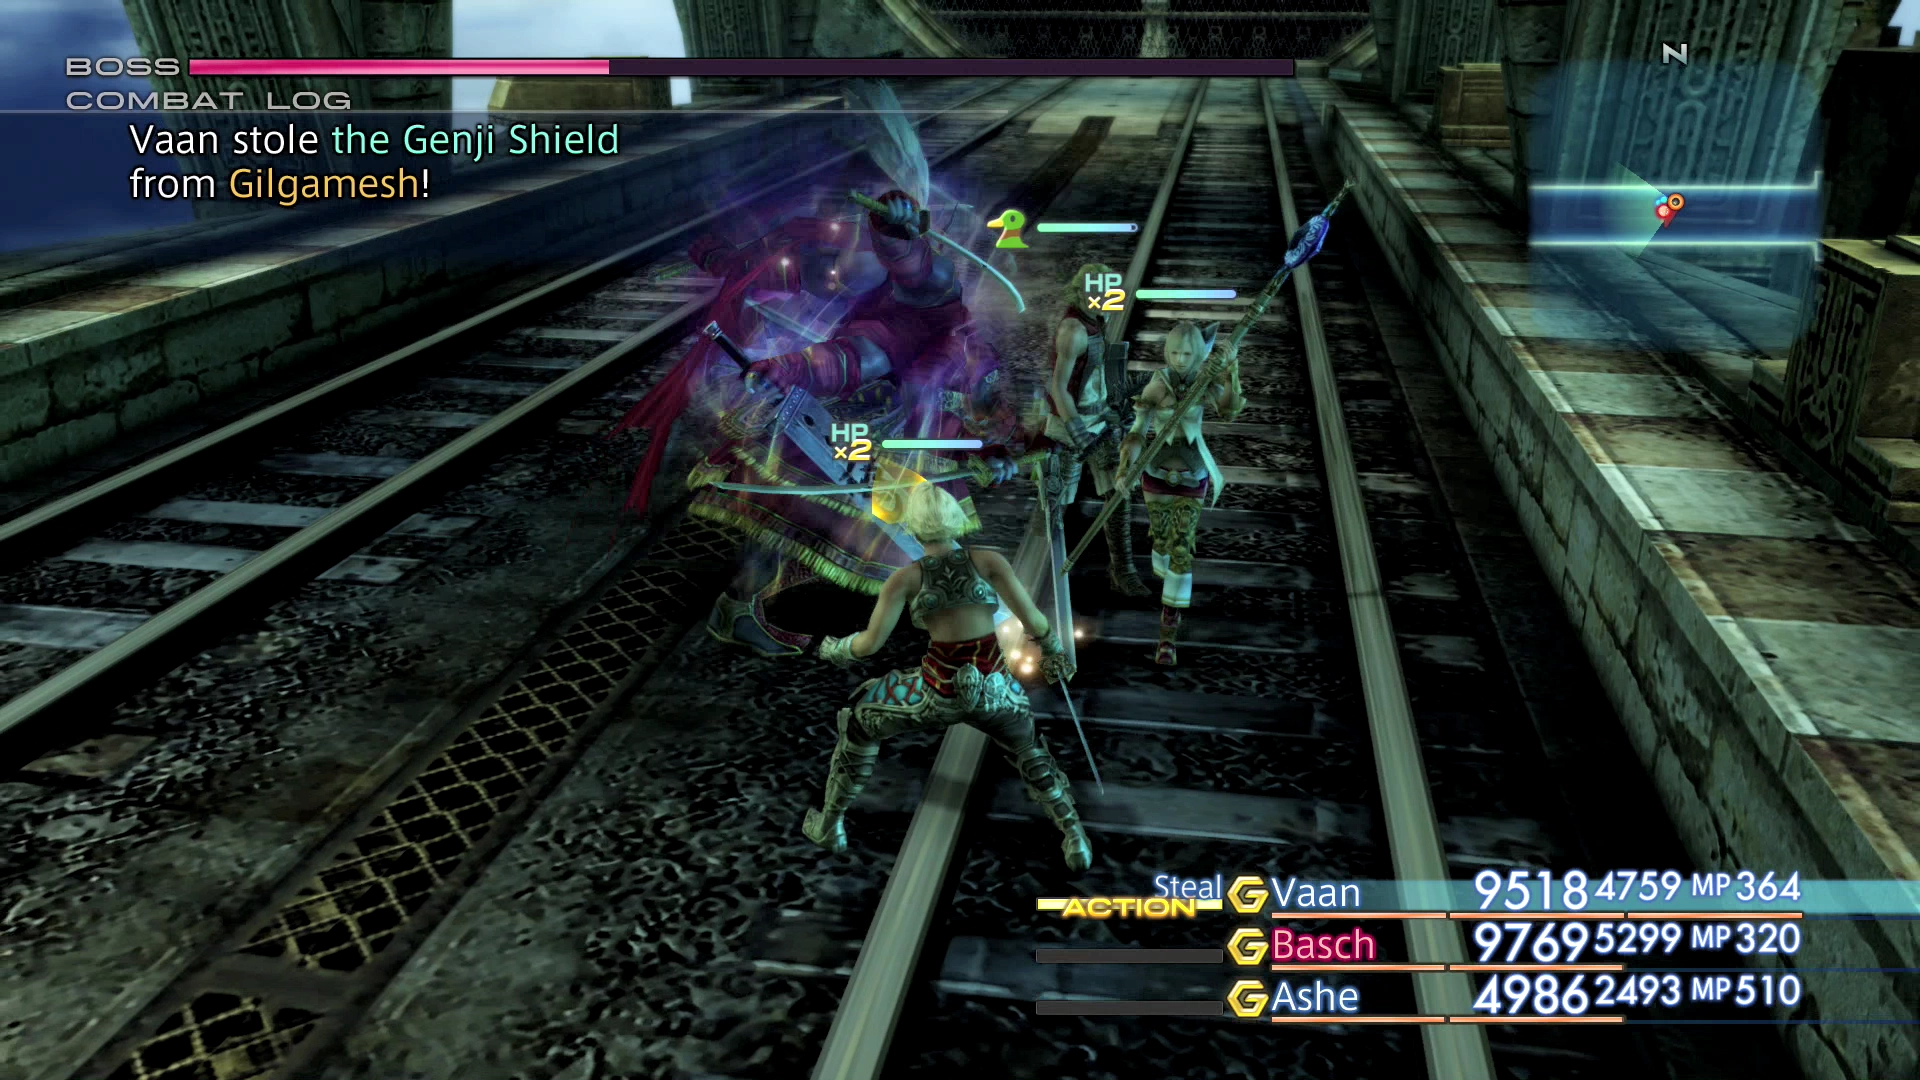
The most commonly missed items in The Zodiac Age are the four pieces of Genji equipment, which can only be stolen from Gilgamesh during Hunt 40: Battle on the Big Bridge. Gilgamesh is fought twice, and the gear you can steal changes as his HP drops. Defeat both battles without stealing and the  Genji Shield,
  Genji Helm,
  Genji Armor and
  Genji Gloves are gone for good.
The Genji Gloves are especially valuable as they boost combo rate, and only two can ever be obtained in a single playthrough: one stolen from Gilgamesh and one from the Hunt Club side quest.
Clan Primer
A complete guide to both Gilgamesh battles, including which pieces of Genji equipment can be stolen at each stage of the fight.
Omega Badge
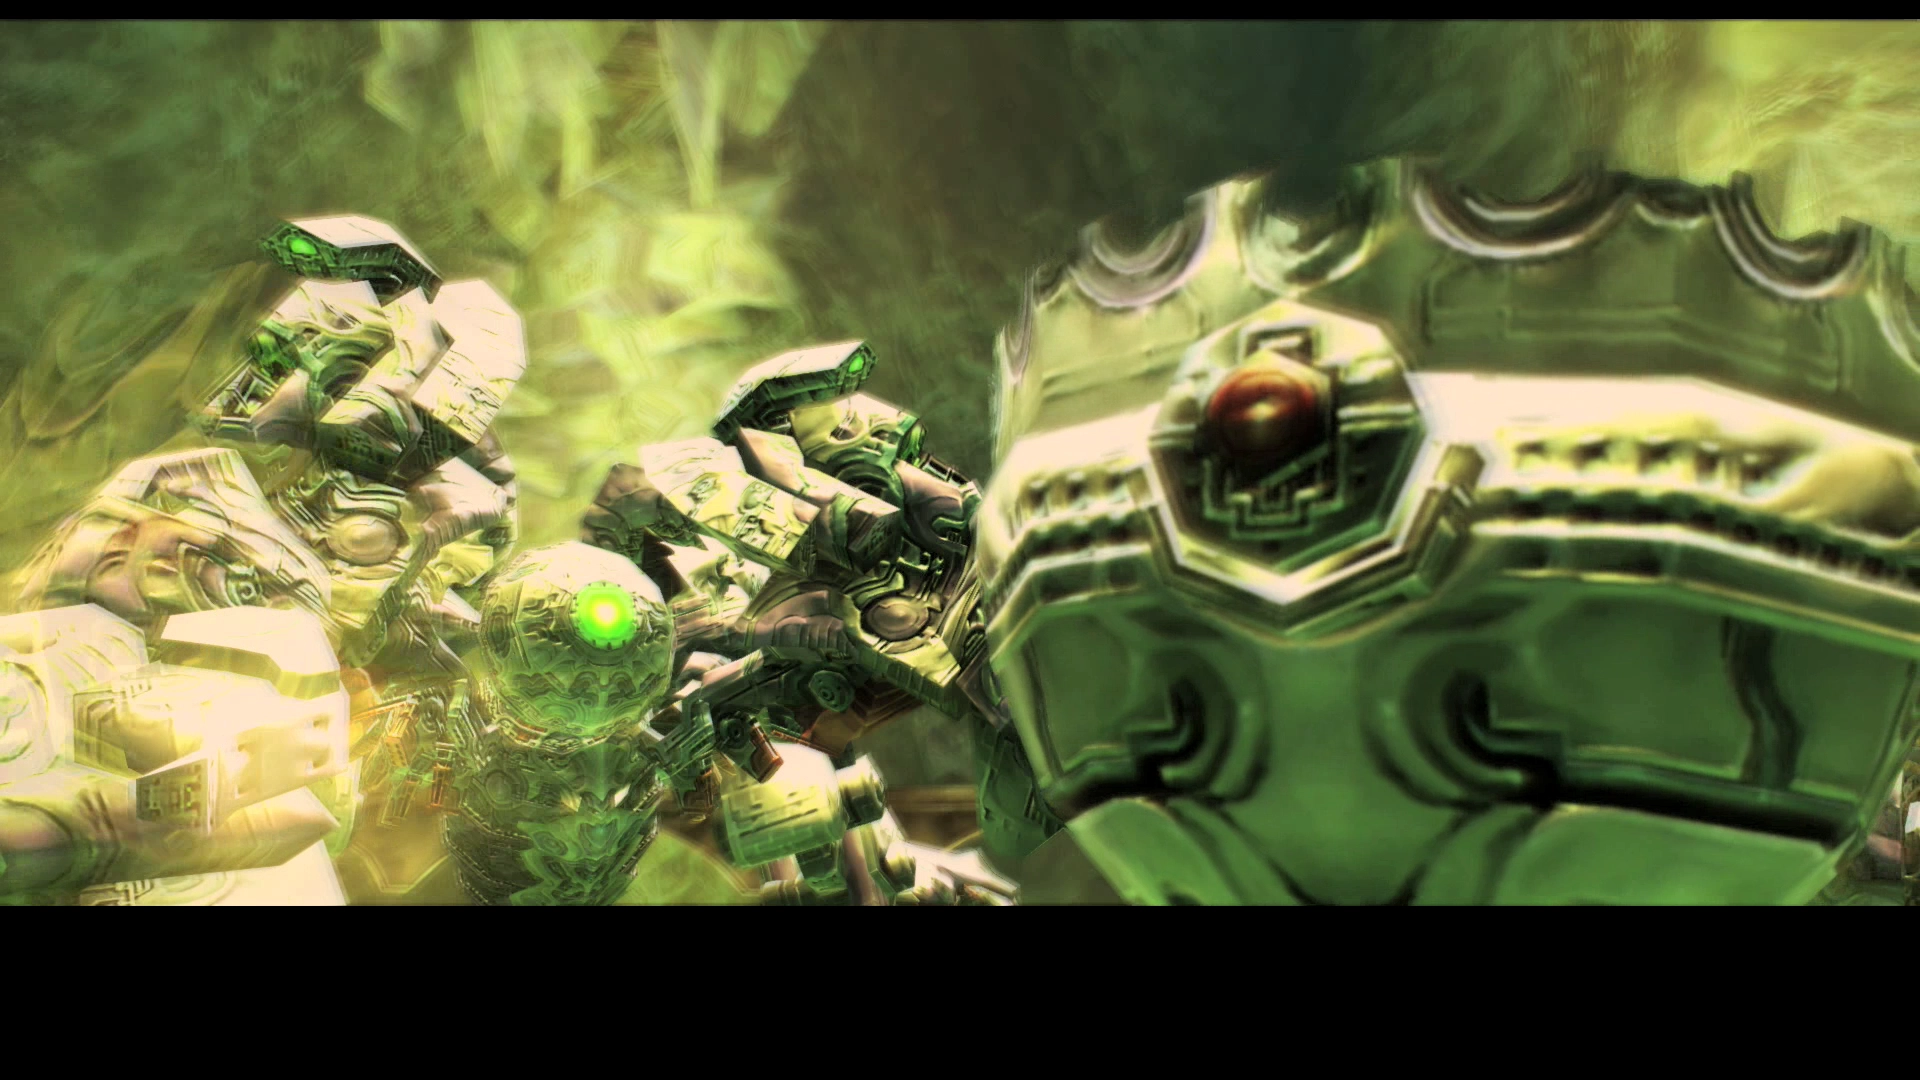
After defeating Omega Mark XII, the  Omega Badge drops as a loot bag on the ground rather than being awarded automatically. Leave the room without picking it up and it is gone forever, which also costs you the Wyrmhero Blade, since the badge is a required ingredient in its bazaar recipe.
Timed Side Quests
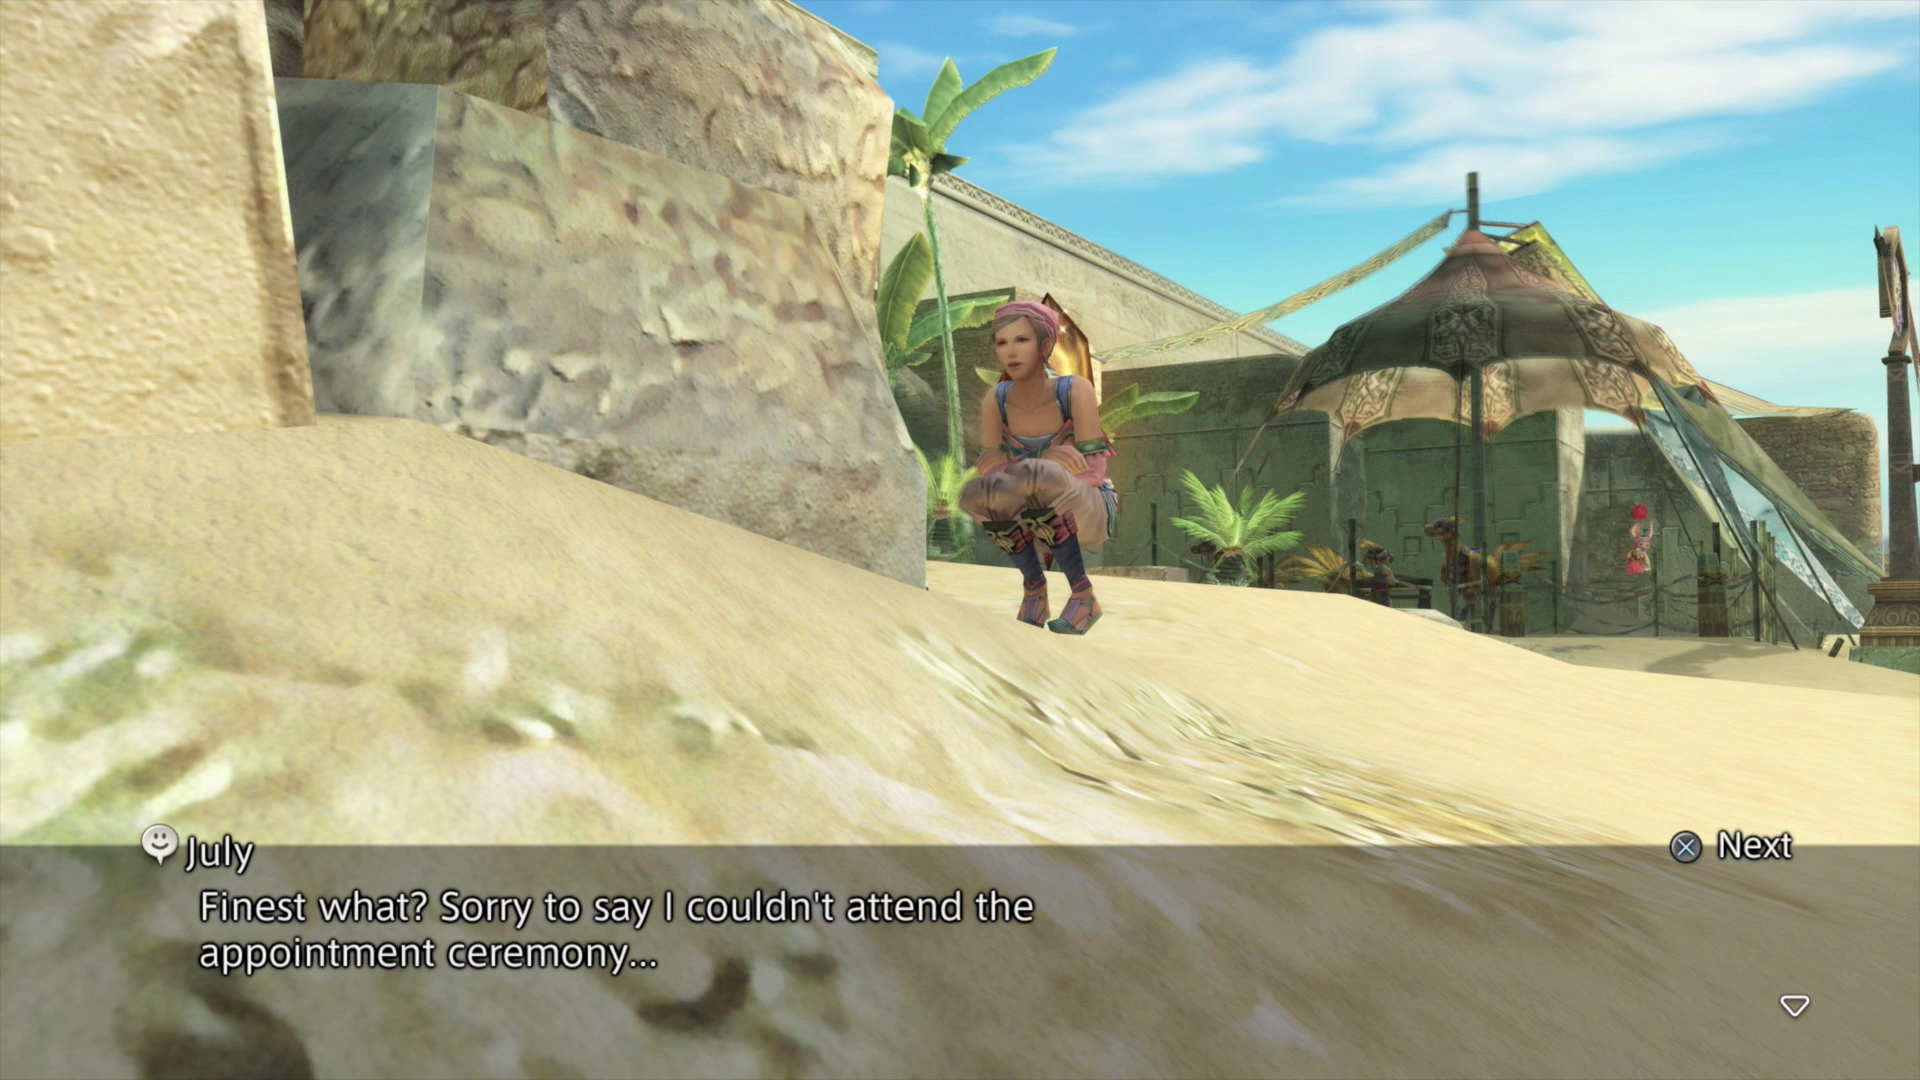
Two side quests can be permanently failed by story progress. July, found in Nalbina Fortress, must have her first errand completed before the events at Mt Bur-Omisace or the quest is lost. The second part of her quest takes place later in the Imperial City of Archades.
Side Quest
A full walkthrough of July’s quest in Nalbina Fortress and the Imperial City of Archades, including the timing windows.
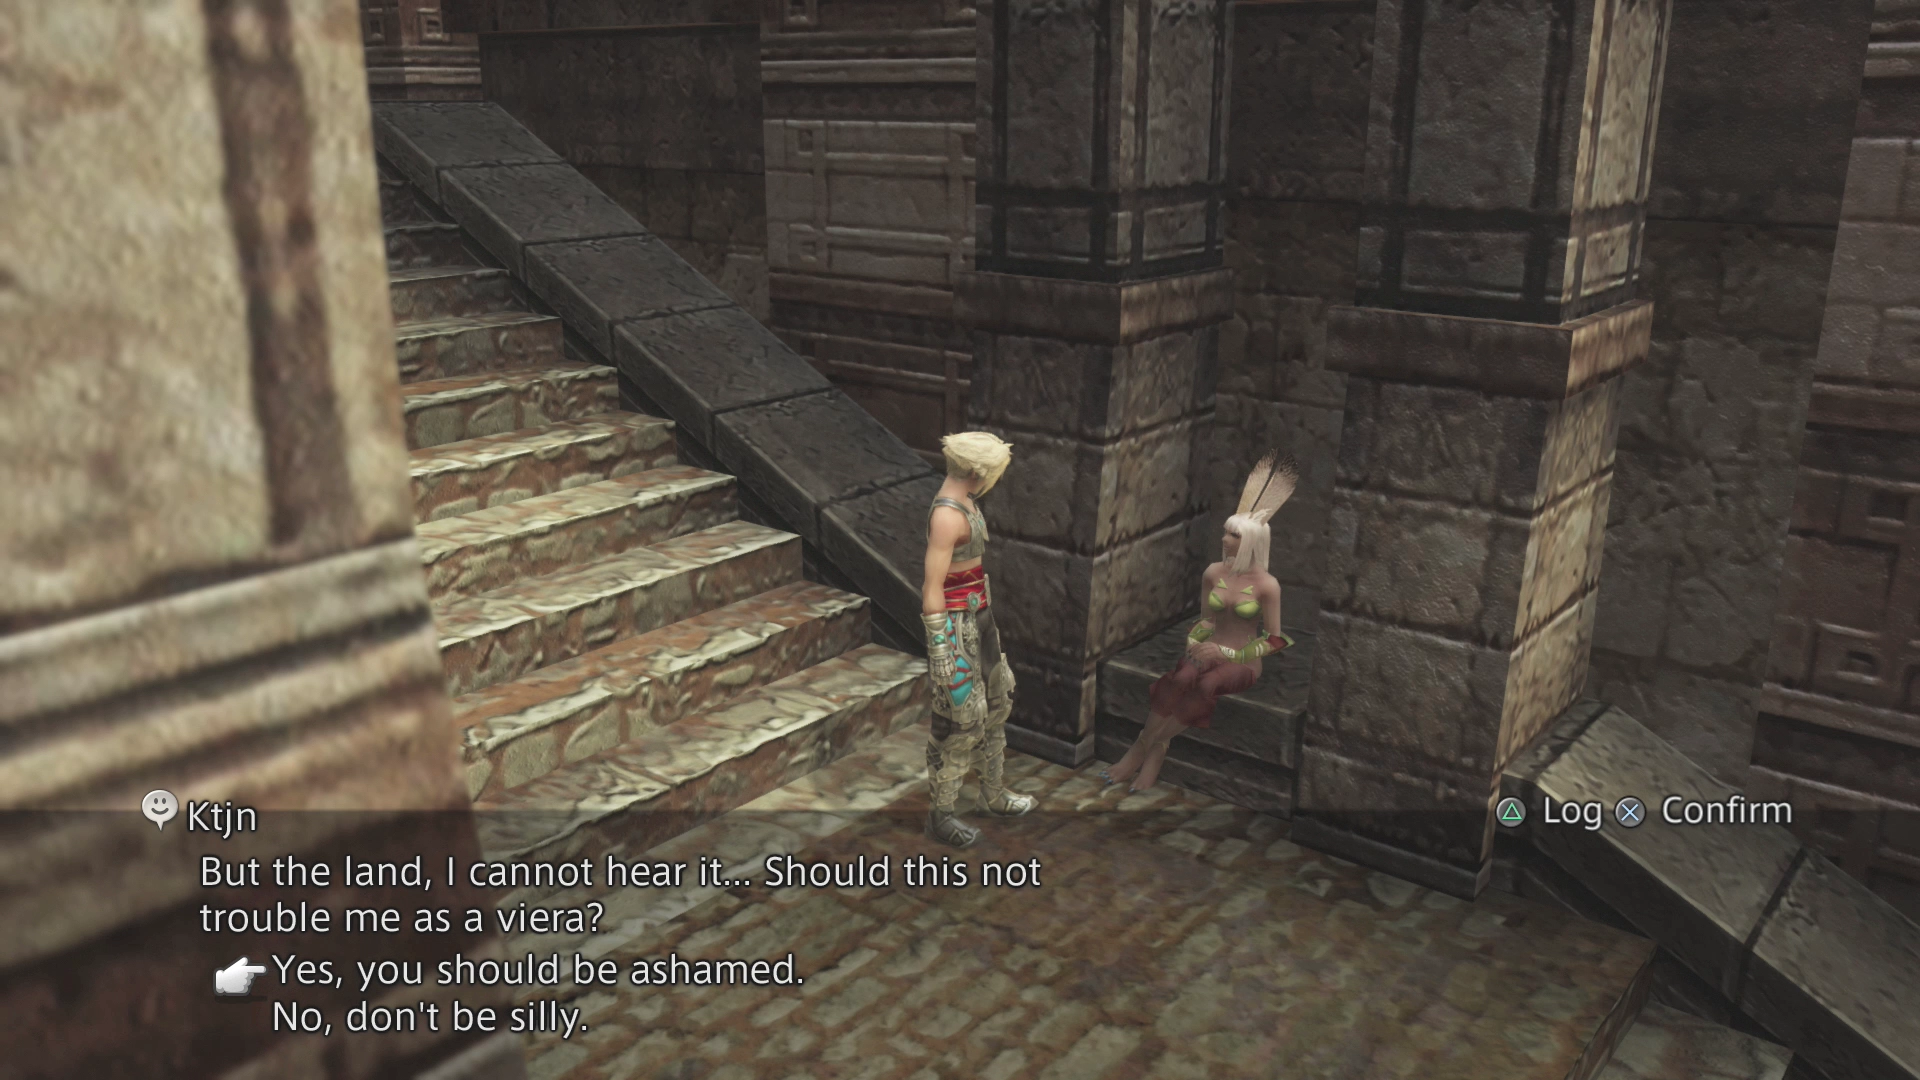
Ktjn, the viera in Rabanastre’s Muthru Bazaar, asks a series of questions in windows tied to story progress. Your cumulative answers permanently decide how her story ends and which reward you receive.
One-of-a-Kind Badges
Several unique badges can never be reobtained if sold: the Centurio Hero’s Badge (awarded for completing all 45 Hunts), the Godslayer’s Badge (defeating Yiazmat), Lu Shang’s Badge (the Fishing side quest) and the Omega Badge. The Godslayer’s, Lu Shang’s and Omega badges are the three ingredients of the Wyrmhero Blade bazaar recipe, so selling any one of them forfeits the blade for that playthrough.
One-Time Story Areas
Five story areas cannot be revisited once their events end: Nalbina Fortress (the opening sequence), the Royal Palace of Rabanastre, the Nalbina Dungeons, the Dreadnought Leviathan and the Draklor Laboratory. Nothing in them is permanently lost, however: the technicks and items found there all have later alternatives, and their bestiary entries can still be completed in Trial Mode, where kills register toward the Clan Primer.
Point of No Return
Boarding the Sky Fortress Bahamut at the end of the game is a one-way trip: once aboard, you cannot leave. The game gives you a clear final warning before you commit. Nothing beyond that point counts toward any trophy or completion goal, but finish any Hunts, Espers and side quests you want to complete and equip your best gear before boarding. Check out the endgame preparations page for a full checklist:

Walkthrough
Everything worth finishing before you board the Sky Fortress Bahamut.
Summary
Final Fantasy XII: The Zodiac Age is one of the most forgiving games in the series when it comes to permanently missable content. The key things to keep in mind are:
- The Zodiac Spear forbidden chest restriction only applies to the original PS2 version, not The Zodiac Age
- The Diamond Armlet changes treasure chest contents and, in The Zodiac Age, must be worn to obtain the Zodiac Spear from the Henne Mines chest
- All eight optional Espers require specific prerequisites or side quests
- The Great Crystal contains powerful equipment but is easy to navigate incompletely
- The four pieces of Genji equipment can only be stolen from Gilgamesh during Hunt 40
- The Omega Badge must be picked up off the ground after defeating Omega Mark XII
- July and Ktjn have quest windows tied to story progress
- Unique badges can never be reobtained if sold
- Boarding the Sky Fortress Bahamut is the game’s one point of no return
If you are following this walkthrough, all of these items and events are flagged at the appropriate points so you will not miss them.