
Besaid Island
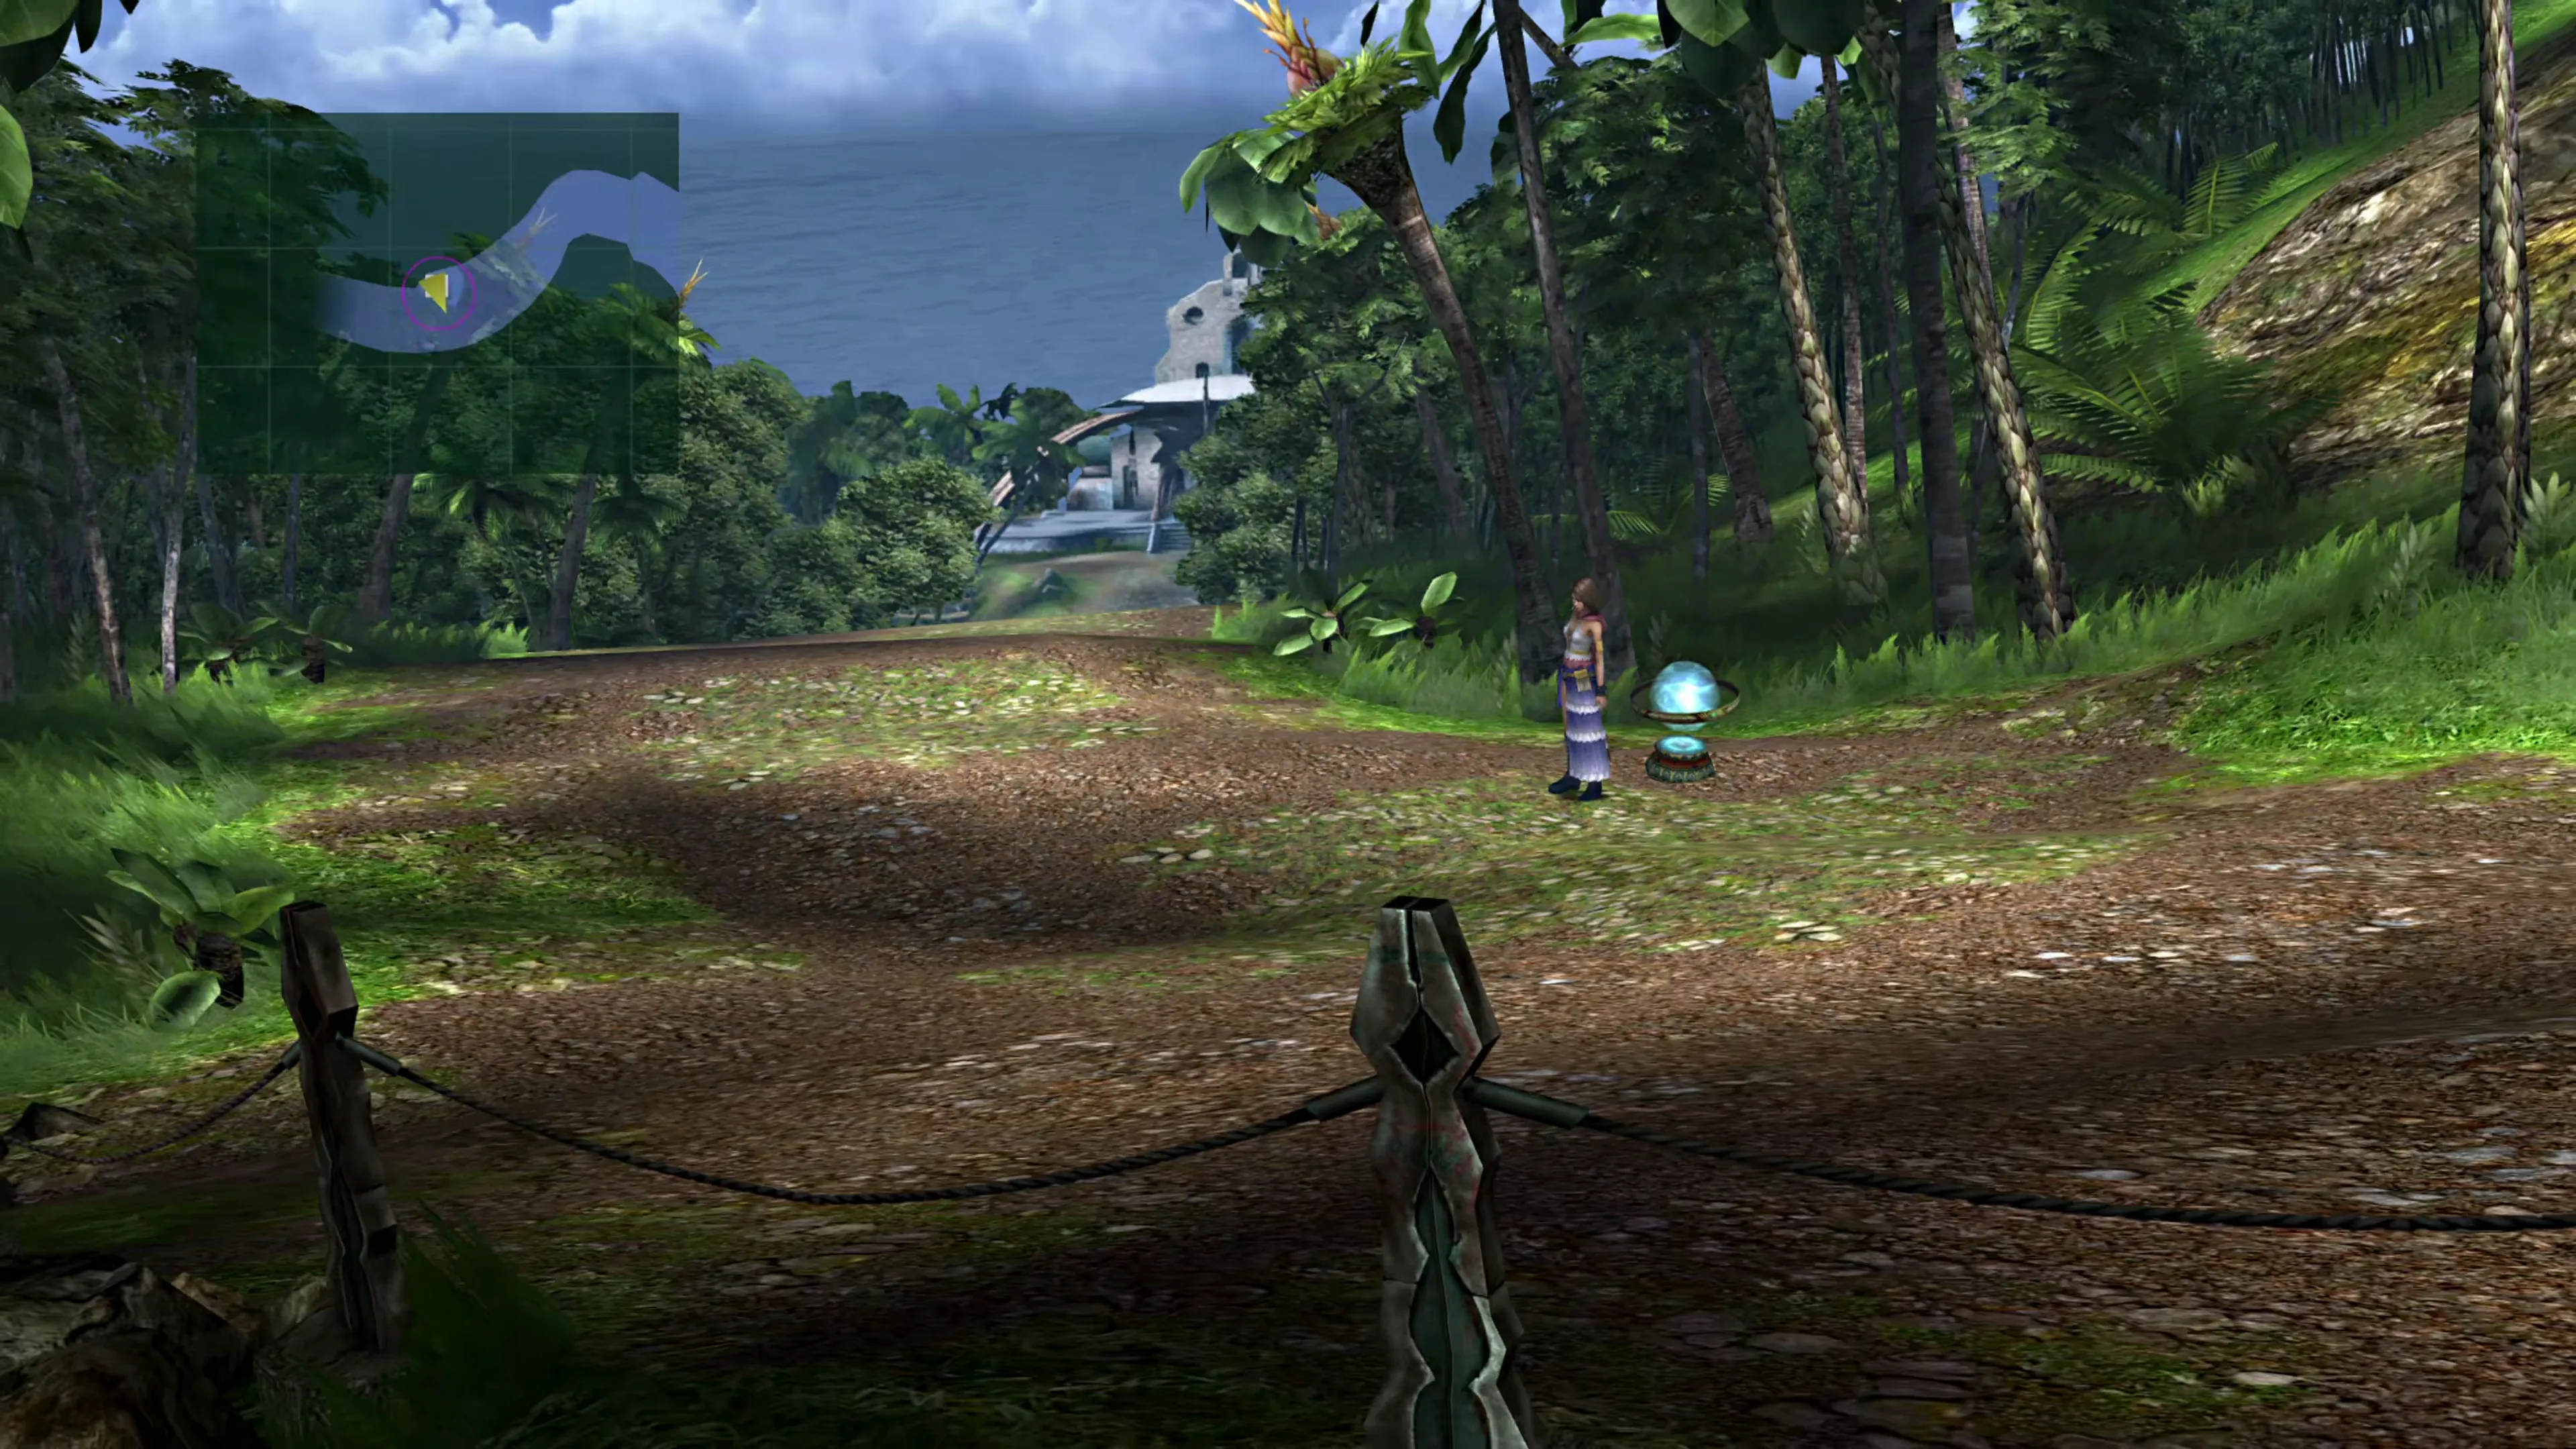
Yuna’s trip to Besaid Island is the first area to visit when presented with the list of options from the Celsius in Chapter 1. Head north into the village from the  Save Sphere.
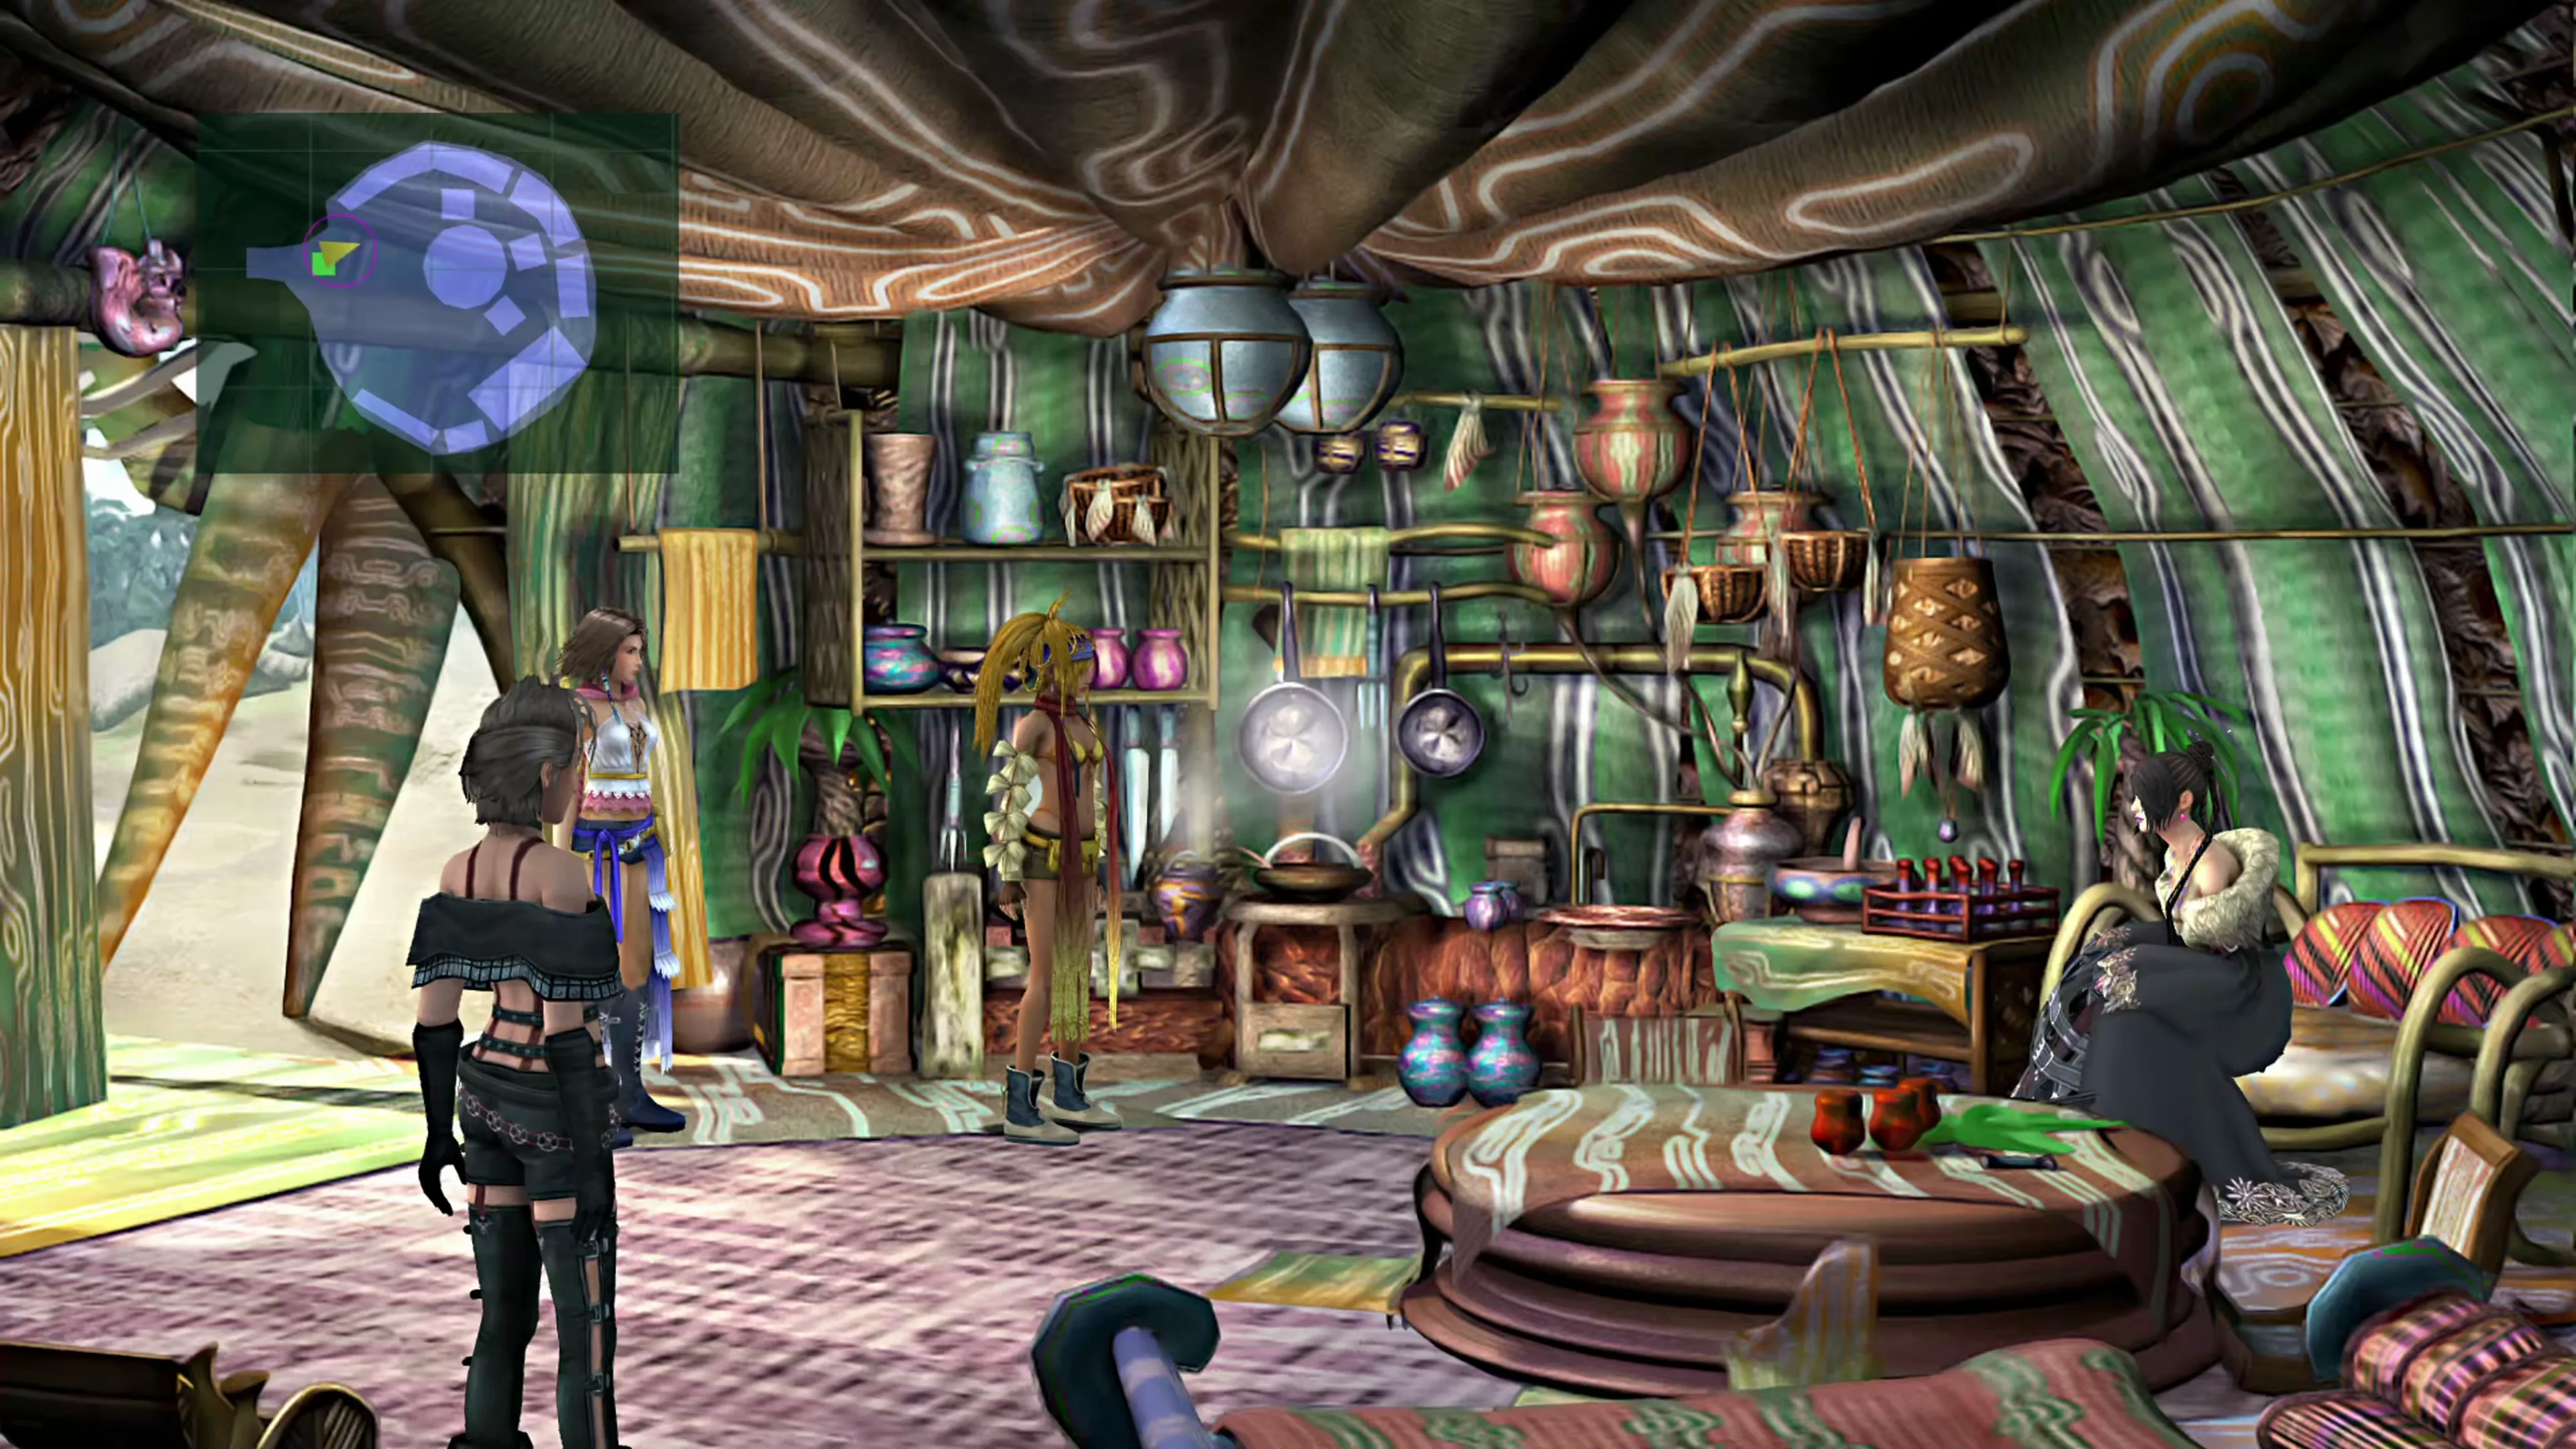
This visit kicks off with a reunion between Yuna, Rikku, and Wakka. After the conversation, head into Wakka and Lulu’s house (middle door on the east side of Besaid Village) and chat with Lulu.
Lulu and Yuna will take a walk to the top of nearby “Promontory” hill just outside the village. After they’ve returned, speak to Lulu one more time, and when she asks whether you’ll be “Staying the night?” choose “Yes, I’d love to.” Speak to Lulu again outside the hut after Yuna wakes up. The next Mission involves tracking down Wakka.
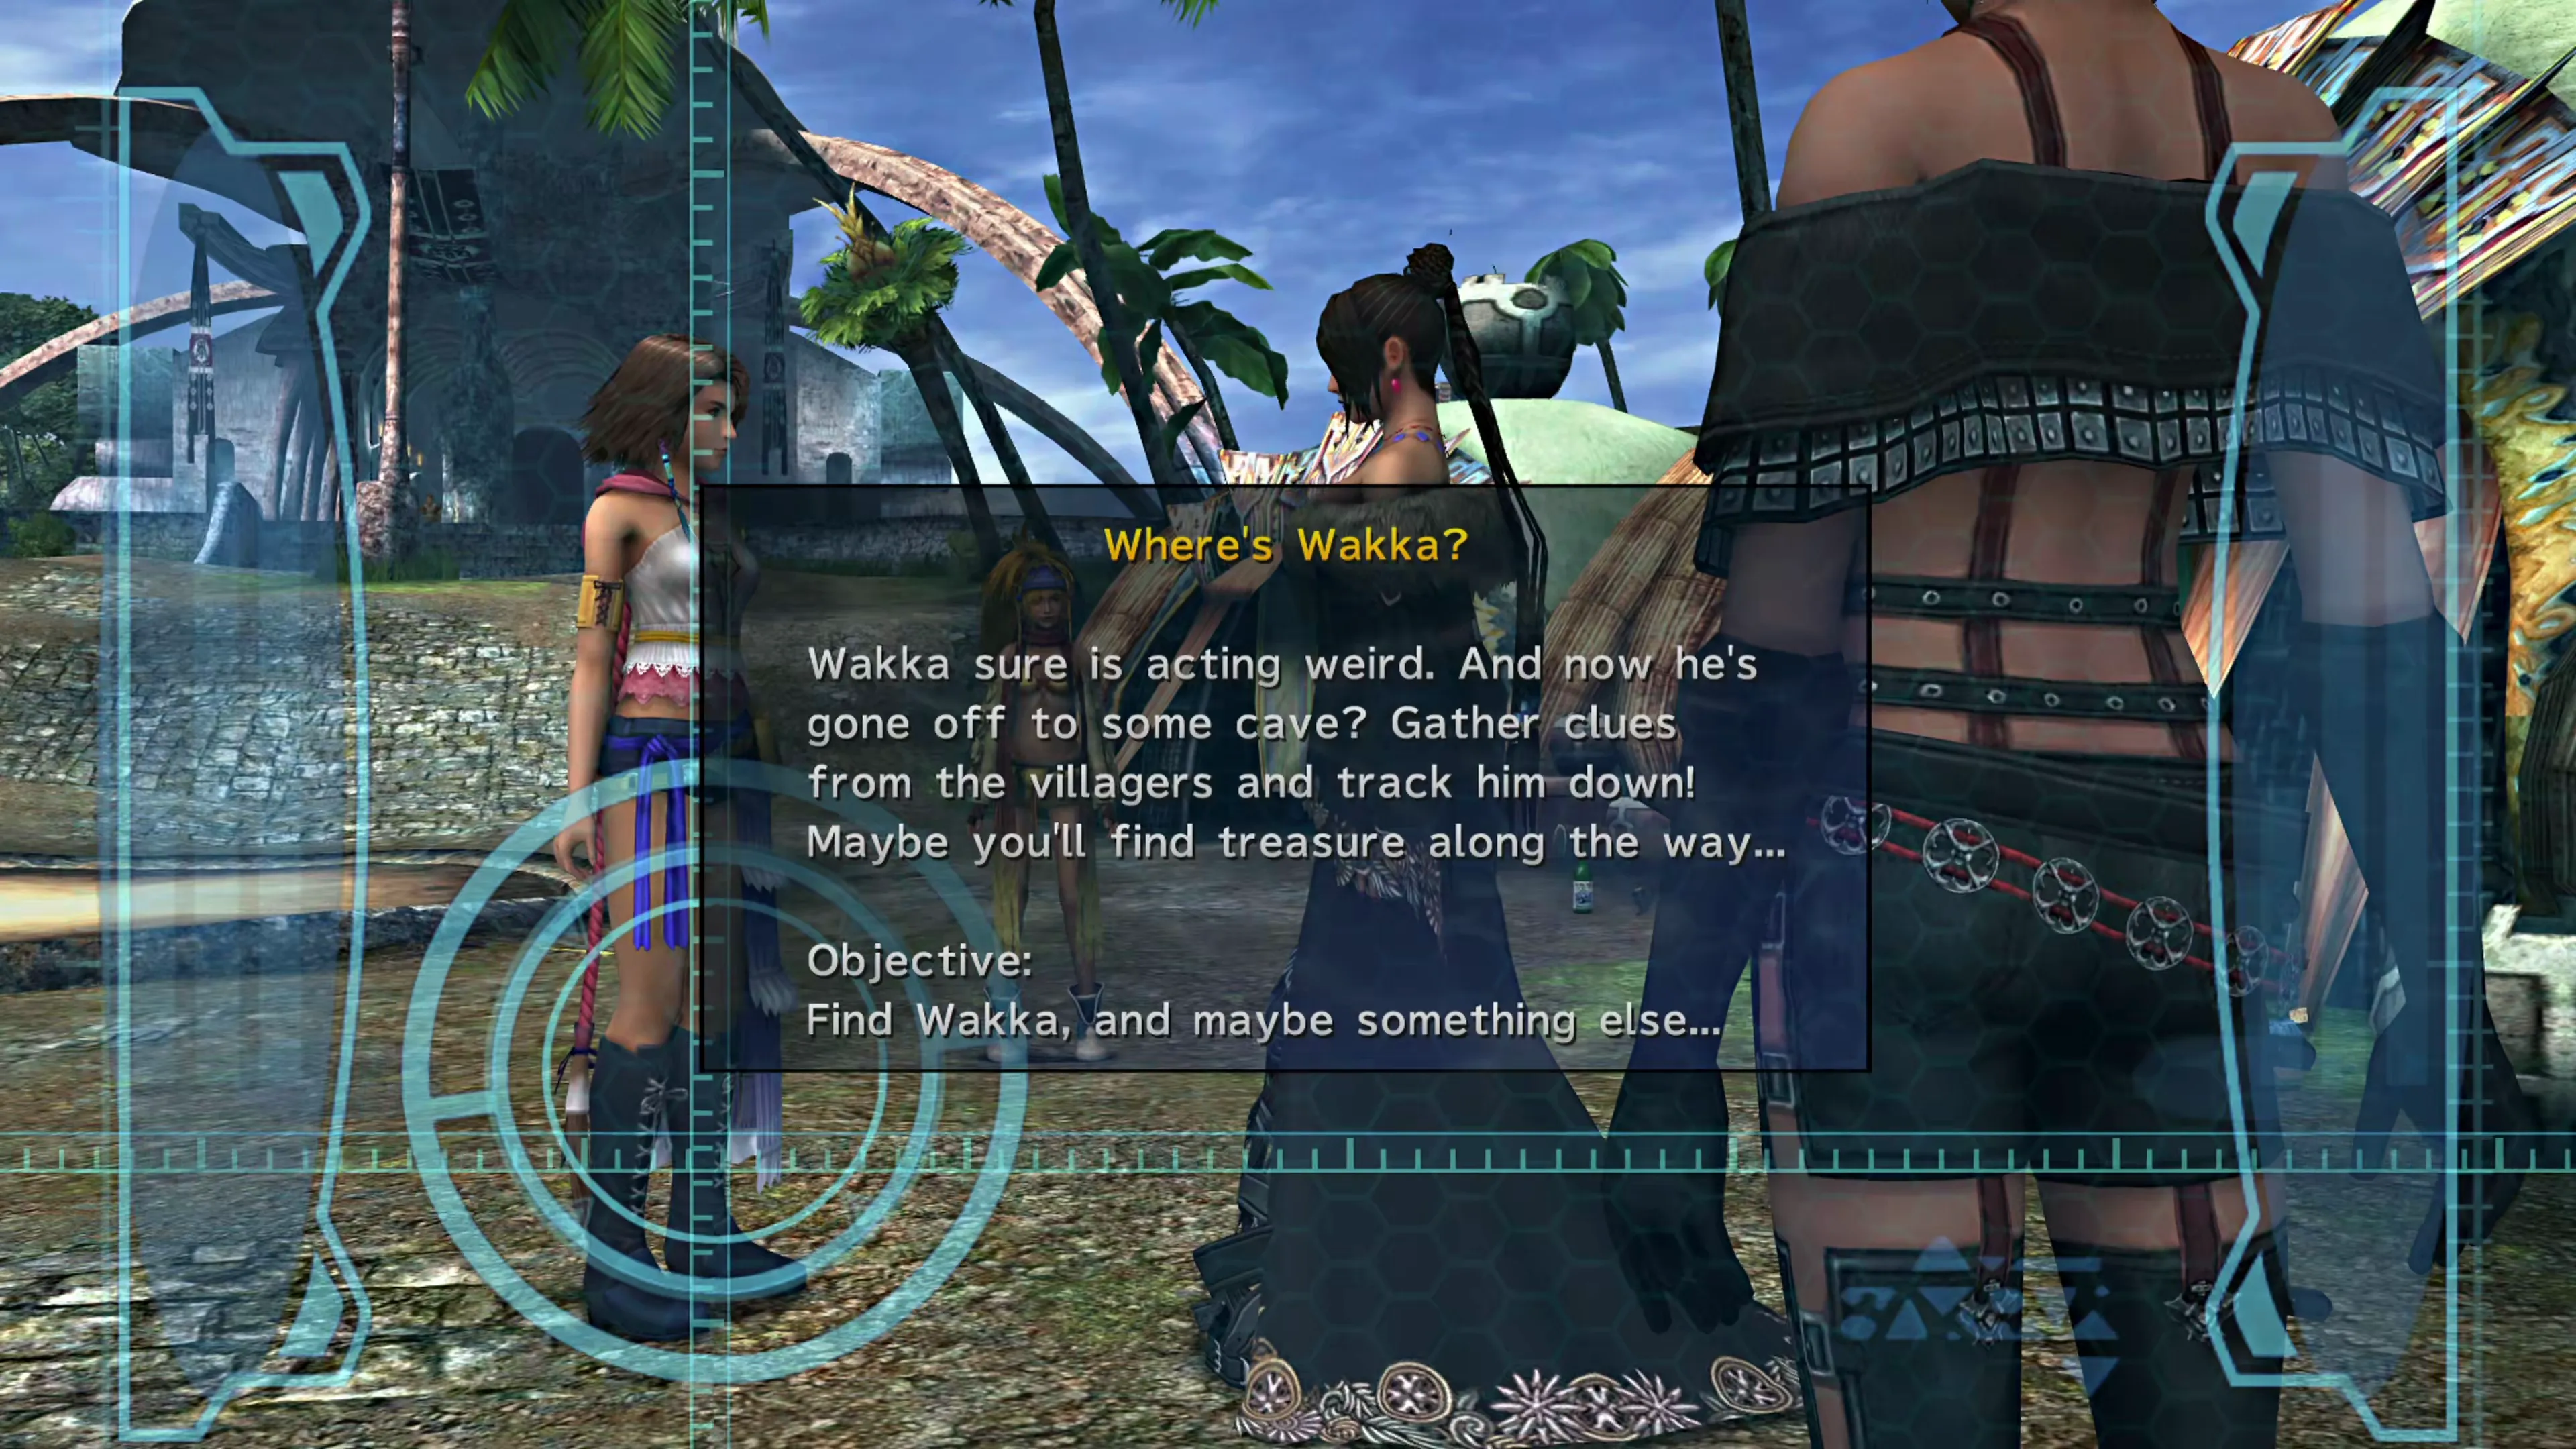

Mission: Where’s Wakka?
As mentioned in the Mission information screen that pops up, you’ll have to find Wakka in a nearby cave, and this requires tracking down clues and a code to enter a nearby cave that he is hanging out in. You need to track down four “ciphers” around Besaid. The ciphers are a four-number code you can use to enter the cave.
Warning
The “Four Ciphers” that you receive during your playthrough are random. Your code will not match any other player’s code, so you’ll need to track down each cipher yourself. You don’t need to write them down, though, because once you have all four, they’ll be displayed on the screen when you view the cave access panel.
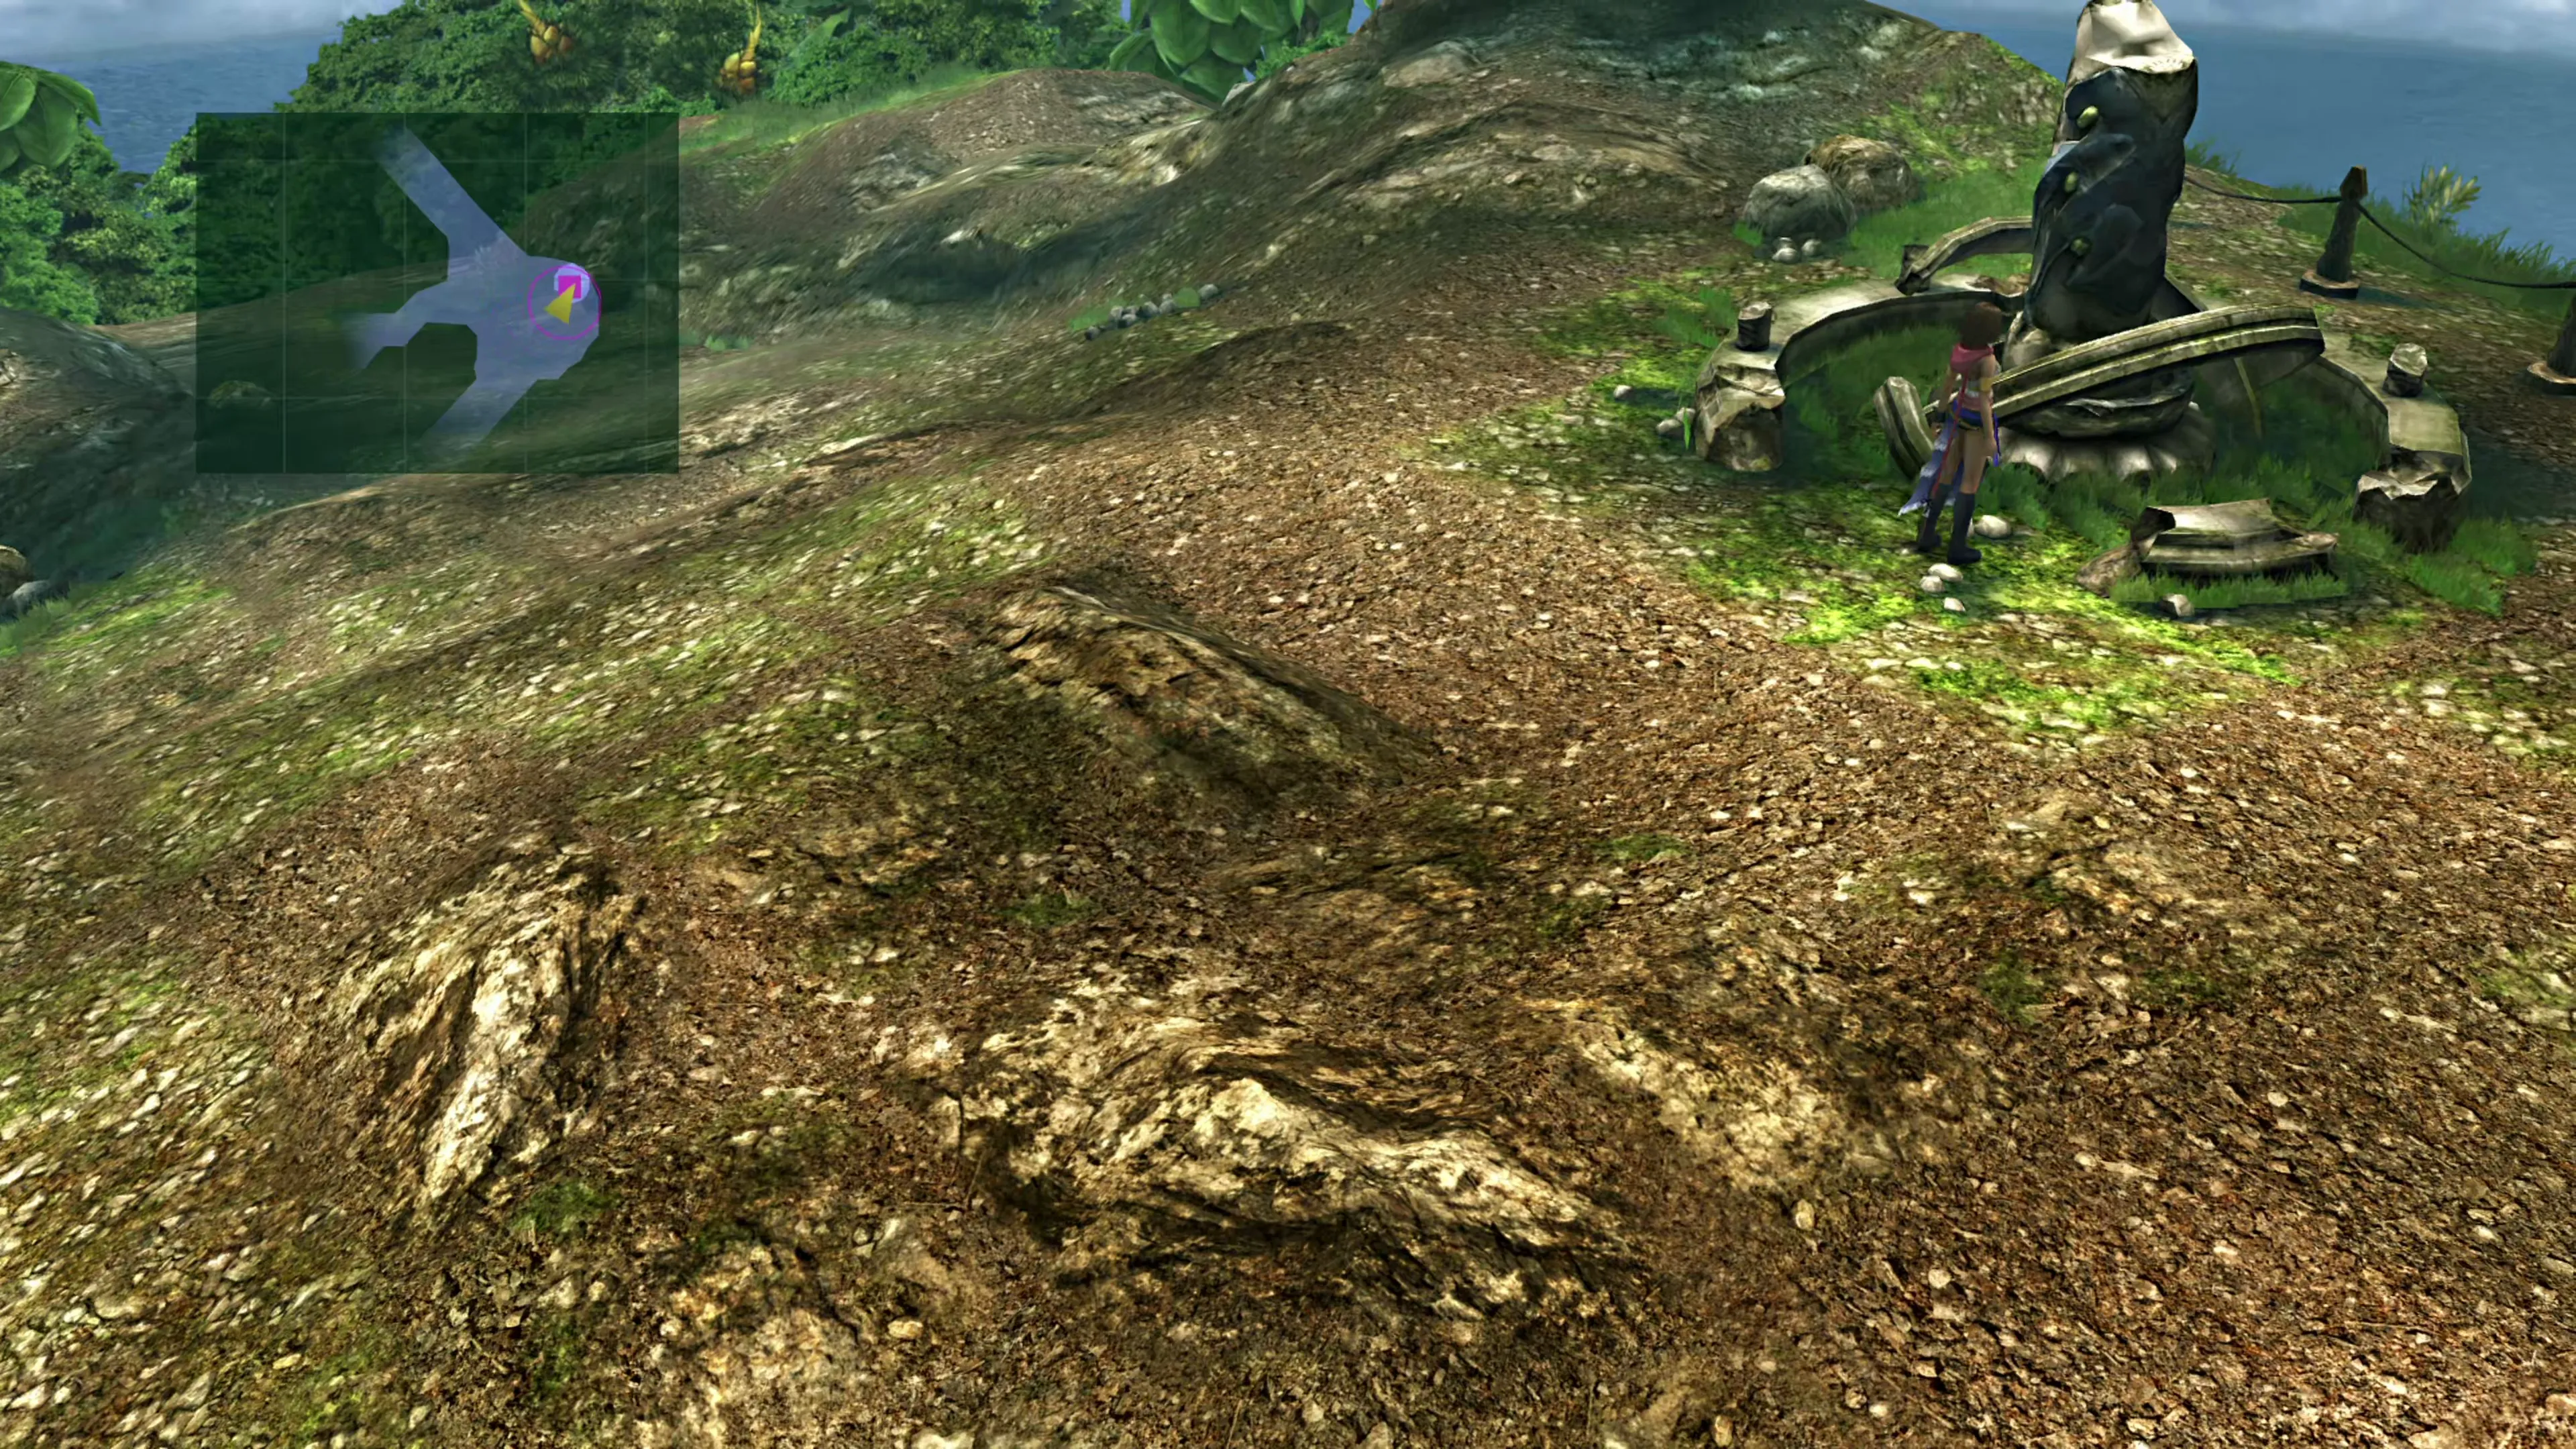
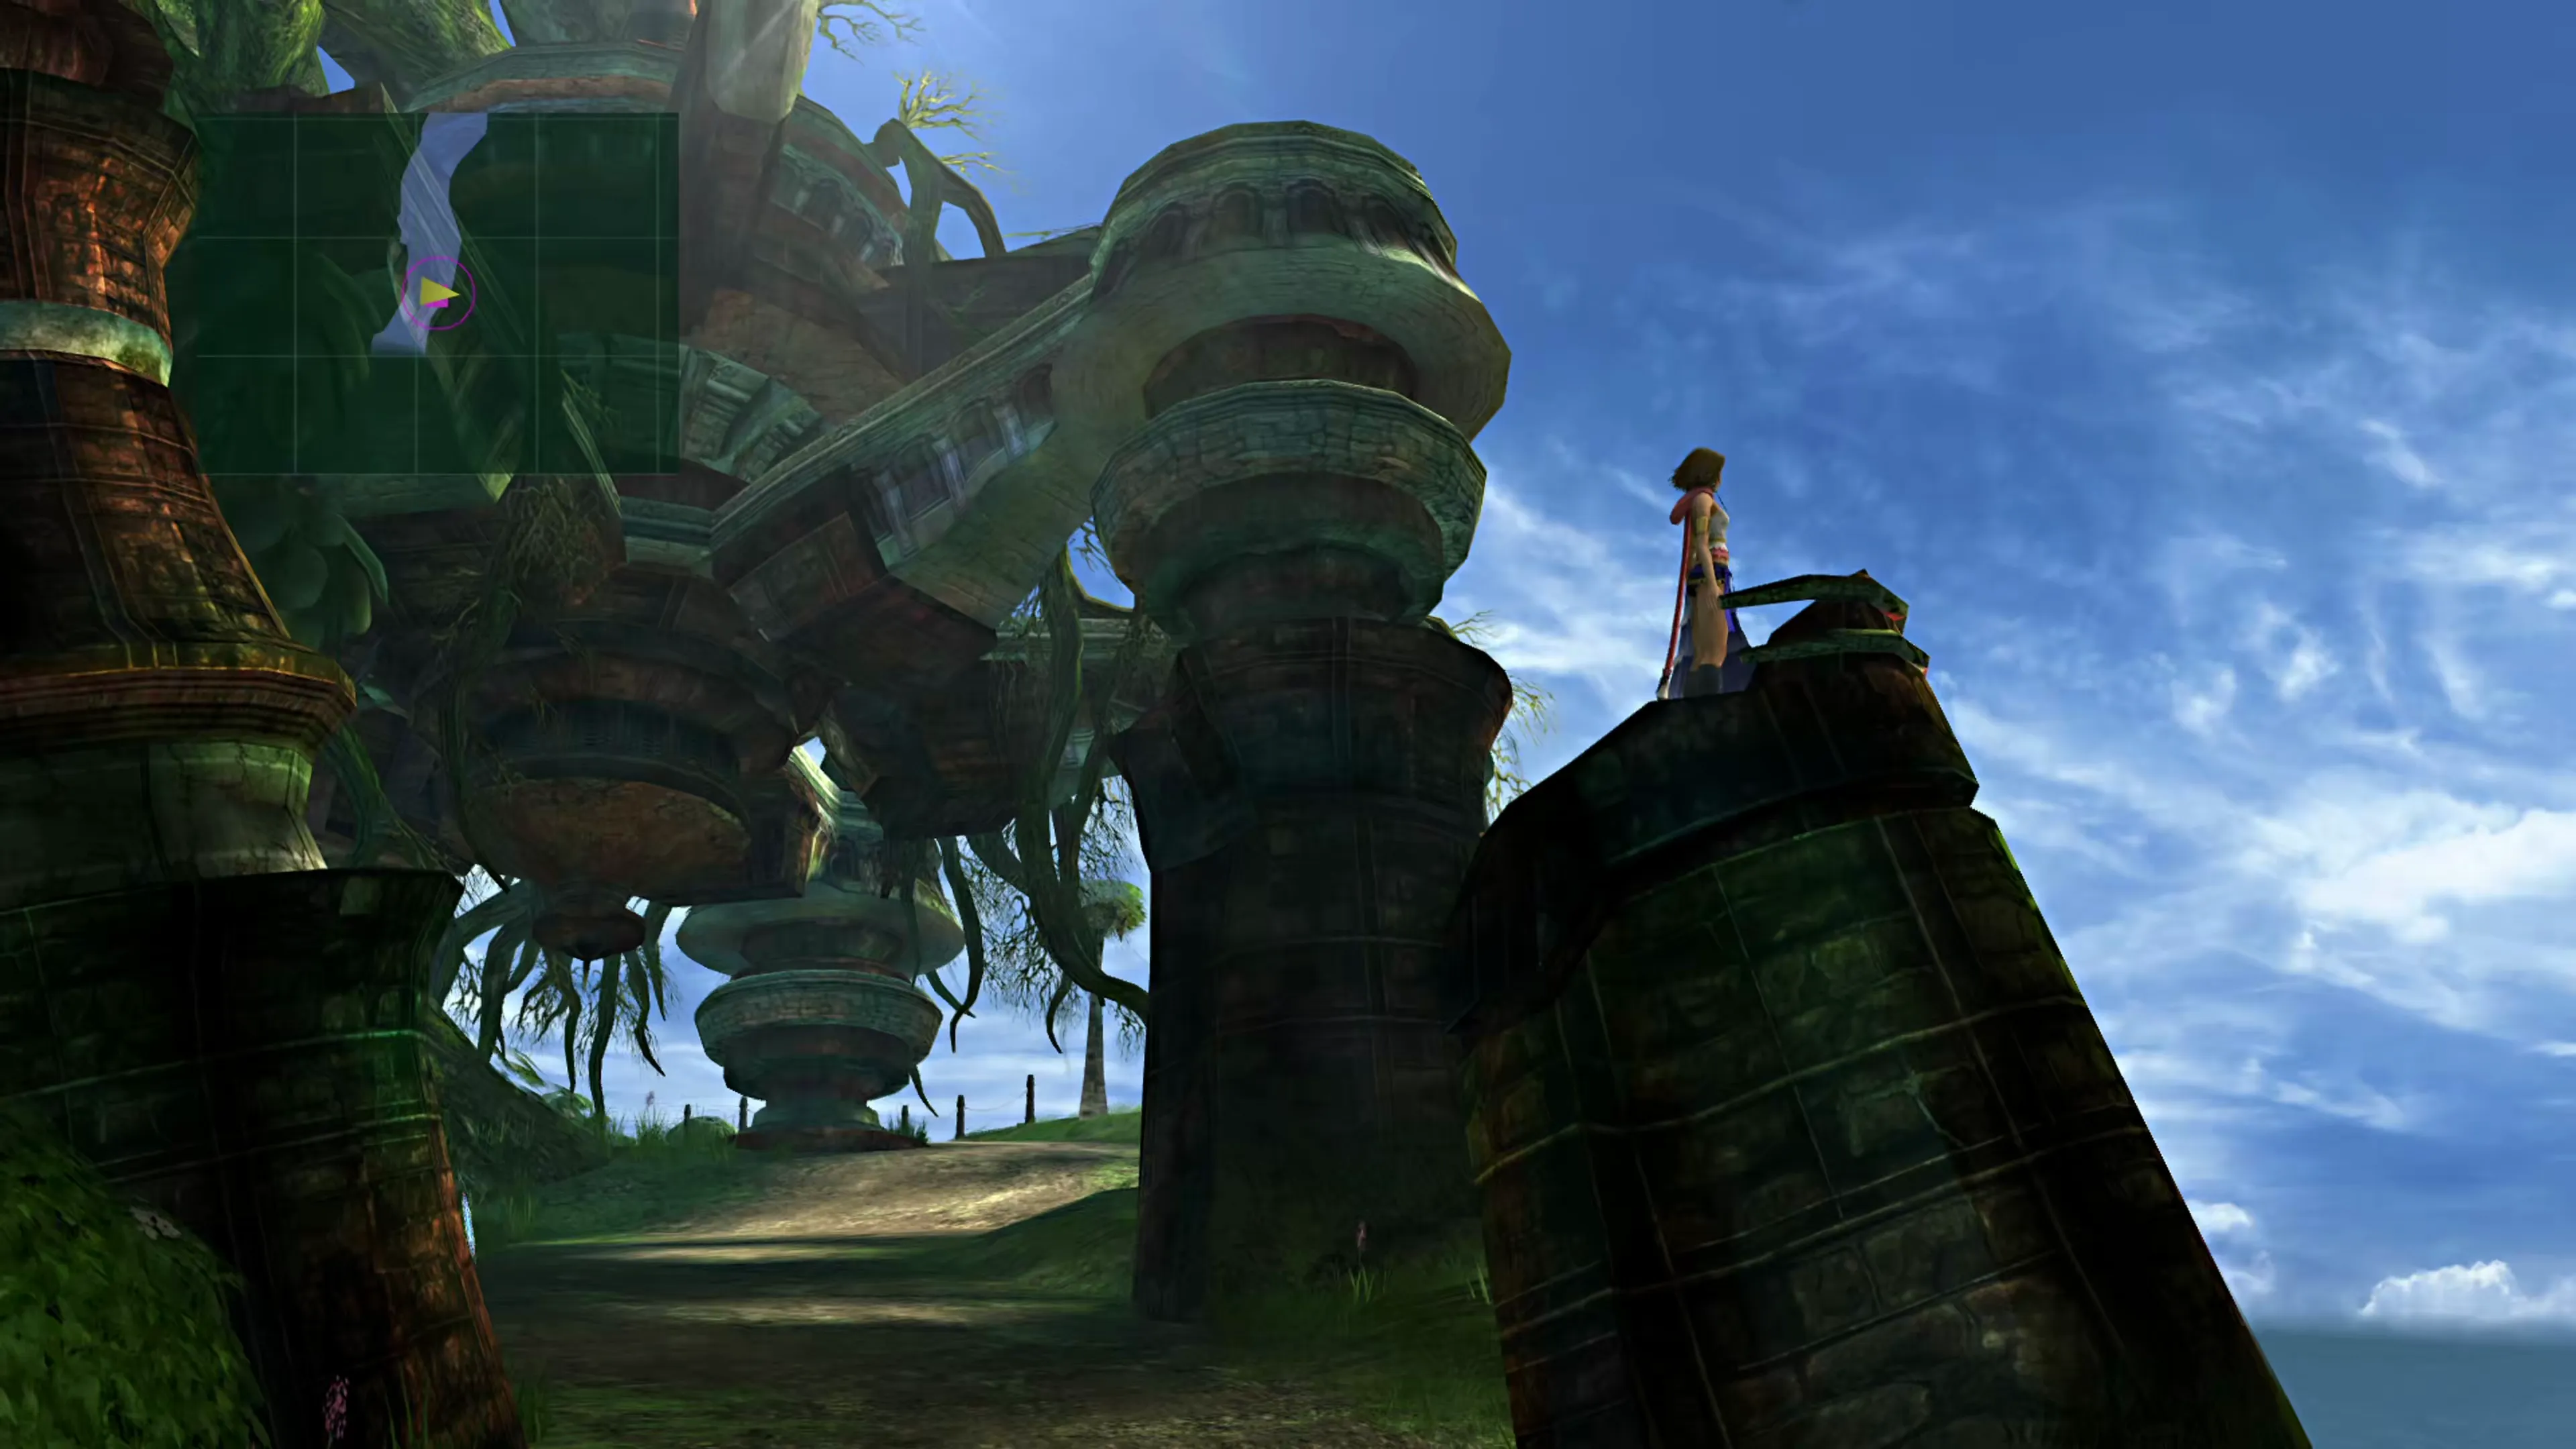
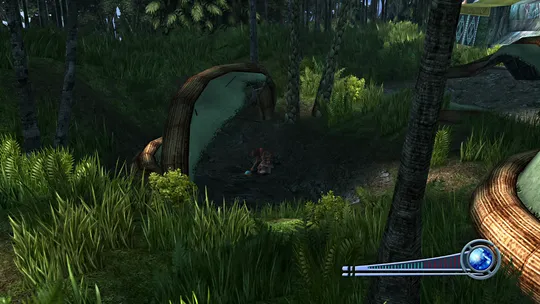
Travel to the Promontory, shown in the screenshot below, and grab the first cipher. You can find it by examining the stone structure on the right side of the screen with the 

 button. It’s also marked on your mini-map with a purple square. Proceed north into the next area after you have it.
Achievement/Trophy
One of the earliest and easiest achievements/trophies to obtain is  Dressed for the Occasion. Just have each of your party members change Dresspheres once during any of these battles you’re completing. You can even have them change right back if you’d prefer to keep them in their current Dresspheres.
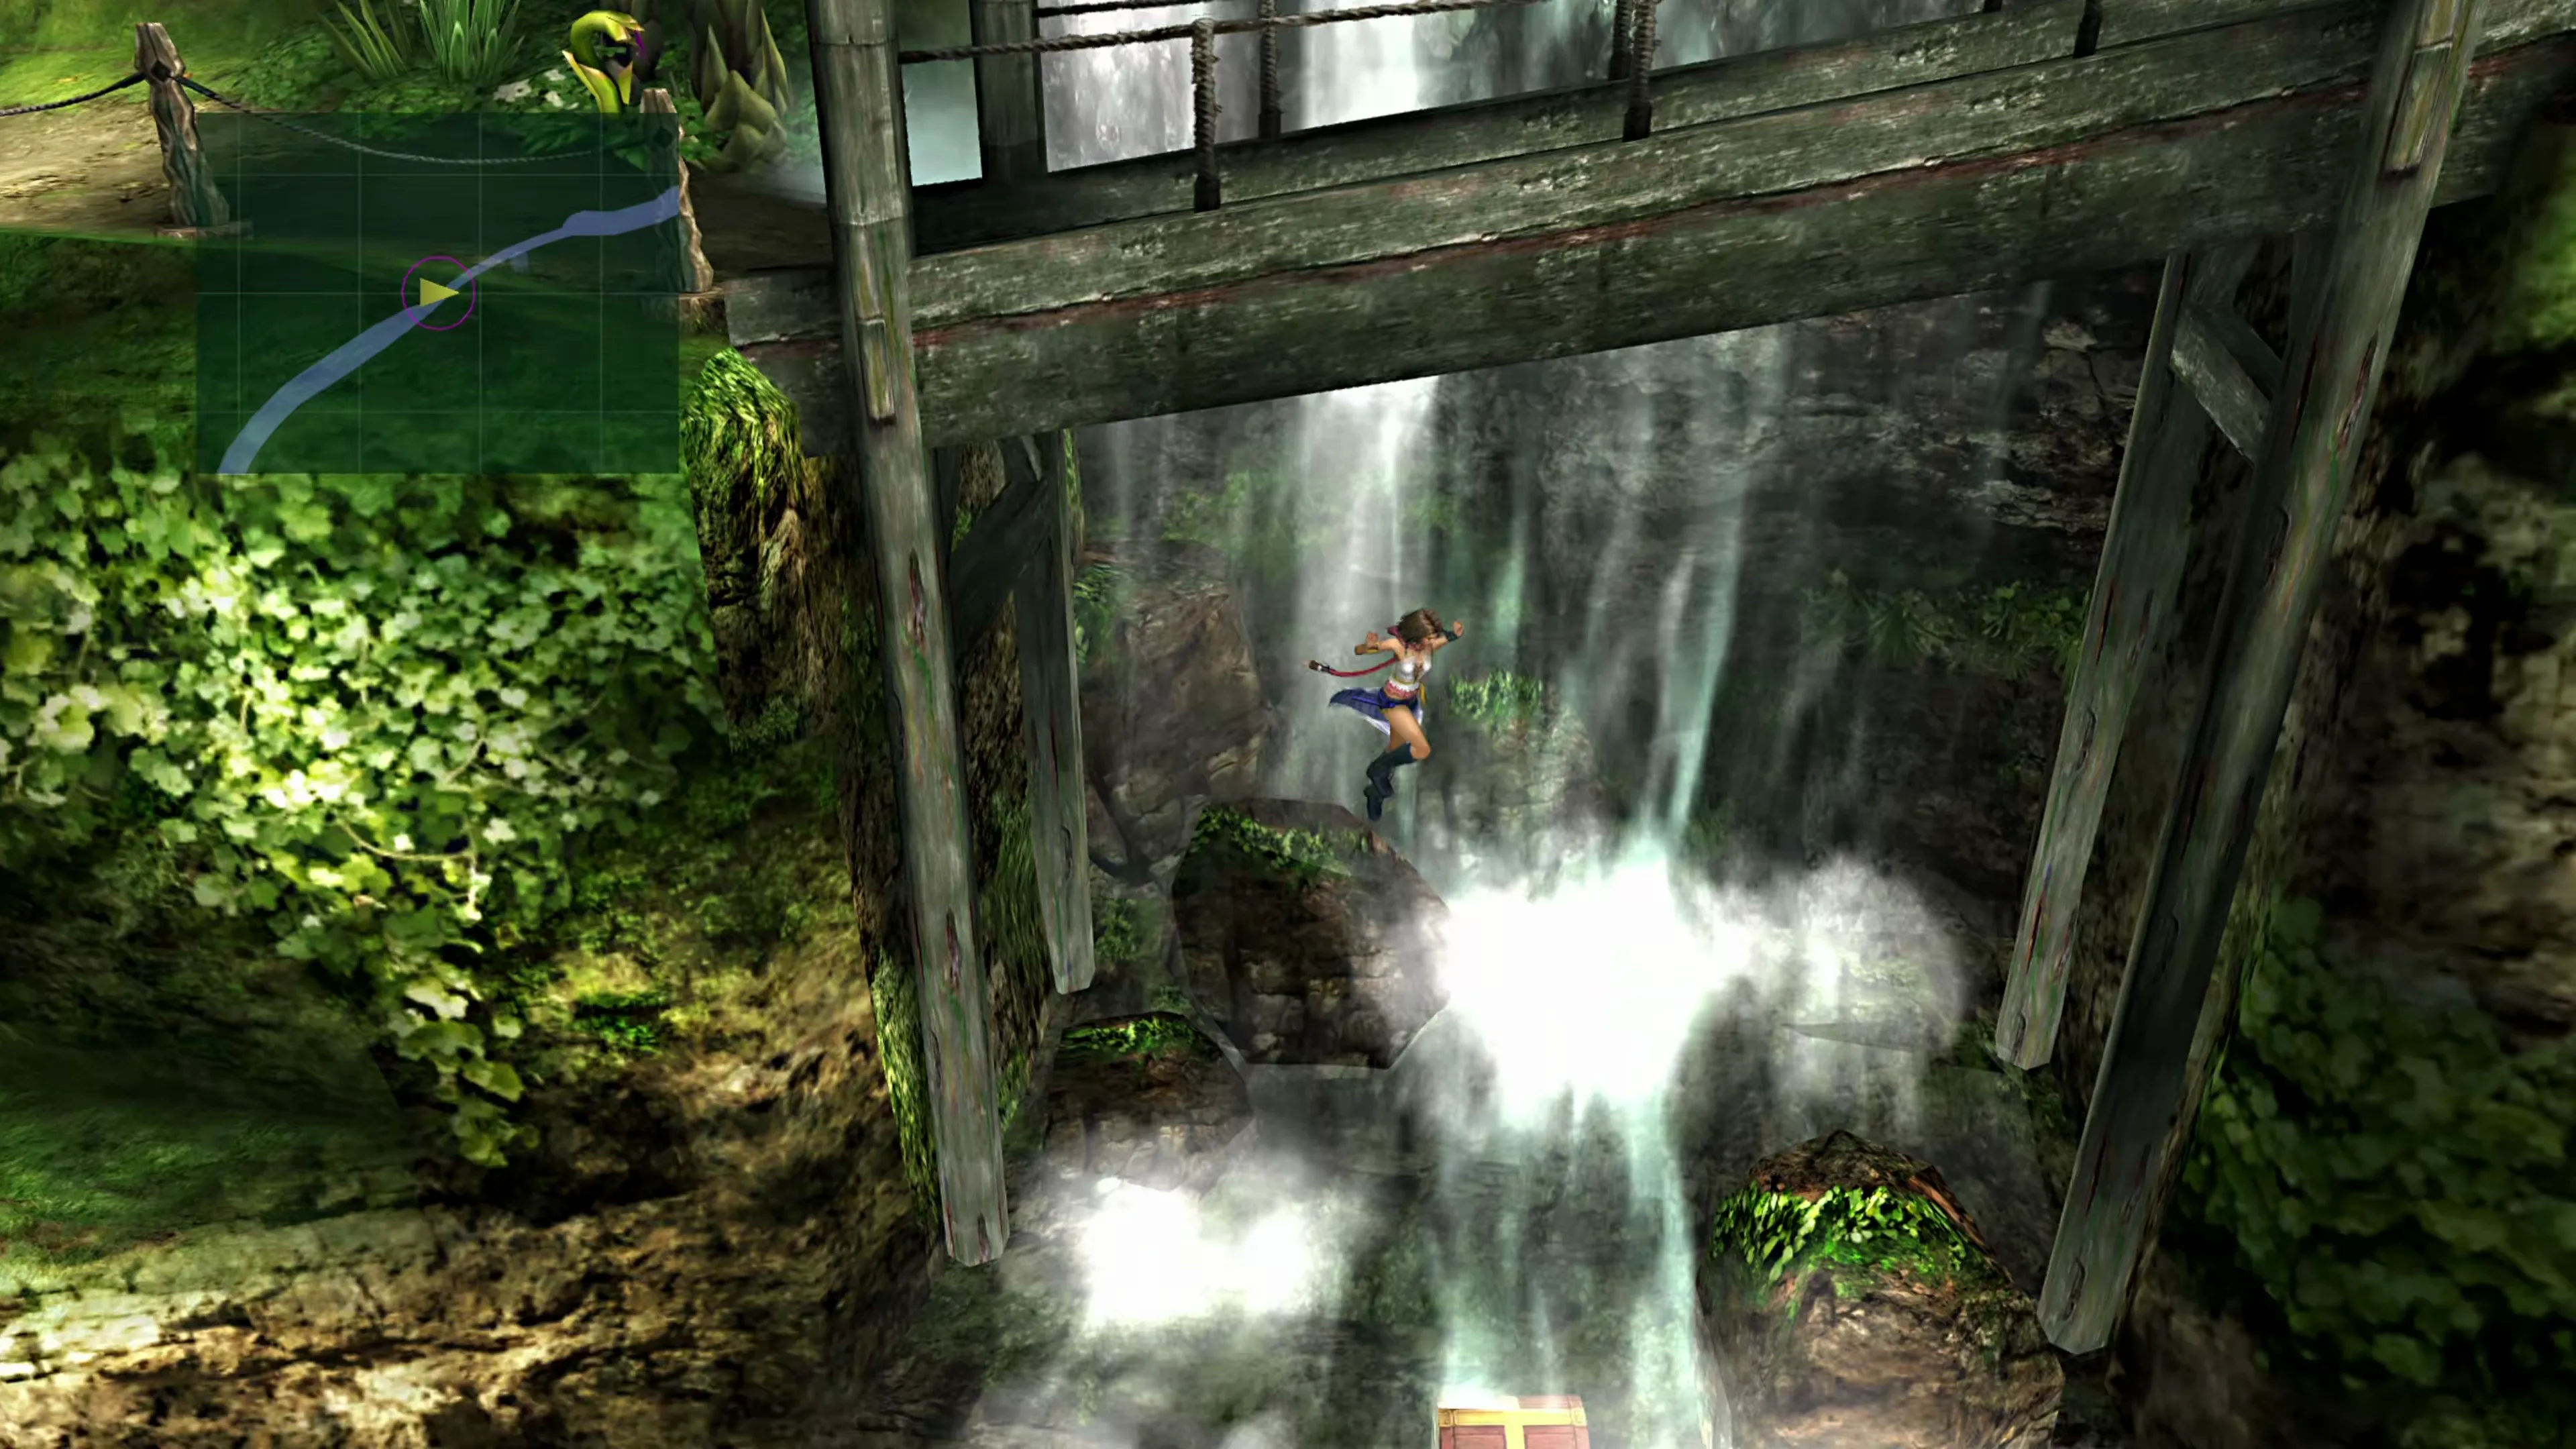
Brother will interrupt you as you progress through this next area, but before you go too far under the ancient stone-like structure, jump up onto the structure on the right side of the screen. The screenshot below shows the location of the second cipher and, like the first, it is marked with a purple square icon on your minimap to help you find it.
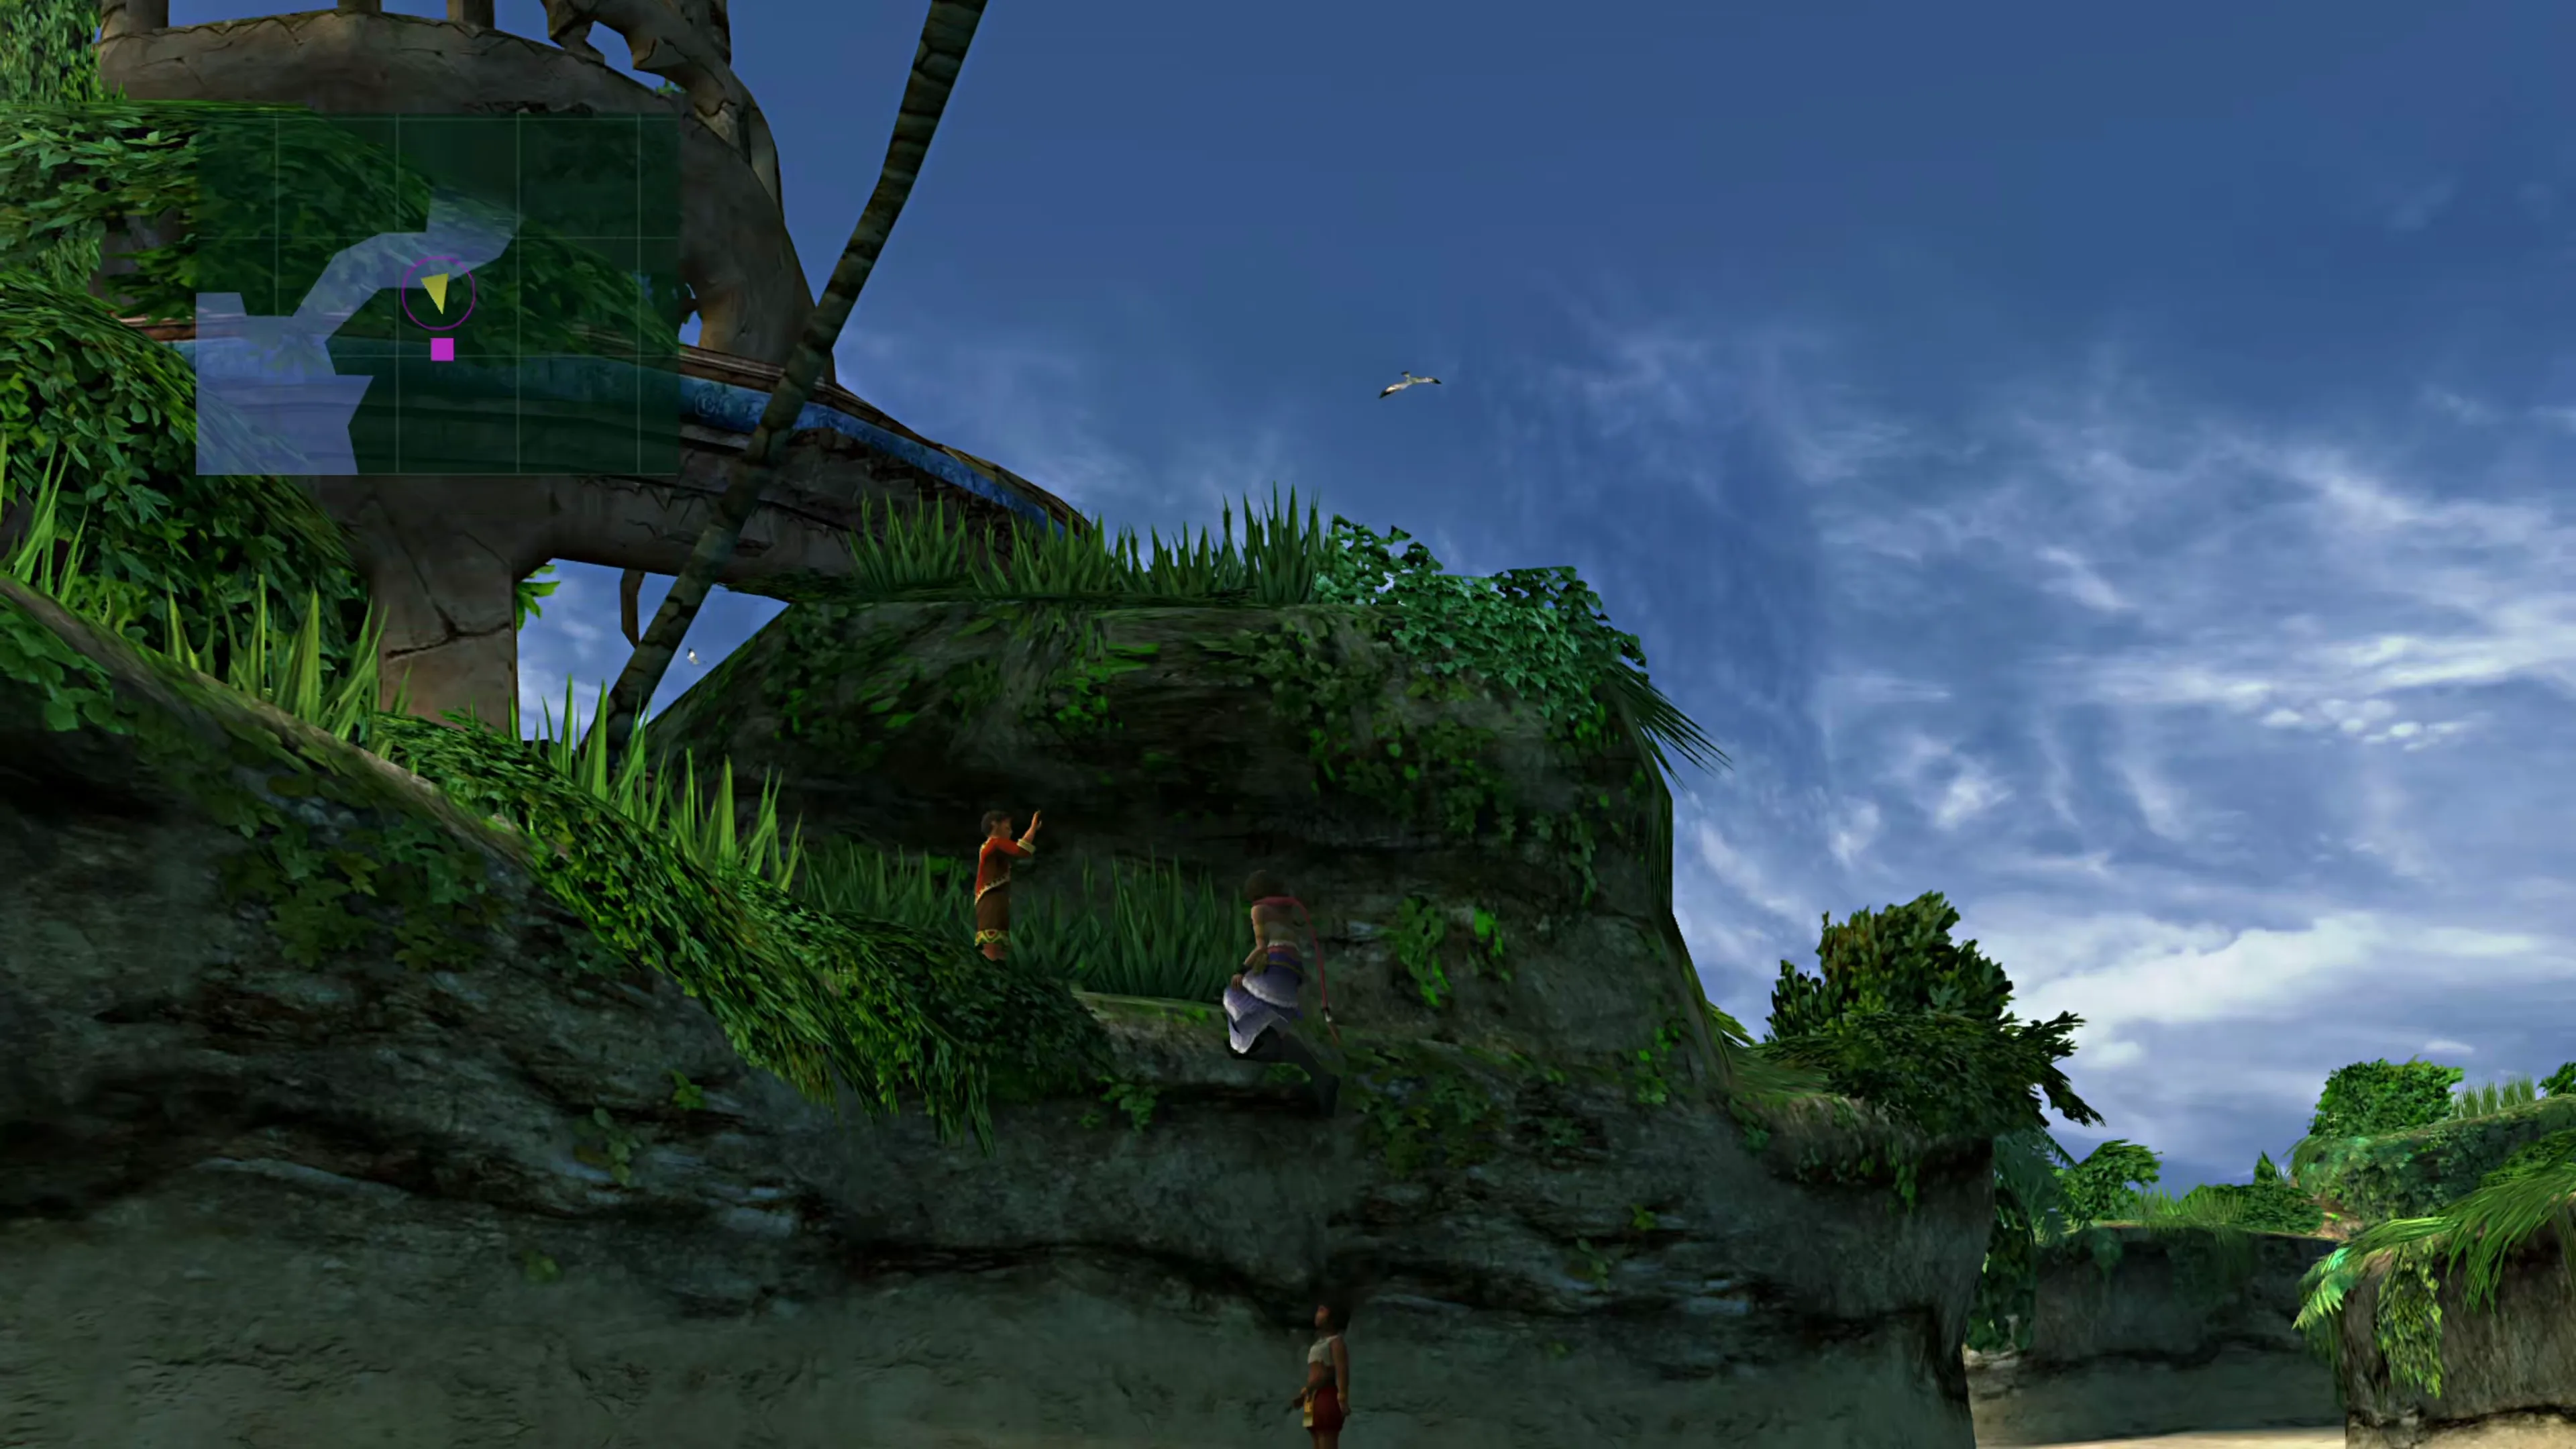
As you progress along the next trail (“Waterfall Way”), take a quick detour off the backside of the bridge when you get to the waterfall with the wooden bridge in front of it. You can drop down to the lower riverbed/waterfall to find a treasure chest containing two  Chocobo Wings.
Beach
Keep following the trail until you reach the next area. The cave and the entrance that you need the cipher for are on the left side of this pathway as you go through it, but ignore it for now, and then proceed south towards the beach. You’ll notice a small child run to the left side of the screen. Follow the child and then use the 

 button to climb up into the ruins. You’ll find the next cipher at the top of the ruins.



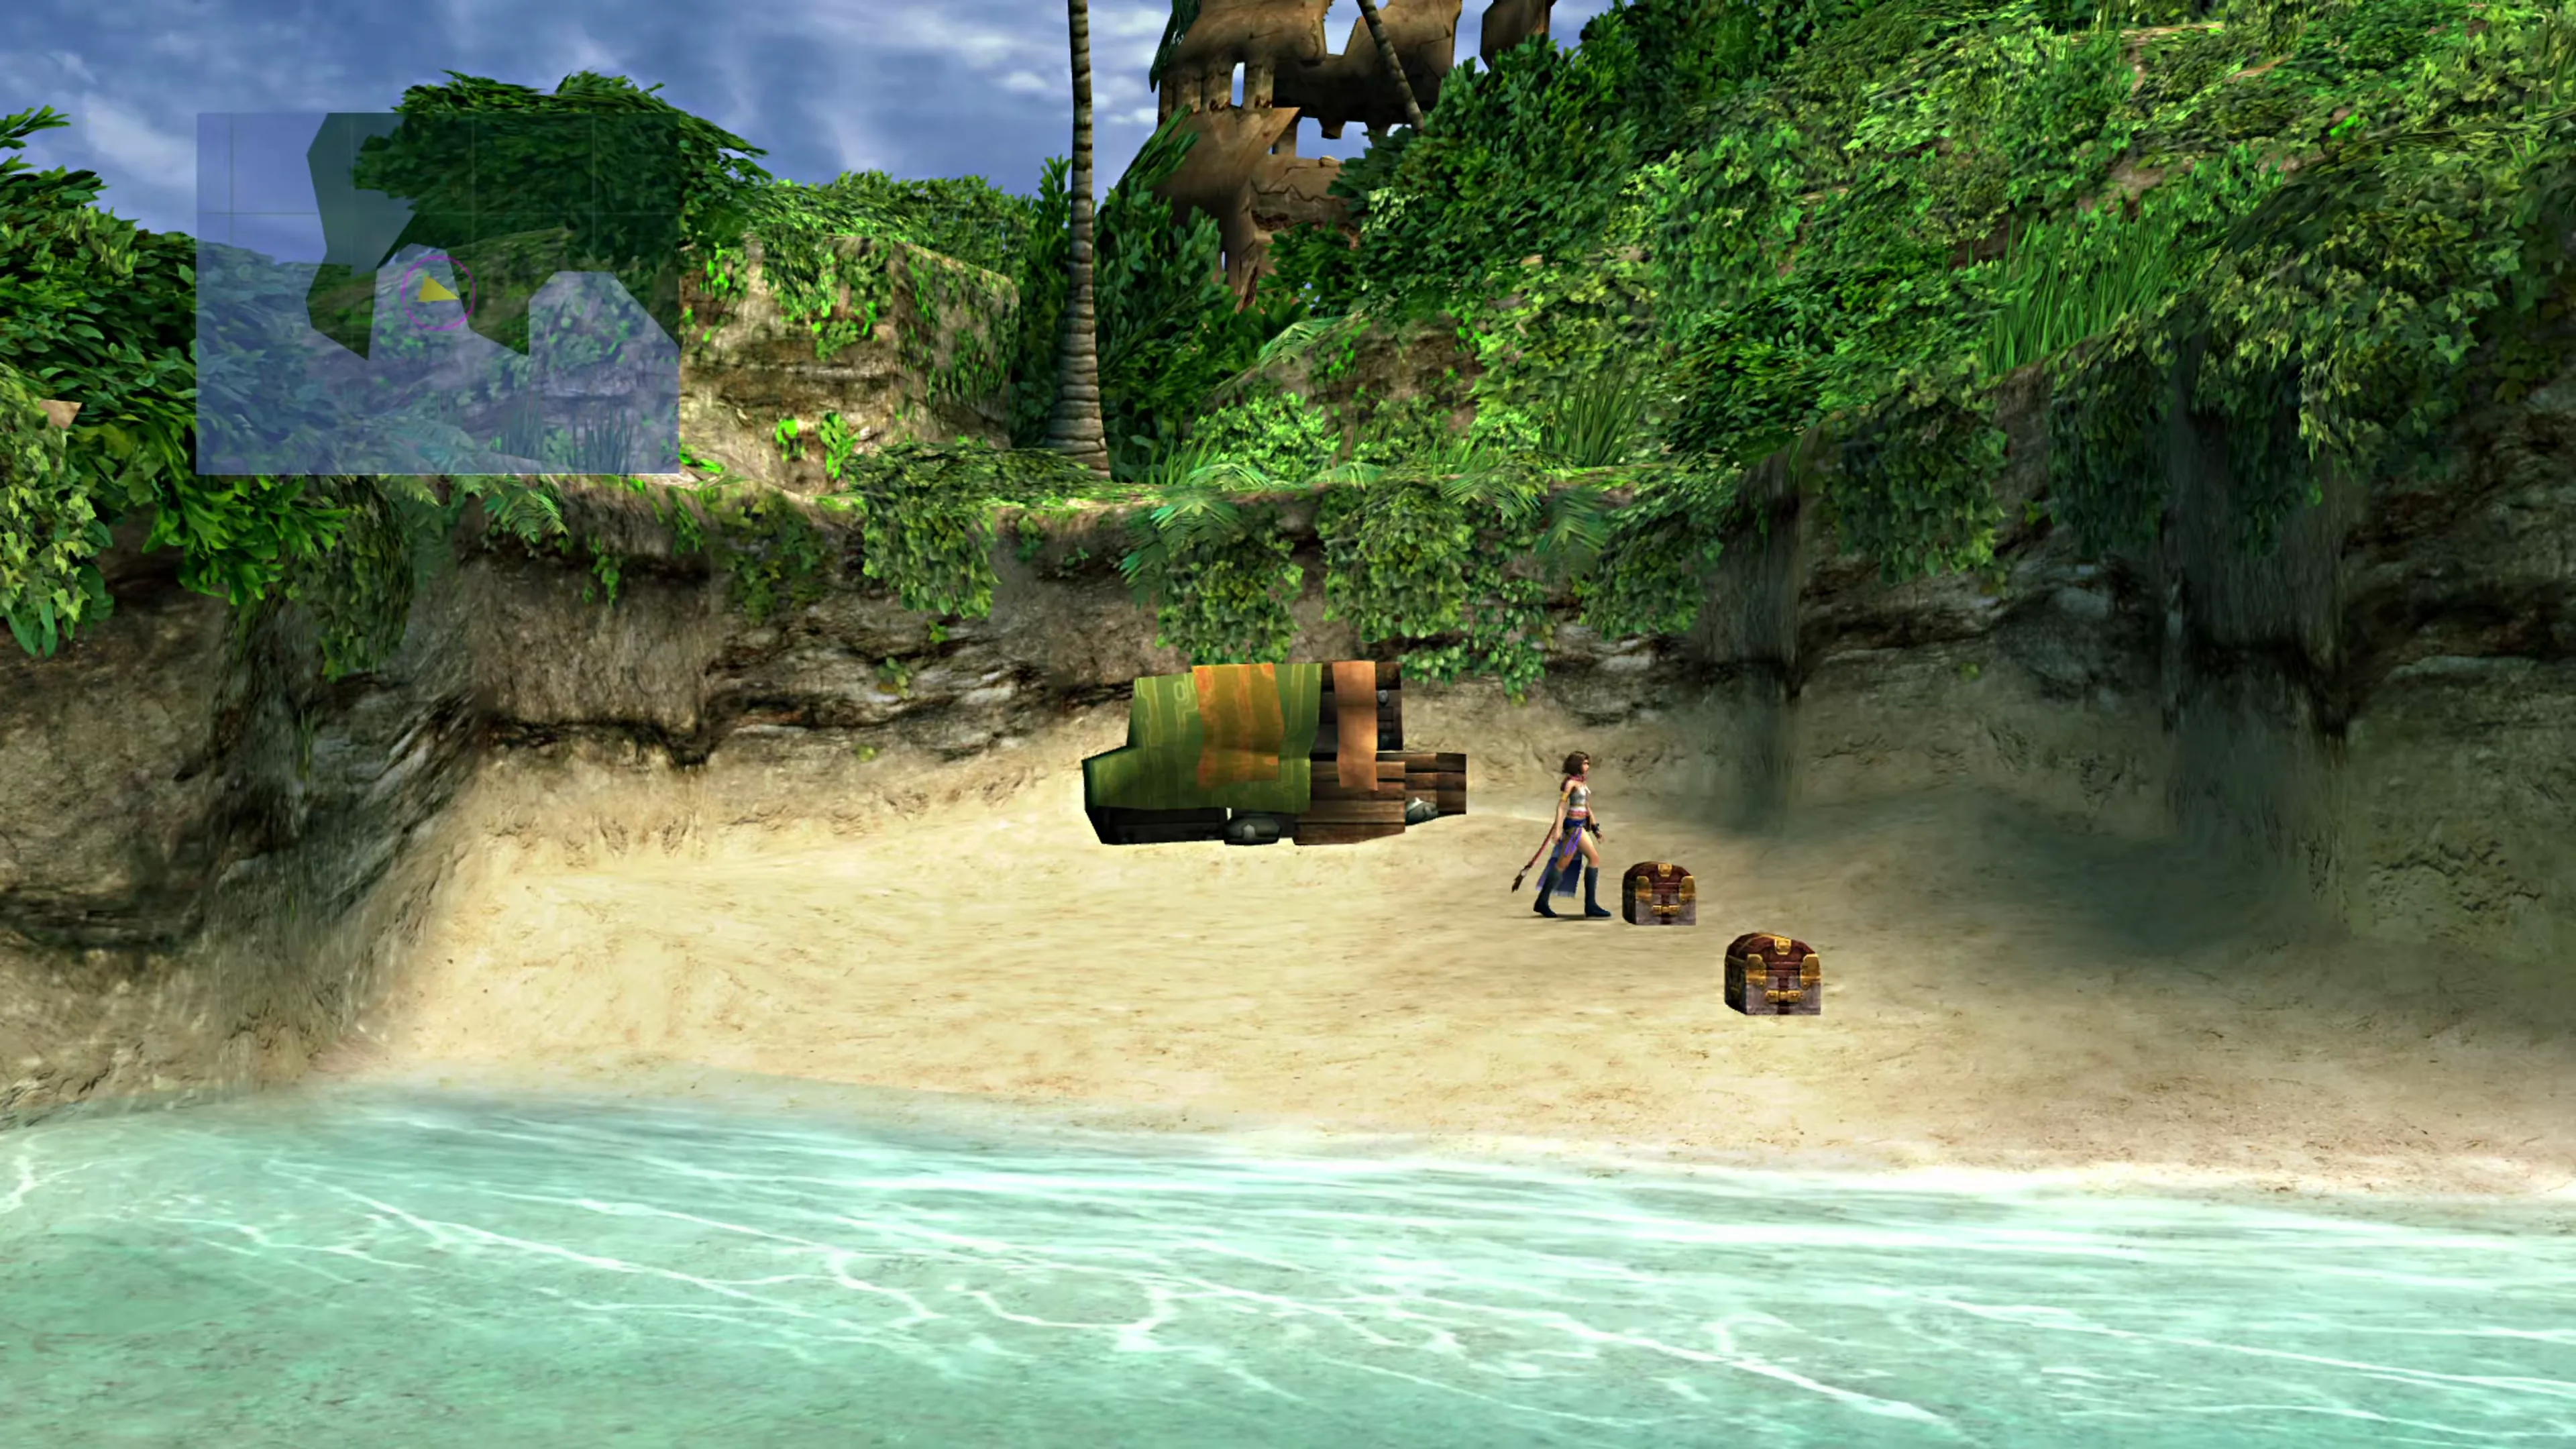
You can also circle to the back of the ruins and down to the backside of the beach to find two treasure chests. You may remember this area as the place where you picked up the  Moon Crest in Final Fantasy X. These two treasure chests contain a
  Hi-Potion and 1,000 Gil.
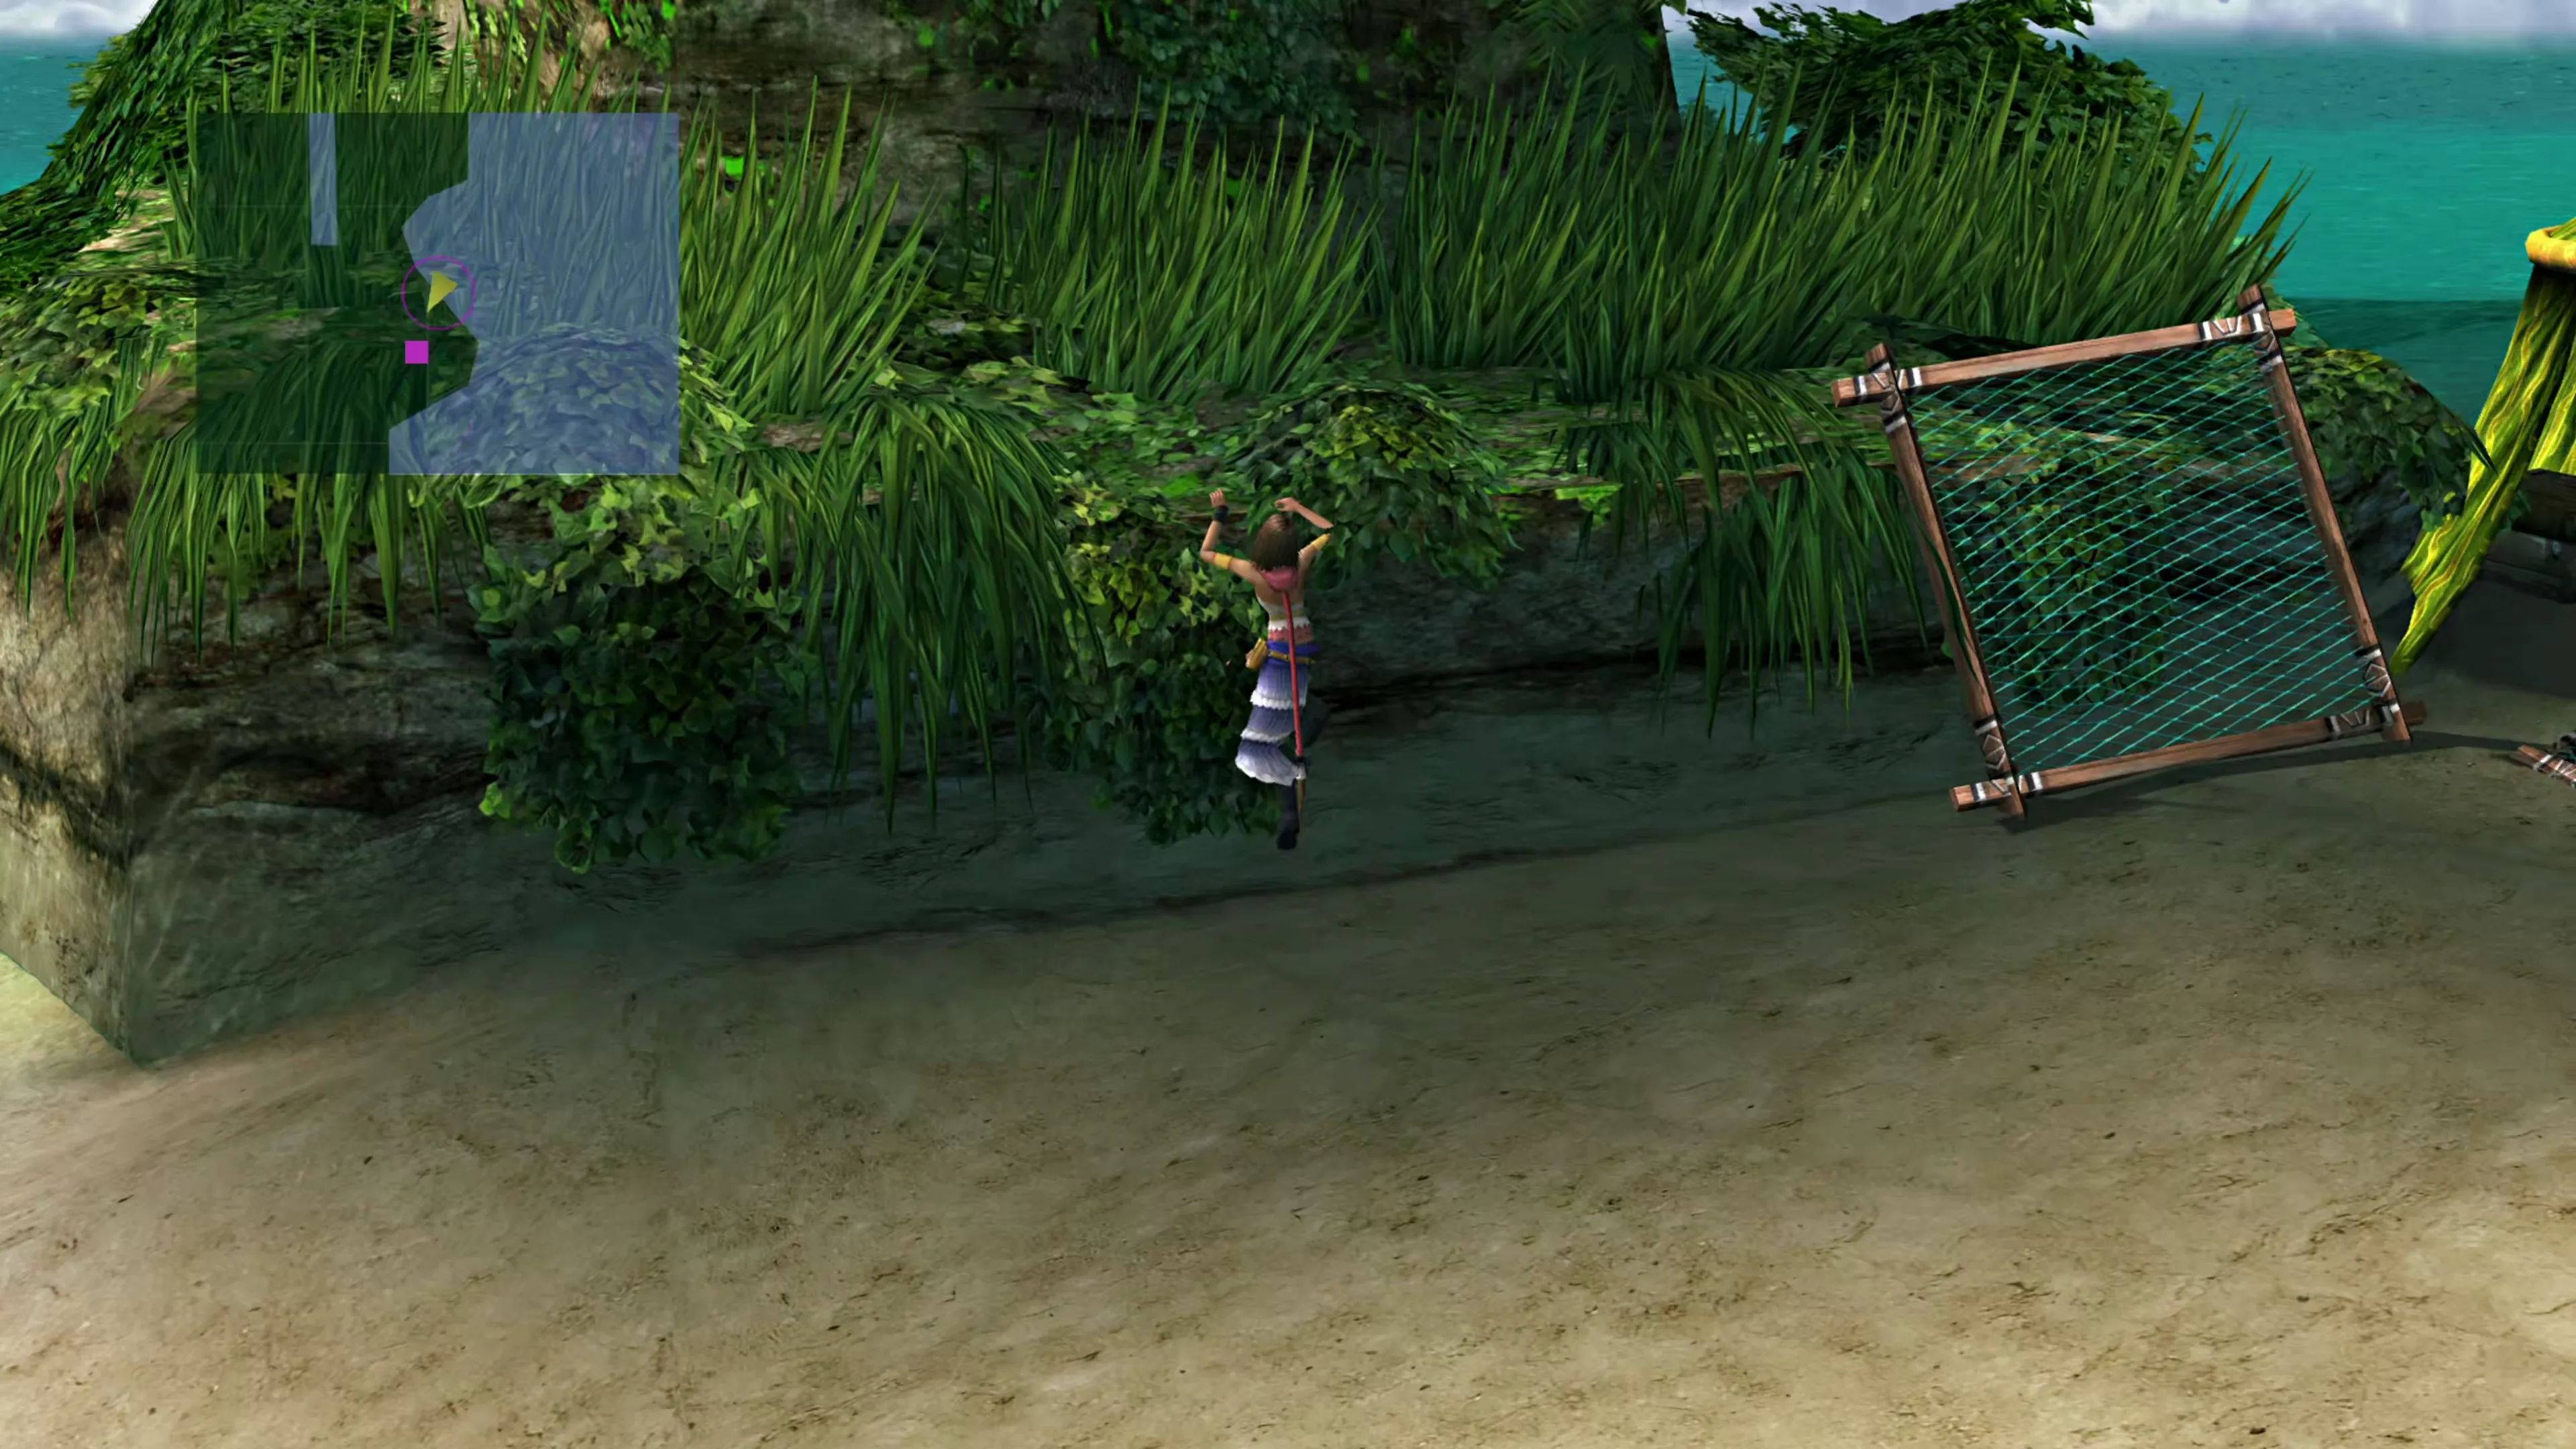
Head back down to the beach pathway and follow it down to the very far end of the beach on the west side of the map. There’s one more cliff for you to climb up in the southwest corner of the beach area, which contains the fourth and final cipher.
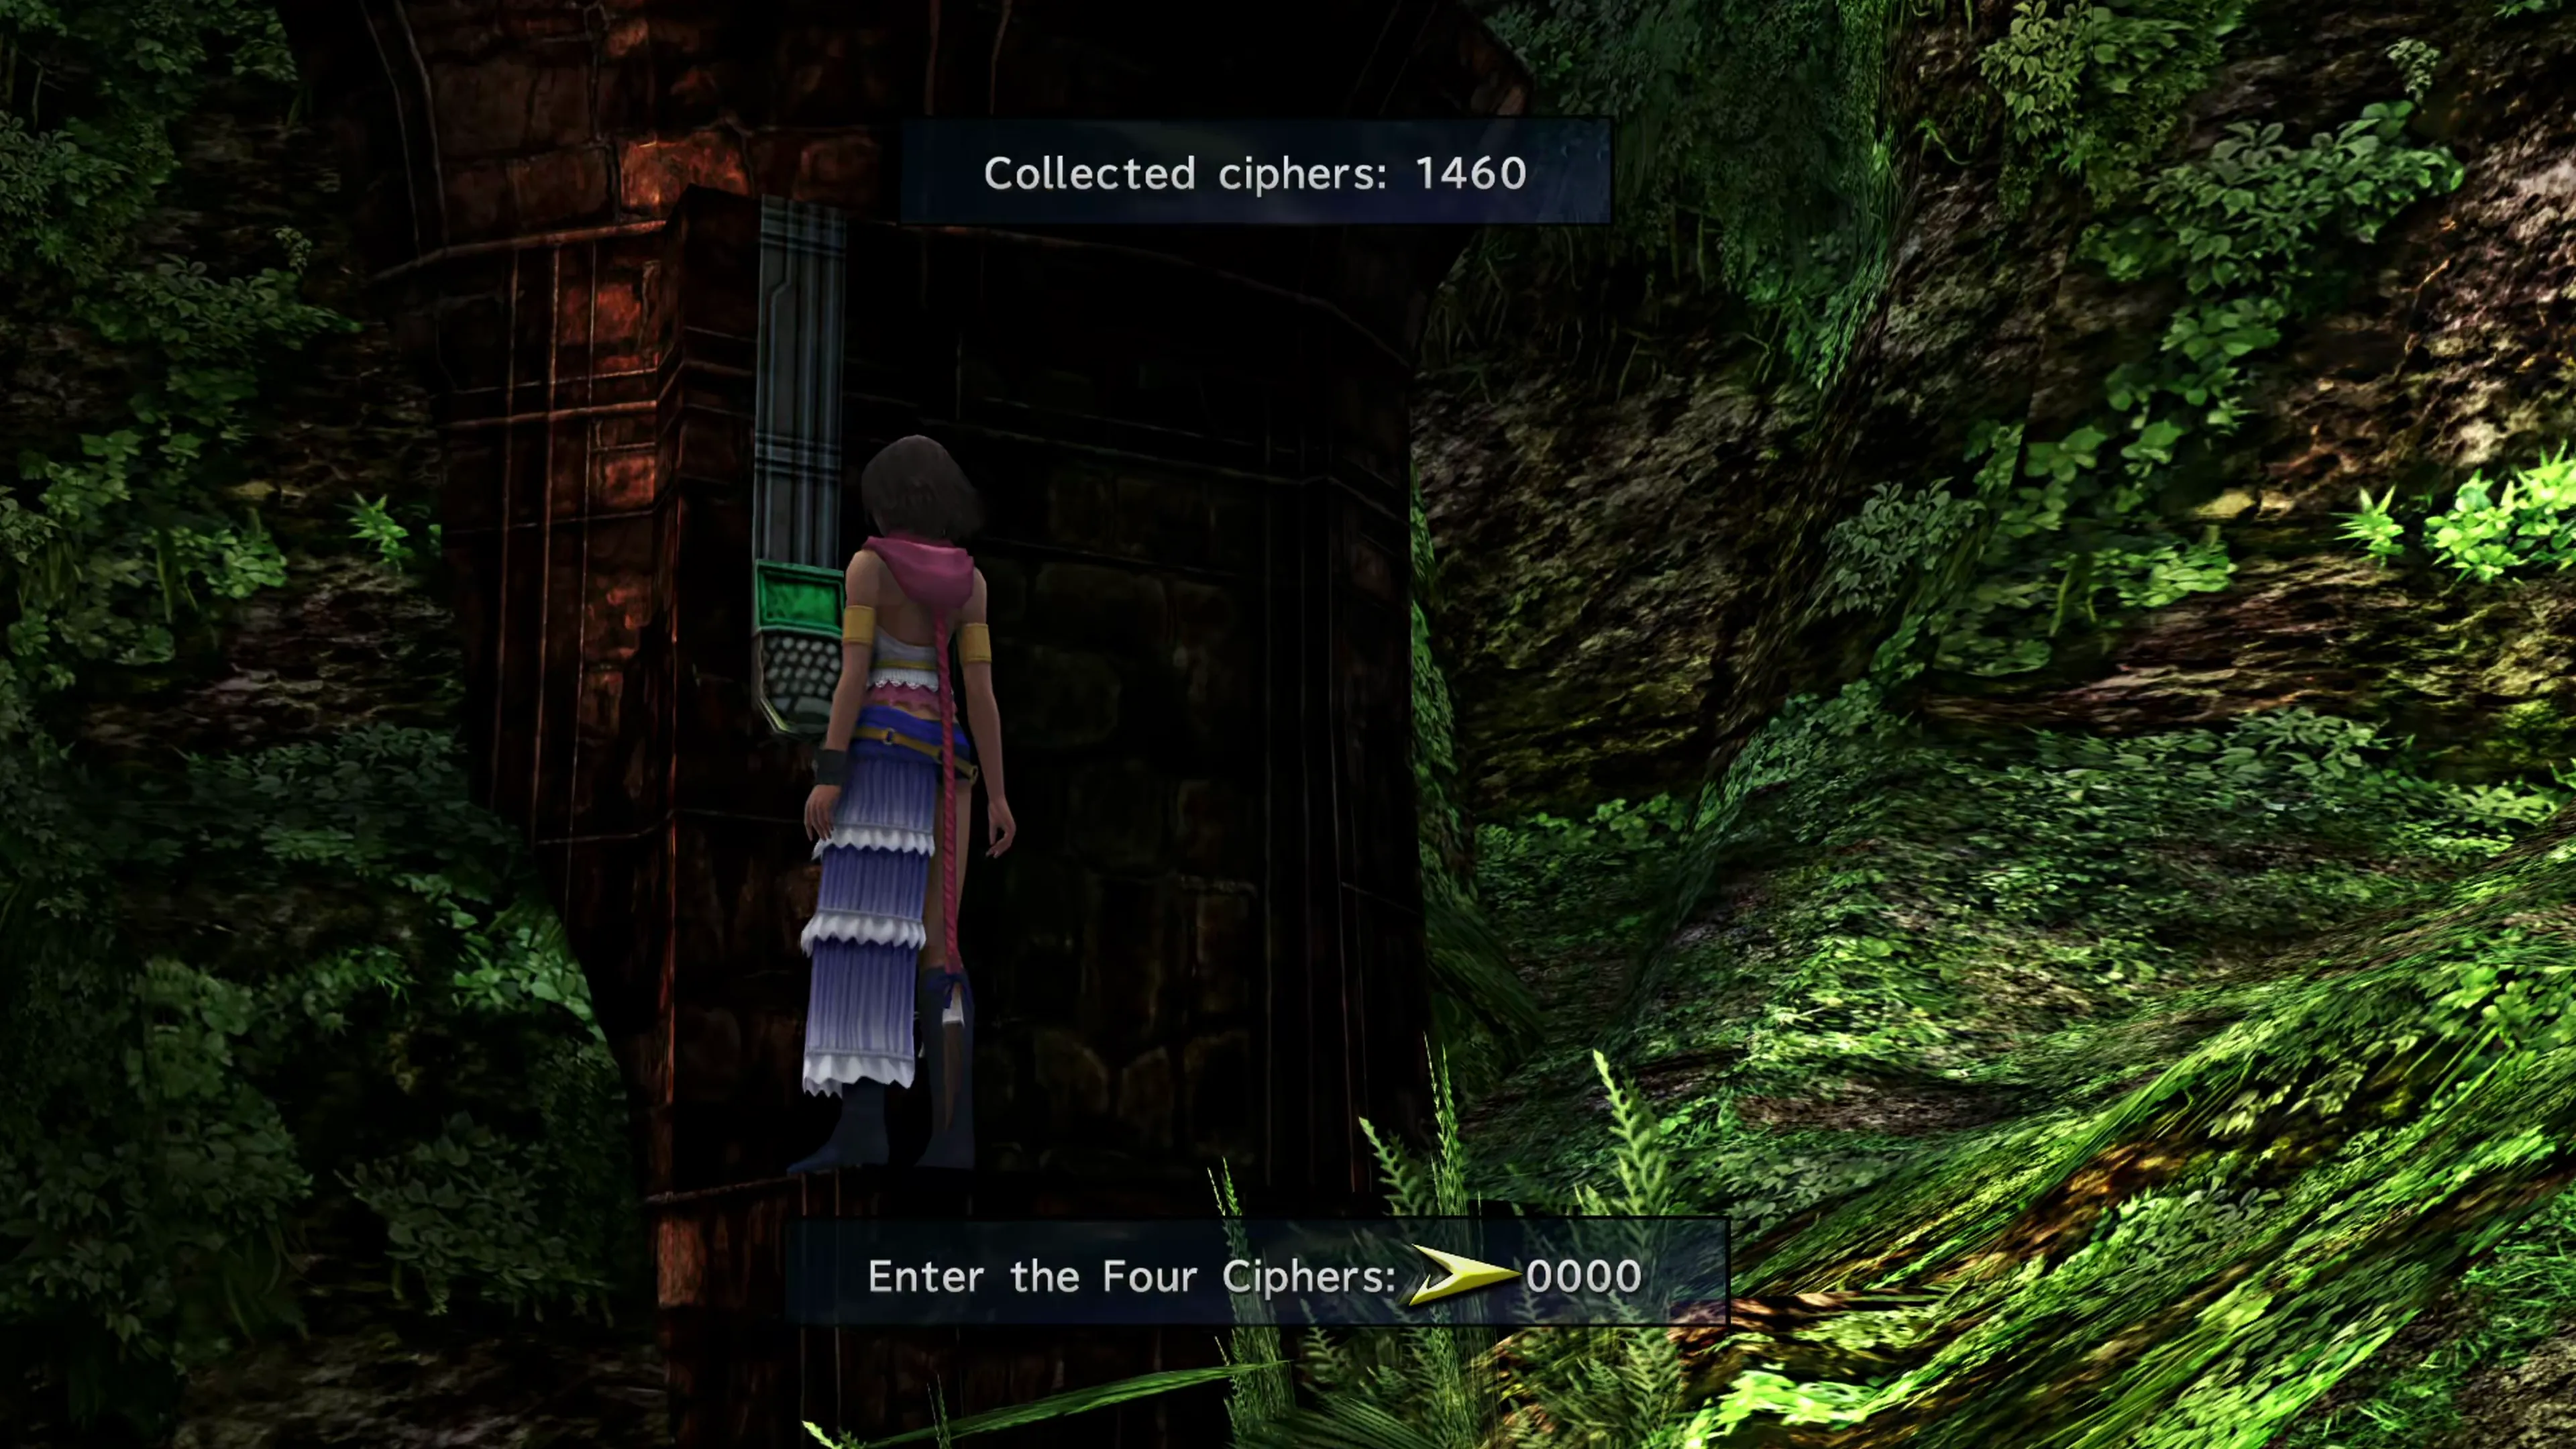
Leave the beach area and return to the area with the computer device. The four ciphers appear at the top of the screen in their correct positions, no matter which order you found them in; enter them exactly as shown, and the cave entrance will open.
Helpful Hint
As is often the case early on, the next battle is built around the abilities you have just unlocked. It becomes much easier if your party members can switch into the 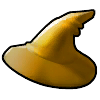 Black Mage Dressphere, so make sure it is included on whichever Garment Grids you have equipped.
Cave
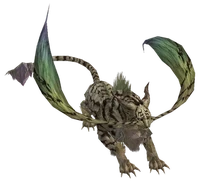
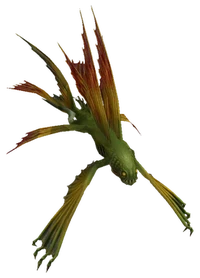
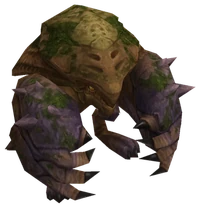
You’ll immediately see Wakka sitting on the ground as you enter the cave. Speak to him for a quick conversation, and then proceed into the cave. Close to Wakka near the entrance of the cave, you might notice a second cipher-locked door. It can’t be opened yet; it needs two key items you won’t have until Chapter 3, so ignore it for now. If you’re curious and want to learn more, use the link below:
Side Quests
Opening the second door in the Besaid cave with the Besaid Key and the Search Sphere. The reward at the end is the  Raging Giant Garment Grid.
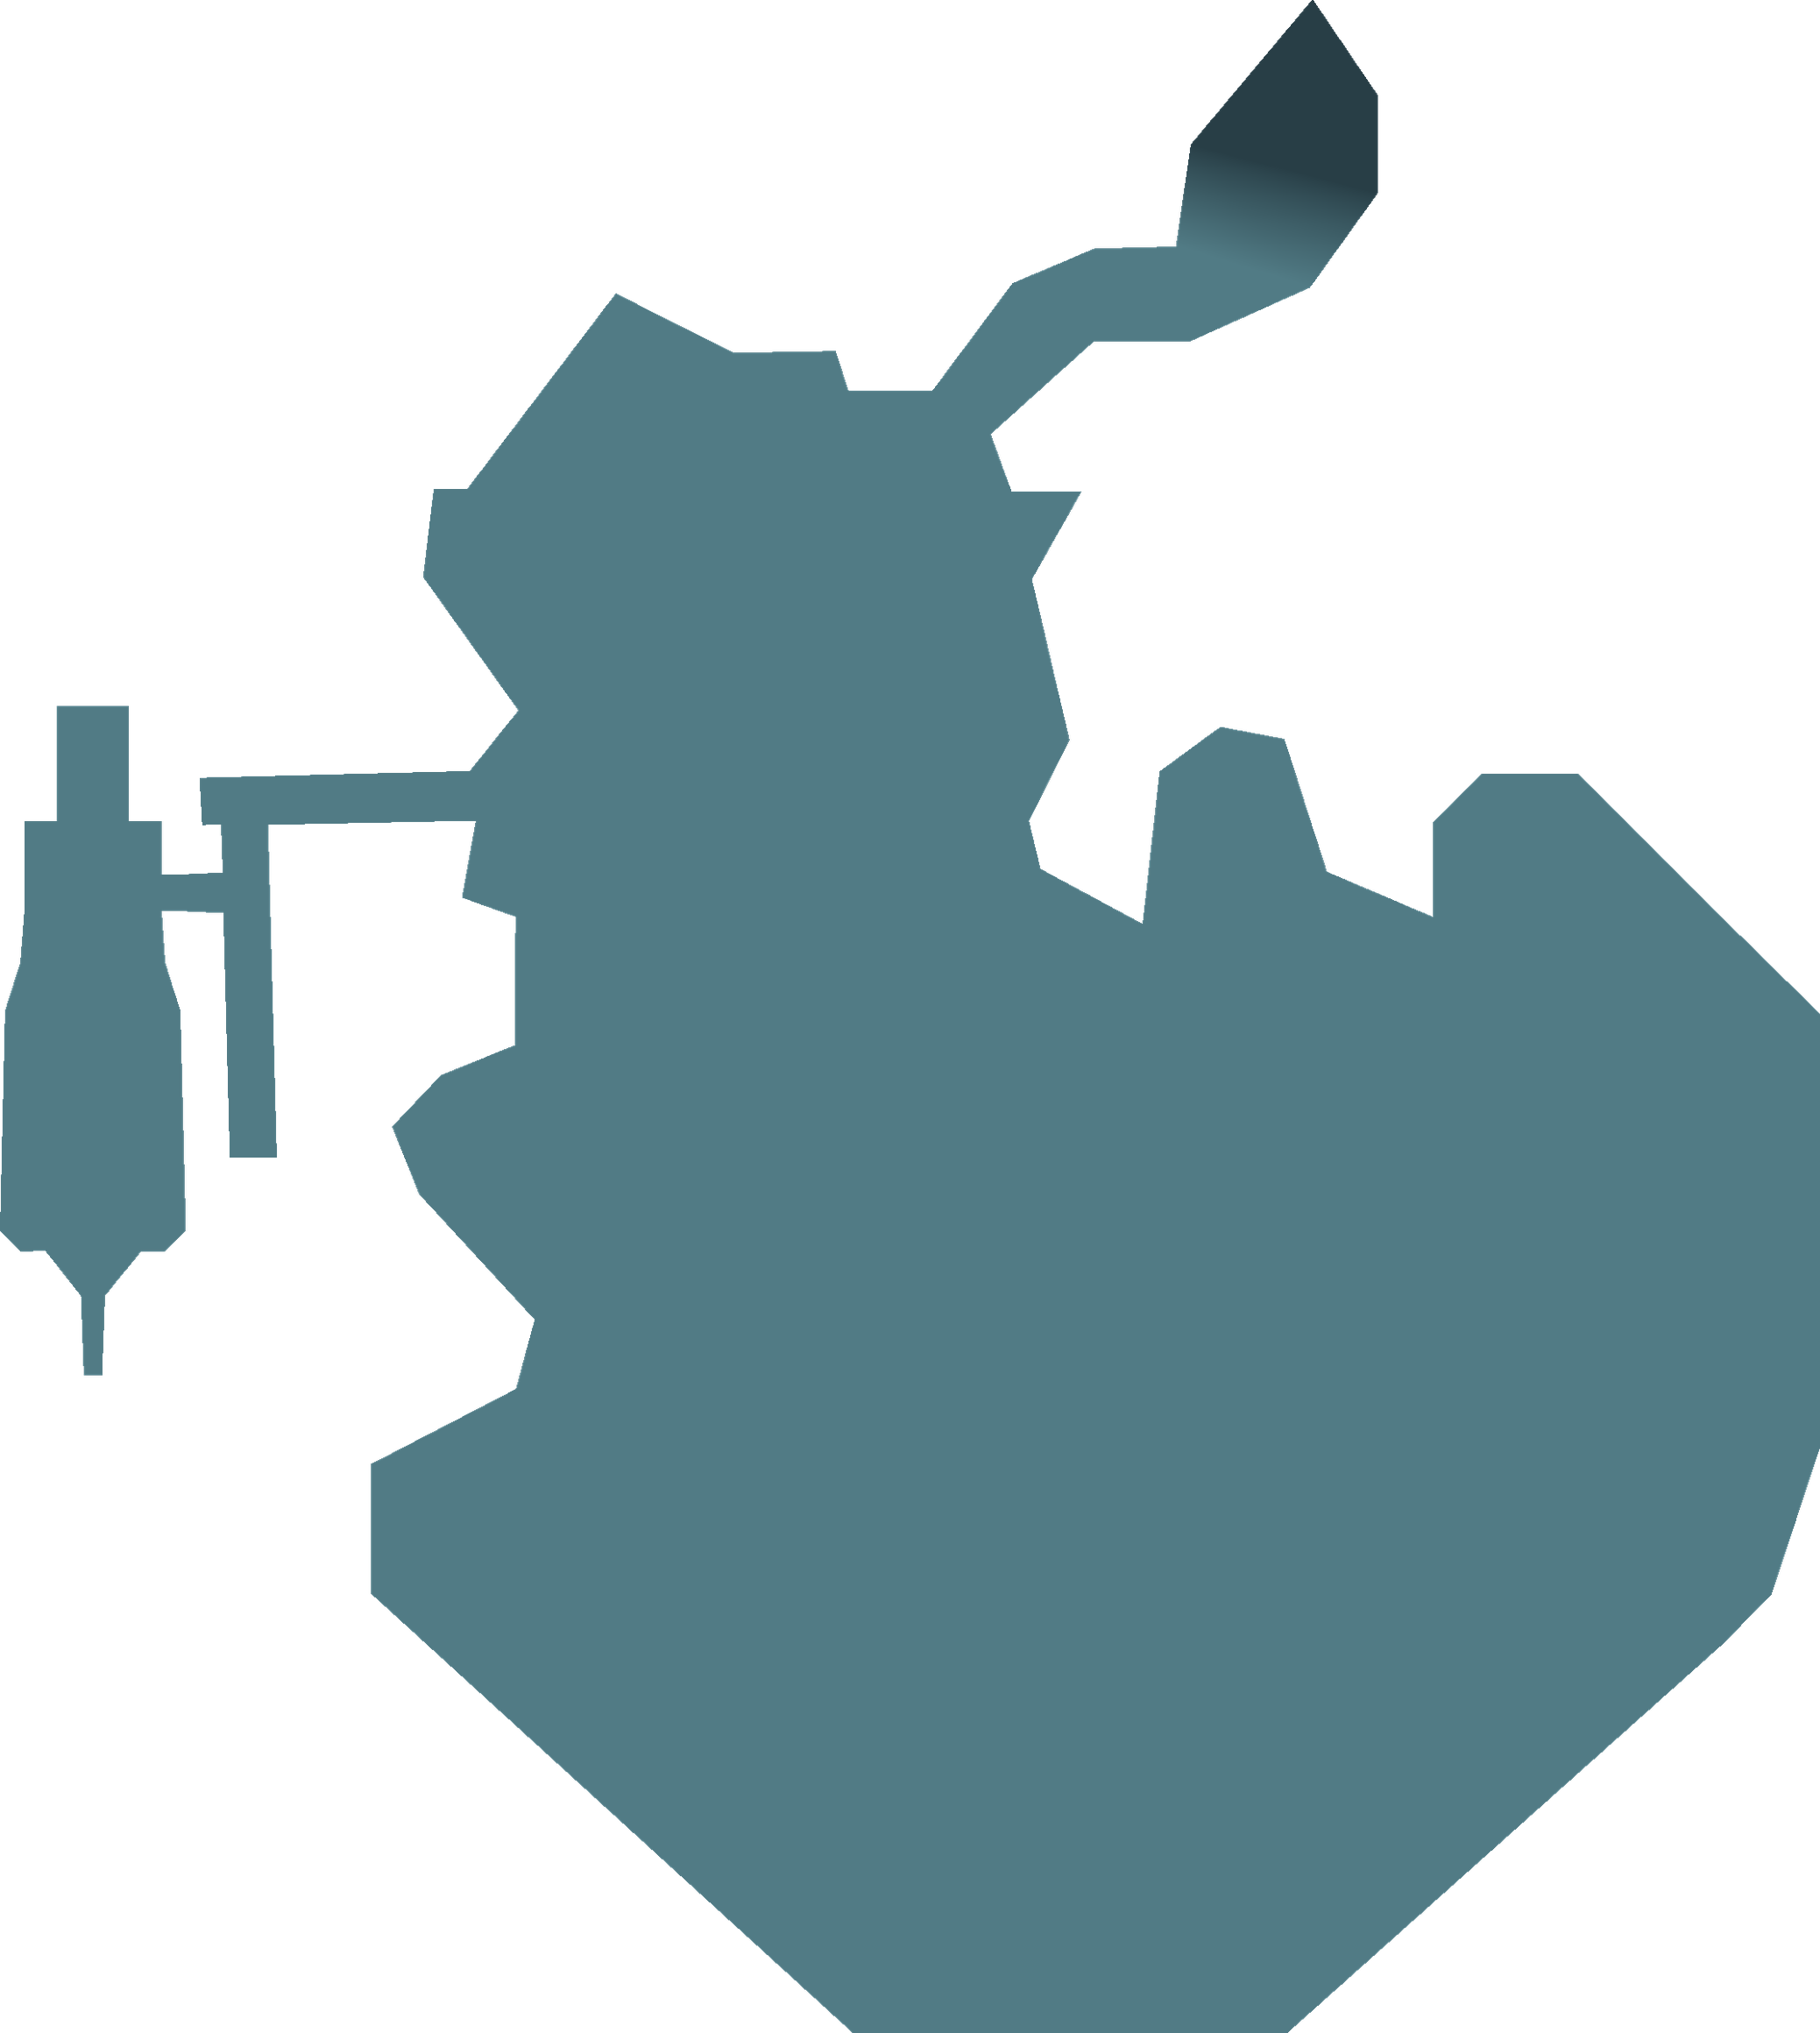
There are two places you can visit that aren’t blocked by the locked door. Both are shown on the map below. The first is a treasure chest on the west side of the cave that contains two Potions.
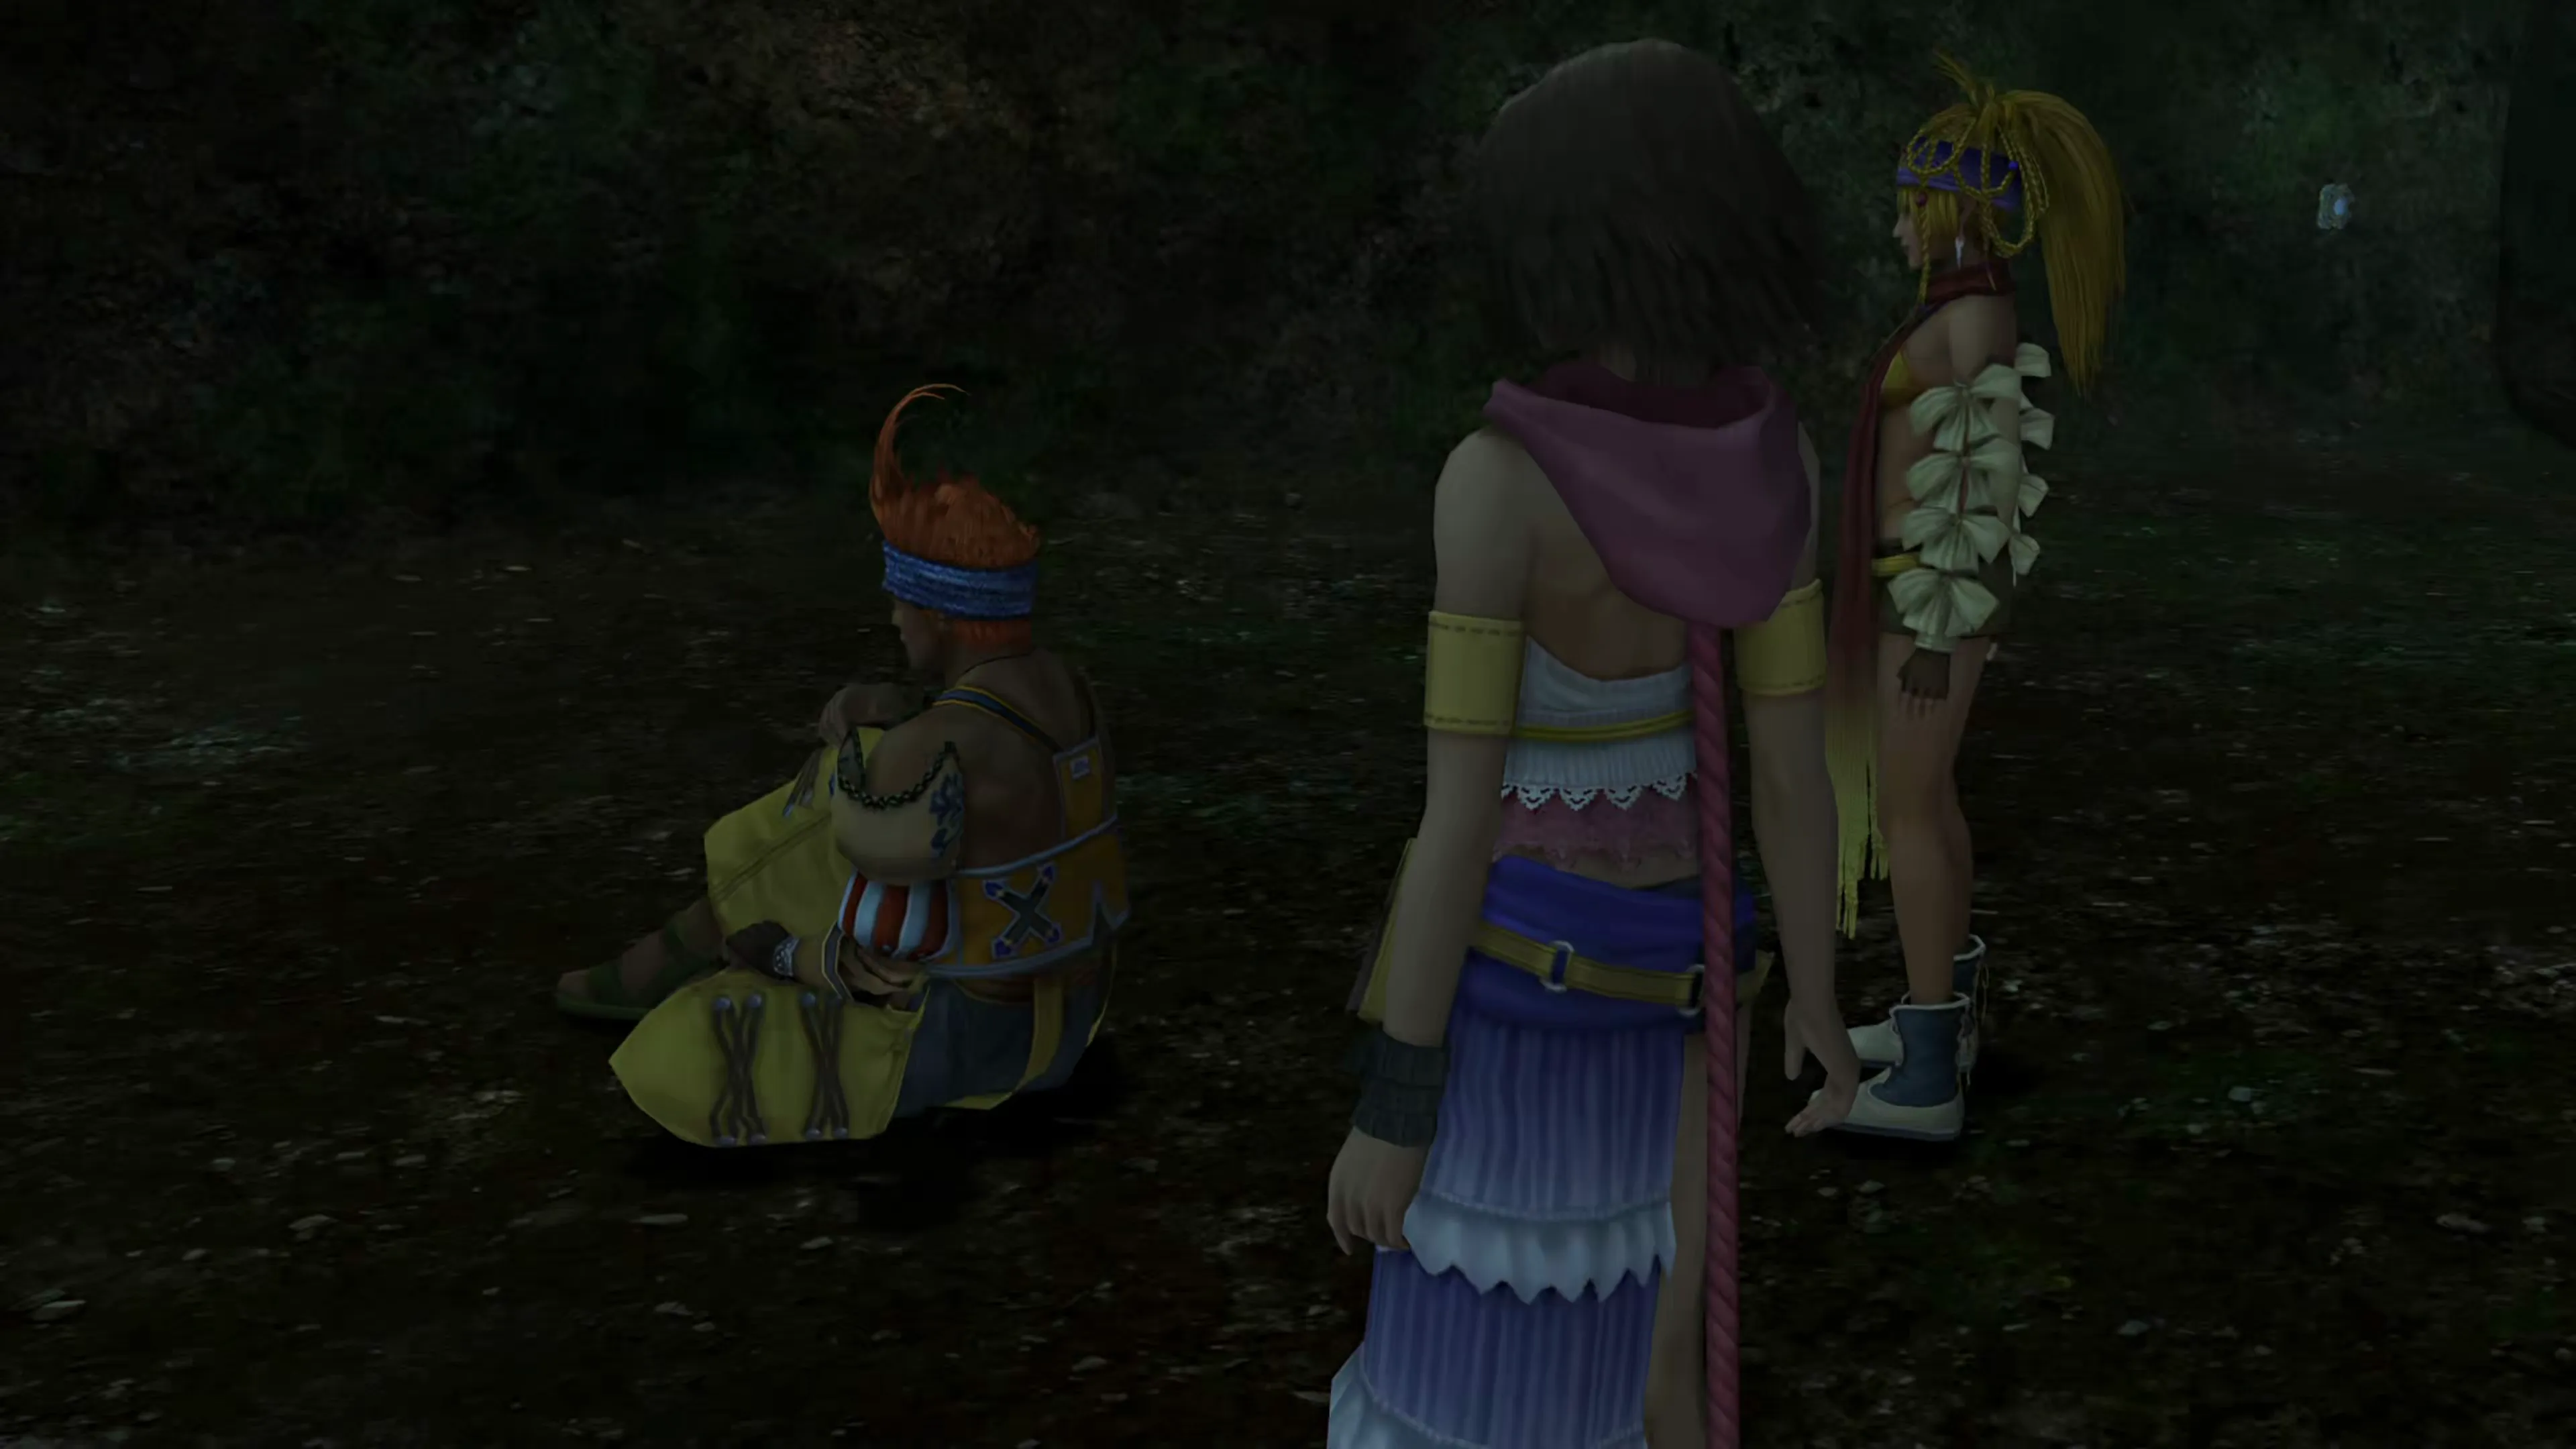
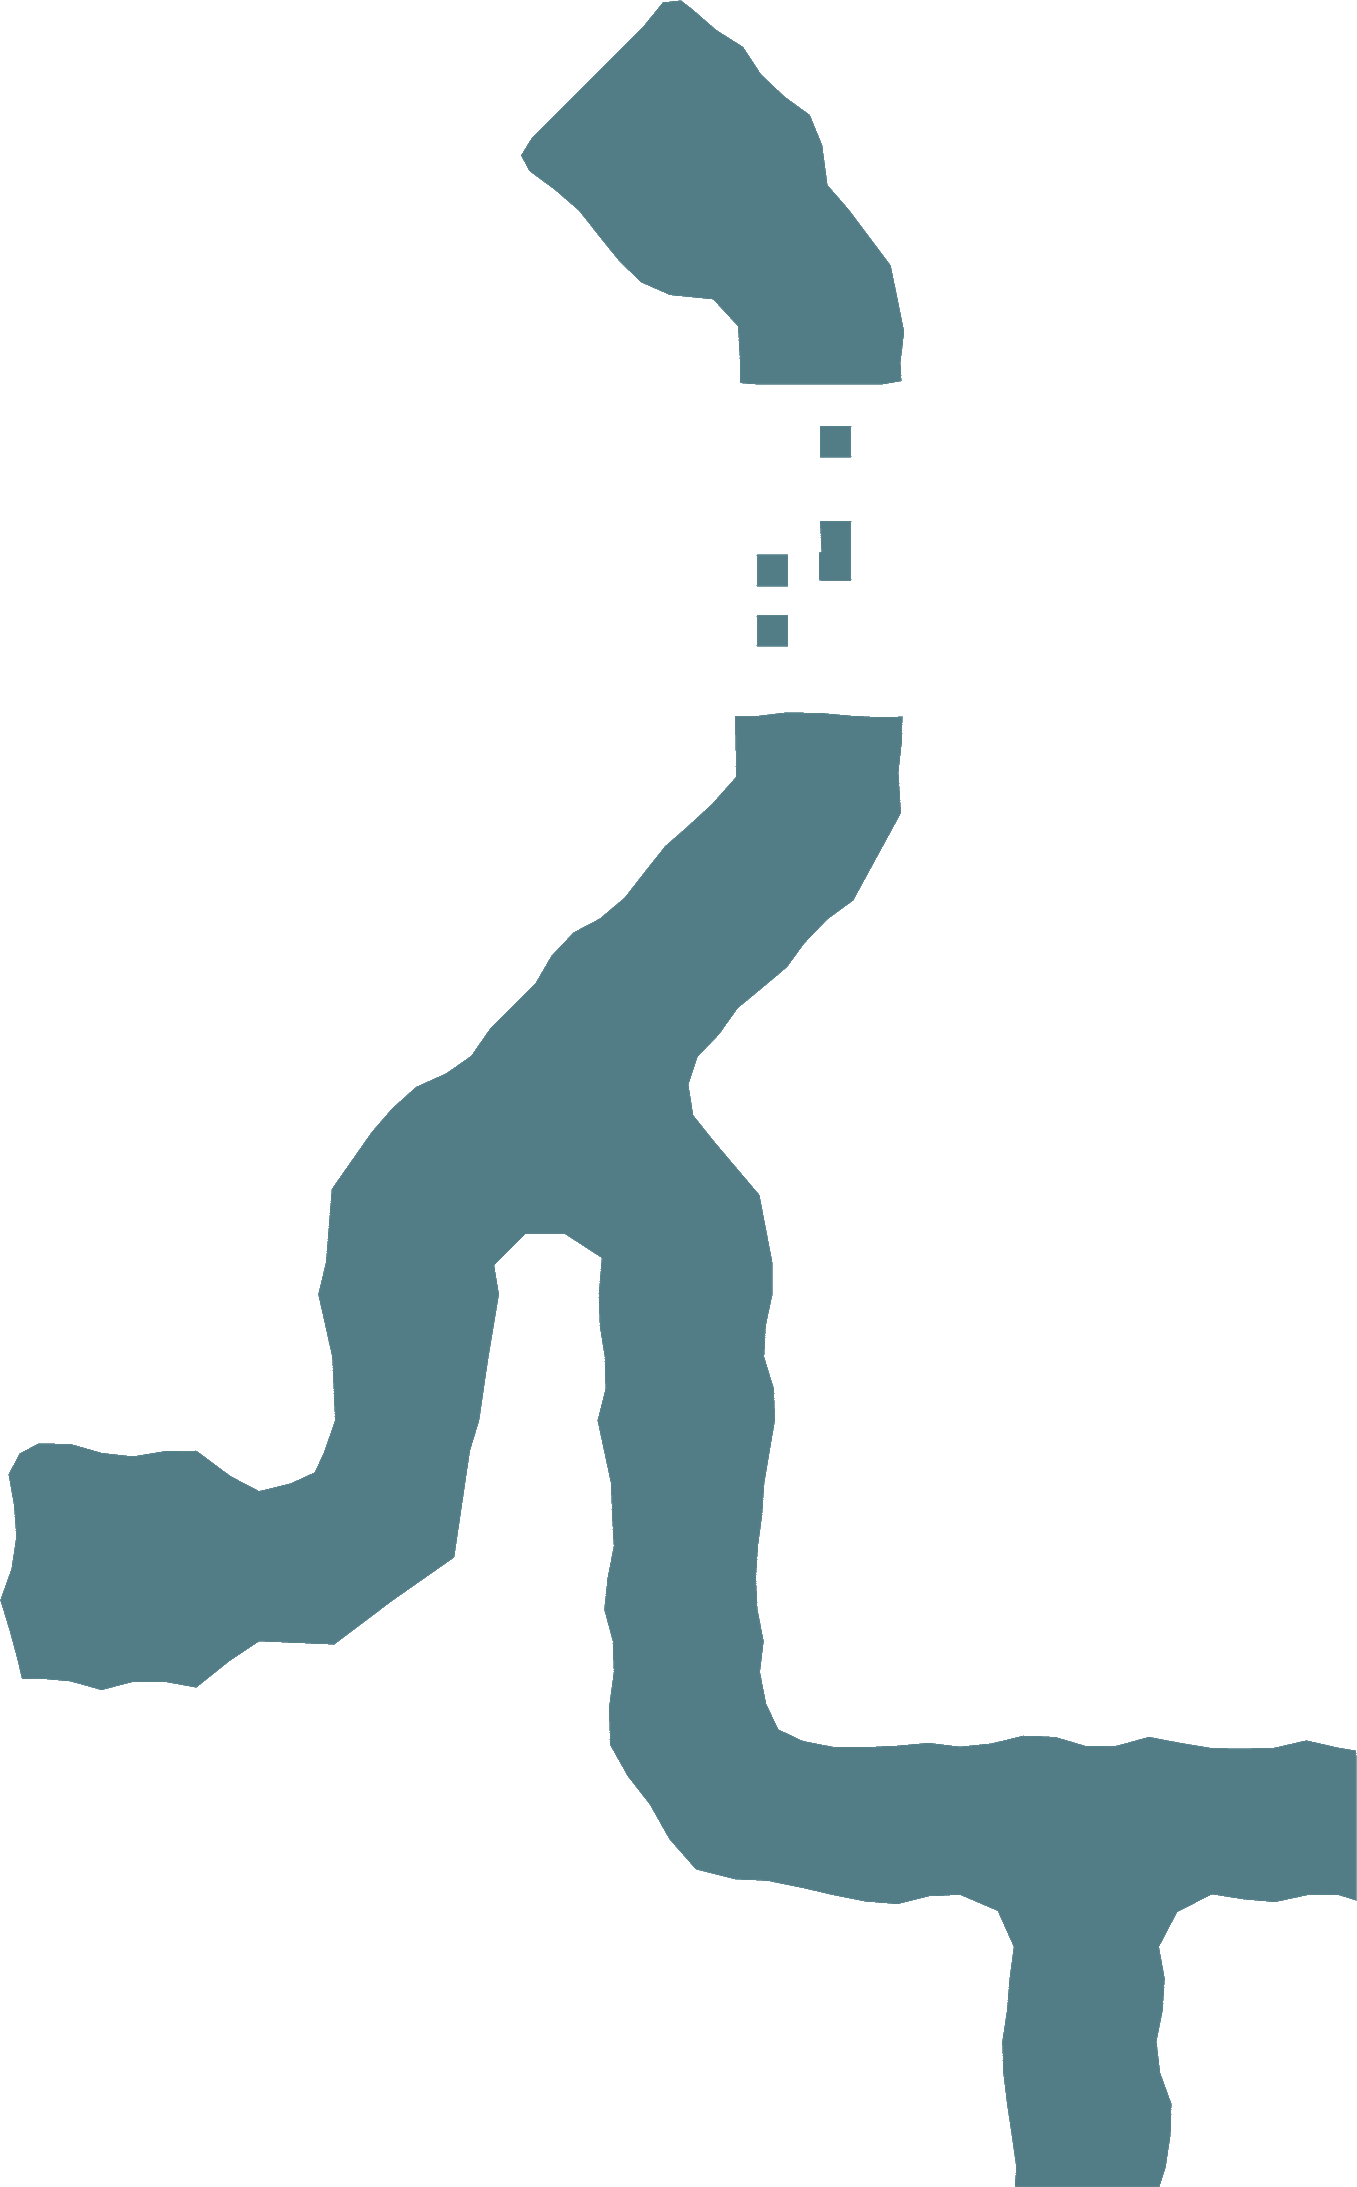
The second is the sphere that Wakka was referring to. Use the Save Sphere after you jump across the platforms to refill your party’s HP and MP, equip one of your party members with the  Red Ring accessory you picked up in the Floating Ruins, and then interact with the sphere on the pedestal up against the cave wall. This interaction will trigger your next boss battle:
Boss Battle
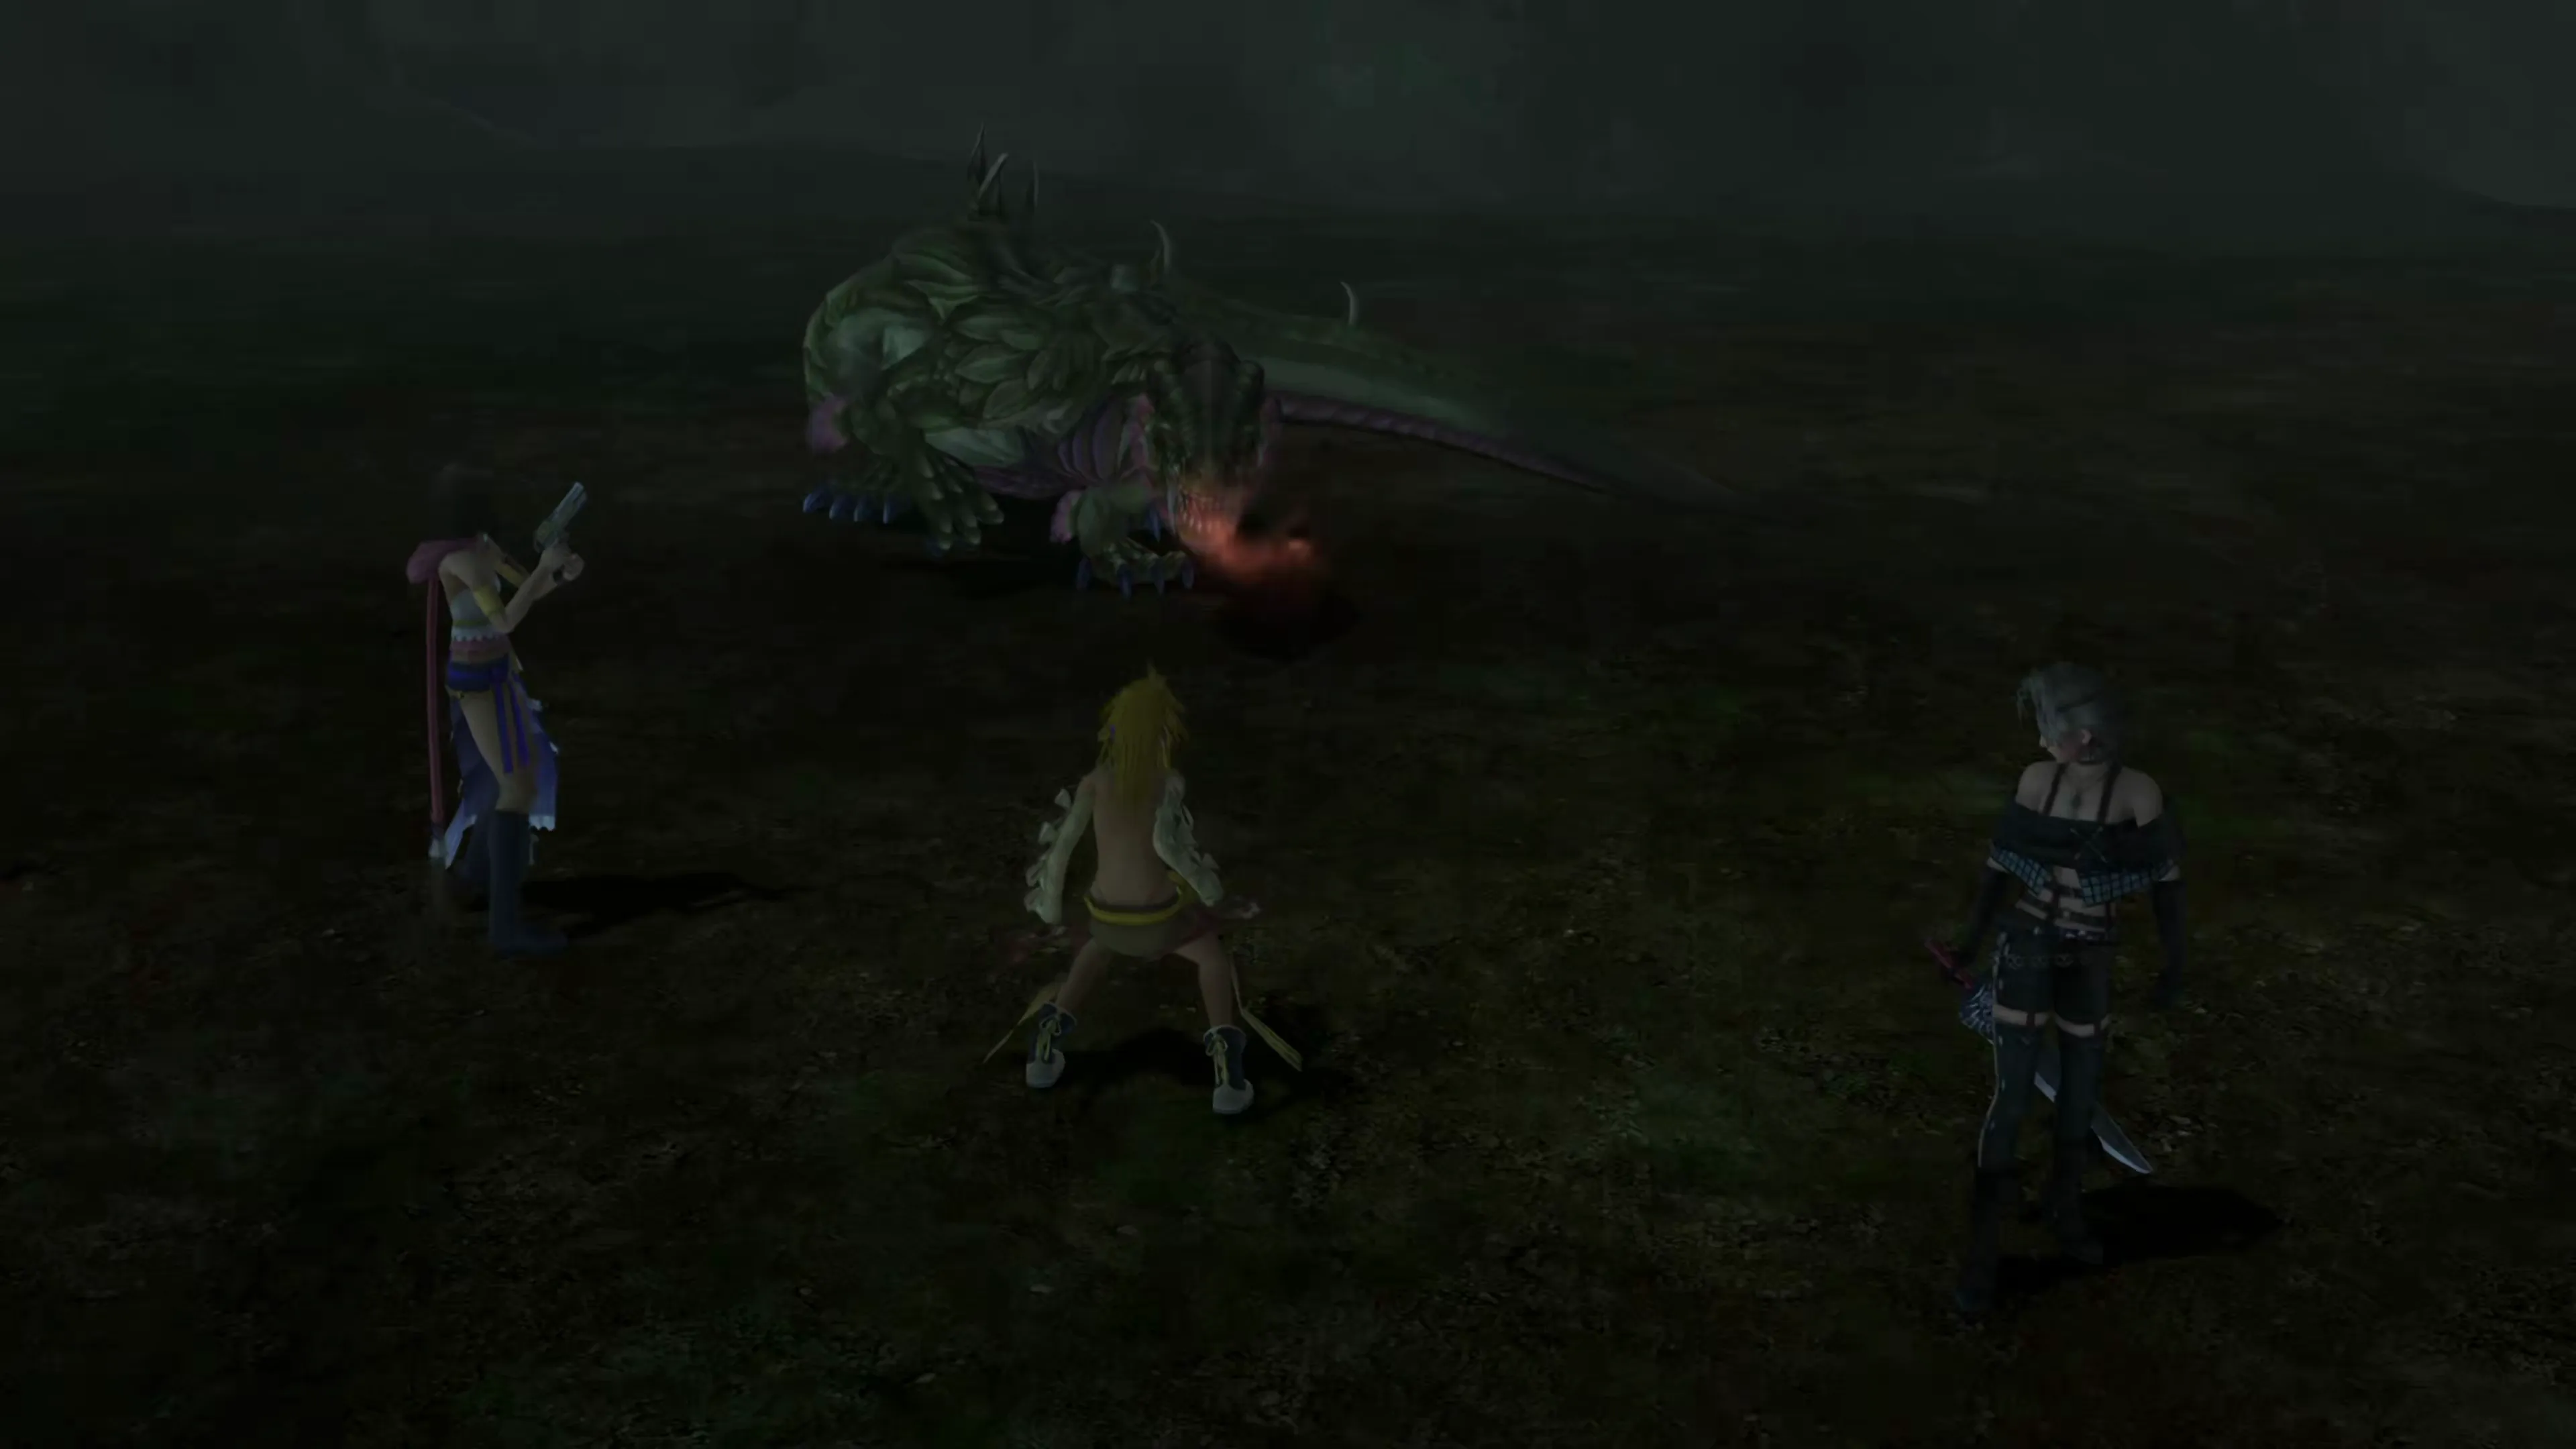
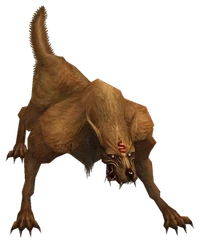
As mentioned in the helpful hint above, this battle can be made much easier if you have one of your party members in their Black Mage Dressphere. The Flame Dragon is weak to the  Black Magic ability,
  Blizzard, which deals ice damage. It’ll be your highest damage-dealing ability for this fight, but that being said, this boss isn’t too tough, so you can get away without using a Black Mage if you want to.
Flame Dragon will use its “Flame Breath” attack, which hits all party members for around 150-200 damage. This is the most problematic ability that it has, and you may have to heal up your party members using Potions after it has been cast. It will also use a regular attack which deals regular damage to a party member, and it always aims for the party member with the highest HP, which serves as a means to make this fight a bit easier, considering how early on you are in the game.
You’ll obtain the  White Mage Dressphere at the conclusion of this battle. This is a great Dressphere and the only role wholly focused on healing and protecting your party members. Other roles may replace it later on in the game; roles that can both heal your party members and deal some damage when the party is healed up. For now, though, it’s worth including in your Garment Grids as an option.
Dresspheres
A dedicated healer role that allows party members to cast healing spells, so you can stop relying on Potions, Hi-Potions, and Elixirs in your inventory.
Helpful Hint
One really effective way to keep your party members fully healed with a White Mage is to use their default  Pray ability. It doesn’t heal for much, so at first, it may seem like it’s not enough to keep your team alive, but it serves two purposes:
- You can cast it really fast, which allows it to act like a “Regen” of sorts, and allows the White Mage to switch over to full heals if a party member truly gets low.
- Casting quick spells and abilities helps you earn AP faster; check out the Ability Points (AP) page in the Tips and Tricks section for more information.
Head back to the Save Sphere just behind the sphere pedestal and save your game if you want, but even if you choose not to, use it to refill your HP and MP. Head back to the front of the cave for another quick conversation with Wakka as the group looks at the sphere’s contents. You’ll receive the  Besaid Sphere key item. Watching the sphere points you towards a treasure chest near the waterfall, though that is the one you picked up on your way in.
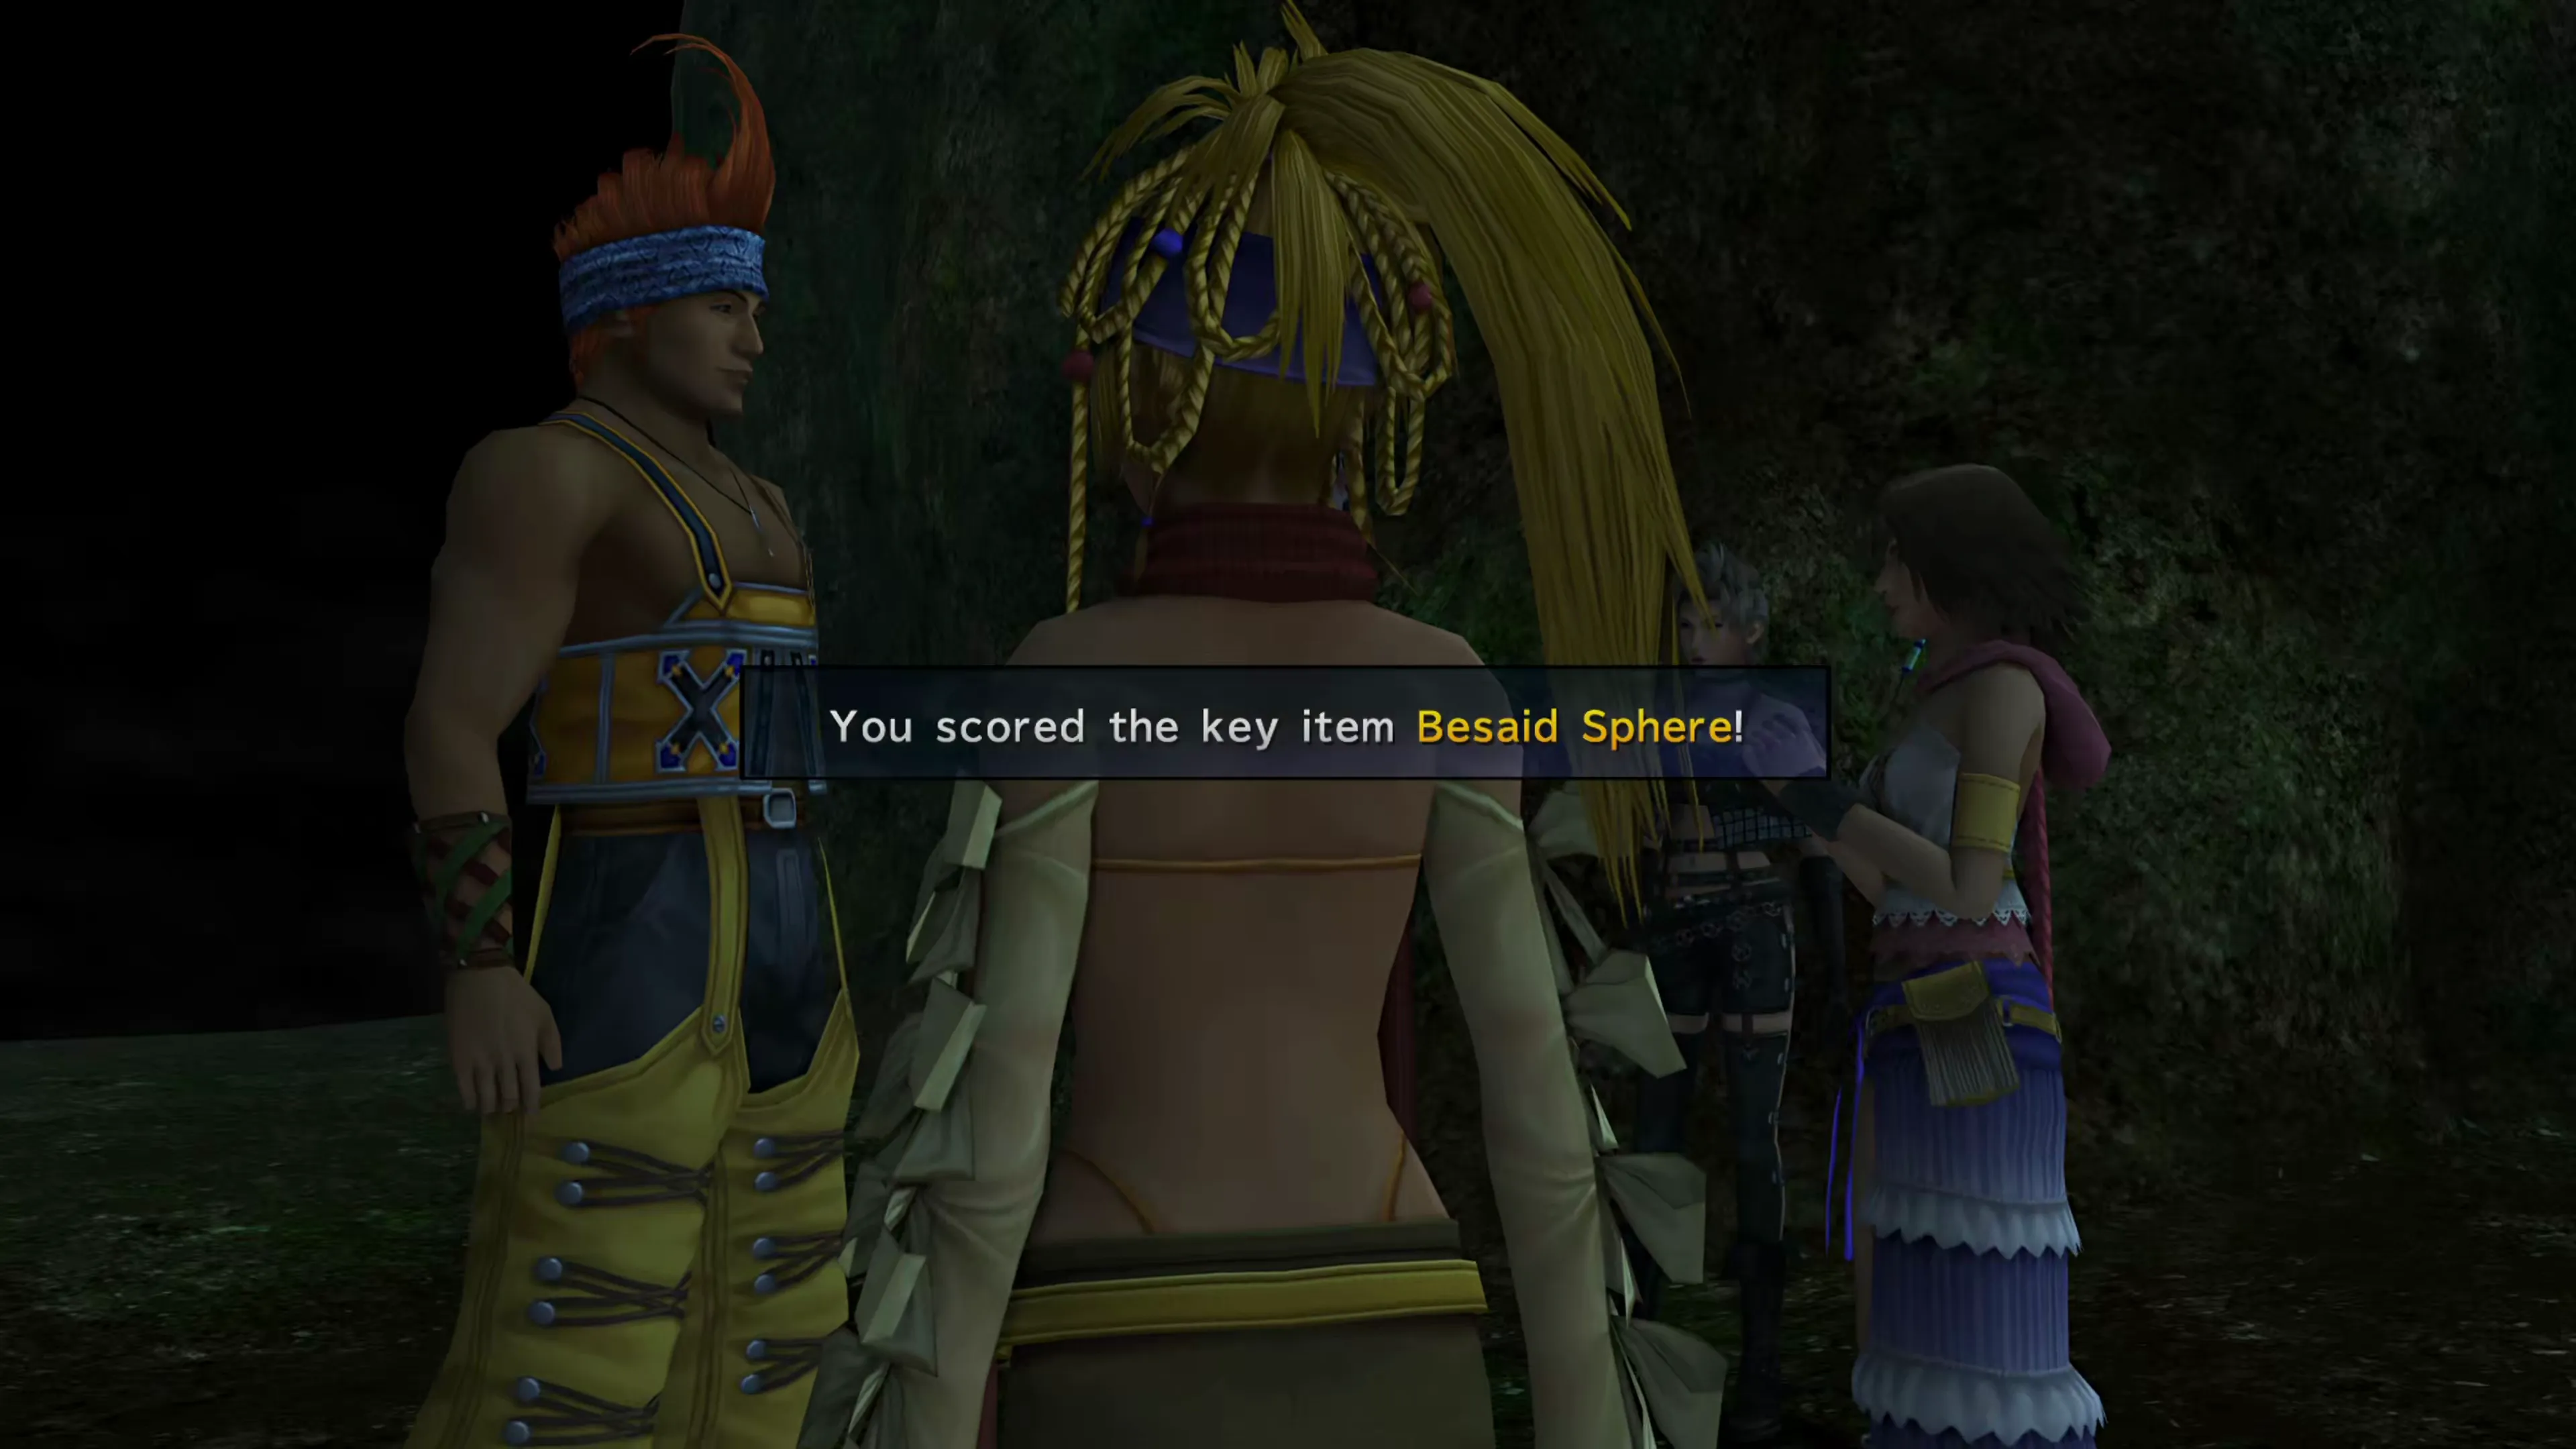
This will complete the “Where’s Wakka?” Mission. You will receive the Protection Halo Garment Grid, and then it’s back up to the Celsius. There’s no dialogue when you return to the ship this time; instead, you can decide where your next destination is.
Warning
Each chapter of Final Fantasy X-2 lets you pick which locations to visit. Locations flagged with a Hotspot carry the chapter’s main story Missions. Every other location is optional, but those optional stops hold side quests, treasure, and “Story Completion Percent.”
Order matters because finishing the chapter’s last Hotspot Mission ends the chapter, and anything you skipped stays skipped. Visit the non-Hotspot locations first and save the final Hotspot for last.
This guide is already sequenced that way, so following the pages in order keeps 100% Story Completion achievable without you having to track it yourself.
Your next stop is Kilika Island. Other guides may send you to Luca, Mi’ihen Highroad, or Mushroom Rock Road first, and you can do these first few locations in any order, but as noted above, it’s strongly recommended you make your next stop Kilika.
Checking the “Besaid Island Complete” box adds the Story Completion Percent for the automatic scenes in Besaid Island.