
Mt. Gagazet - Floating Ruins
The first Hotspot Mission for the Gullwings can be initiated after you’ve rested in the cabin of the Celsius and spoken to Buddy on the bridge of the ship. As a reminder, make sure you’ve saved your game at the  Save Sphere in the hallway before you attempt this Mission. This is a timed Mission, and you’ll only get one attempt once the timer starts, but don’t worry, it’s not too difficult (especially with this guide!).
Upper Tier
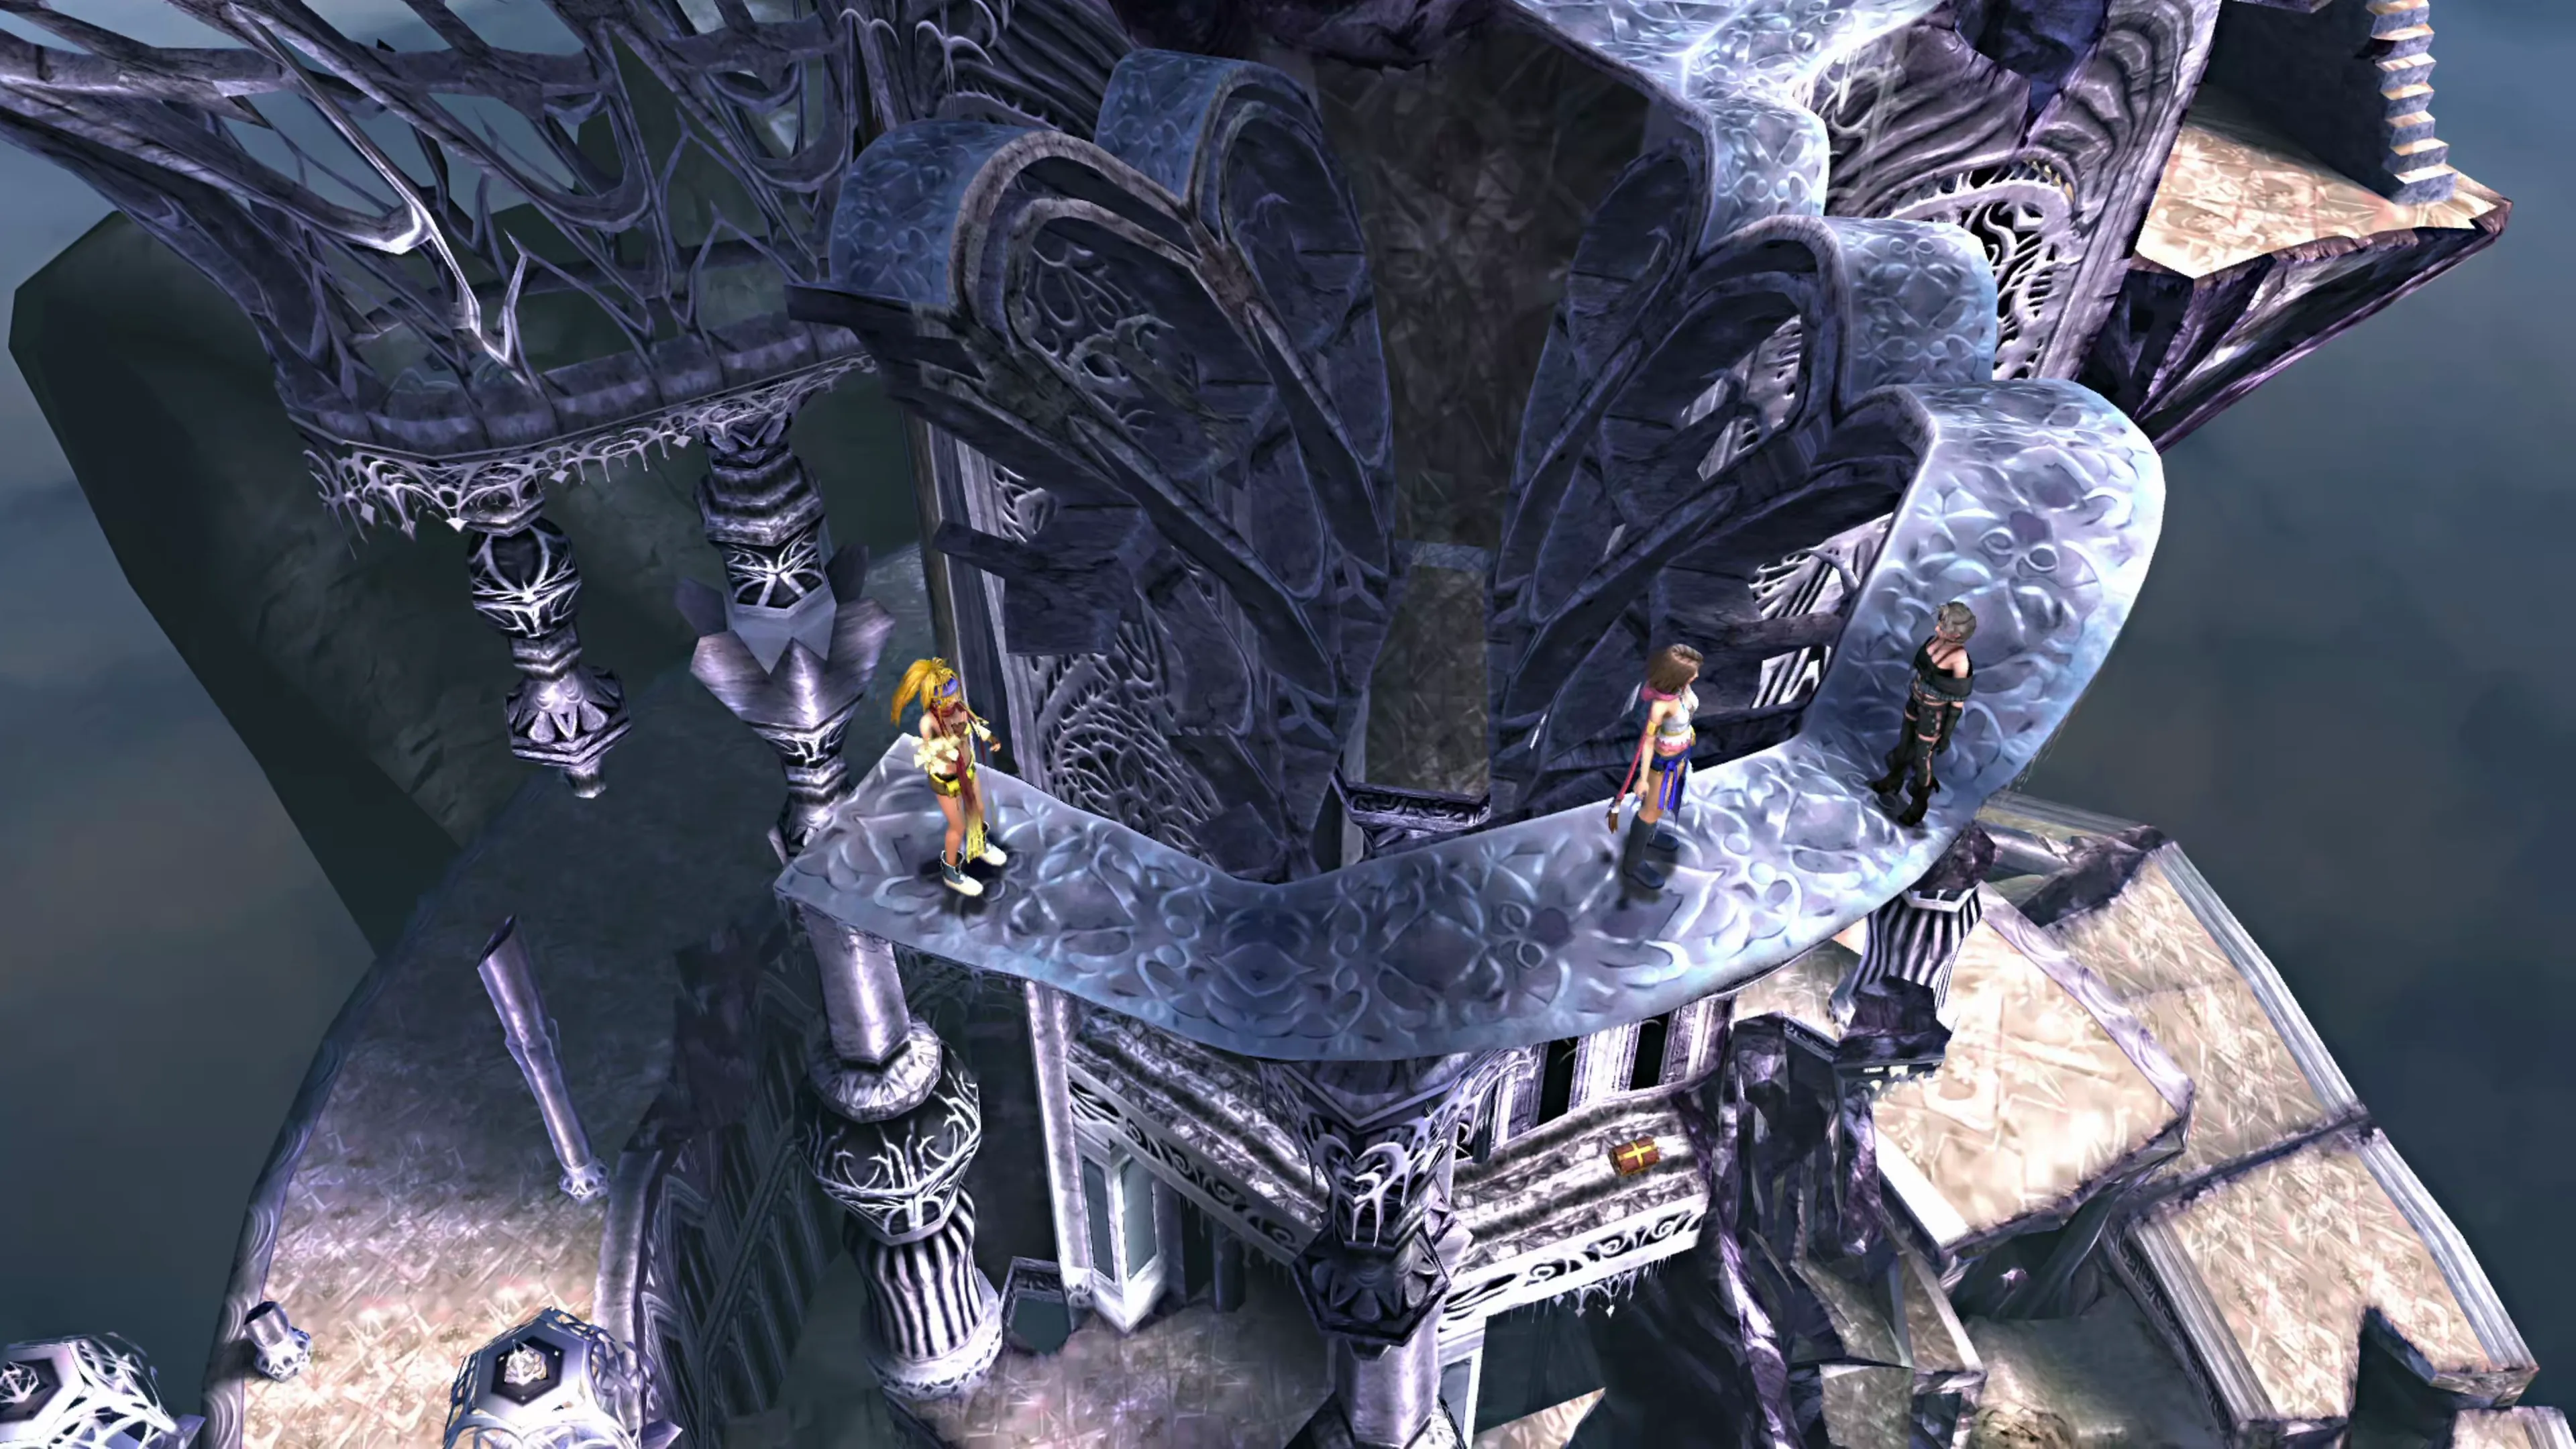
Follow Rikku and Paine after the cutscene towards the ruins, and a tutorial message will explain how to jump across chasms. Don’t fall into the trap that many players do by assuming you need to press the 

 button at the right time; instead, hold the button down when you’re in areas where you want Yuna to jump.
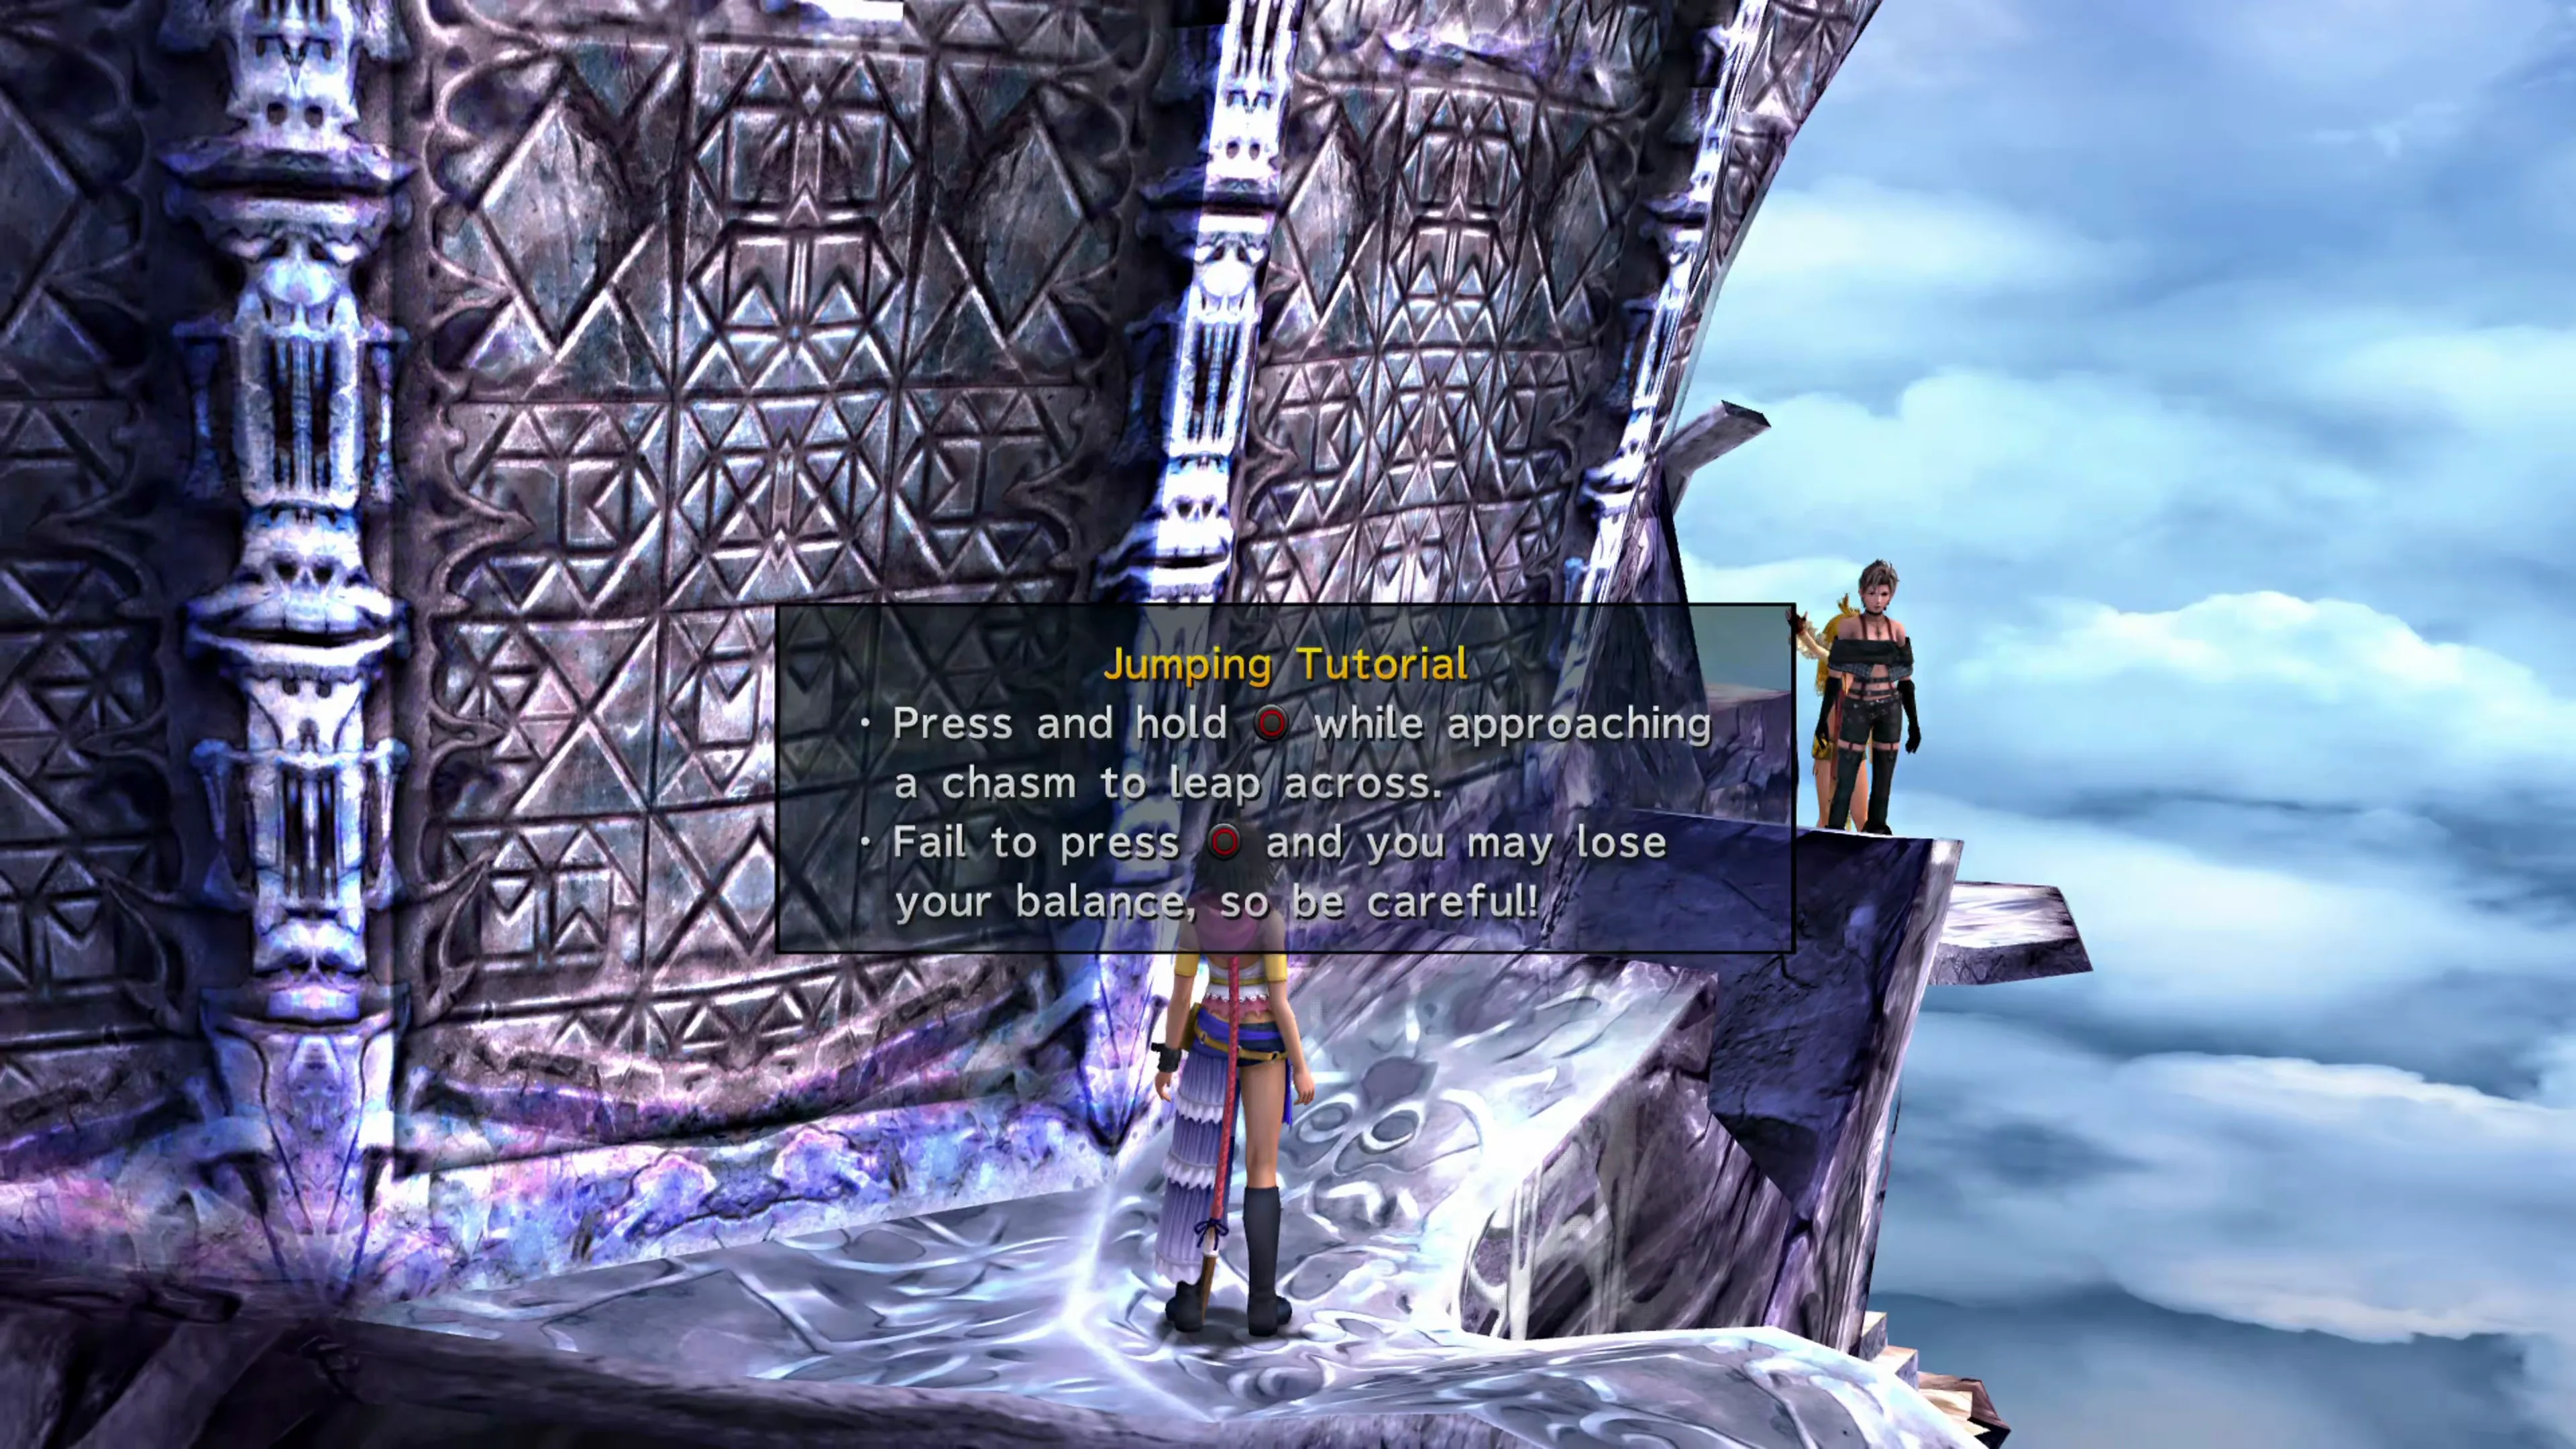
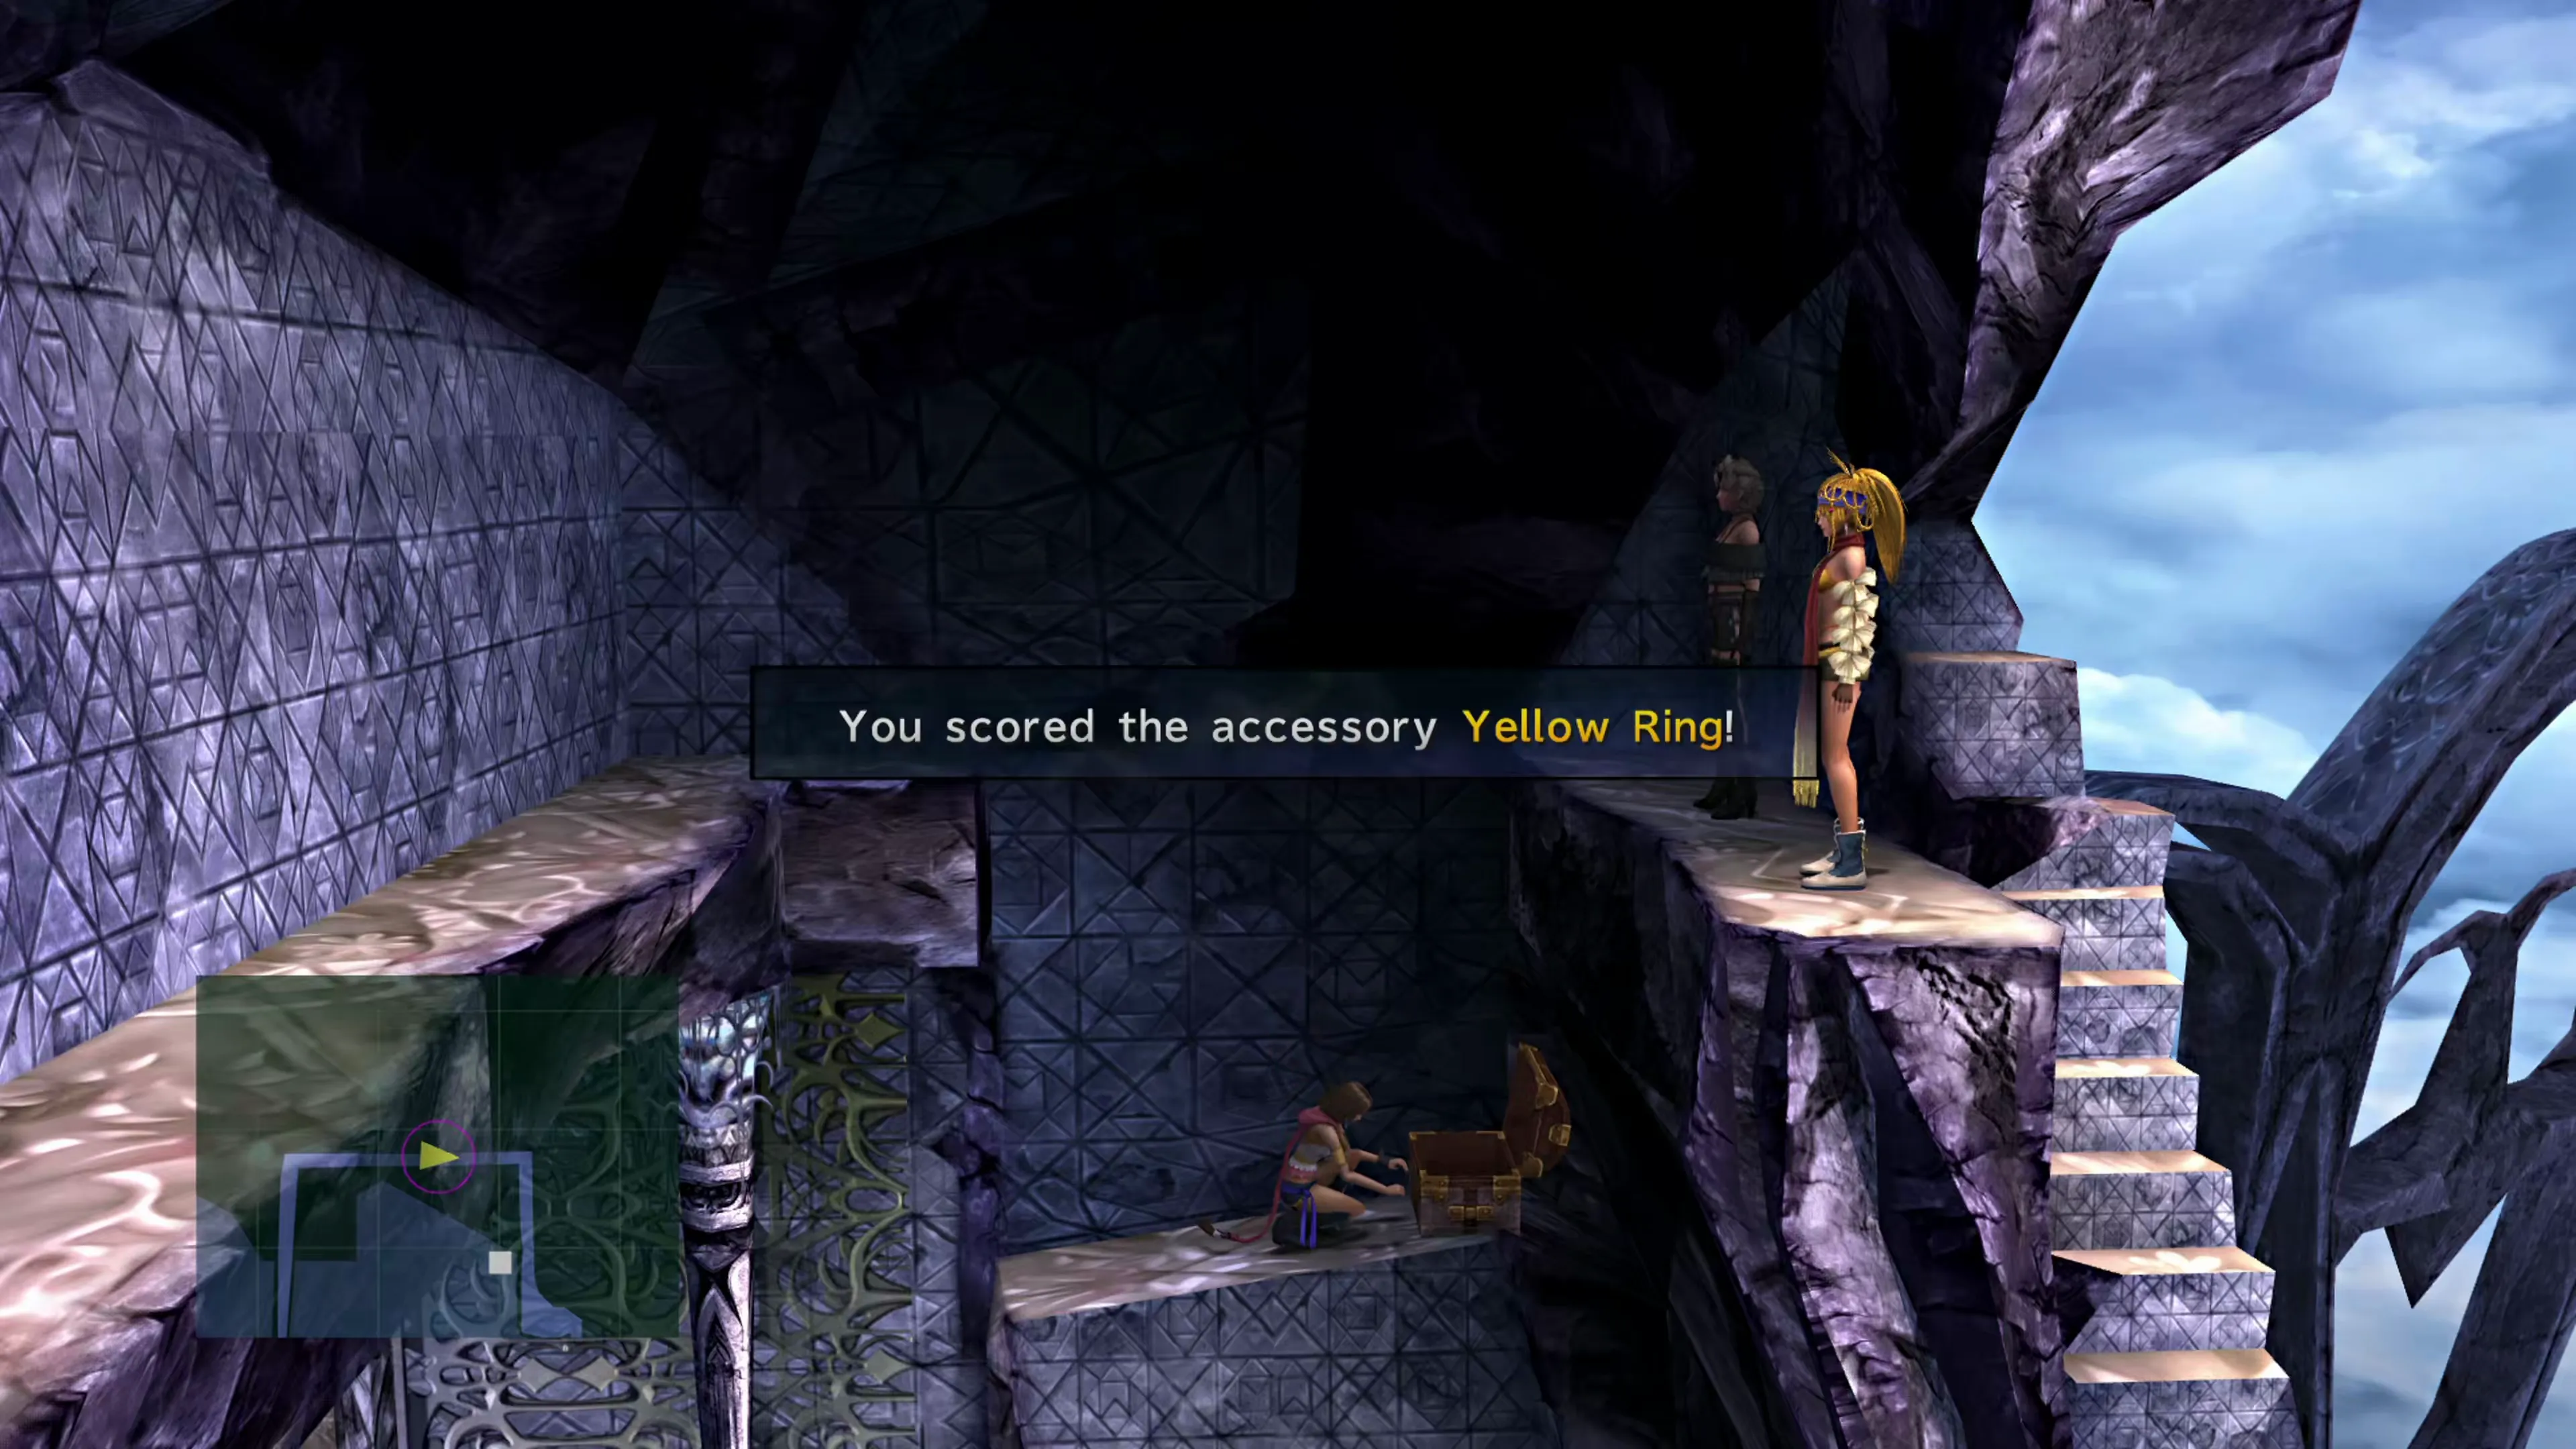
Jump this first chasm, climb up the wall, and follow Rikku and Paine to the second jumping tutorial area. This time, intentionally fall to the lower area with the treasure chest and open it to pick up a  Yellow Ring. You don’t have a lot of accessories for the party just yet, which means you definitely have room to equip this new ring, even though it’s not the greatest.
Floating Ruins Base - Level 1
 1 1 | Yellow Ring |
Continue following Rikku and Paine down the stairs, and use the Save Sphere to save your game if you wish.
Helpful Hint
Rikku’s line at the top of the stairs, “We’re not getting across this way,” brings you to exactly 4.0% Story Completion Percent. If you save at this Save Sphere, your save file should show 4%. If it does, you’re on track!
After you’ve saved your game, hop on the Machina/elevator and press the nearby button to “start the elevator.” It’ll drop your team down to the floor below.
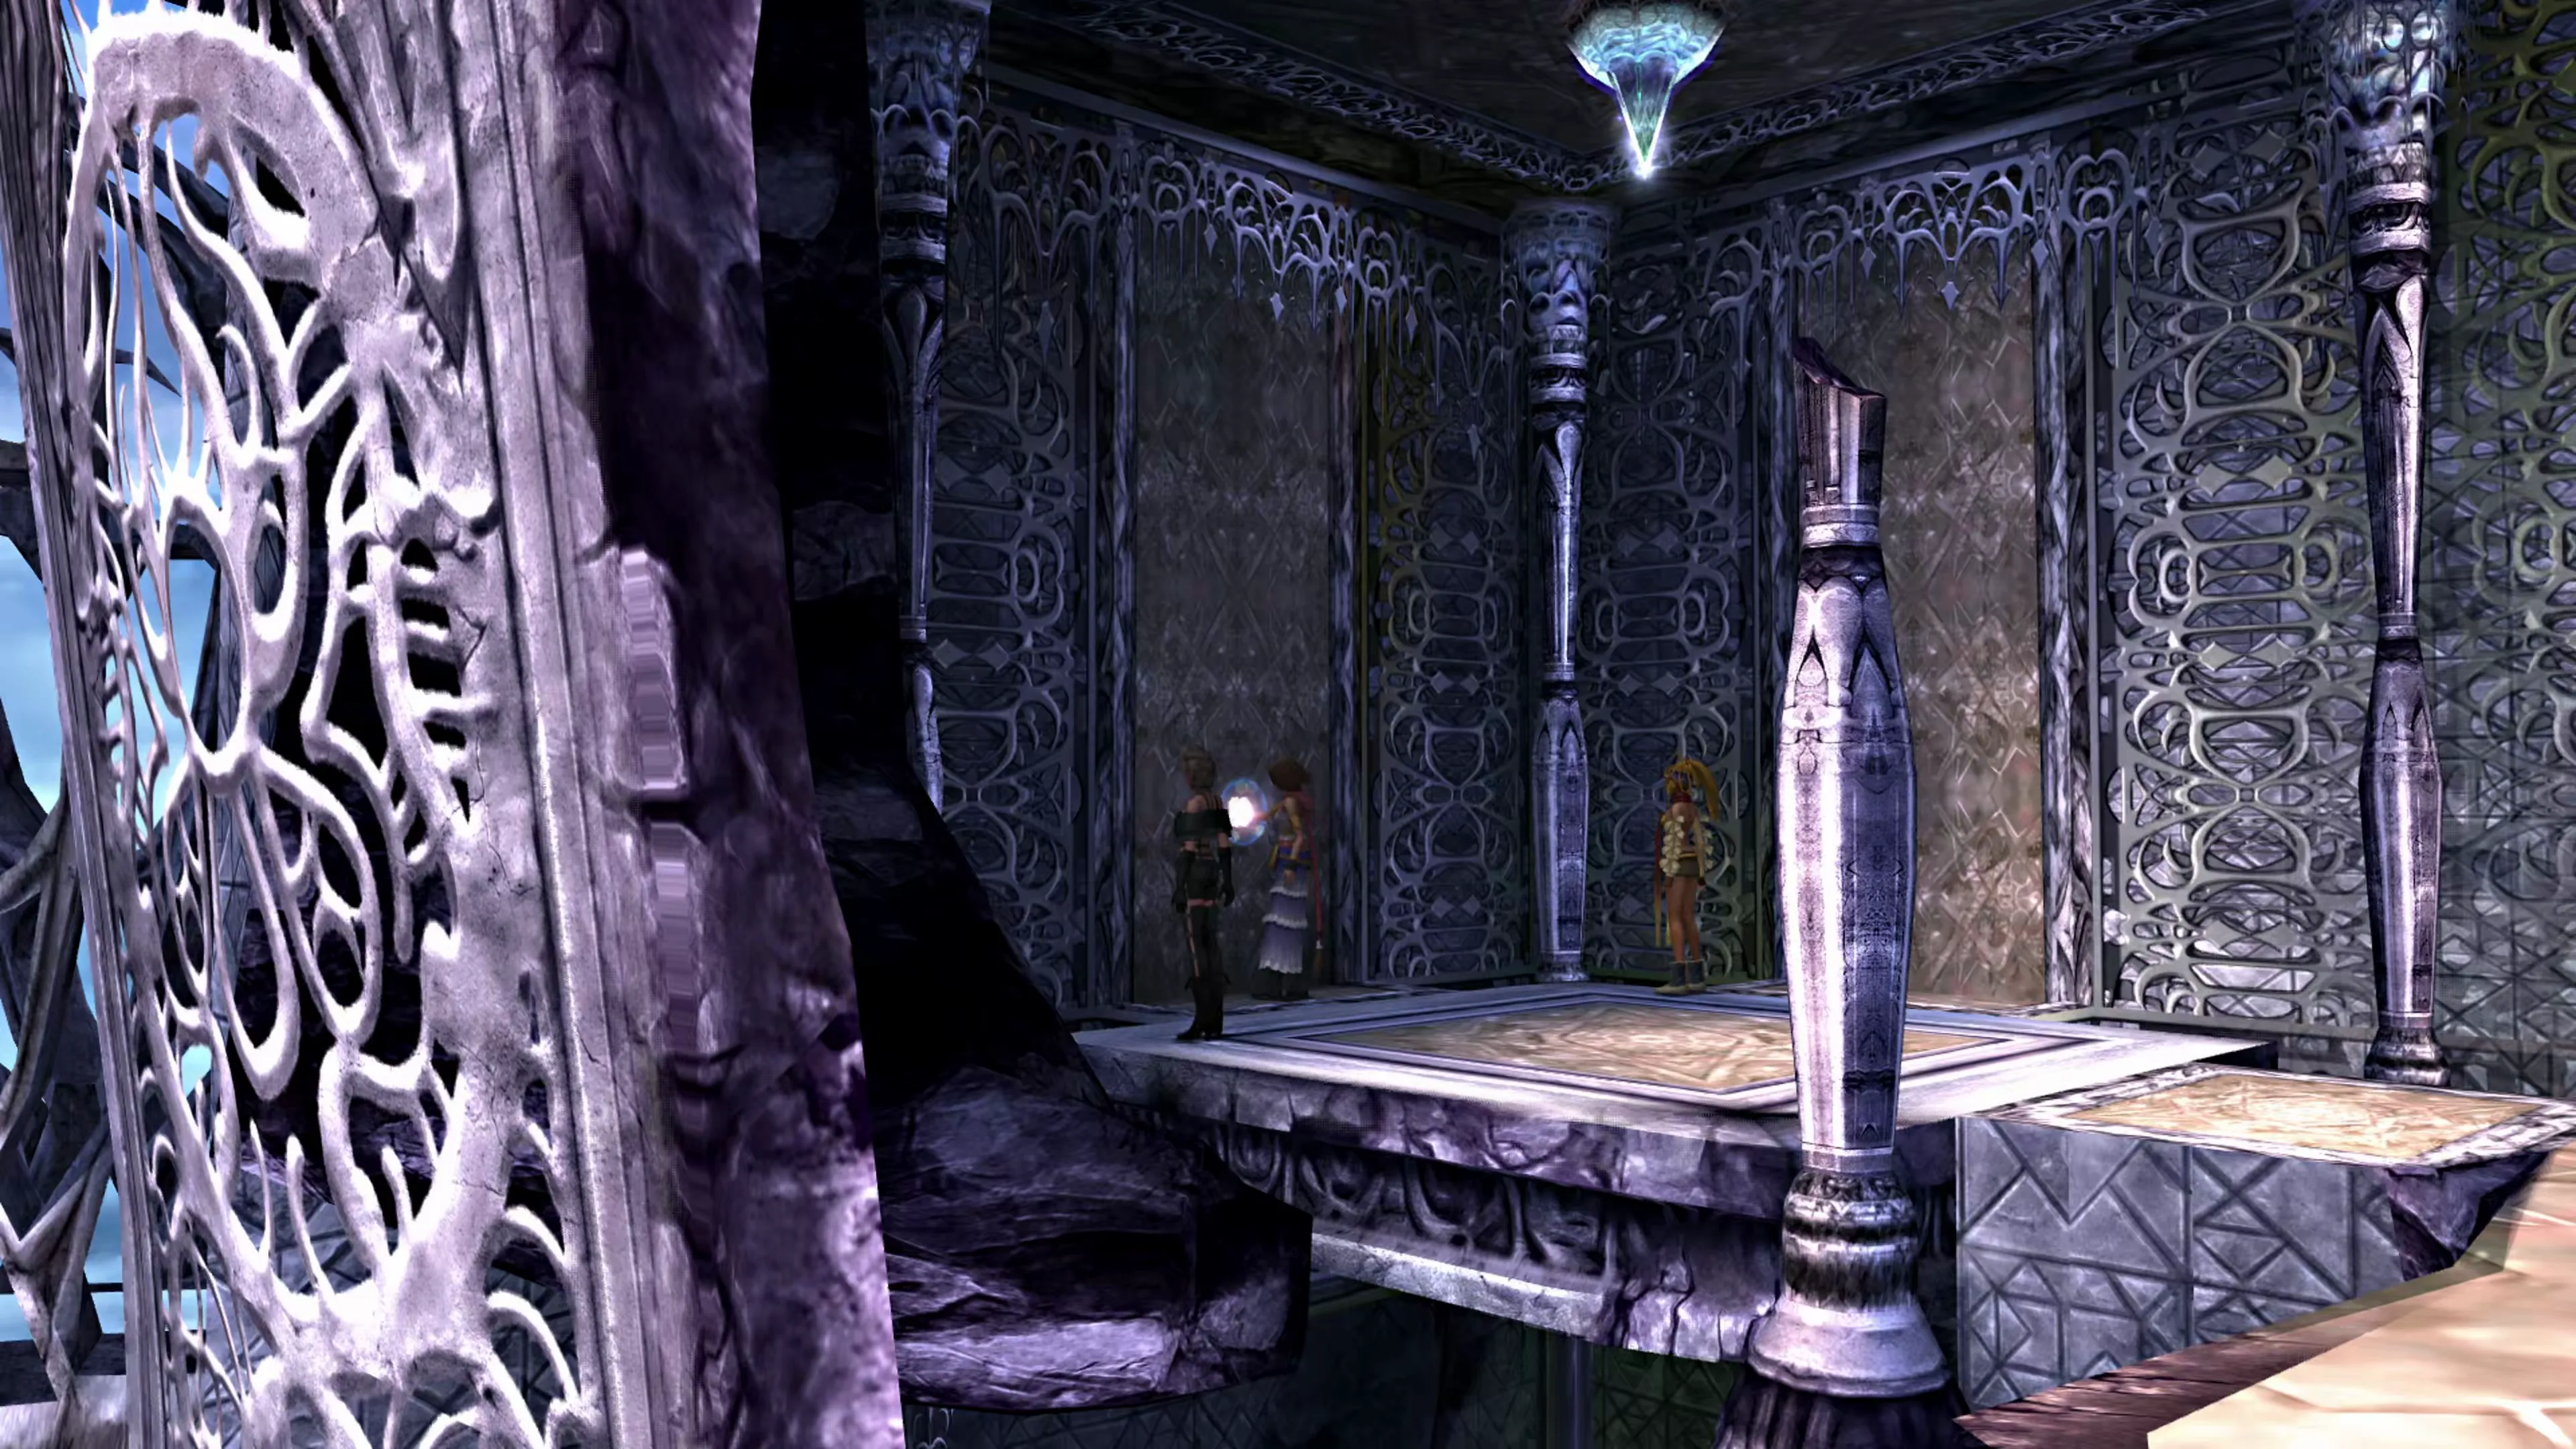
The paths drop downwards and head south. At the bottom, travel left to find a treasure chest containing an  Elixir. Go back across the pathway and look for a ledge on the right side of the screen to climb. Travel up to the ledge above, and you’ll run into Leblanc again.
Base
Boss Battle
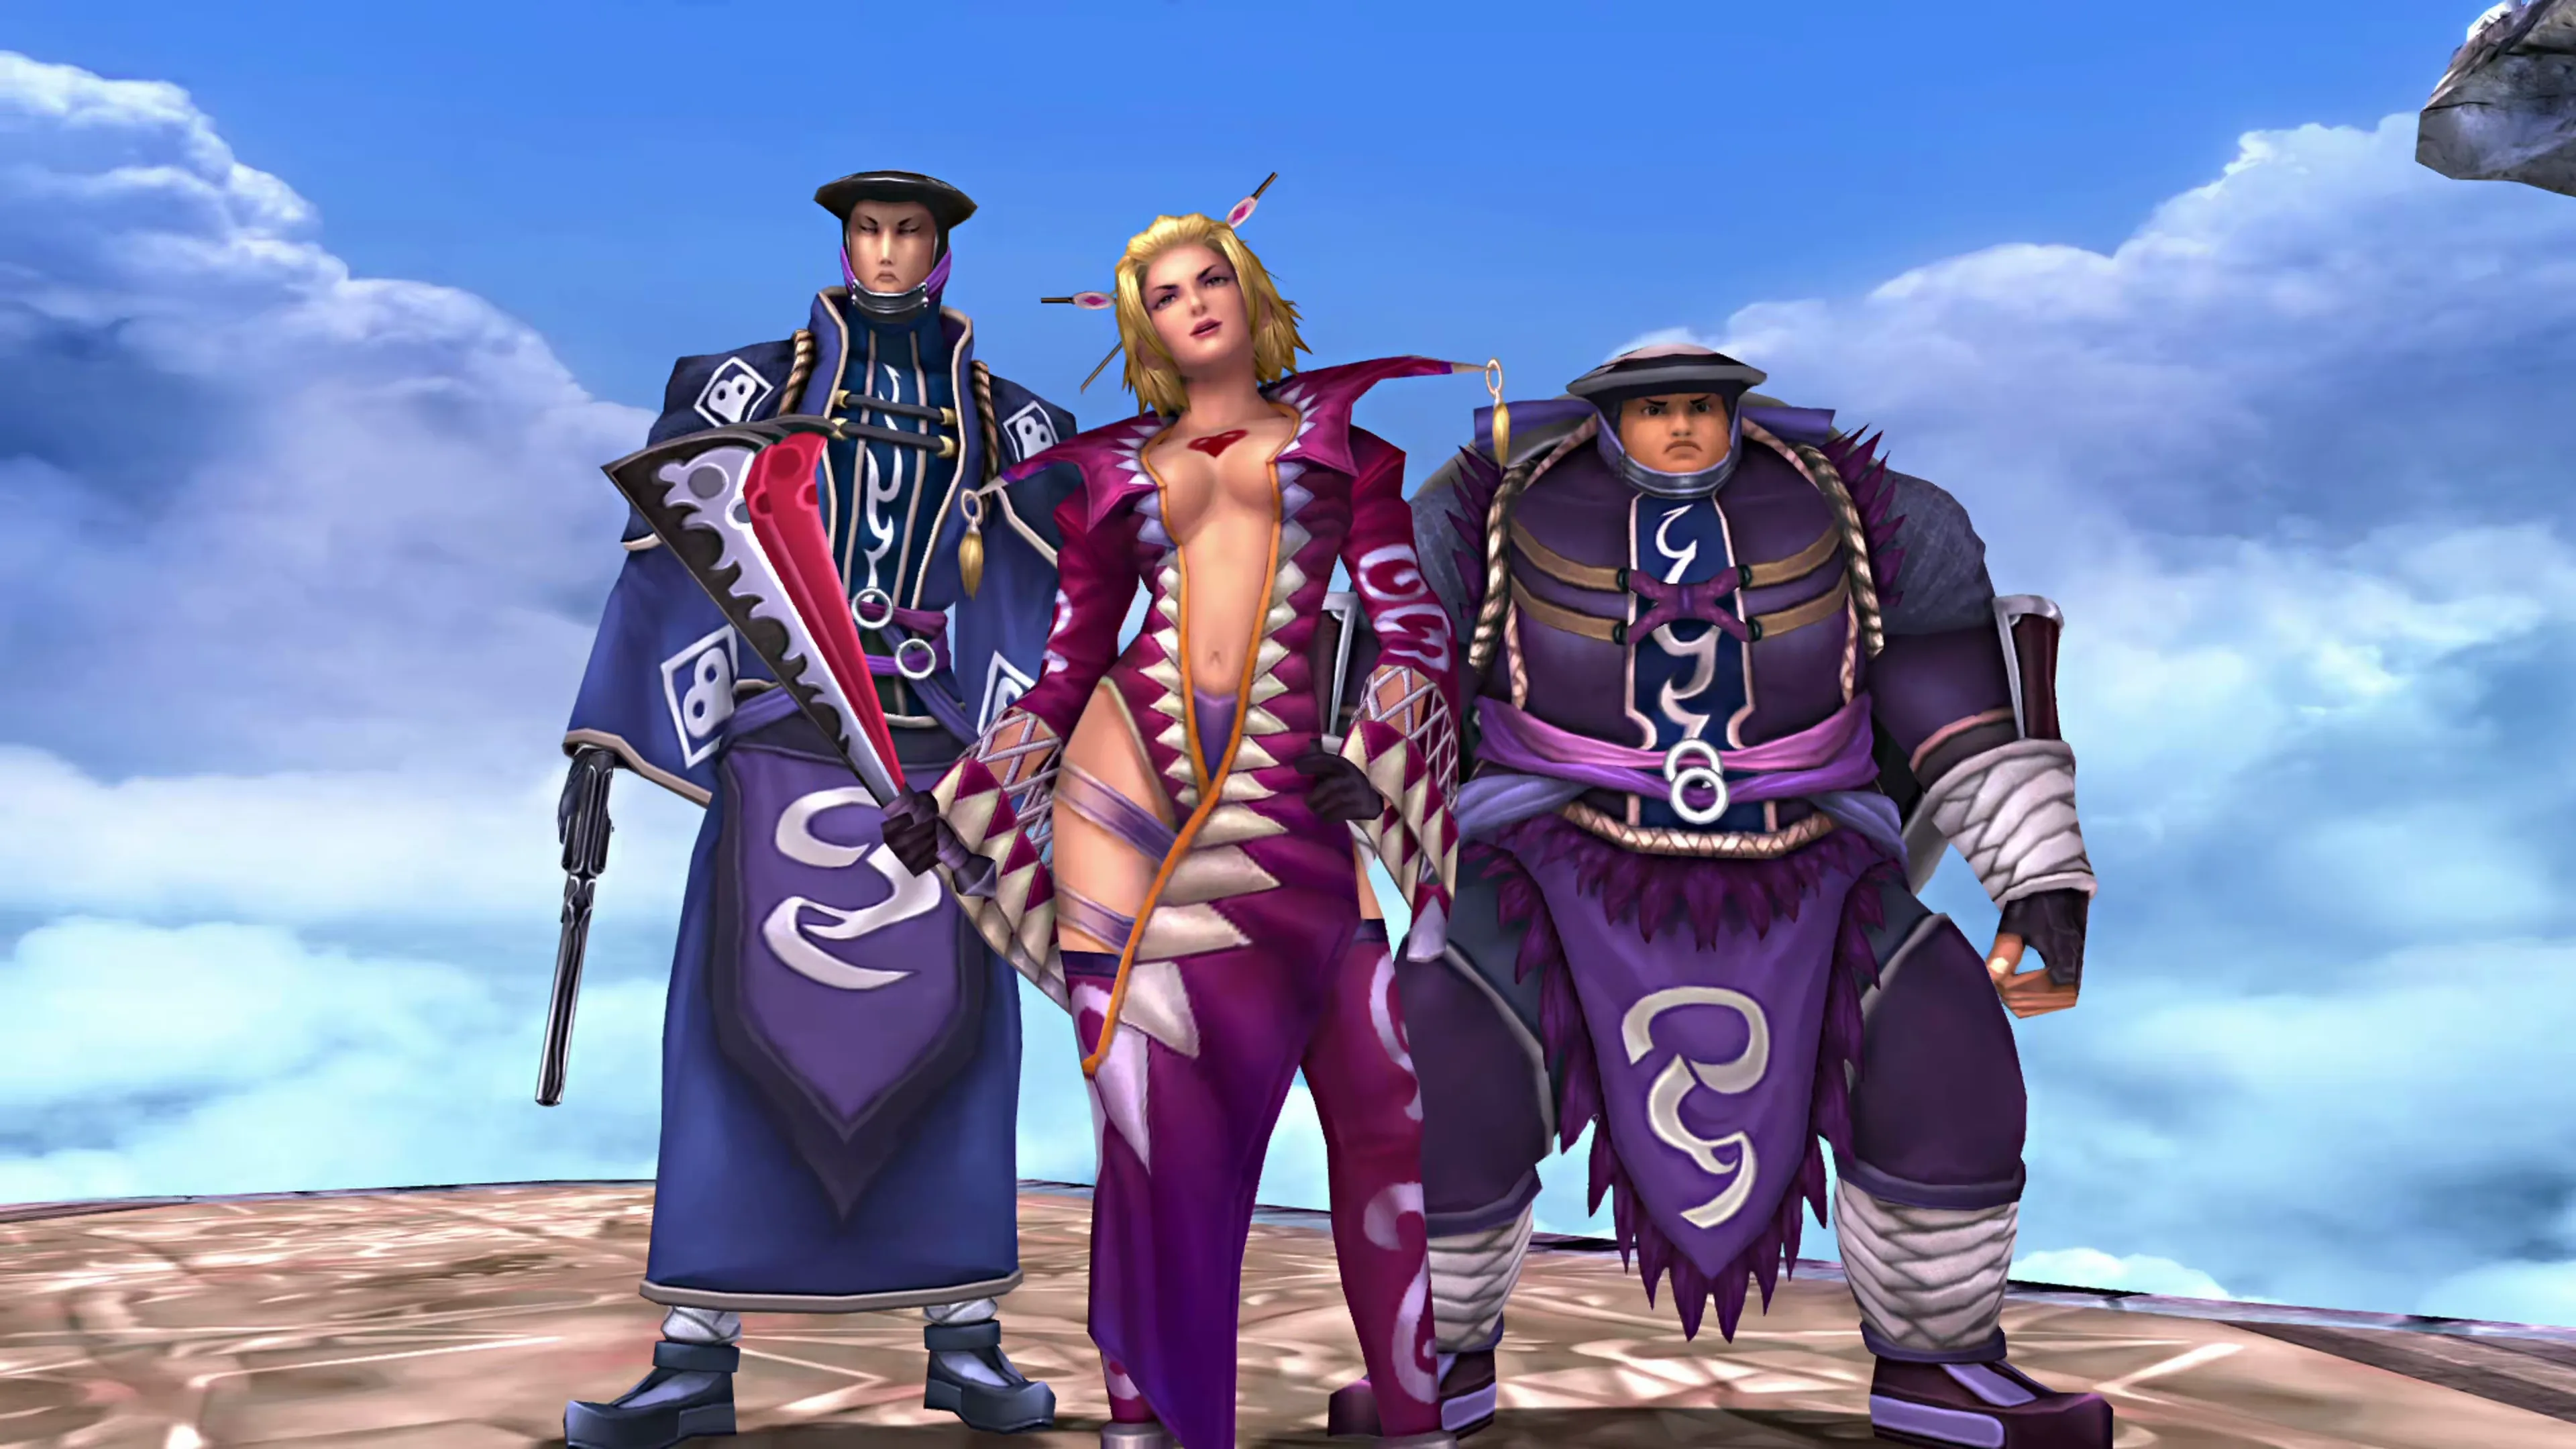
This is a relatively easy fight, just like the last one. Take some time to  Steal the items from Leblanc, Logos and Ormi. After you’re done retrieving the items, you may want to get into the habit of having your
  Thief change their Dressphere into either a
  Gunner or a
  Warrior to increase the damage they deal, even though it’s not really necessary for these early battles.
As a quick reminder, you can jump into the “Config” options to shorten the Dressphere change cinematics, saving you time.
| Enemy | HP | Steal | Drop |
|---|---|---|---|
| Leblanc | 120 | Tiara | Hi-Potion |
| Logos | 100 | White Cape | Phoenix Down |
| Ormi | 130 | Gauntlets | Potion |
Floating Ruins Base

| 1 | Elixir |
| 2 | Mega Phoenix |
Mission: Outrun the Leblanc Syndicate!
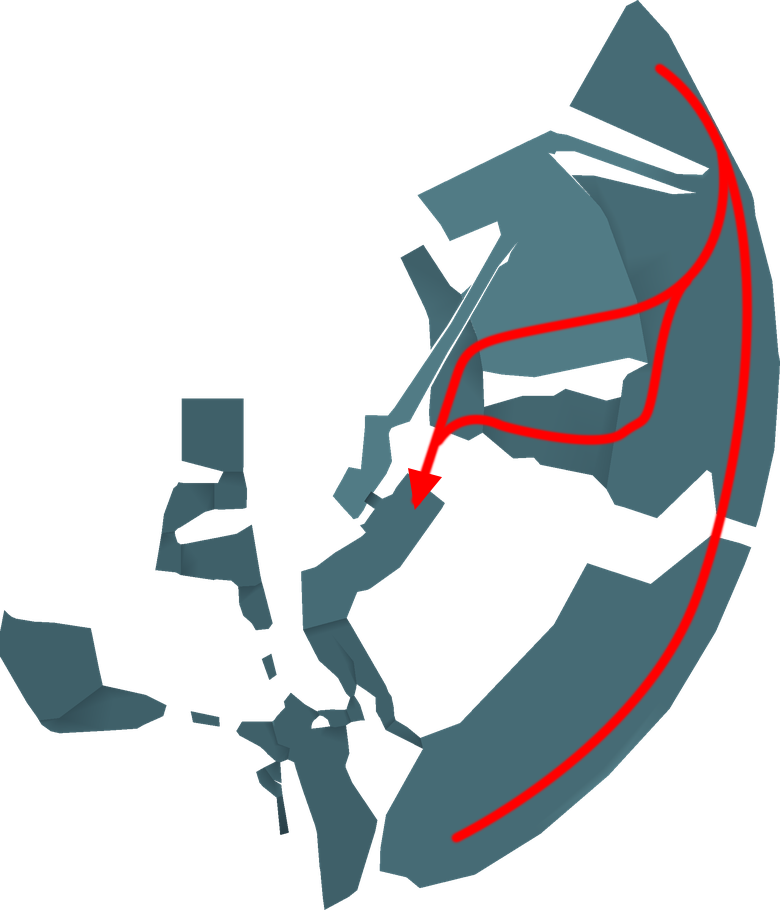
The trio will disappear and begin racing Yuna and her team up the mountain. Time for the next Mission, which involves outrunning the syndicate. This Mission isn’t hard, but you don’t want to dawdle too much. Completing the Mission and beating Leblanc, Logos, and Ormi to the top of Mt. Gagazet is a requirement for 100% Story Completion. Three spots tend to trip players up, and there’s an extra treasure chest you can grab on your way if you’re feeling brave.
Helpful Hint
The Mission Timer stops during battles. It also stops when you pause the game with the 

 button or open the menu with the

 button, so you can pause the timer if you want to read ahead or get stuck.
Video Guide
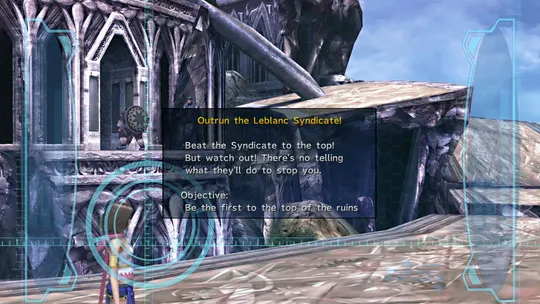
A video walkthrough of the timed Mission through the Floating Ruins.
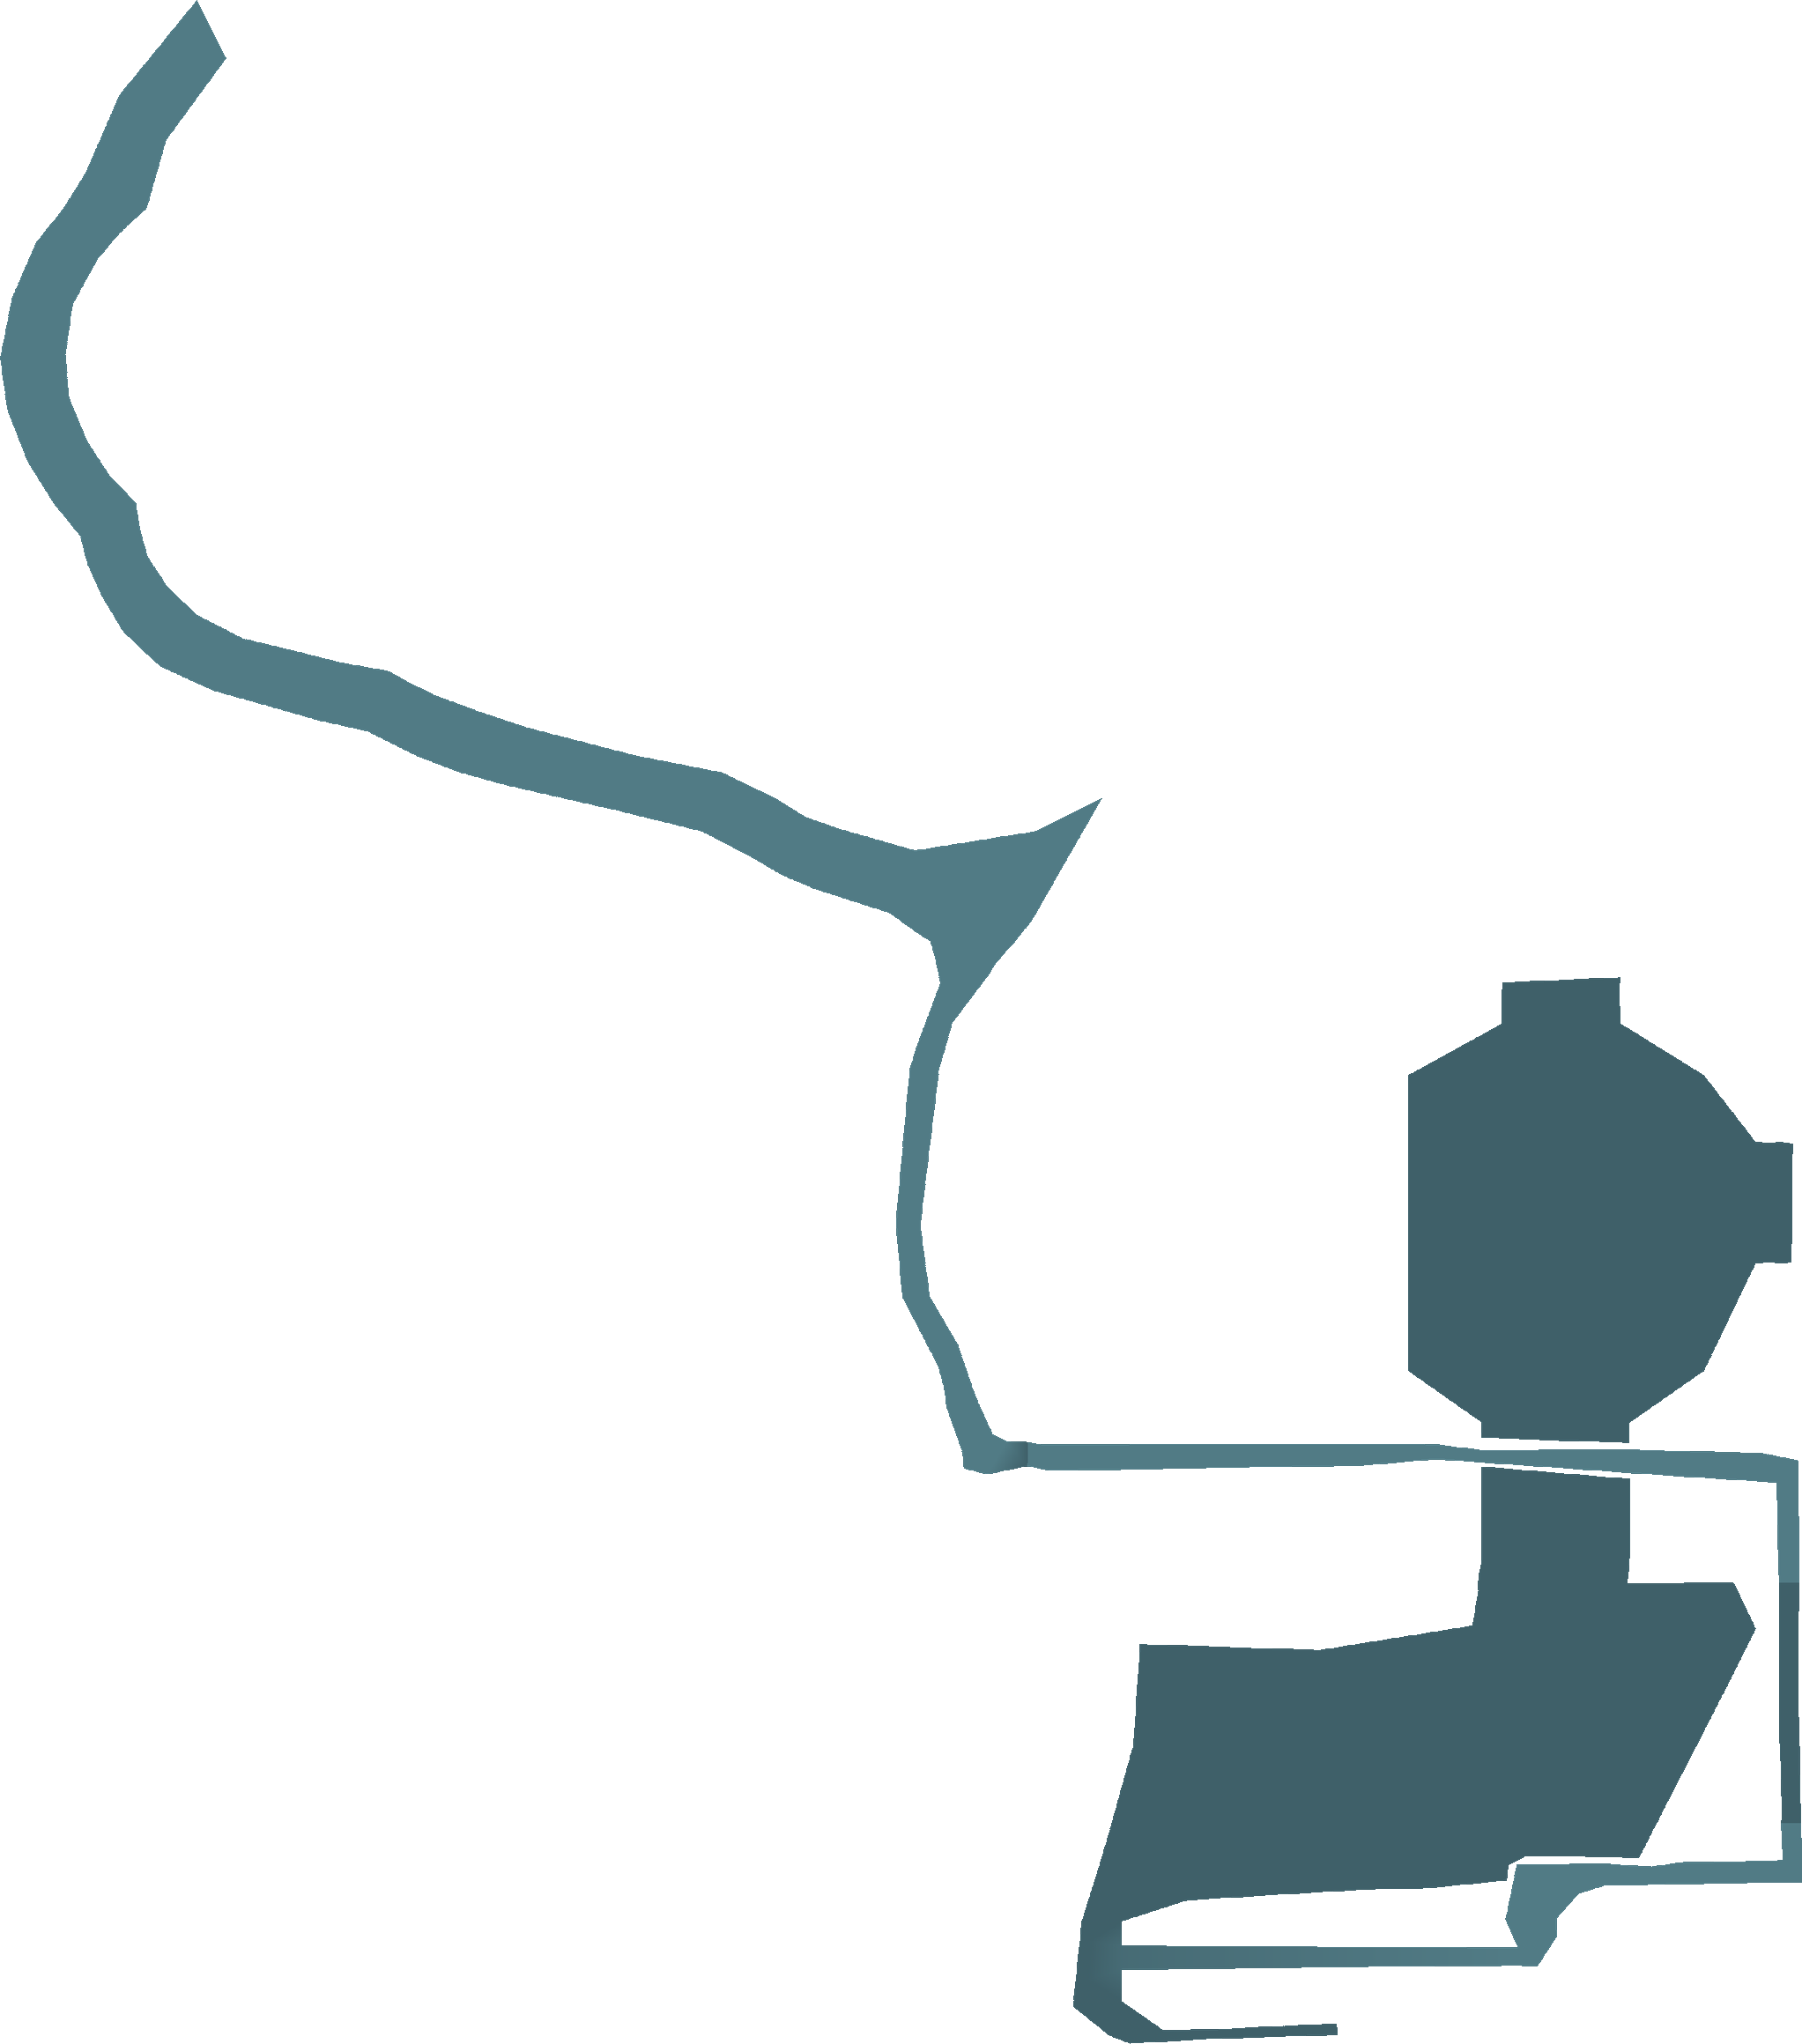
There is a treasure chest just past the pillar on the far north side of the platform that contains a Mega Phoenix. Climb up the fallen pillar to the next platform.
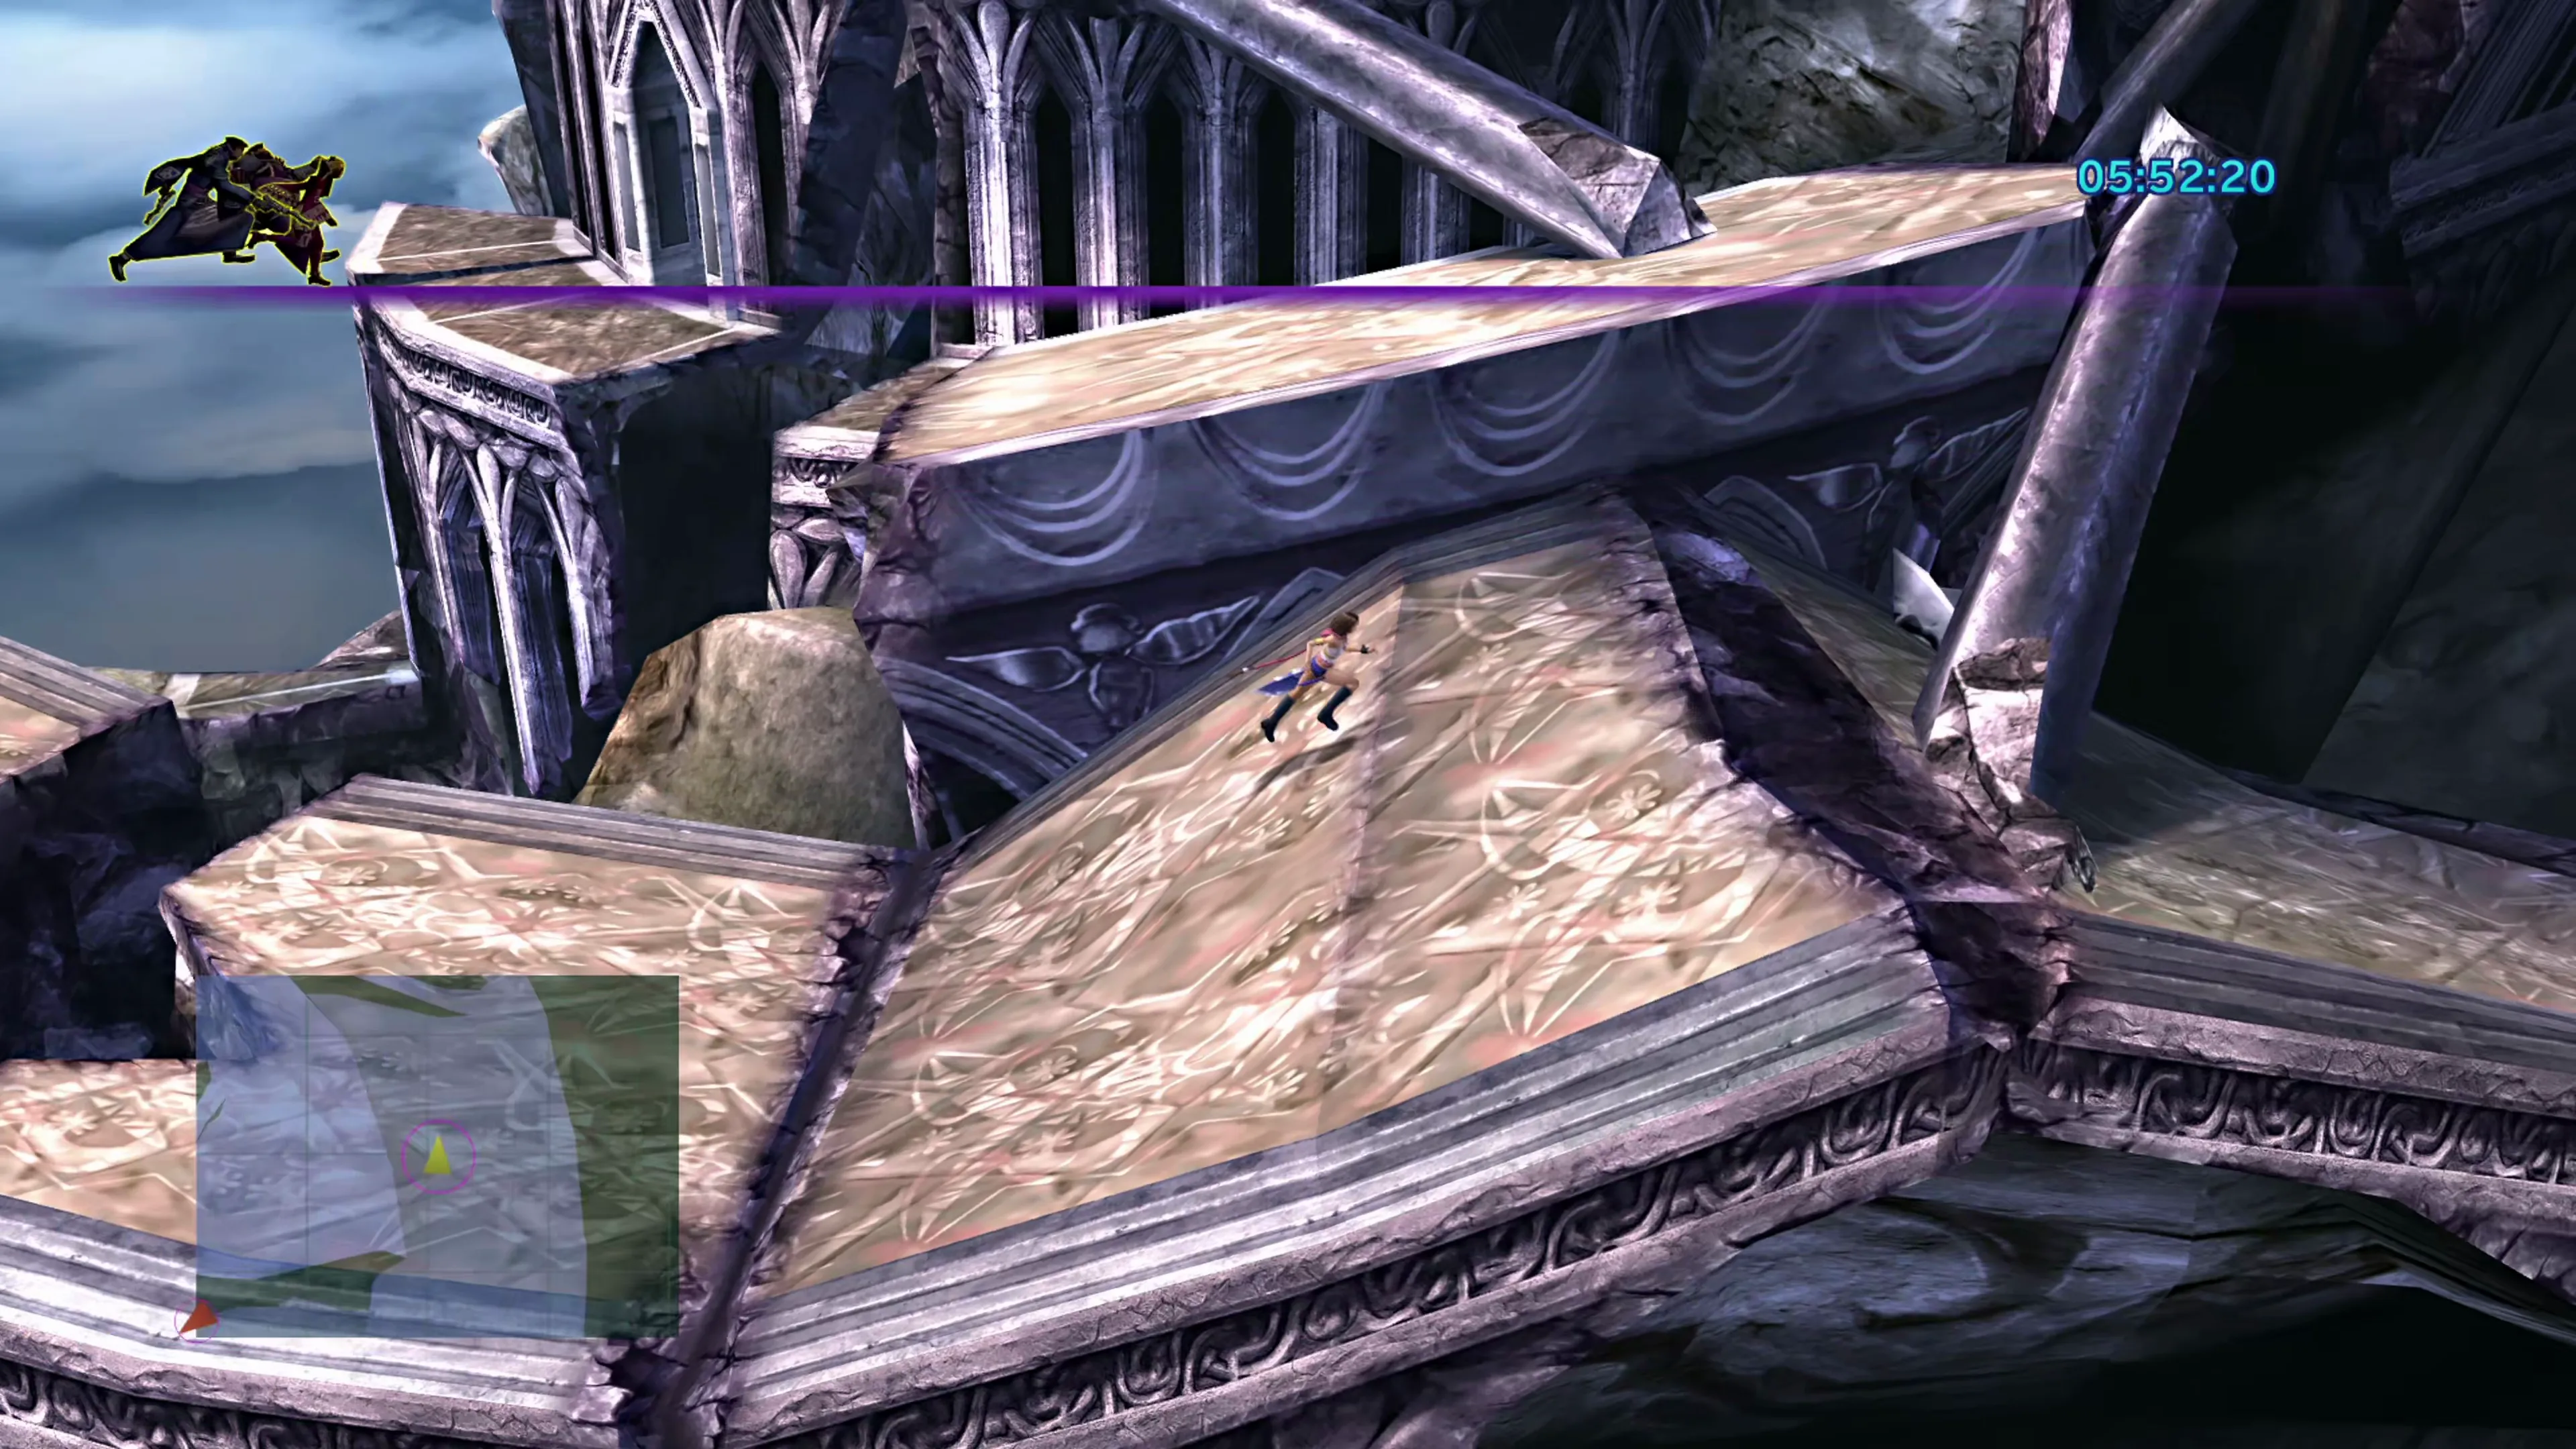
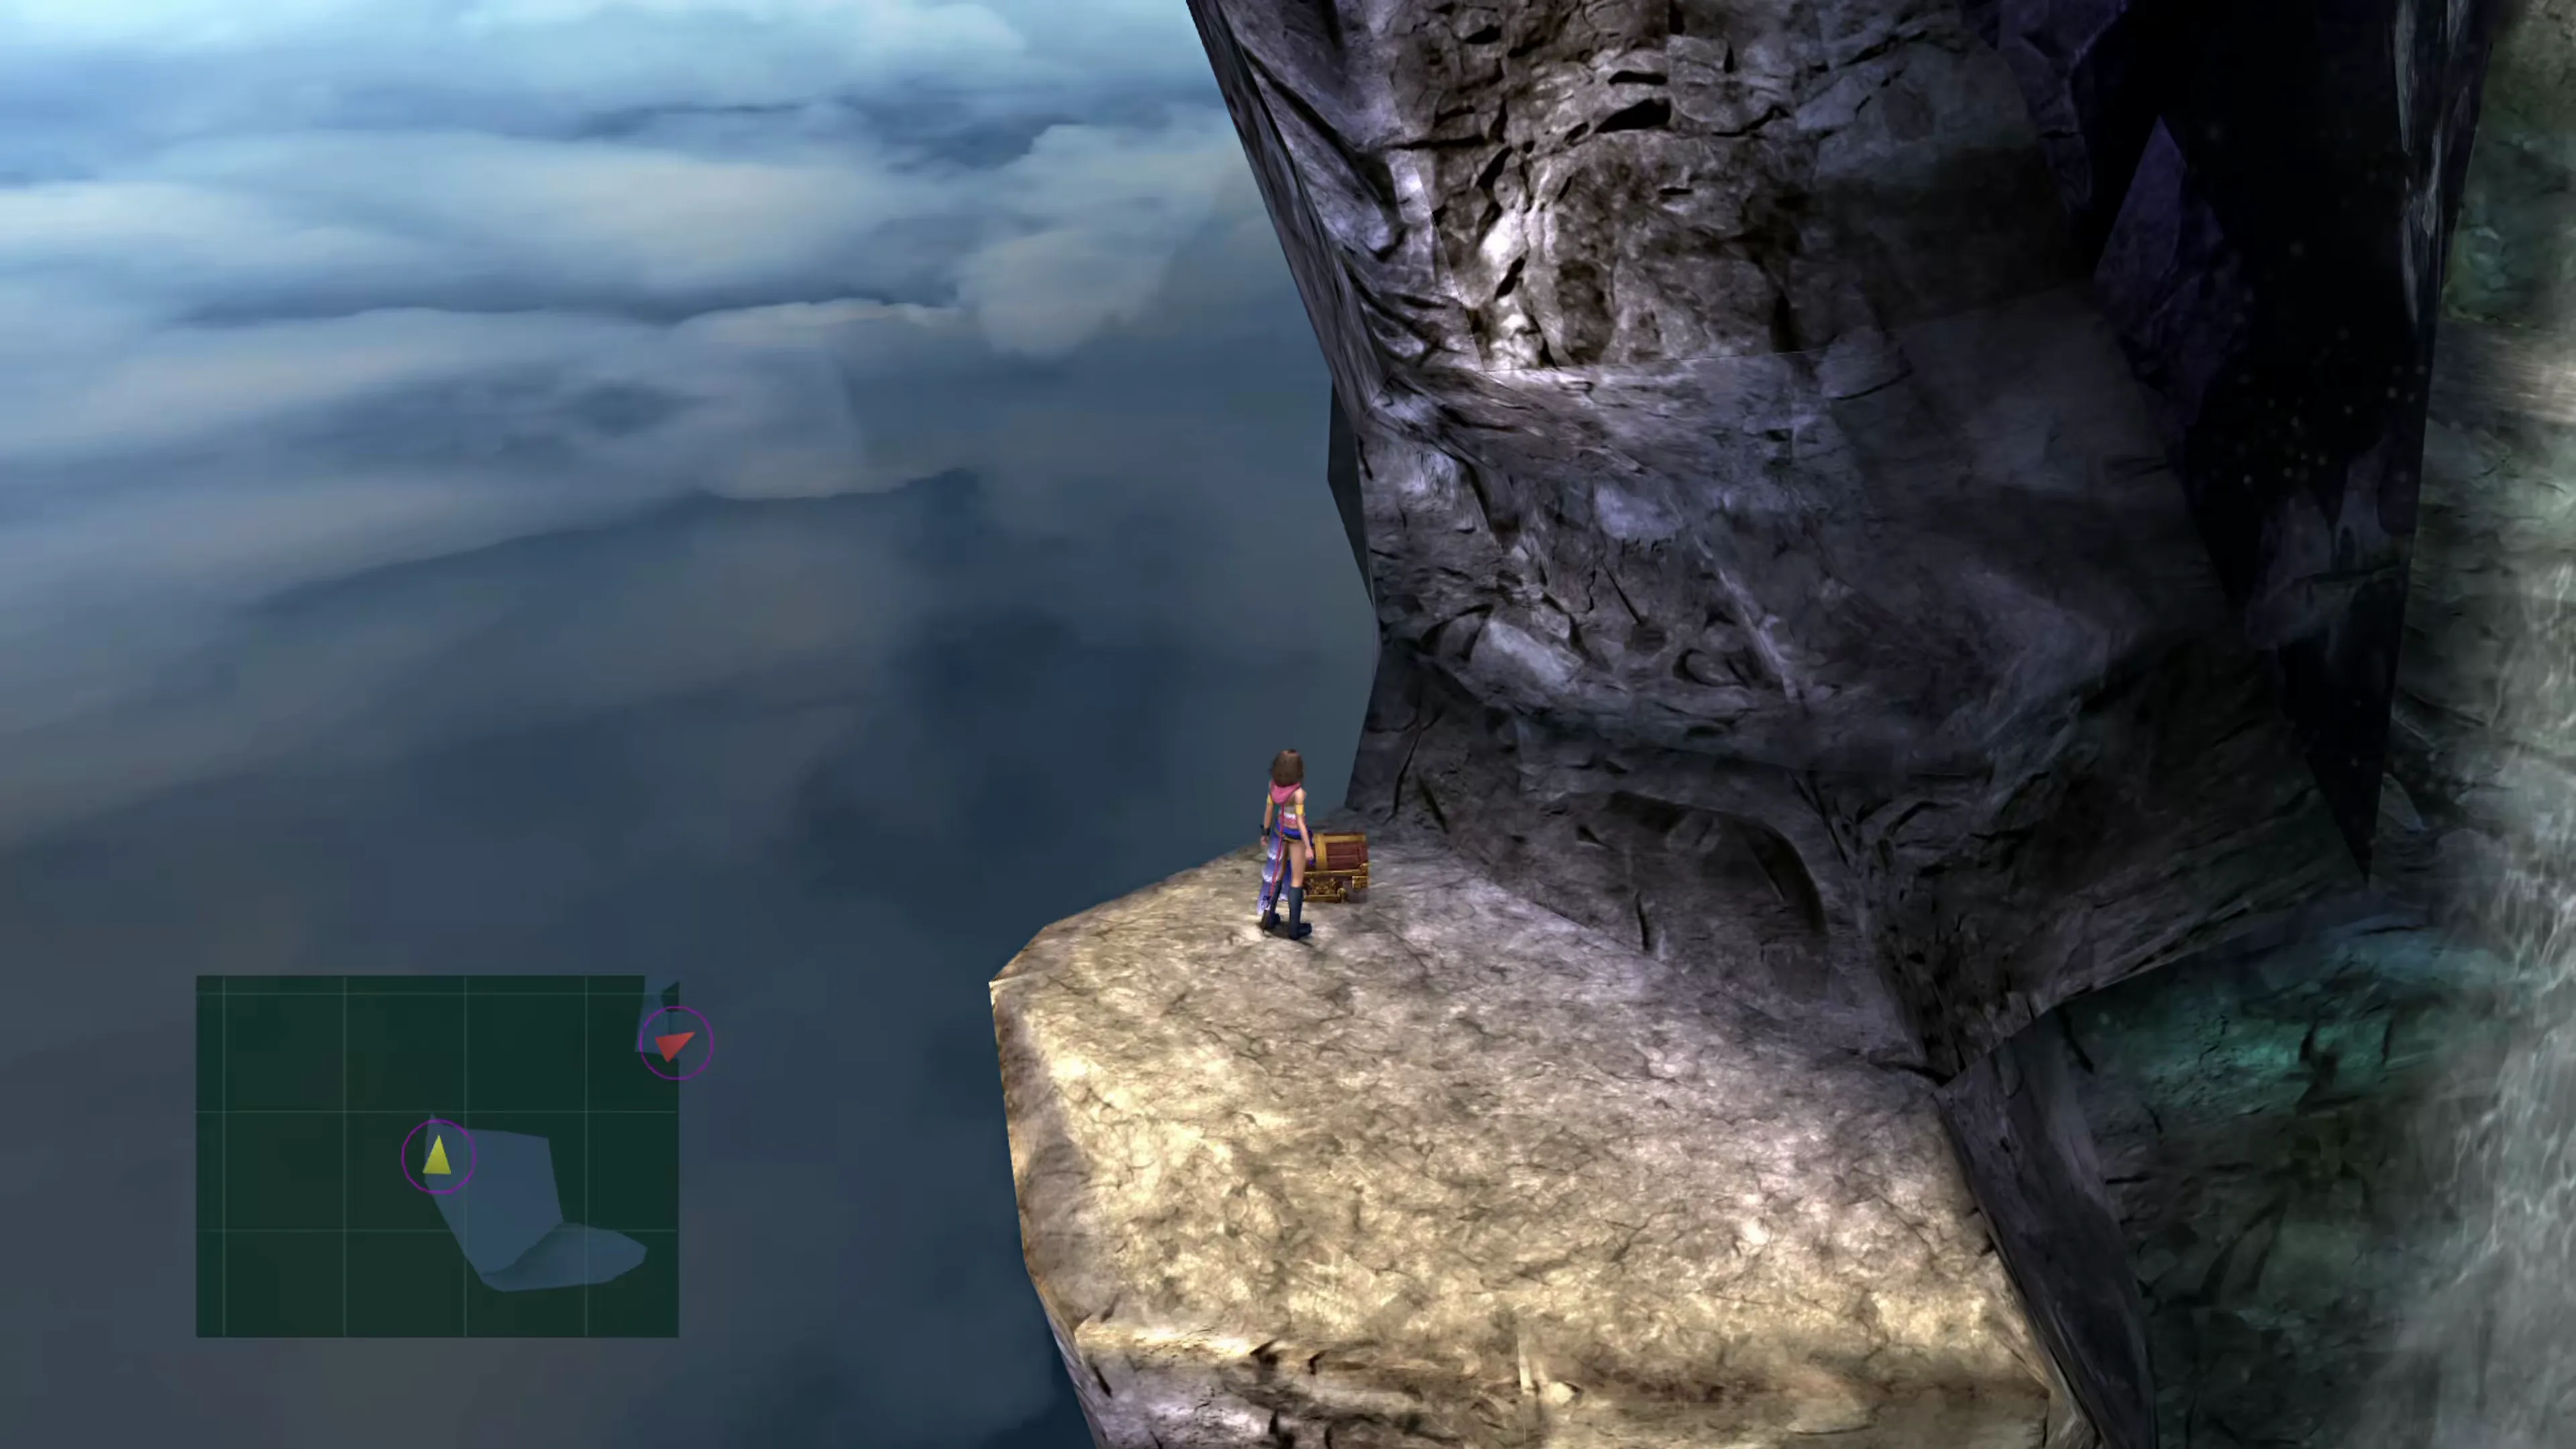
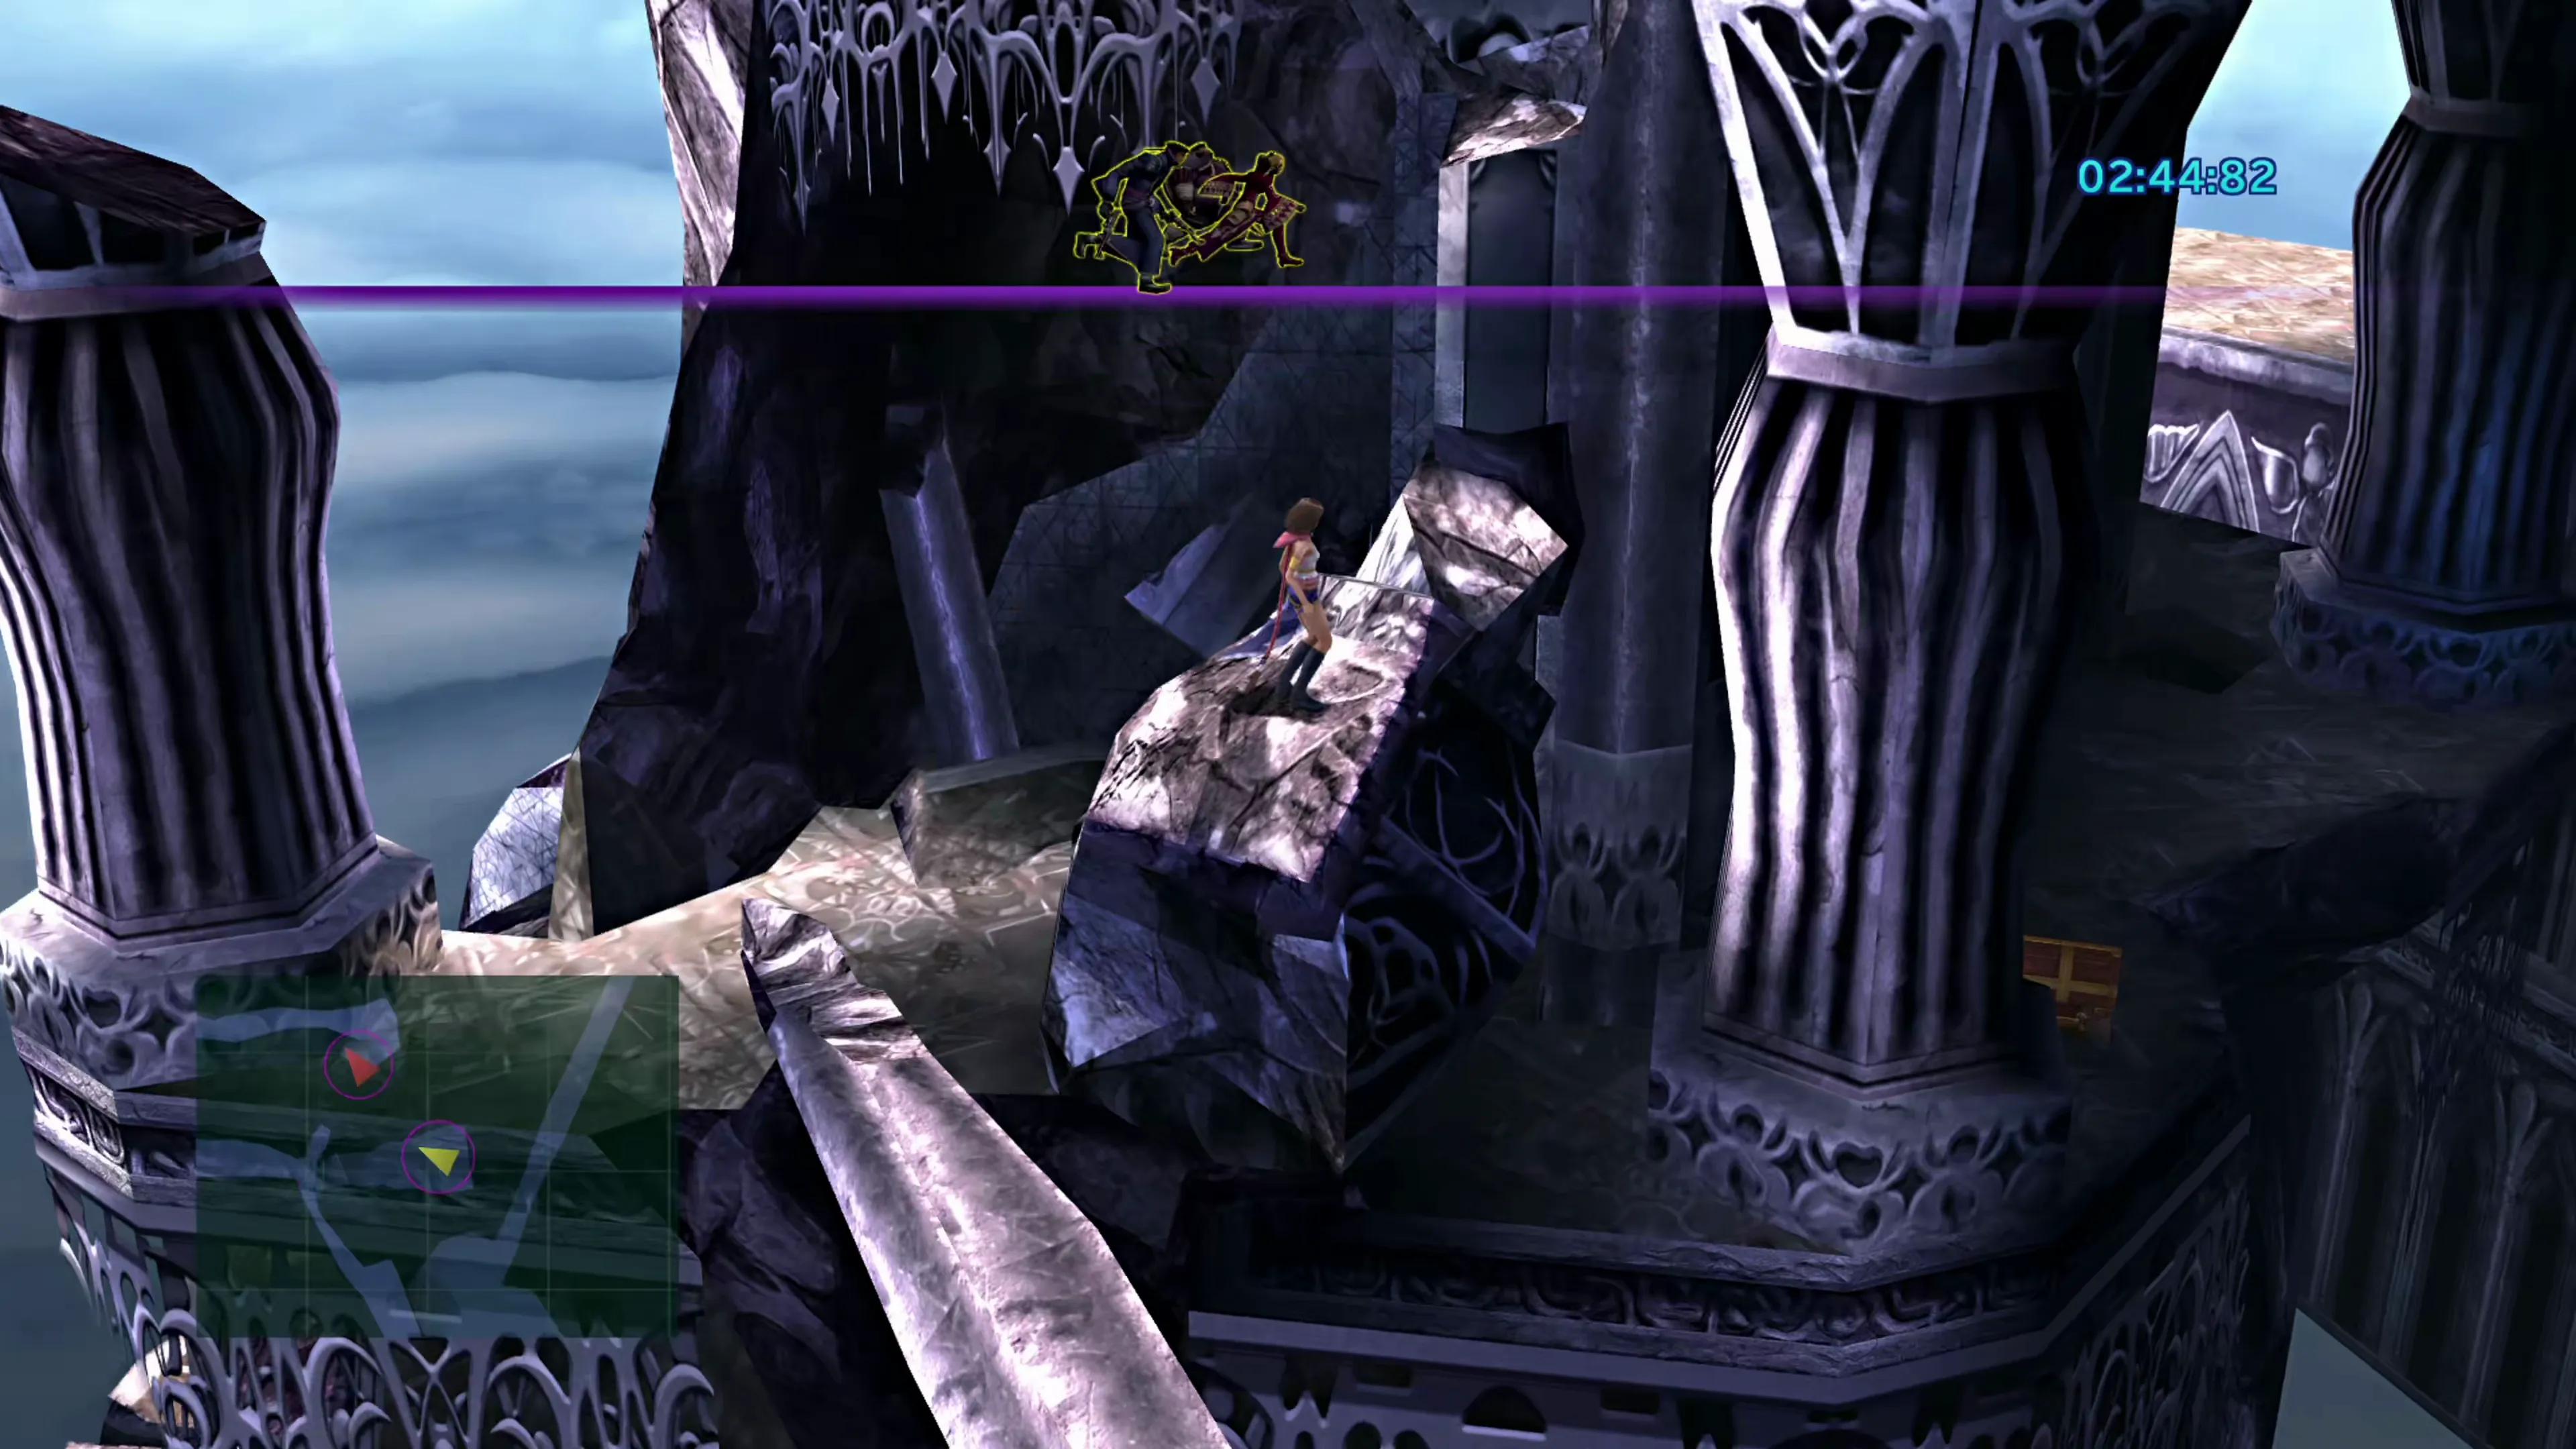
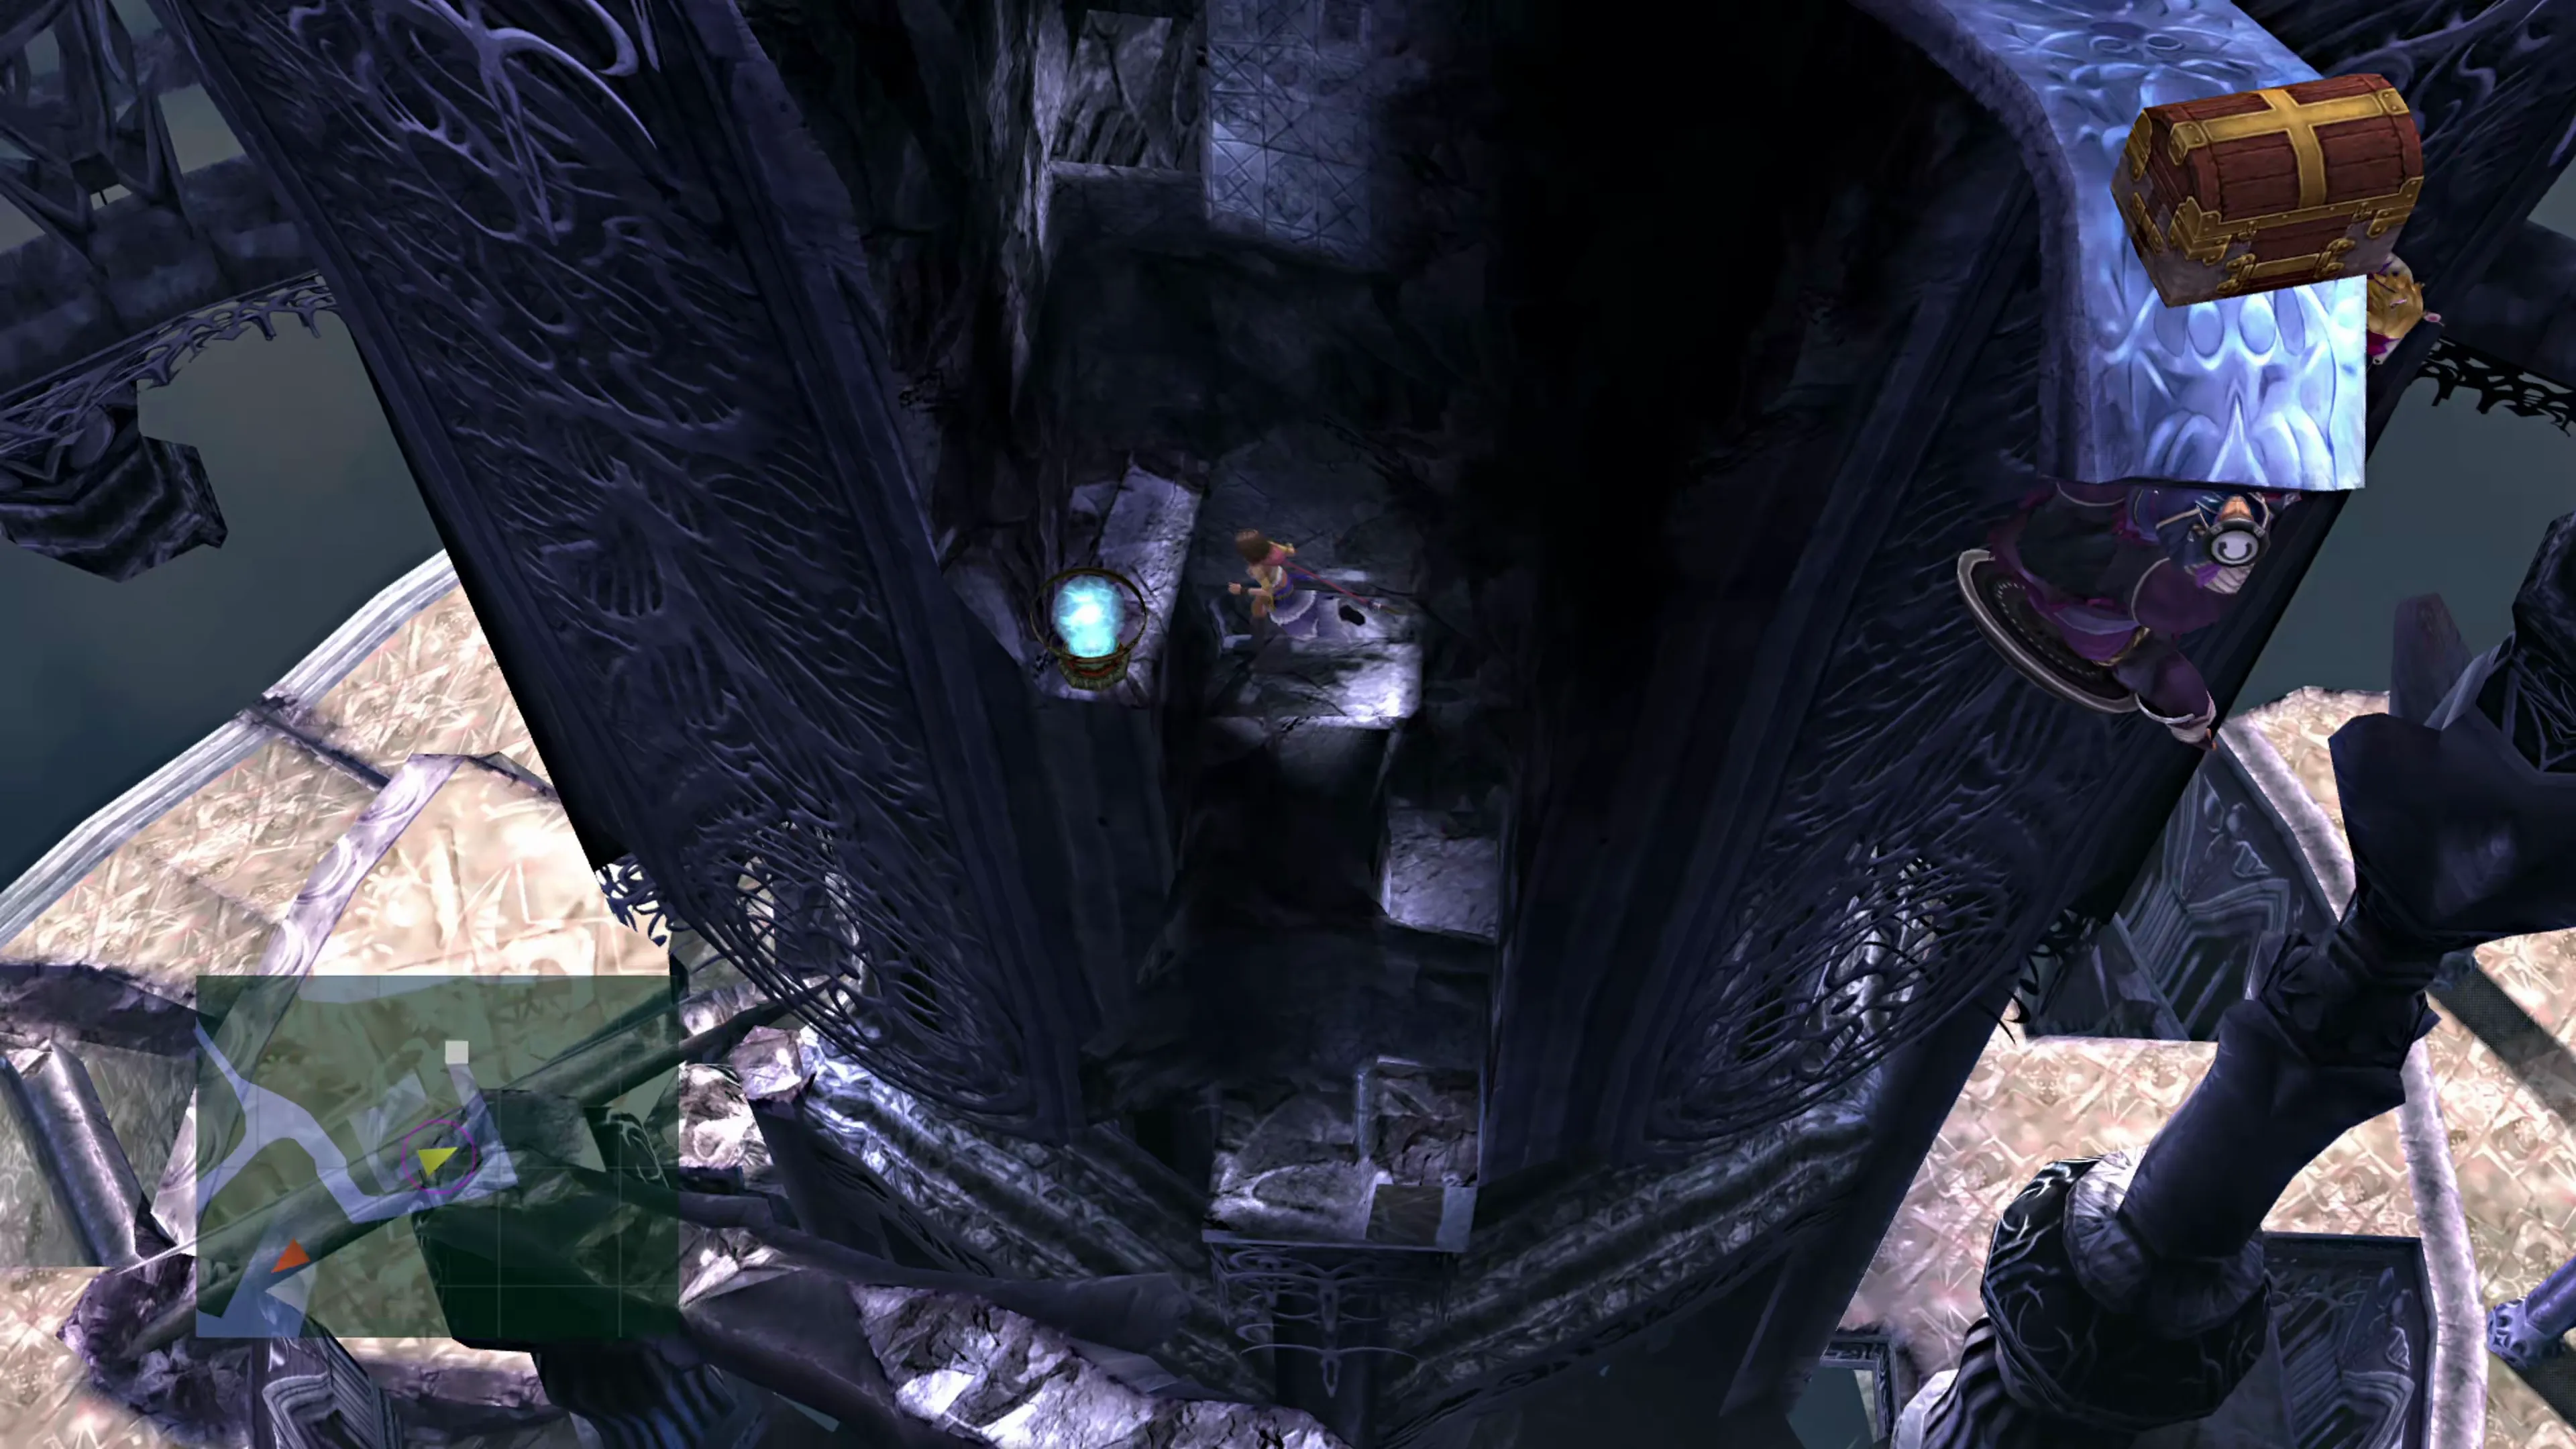
The next fallen pillar is a diversion; you actually have to drop down to the lower platform on the left side of it, as shown in the screenshot below.
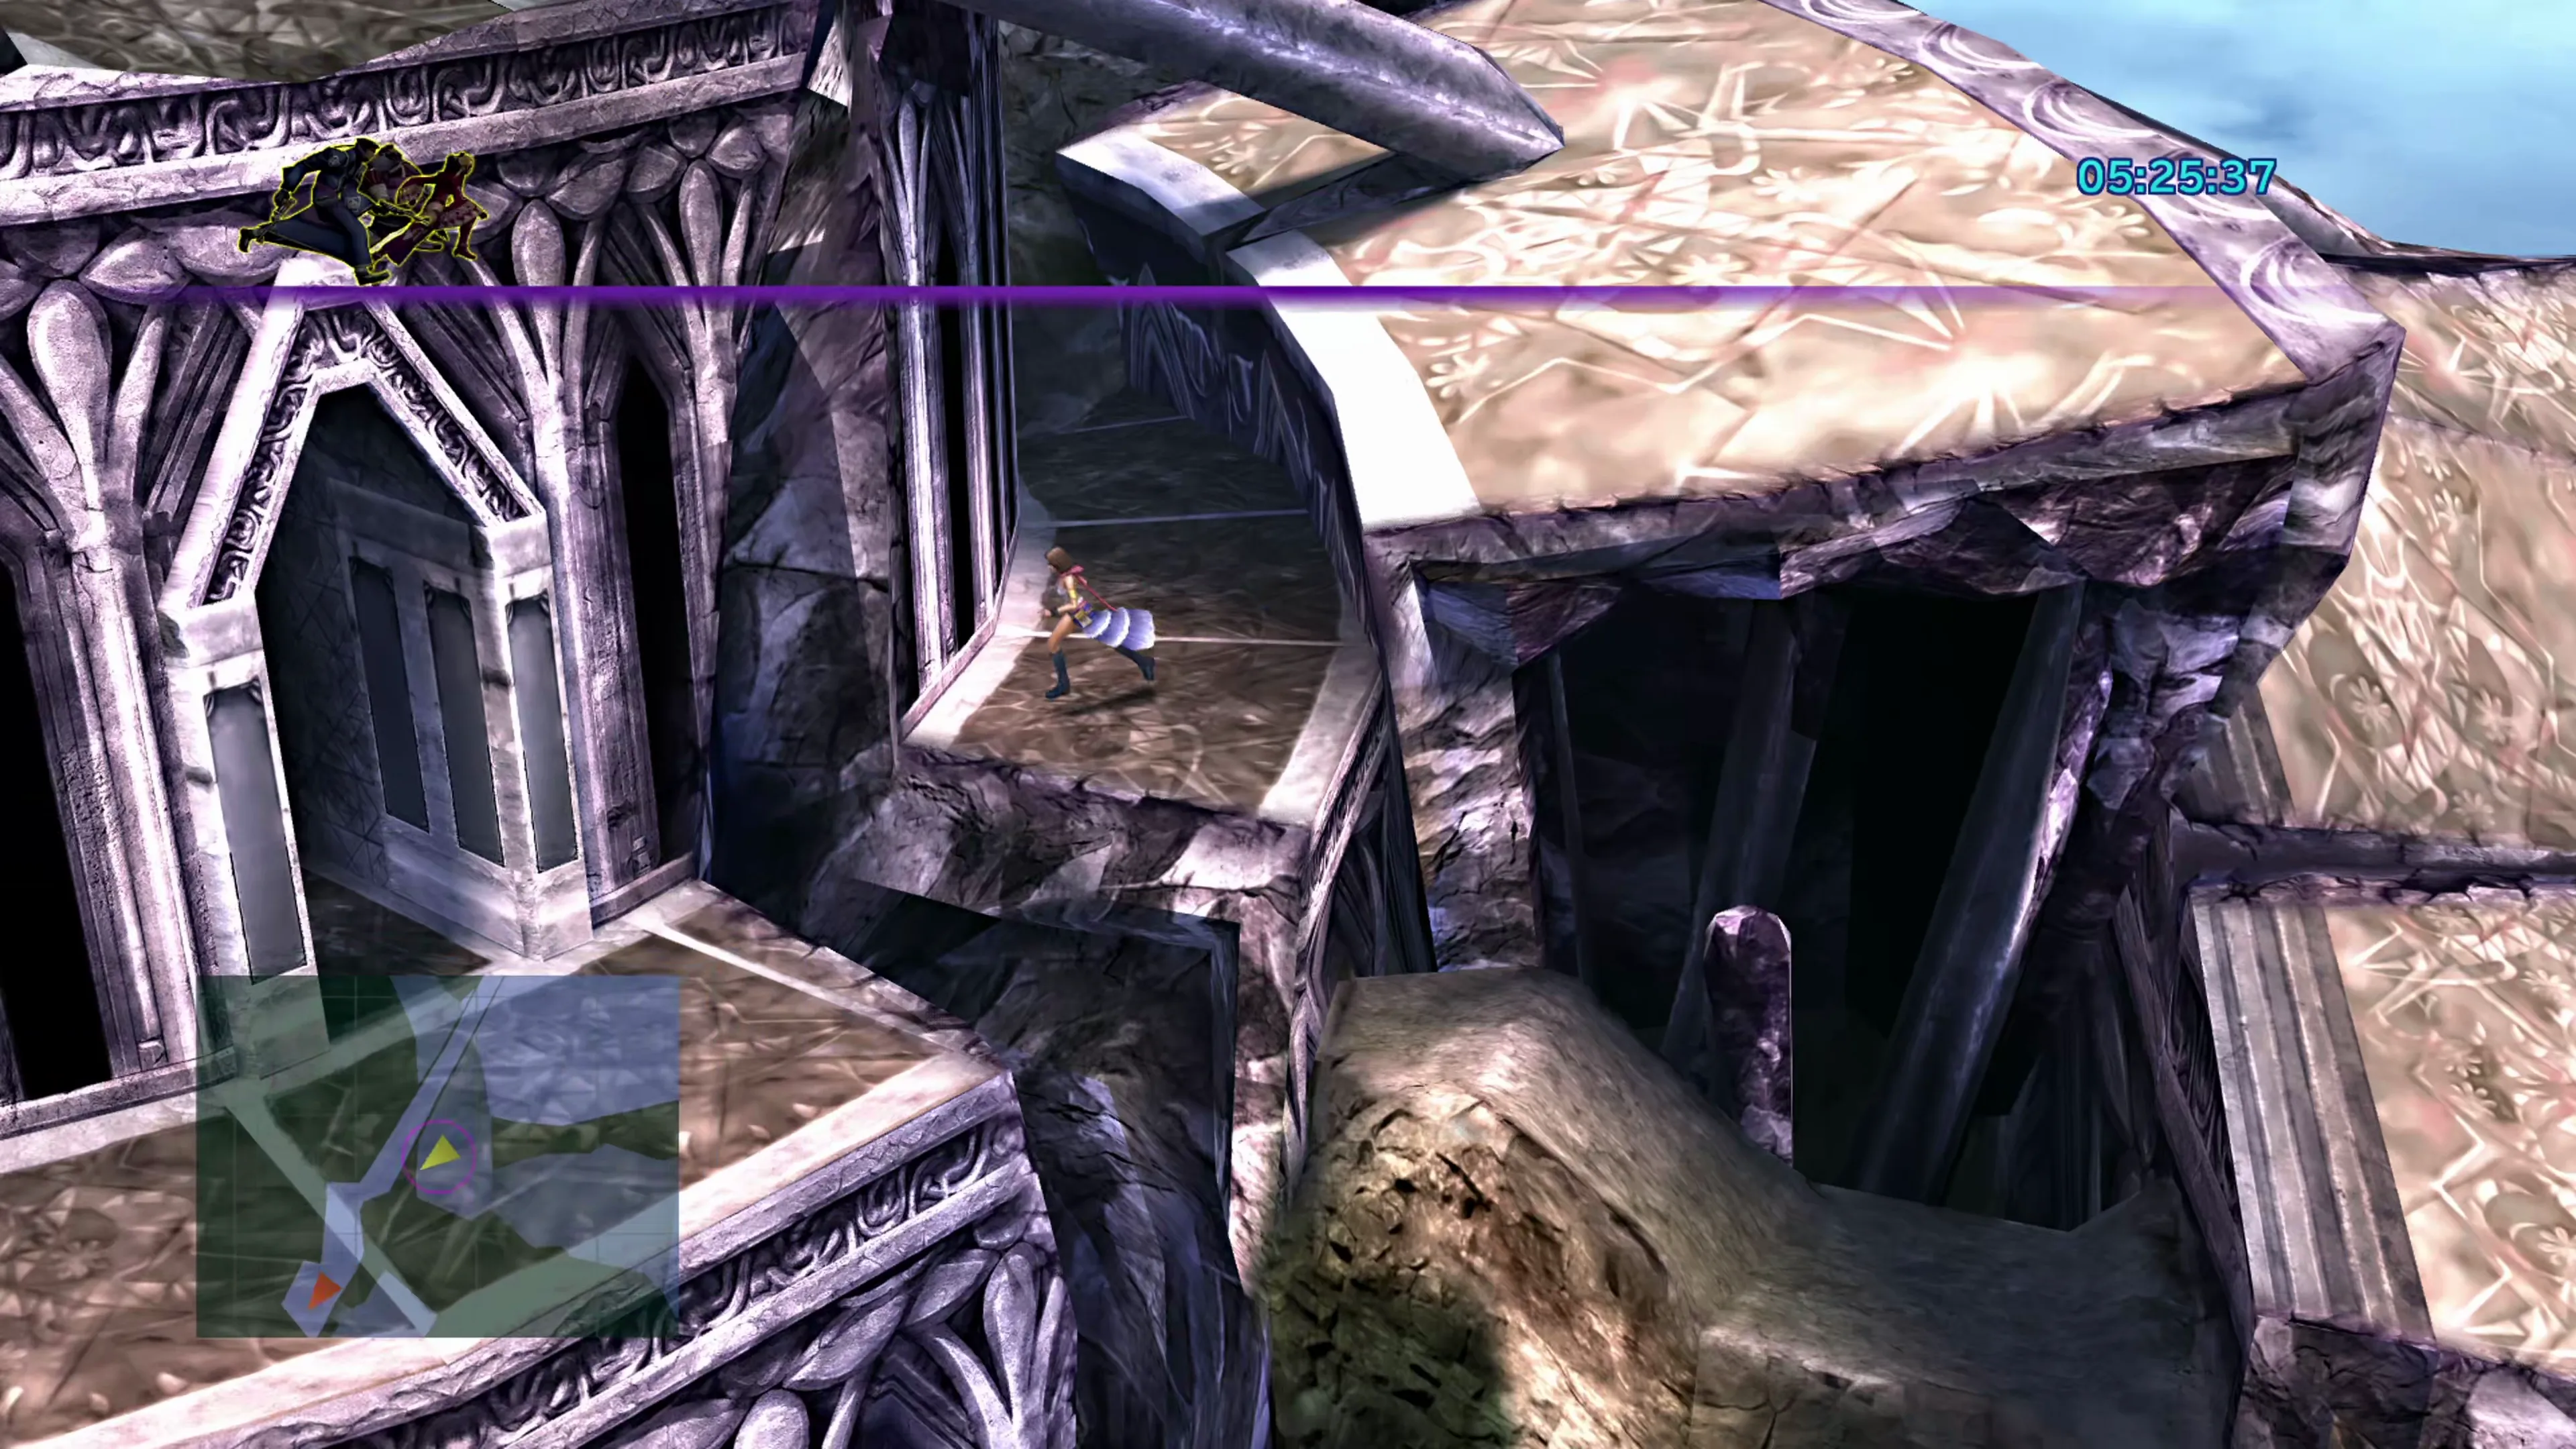
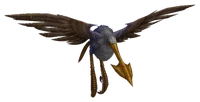
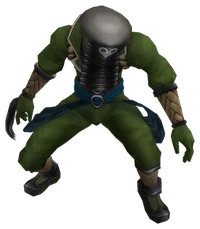
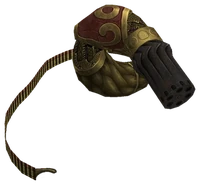
Jump across the chasm to the south (towards the red marker  ), and you’ll encounter Logos. He won’t actually stick around to fight you this time; instead, he’ll spawn two Goons and two Recoils to fight you instead. Head into the ruins after you’ve defeated them.
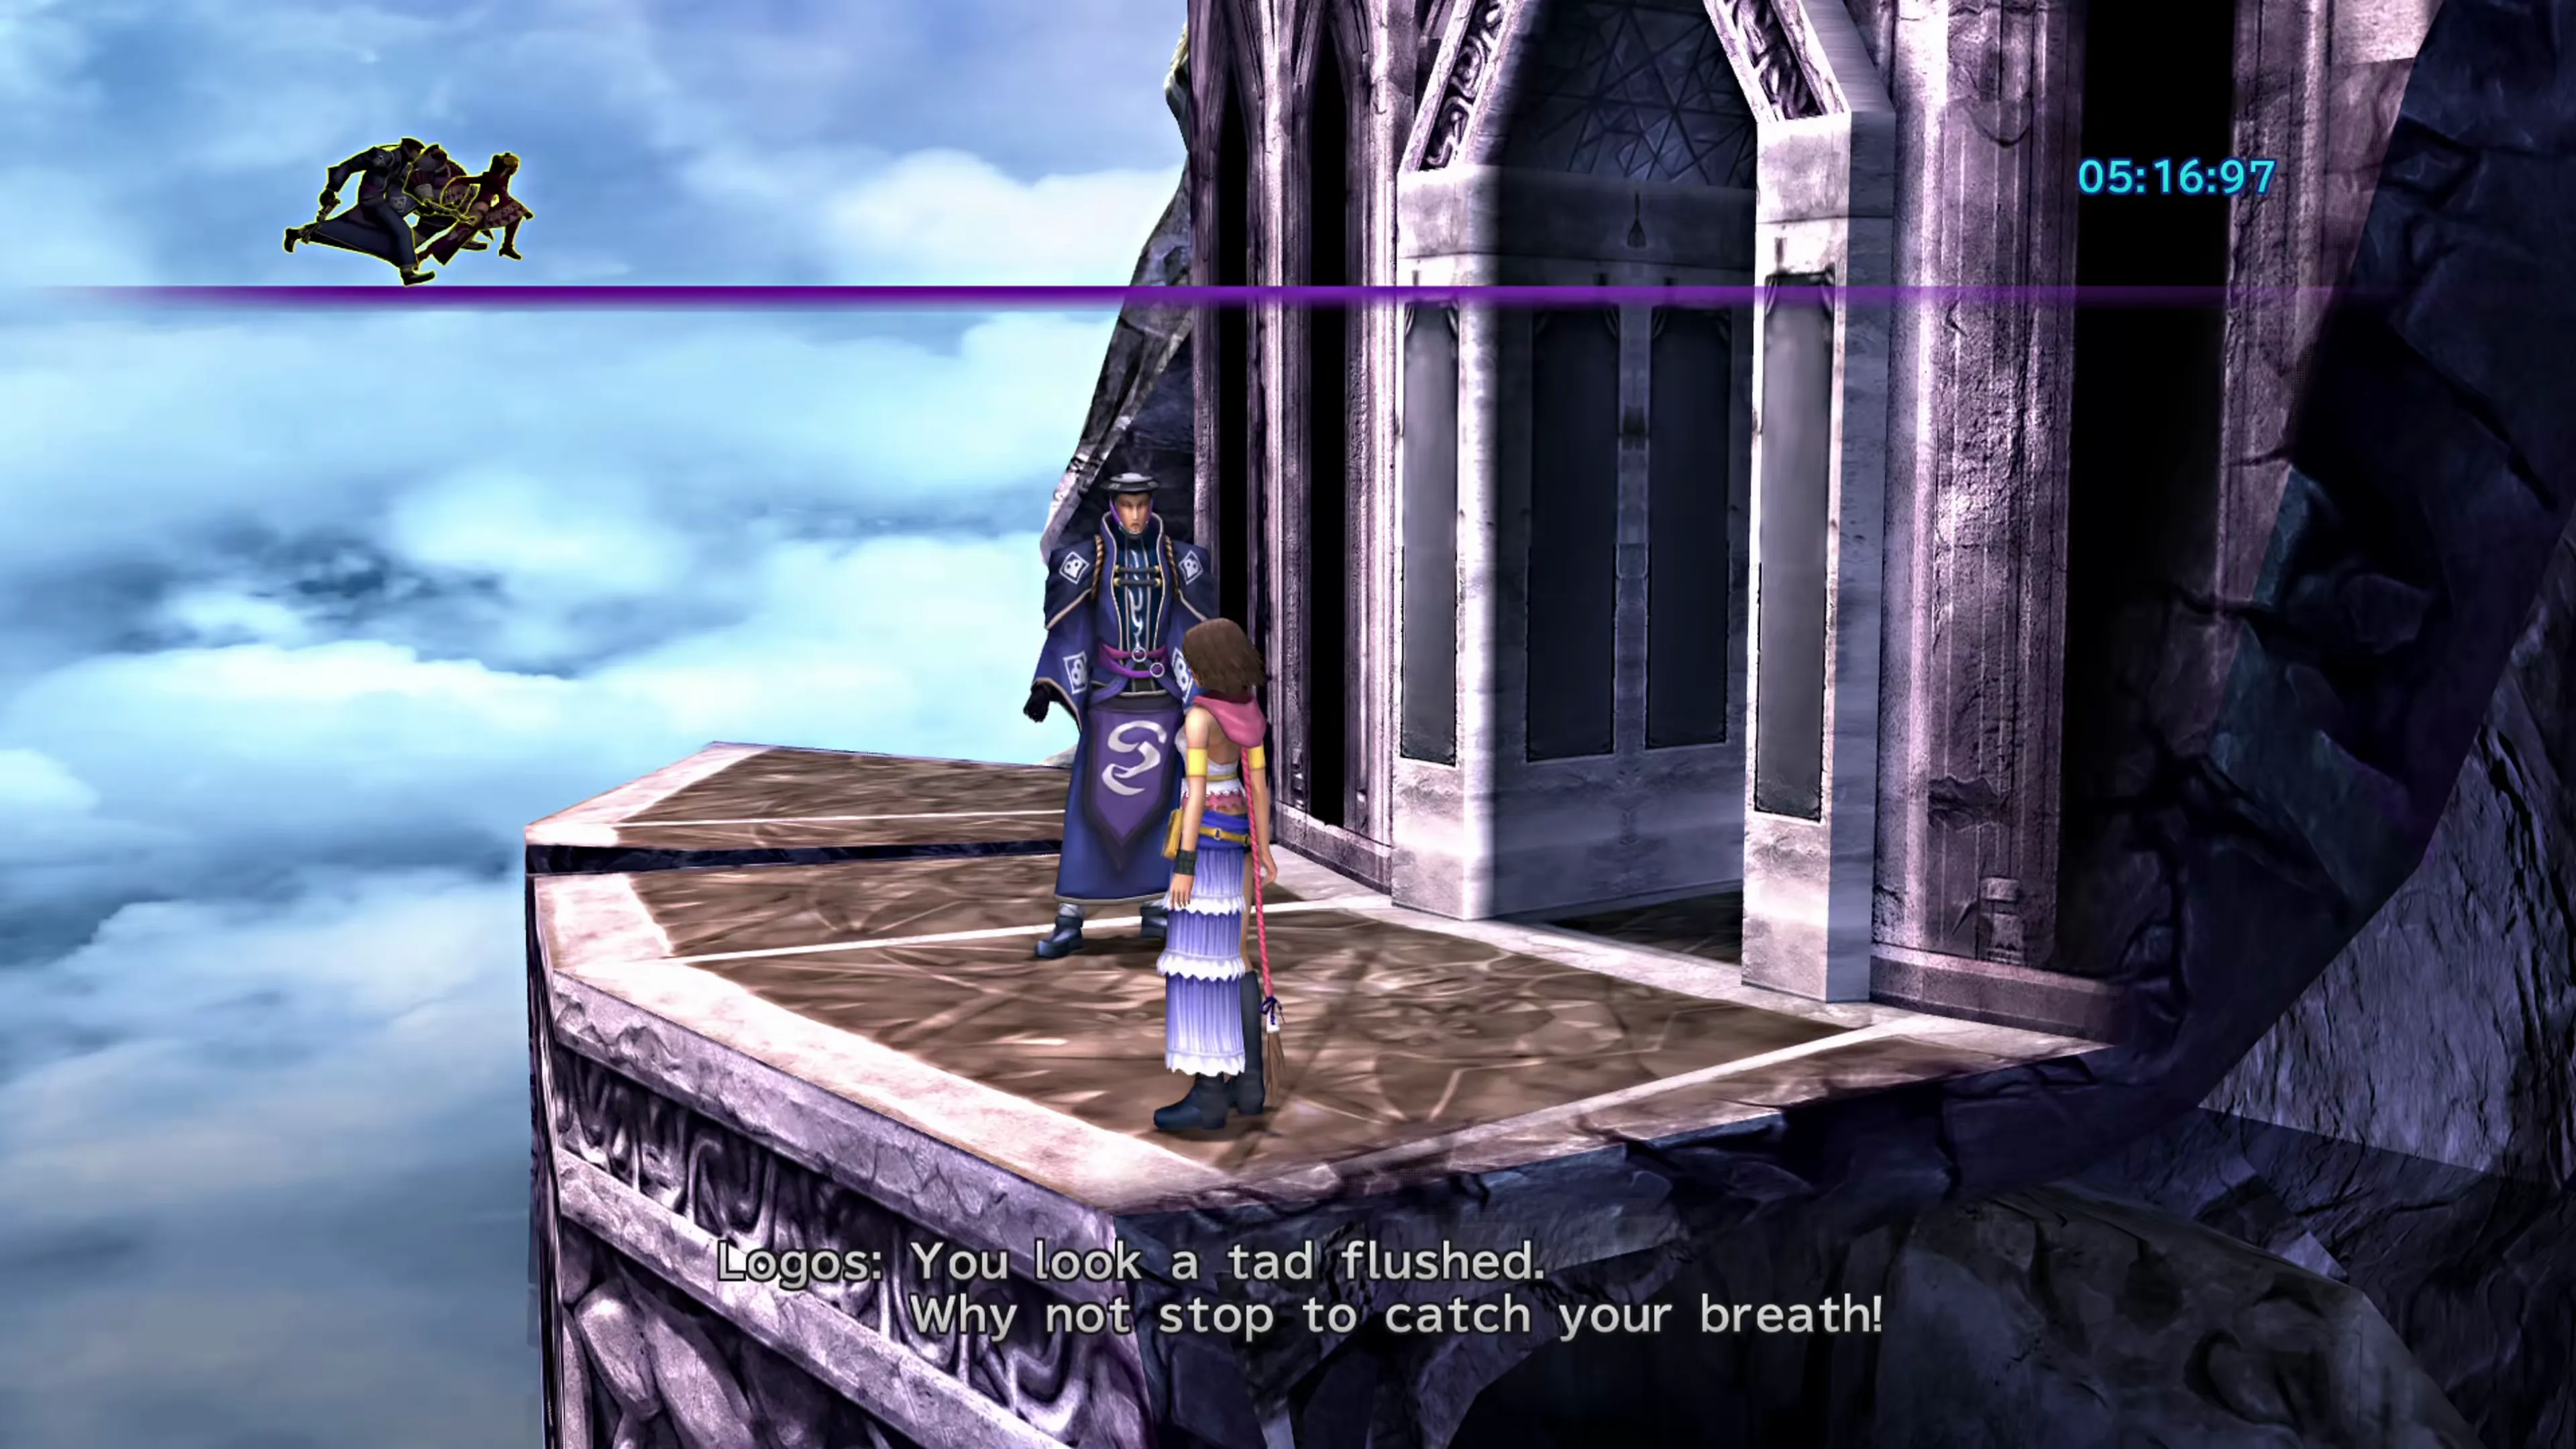
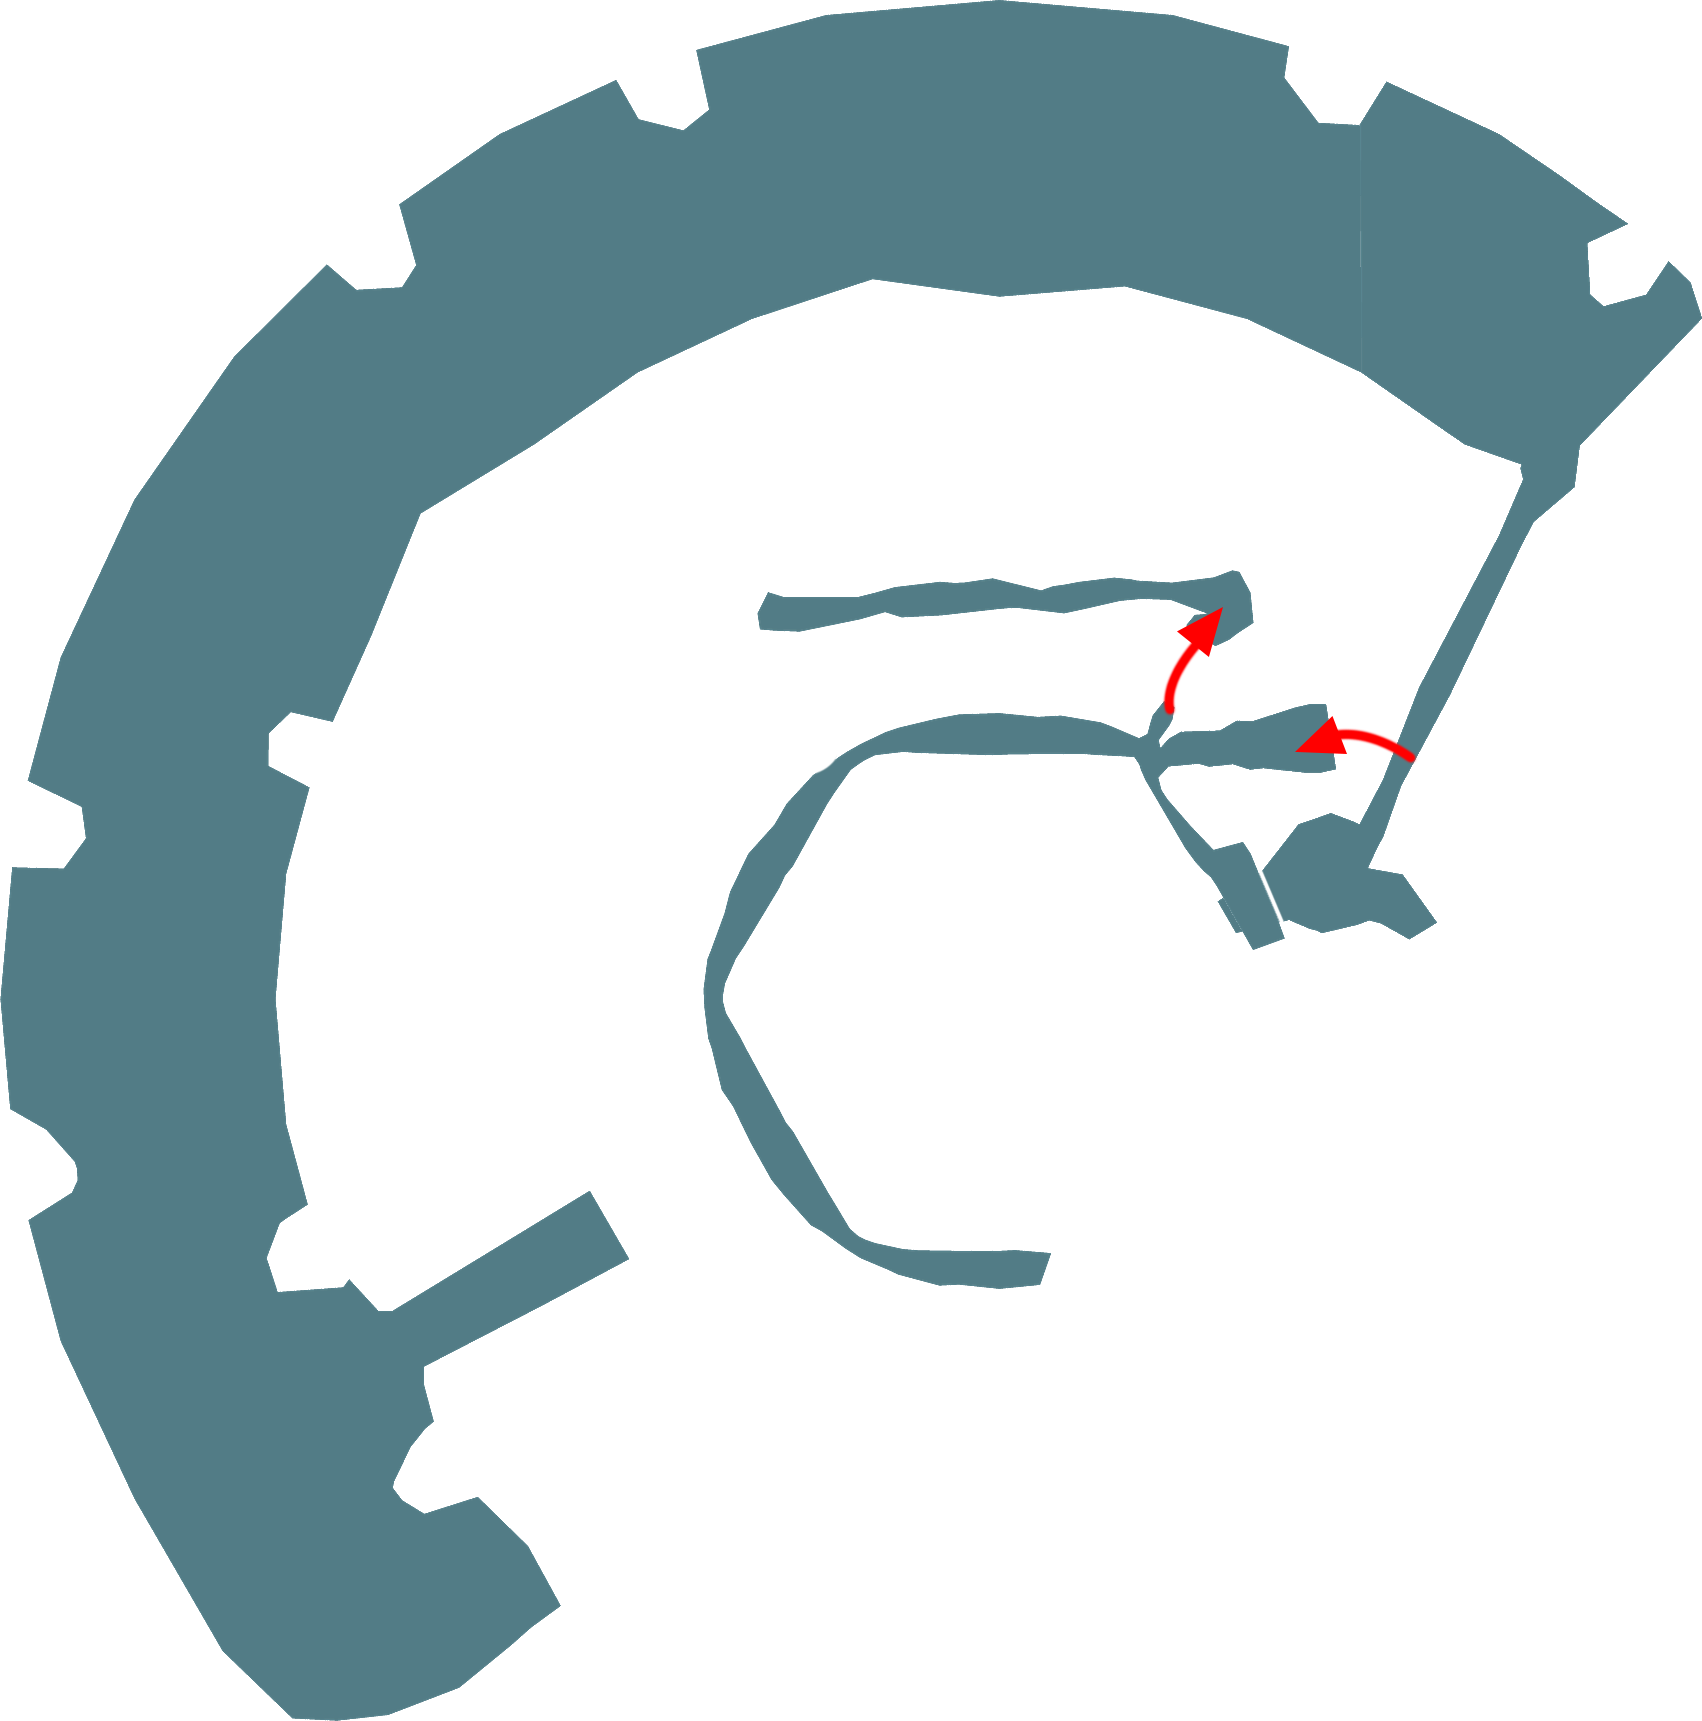
Follow the hallway until you reach an area with corridors on the left and right. There are switches at the ends of both of these short corridors. Press both to open the pathway ahead, then continue north through the corridor. There’s a ledge you can jump across, but if you drop down into it, you’ll find a treasure chest that contains a White Ring.

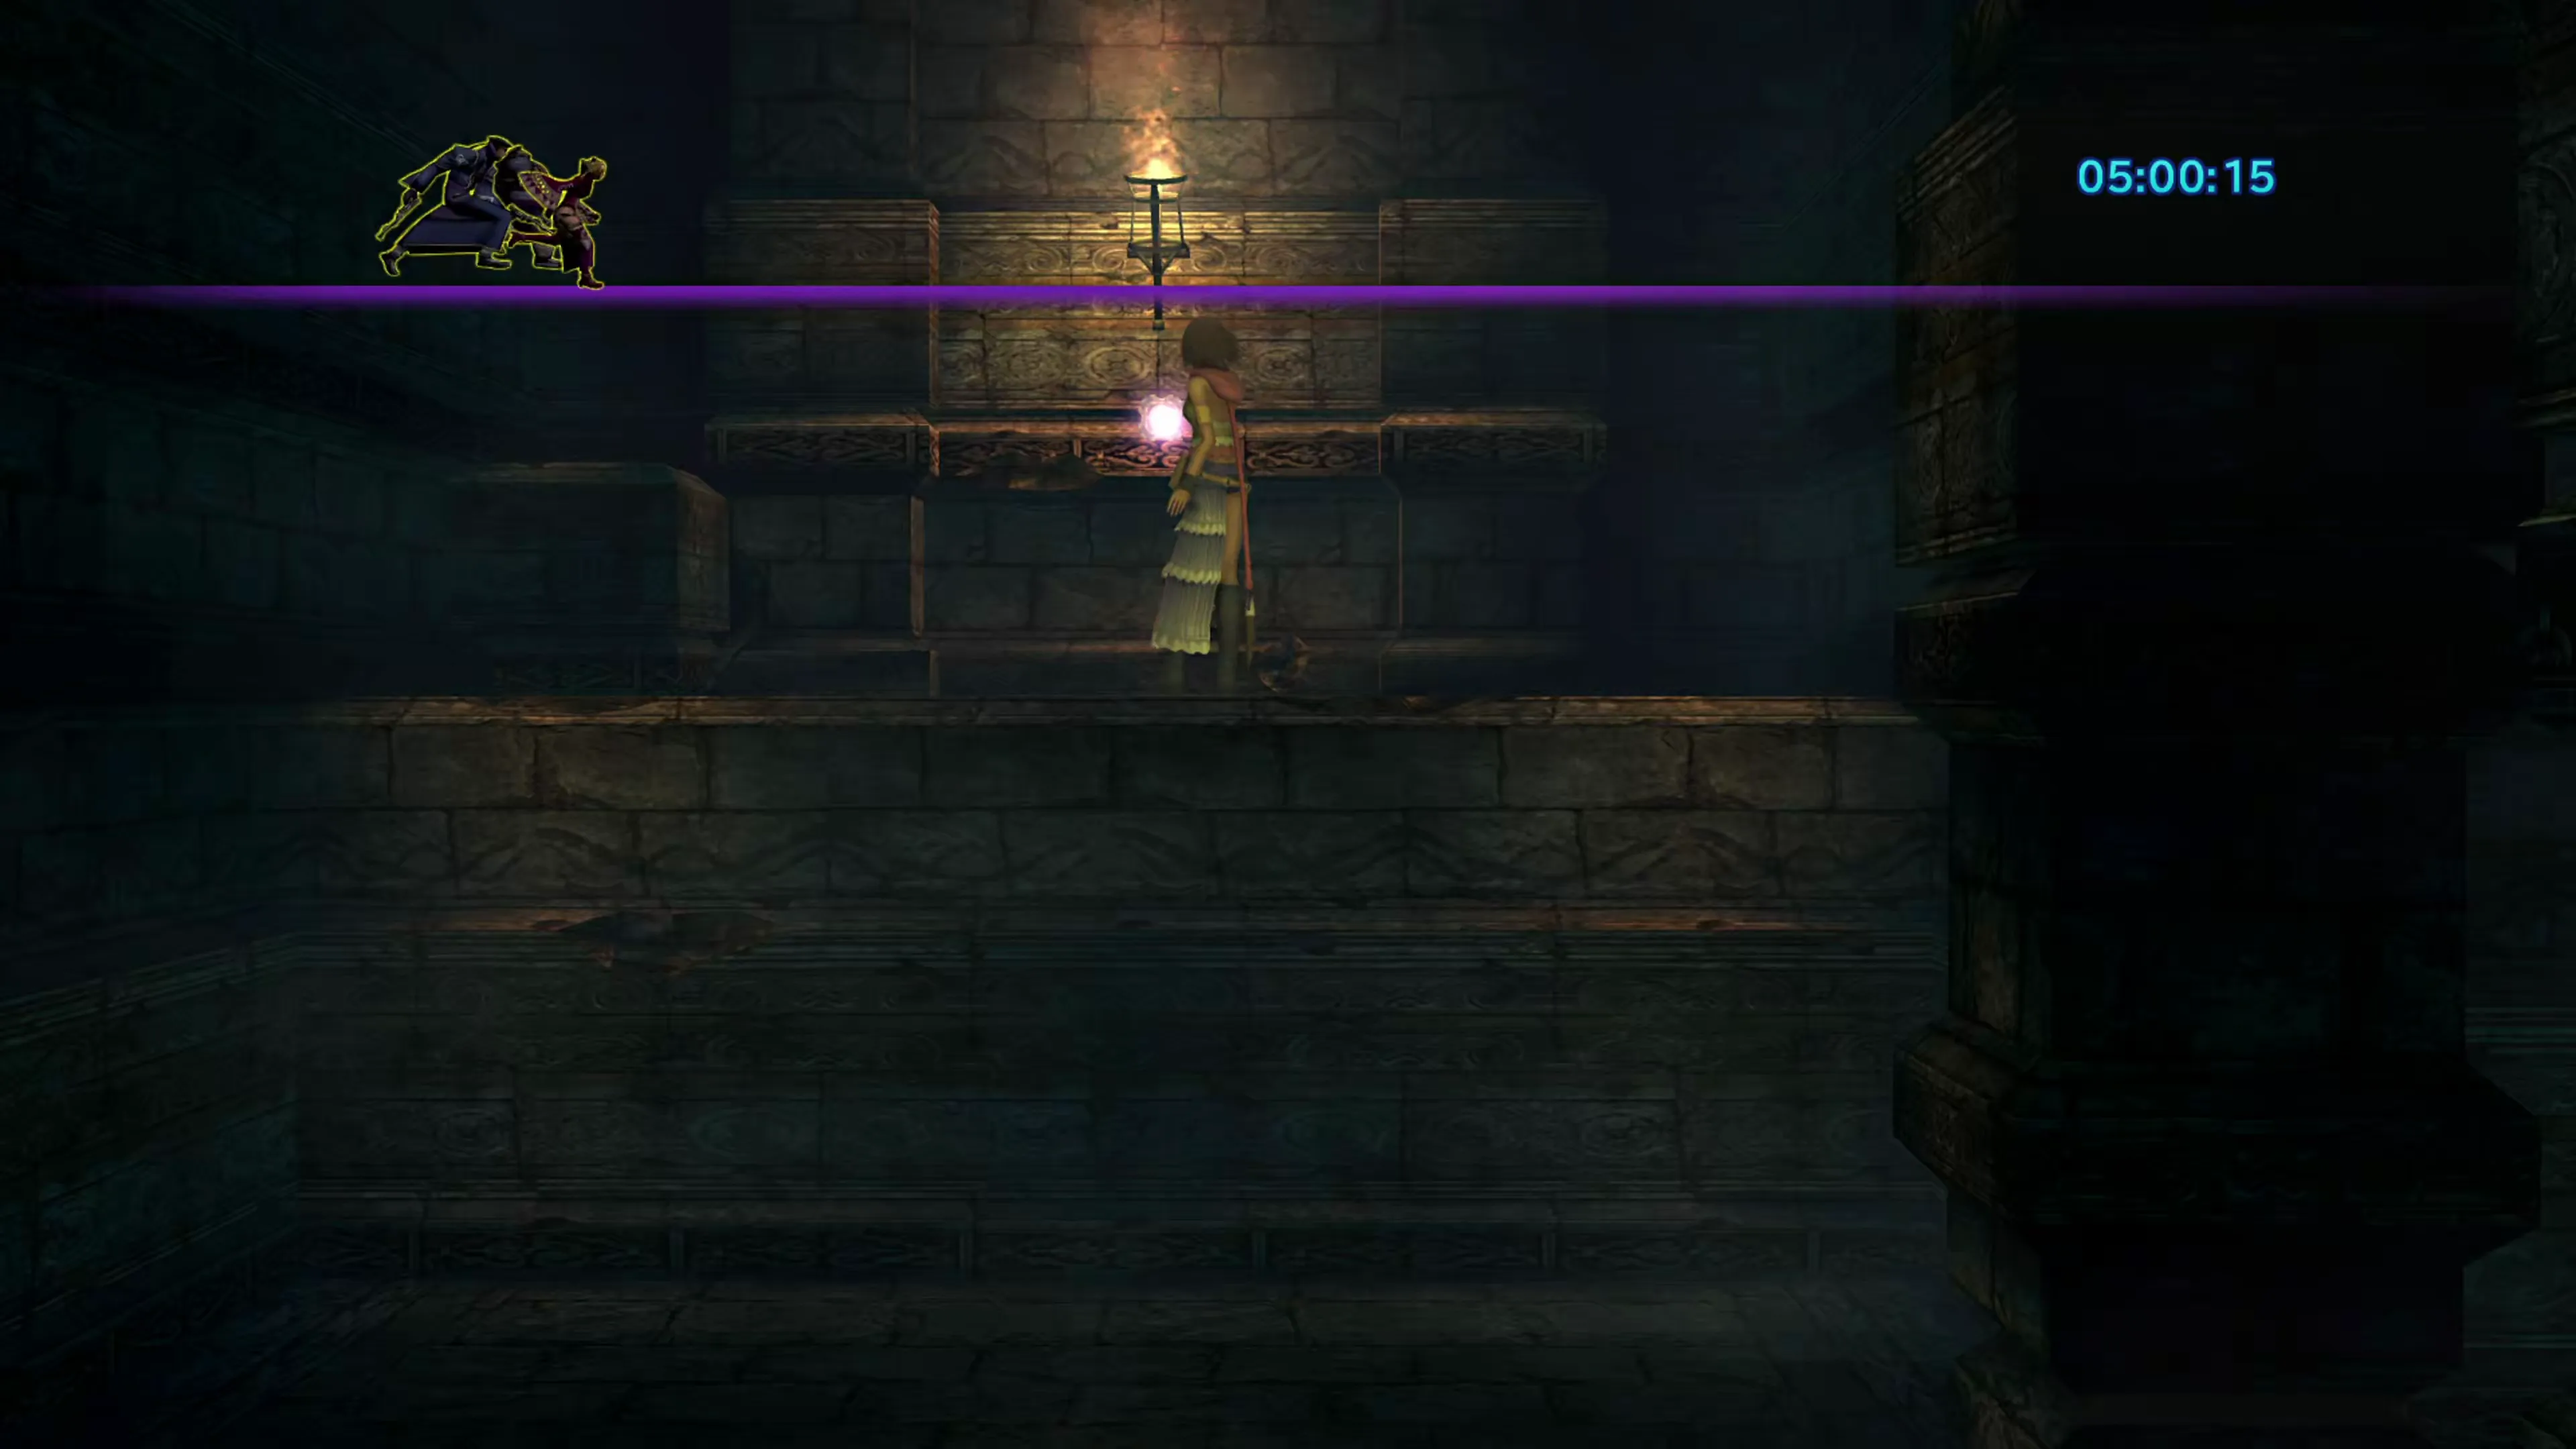
Climb out of the pit and jump across the stone platforms. On the other side, you’ll see an optional pathway heading east (on your right) and the true pathway heading north/northwest towards the red arrow.
If you follow the optional pathway along and across the stone platforms, you’ll eventually reach an exit that leads to the exterior of the mountain. There, you’ll find a treasure chest that contains a Red Ring.
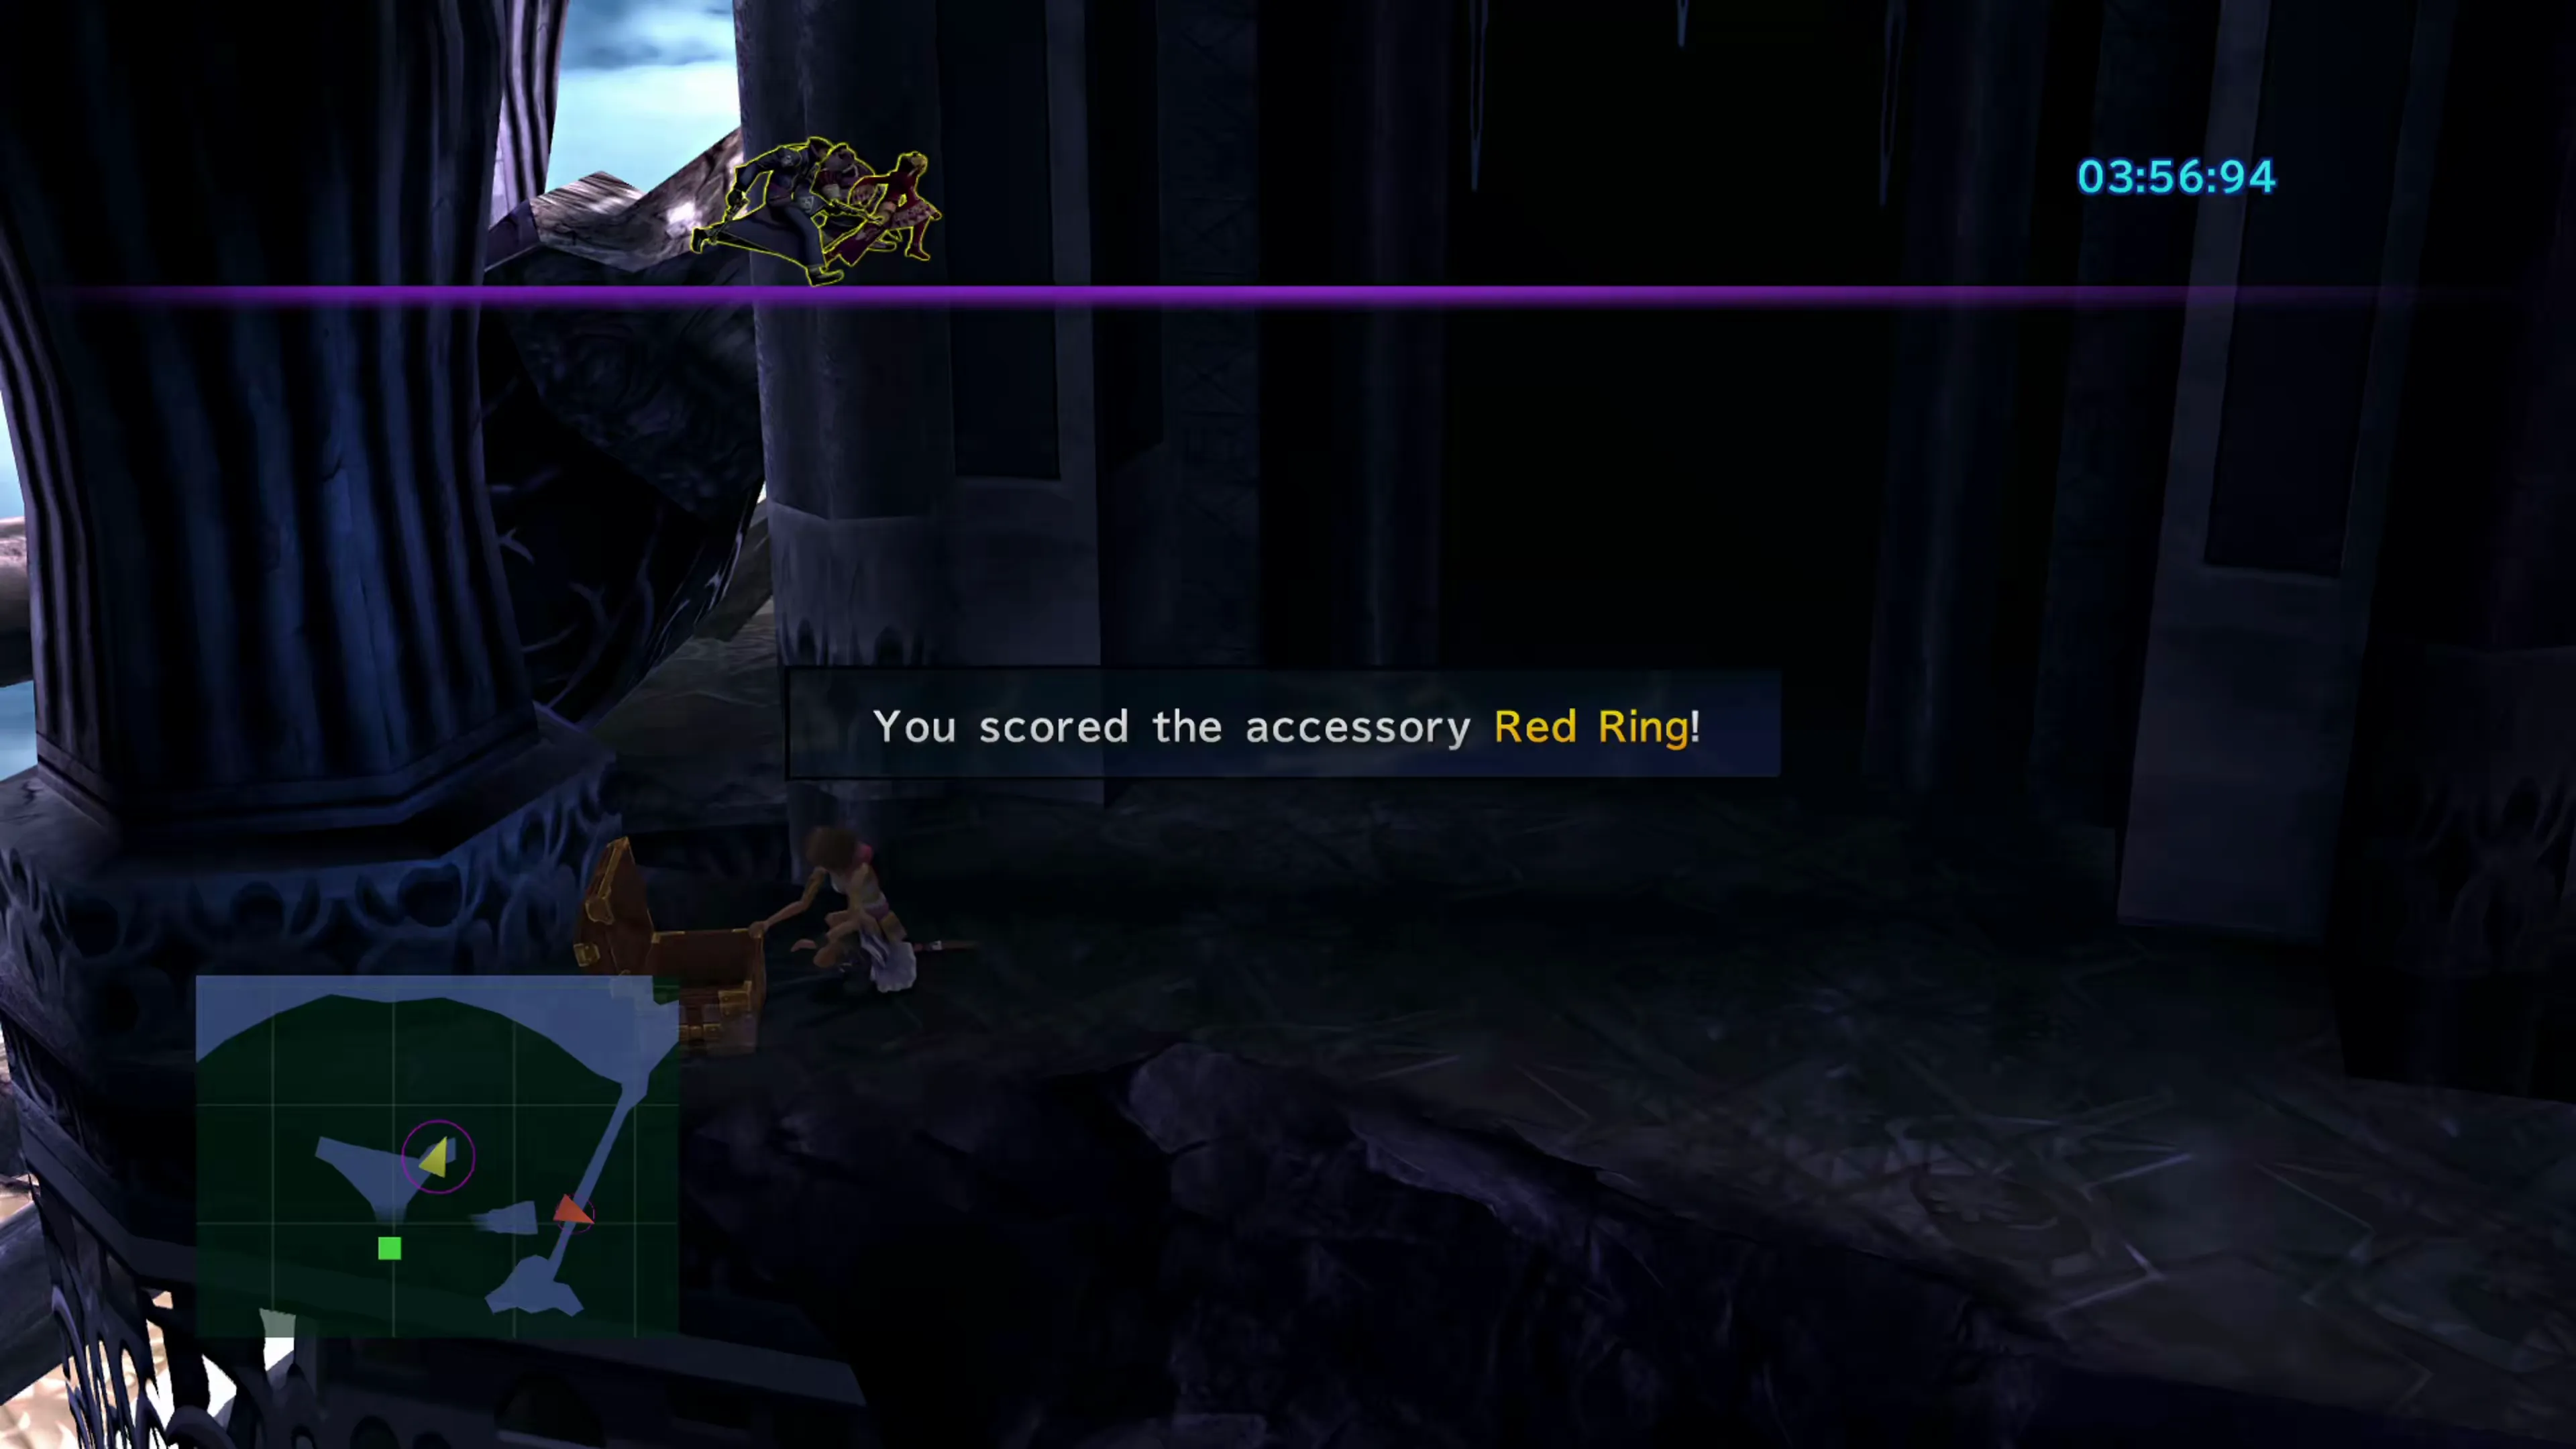
Head back down the corridor, this time following the main pathway, and it will eventually lead you back outside of the mountain. This next pathway takes you northward around the outside of the ruins, with the optional treasure chest visible in the background. Once you reach the end of this platform, you’ll encounter Ormi, and he’ll throw you into another battle.
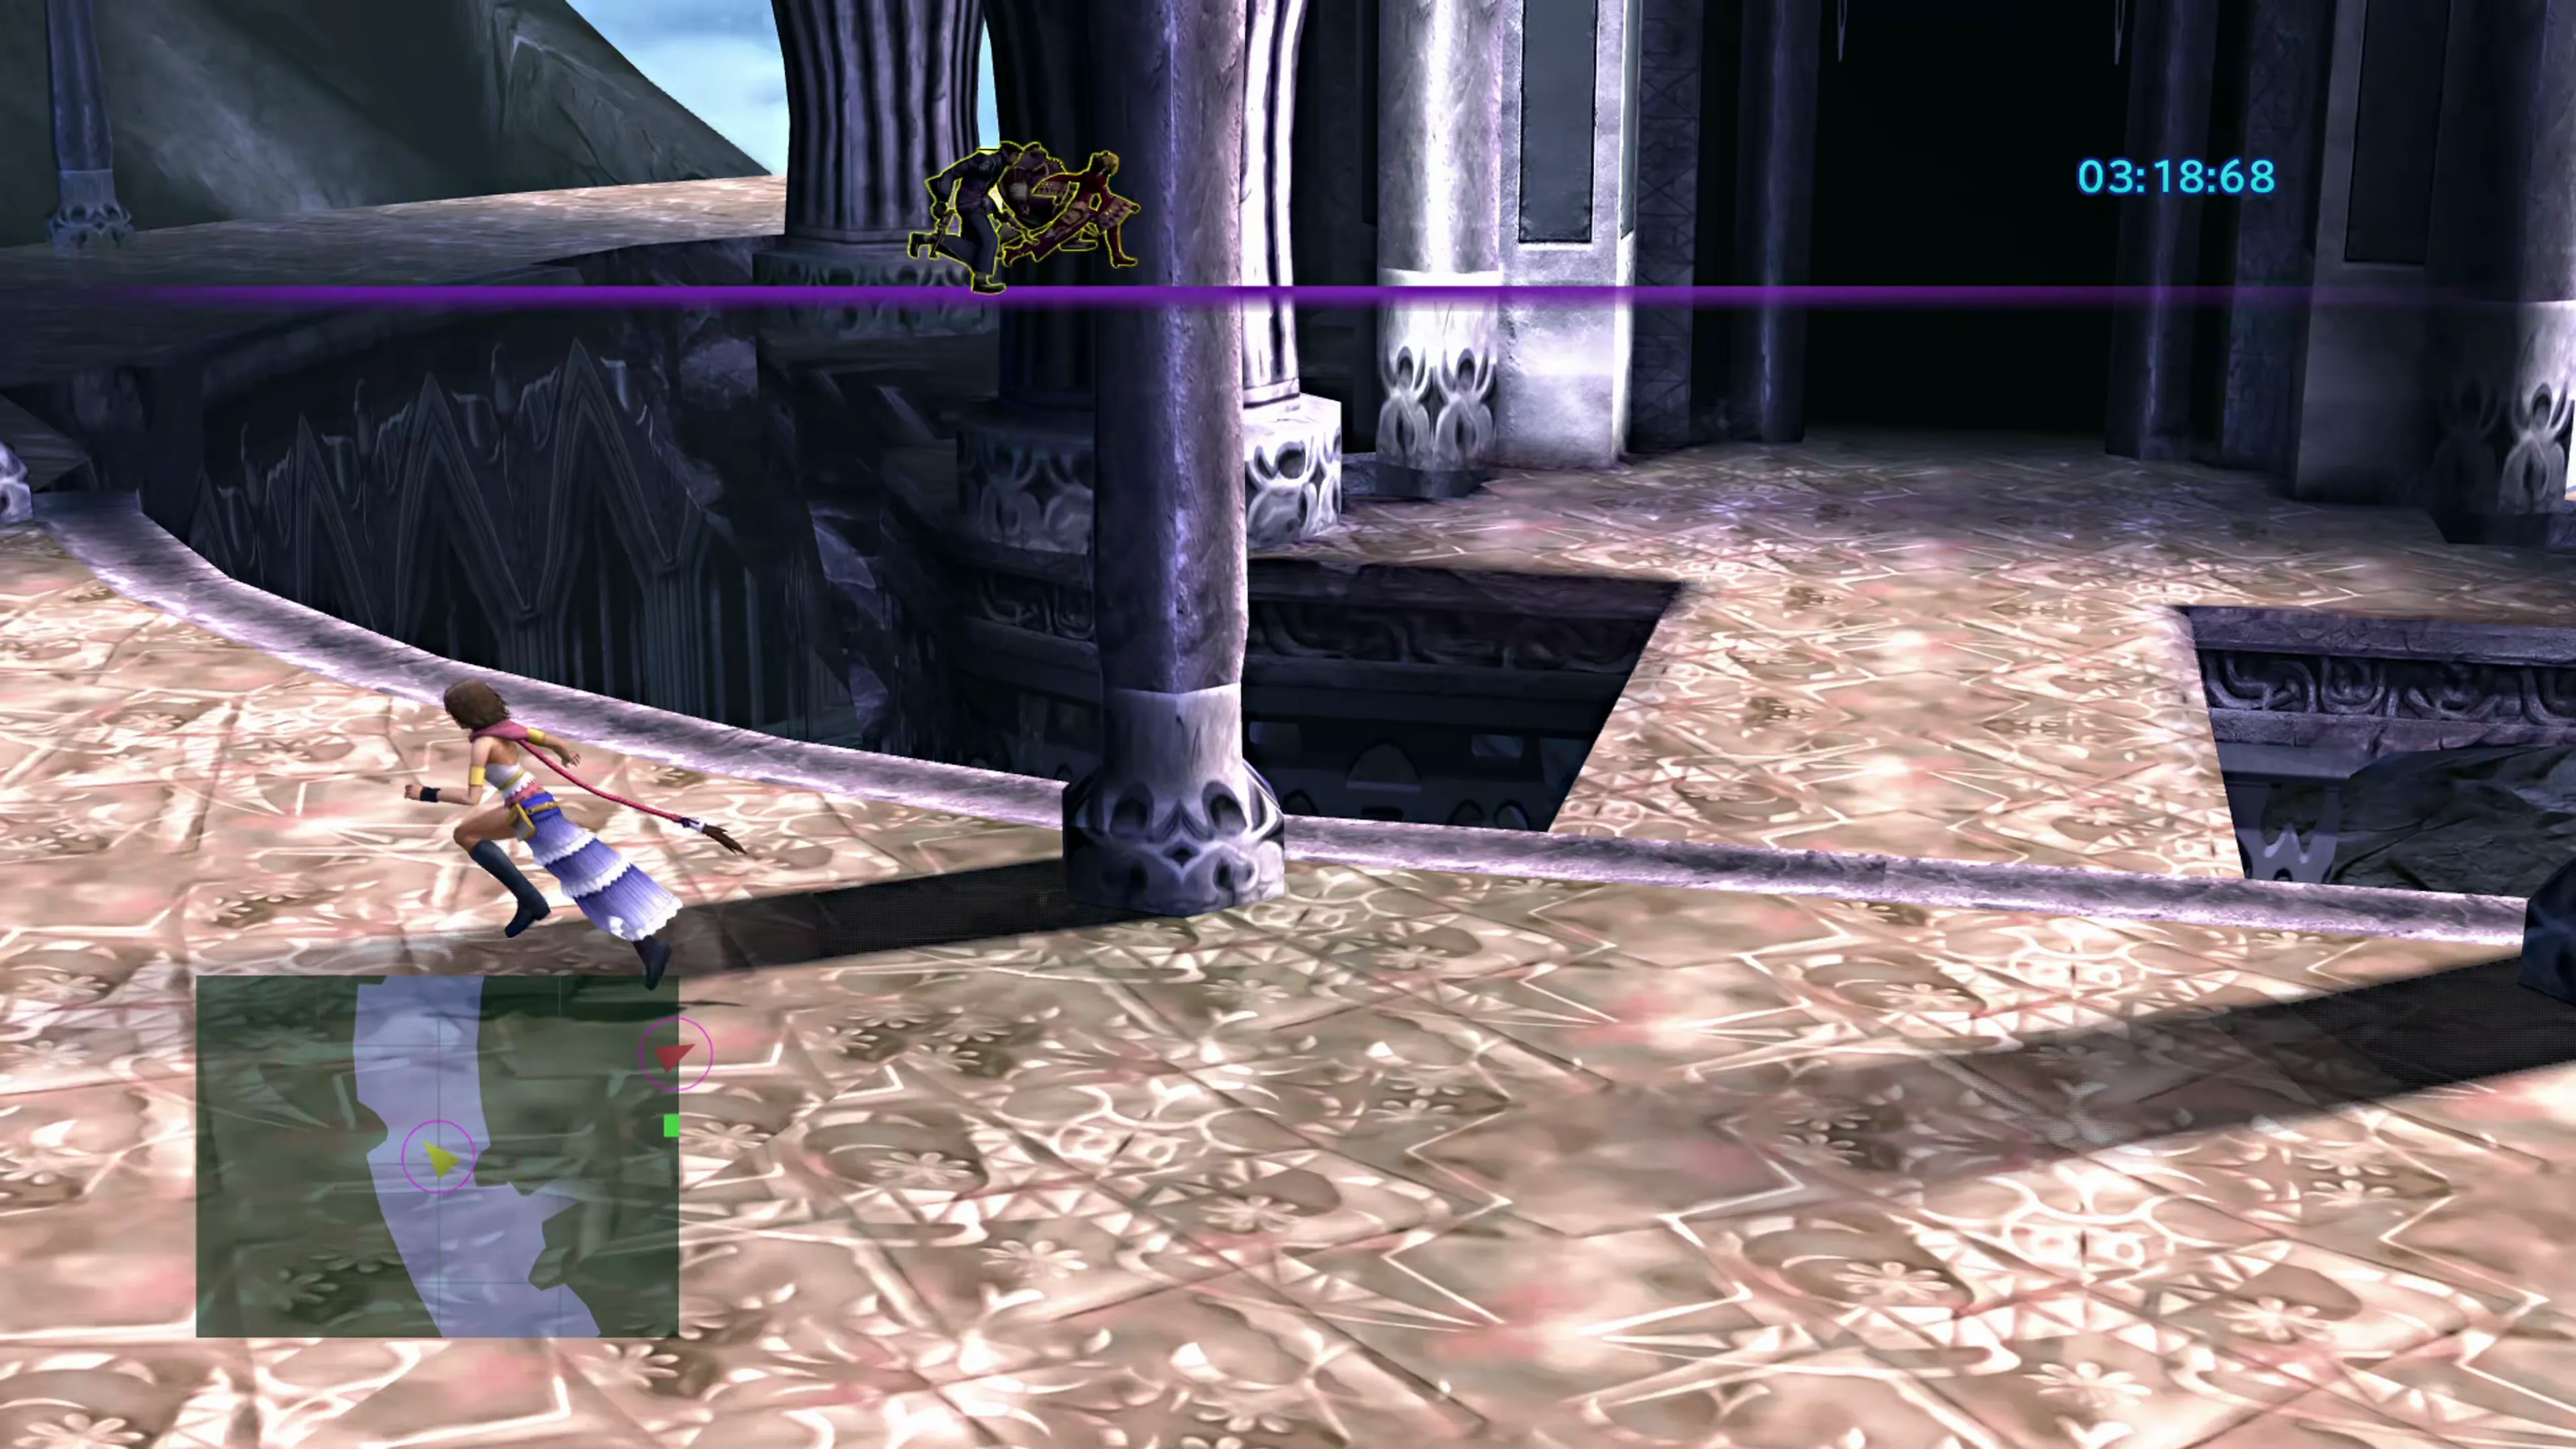
Floating Ruins Upper Levels
| 1 | Star Pendant |
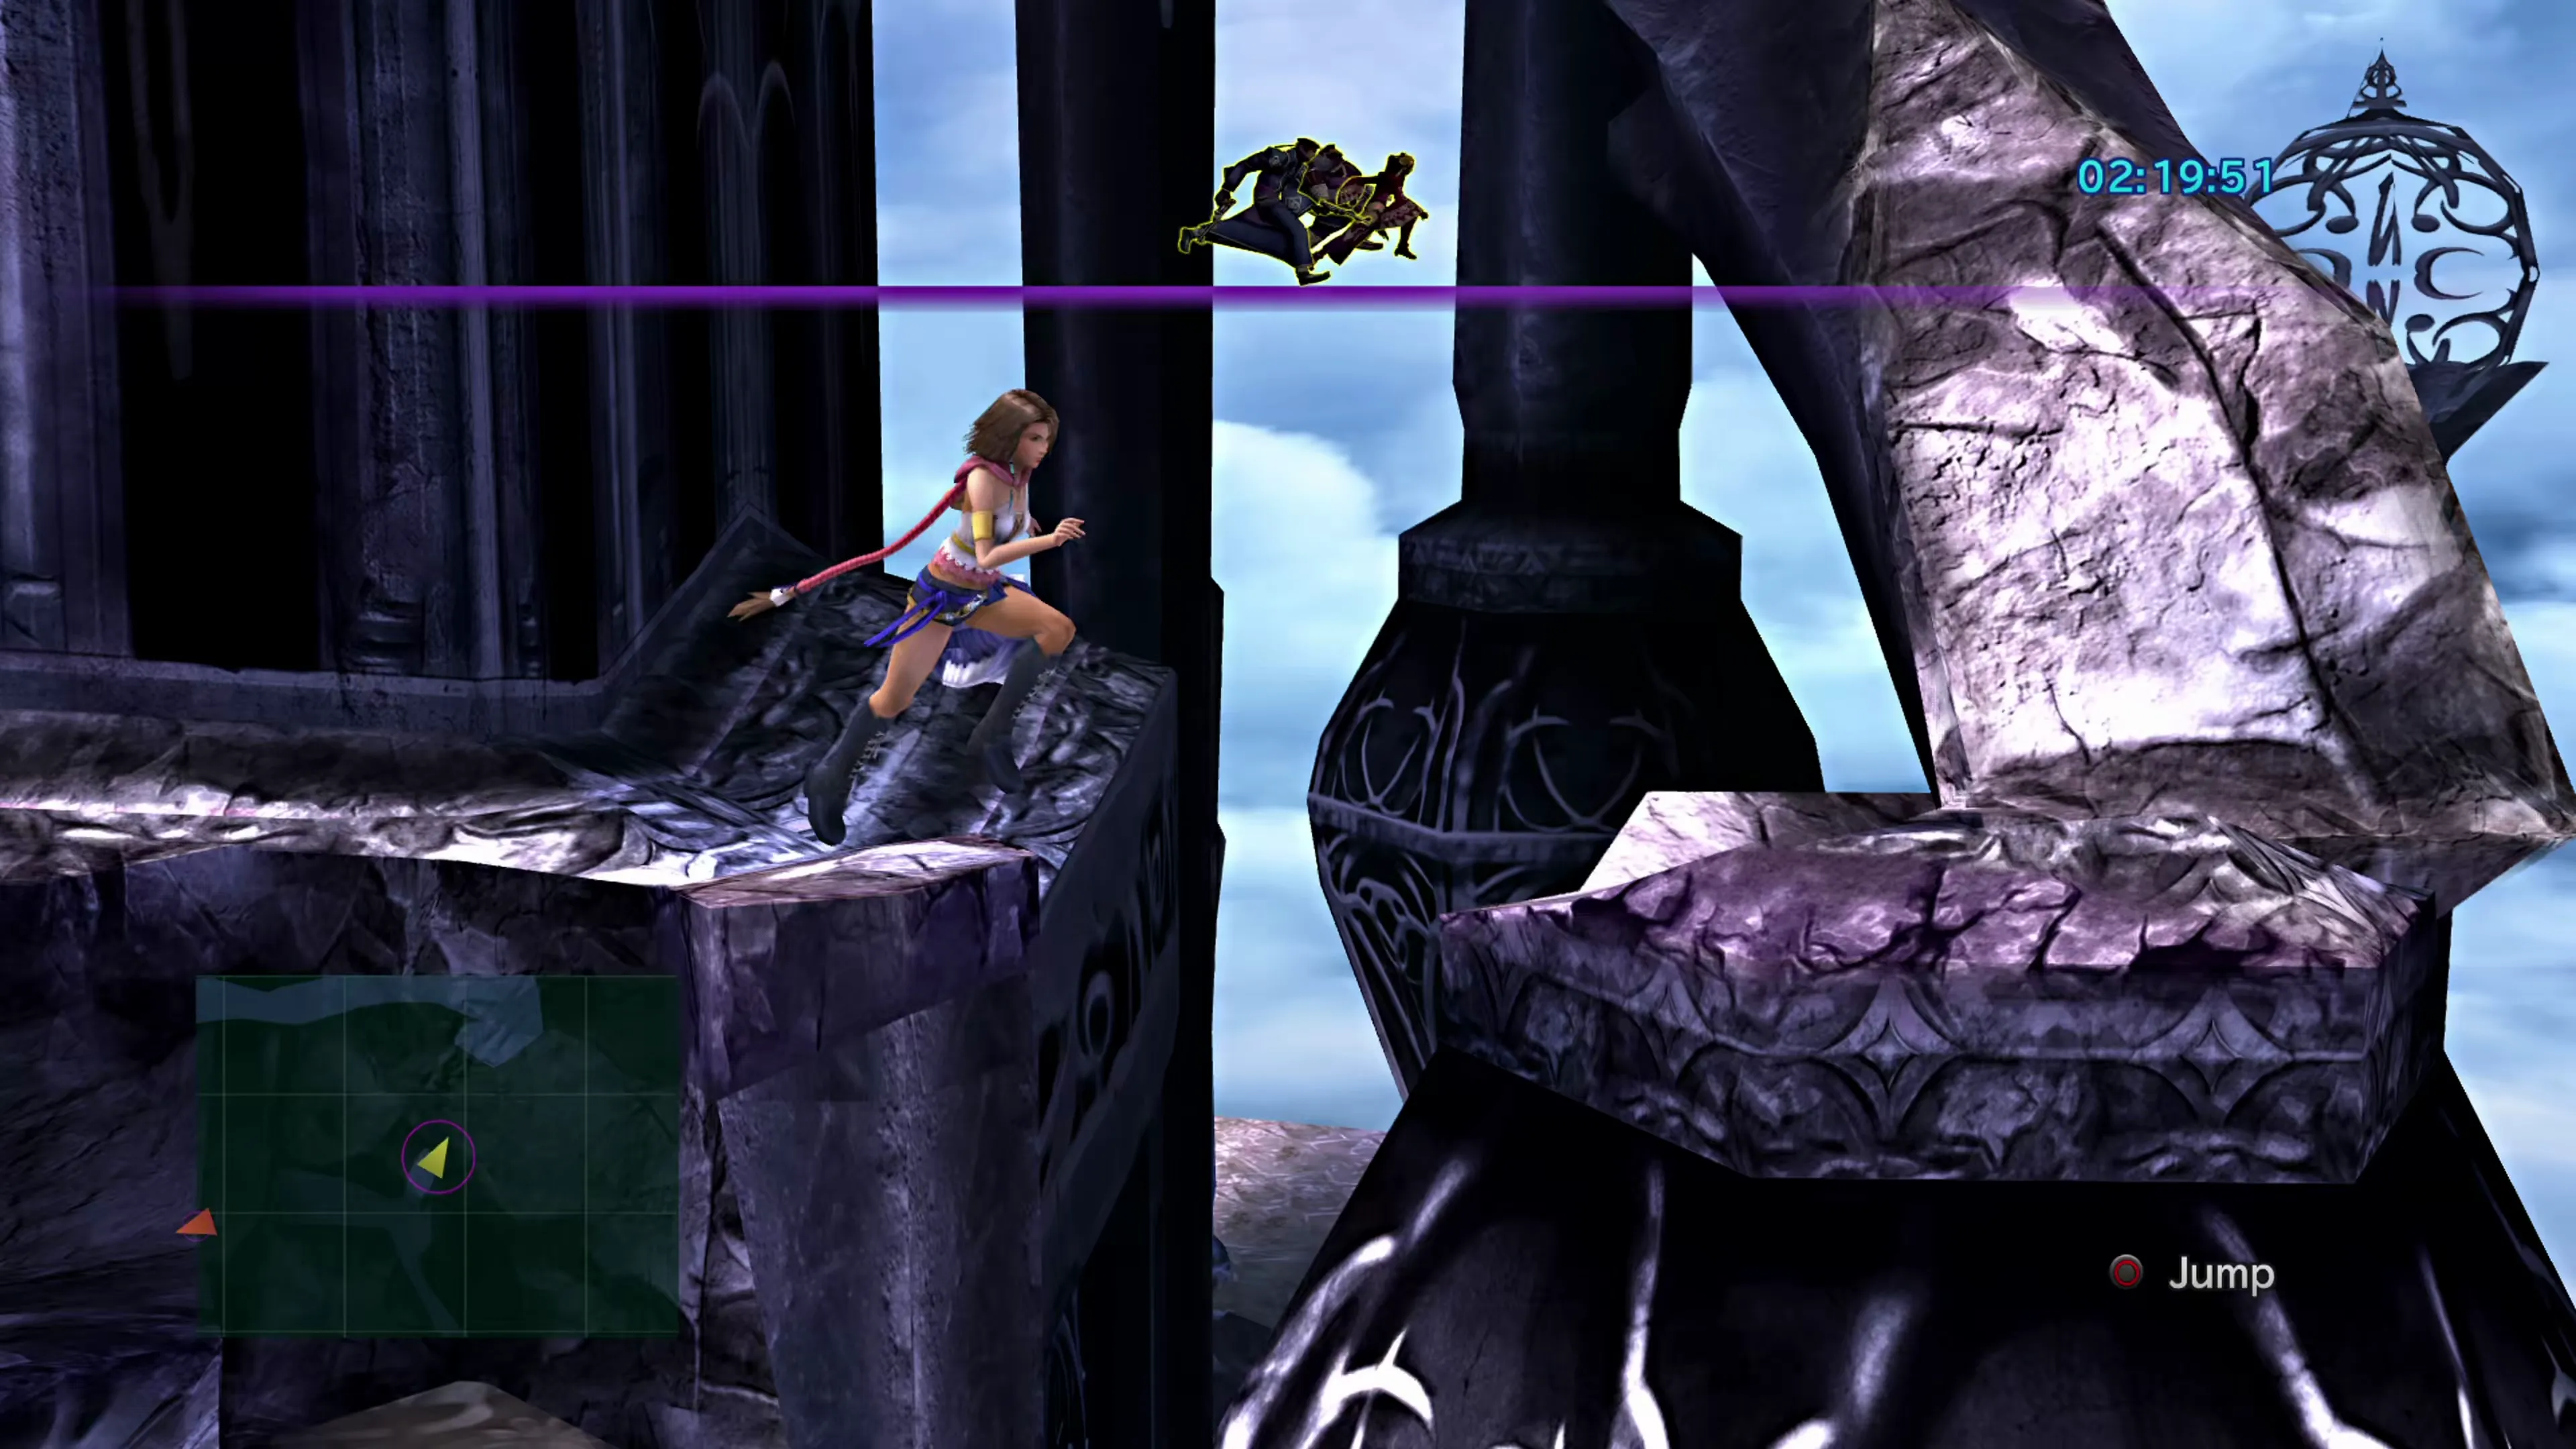
You will eventually reach another fallen column extending southward across the ruins. Walk across it, and as you reach the end of the column, you’ll see a notification on the screen that says “ Jump.” Press the button to jump from the fallen column to the right onto the stone pathway.
The pathway circles the ruins to the south, where you’ll find a treasure chest that contains a Star Pendant. Run back around to the front of the ruins and look for a ledge with another indicator (shown below) that allows you to jump across to another section of the ruins. If you make it here before the timer reaches 00:00:00, you’ll have completed the Mission!
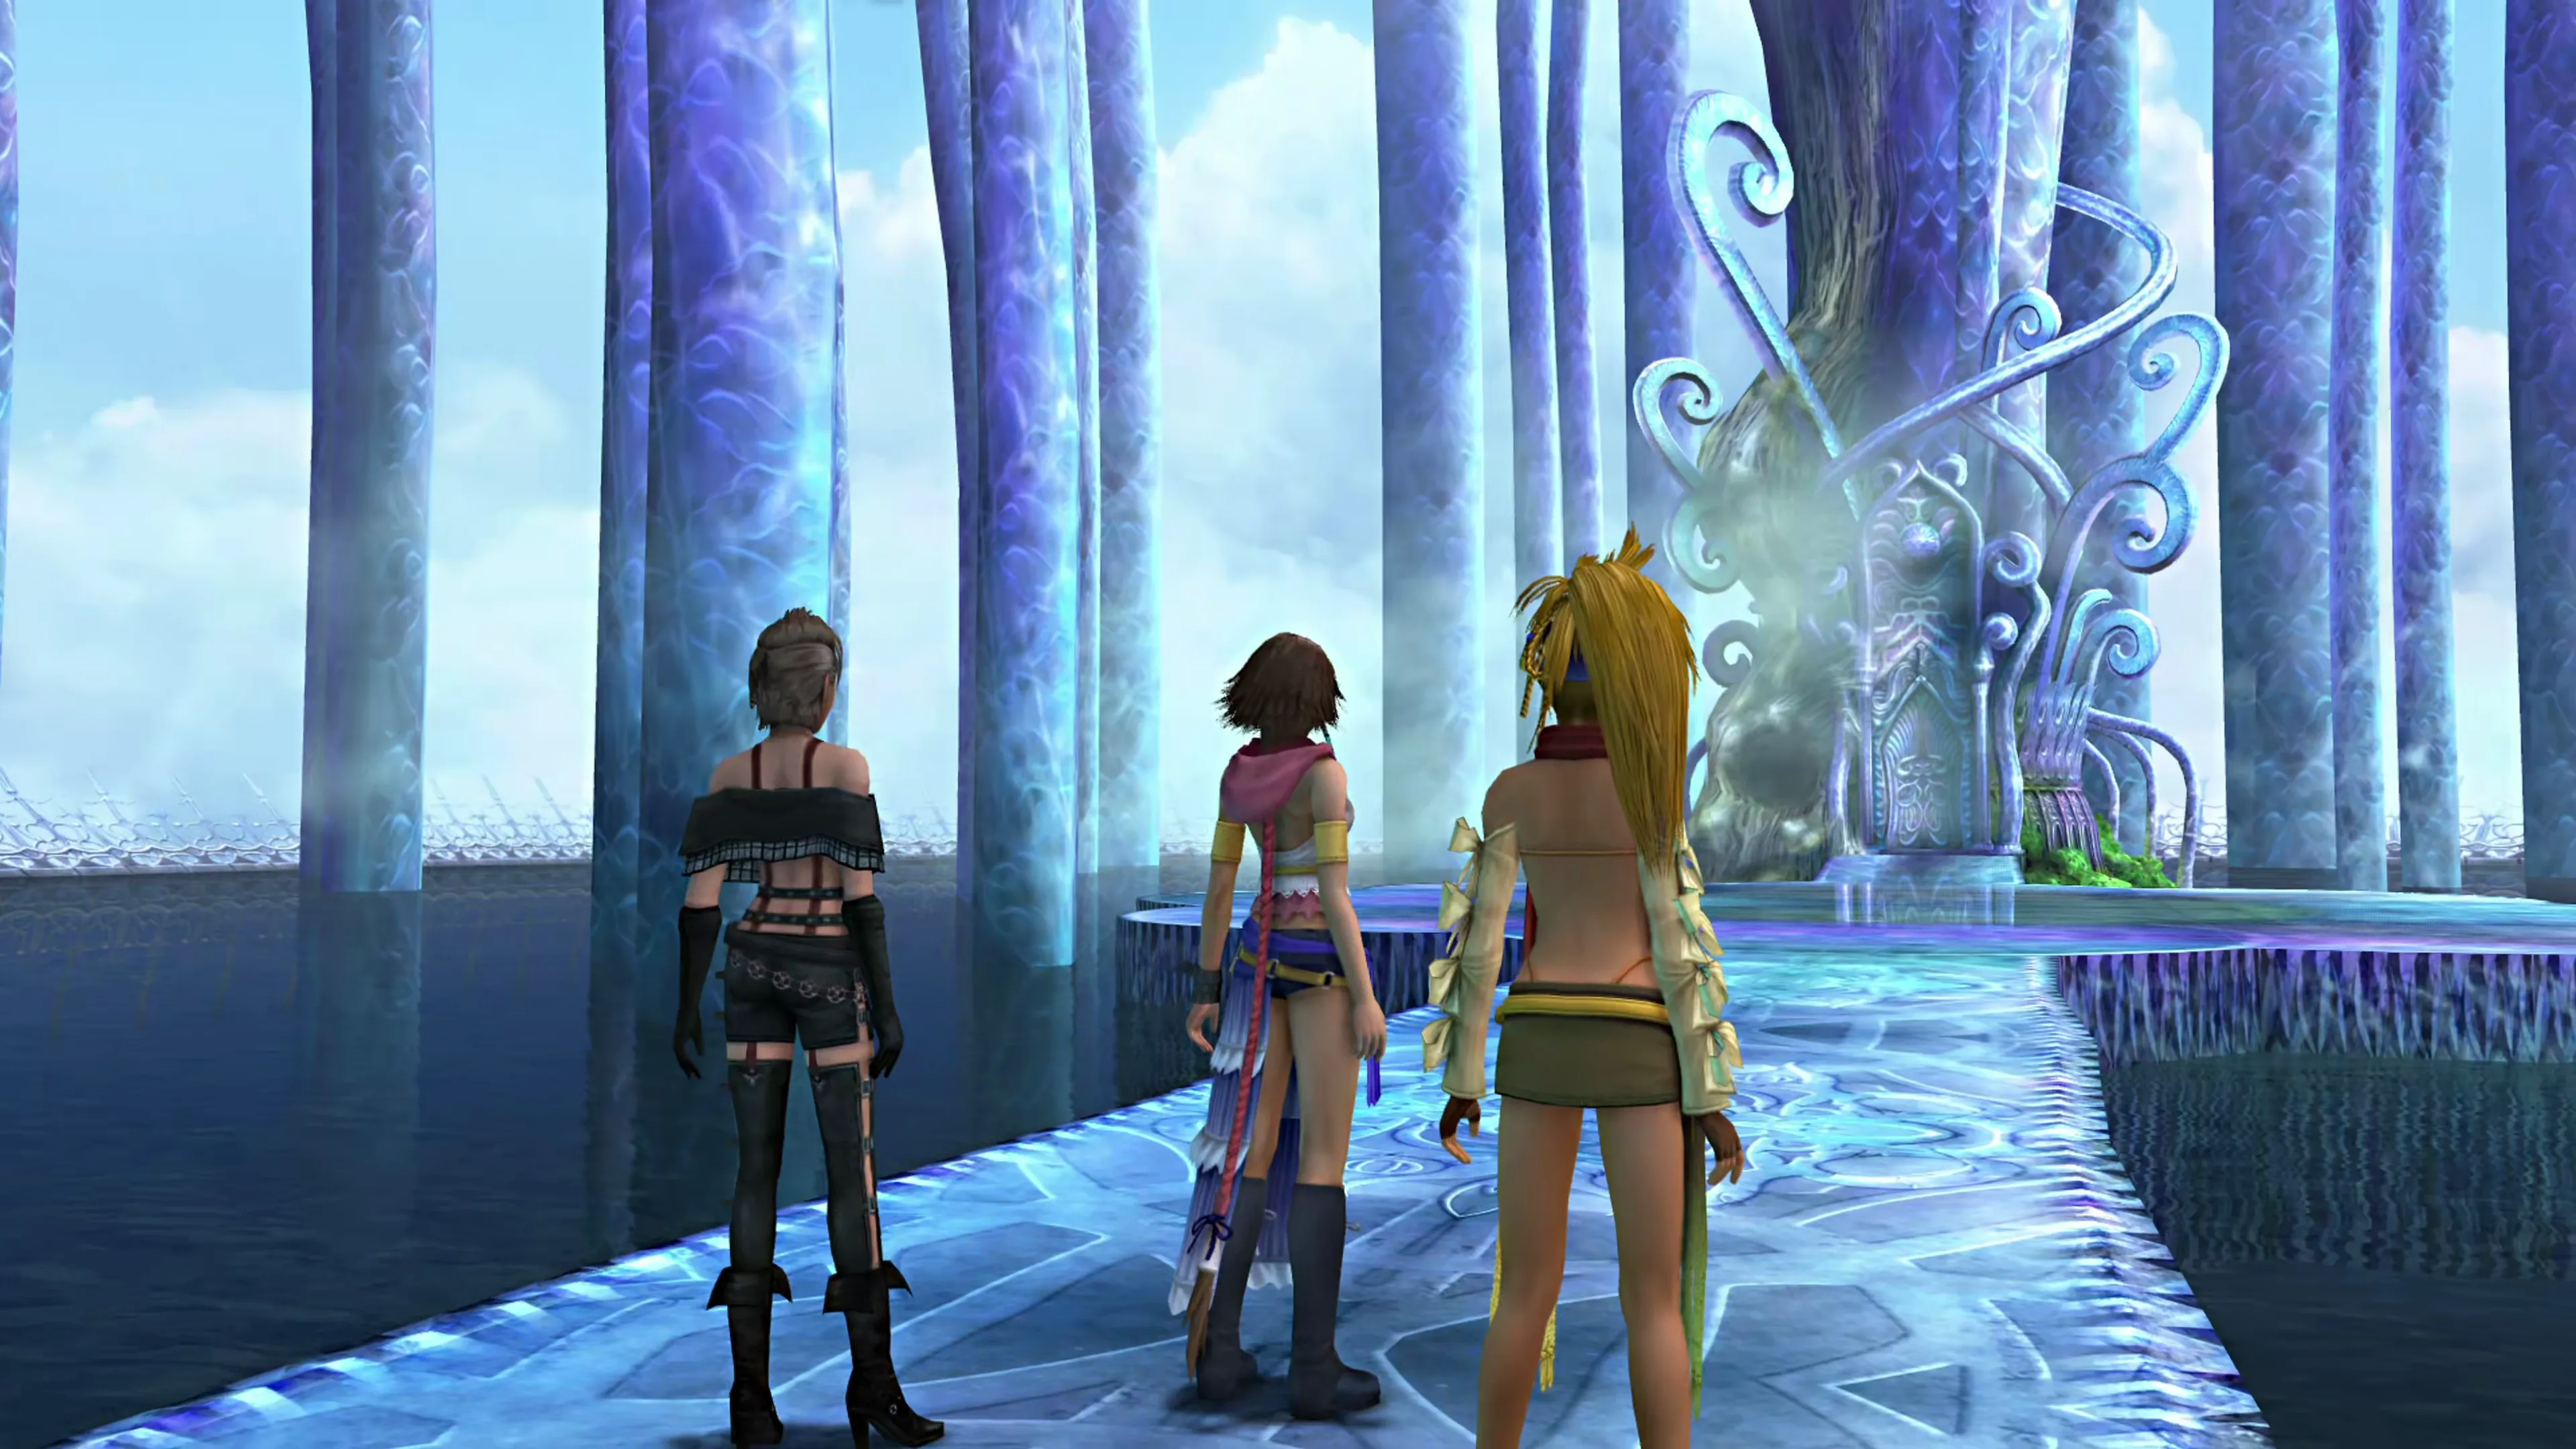
Ascend the ruin steps and save your game at the Save Sphere. You should get into the habit of creating new save files so that you can backtrack to different parts of the game. If you’re playing the HD Remaster version of the game, you can save up to 200 different save game files.
Continue climbing up and grab the treasure chest for a Muscle Belt accessory. Keep going up a bit further for the next boss battle.
Boss Battle
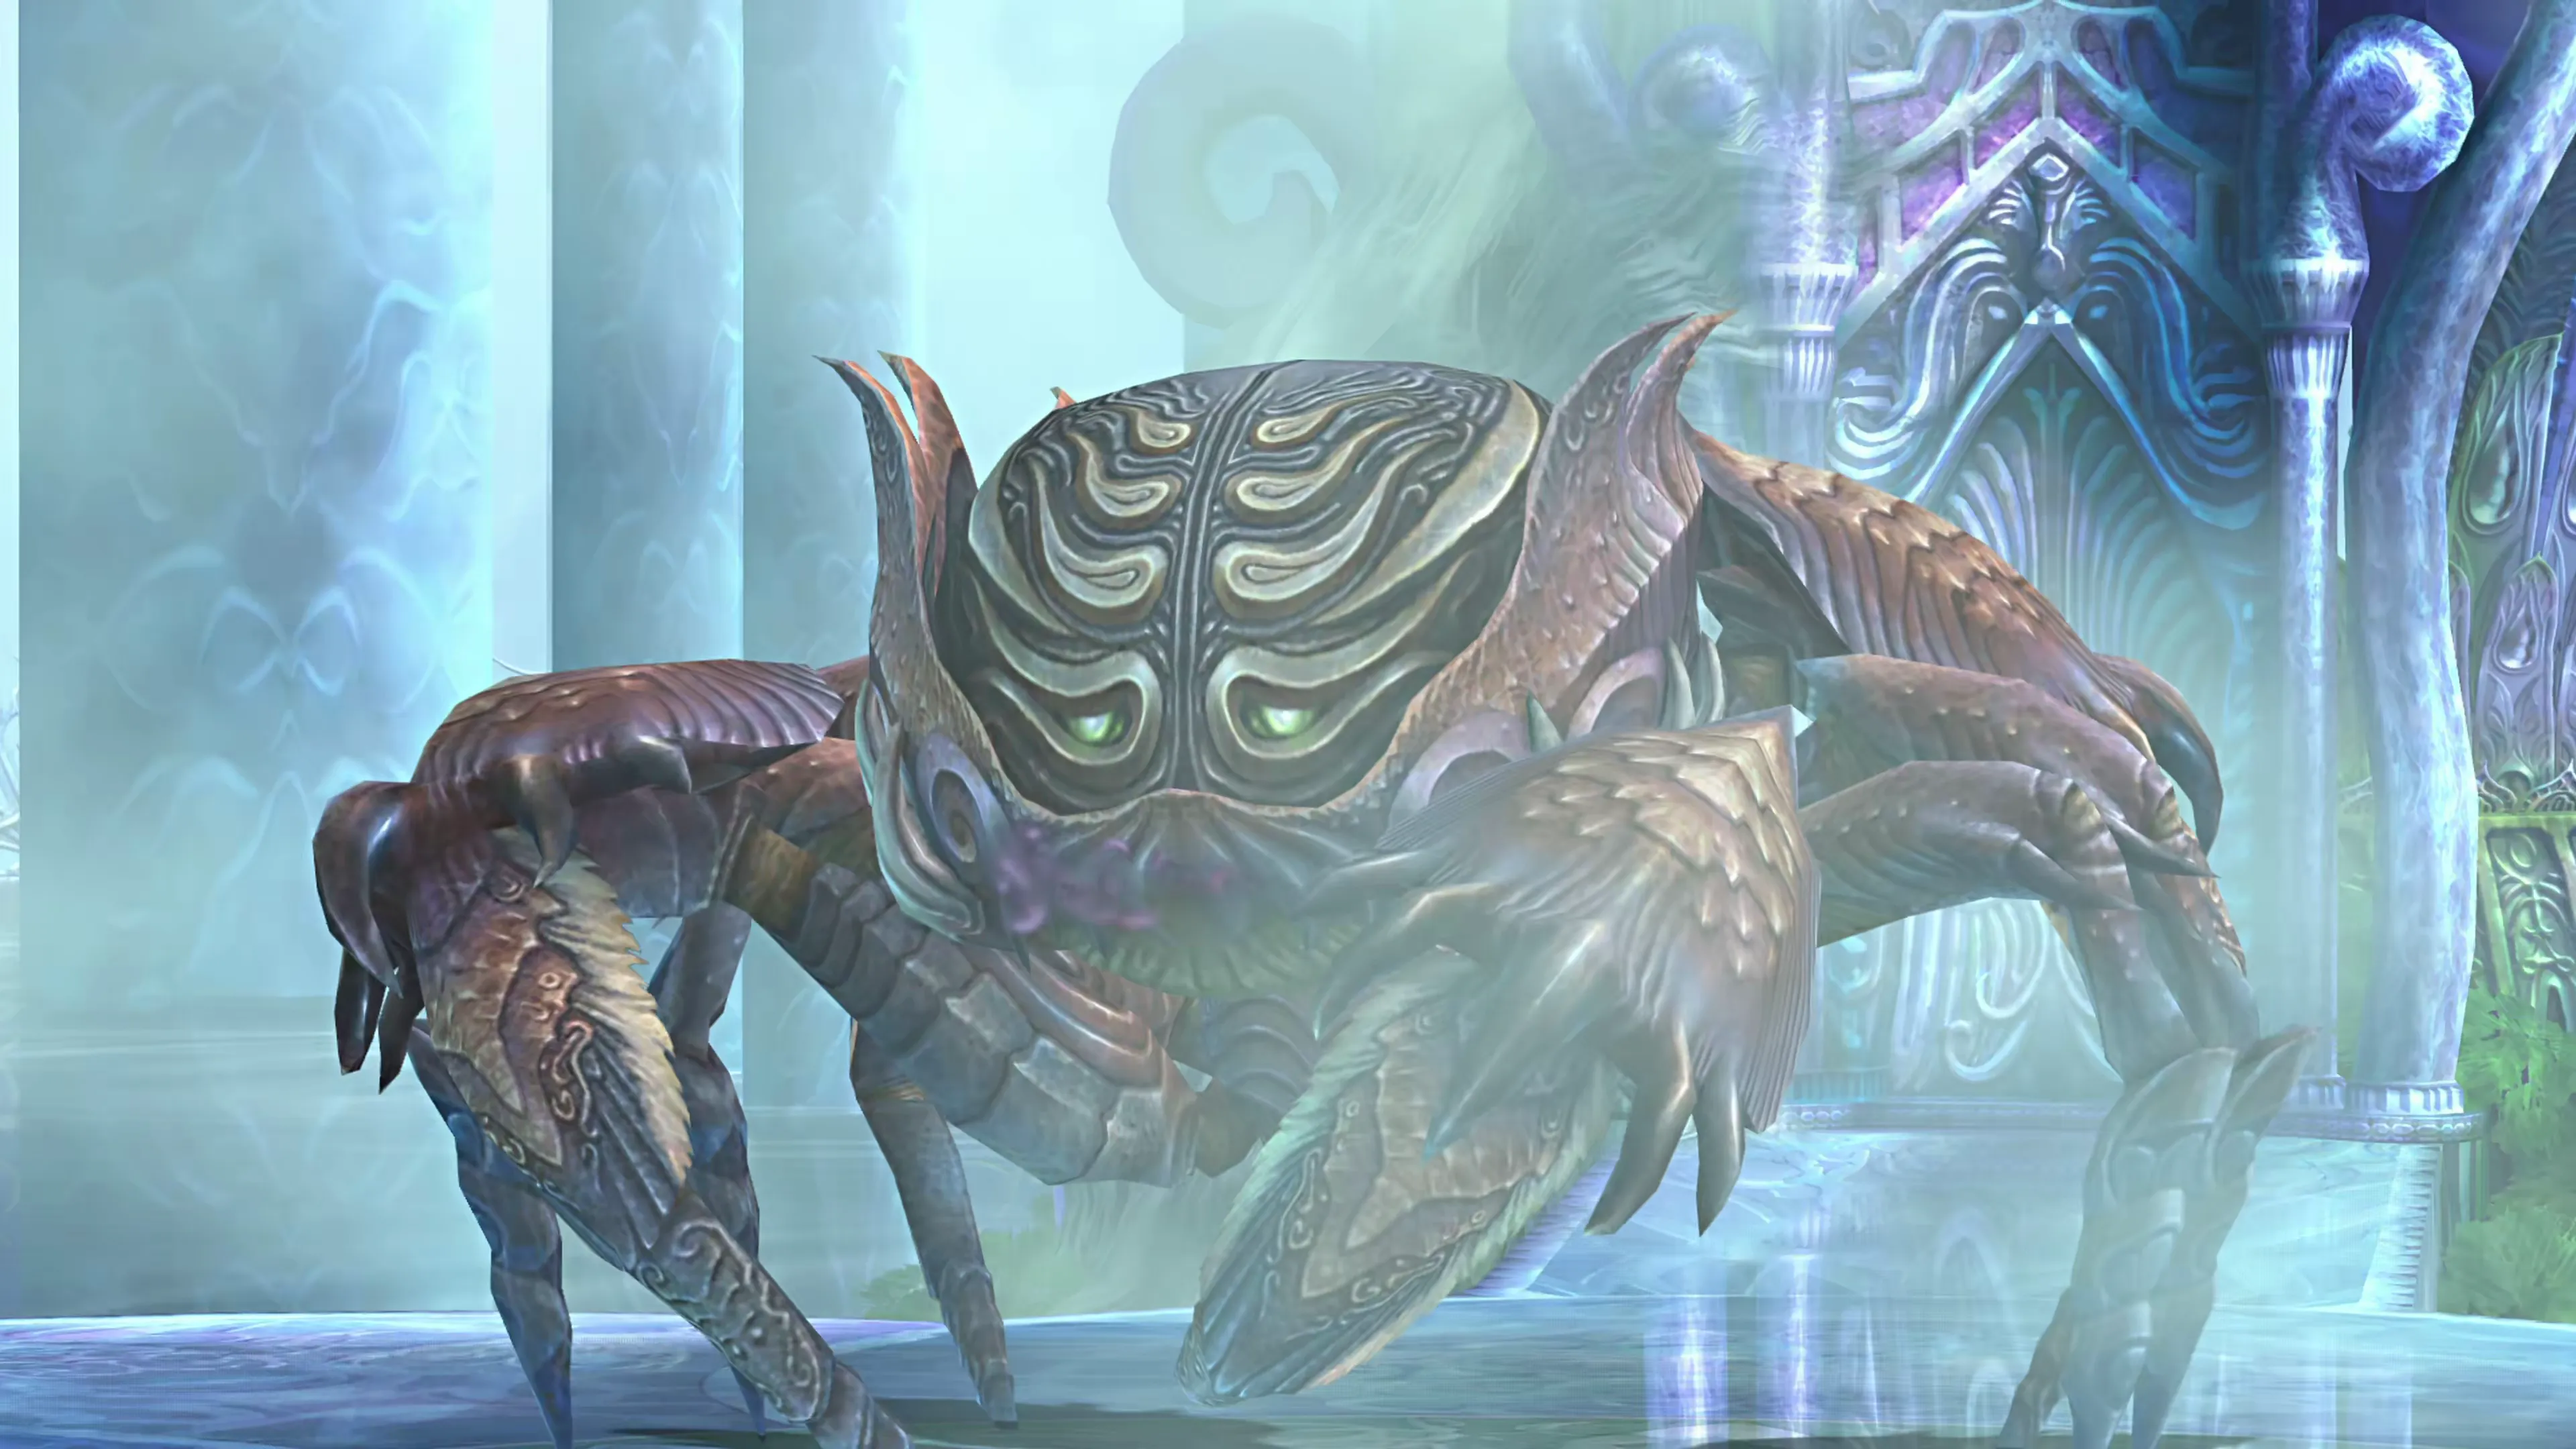
One more very straightforward boss for you to deal with. These are the ‘early game’ fights though, where most players are still learning the mechanics of the game, so these fights are meant to be a bit easier in the first chapter. The only change for this particular battle is that Boris may do enough damage to one or more of your party members to warrant the use of a Potion to heal up their HP. Pull open the  Item command and select one from your inventory if you need to.
Boris only has 480 HP and two attacks: “Sticky End,” which will hit all party members for around 50 damage and inflict  Stop, and its regular claw attack, which attacks twice for around 20-30 damage per hit.
| Enemy | HP | Steal | Drop |
|---|---|---|---|
| Boris | 480 | Remedy (common)Remedy x2 (rare) | Star Pendant |
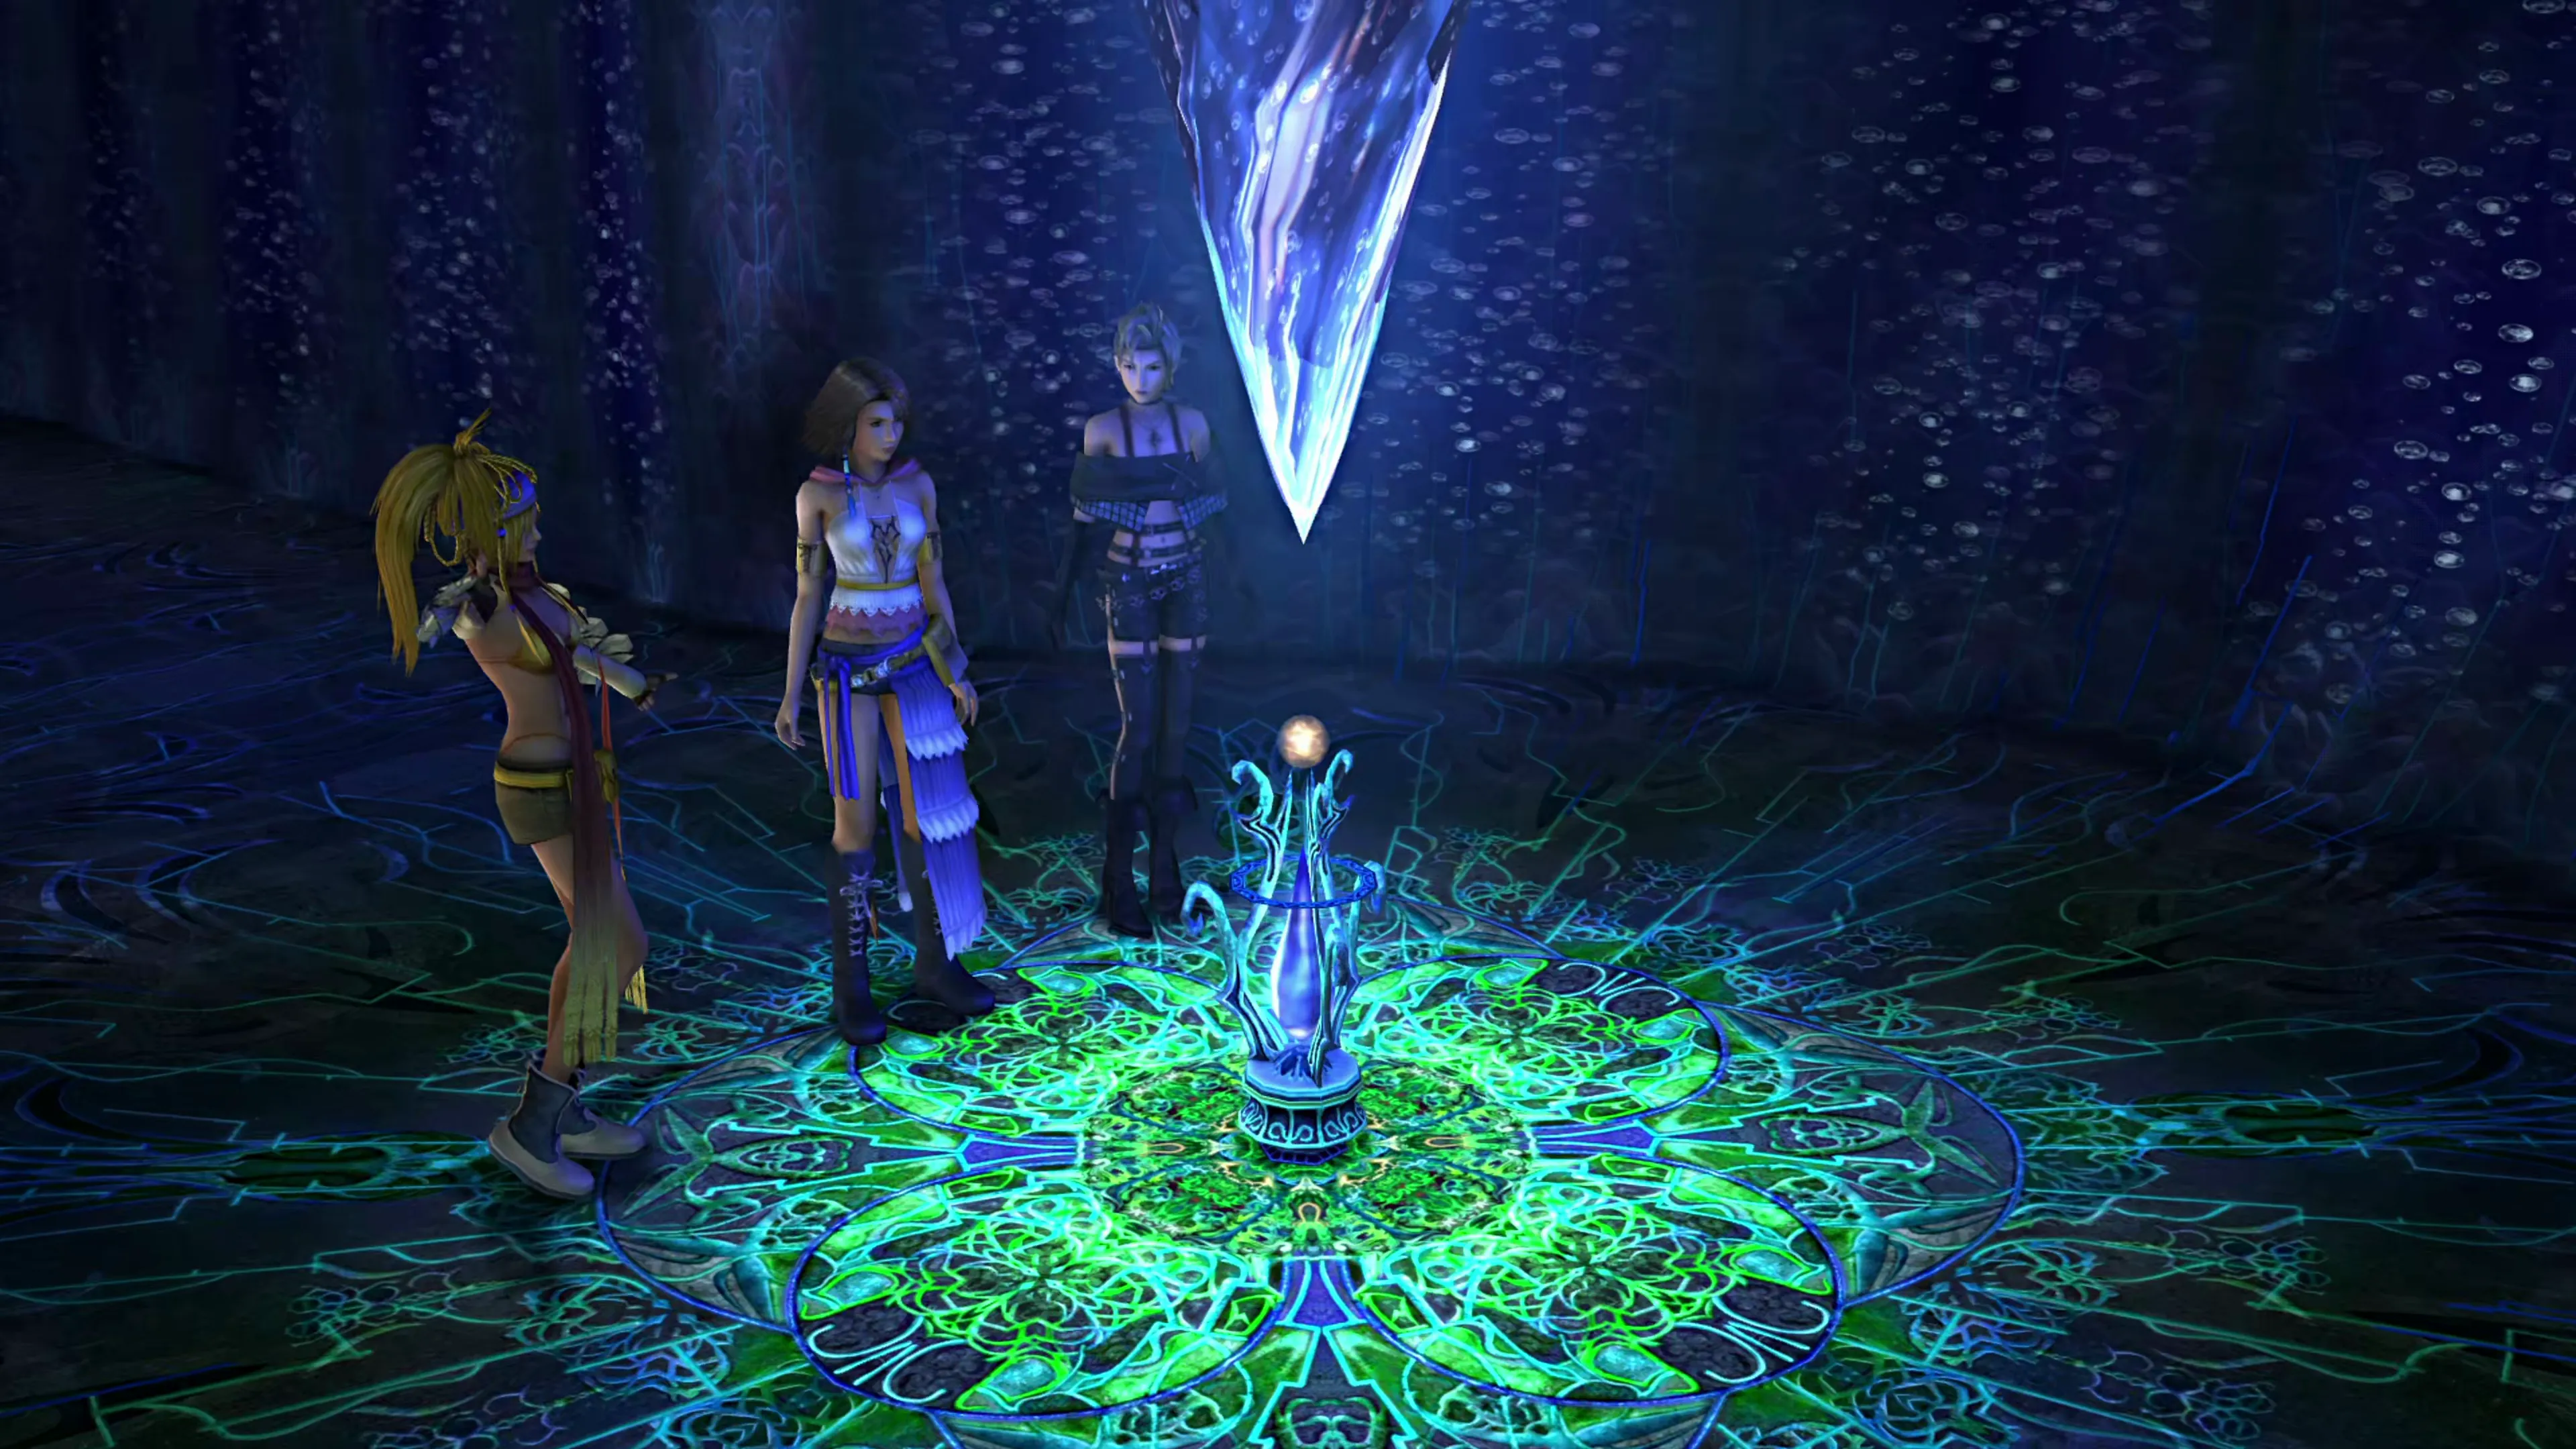
Another cutscene plays after the fight. Leblanc will mention that the sphere is “just a dud.” That’s the end of the Mission; exit the room and Brother and Buddy will pick up the crew with the Celsius.
Celsius
The first thing you should do is speak to Brother on the floor of the bridge.
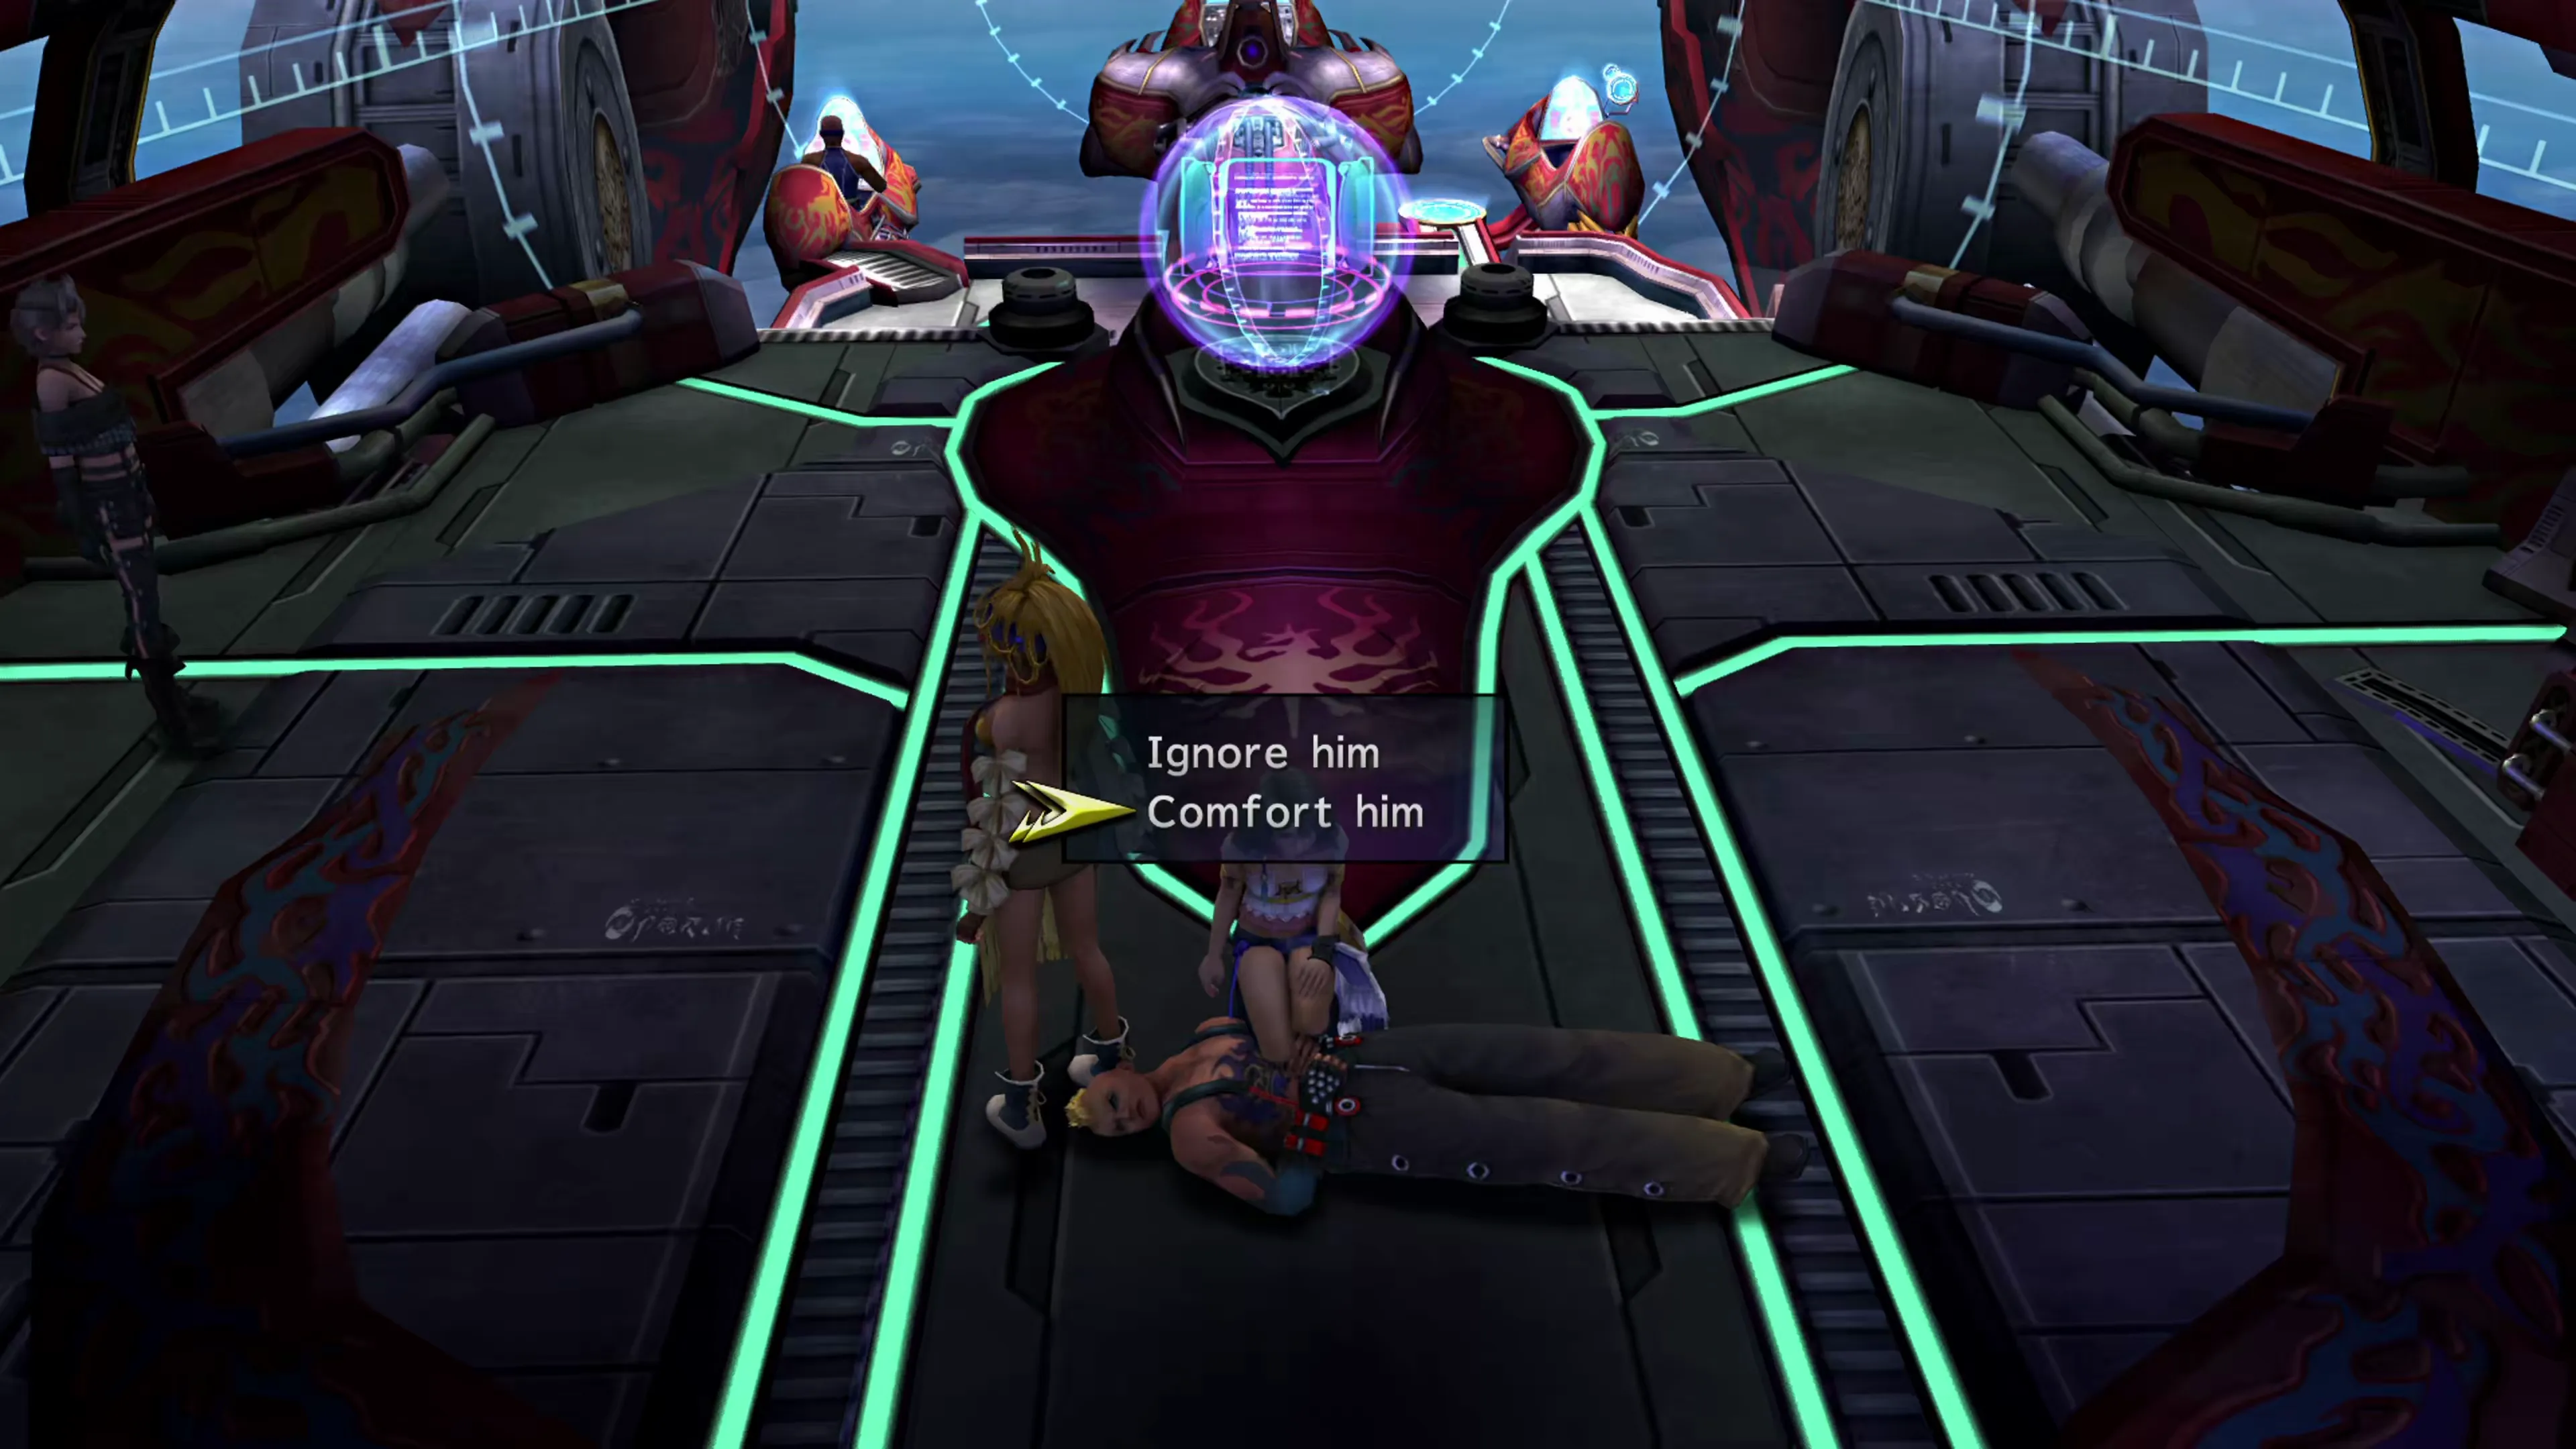
Speak to Brother before you speak to Shinra. You’ll have two options when interacting with him on the floor:
- “Ignore him”
- “Comfort him”
Selecting the “comfort” option triggers dialogue that adds Story Completion Percent. If you speak to Shinra or don’t offer comfort, Brother will join the conversation with Shinra, and you lose the opportunity.
With that out of the way, you can talk to Shinra to learn more about the sphere. You’ll receive a brand-new  Black Mage Dressphere once the video concludes. The action will pick up in the Celsius before you even get a chance to make adjustments to Garment Grids or equip the new Dressphere, but you can read up more on how Black Mages work using the link below:
Dresspheres
Yes, the Black Mage Dressphere functions just like how Black Mages do in every other Final Fantasy game (including Final Fantasy X), but you can read more about it here.
Two Hotspots will be flagged on the map: one on Besaid Island and one in the Zanarkand Ruins. Your next destination is Besaid Island!
Checking the “Mt. Gagazet - Floating Ruins Complete” box adds the Story Completion Percent for the automatic scenes in Mt. Gagazet - Floating Ruins.