

Luca
After the opening concert cutscene, you’ll find yourself in control of two of the three main characters of Final Fantasy X-2: Rikku, whom you’re already familiar with, and a new character named Paine.
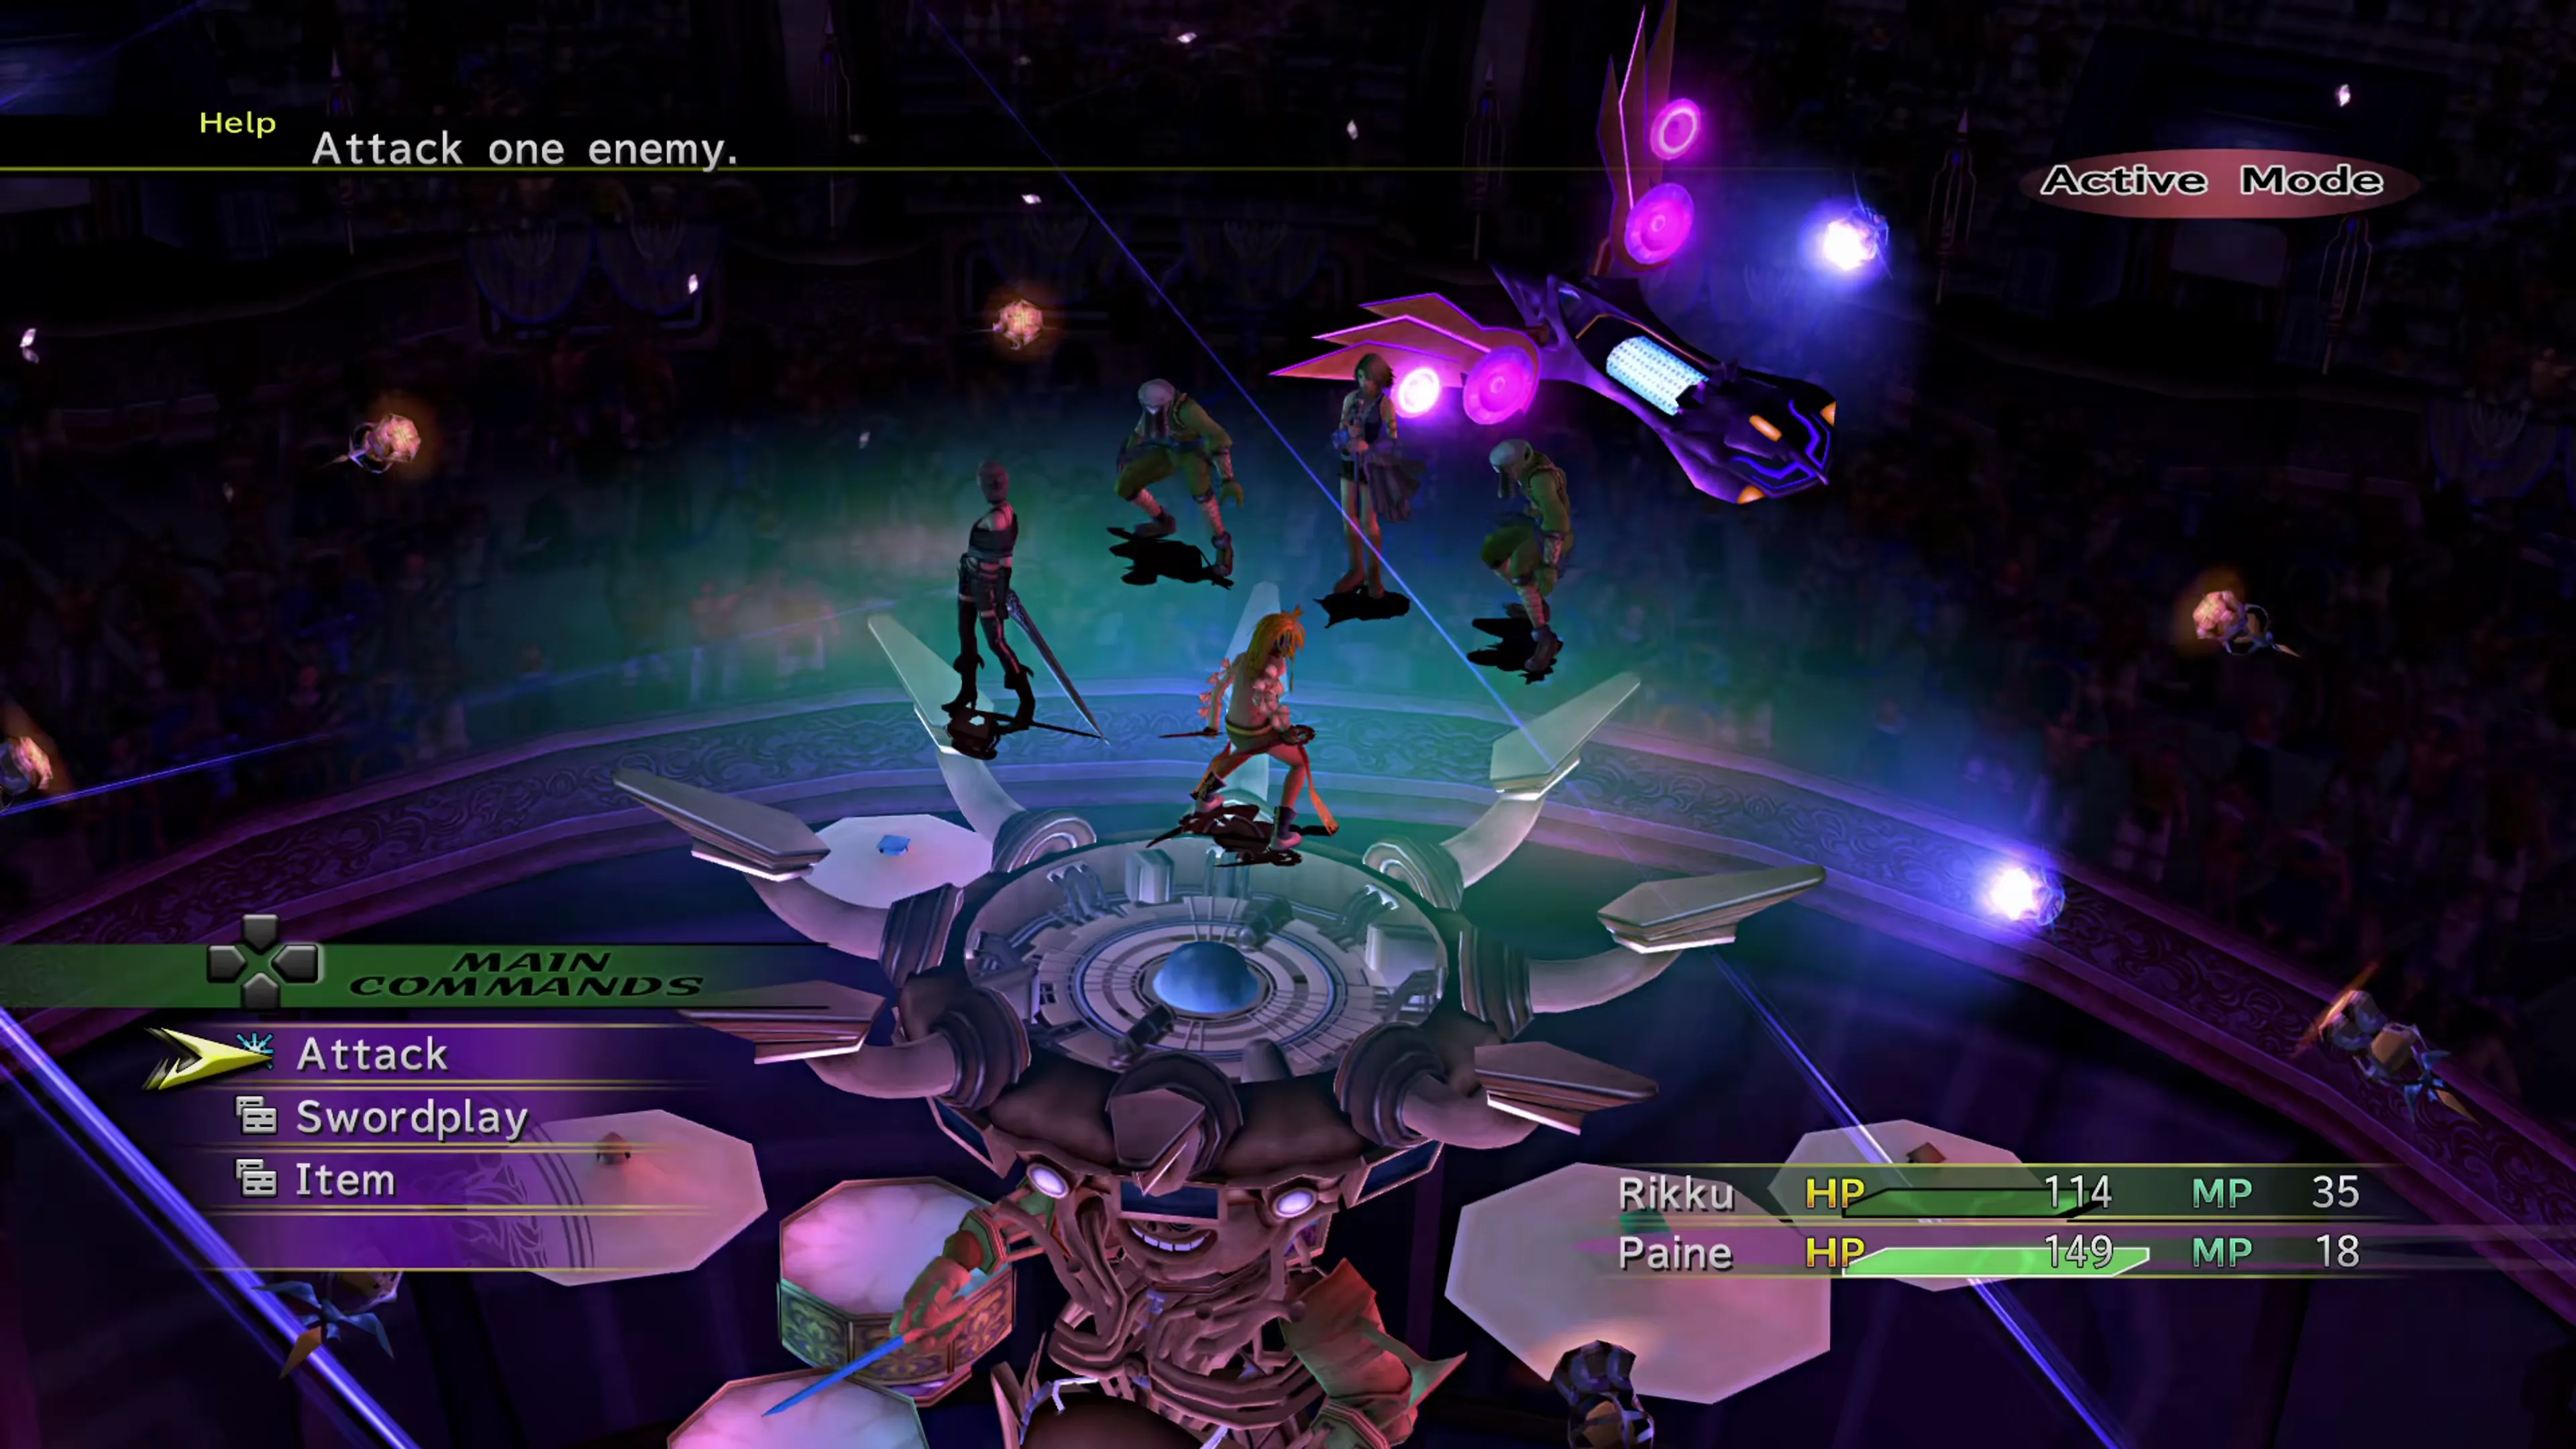
The opening battle at center stage involves defeating two Goon enemies and someone identified as “????” in the battle menu. The Yuna lookalike will start by buffing the Goons, and then will move on to casting  Thunder on your party members. Because this is the opening fight of the game, it’s very easy, and all you have to do is select the
  Attack option. Using Paine’s
  Swordplay abilities is overkill, but you can have Rikku steal a
  Hi-Potion from “????” if you want.
Rikku and Paine will follow “Yuna” down the stairs at the entrance and around to the Docks.

Dock 1
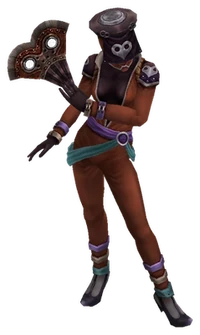
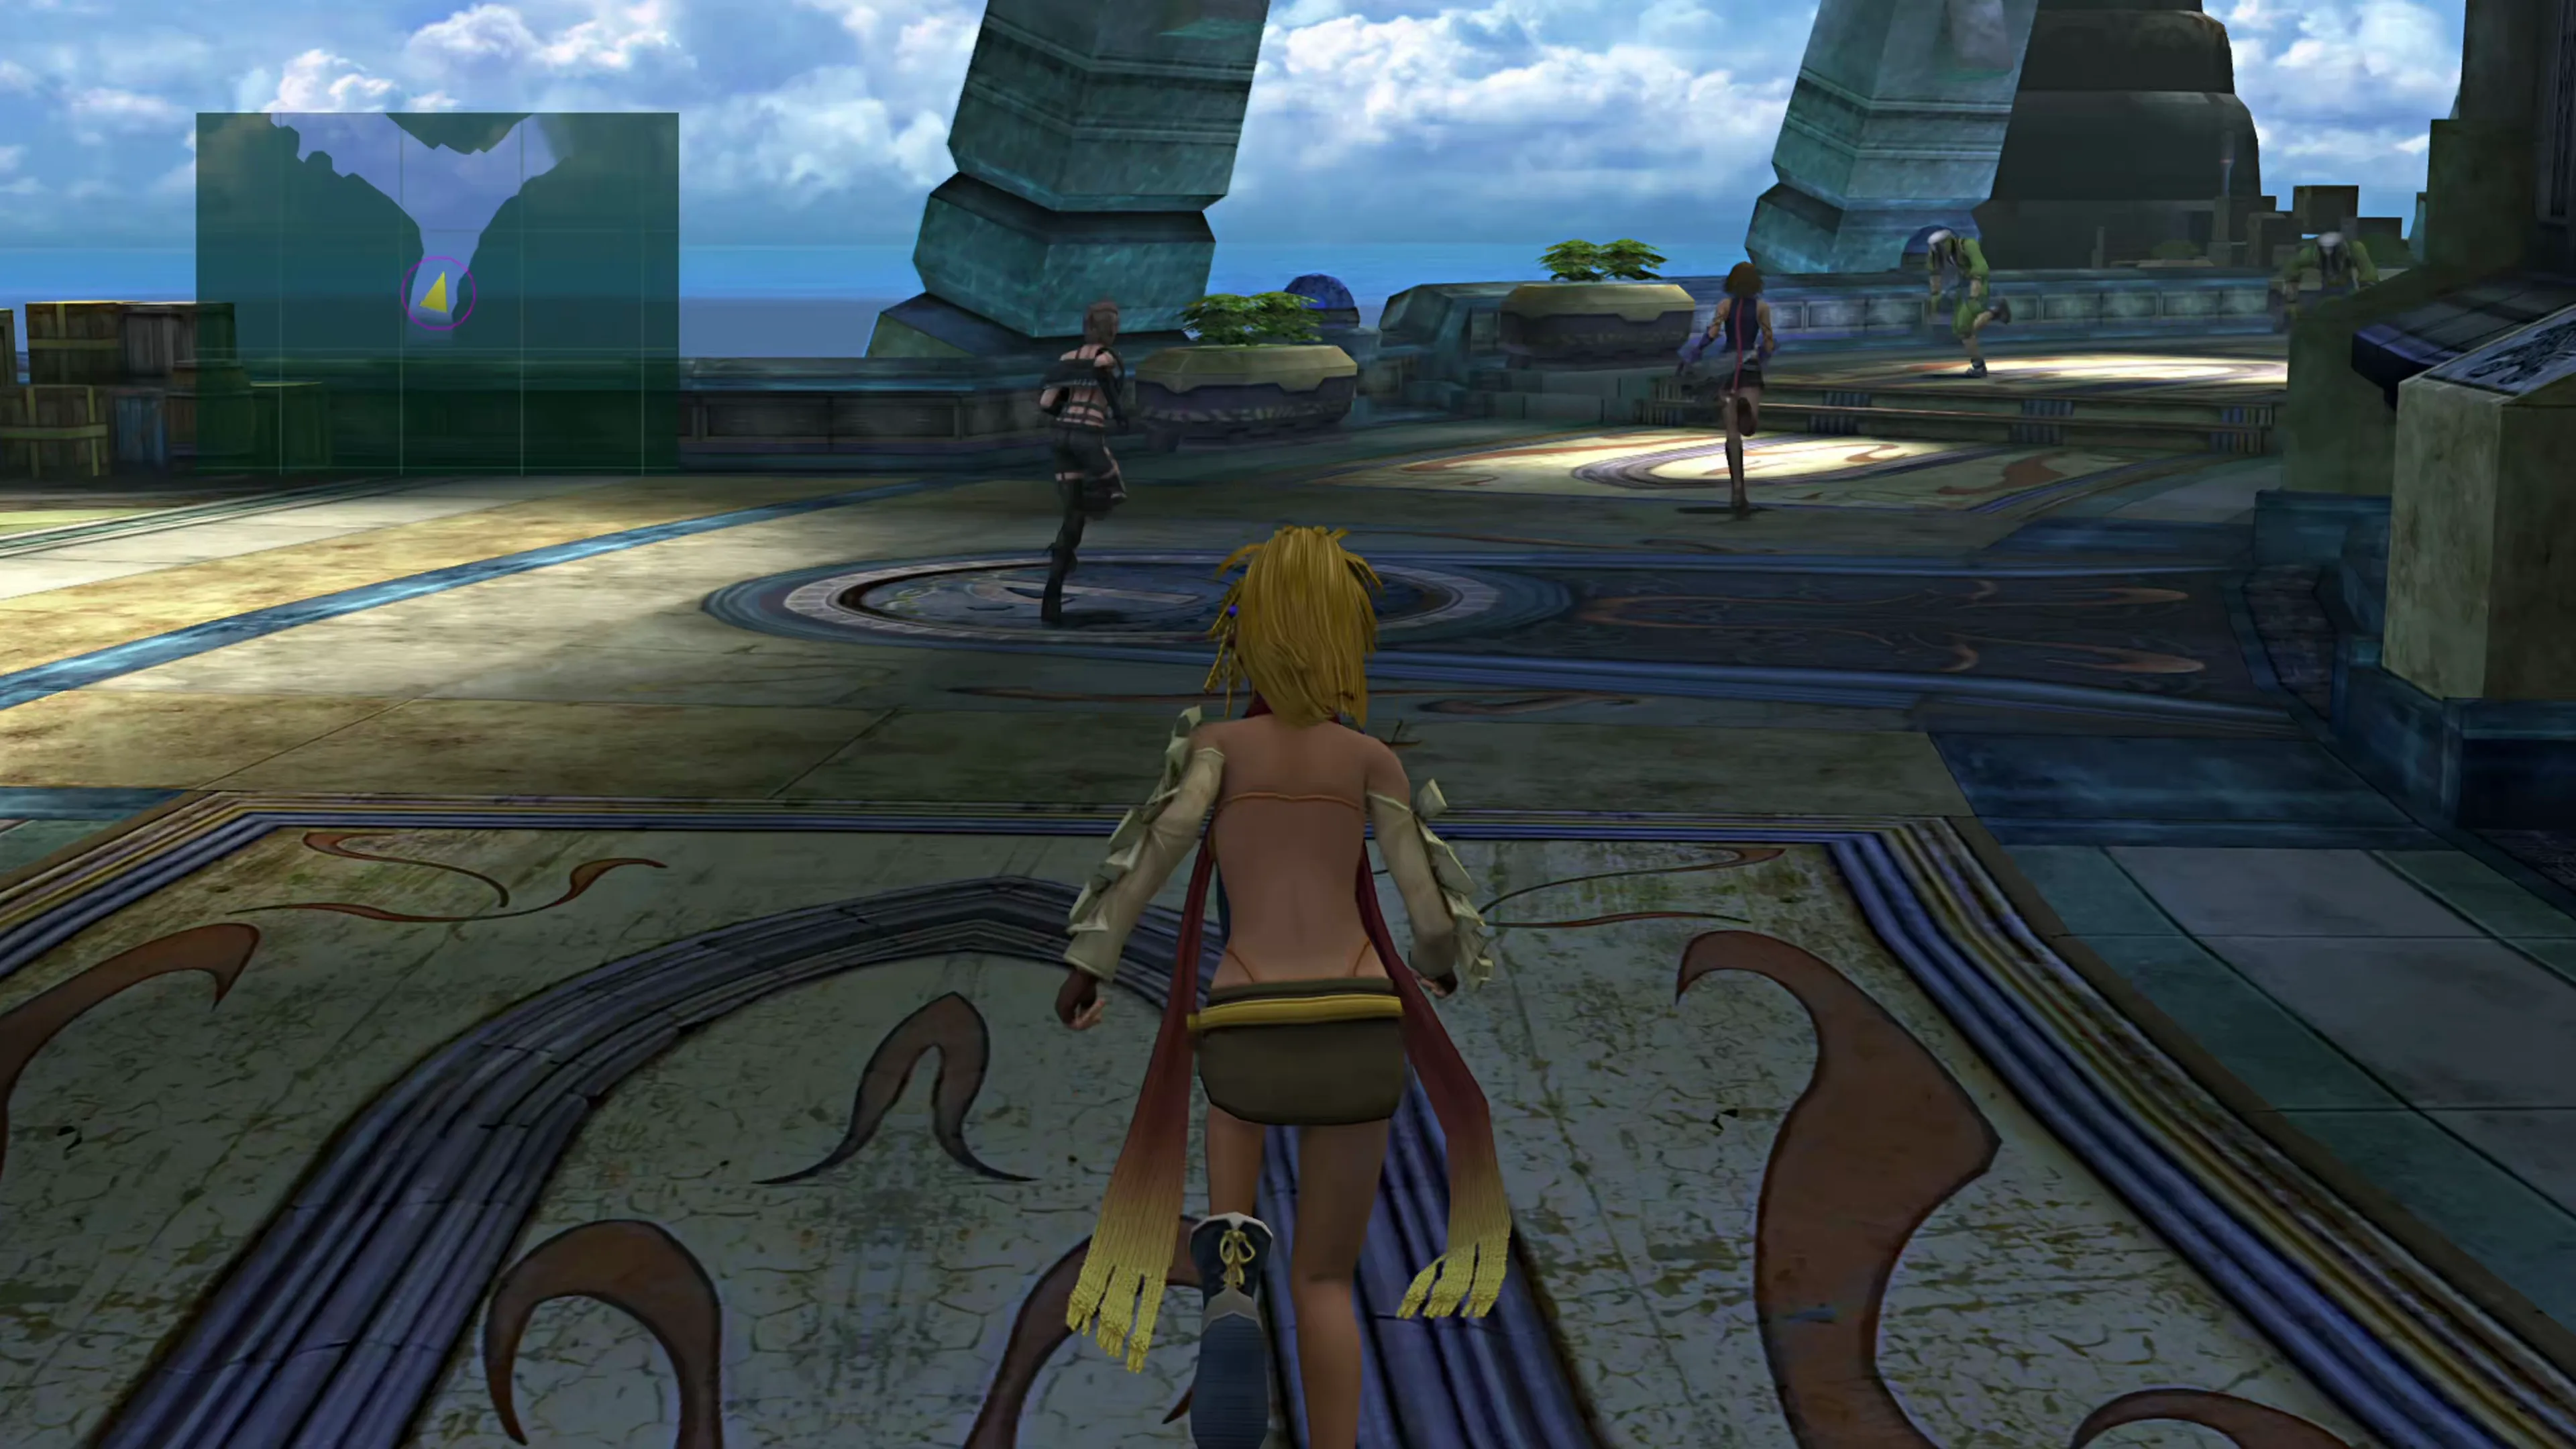
“Yuna” (or “????”) will immediately run forward into the next section of the Luca docks. Don’t linger in this area too long because the Goons will continue to spawn and respawn as you make your way into the next dock area.
Helpful Hint
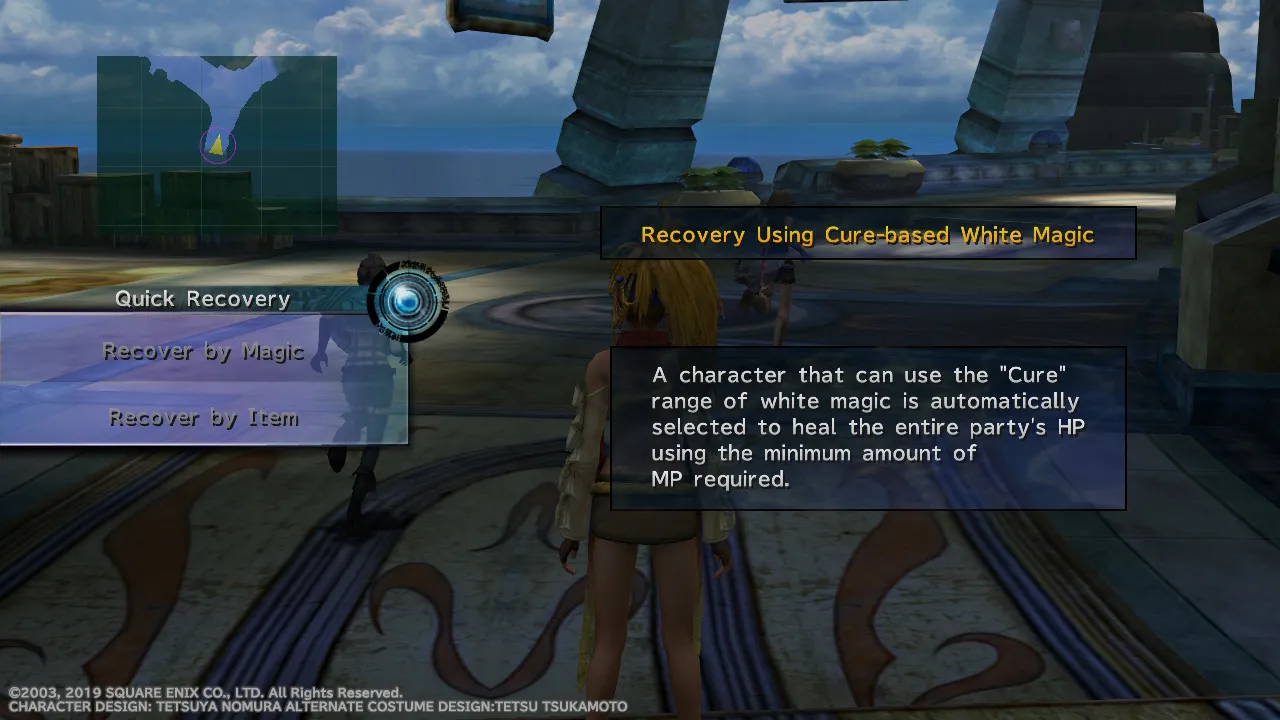
The Nintendo Switch version of the game has two extra menus that you open by swiping across the touch screen: Quick Recovery, for healing your party outside of battle, and Spherechange Effects, for shortening or turning off the Spherechange animation in battle. If you’re playing on Switch, set the “Game Version” selector in the side menu to Nintendo so the button prompts in this guide match your controller. Check out the Version Differences and Game Modes section for more information.
Dock 2
You’ve reached the second set of docks, and you have already reached the first important stopover point for players who are looking to achieve 100% Story Completion. The Story Completion elements of the guide will be identified in alert windows like the one below throughout the walkthrough and as you progress through the game:
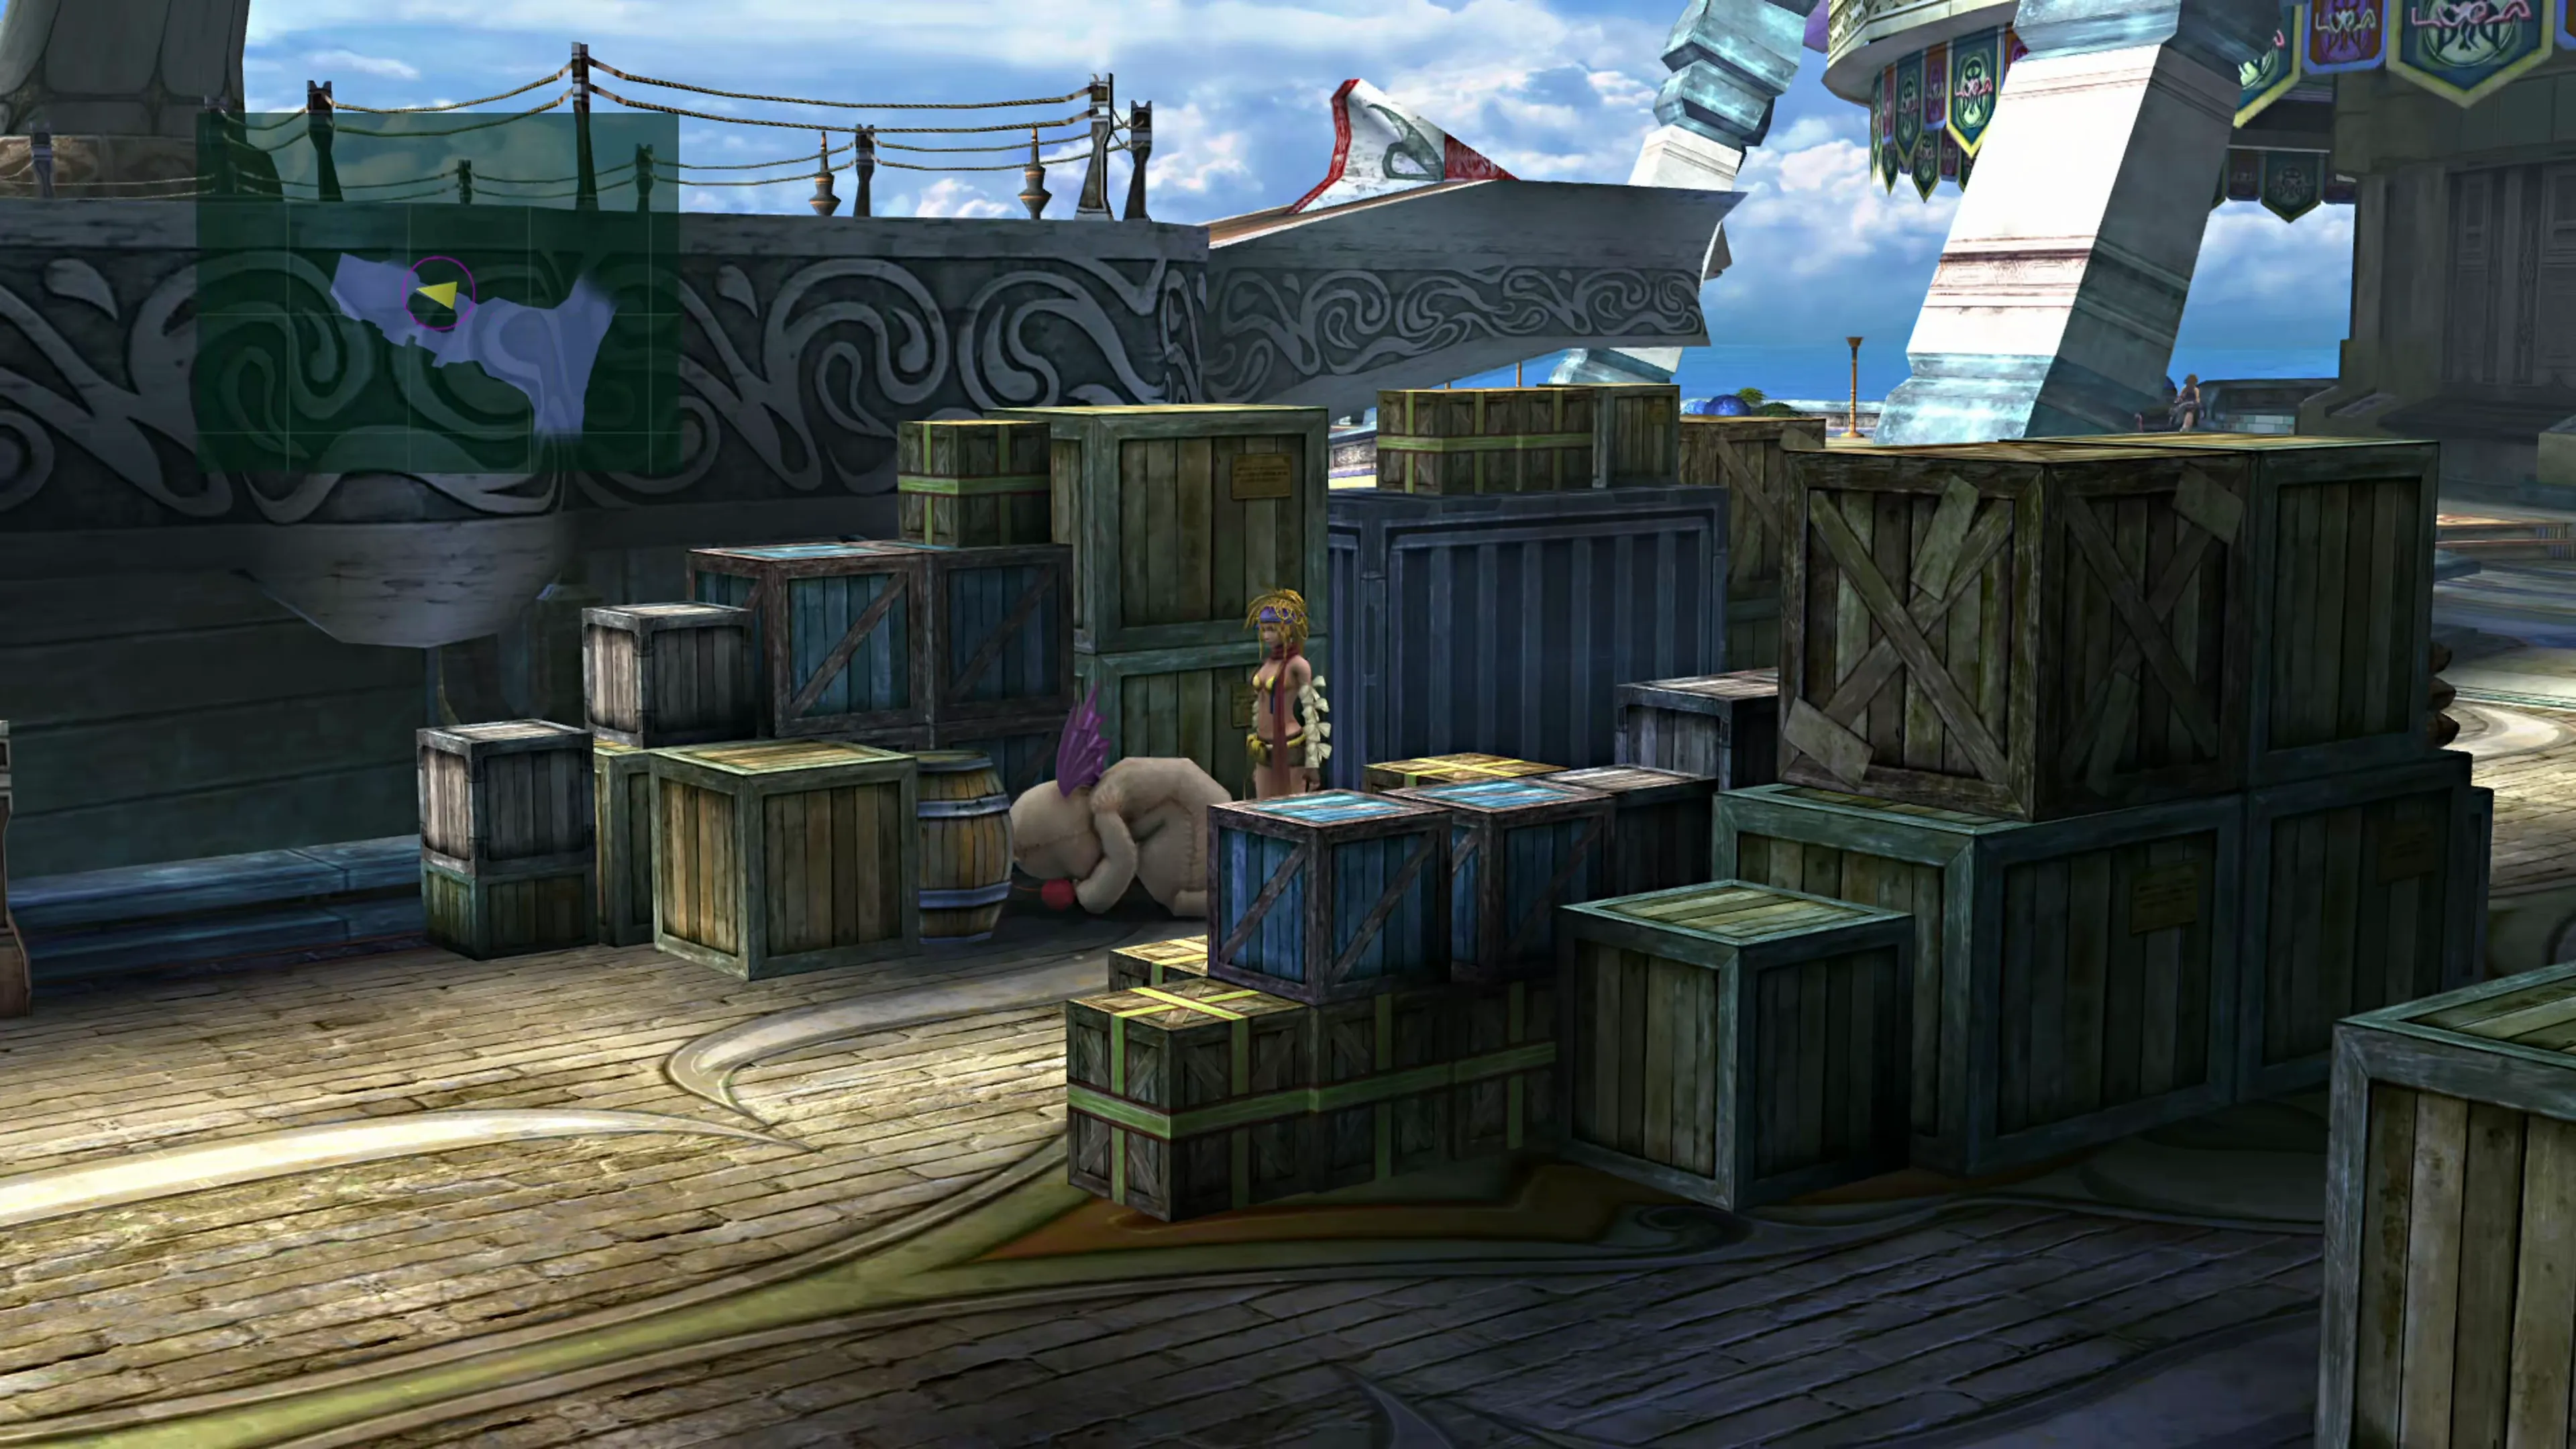
You won’t earn any Story Completion Percent for interacting with the Moogle here on Dock 2, but talking to it before you proceed to Dock 3 triggers an extra scene that will play out later on in this chapter. You’ll have to go out of your way now, but make sure you interact with it before you proceed to Dock 3. At least as a little bonus for the extra battles you’ll have to endure, this interaction with the Moogle will refill Rikku and Paine’s HP and MP.
This was covered in the Introduction section, but as a reminder, if you’re interested in learning more about Story Completion Percent, check out the Story Completion section of the guide. You can use the “expected total” and in-game total displays on jegged.com to keep track of your progress.
Speaking of which, it’s worth mentioning that the Story Completion Tracker in this guide will already be factoring in mandatory scenes that you have watched. Your “expected total” will already be at 0.6% at this point in the game because the opening scenes of the game award you some “Story Completion Percent.”
Helpful Hint
None of this is required. The checkboxes throughout this guide are here for players chasing 100% Story Completion, and they’re saved in your browser so you can pick up where you left off. If you would rather just play through the story, ignore them entirely and read the walkthrough as you go. Nothing in the guide depends on them being ticked.
Keep the chase going around the corner to the next Dock area.
Dock 3
After a short cutscene, you’ll automatically be thrown into battle against Logos and Ormi, but not before the real Yuna joins you.
Boss Battle
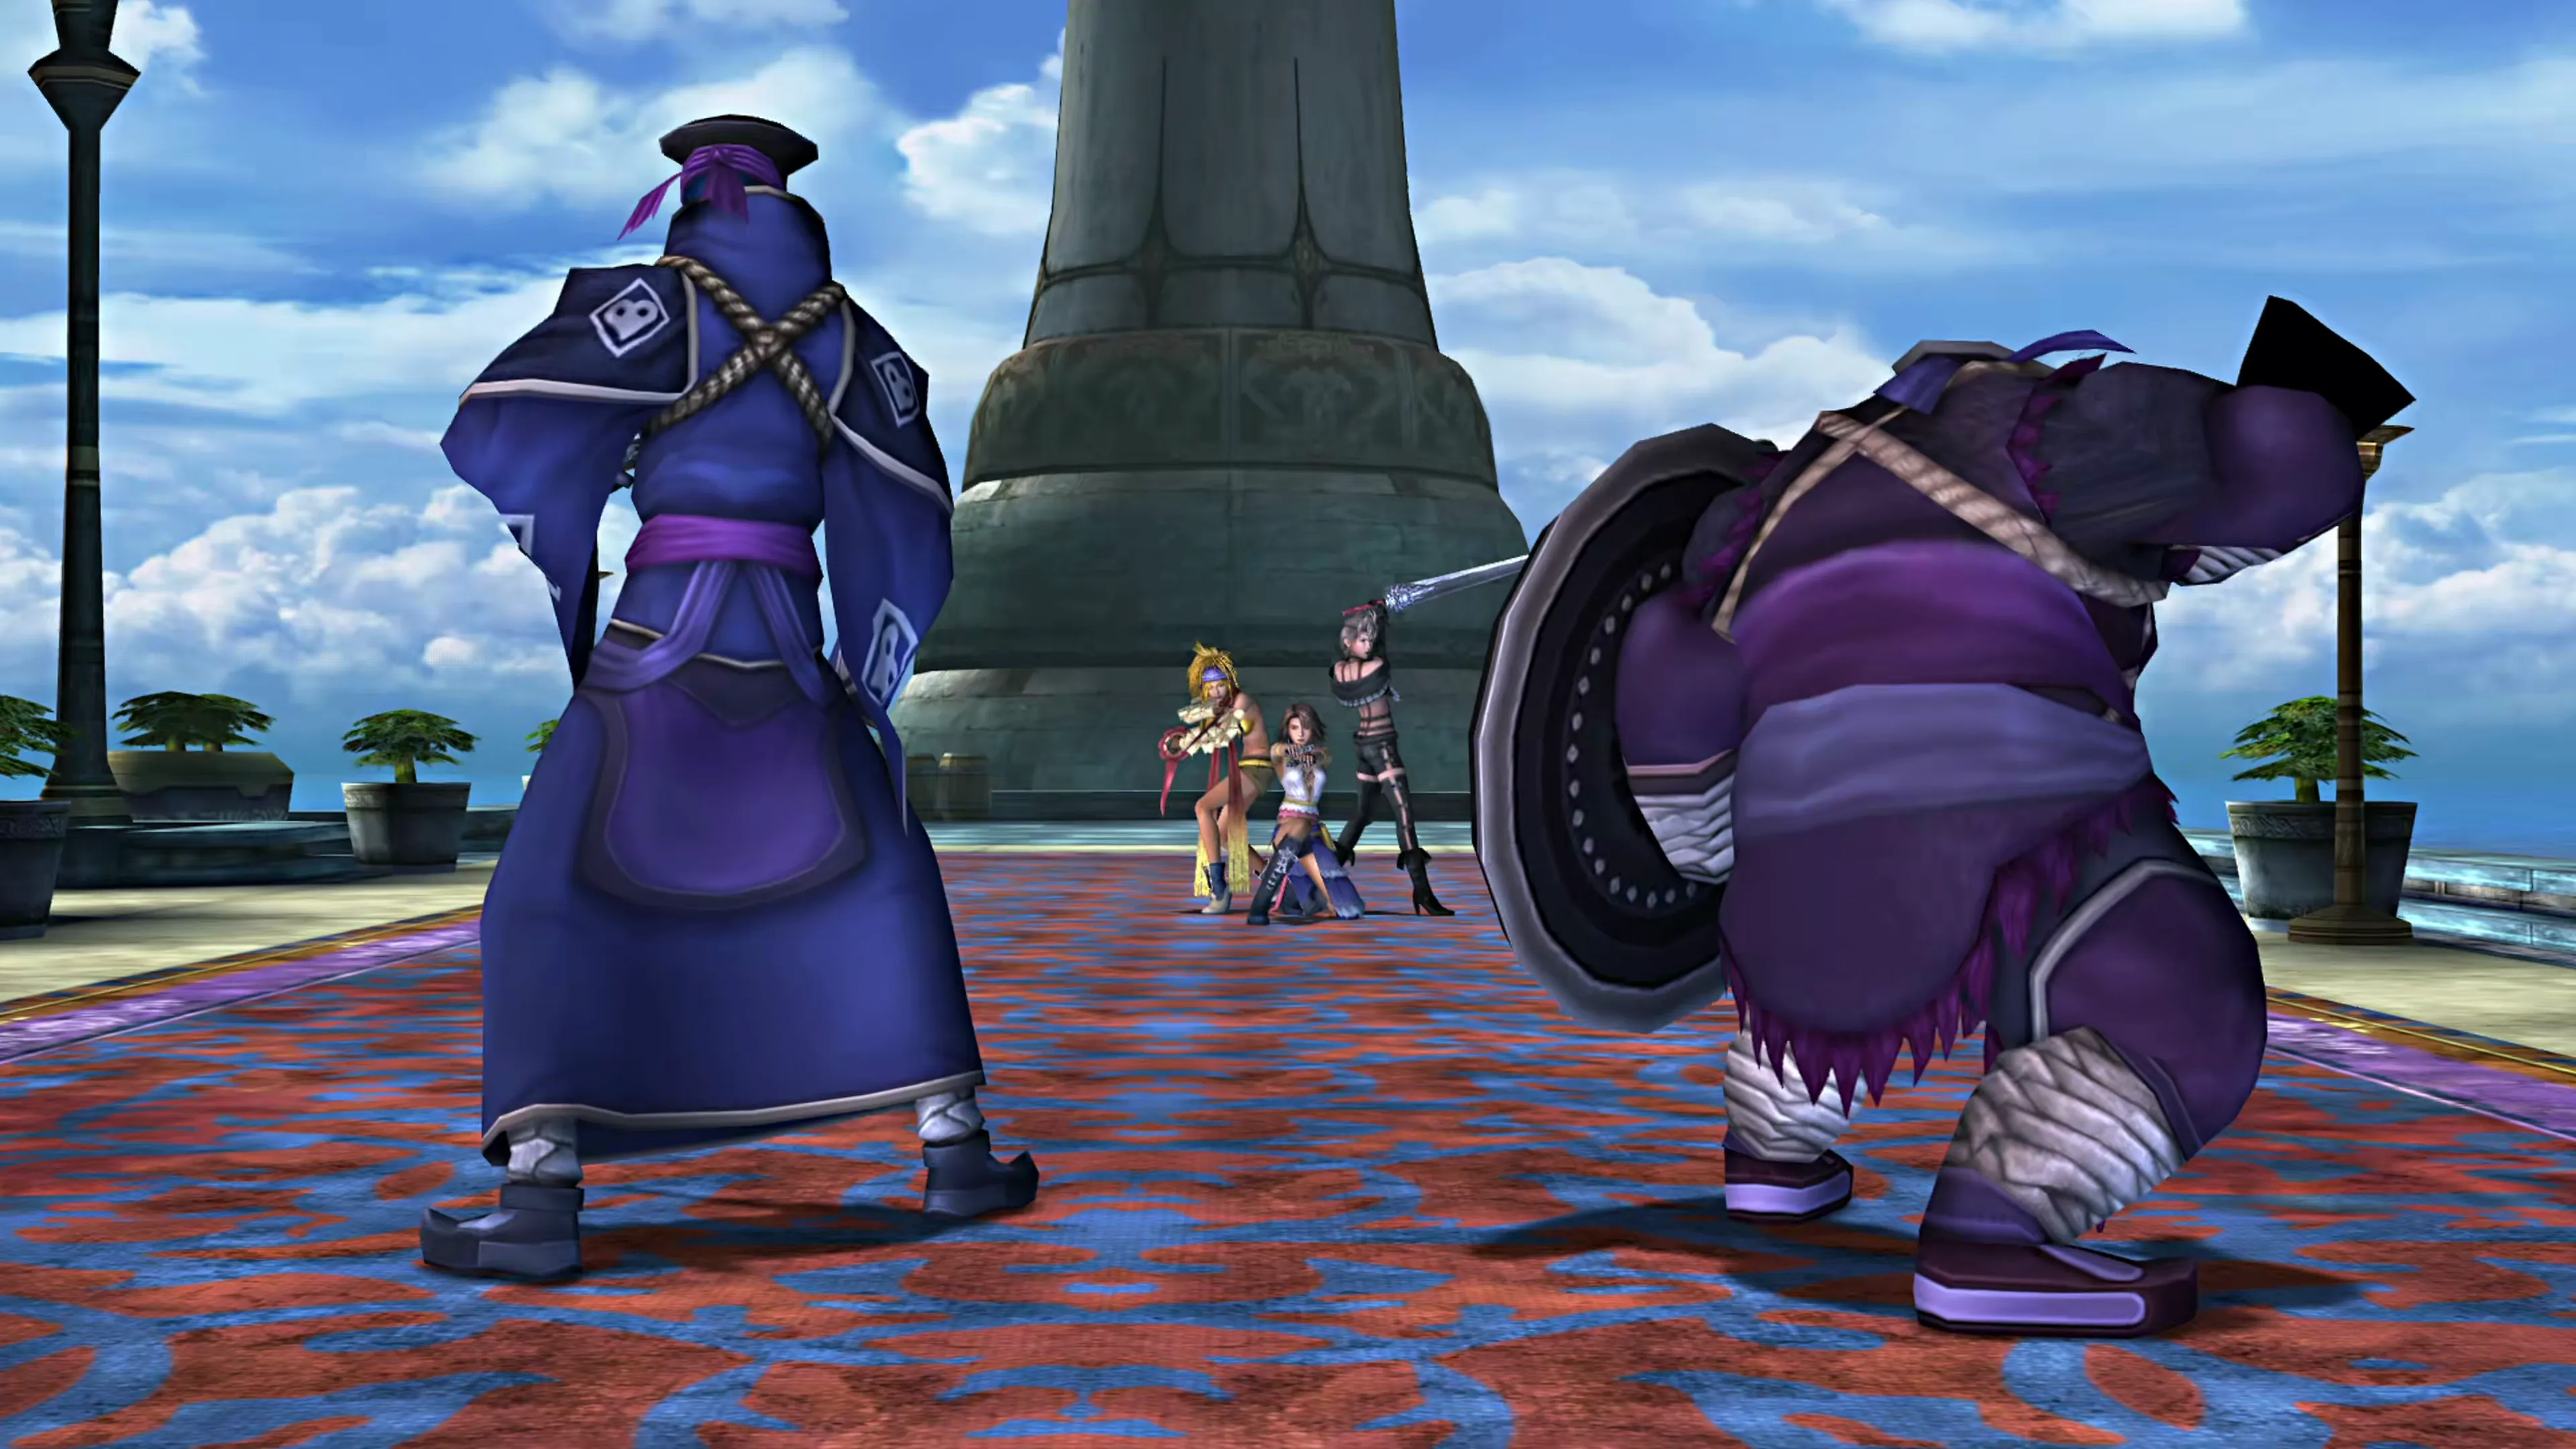
The first battle you’ll face is against Logos and Ormi on their own. This three-versus-two battle is very easy. Try to make sure you have Rikku  Steal from both of them, and then use regular attacks to bring them down slowly. You can open up the Item menu to use a Potion if any of your team members end up low on health.
| Enemy | HP | Steal | Drop |
|---|---|---|---|
| Logos | 86 |  Silver Glasses Silver Glasses | Potion (common)Phoenix Down (rare) |
| Ormi | 97 | Iron Bangle | Potion (common)Phoenix Down (rare) |
At the end of the fight, another short cutscene will play. Yuna will get her  Songstress Dressphere back, along with the
  First Steps Garment Grid, and then it’s right back into another fight.
Boss Battle
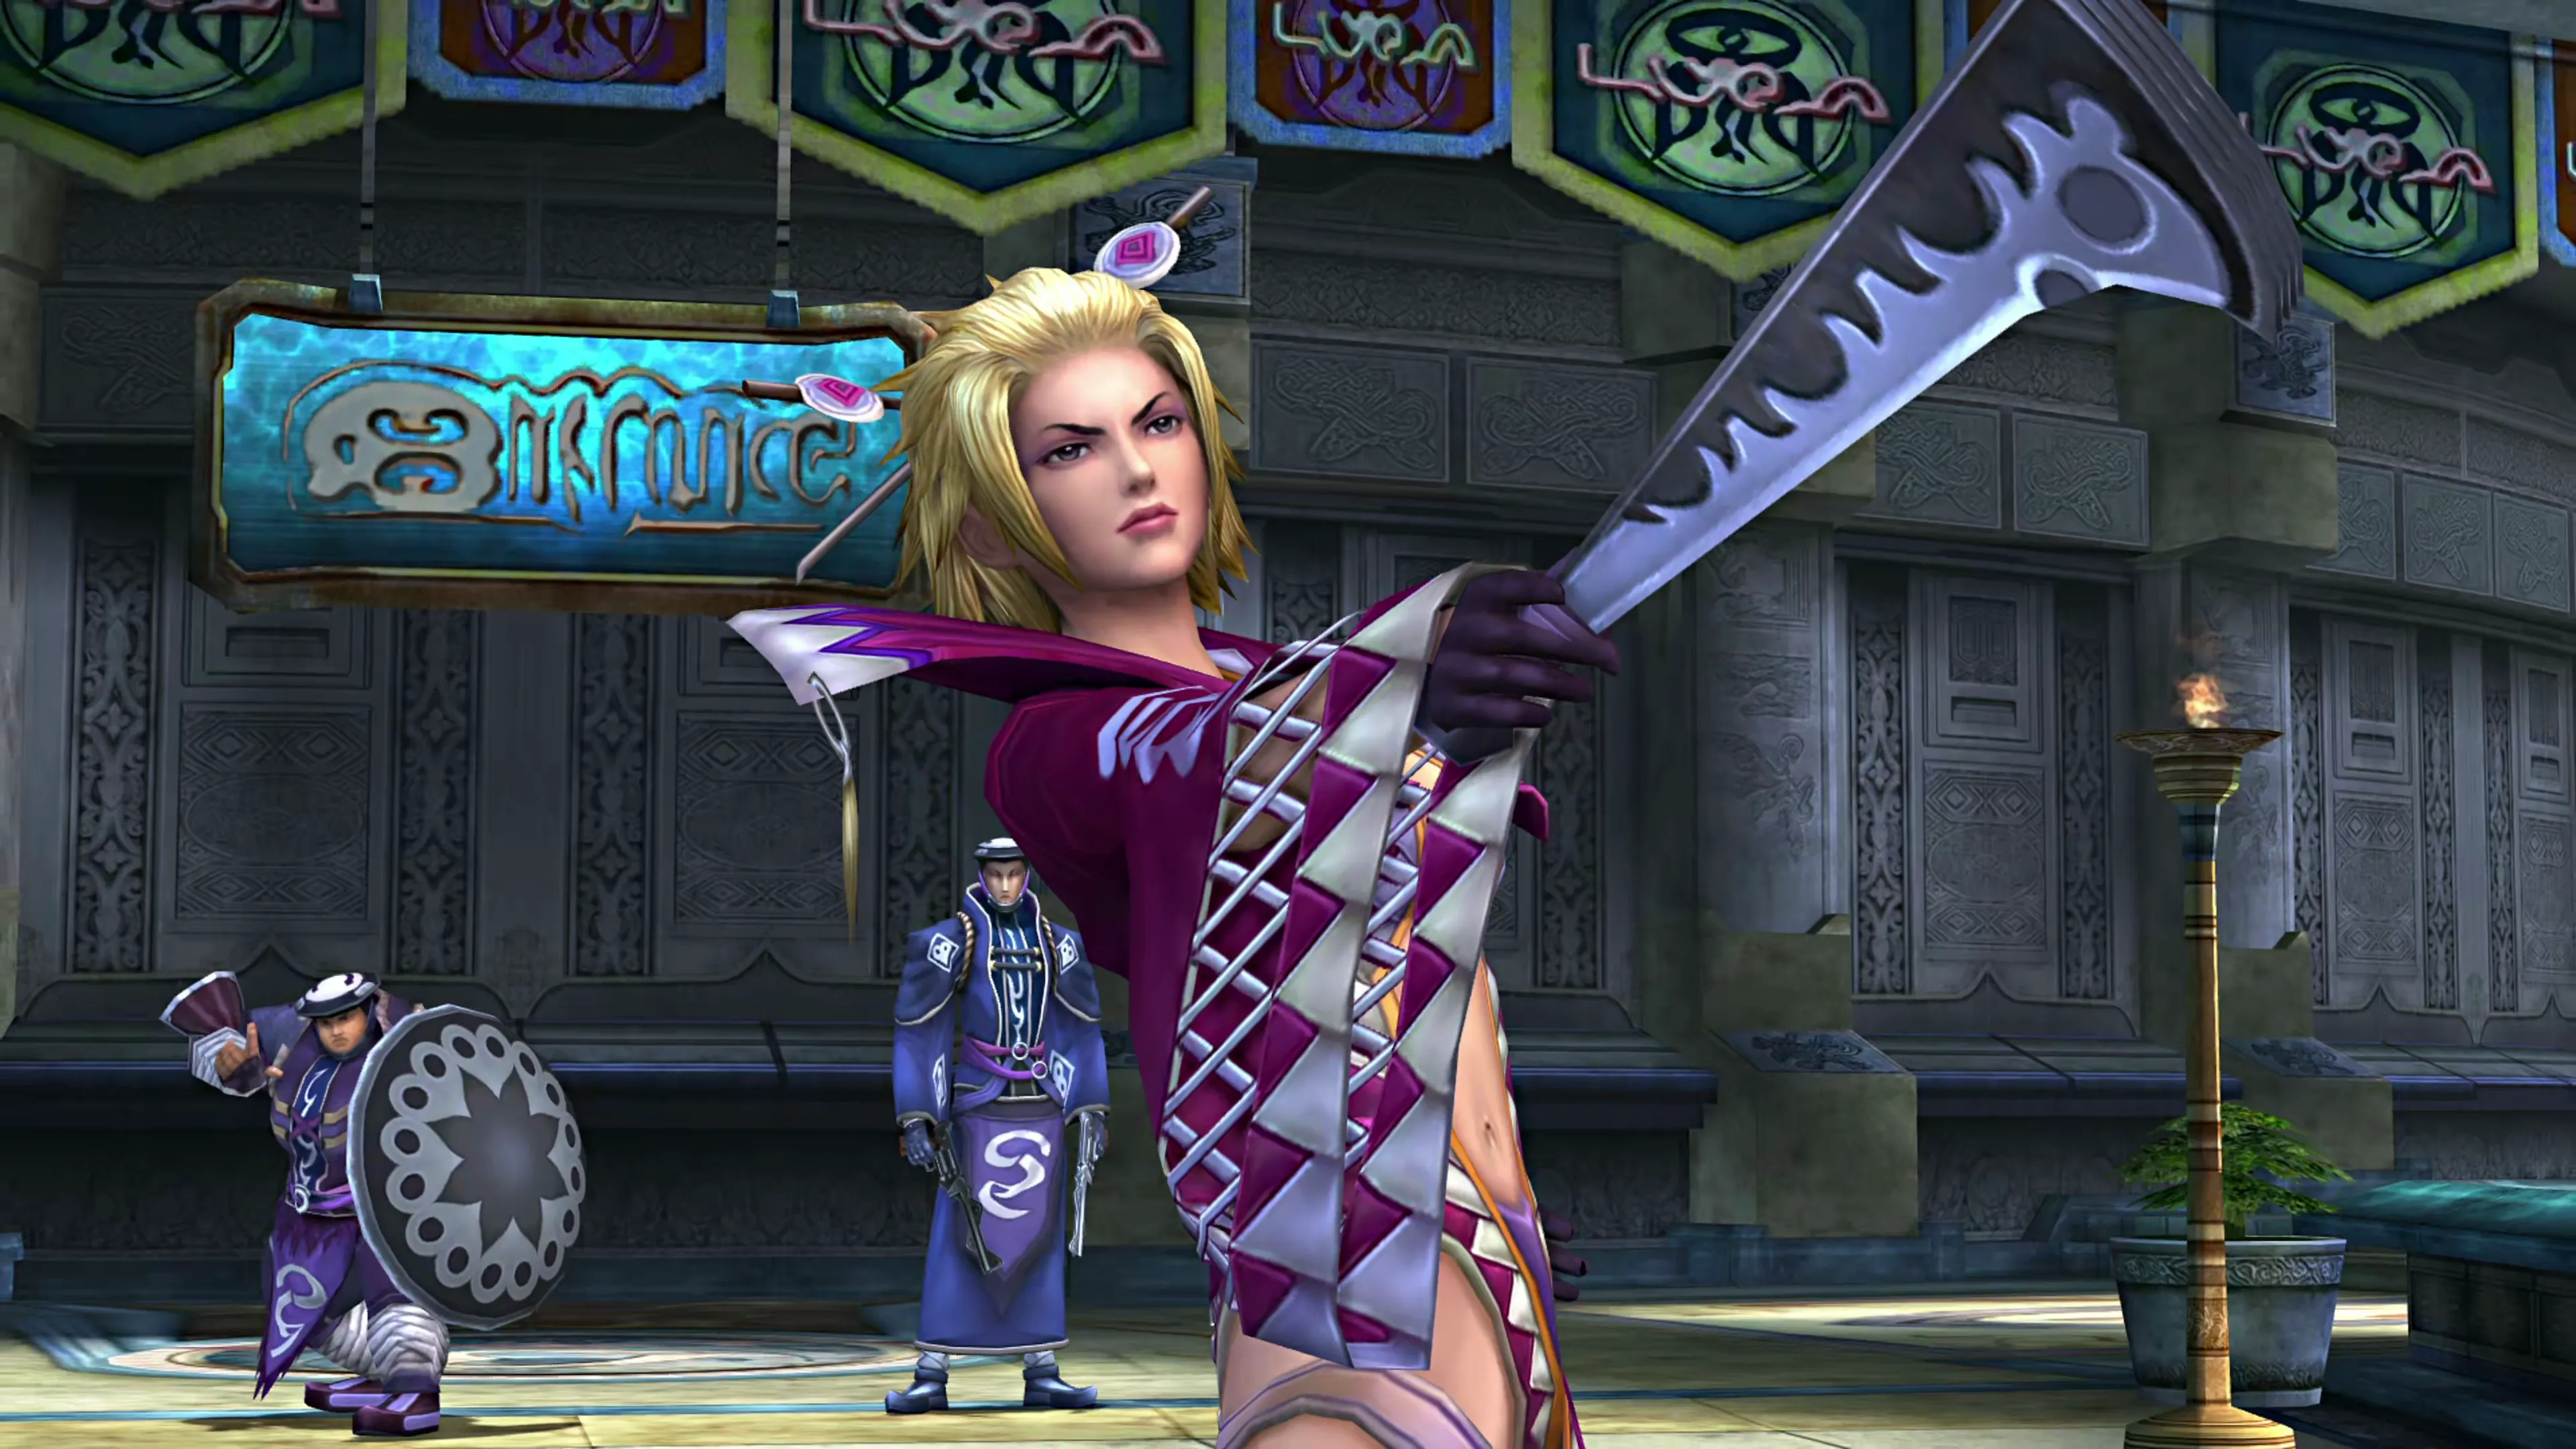
This fight will kick off with a short introduction on how to change Dresspheres in combat using the 

 button. Yuna will be stuck as a Songstress for this fight, with only one command at her disposal. Have her use
  Darkness Dance and continue using it throughout the fight, and give Rikku enough time to Steal from her. This fight is just as easy as the last one.
| Enemy | HP | Steal | Drop |
|---|---|---|---|
| Leblanc | 130 | Silver Bracer | Hi-Potion (common)Phoenix Down (rare) |
A short cutscene with some dialogue will take place after the fight before Brother and Buddy swing by to pick up the team in the Celsius, the airship used to transport the team between locations in Final Fantasy X-2. That’s right, you get it much earlier in this Final Fantasy game than you might be used to if you played… almost every other Final Fantasy game up to this point!
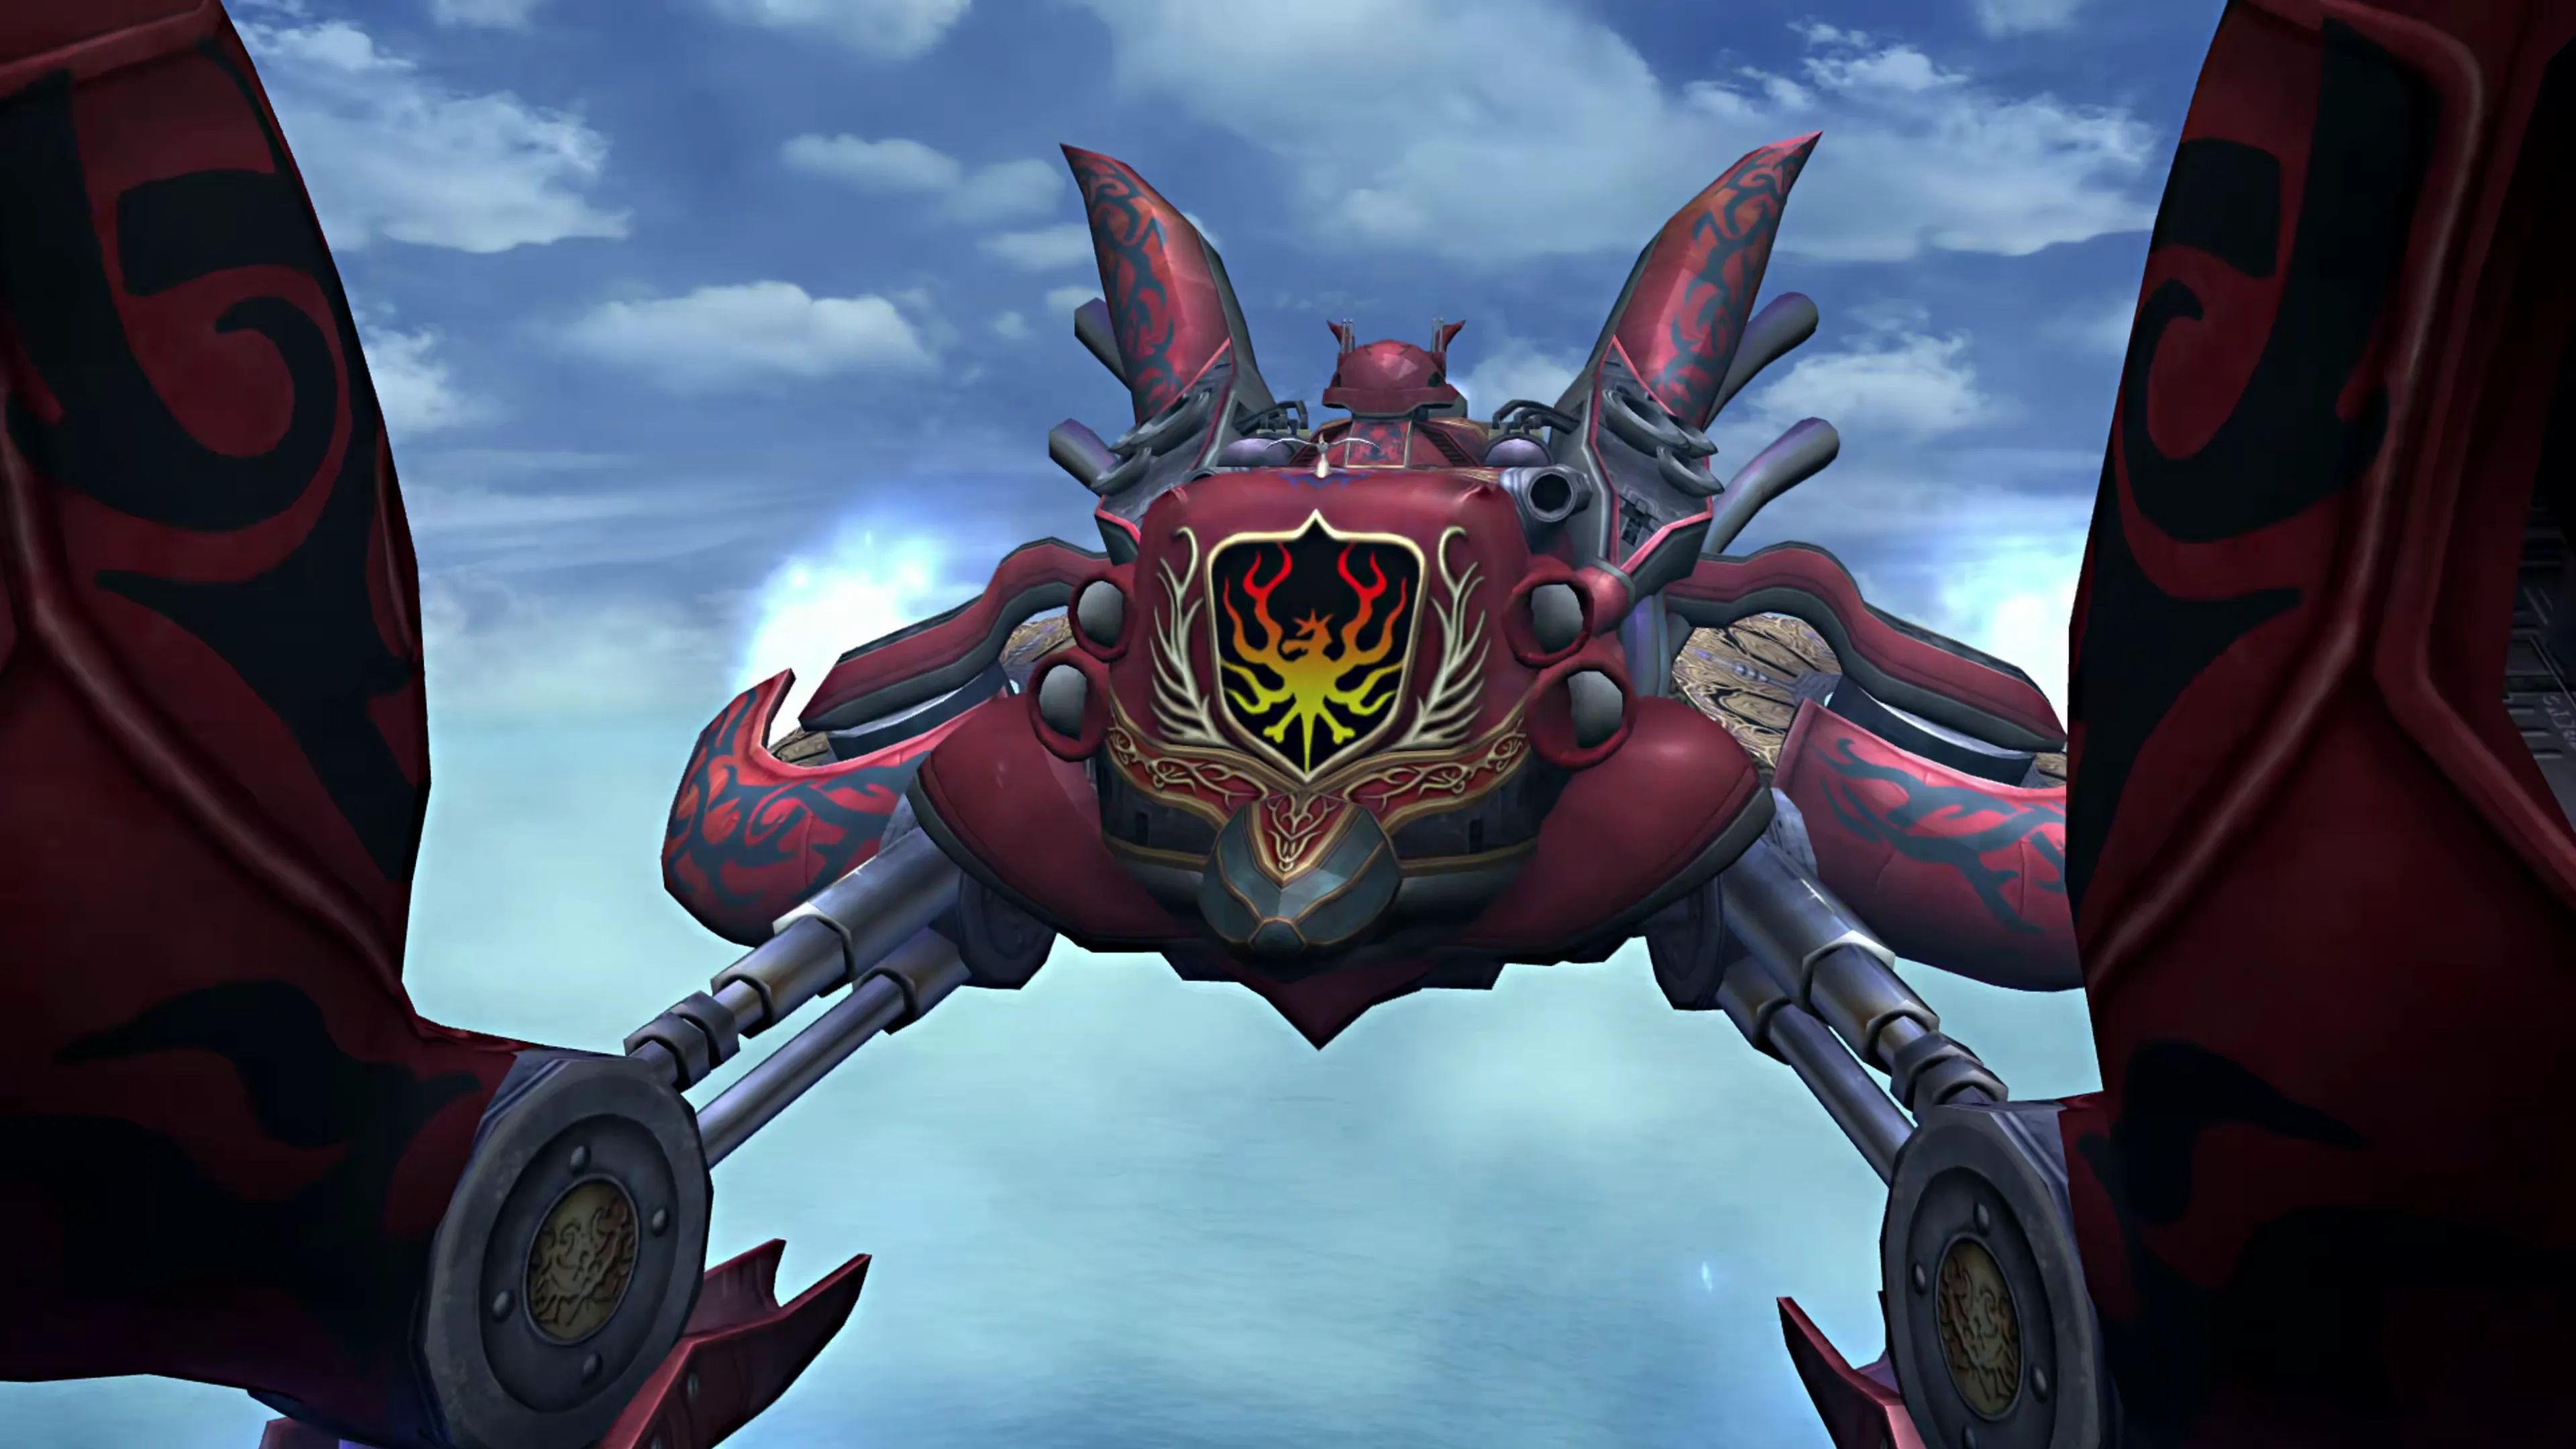
Celsius (Interlude)
There is a bit more dialogue as you arrive with your team on the airship. There’s a lot that you can cover over such a short period of time, but here are a couple of key takeaways that are worth completing before you head on to the next Mission:
Start by saving your game at the Save Sphere. Speak to Buddy and Brother, and you’ll get your introduction to “Learning Al Bhed.” Learning Al Bhed is quite a bit different in Final Fantasy X-2 compared to Final Fantasy X, but it’s far less important to focus on the Al Bhed language in this game. That being said, if you’d like to learn more about it, check out the link below:
Side Quests
An overview of how the Al Bhed Primer system works in Final Fantasy X-2, including where to find each of them and how to go digging for the rest in the Bikanel Desert.
Helpful Hint
This guide won’t refer to specific  Al Bhed Primer numbers because the numbers change depending on the order you pick them up. Instead, they’ll be referred to generically as an Al Bhed Primer when you receive them as a key item.
Interacting with both of them will get you four Al Bhed Primers. Brother will also give you the  Festivalist Dressphere if you’re playing the HD Remaster after he shouts, “Let’s go! Party! Party!” You can read more about this new Dressphere later in this section of the guide.
Make sure to speak to Rikku and Paine for a brief bit of narration from Yuna (and some Story Completion Percent). You should also speak to Shinra, where you can watch your first Treasure Sphere. Select “Treasure Spheres” on the menu, and then select “Journey’s Start” to watch the sphere.
You have to talk to Brother too, but speaking to him is mandatory, whereas the interactions below are not and it’s possible to miss them:
Helpful Hint
After watching “Journey’s Start,” you should be at exactly 3.0% Story Completion Percent, which the game shows as 3%. If it does, you’re on track!
The game never shows the decimal place and always rounds down, so most totals can’t be checked this way. You arrived on the Celsius at 1.8%, for example, but the game showed 1%, the same as it would for anything from 1.0% to 1.8%. Only a total that lands exactly on a whole number, like this one, tells you for certain that you haven’t missed anything.
Check out the Save File and NavMap Percent Verification section for more information on the two ways to read your percent in game.
Head towards the elevator, past the  Save Sphere, and into the cabin. Speak to “Barkeep,” the Hypello behind the counter, and select the option to “Rest.”
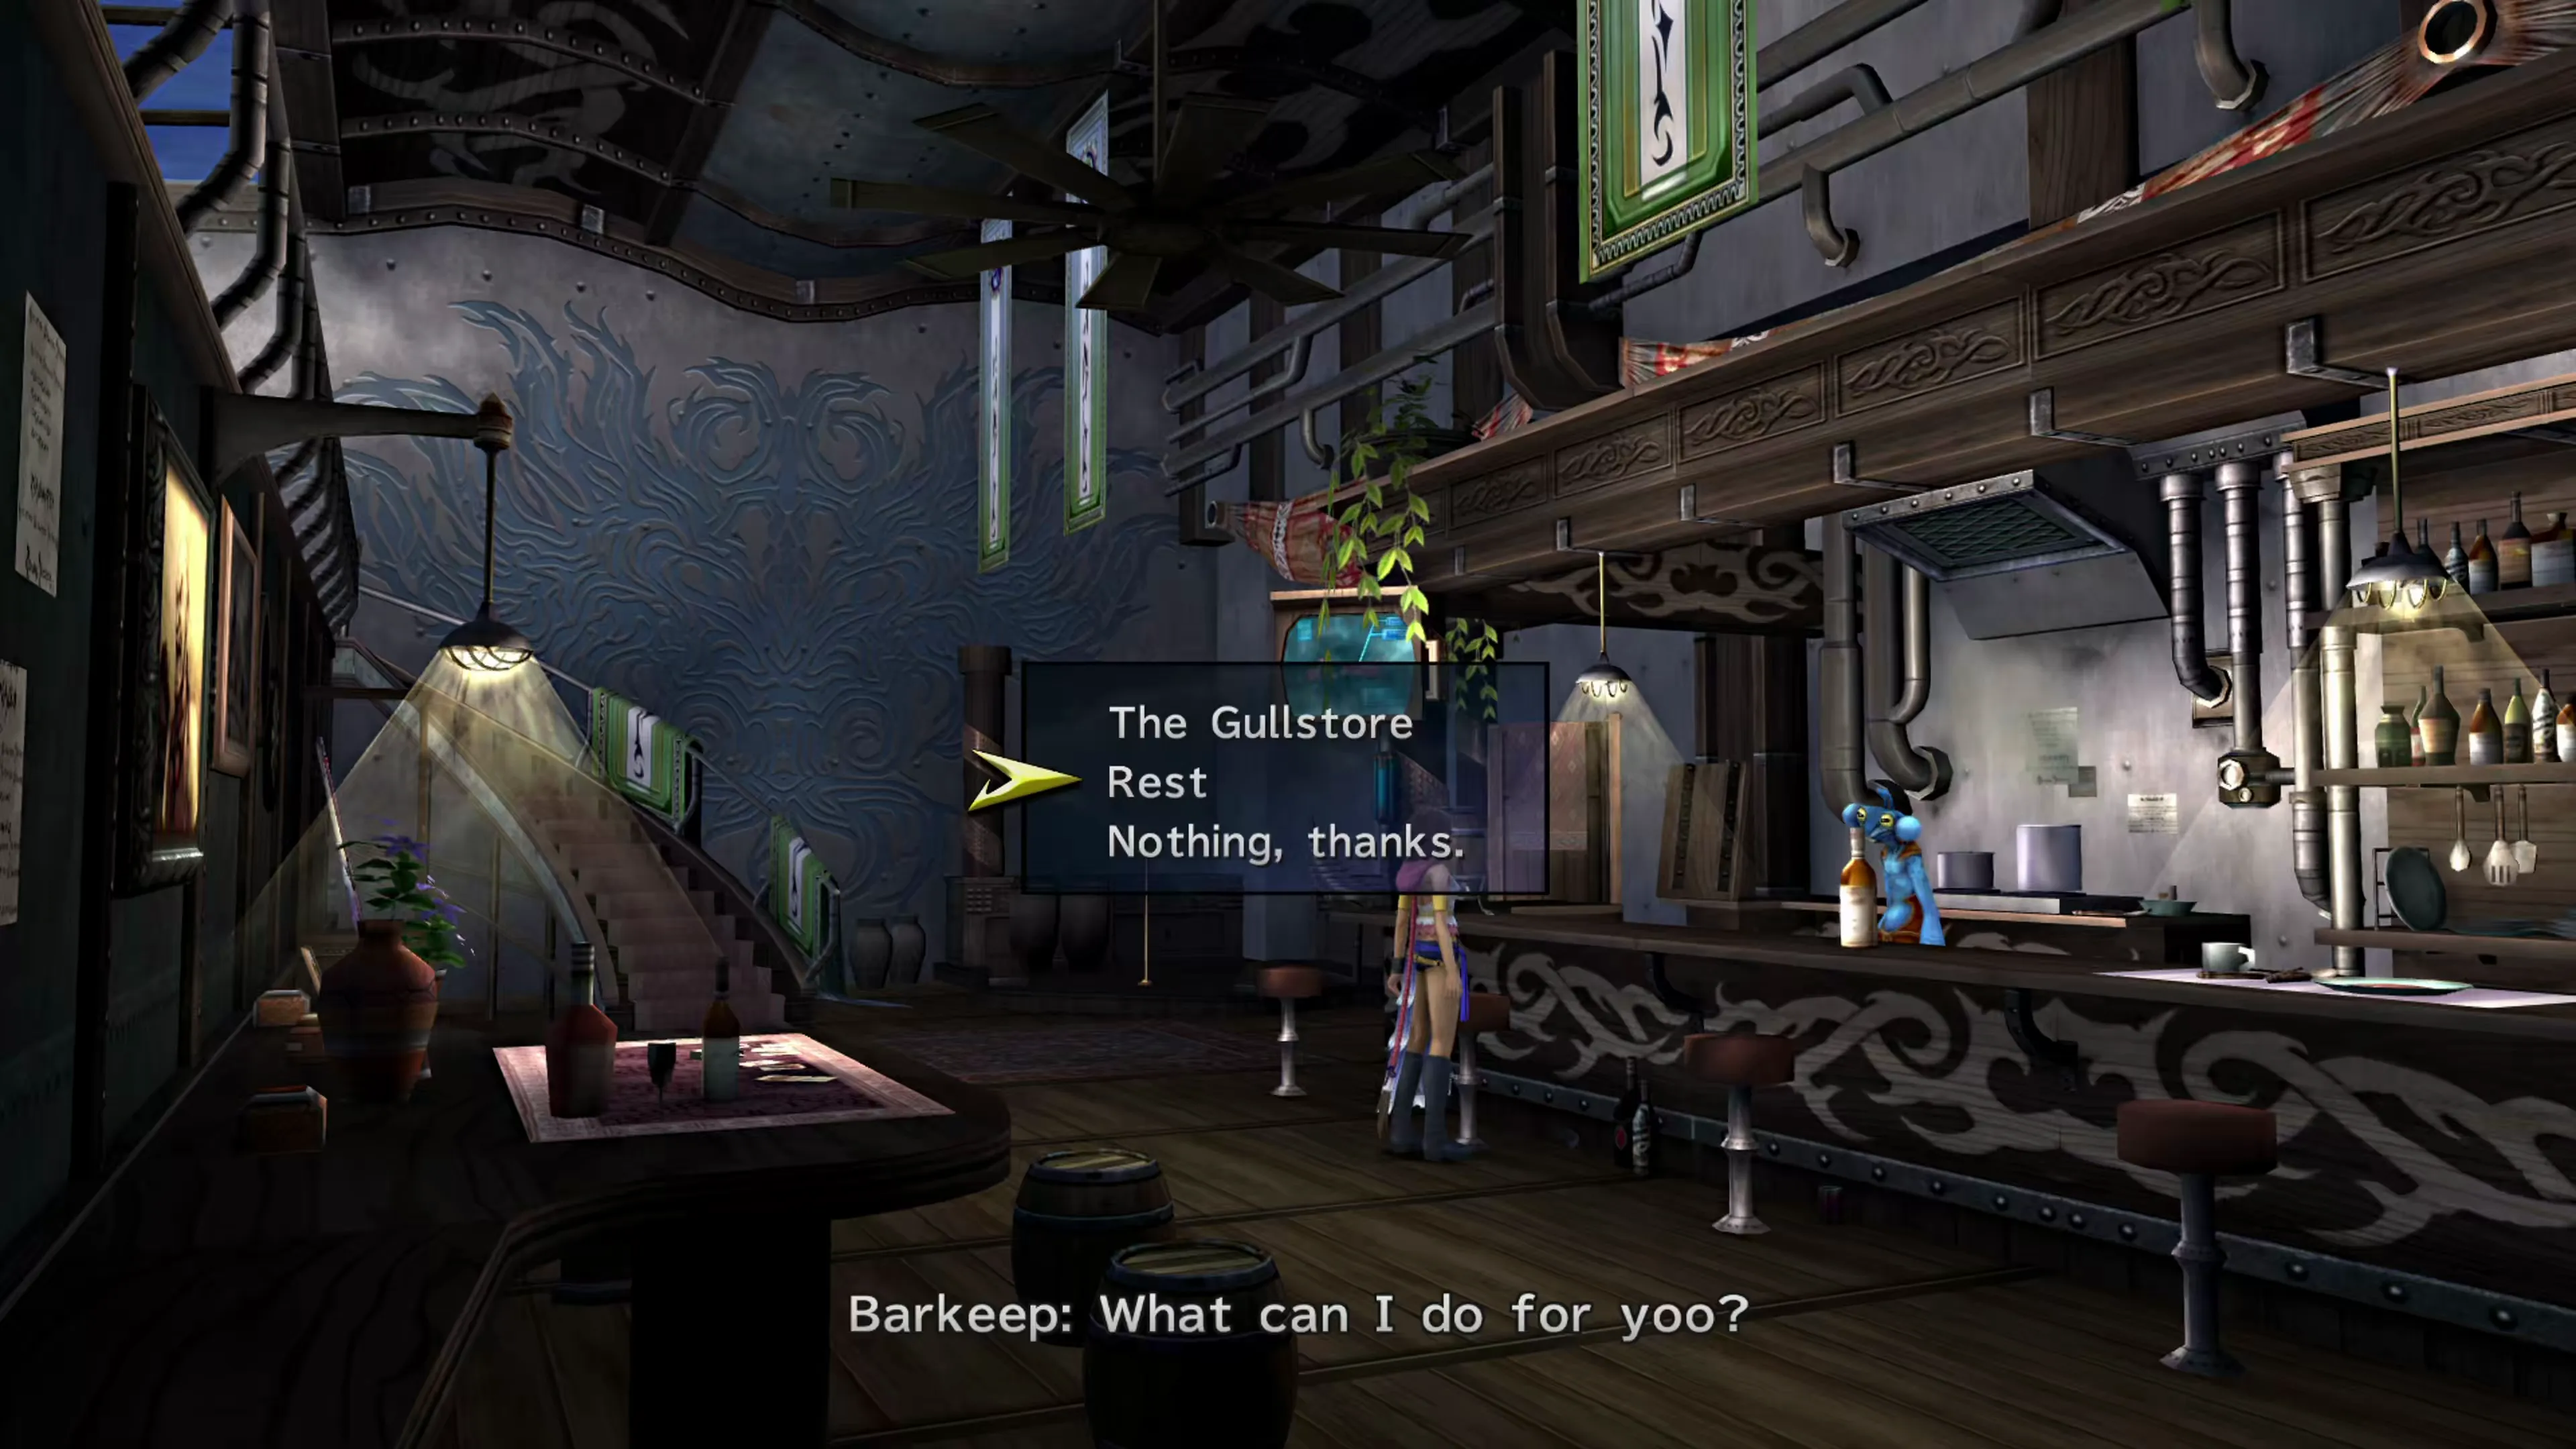
Similar to the interaction with the Moogle back on the Luca Docks, you won’t earn any Story Completion Percent for resting in the cabin per se, but you’ll need to have Yuna rest in the cabin at least once in each chapter to trigger a scene in the final chapter. This scene does award Story Completion Percent.
However, this first interaction with Barkeep DOES award percent, so make sure you talk to him and rest.
Resting in the cabin is mandatory in Chapter 1 because the next scene with Buddy won’t trigger until you’ve rested. Resting in Chapters 2, 3, and 4 doesn’t trigger anything at the time, which makes those rests easy to skip by accident, but each one still counts toward the Chapter 5 scene. This guide will provide additional reminders when appropriate.
Head down to the engine room and open the four treasure chests near the engine. They contain four Phoenix Downs, an Ether, three Remedies, and four Potions. Get used to doing this every single chapter because these treasure chests will somehow refill themselves.
Next, speak to Buddy to start the next Mission, but before you do, it may be worth reading up on some battle mechanics and tips. You can have Shinra explain them, and watching his tutorial will award you the Vanguard Garment Grid. You can also head over to the Tips and Tricks to learn some additional advanced tactics.
Most importantly, spend some time familiarizing yourself with the Garment Grids you have and the Dresspheres you can access.
Garment Grids
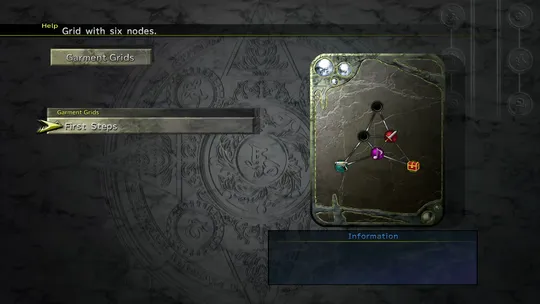
Before you can think about Dresspheres, you’ll need to place the Dresspheres on a Garment Grid, so it’s worth learning a bit more about how Garment Grids work first.
After that, you can learn a bit more about the Dresspheres you have access to, which include the Gunner, Warrior, Thief, and Songstress roles that you’ve seen already. If you’re playing the International HD release, or the HD Remaster version of the game, you’ll also have access to the Festivalist Dressphere. It’s not necessary to bog yourself down reading each of the sections below; however, there are a couple of important recommendations:
Dressphere Tips:
- The
 Gunner role that Yuna briefly occupied, before she switched over to Songstress, may not have left a great first impression if you attempted to use her
  Trigger Happy ability during the last fight; it tends to do very little damage, especially if you’re slow pressing the

 button, or if the prompt catches you off guard. However, the Gunner role is much more powerful than it first appears, and it’s worth swapping Yuna back to this role and using it for the next fights. Have her begin learning the
  Trigger Happy Lv. 2 Ability by going into the Abilities menu and selecting it down at the bottom of the Abilities list.
 - Keeping Rikku in her
 Thief role isn’t a bad idea, but consider swapping the ability she learns to First Strike. This lets her use Steal early in a fight and, depending on your play style and Dressphere preferences, you could move her into a different Dressphere. Stealing items is not nearly as critical in Final Fantasy X-2 as it is in other entries in the series, but stocking up on items early in the game is never a bad idea.
 - Keep Paine in her
 Warrior role as it’s fairly powerful well into the game; in fact, you may want to consider moving Rikku and Yuna into this role from time to time.
 - Lastly, don’t forget to equip your party members with accessories. You should have a set of Silver Glasses, an Iron Bangle, and a Silver Bracer in your inventory.
If you’d like to read up on each of the Dresspheres to understand a bit more about their use, their strengths, and their weaknesses, check out the following pages:
Dresspheres
A role that allows the character to use a gun to fire on enemies from afar. The Trigger Happy ability allows this role to do higher than expected amounts of damage.
Dresspheres
A role that allows the character to use powerful sword attacks and has high defense. It is one of the higher damage roles you can utilize, especially early on in the game.
Dresspheres
A role that lets the character help allies by singing and dancing; definitely a full-on support class. Quite often an overlooked role, but it has a surprising amount of utility for players who opt to familiarize themselves with the abilities.
Dresspheres
A role that allows the character to steal items, Gil, and other stuff. Not a role with the highest damage output, but it does provide some early utility.
Dresspheres
A role that allows the character to use unique “festival” abilities which differ depending on the character. This new role was added in the International and HD Remaster versions of the game.
It’s now time to proceed to the next Mission, but there’s one last item it may be worth reading up on if you missed it previously, and that’s how to double-check the current “Story Completion Percent” against the Story Completion Tracker. You can actually review your Save File at the Save Sphere to make sure that you have the proper percent for where you are in the game. Use the link below to learn more:
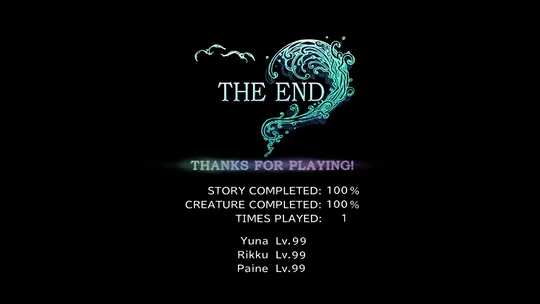
This section of the Story Completion guide shows you how to check your current percent against the tracker included in this guide. It’s a bit of a challenge because of how the game shows percentages. Check out this section for more information.
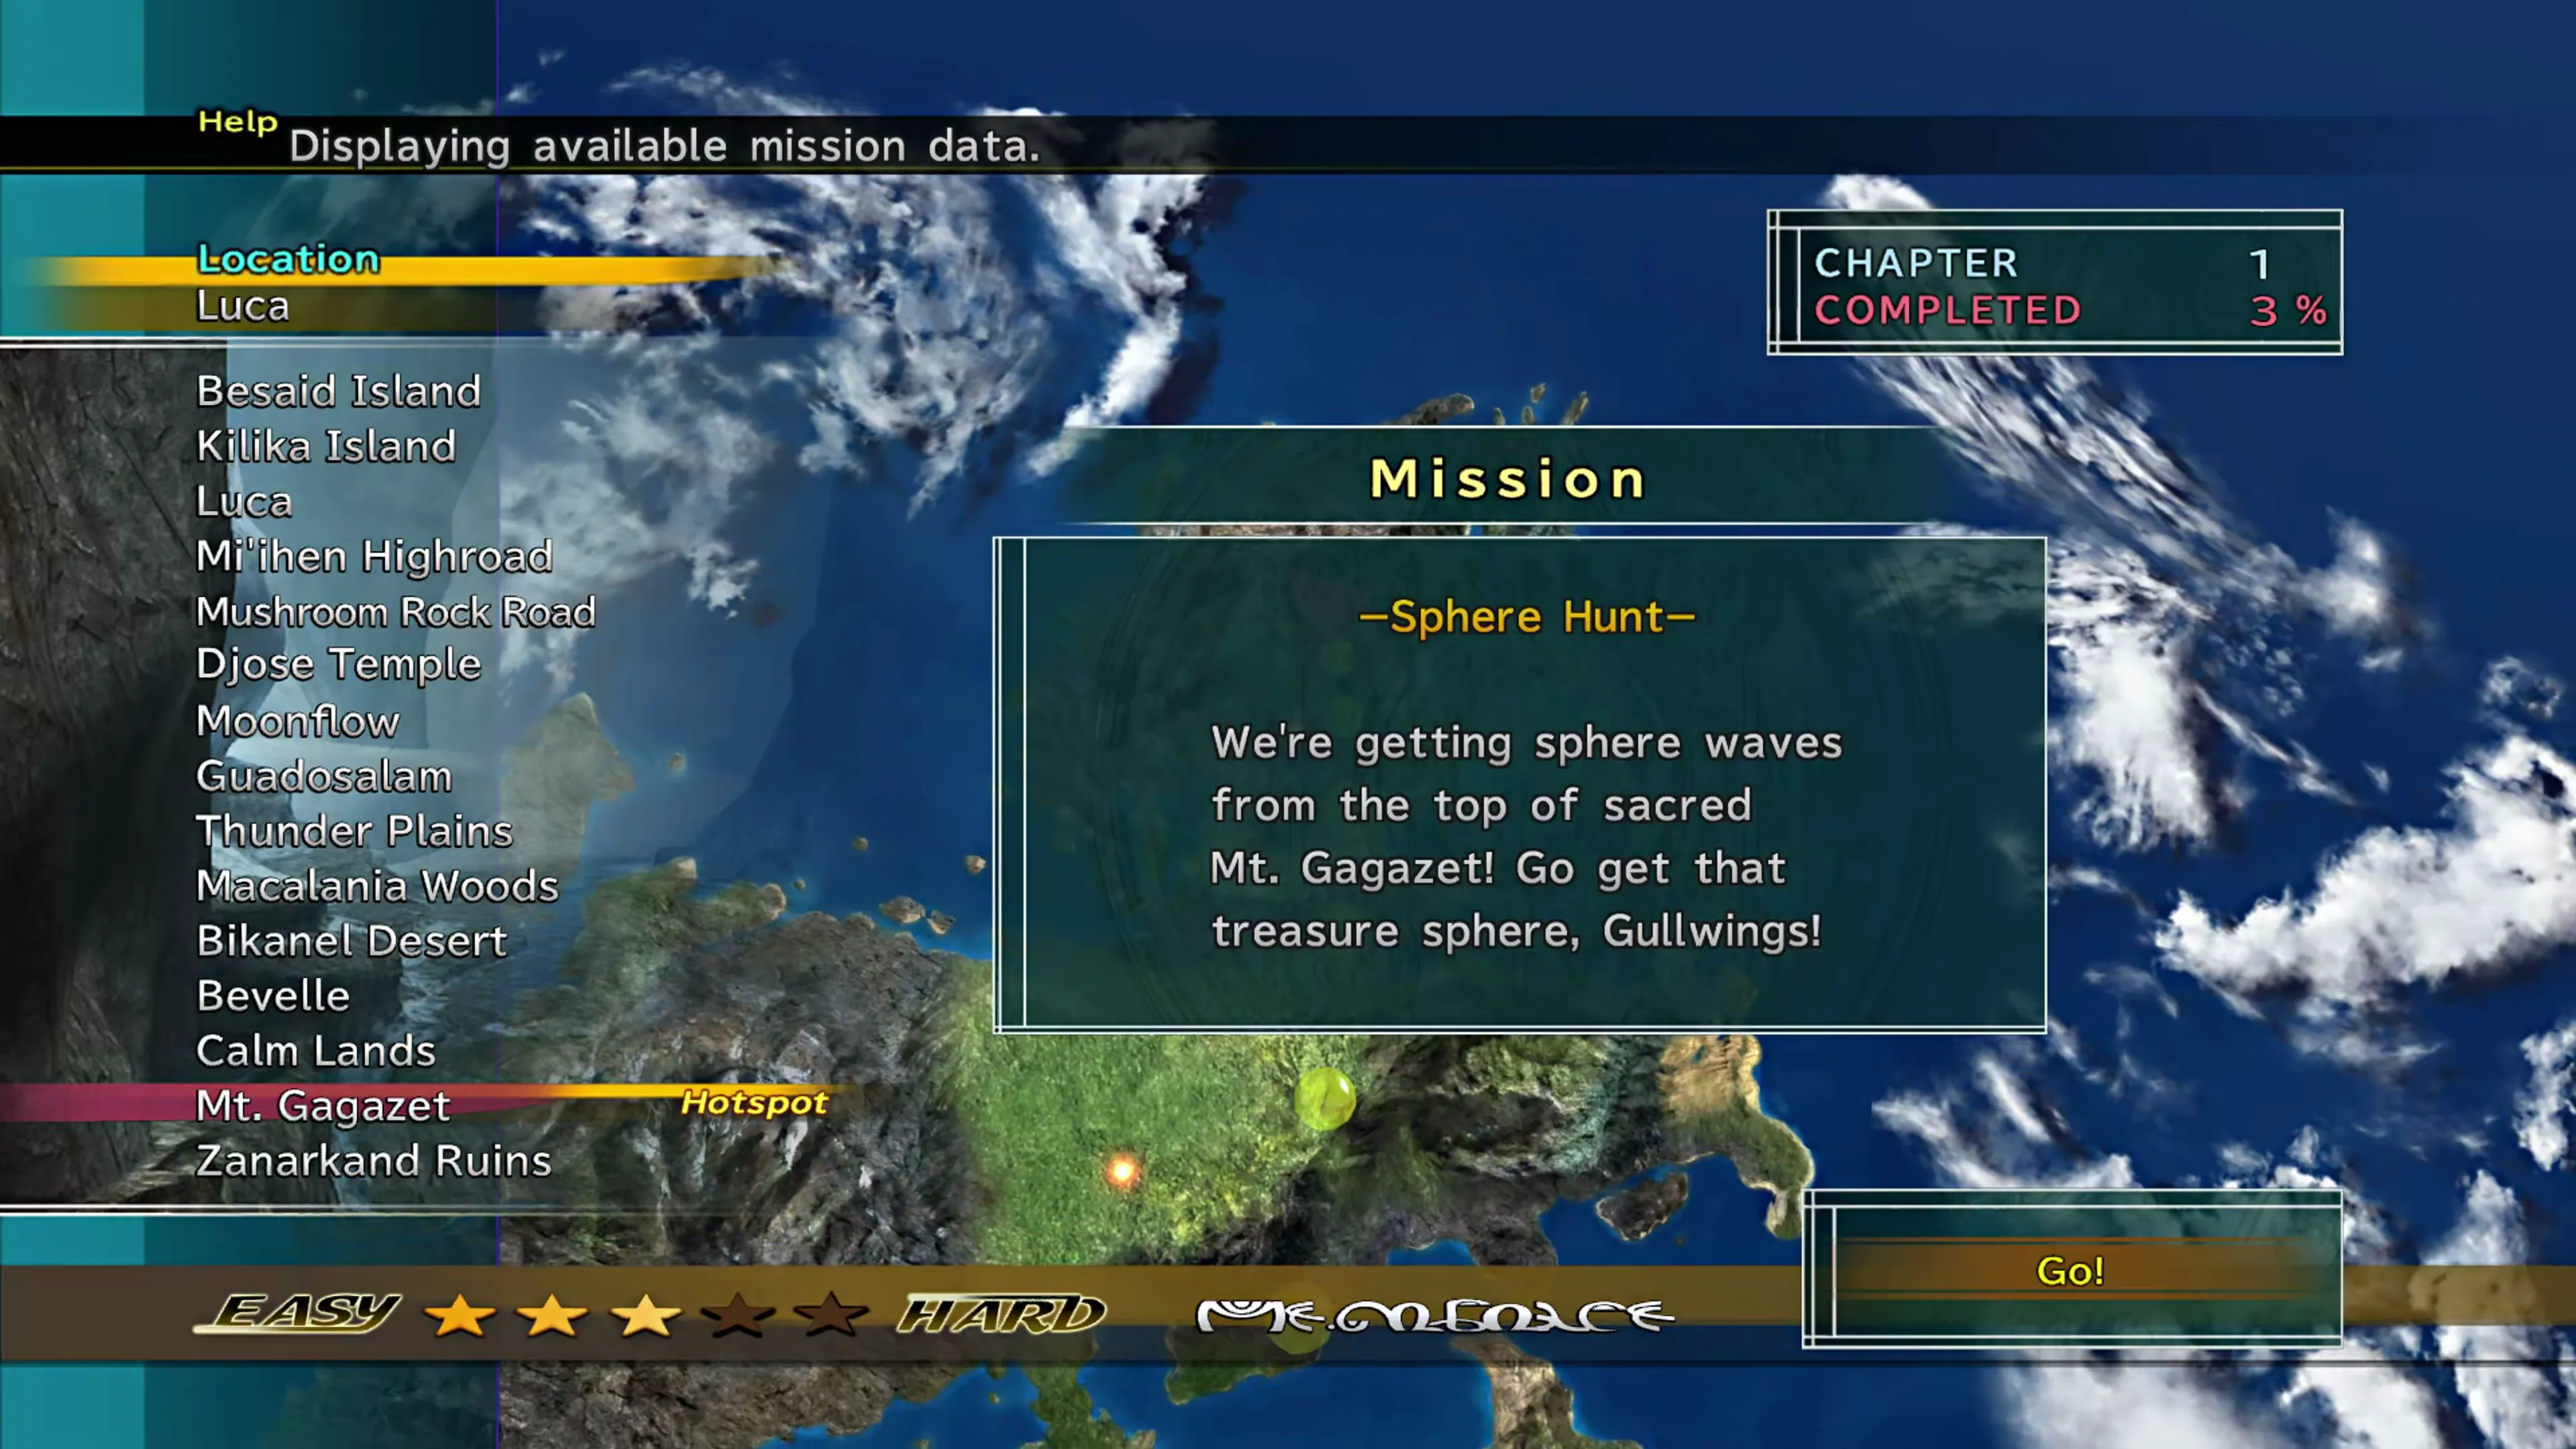
For reference, your Save Game file and the NavMap should be showing 3%. Make sure you save your game before initiating the next Mission, though, because it involves a timed event that you only get one shot at.
If you’ve played through Final Fantasy X-2 before and are new to the HD Remaster, or just want to explore alternative and advanced ways to stack your party, check out the Creature Creator section using the link below. Shinra mentioned this just before you got control of Yuna, but you can trap fiends and use them in your party if you’d like. Though it’s recommended that new players skip over this add-on for now:
Creature Creator
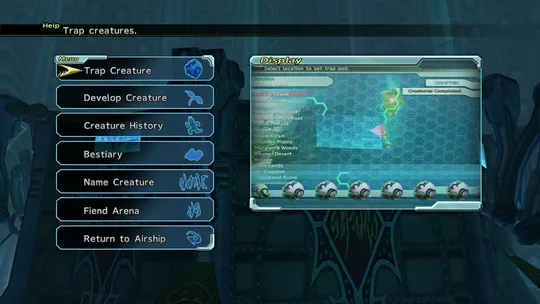
A high-level overview of how the Creature Creator system works and some tips for capturing your first creature. This guide recommends that new players skip over the Creature Creator during their first playthrough.
Helpful Hint
You can get a new Dressphere now by winning the “Standard Cup” in the Fiend Arena, but this guide recommends waiting until Chapter 2, at which point it becomes much easier. There will be another reminder later.
With all of that covered, it’s time to speak to Buddy. You’ll be able to see a list of locations on the map, but you’ll only have one option available, and that’s to travel straight to Mt. Gagazet.
Checking the “Luca Complete” box adds the Story Completion Percent for the automatic scenes in Luca.