

Zanarkand Ruins
This next destination is one of the Hotspots for this chapter. After the short cutscene that takes place when you first arrive, head up the nearby hill to find an old friend, Isaaru. It does not matter how you answer when he asks whether you remember him; if you choose no, he’ll give you a quick reminder.
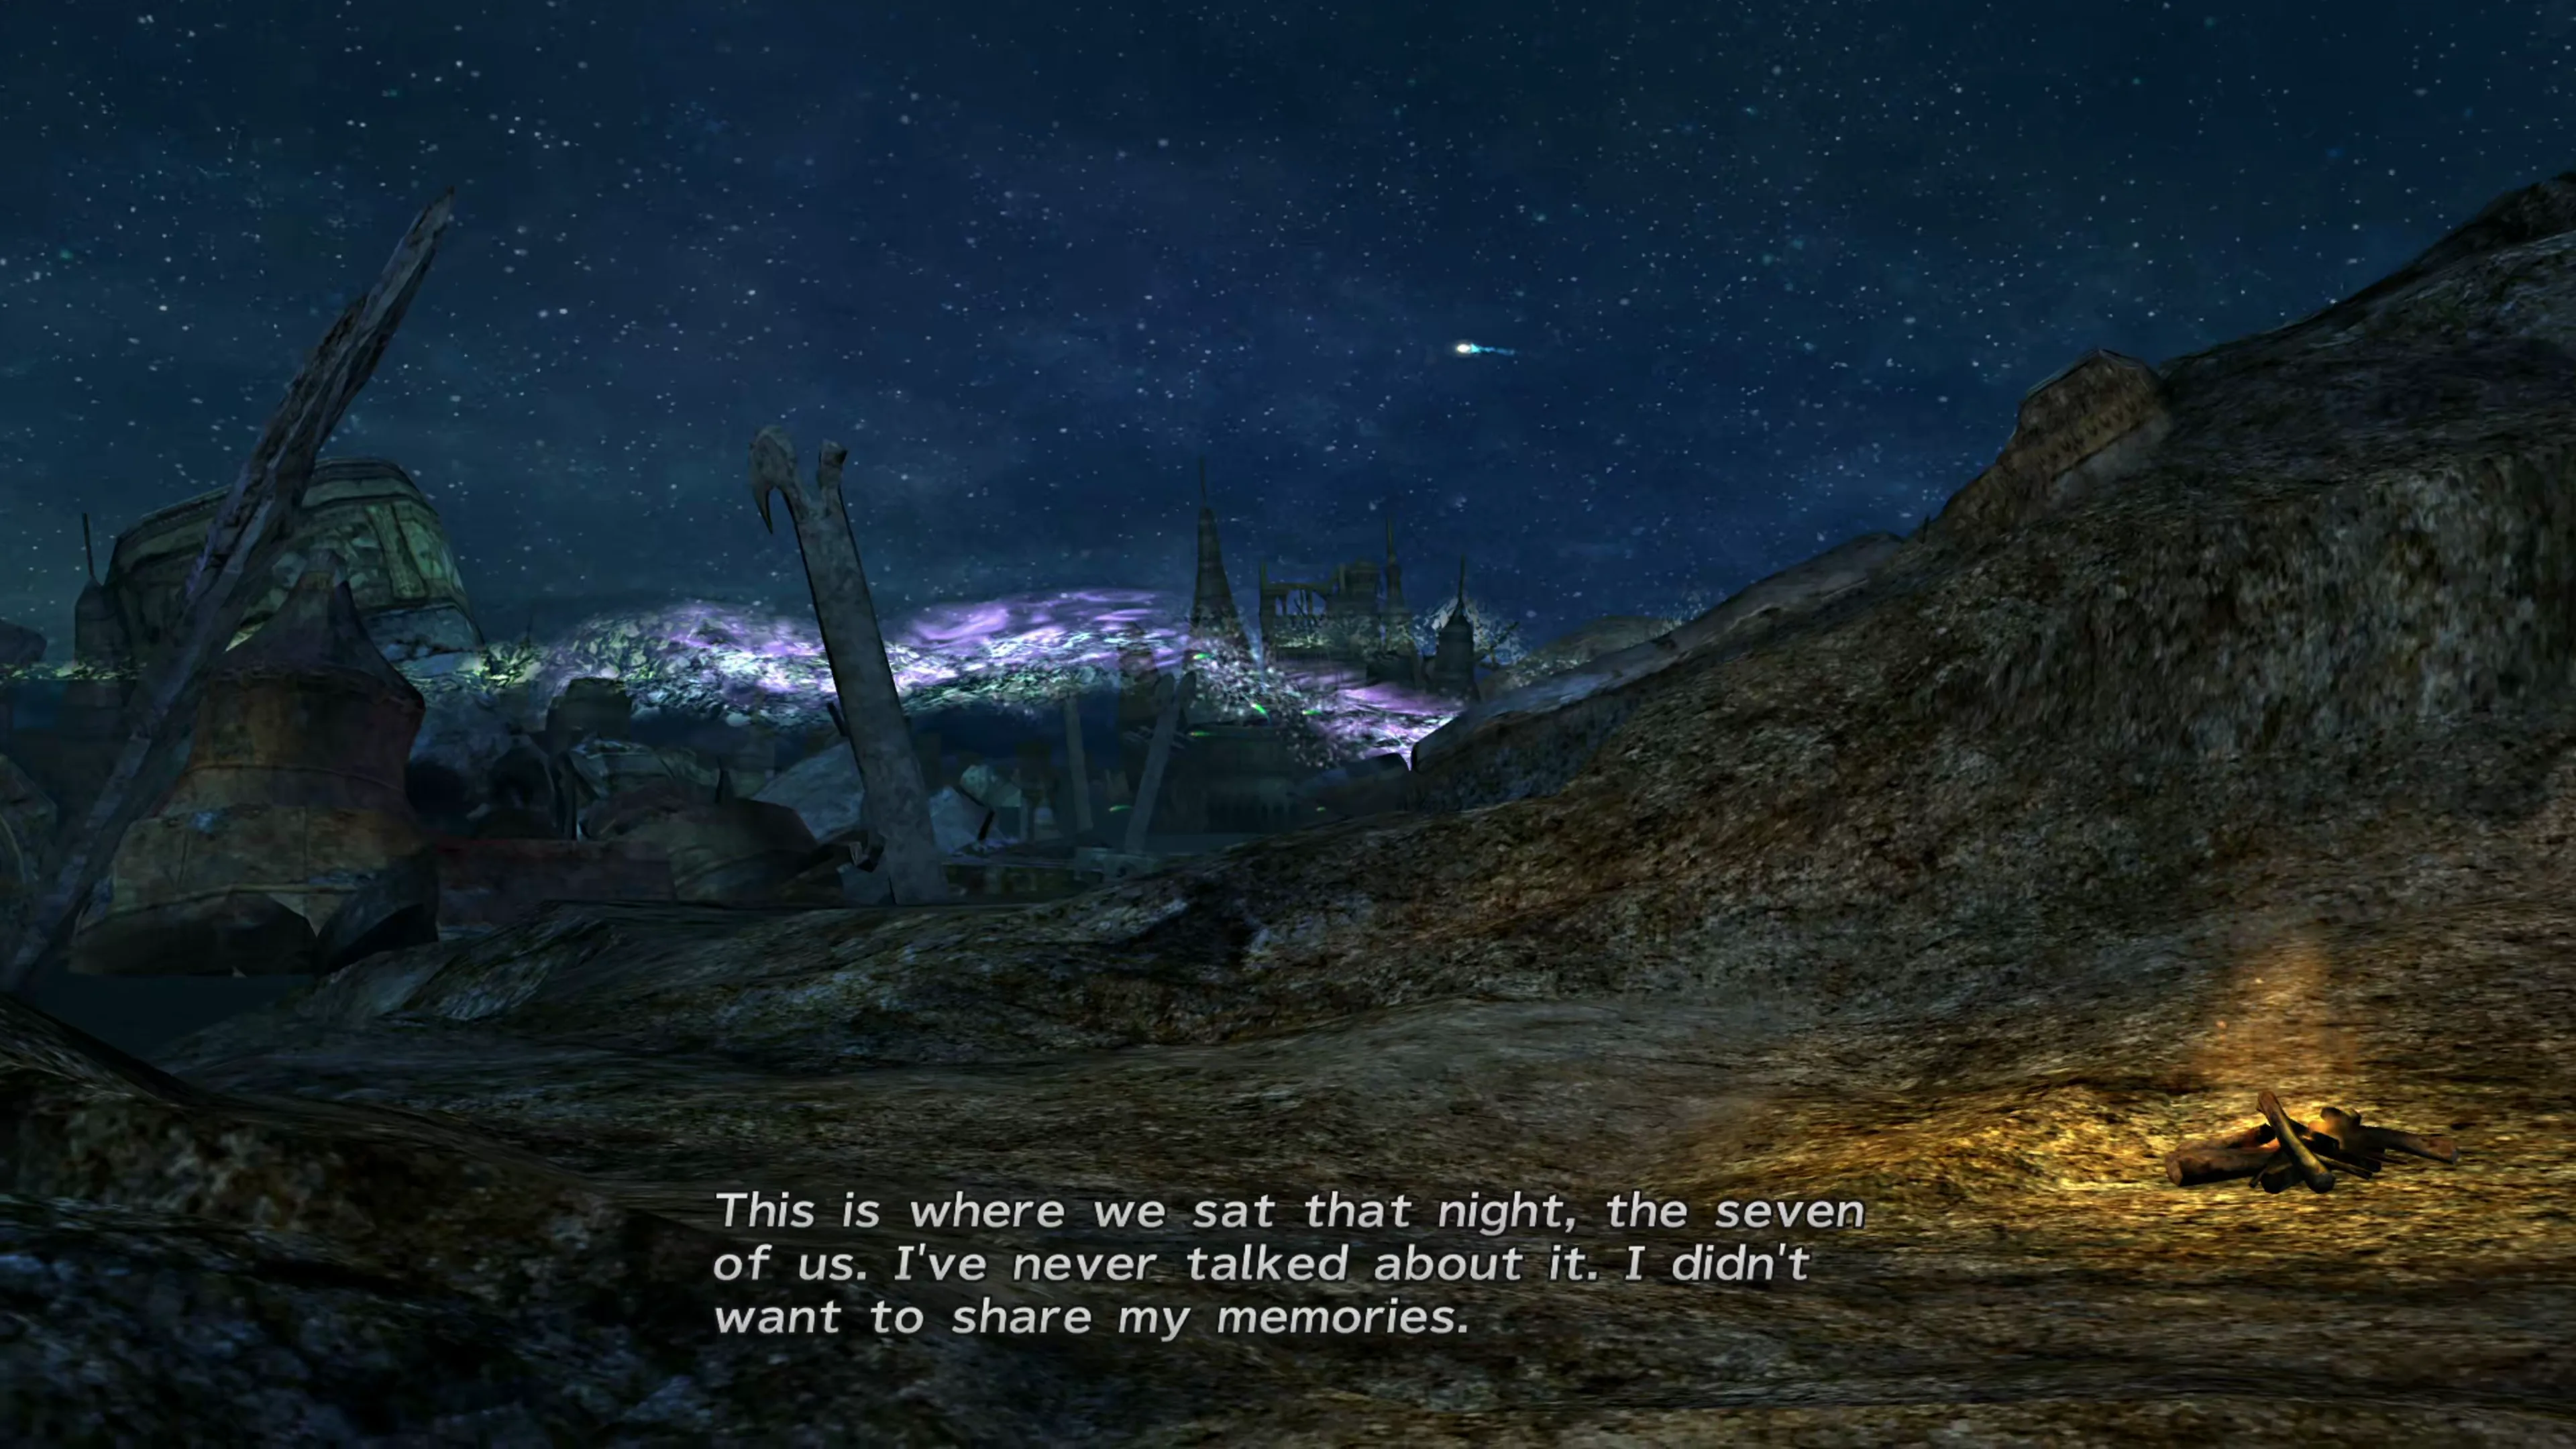
Zanarkand Ruins (Entrance)

 Dome Interior
Mission: Claim the Treasure Sphere!
After you’ve spoken to him, the crowd will dissipate, and you can head into the ruins. Thankfully, you don’t have to travel down the long pathway to reach Zanarkand as you did back in Final Fantasy X.
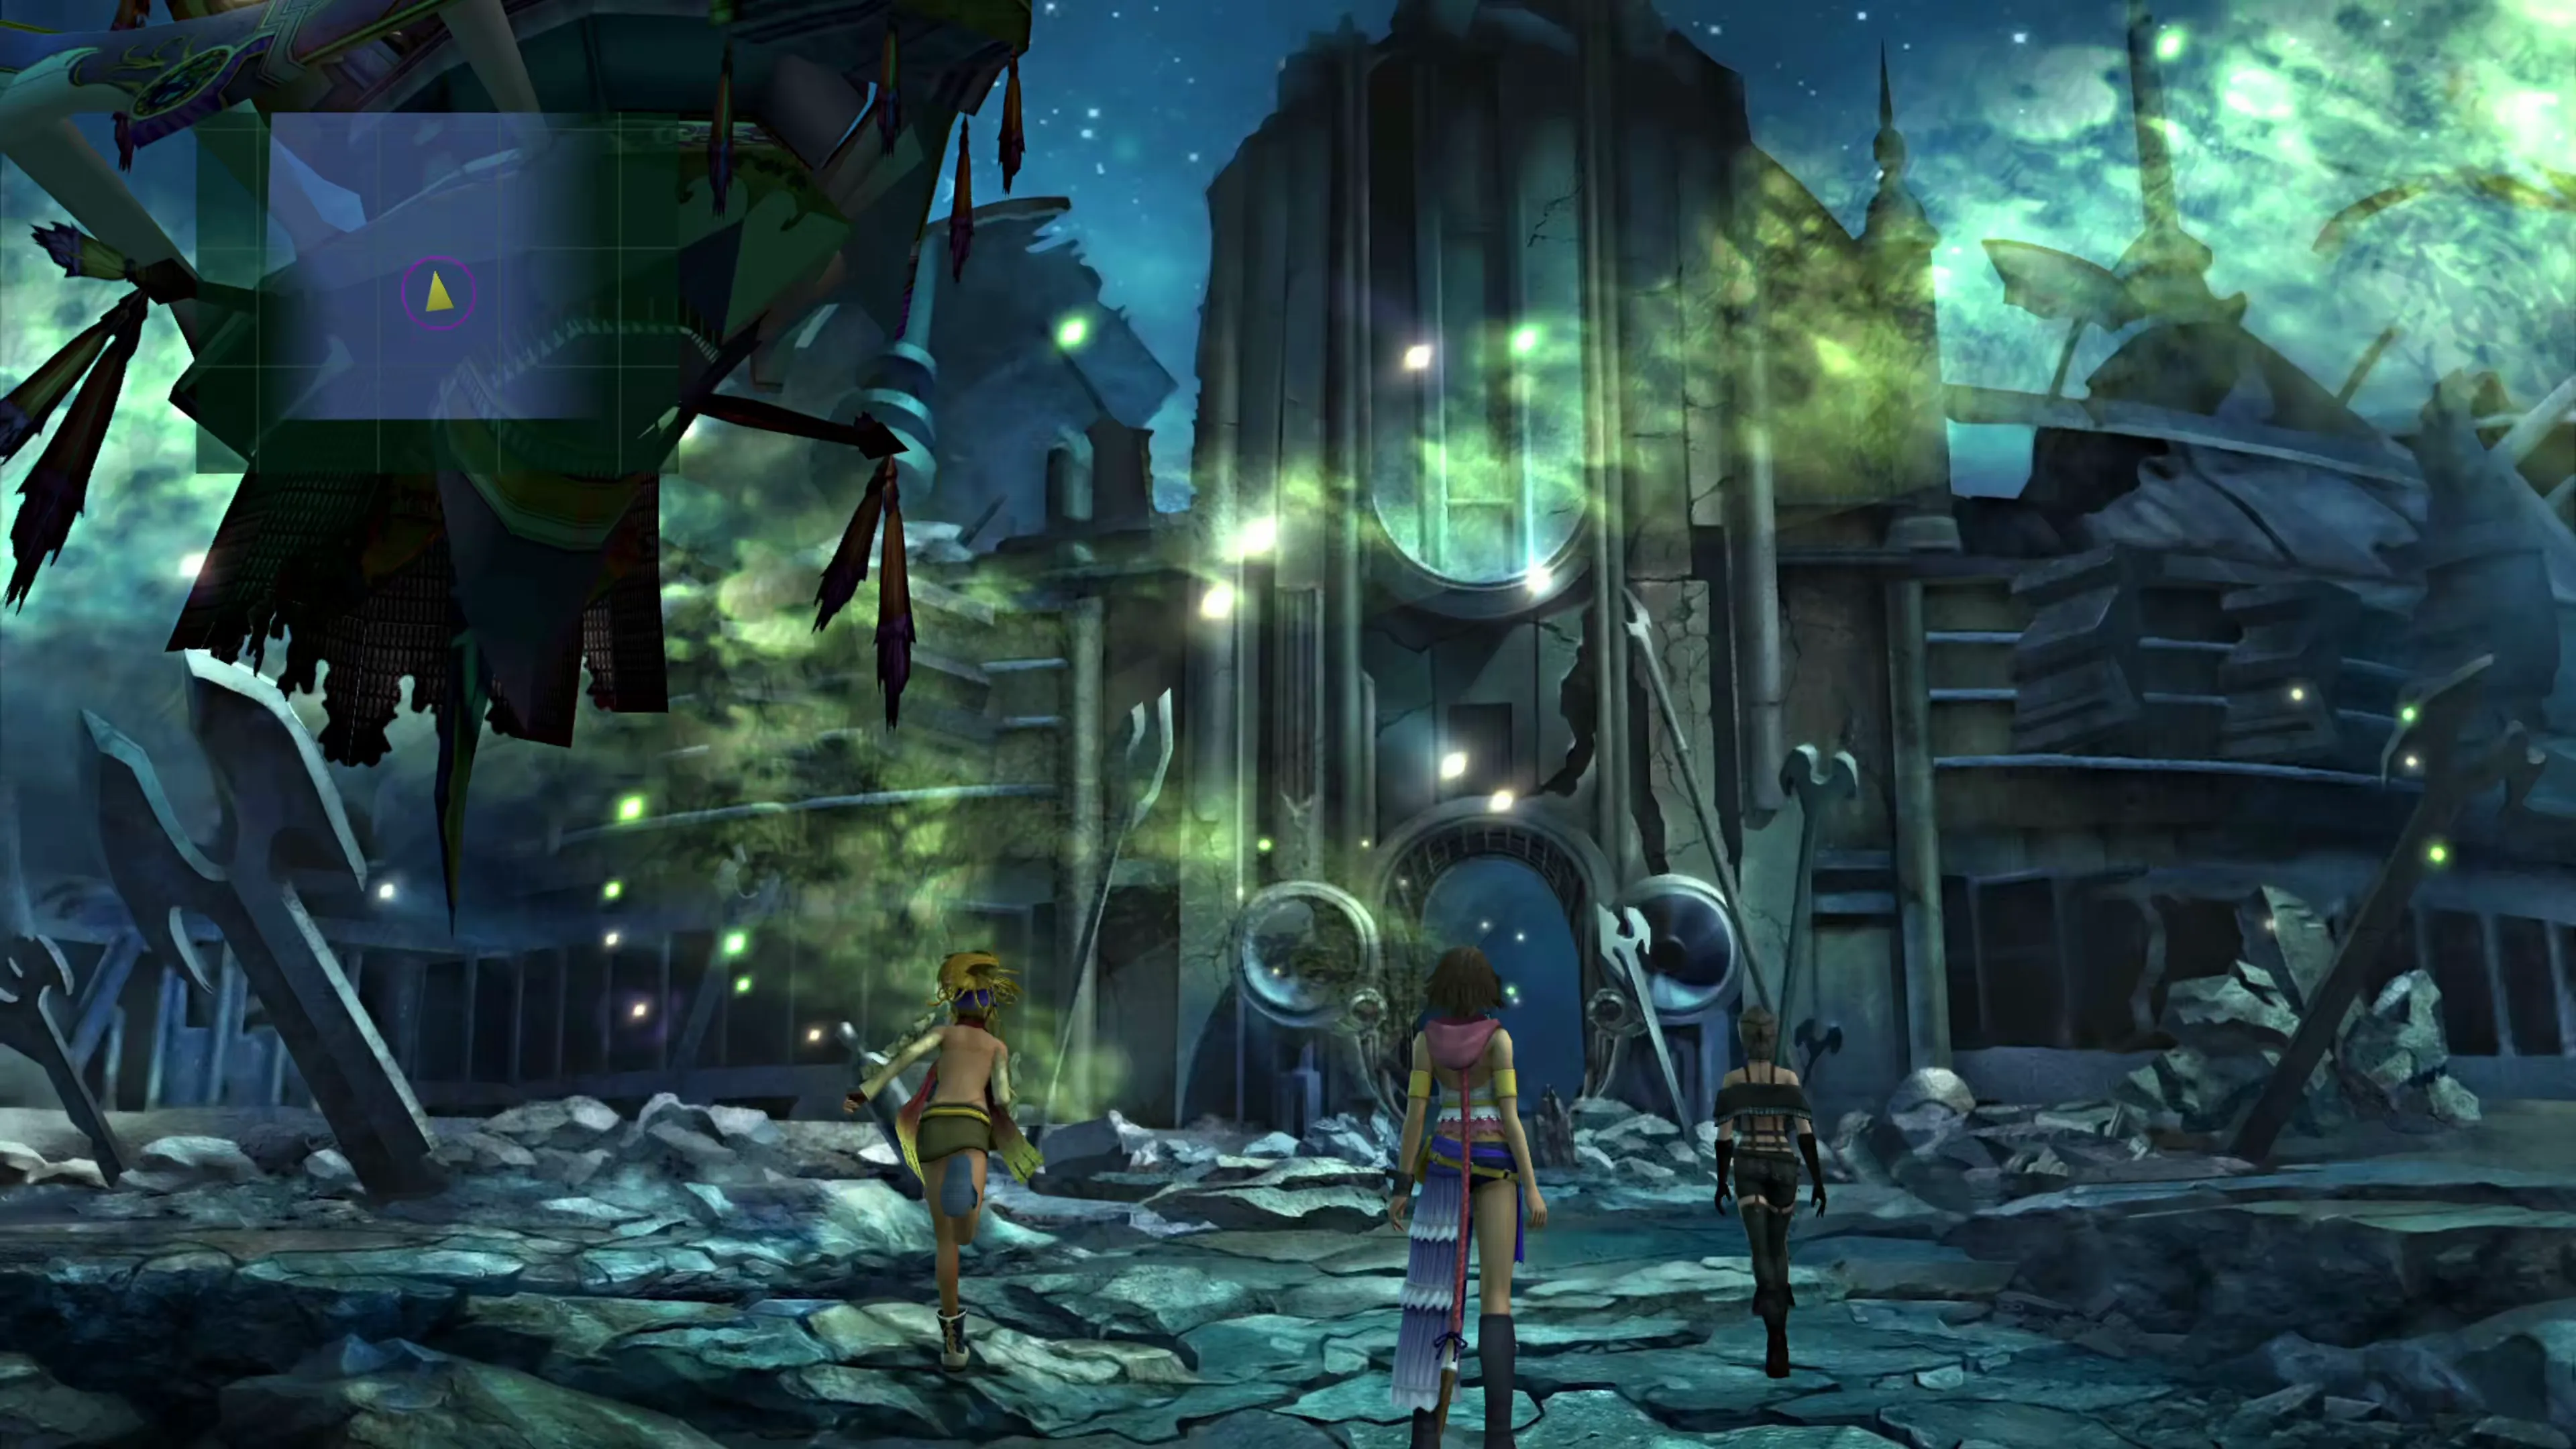
There’s a short conversation with some children out front, and then you can begin making your way through the Zanarkand Dome. You’ll encounter quite a few fiends along this trail, but they are all fairly easy to defeat. The Behemoths in this area won’t even cast a final “Meteor” spell when they die.




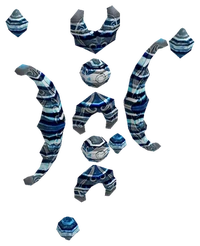
There are two treasure chests in this area, as shown on the map below:
Dome - Interior



 1 1 |  Mega Phoenix Mega Phoenix |
| 2 | Phoenix Down |
As you work your way through the Dome, you’ll meet up with the Kinderguardians, and there will be a lot of talk about a password, but you don’t have to memorize anything.
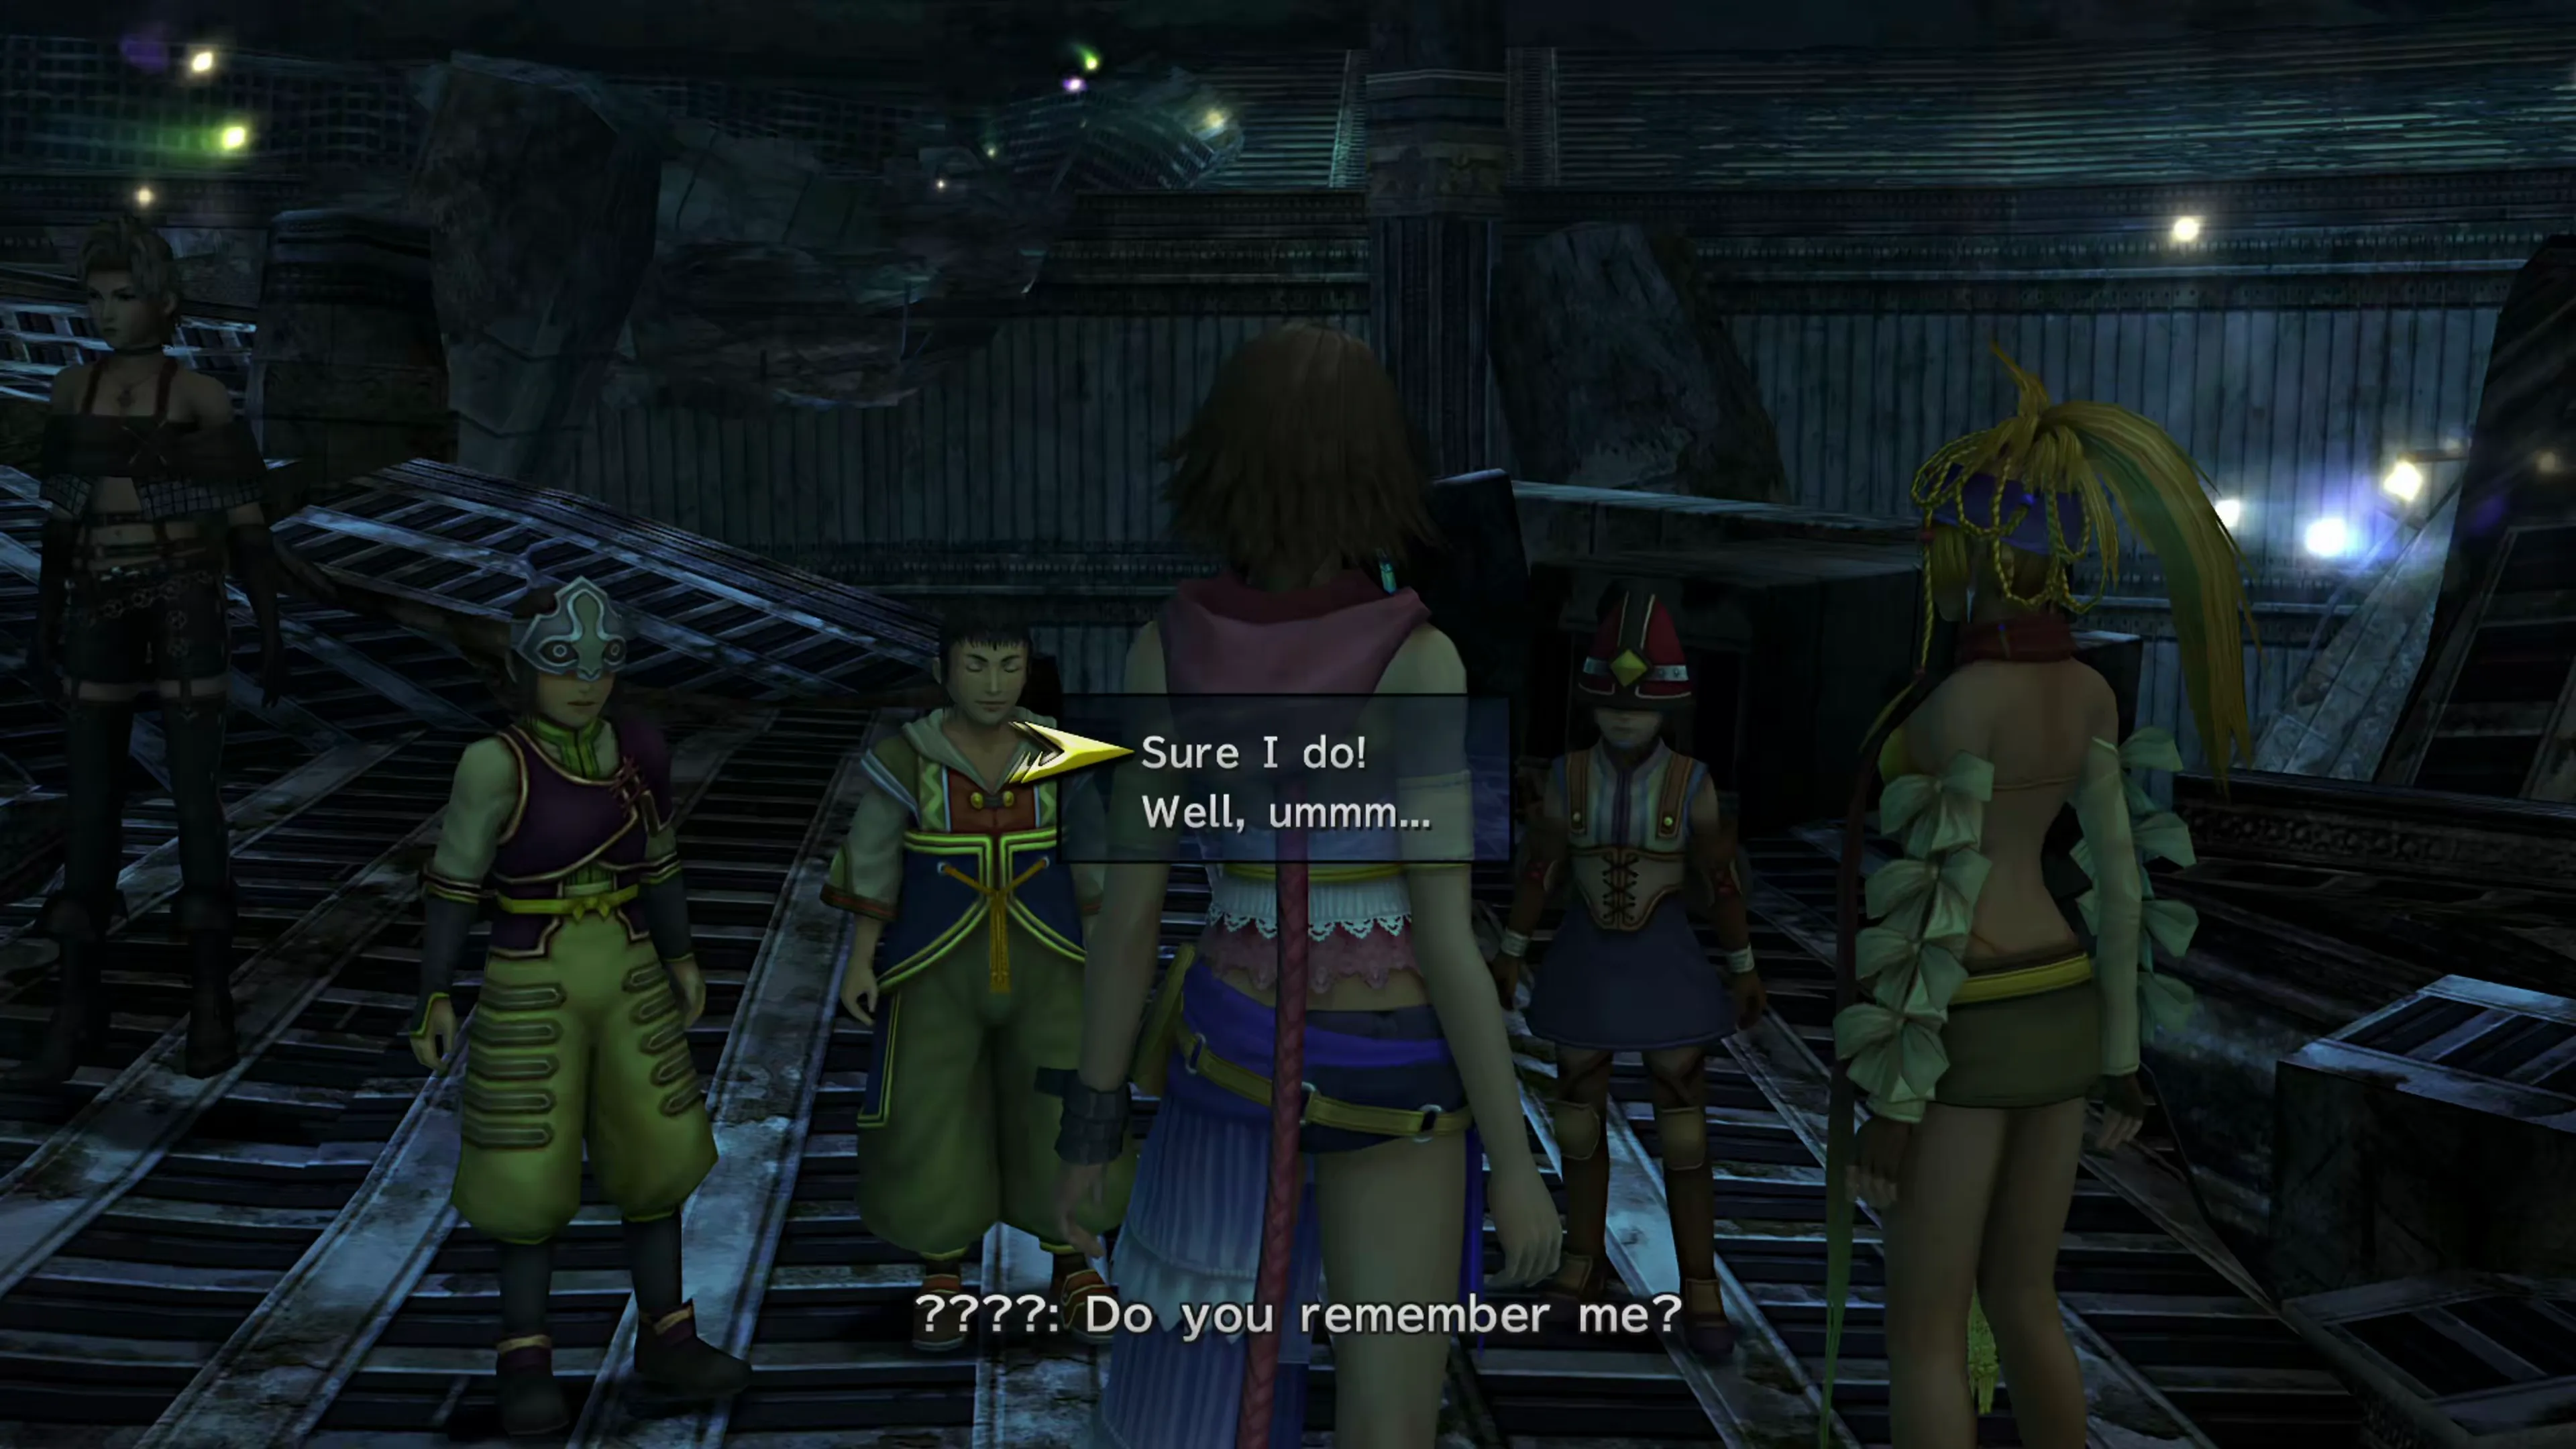
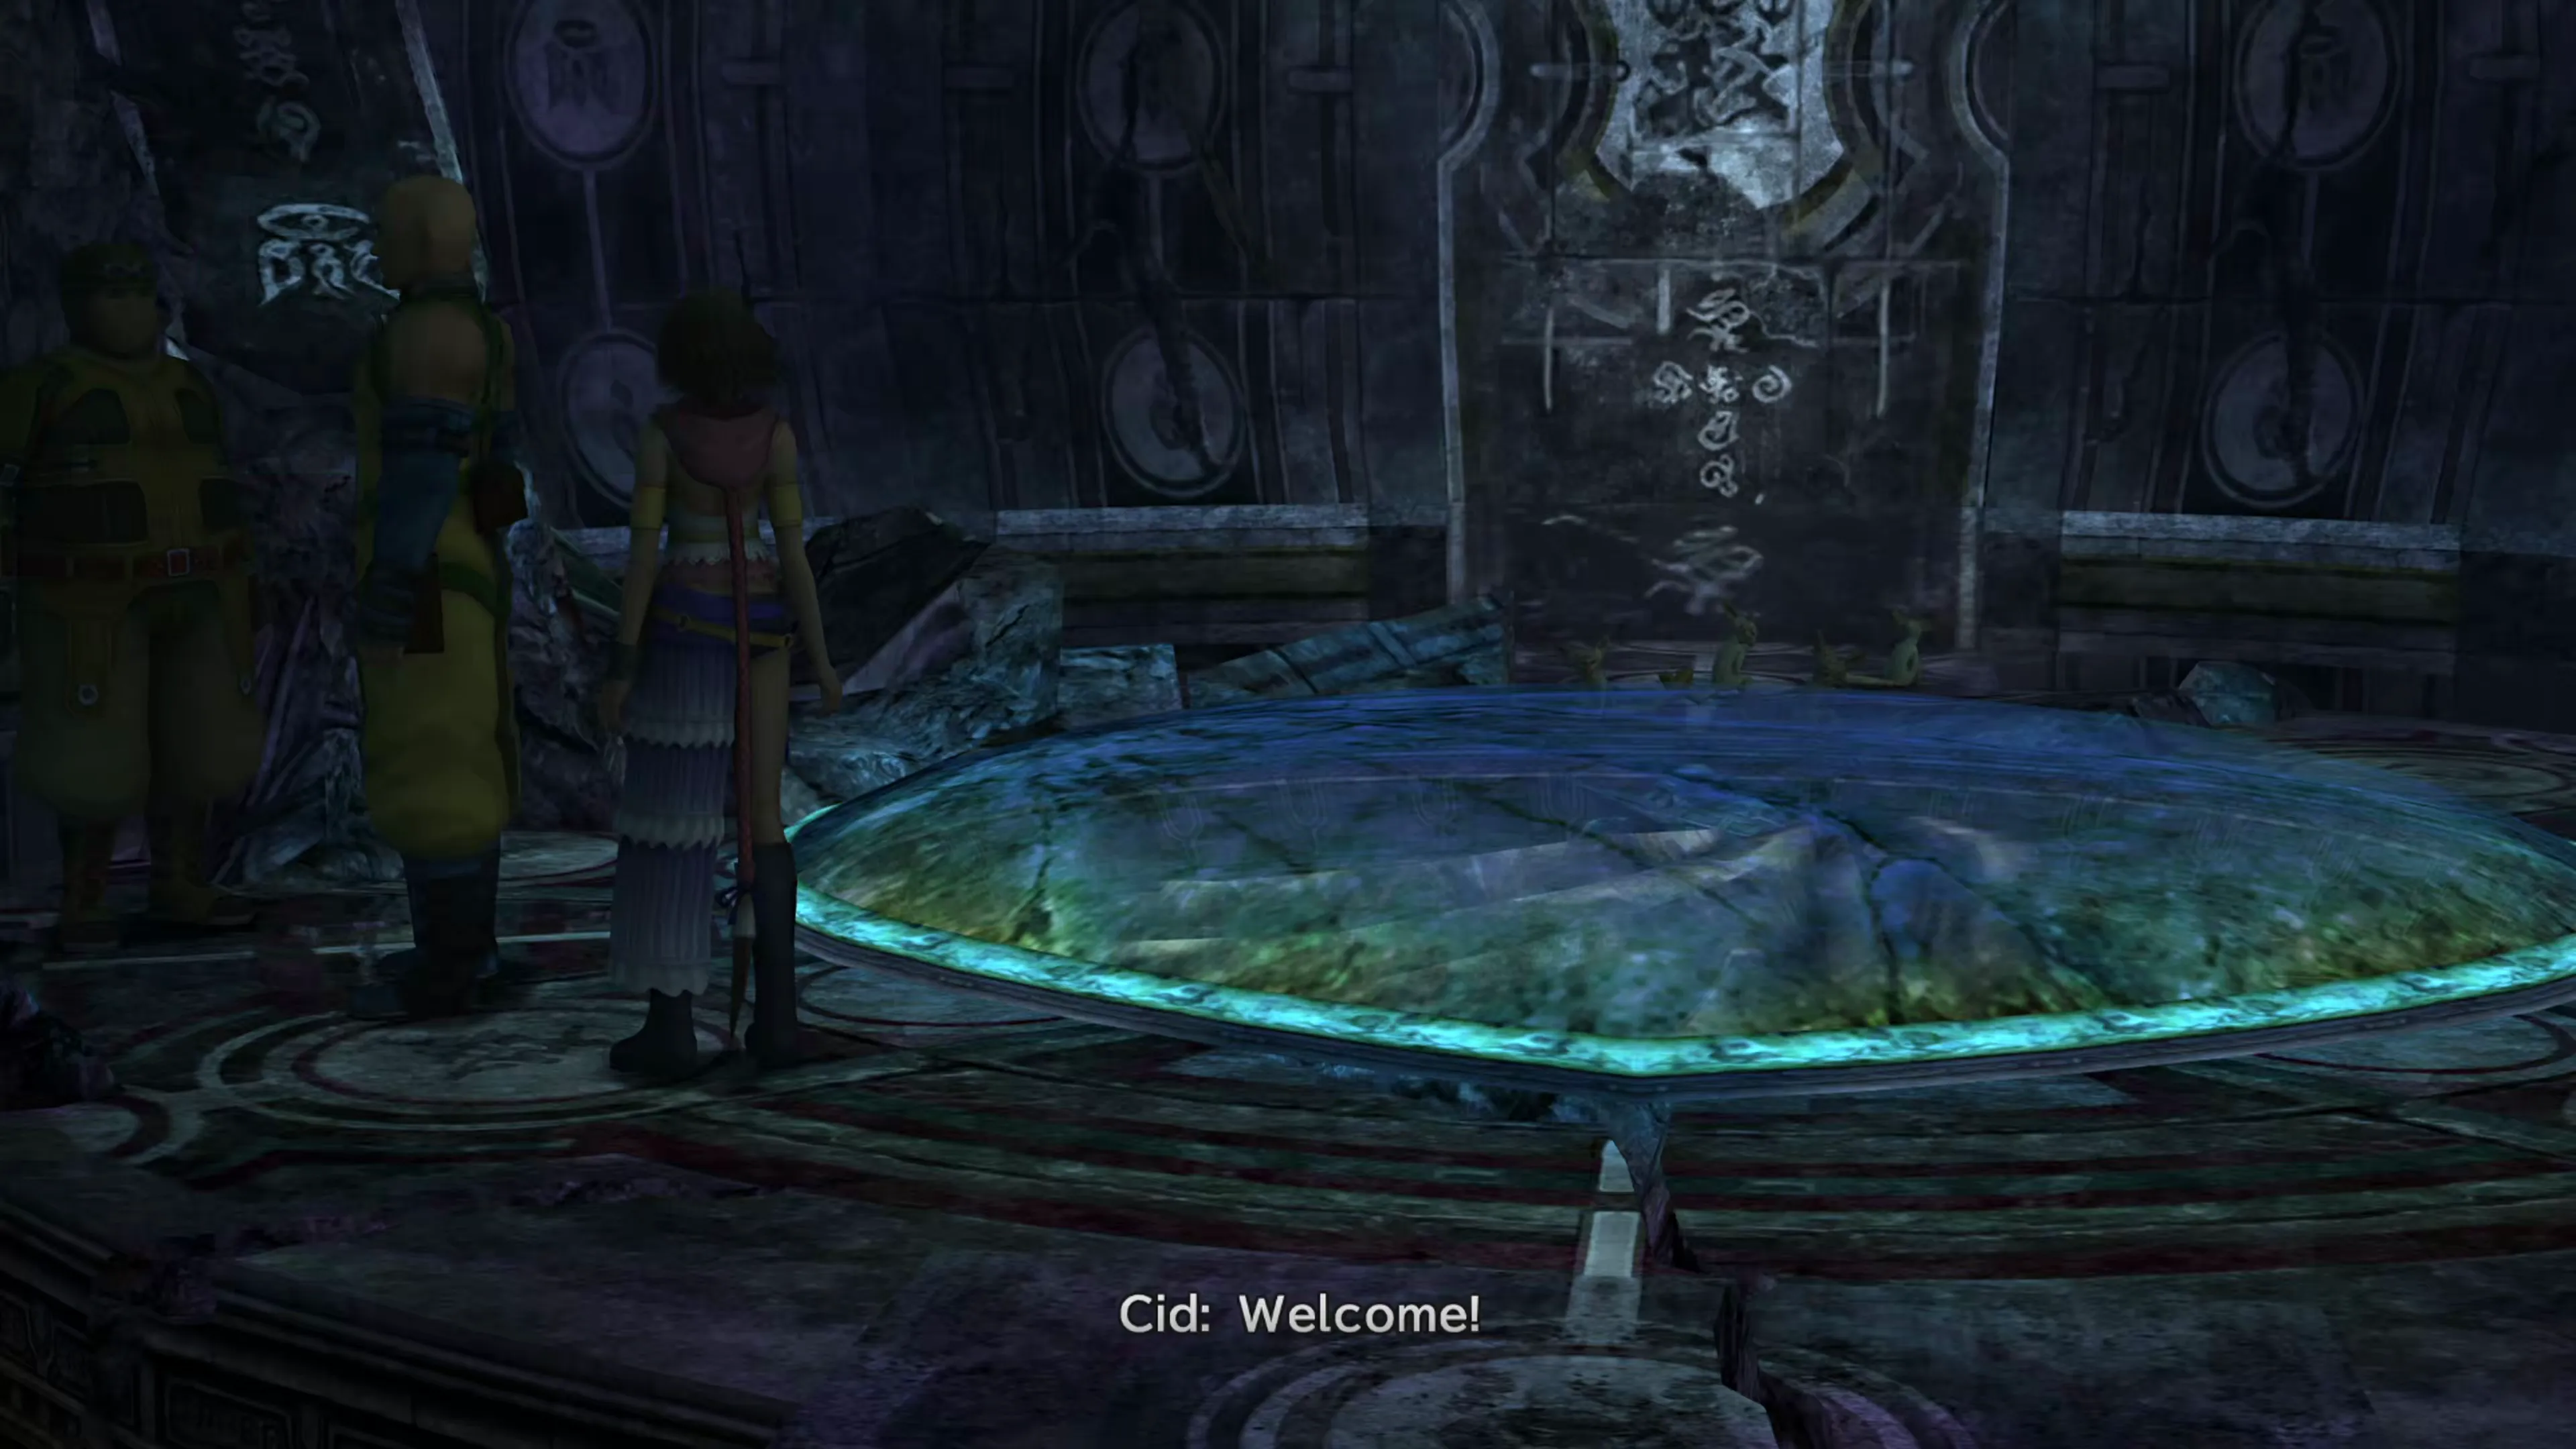
Continue through the hallway, into the Cloister, down the elevator in the center of the Cloister, and into the Chamber of the Fayth. Here, you’ll find Cid standing off to the left side, but he’s a bit hard to see.
Fayth Chamber
 Cloister of Trials
Great Hall
Cloister of Trials
Great Hall
He’ll ask “What, you got a bone to pick?” and you’ll have two responses: “Not really.” or “You bet I do!”
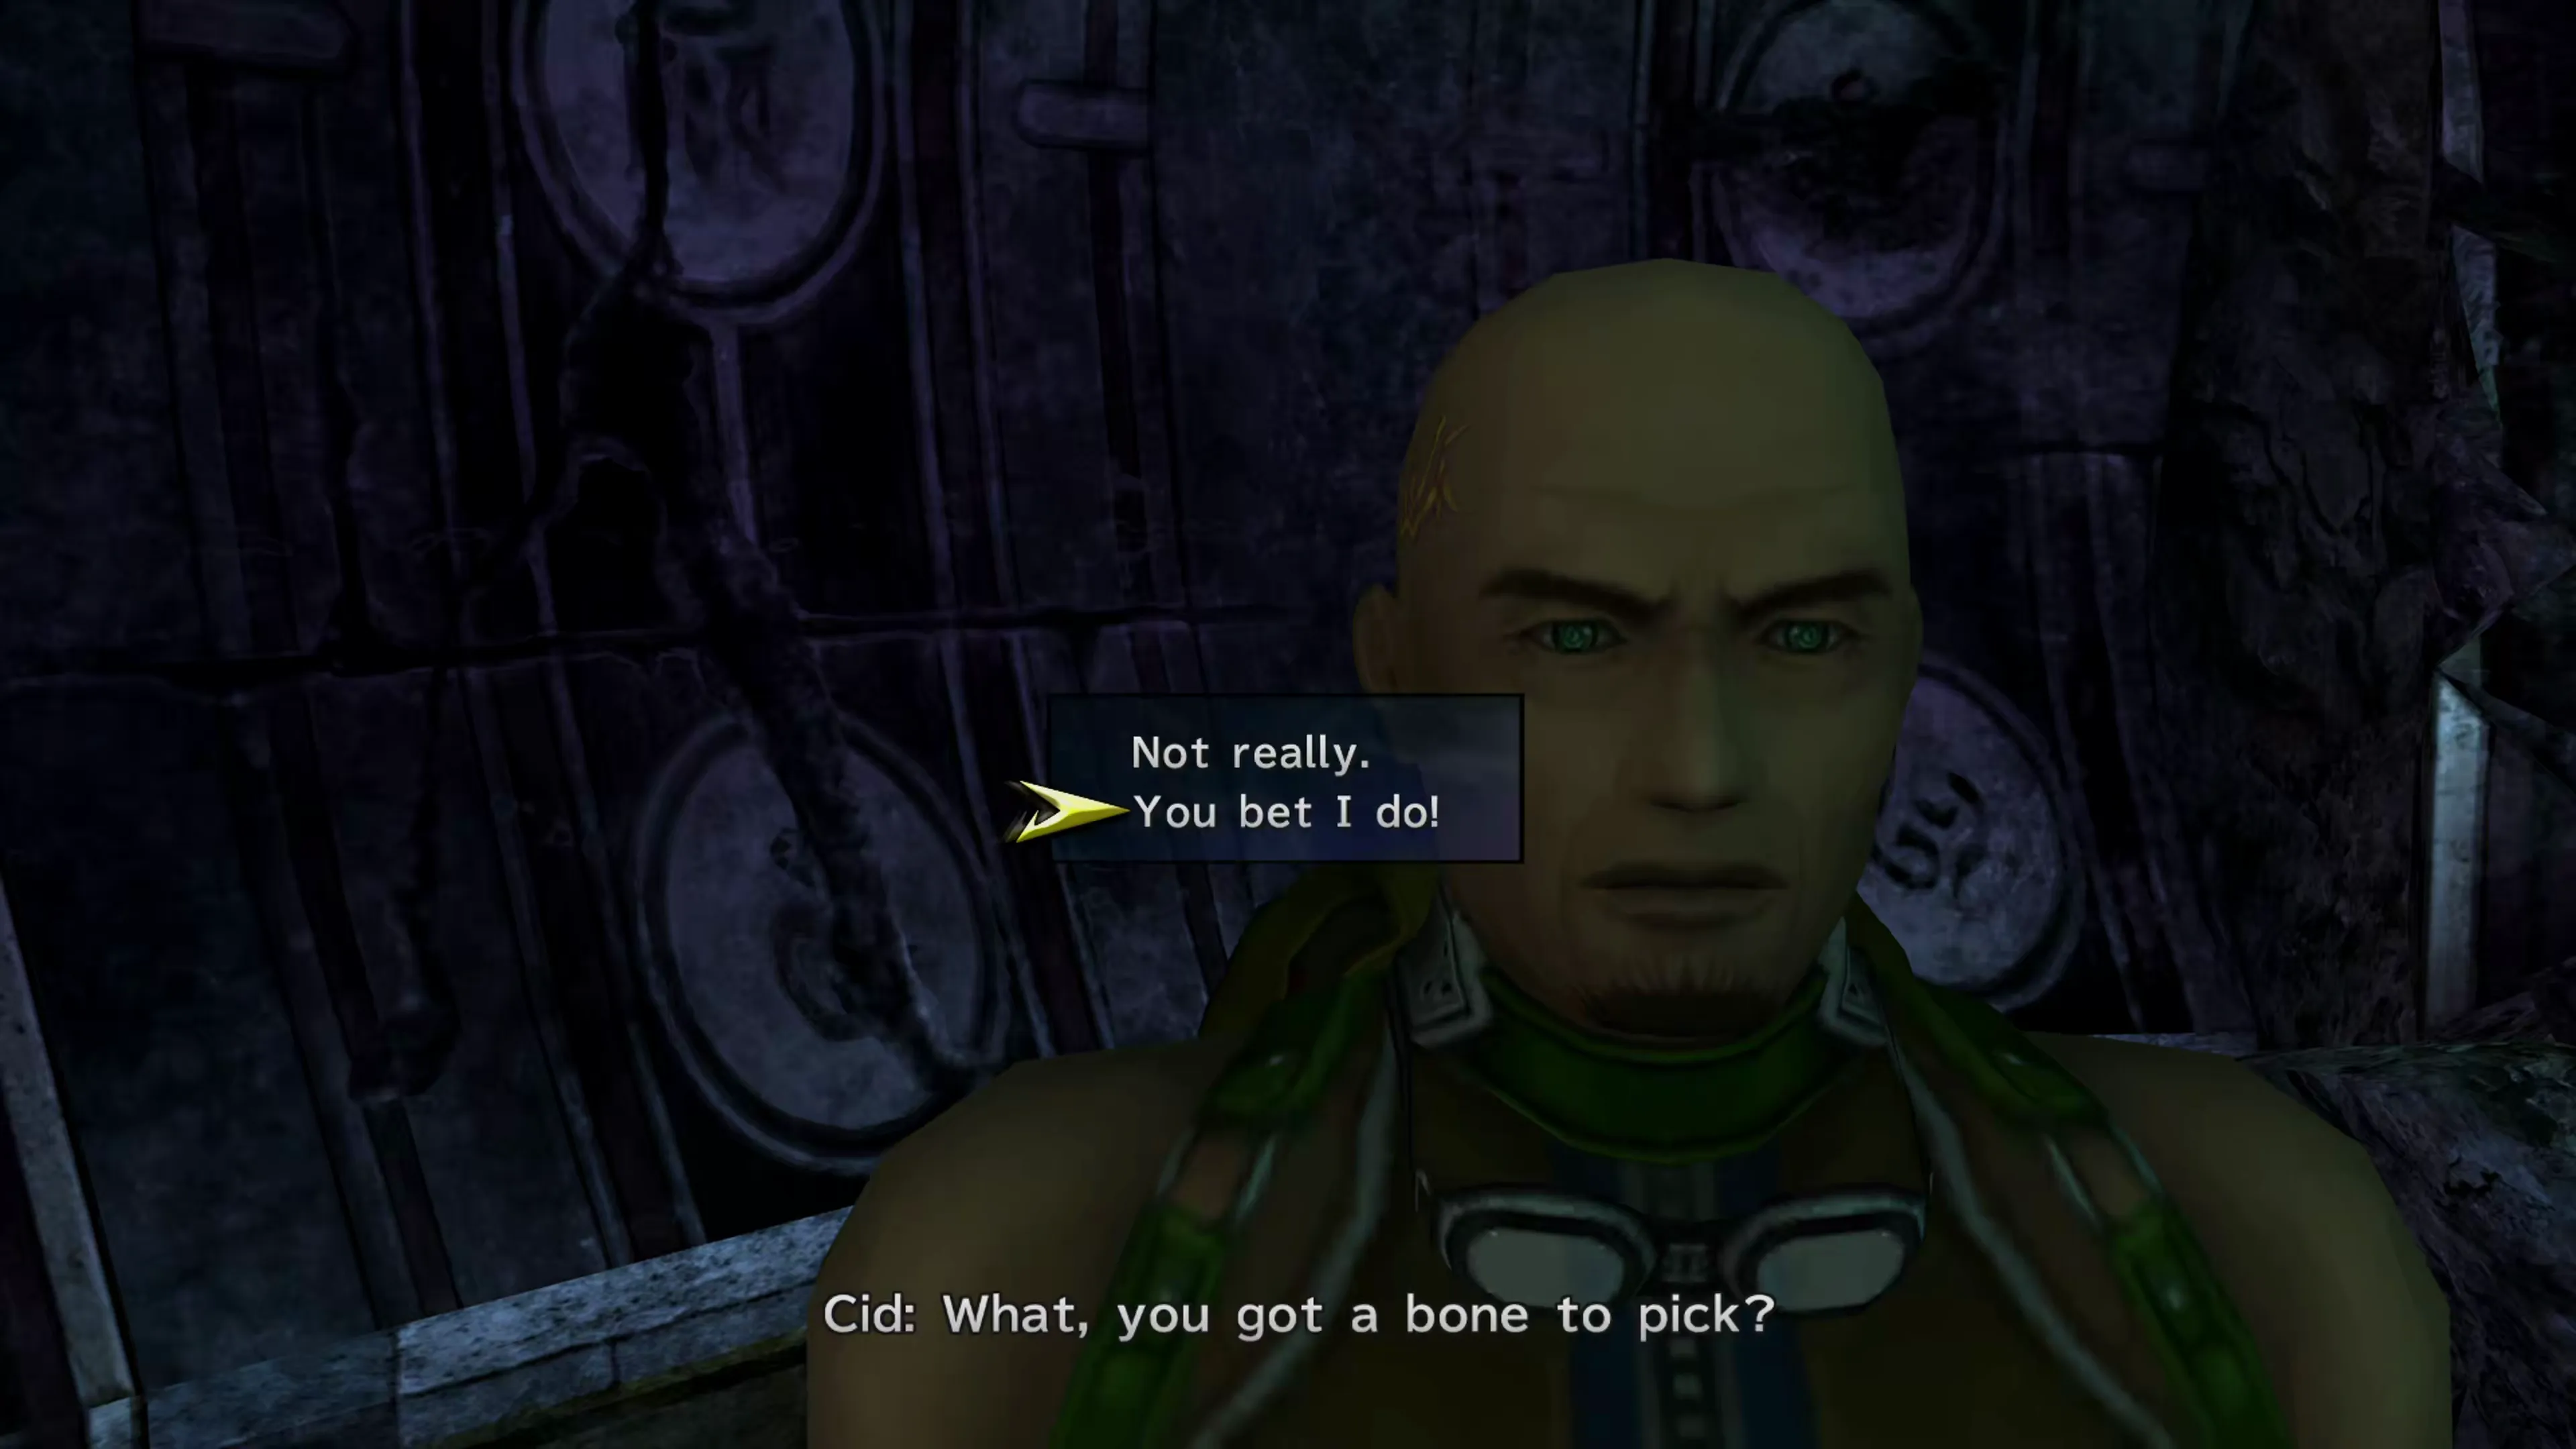
Neither response awards Story Completion Percent here, and both set up a scene worth 0.2% later on, so neither one costs you a shot at 100%. “You bet I do!” is the safer pick because it gives you two chances at that 0.2% instead of one: telling Cid how you really feel leaves him sulking on the Thunder Plains in Chapter 2, and he’s still there in Chapter 3 if you miss him. “Not really.” leaves you a single window, on the Thunder Plains in Chapter 3.
Before you leave the chamber, talk to the researcher standing next to Cid. He releases the monkeys, which opens the way into the next room, the Great Hall. Don’t interact with any of the monkeys in there, because they’ll steal Gil from you, but do open the treasure chests. They contain a Hi-Potion, a Phoenix Down, an Elixir, three Remedies, and an Ether.
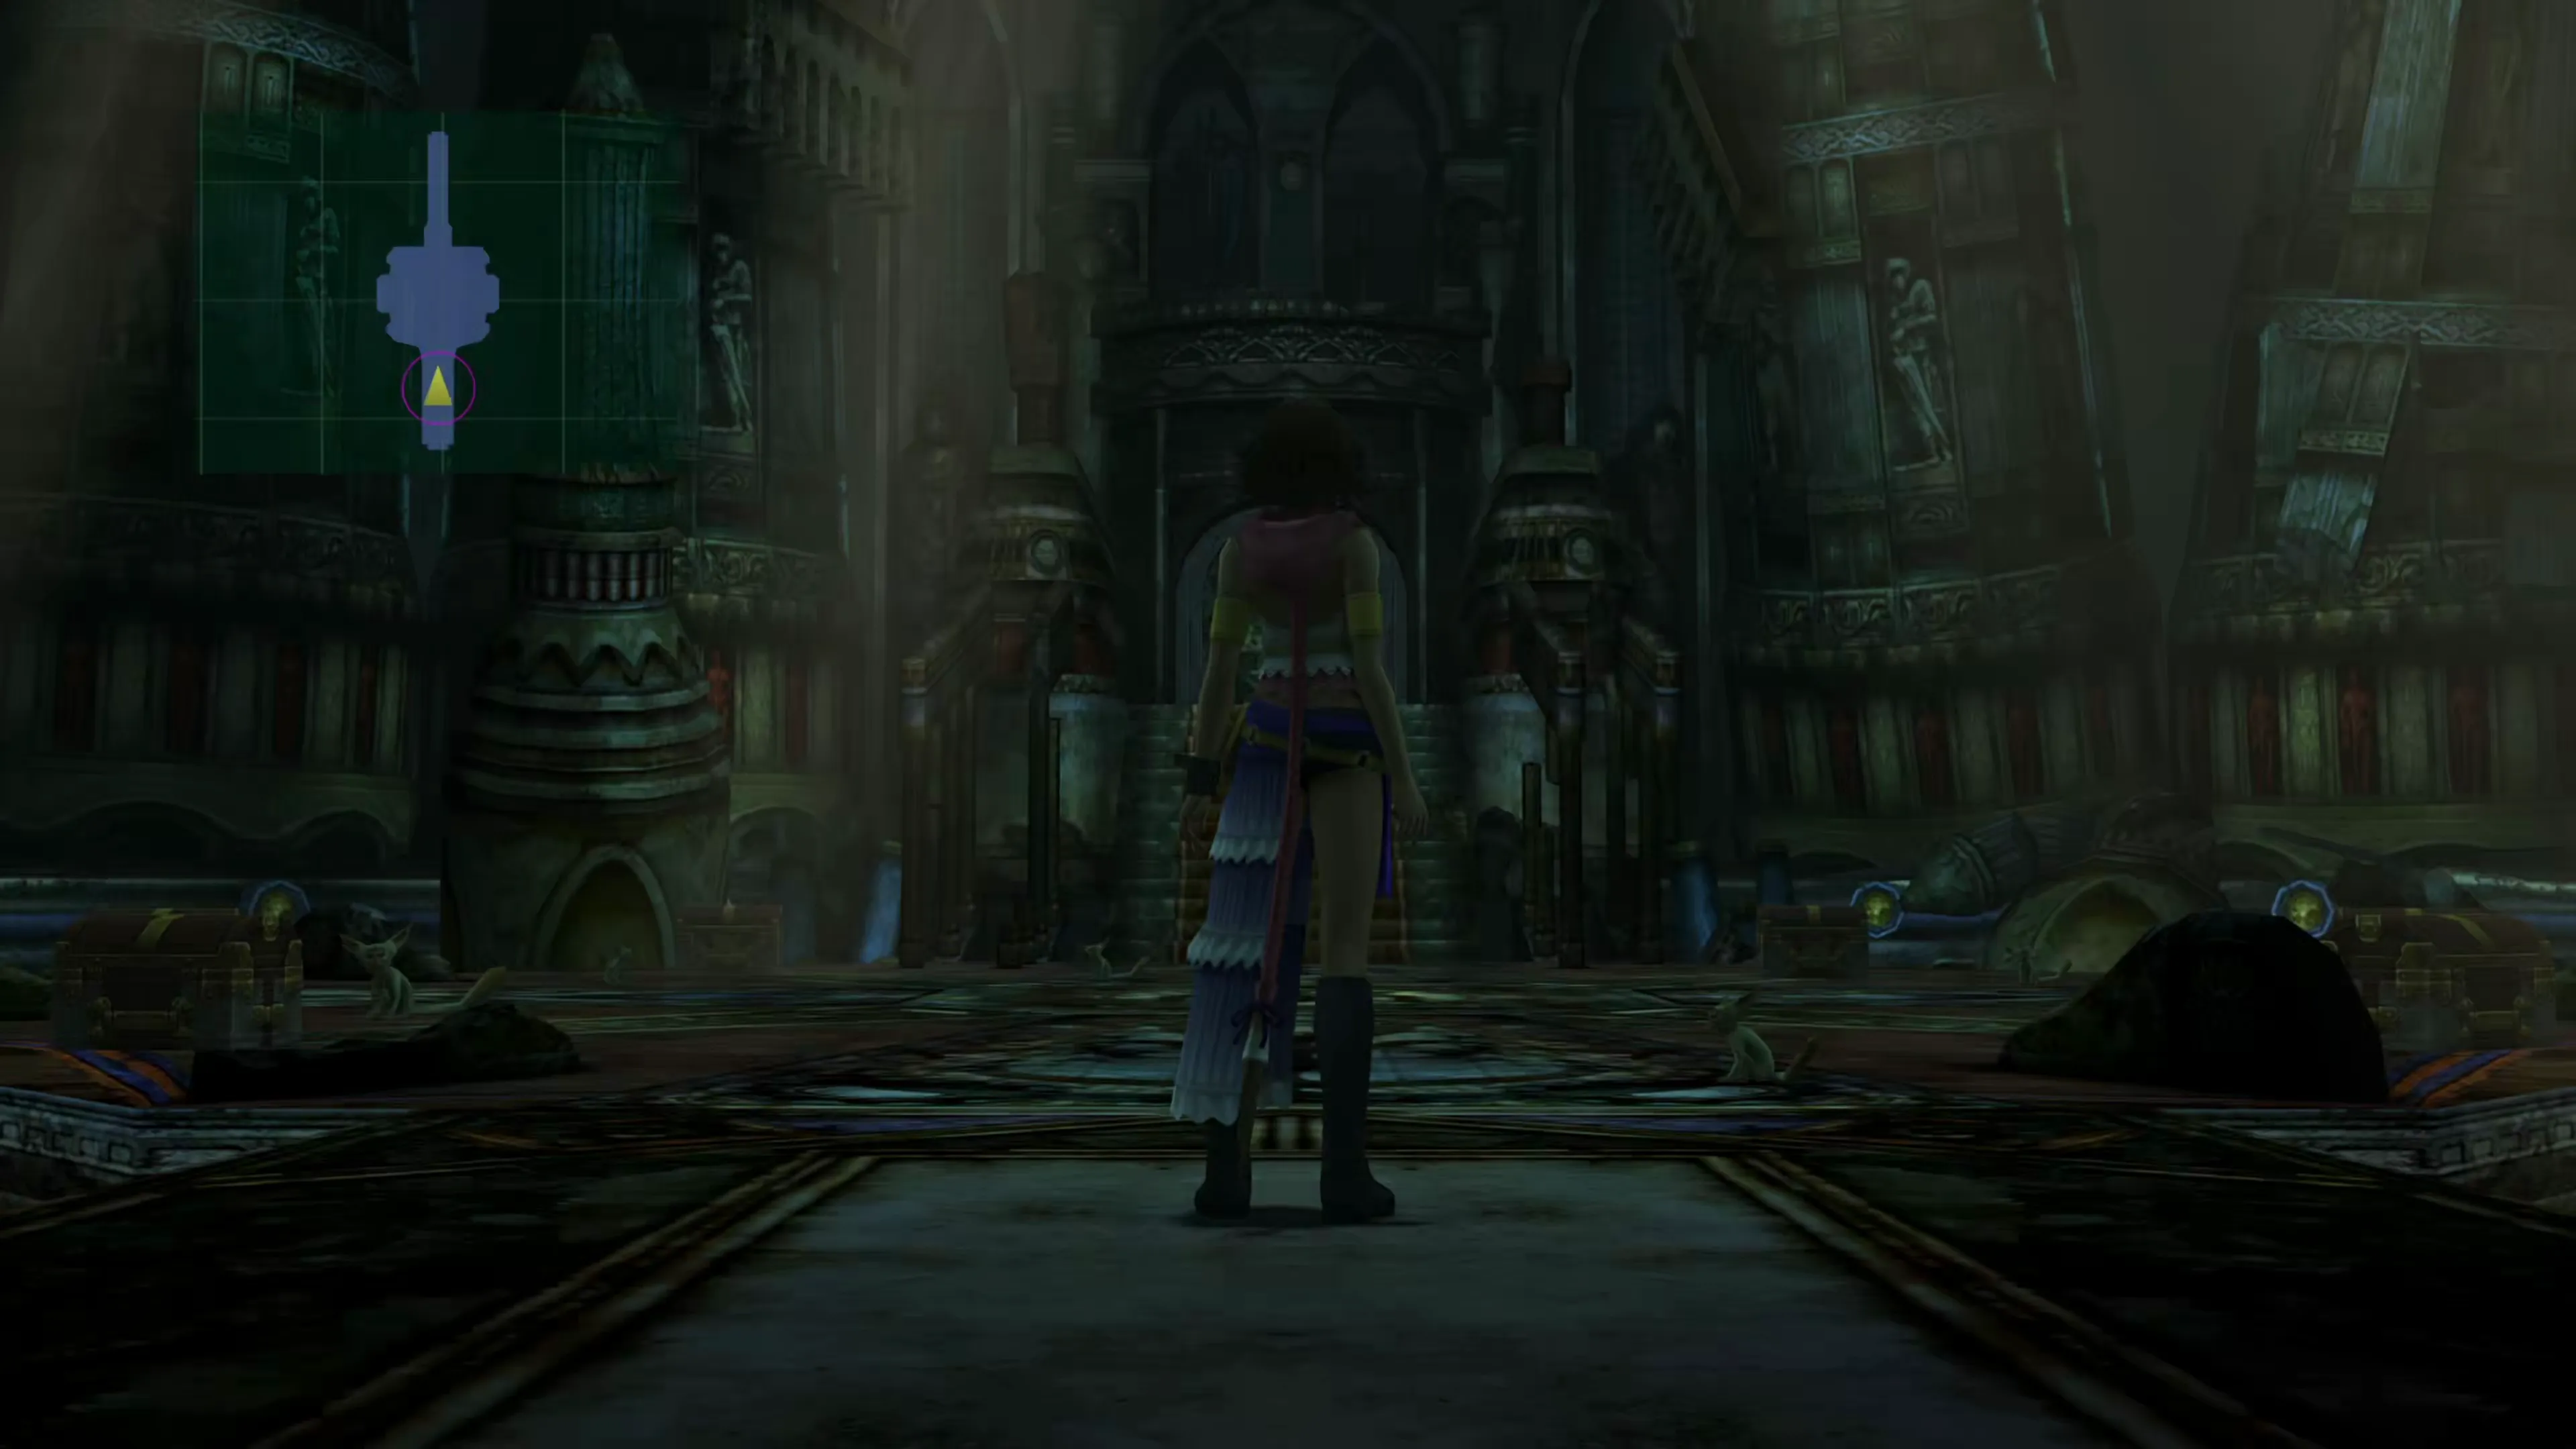
Great Hall

The Beyond
An unknown entity will ask for the password. You don’t have to respond, though, as Rikku will pipe up right away and say it’s “monkey.” He’ll then ask, “What is the meaning of life?” to which you should respond “Is that you, Isaaru?”
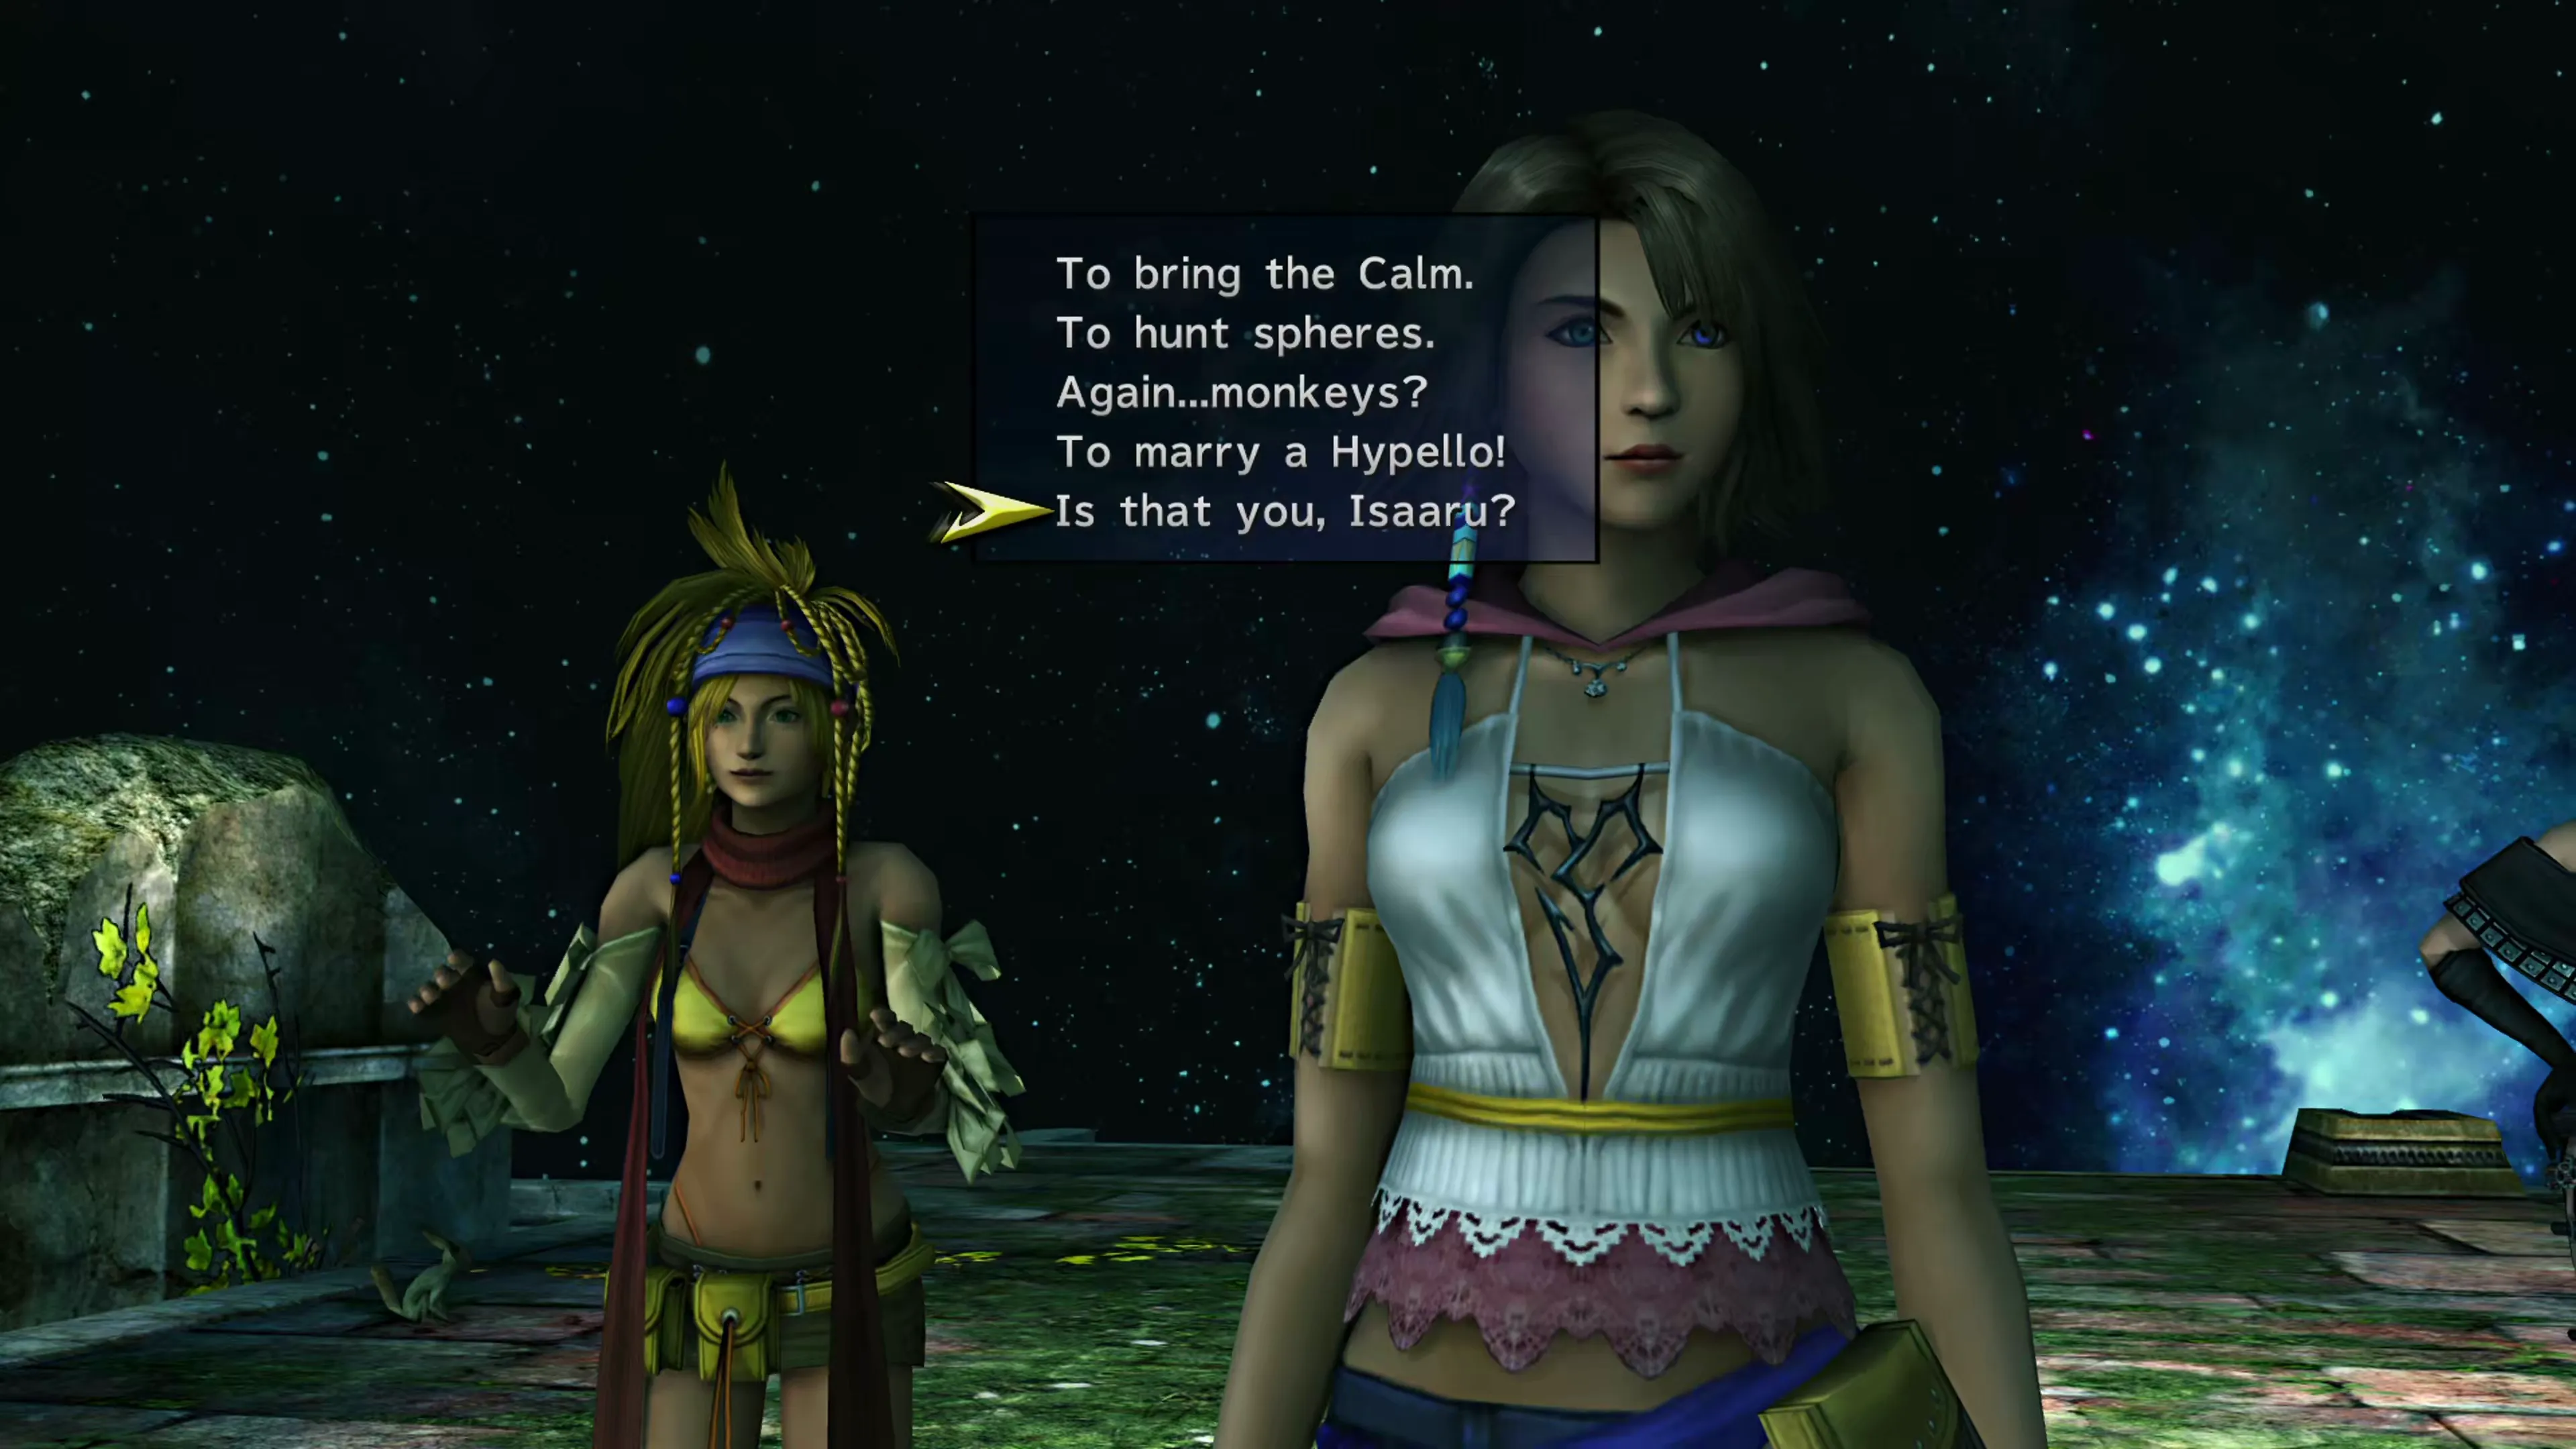
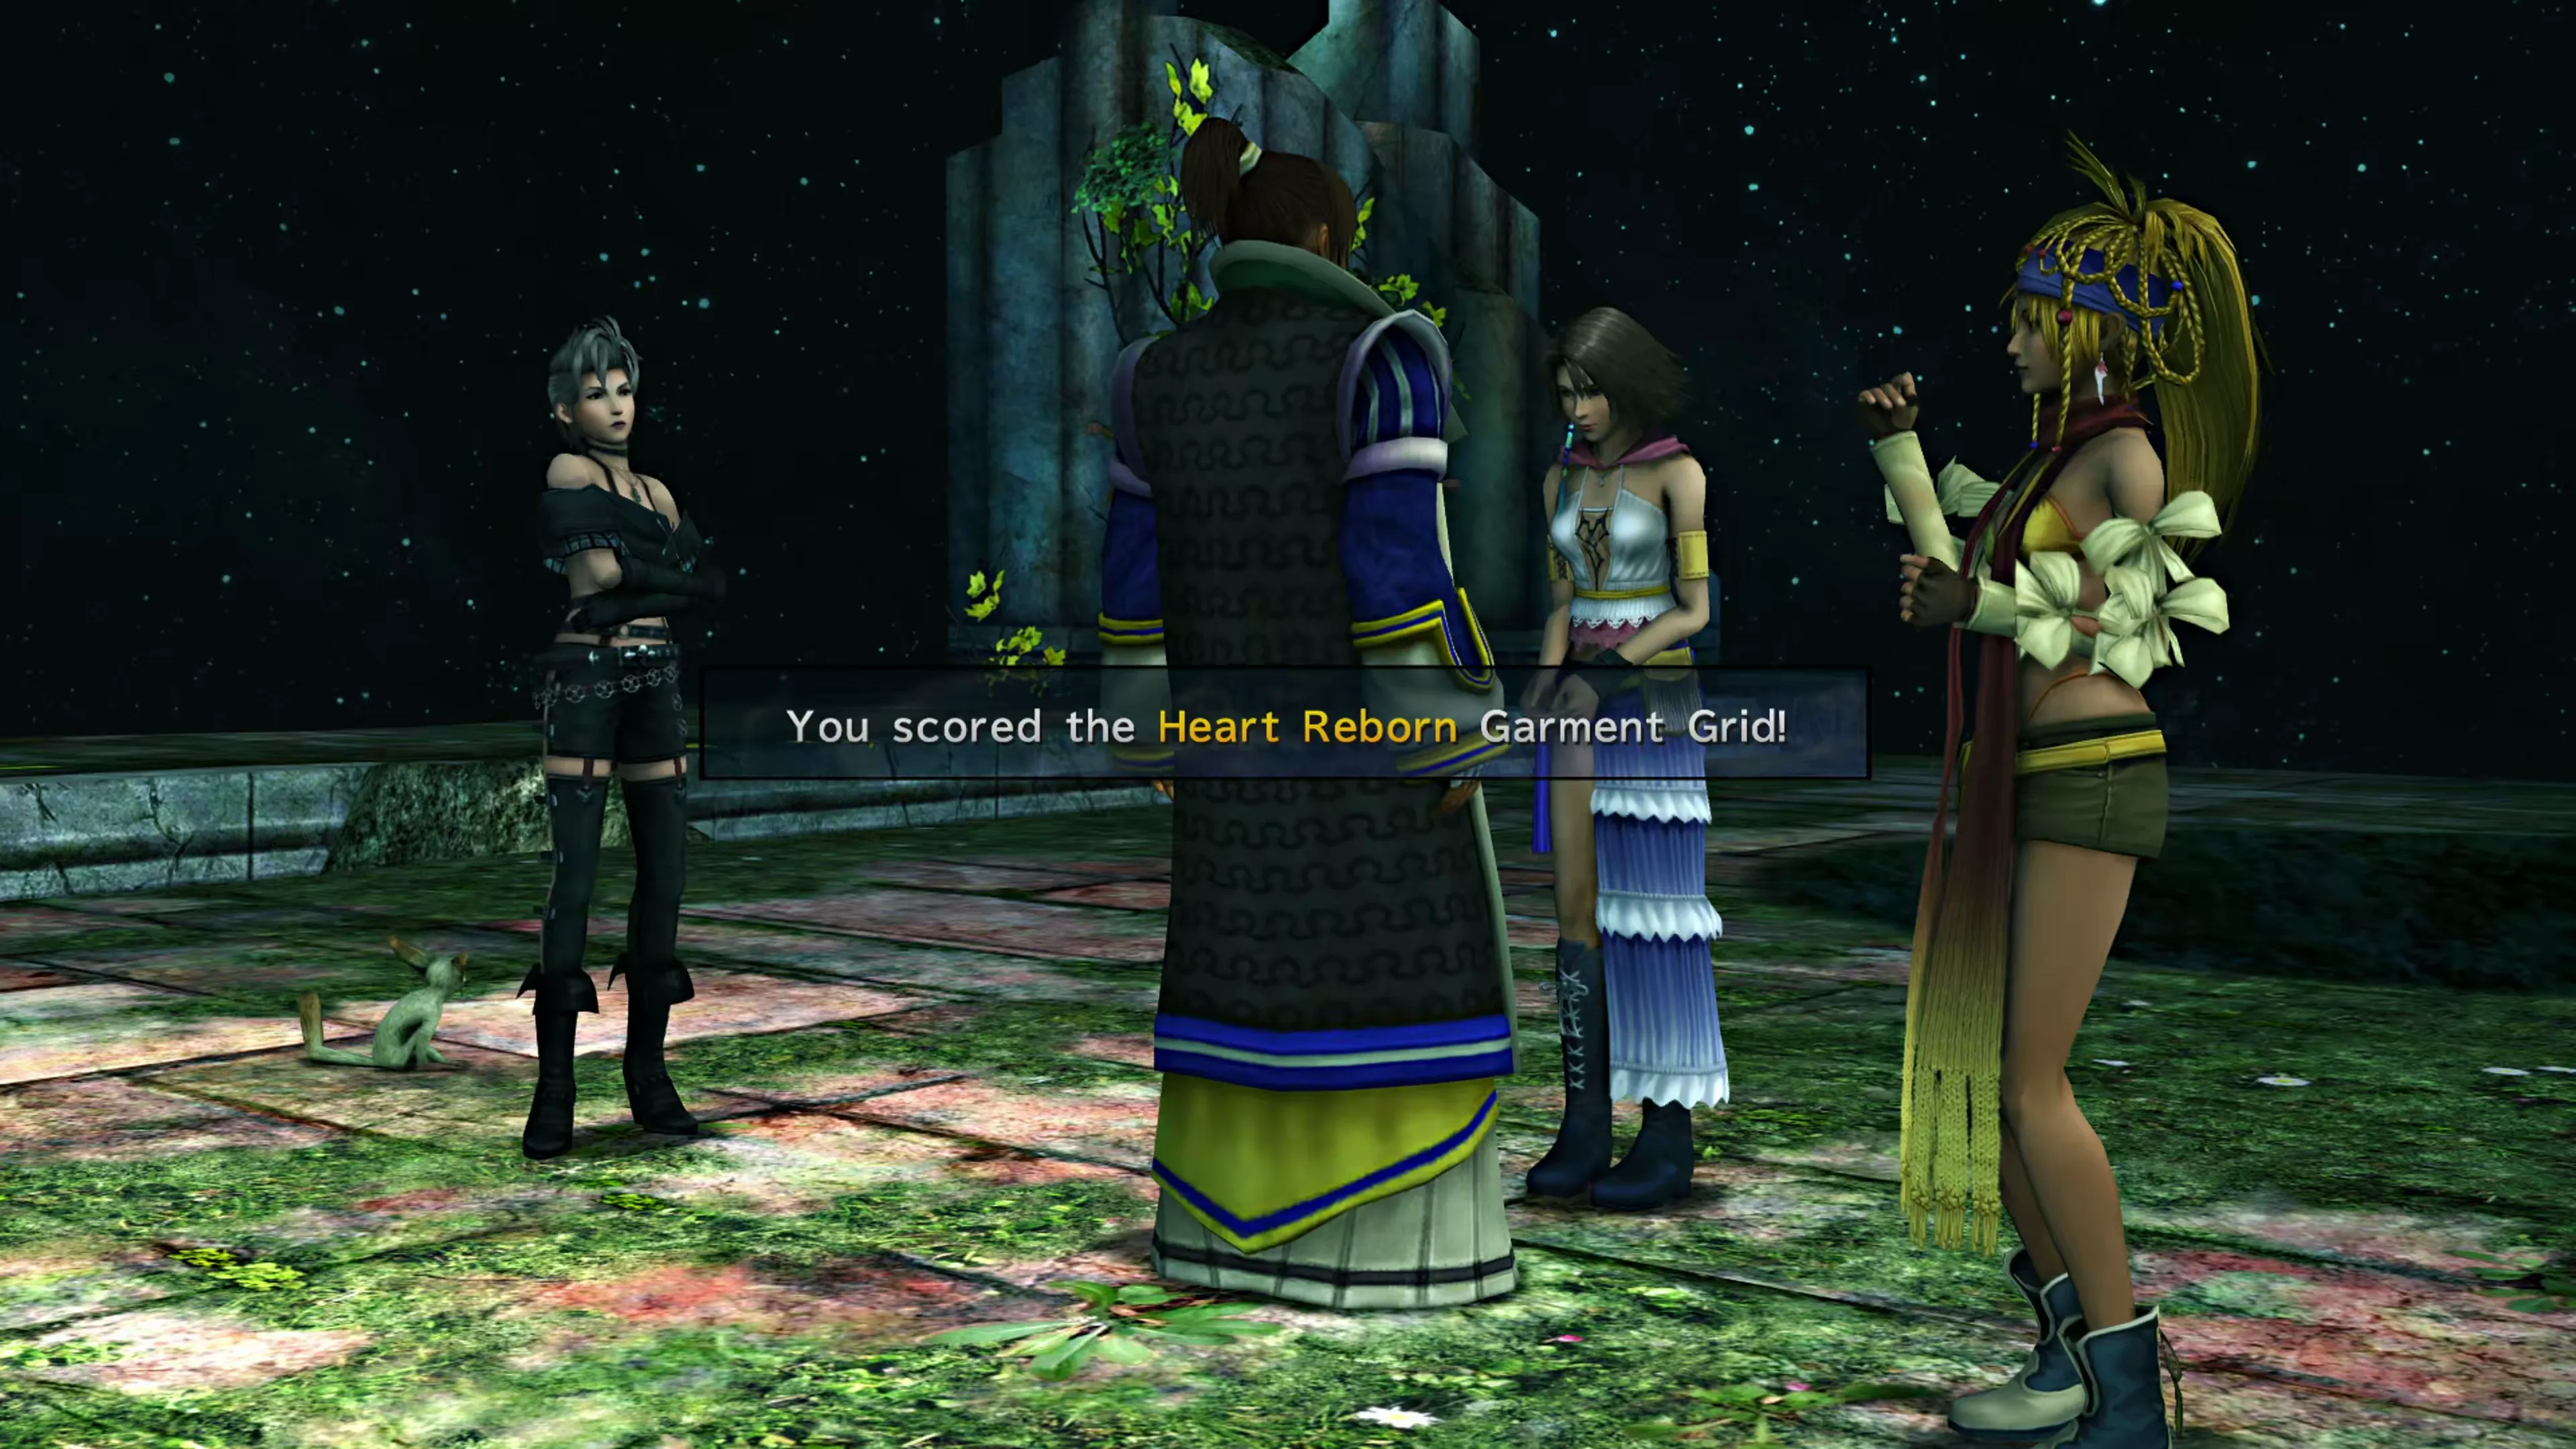
This is the answer that earns you the  Heart Reborn Garment Grid, which Isaaru hands over after a short bit of dialogue. Proceed forward into the next area.
The Beyond
 Great Hall
Treasure Chamber
Great Hall
Treasure Chamber
Treasure Chamber
Proceed through the corridors. You’ll reach a room at the end that looks like a lattice, but there are no treasure chests along any of the corridors, so proceed forward towards the middle of the room for another cutscene involving a sphere on a pedestal. Time for your next boss fight!
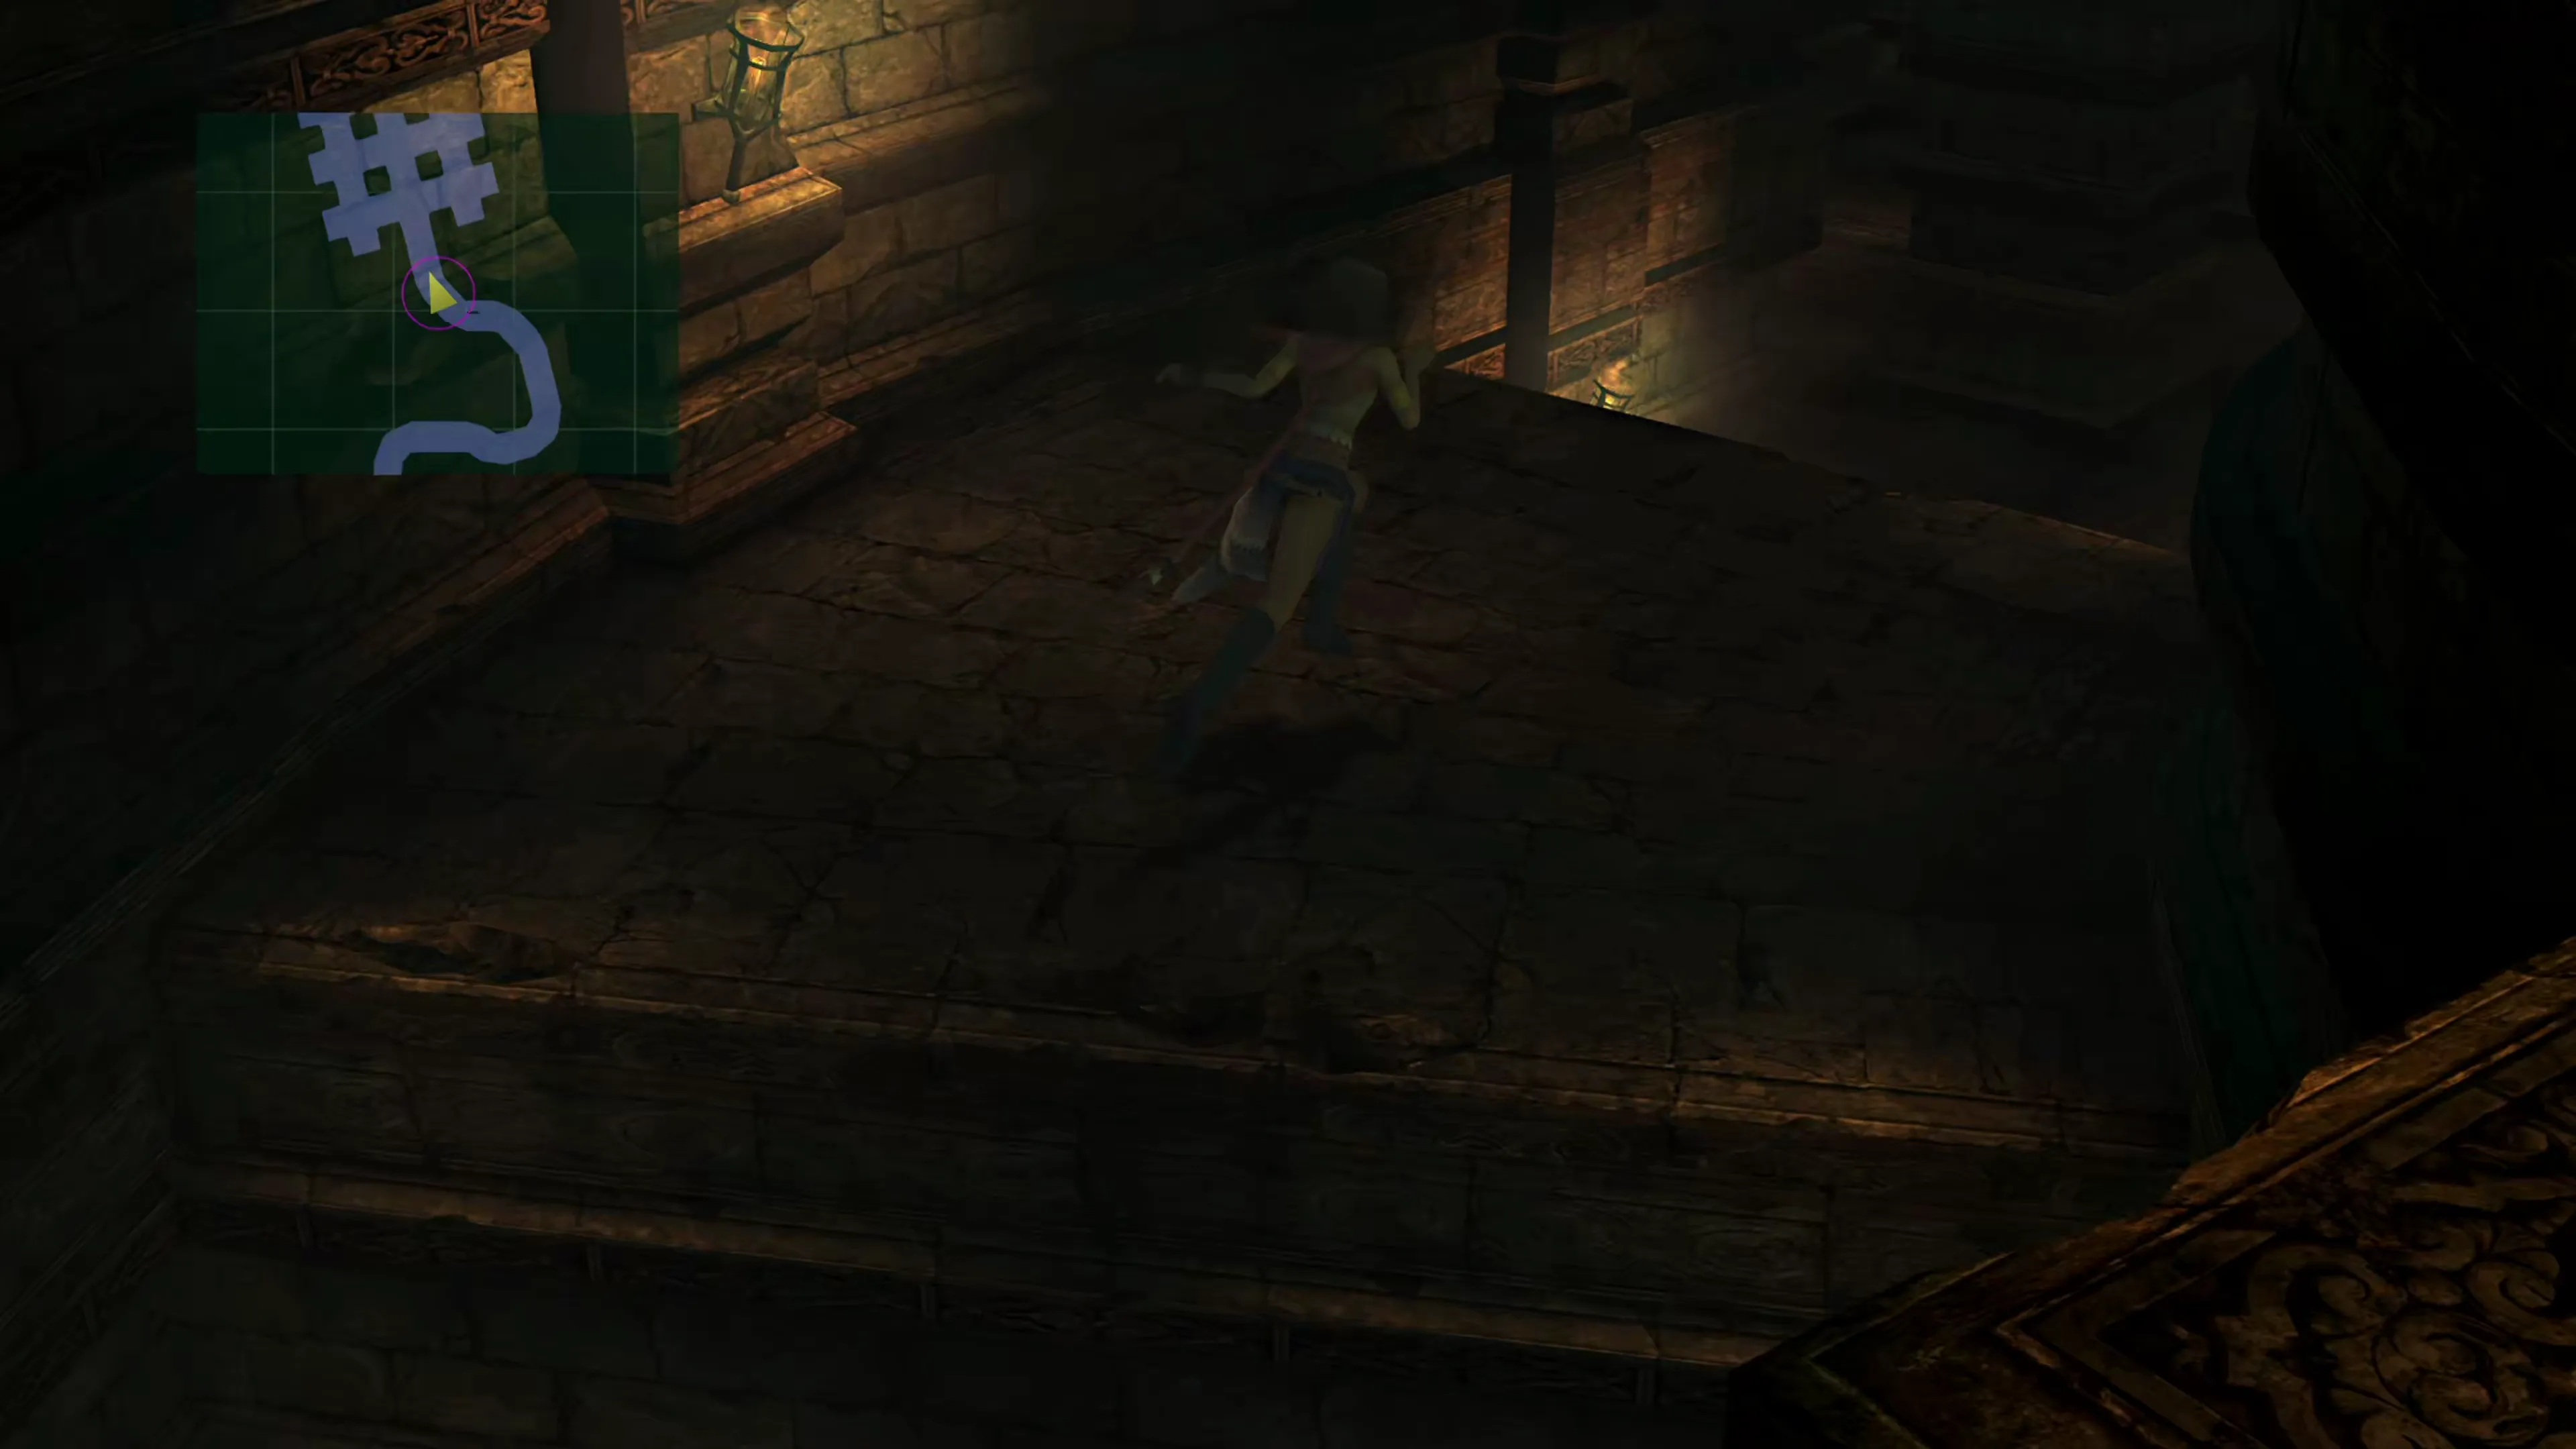
Boss Battle
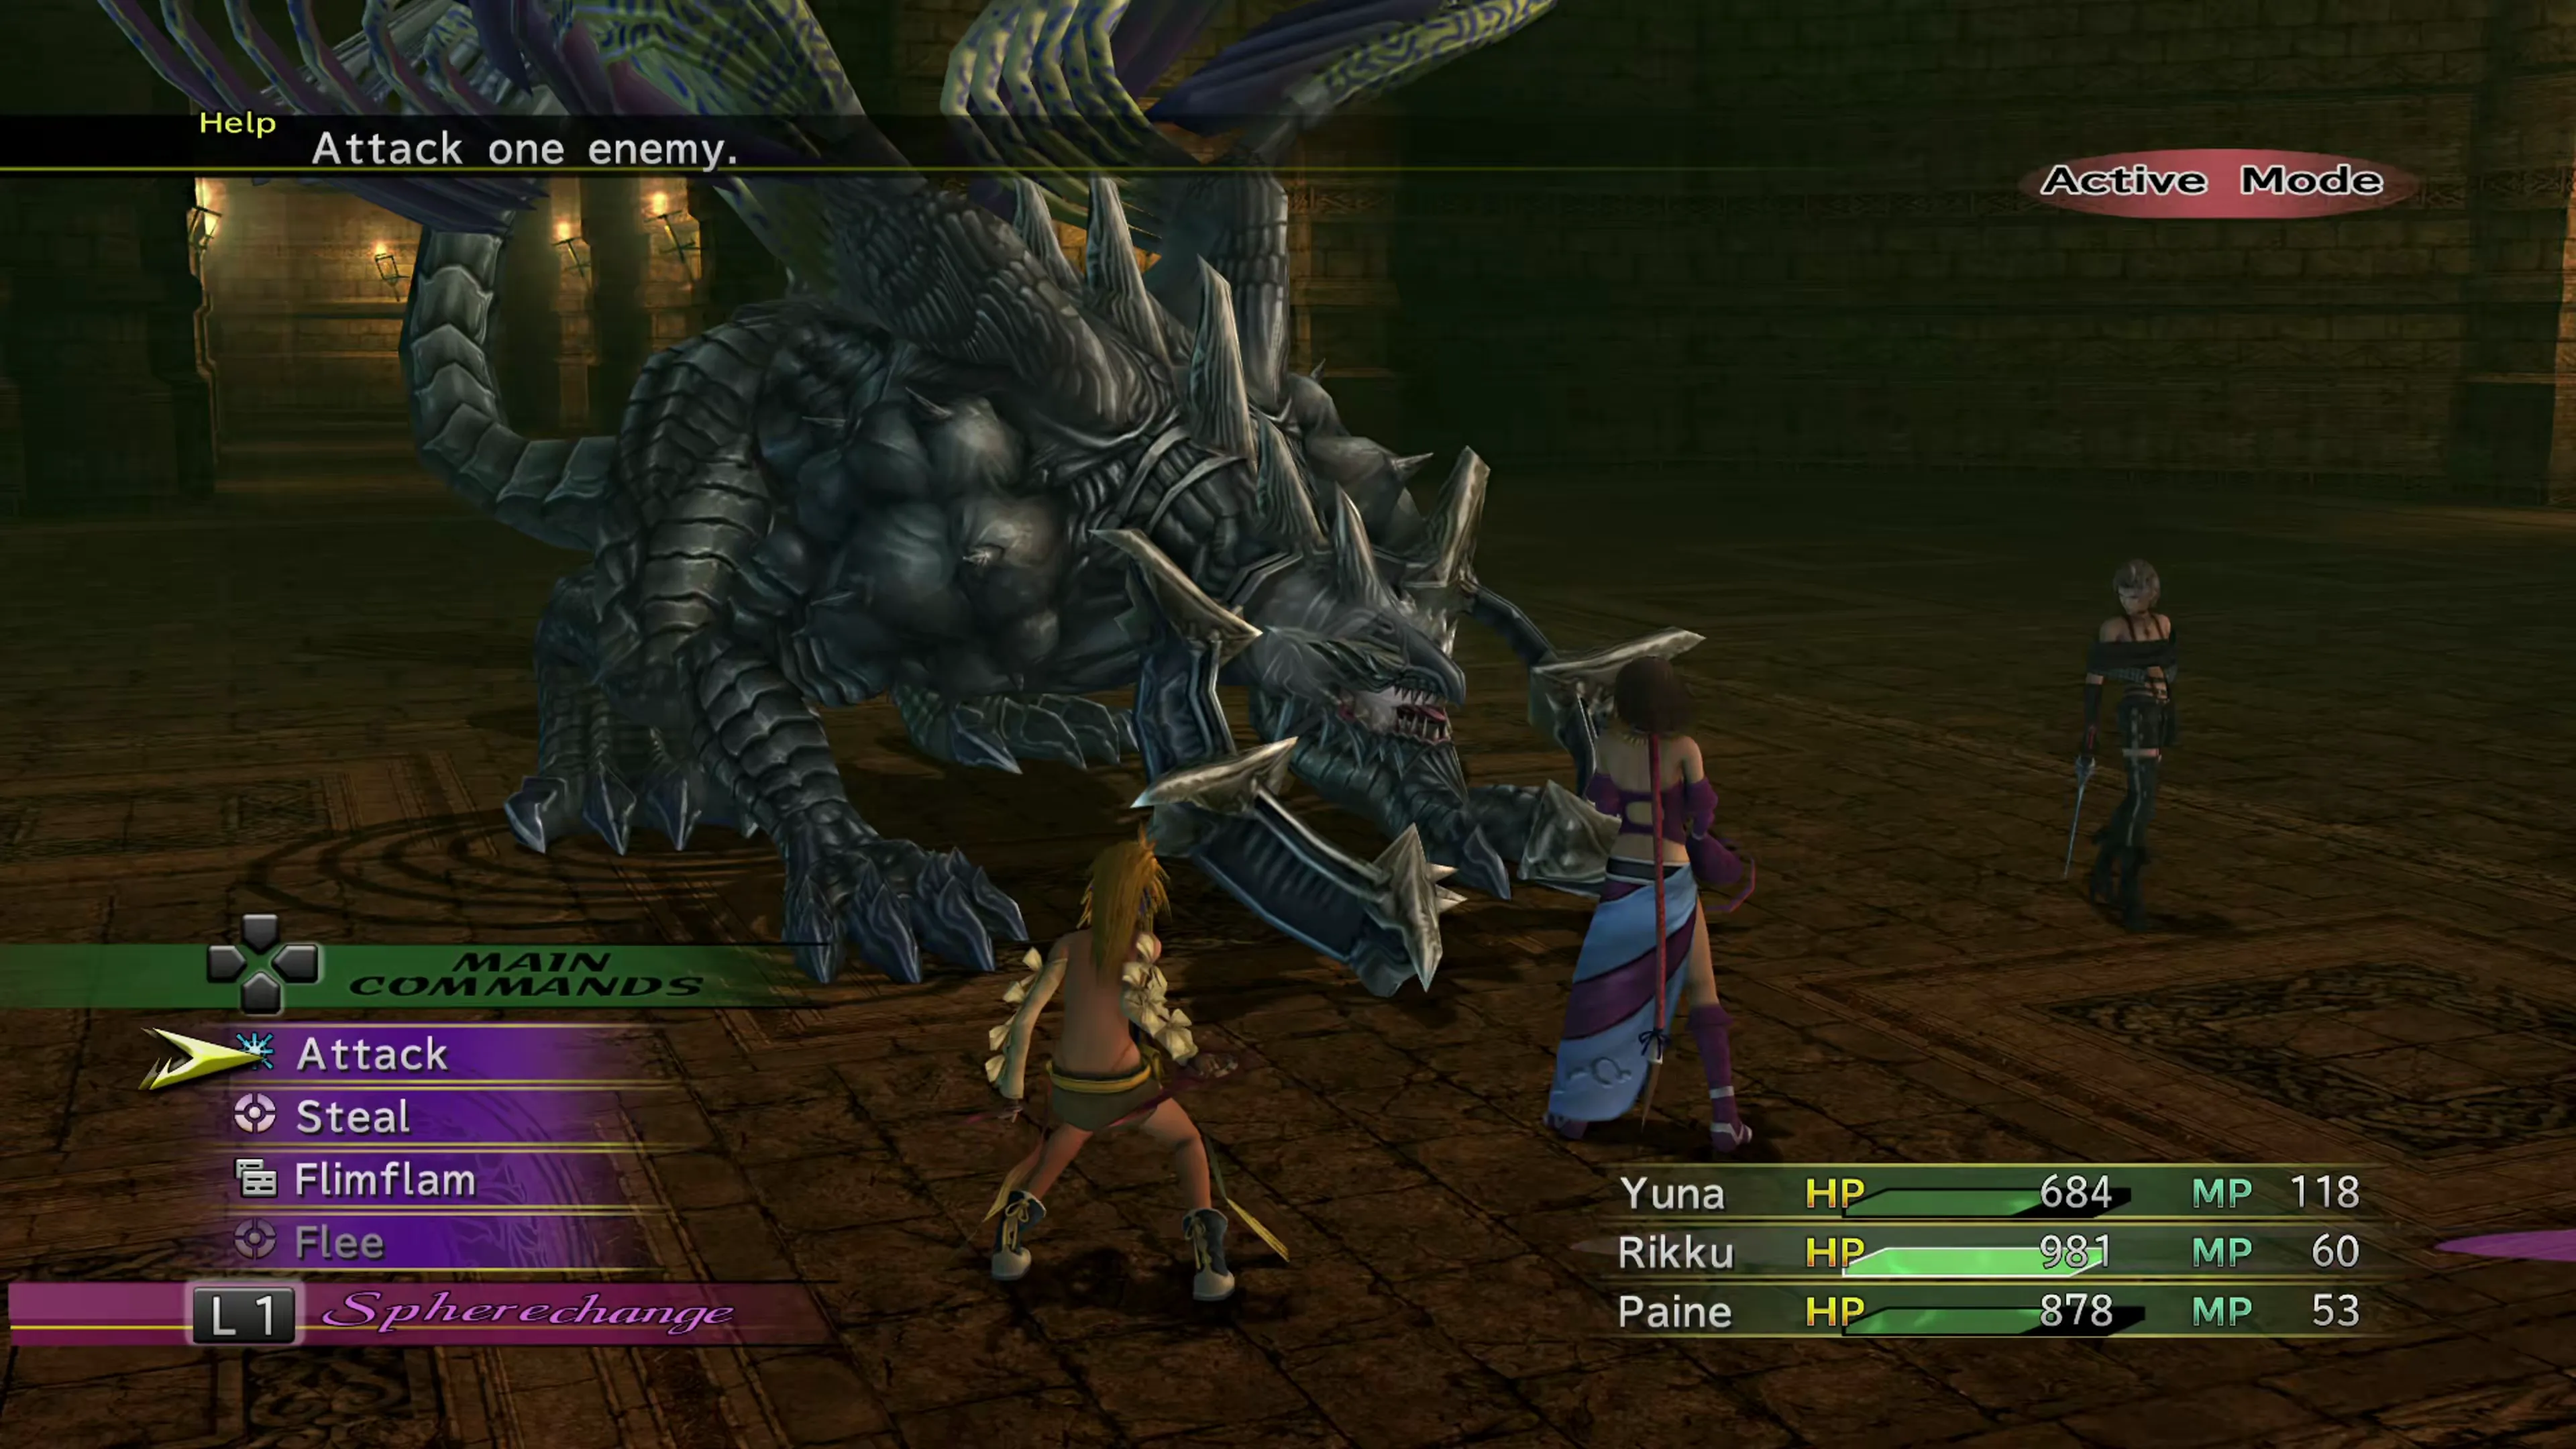
For the first half of this battle, Guardian Beast will attack with three swipe attacks, and then “Curse.” Once its HP drops to about 960, it keeps up the three swipes, but swaps “Curse” for “Damocles Photon,” which hits every party member for half of their HP. Healing will definitely be necessary during this fight.
This is a good fight to rely on a  White Mage to keep your party alive. Even just a constant stream of
  Pray usage will usually be enough to counteract the damage being dealt.
It’s worth noting that Guardian Beast is weak to almost every elemental magic, so  Black Mages work really well here.
| Enemy | HP | Steal | Drop |
|---|---|---|---|
| Guardian Beast | 2886 |  Defense Veil Defense Veil | Amulet |
Yuna, Rikku, and Paine will scoop up the broken-in-half sphere and automatically be transported back up to the Celsius.
Celsius
The team only briefly returns to the Celsius before you’ll be forced right into the next Mission. It’s time to head back to Kilika to find the “Awesome Sphere”!
Checking the “Zanarkand Ruins Complete” box adds the Story Completion Percent for the automatic scenes in Zanarkand Ruins.