

Kilika - Awesome Sphere
There are a few cutscenes that play automatically as you meander down the docks, but before you head all the way into the woods, stop by and talk to the woman on the other side of the docks if you’d like to complete the optional “Squatter Monkey” side quest.
Side Quests
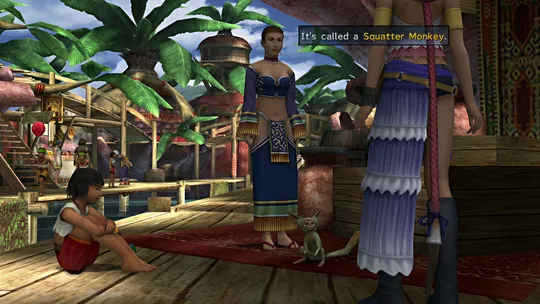
This optional quest is not required for 100% Story Completion, and it isn’t tied to any Achievements or Trophies.
This quest can be done at the same time as your next tasks, but is definitely not required.
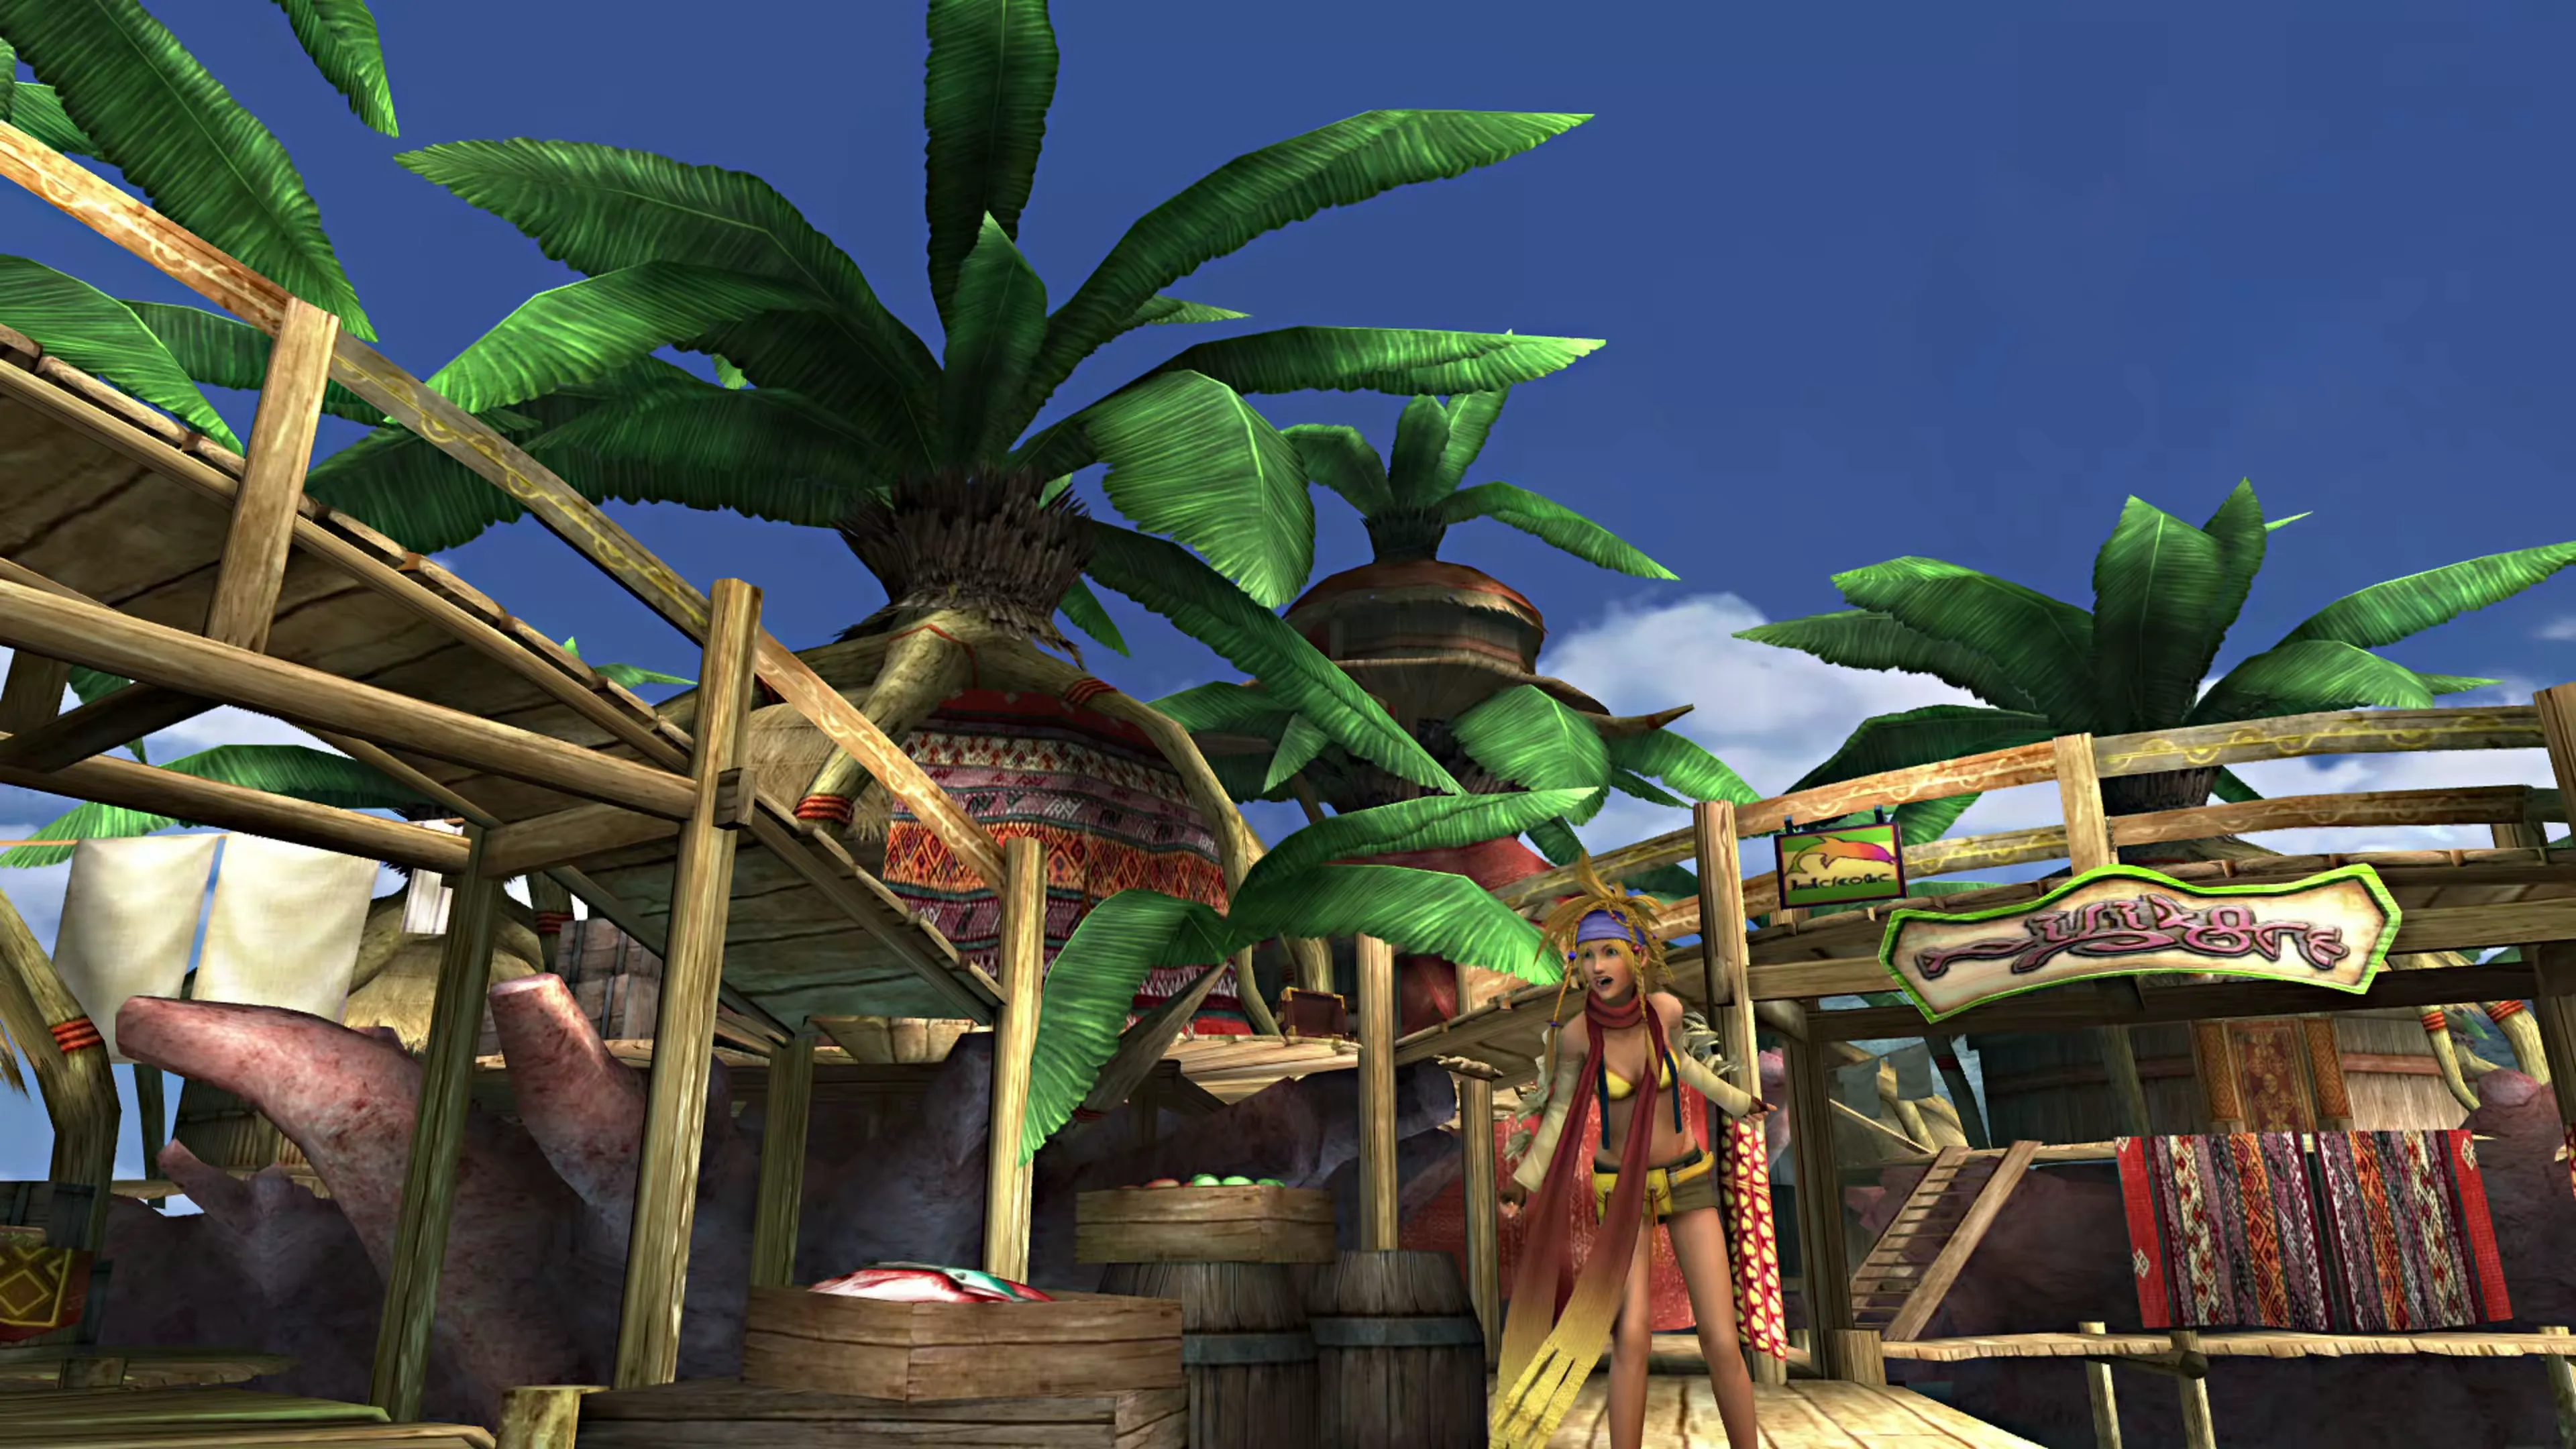
Another lengthy cutscene to watch, this time involving Nooj as he speaks to a group of ‘not’ sphere hunters. It’s time for your next Mission!
Mission: Awesome Sphere Heist!
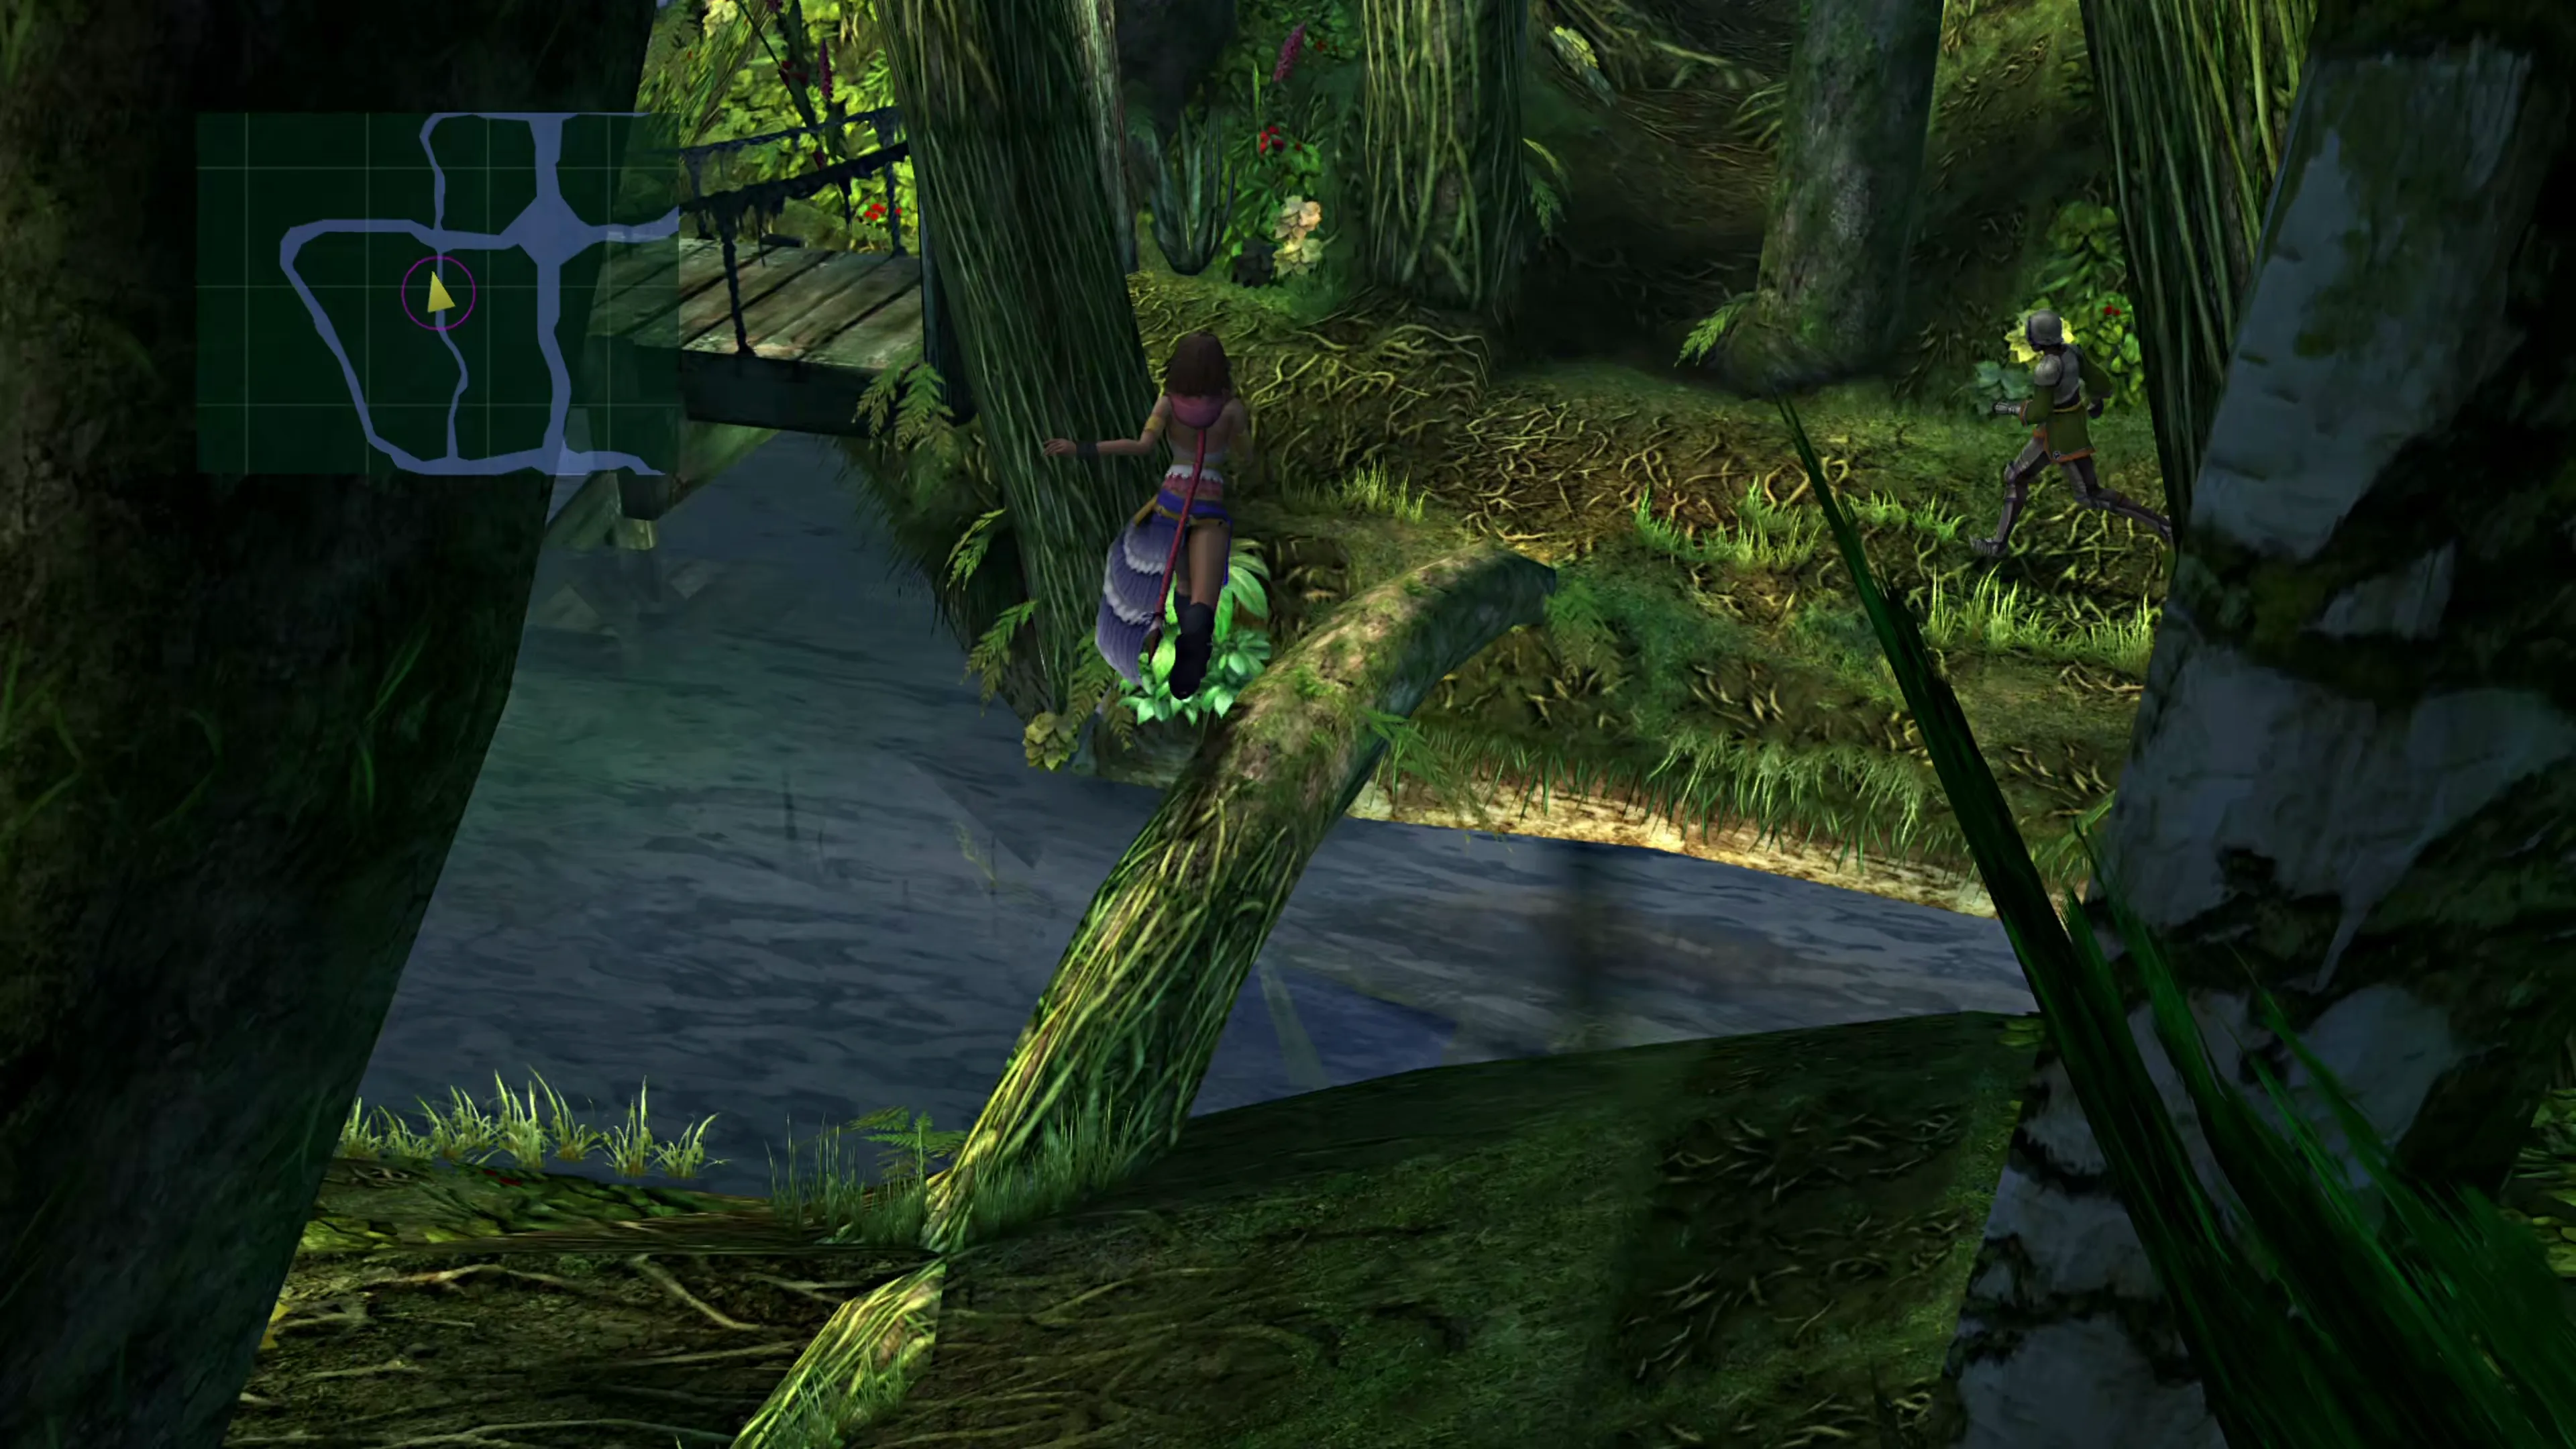
If you’ve played through Final Fantasy X, you’re probably already familiar with the layout of Kilika Woods. Use the map below to reach the right location. A few of the paths are blocked off, but you can use the little hidden pathway to sneak through to the far side.
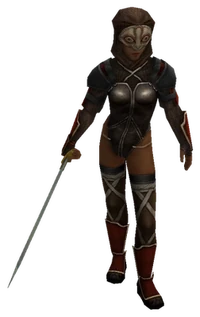
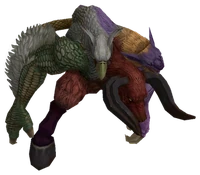

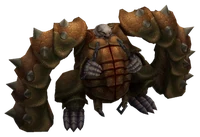
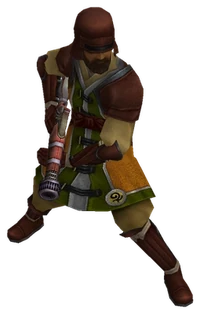
While you’re in the woods, look for the two trees leaning over the water in the eastern part of the woods, marked on the map below. A jump prompt appears at the second one; climb it and open the chest up top for a  Megalixir.





The monkeys are scattered along the trails here, and this return trip is the comfortable window to catch all thirteen. Once you leave Kilika, the woods stay closed until Chapter 3.
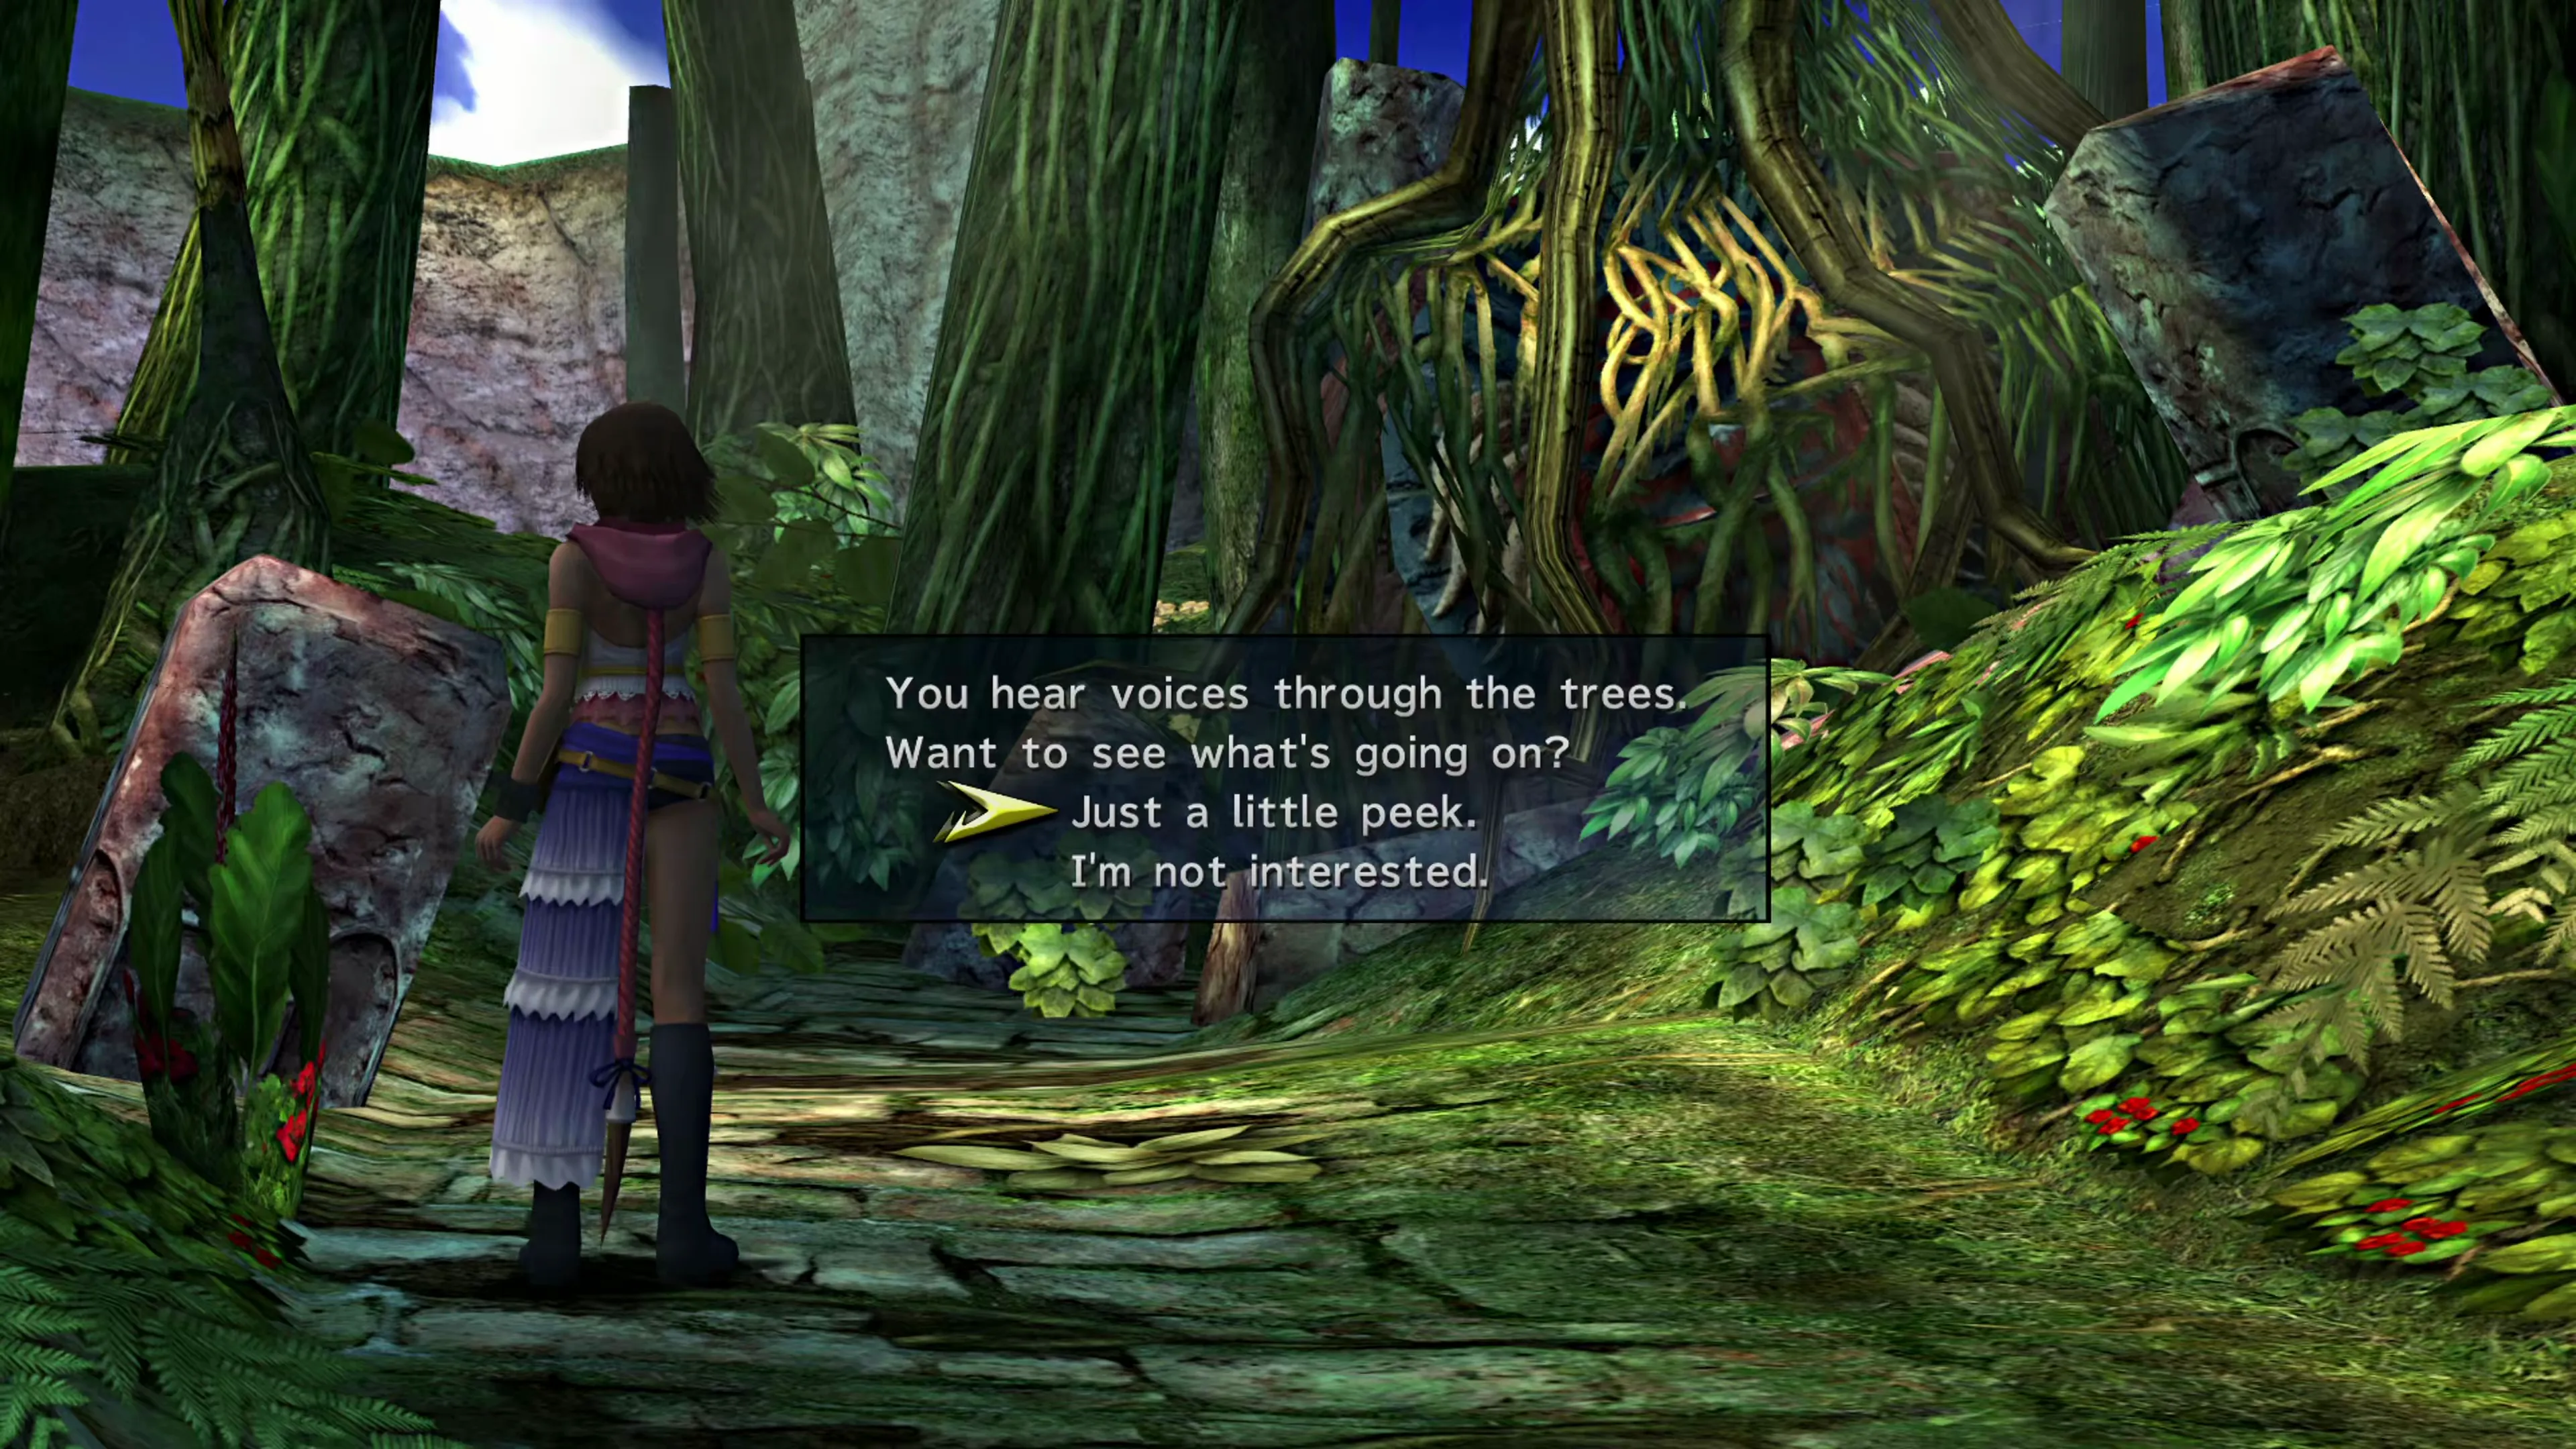
Once you get to the far north section of the woods, a message will pop up that says, “You hear voices through the trees. Want to see what’s going on?” Answer with “Just a little peek,” and then “More, more!” when asked again, so that you hear both passwords.
The guards will explain how the password system works. In short, if there are an odd number of guards, the password is “Carved Monkey.” If there are an even number of guards, the password is “Craven Monkey.” This is a little bit difficult to get right in the game because the number of guards changes as you’re talking to them, and the camera bounces around, making it hard to count them, but the passwords are the same every time, so follow this guide’s instructions.
Circle to the pathway where the guards were standing and towards the  Save Sphere. Approach the first group of guards across the bridge and provide them with the password, which is “Craven Monkey” because there are four of them.
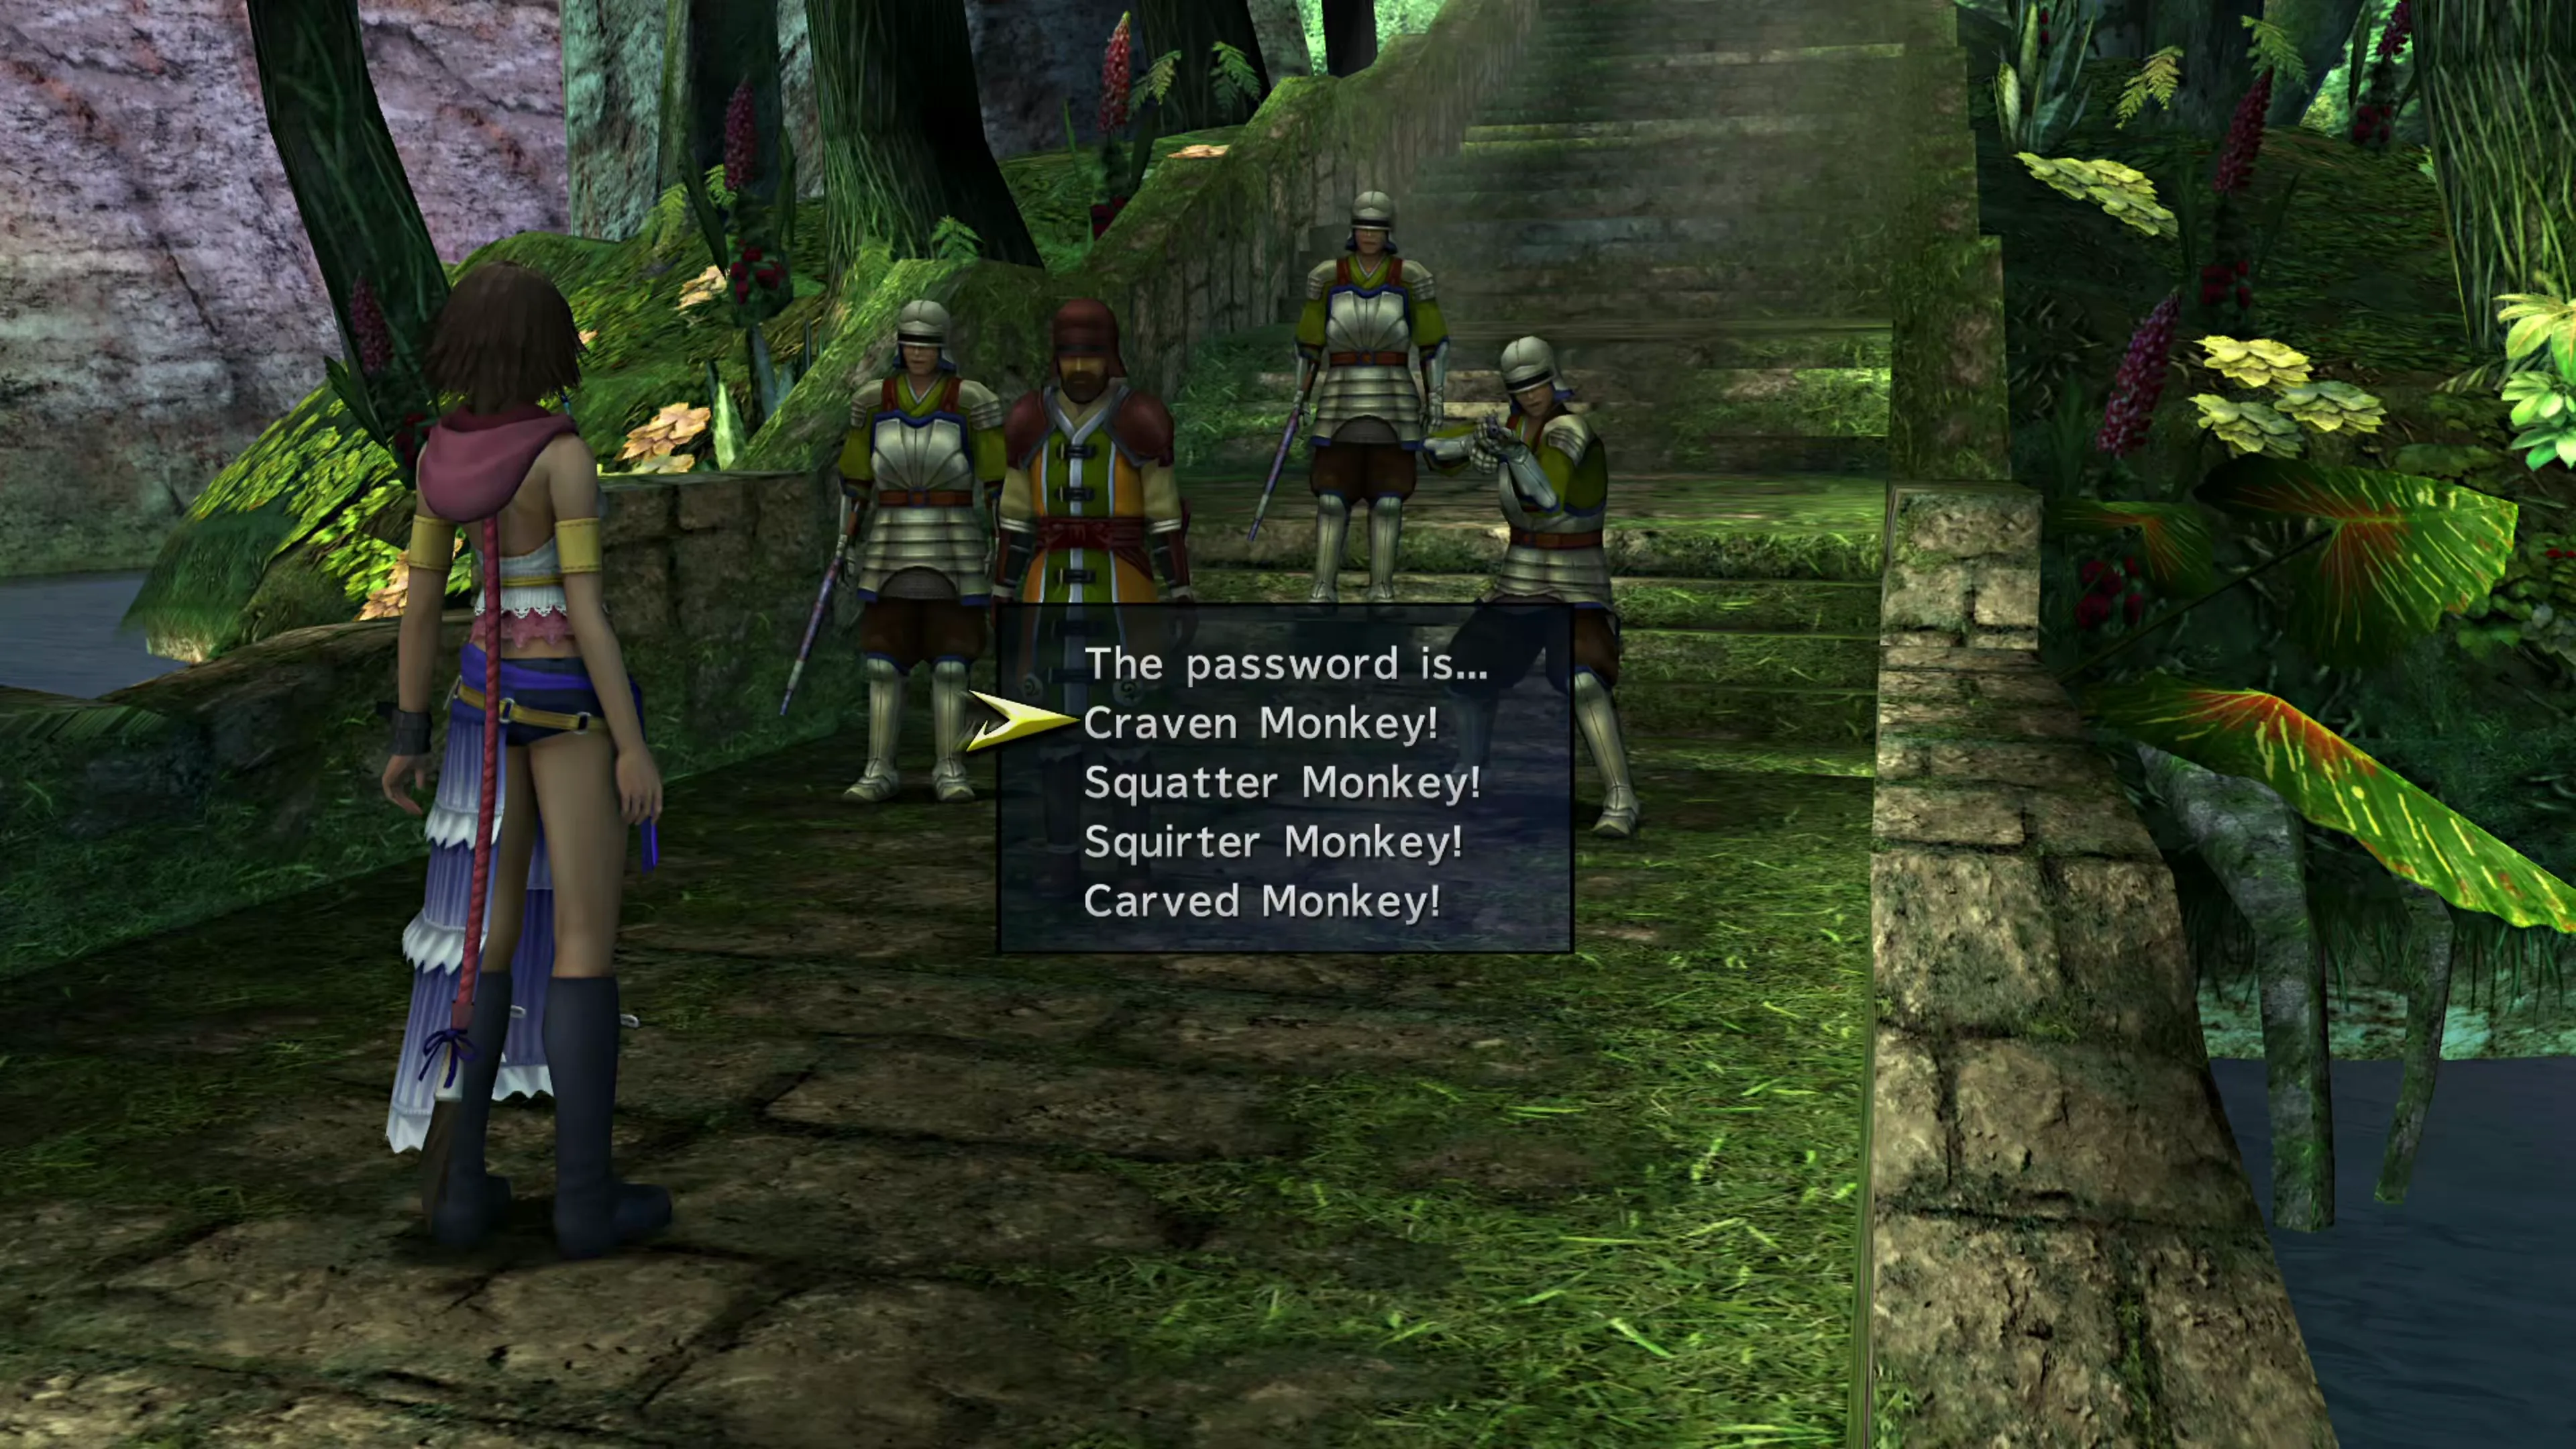
The second group has three guards. One of them starts hidden behind a pillar on the left before the camera rotates to show him a bit better. The password is “Carved Monkey.”
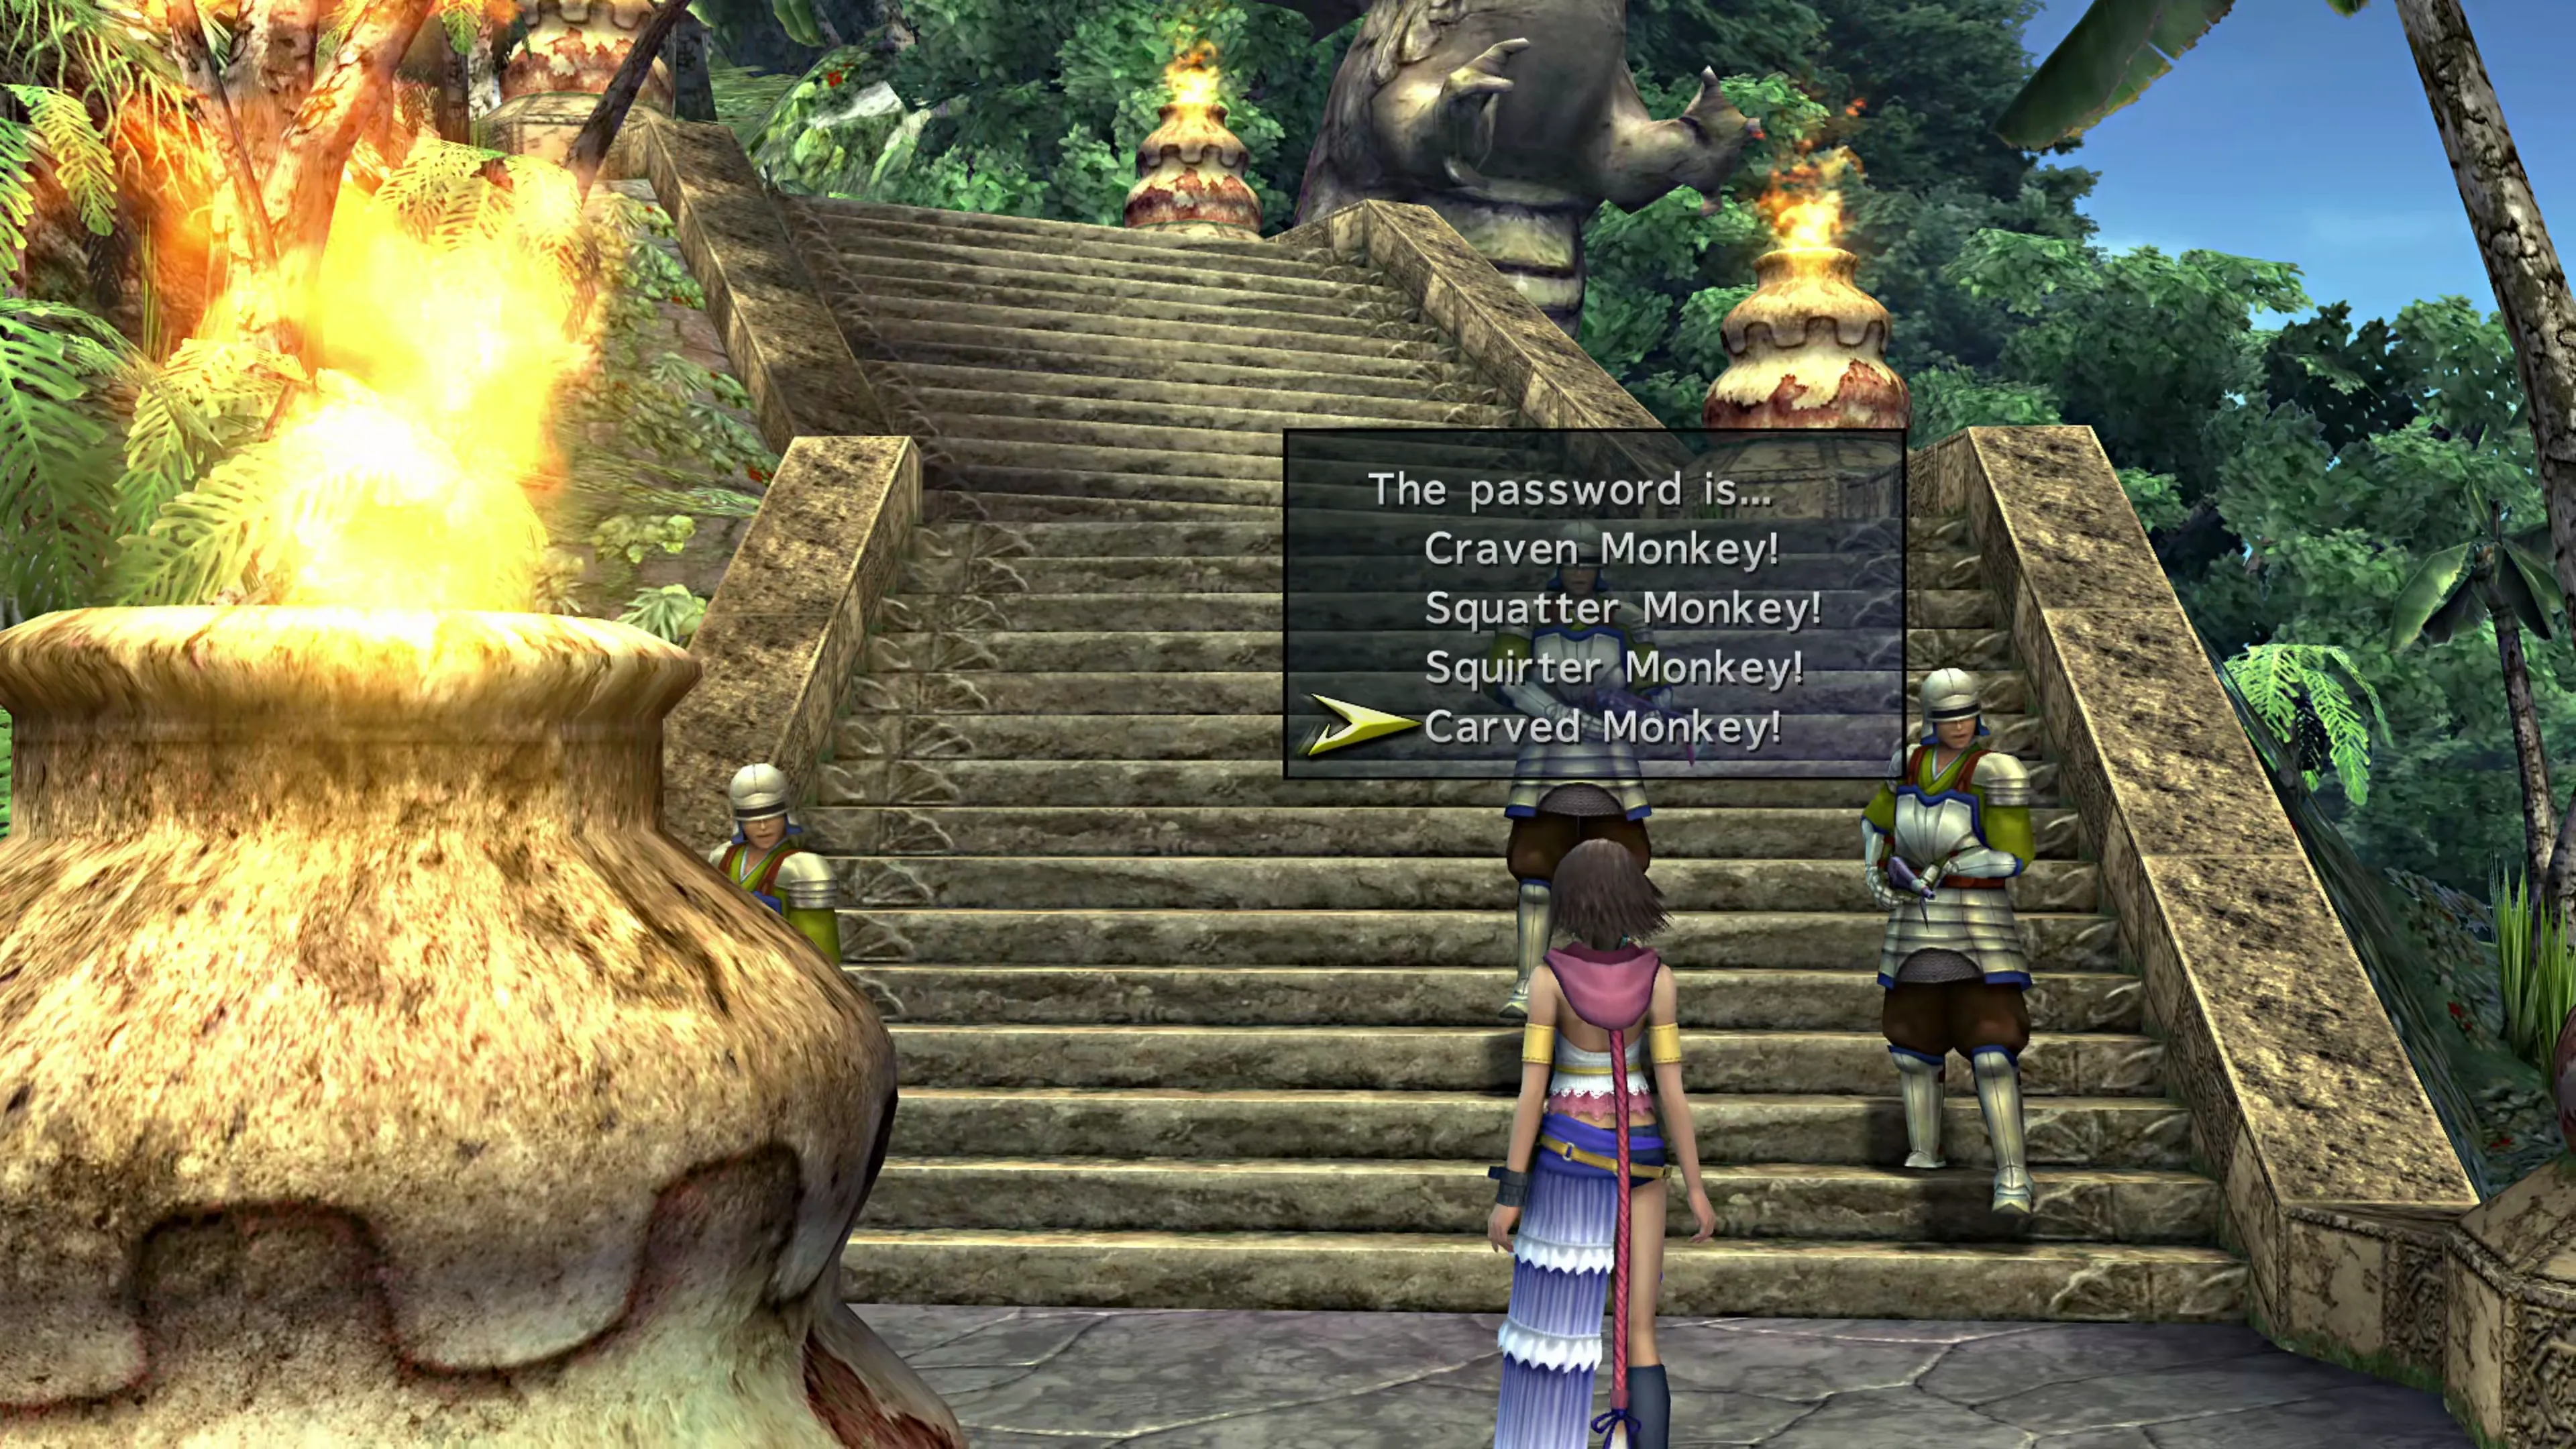
The third group of guards has four guards in it, so it’s back to “Craven Monkey.”
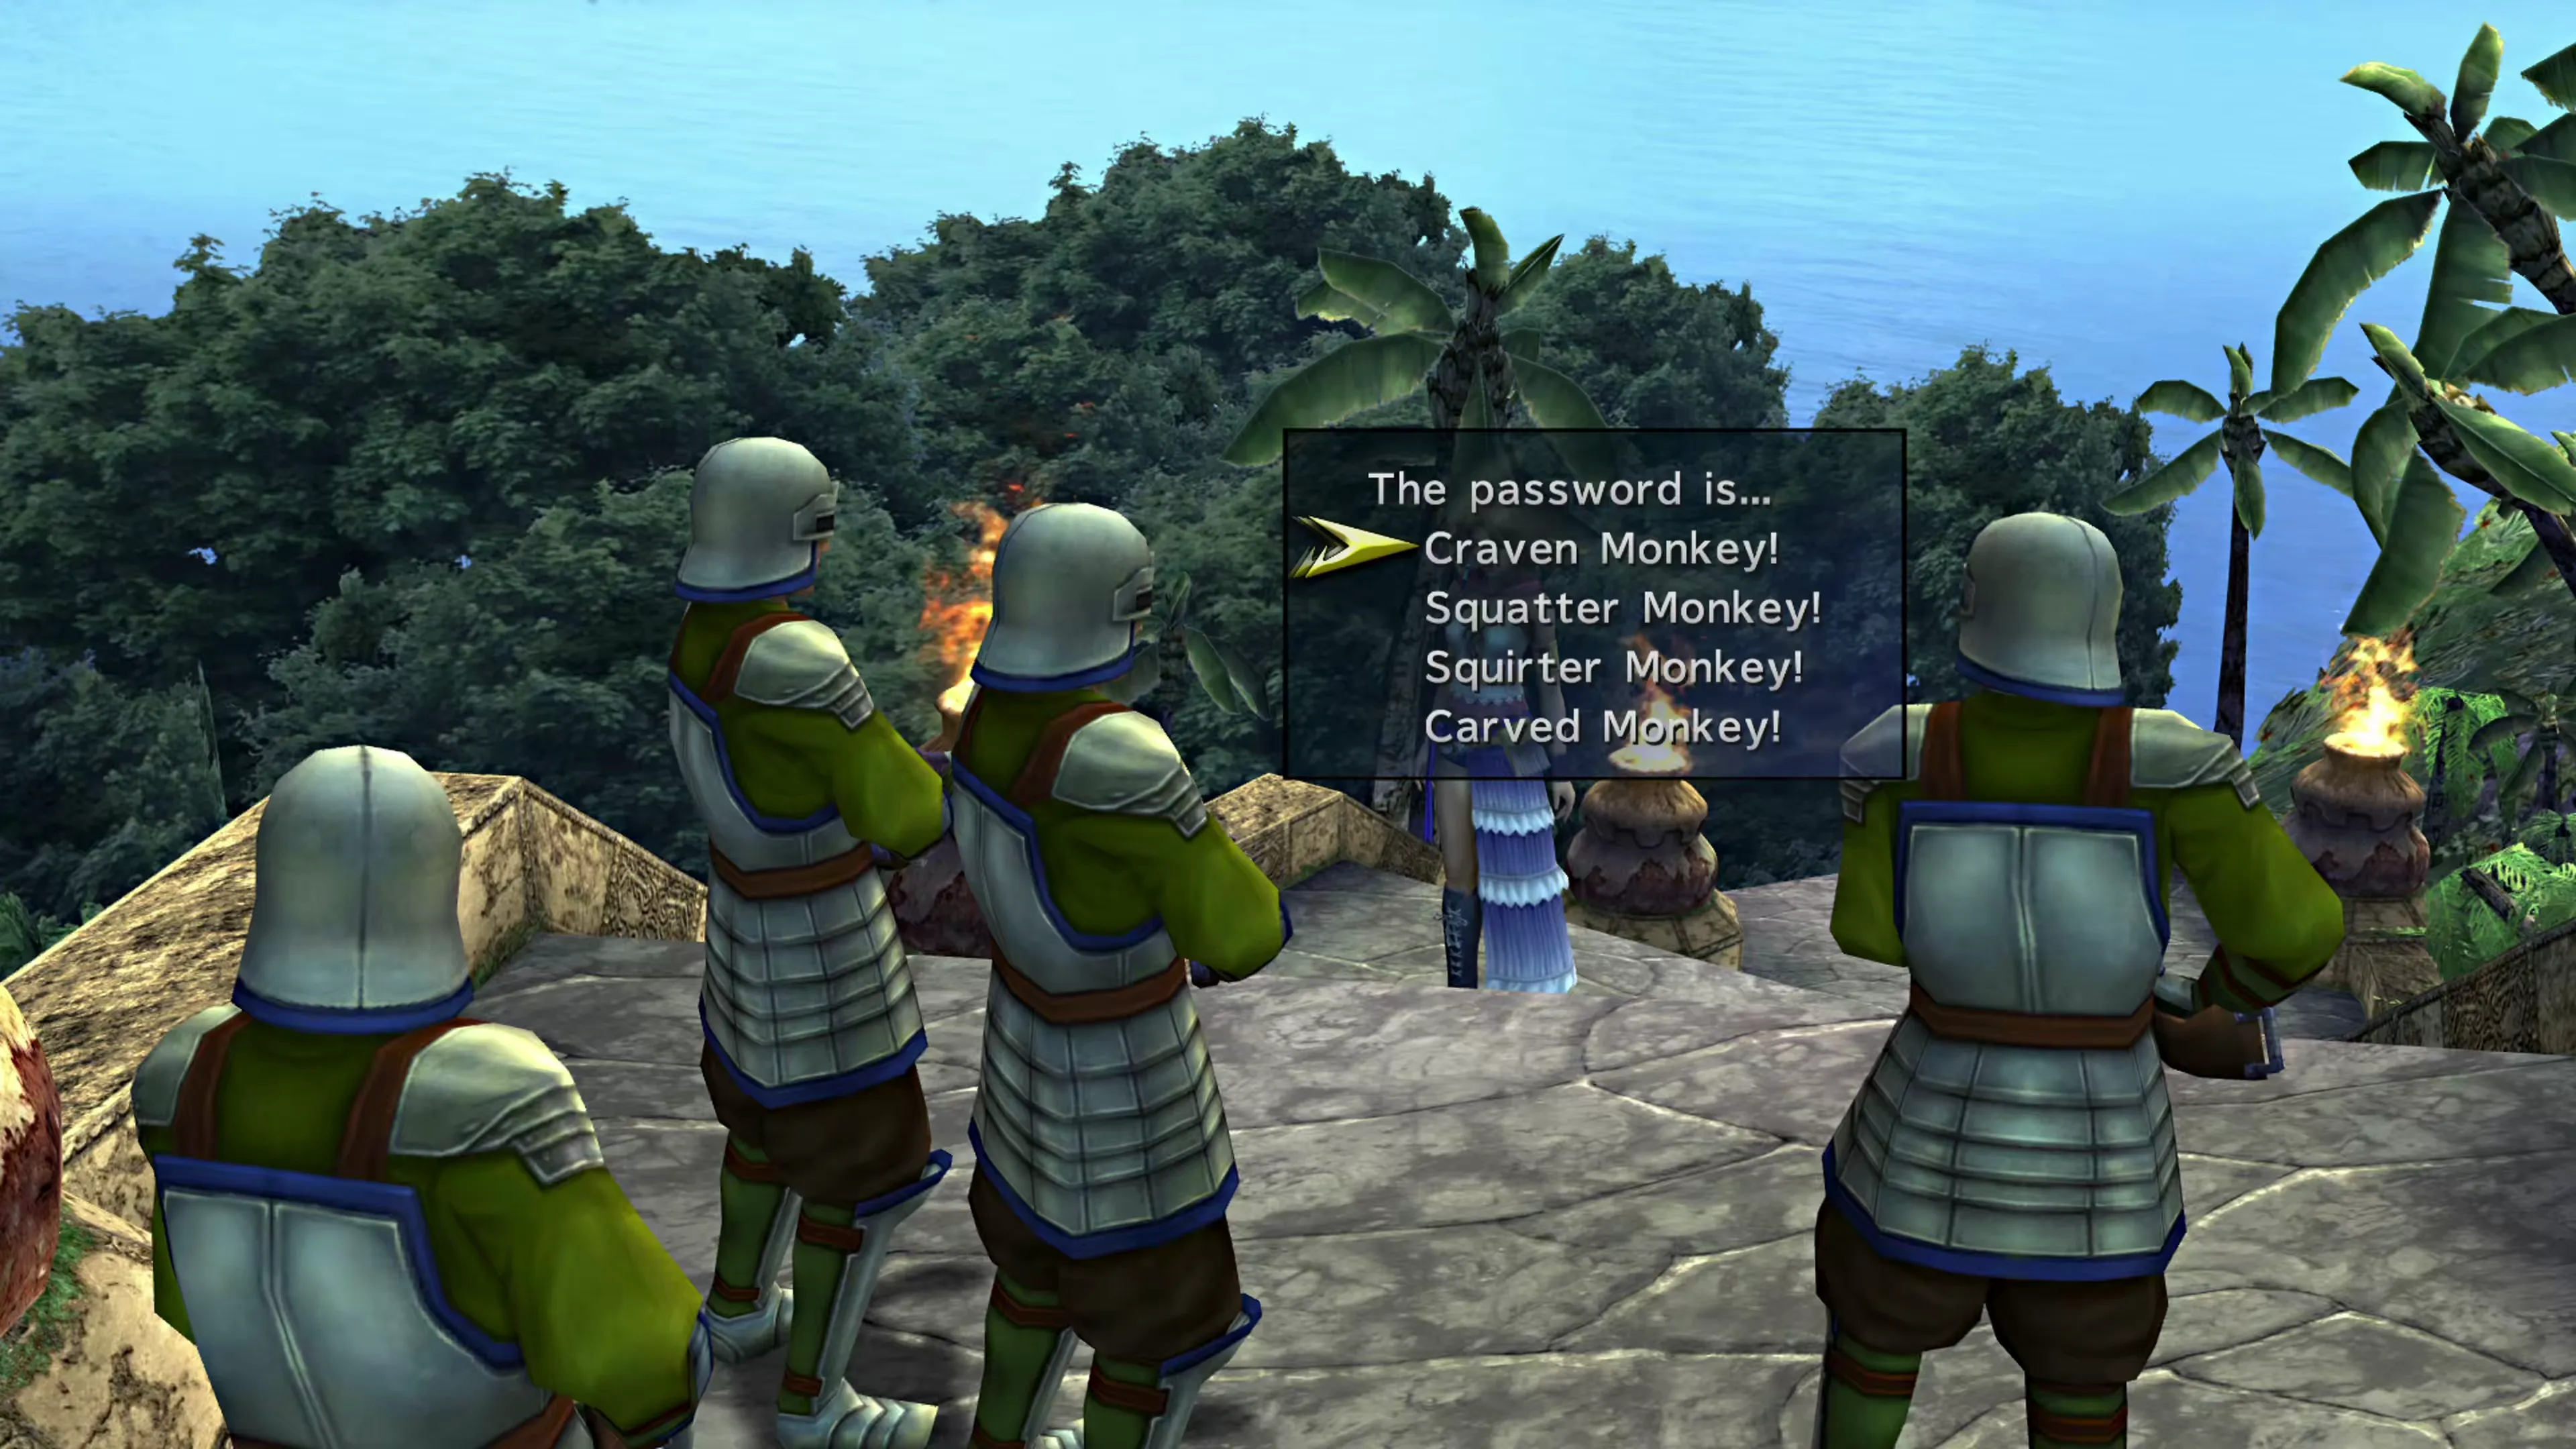
The fourth group has three guards, so the answer is “Carved Monkey,” but then two more soldiers join.
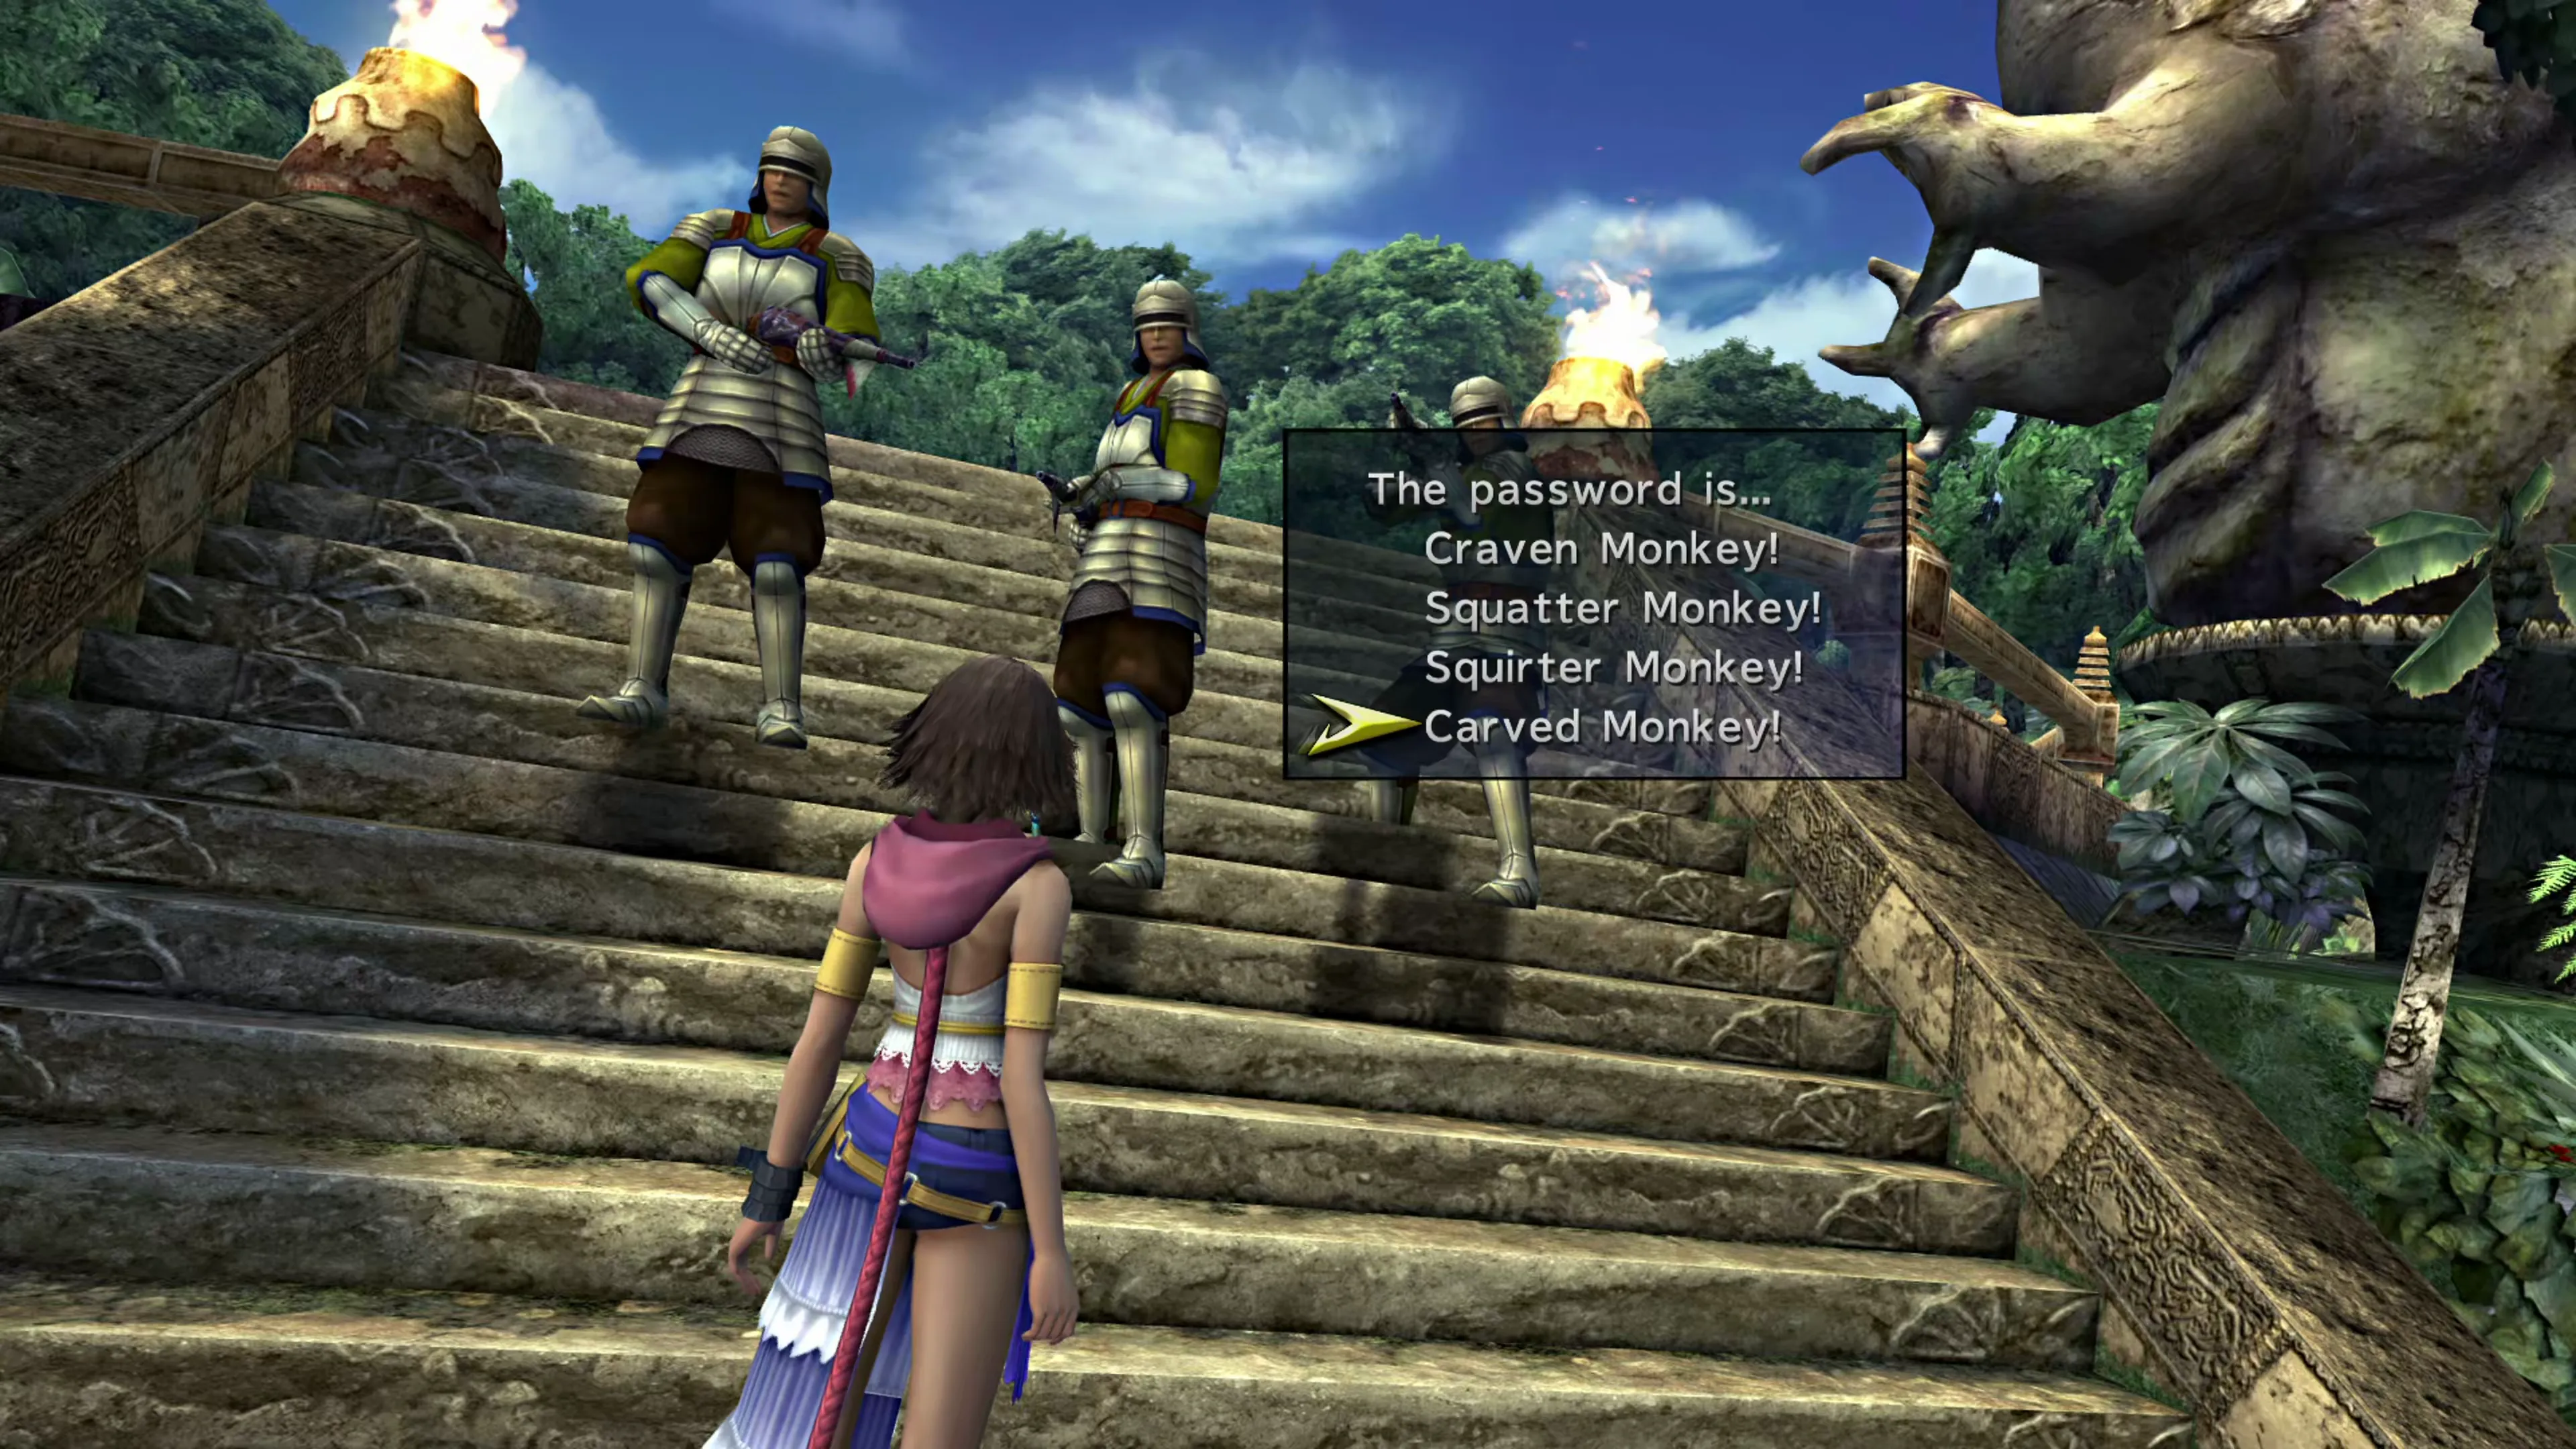
The first joins right away, but the second takes a few seconds to show up to throw you off. Select “Carved Monkey” again.
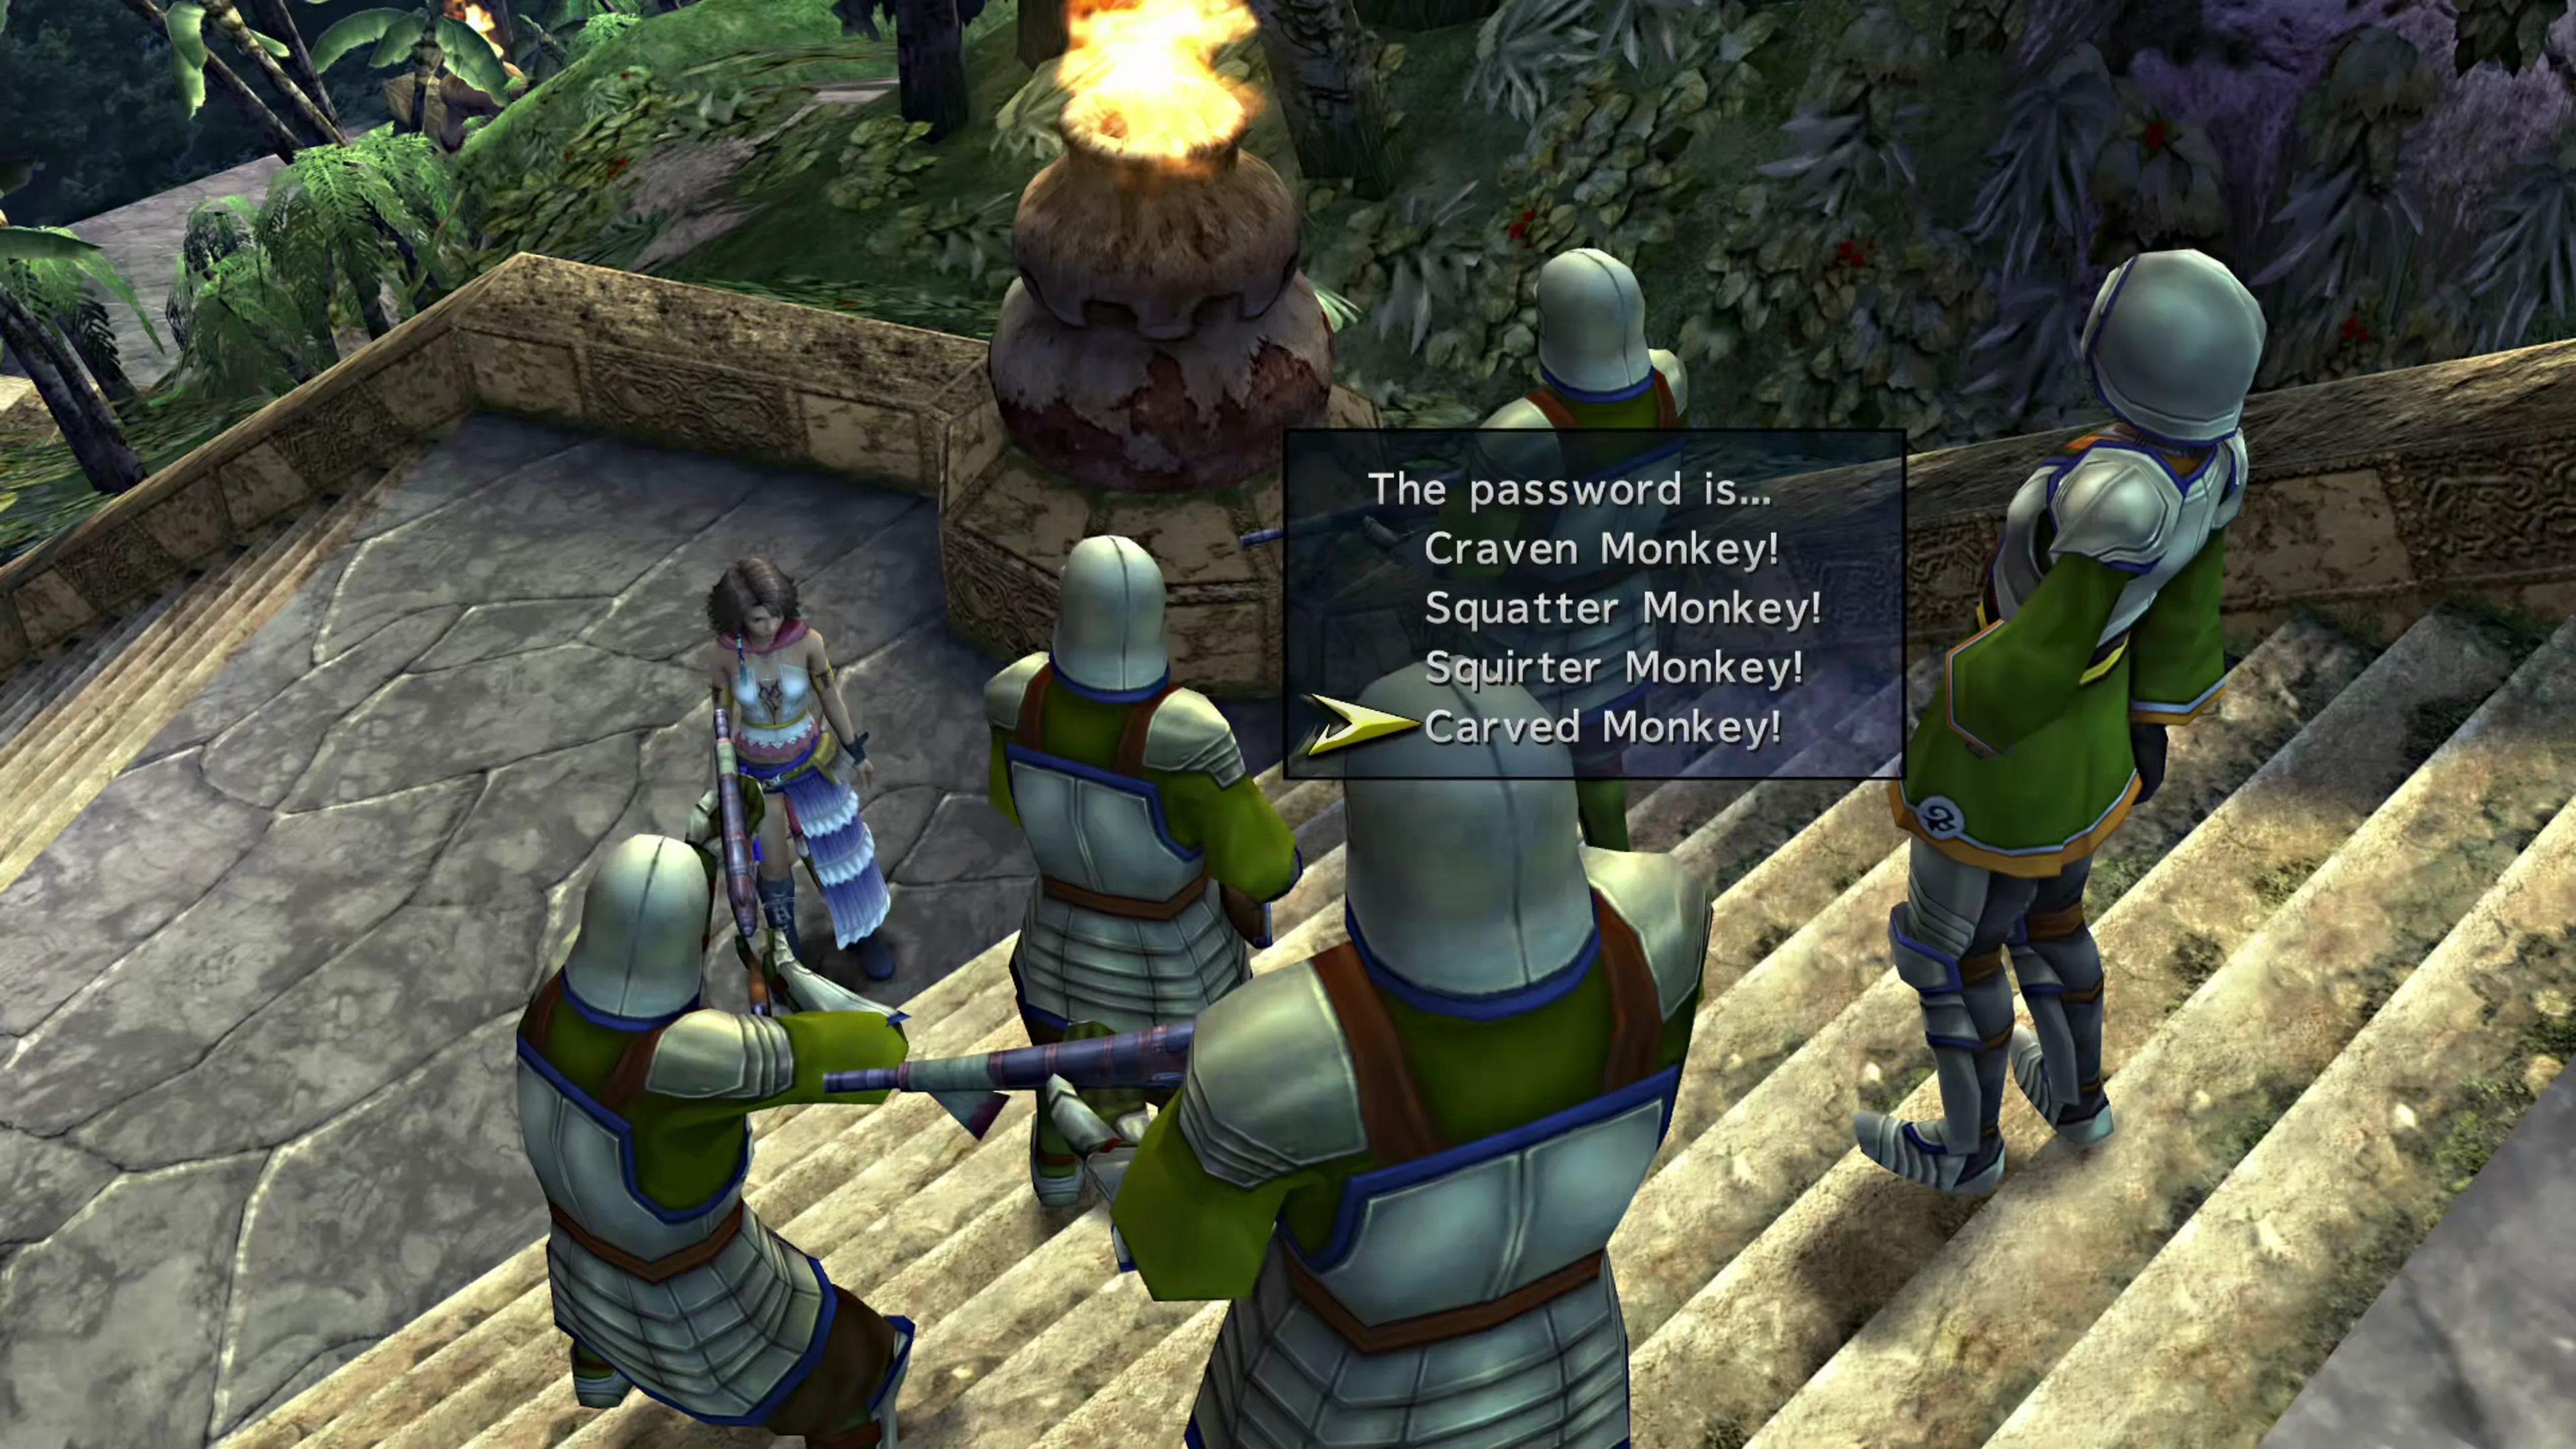
You’ll receive rewards all along the way, and receive a  Menace of the Deep Garment Grid for getting the last one correct. There’s another short cutscene before you’ll face off against the next boss.
Boss Battle
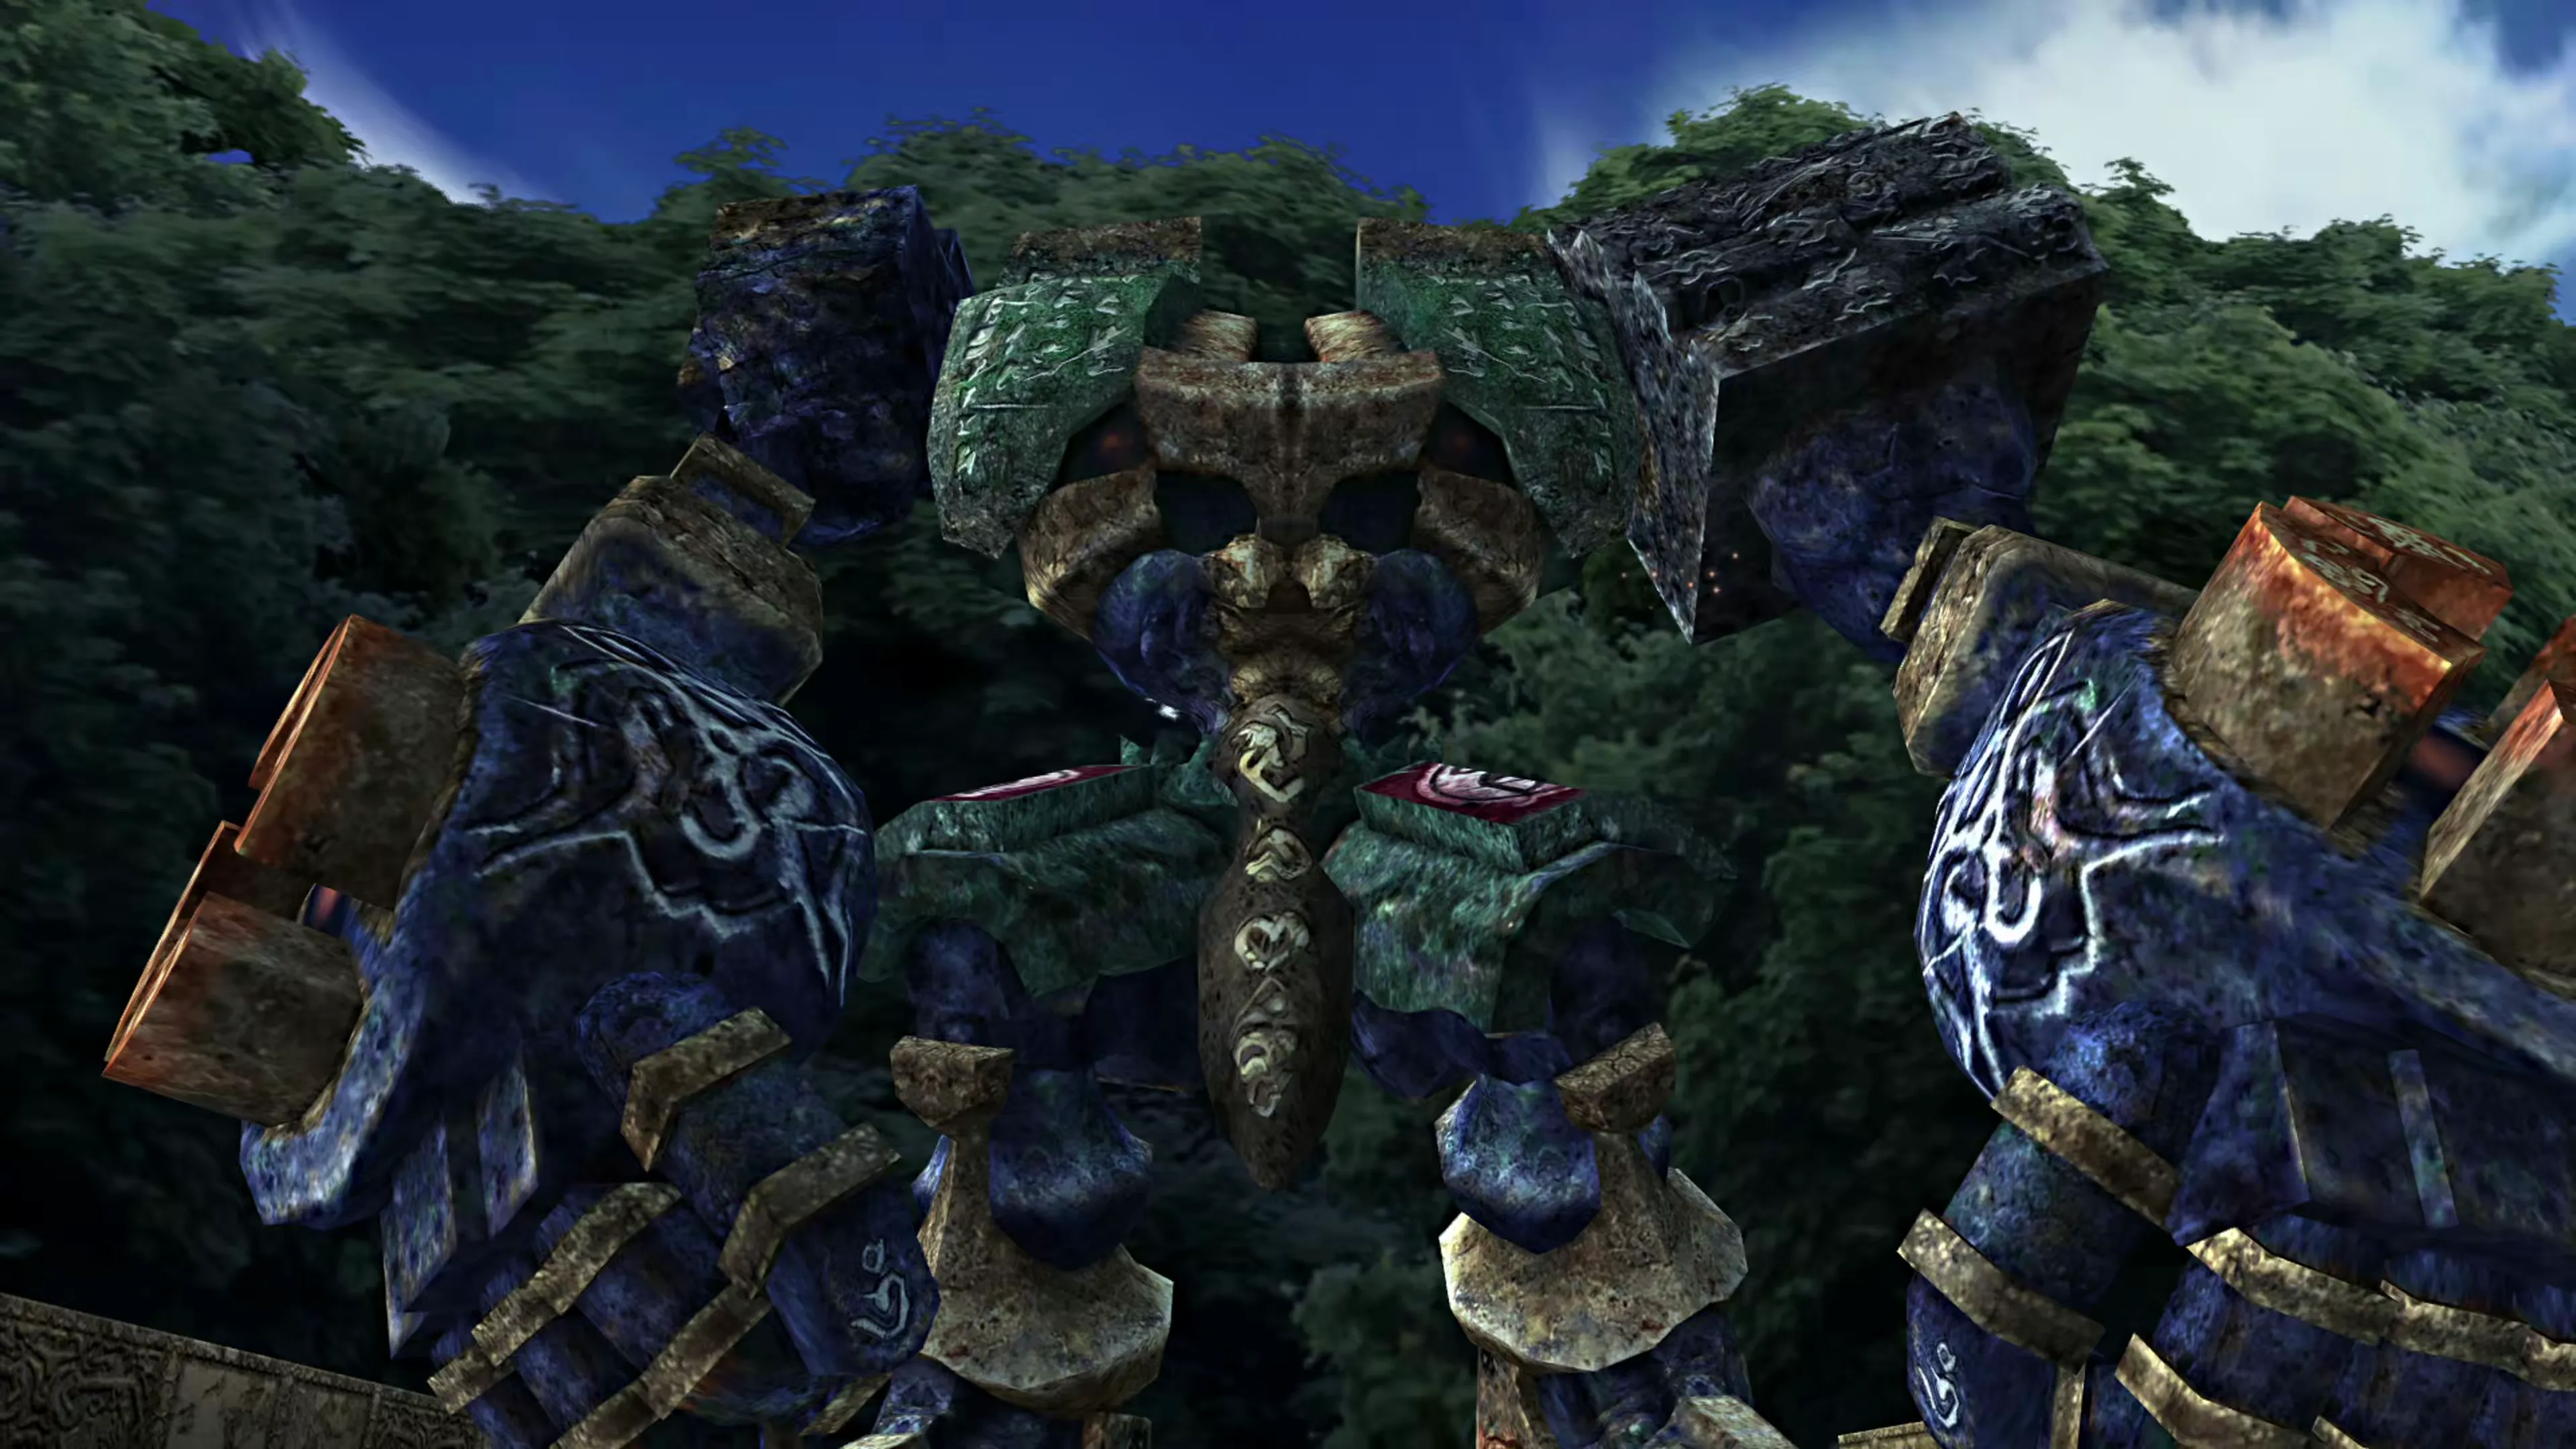
This mech-type boss isn’t weak to much at all, unlike the last boss you faced; however, if you have a  Gun Mage in your party, and that character has learned the
  Mech Destroyer ability, use that attack specifically to deal heavy damage to YSLS-Zero.
YSLS-Zero will use an attack called “Blast Punch,” which will reduce a target’s HP by 50%, which means you’ll have to do quite a bit of healing in this fight. Either rely on Potions and Hi-Potions or have one of your party members stay in their  White Mage role for the duration of the fight.
Lastly, you can heavily reduce the amount of damage that YSLS-Zero deals by having a  Warrior use its
  Power Break ability on it. This will greatly reduce the effectiveness of its “Haymaker” and “Punch” damage.
| Enemy | HP | Steal | Drop |
|---|---|---|---|
| YSLS-Zero | 1935 |  Mythril Gloves Mythril Gloves | Wristband |
This concludes Chapter 1! You’ll receive a Fiend Tale Bonus at the end of this sequence as well as some “Trap Pods.” Choose to accept the Trap Pods so you can keep capturing creatures in Shinra’s Creature Creator.
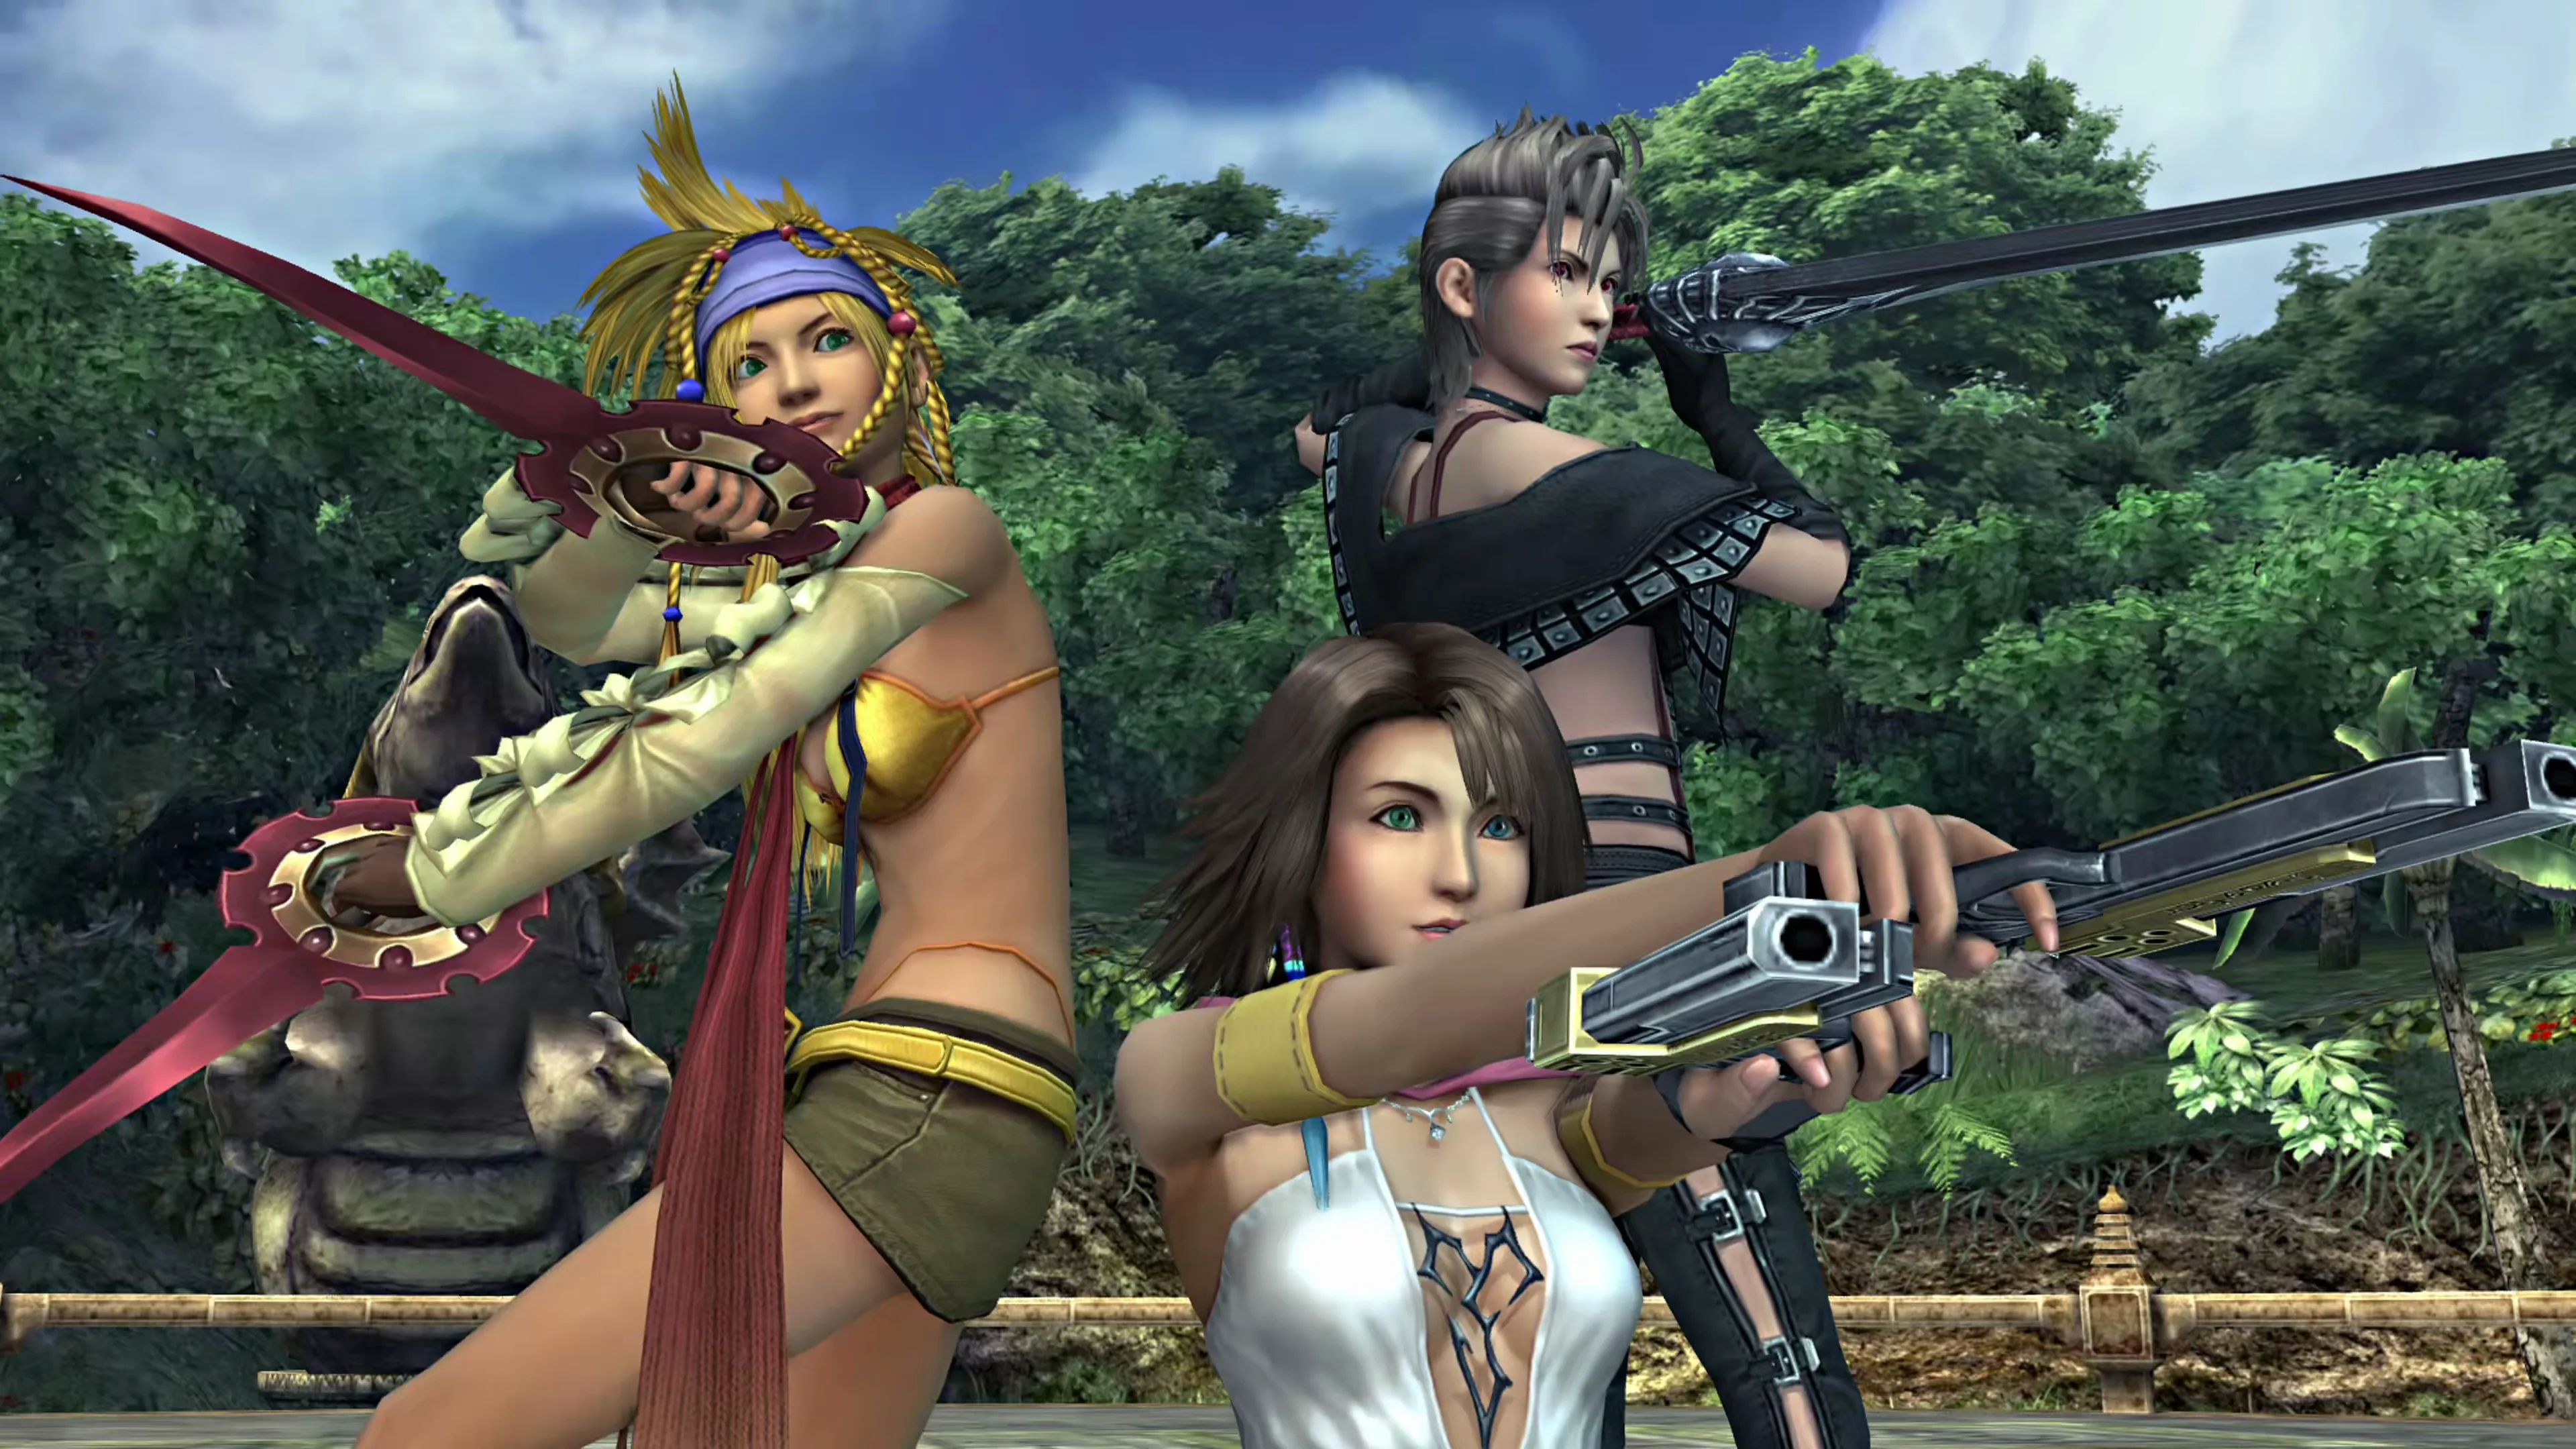
Achievement/Trophy
You will earn the  Zeroed Out achievement/trophy after defeating YSLS-Zero and concluding Chapter 1.
It’s time to move on to the next chapter of the game. Save your game when prompted, and the next chapter begins right away. You’ll be headed to Mushroom Rock Road shortly, but first, there’s a quick interlude on the Celsius…
Checking the “Chapter 1 Complete” box adds the Story Completion Percent for the automatic scenes at the end of Chapter 1.