

Bevelle
Celsius
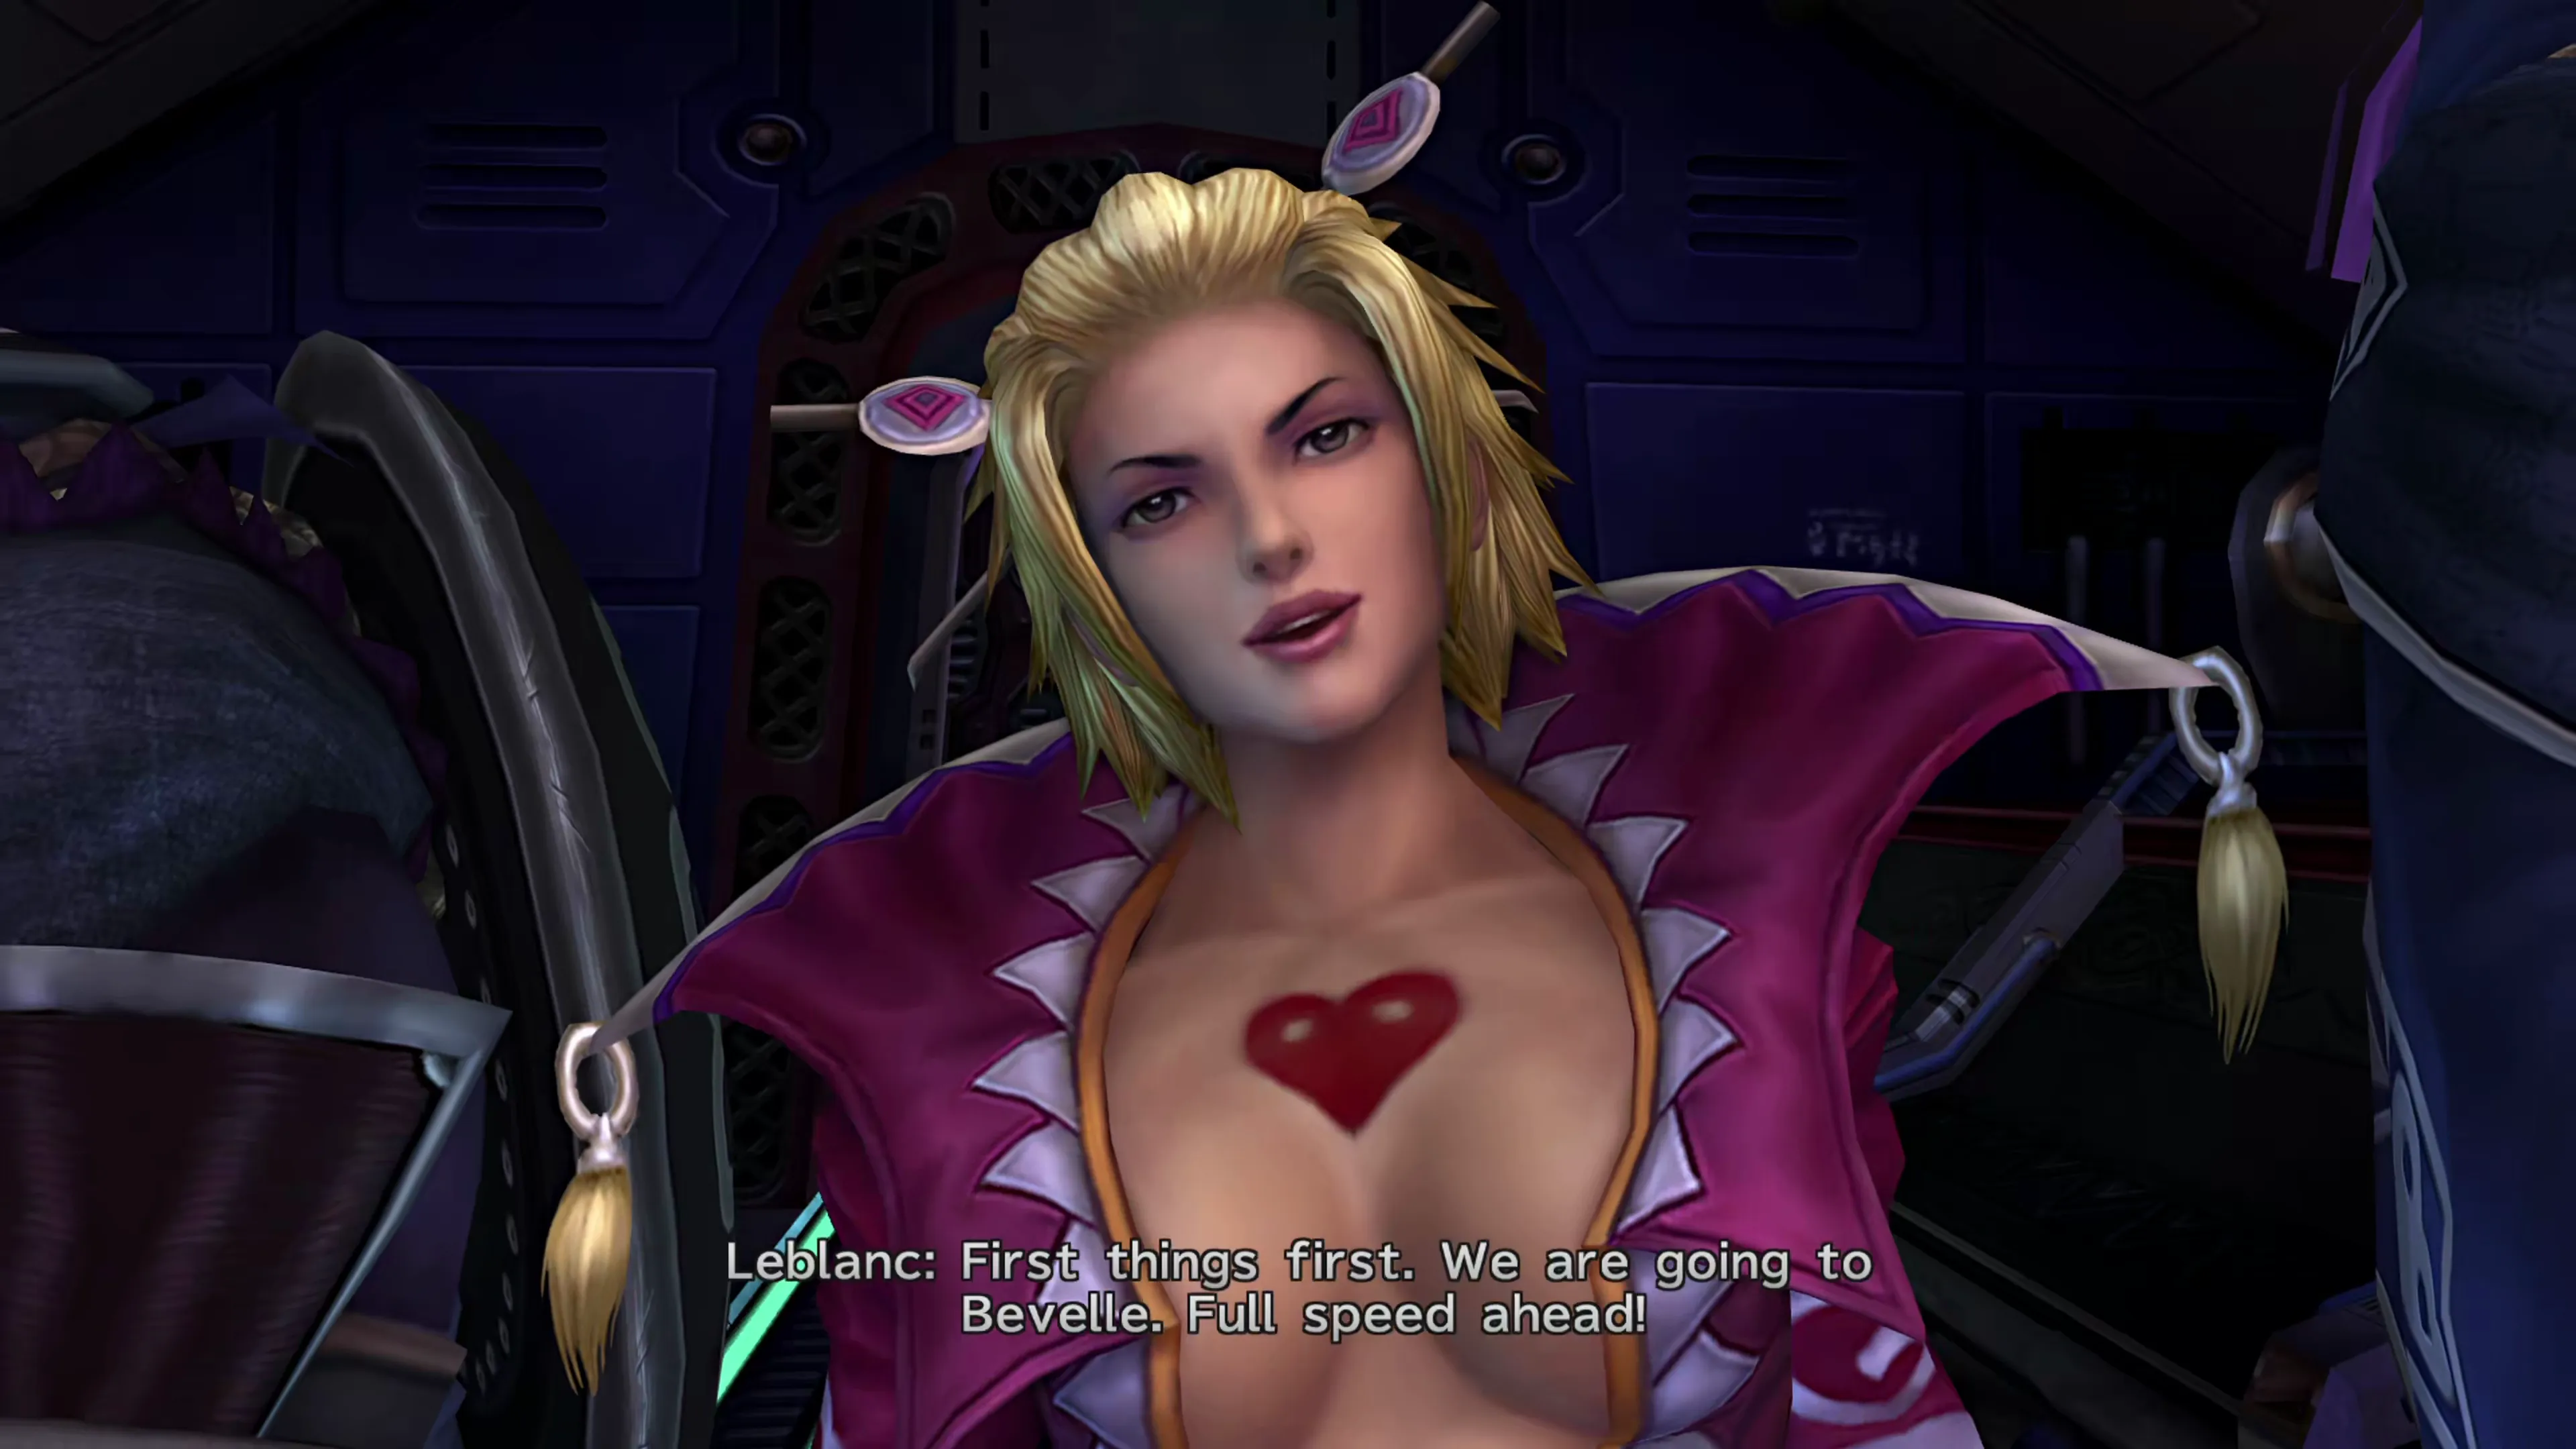
It doesn’t take long for Leblanc to be on the airship before she’s barking out orders. Looks like you and the crew are headed to Bevelle! Select Bevelle on the NavMap, and you’re off.
Highbridge
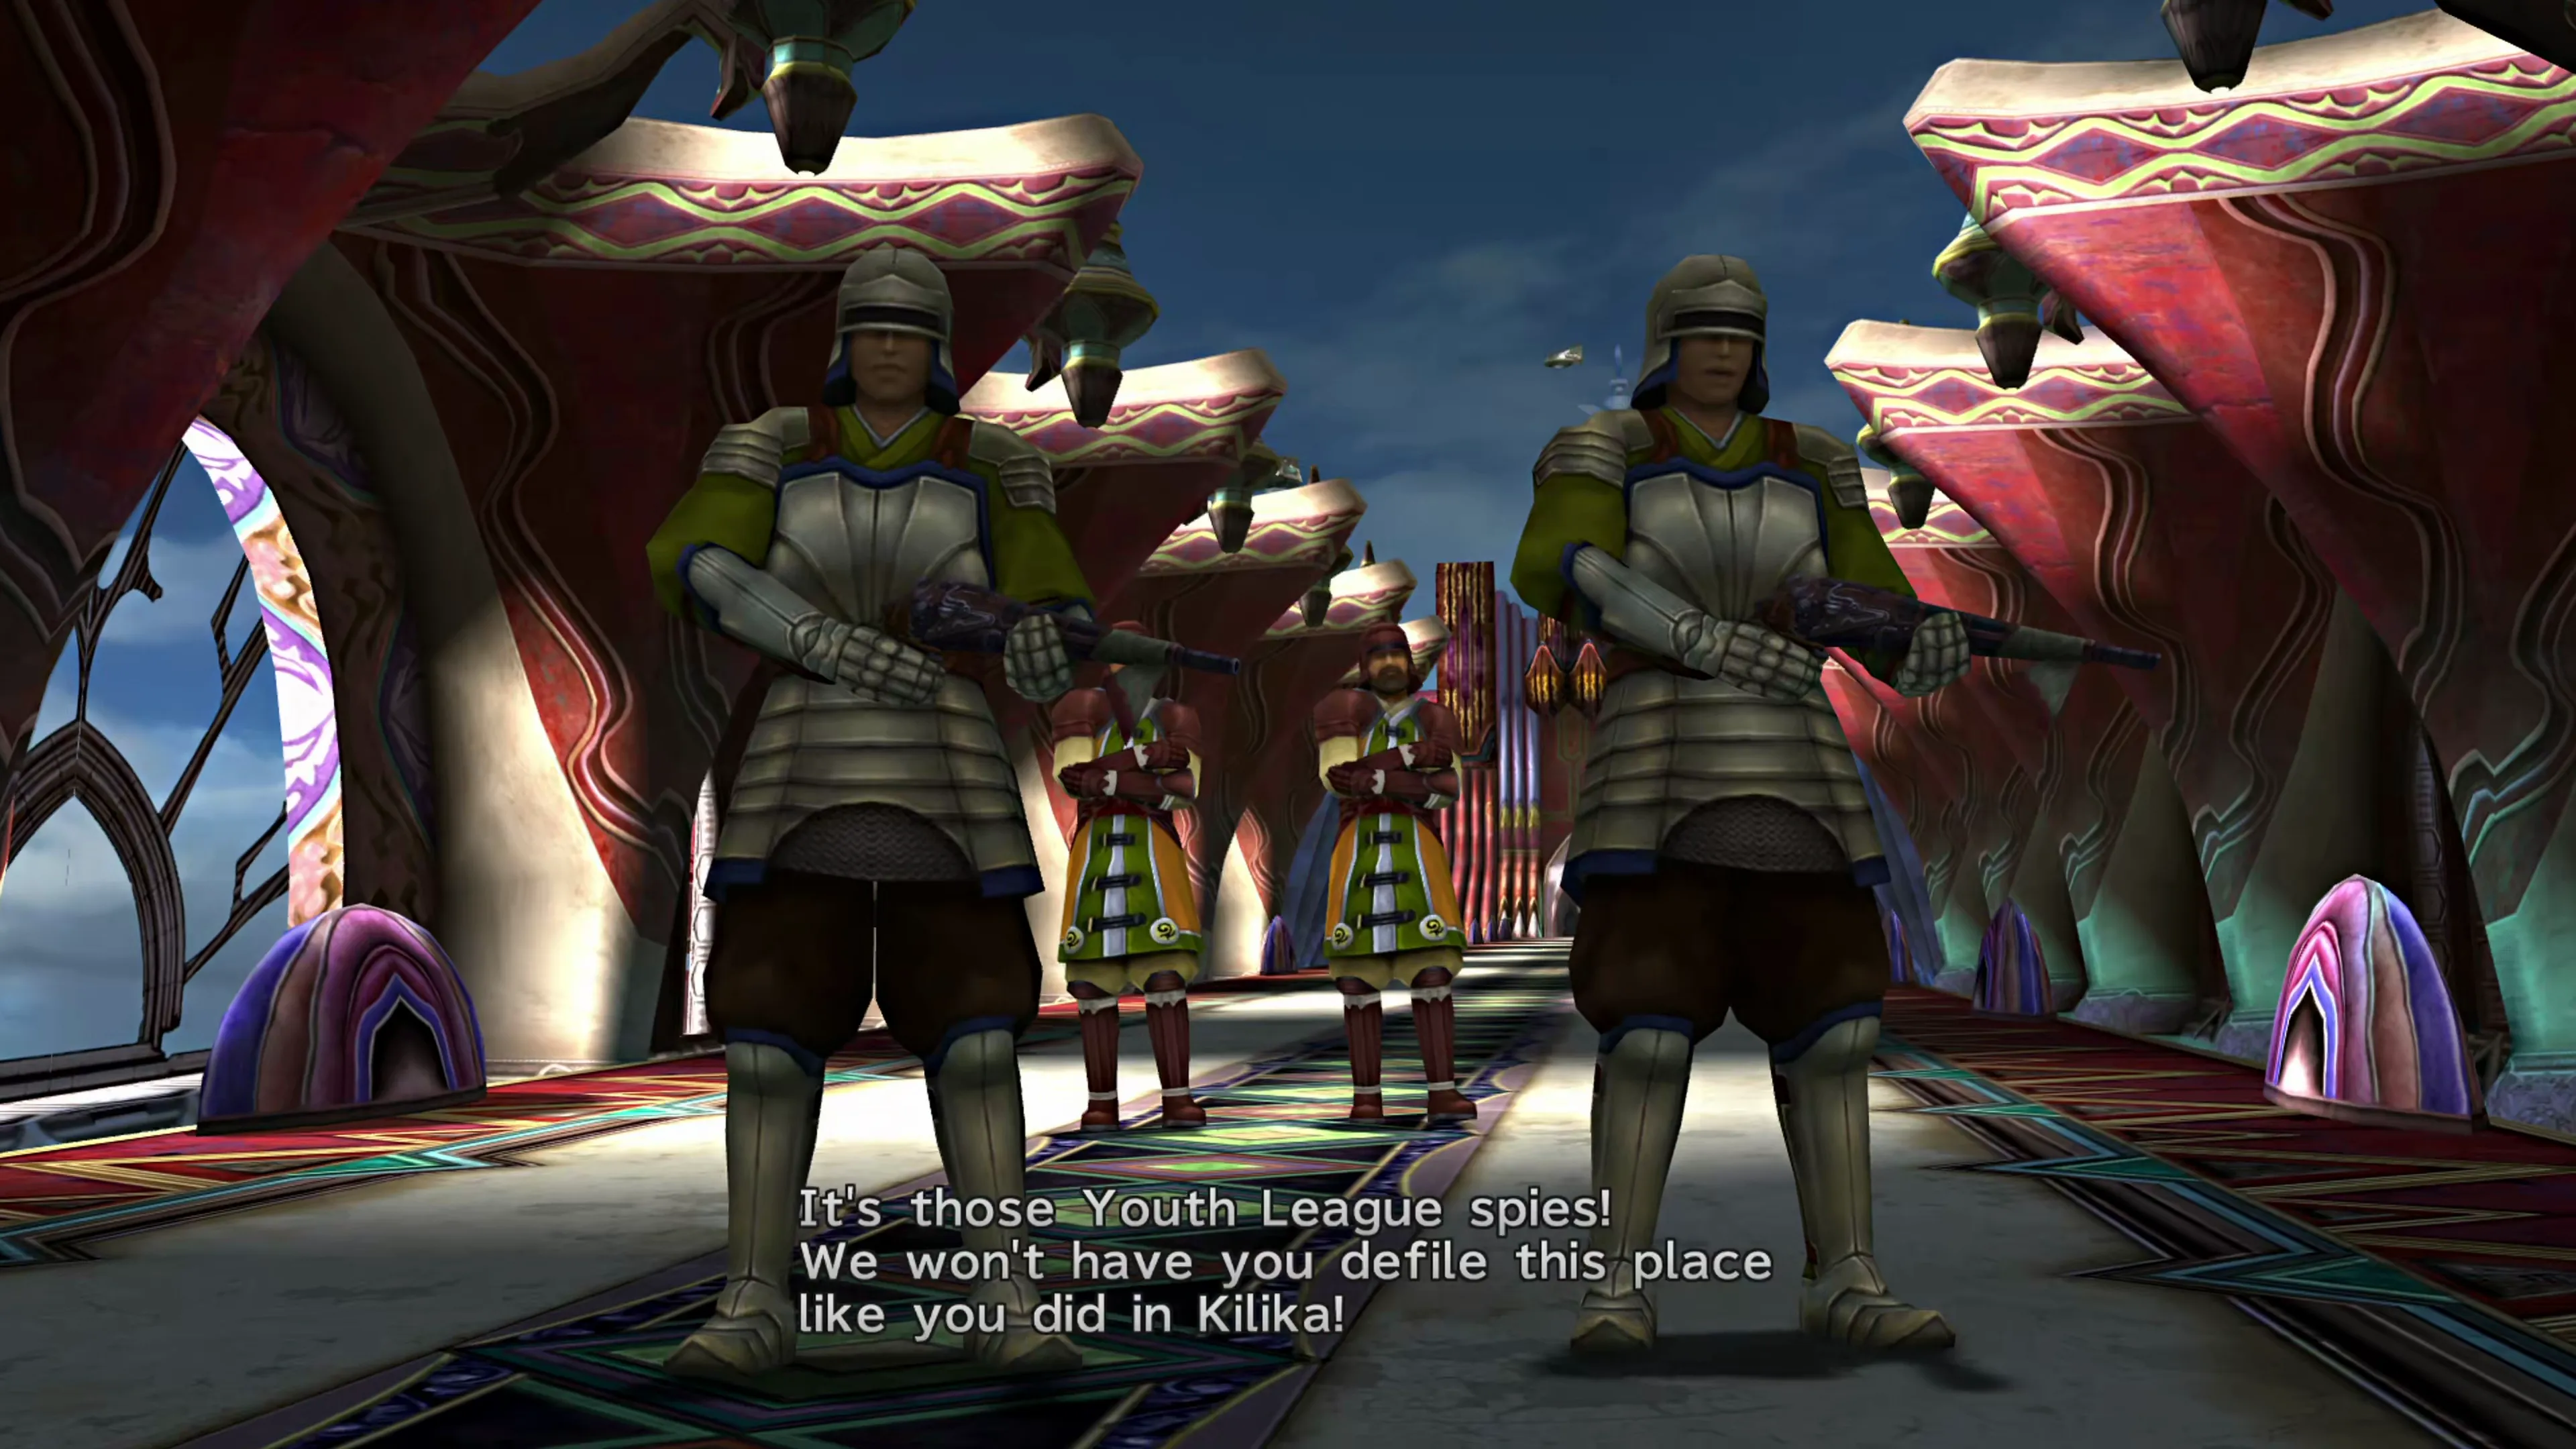
Following the cutscene, you’ll be thrown into battle against two Yevon Guards and a Yevon Defender. These soldiers are easy to defeat. Then it’s on to the next Mission…
Mission: Infiltrate Bevelle
Groups of guards will ambush you as you work your way along the Highbridge.
Helpful Hint
There are plenty of Machina and Mech enemies around these parts. Remember that you can have a  Gun Mage use either
  Dismantler or Mech Destroyer to take these enemies out quickly.
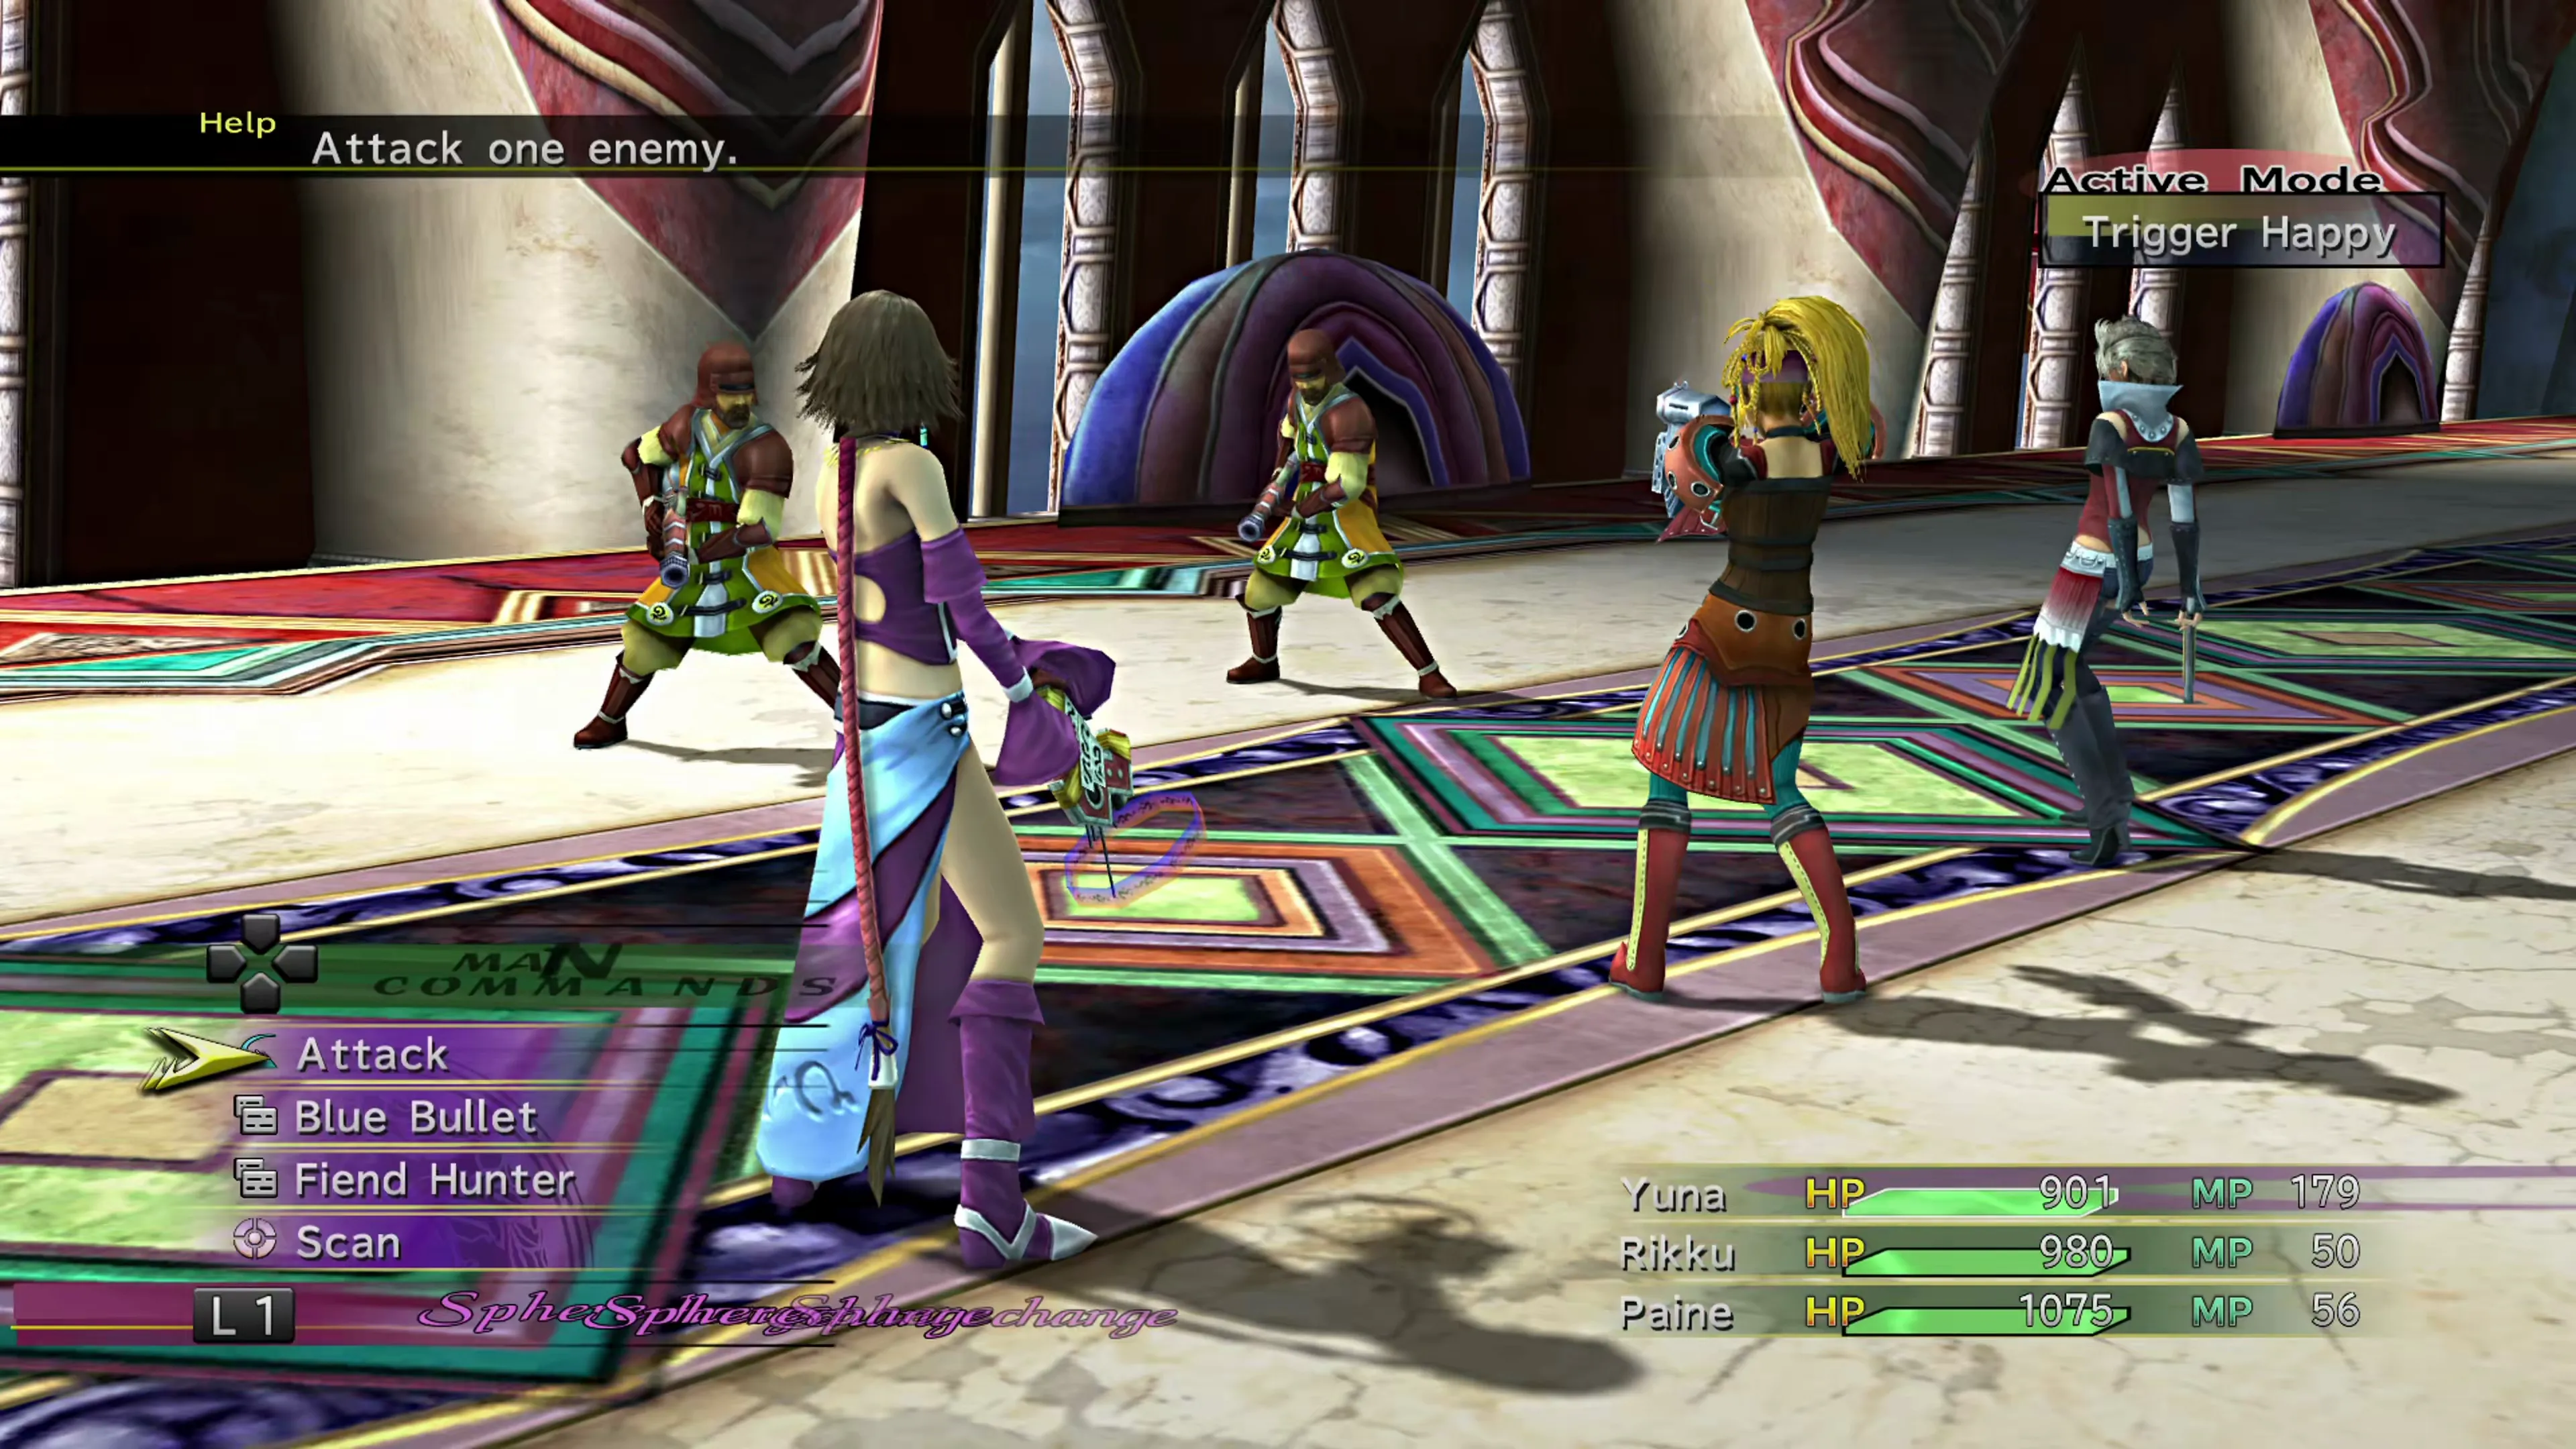
Head through the entrance when you get to the top, and keep running along the outer city walls until you get to the interior.
Highbridge
 Central

Central
 New Yevon
Headquarters Highbridge
New Yevon Headquarters
Take the pathway leading off to the right/east, and stand on the platform in the center of the room to activate a wall/doorway on the other side of the headquarters.
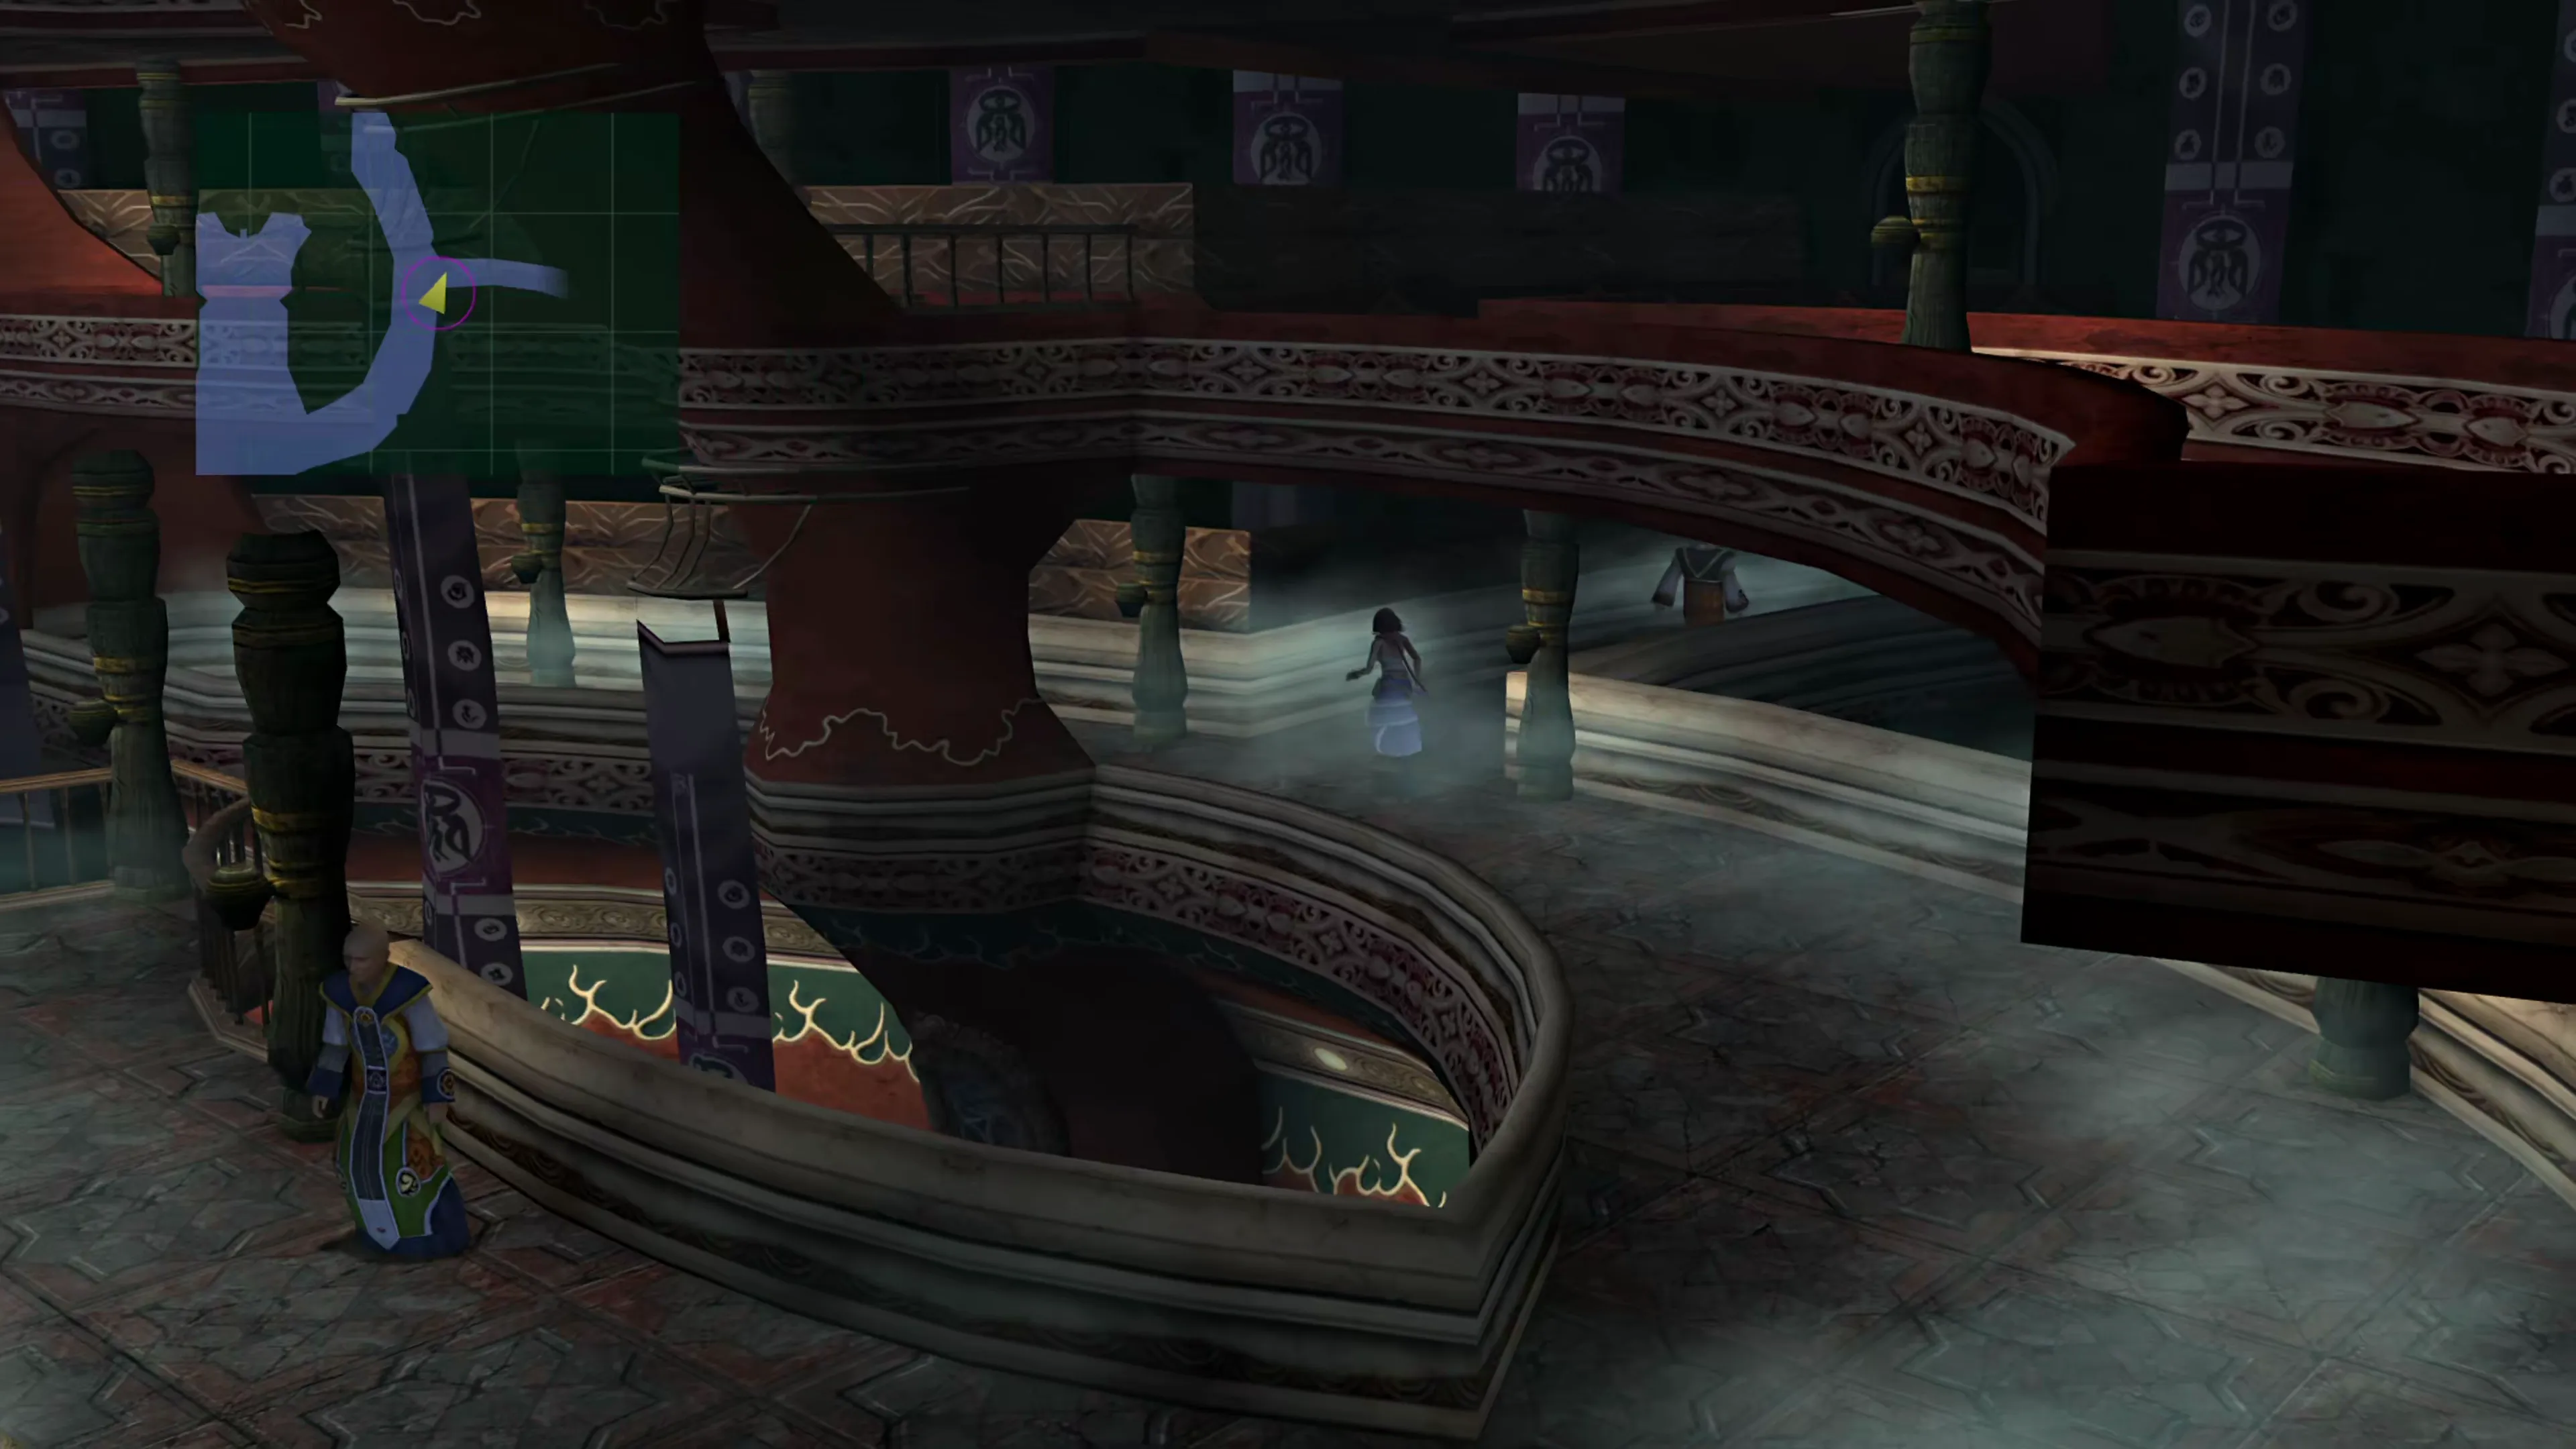
Exit this room, go across the main hall that you entered into, and head across into the left/west room. Walk to the far wall, climb up to the upper level that opened up, and jump down inside.
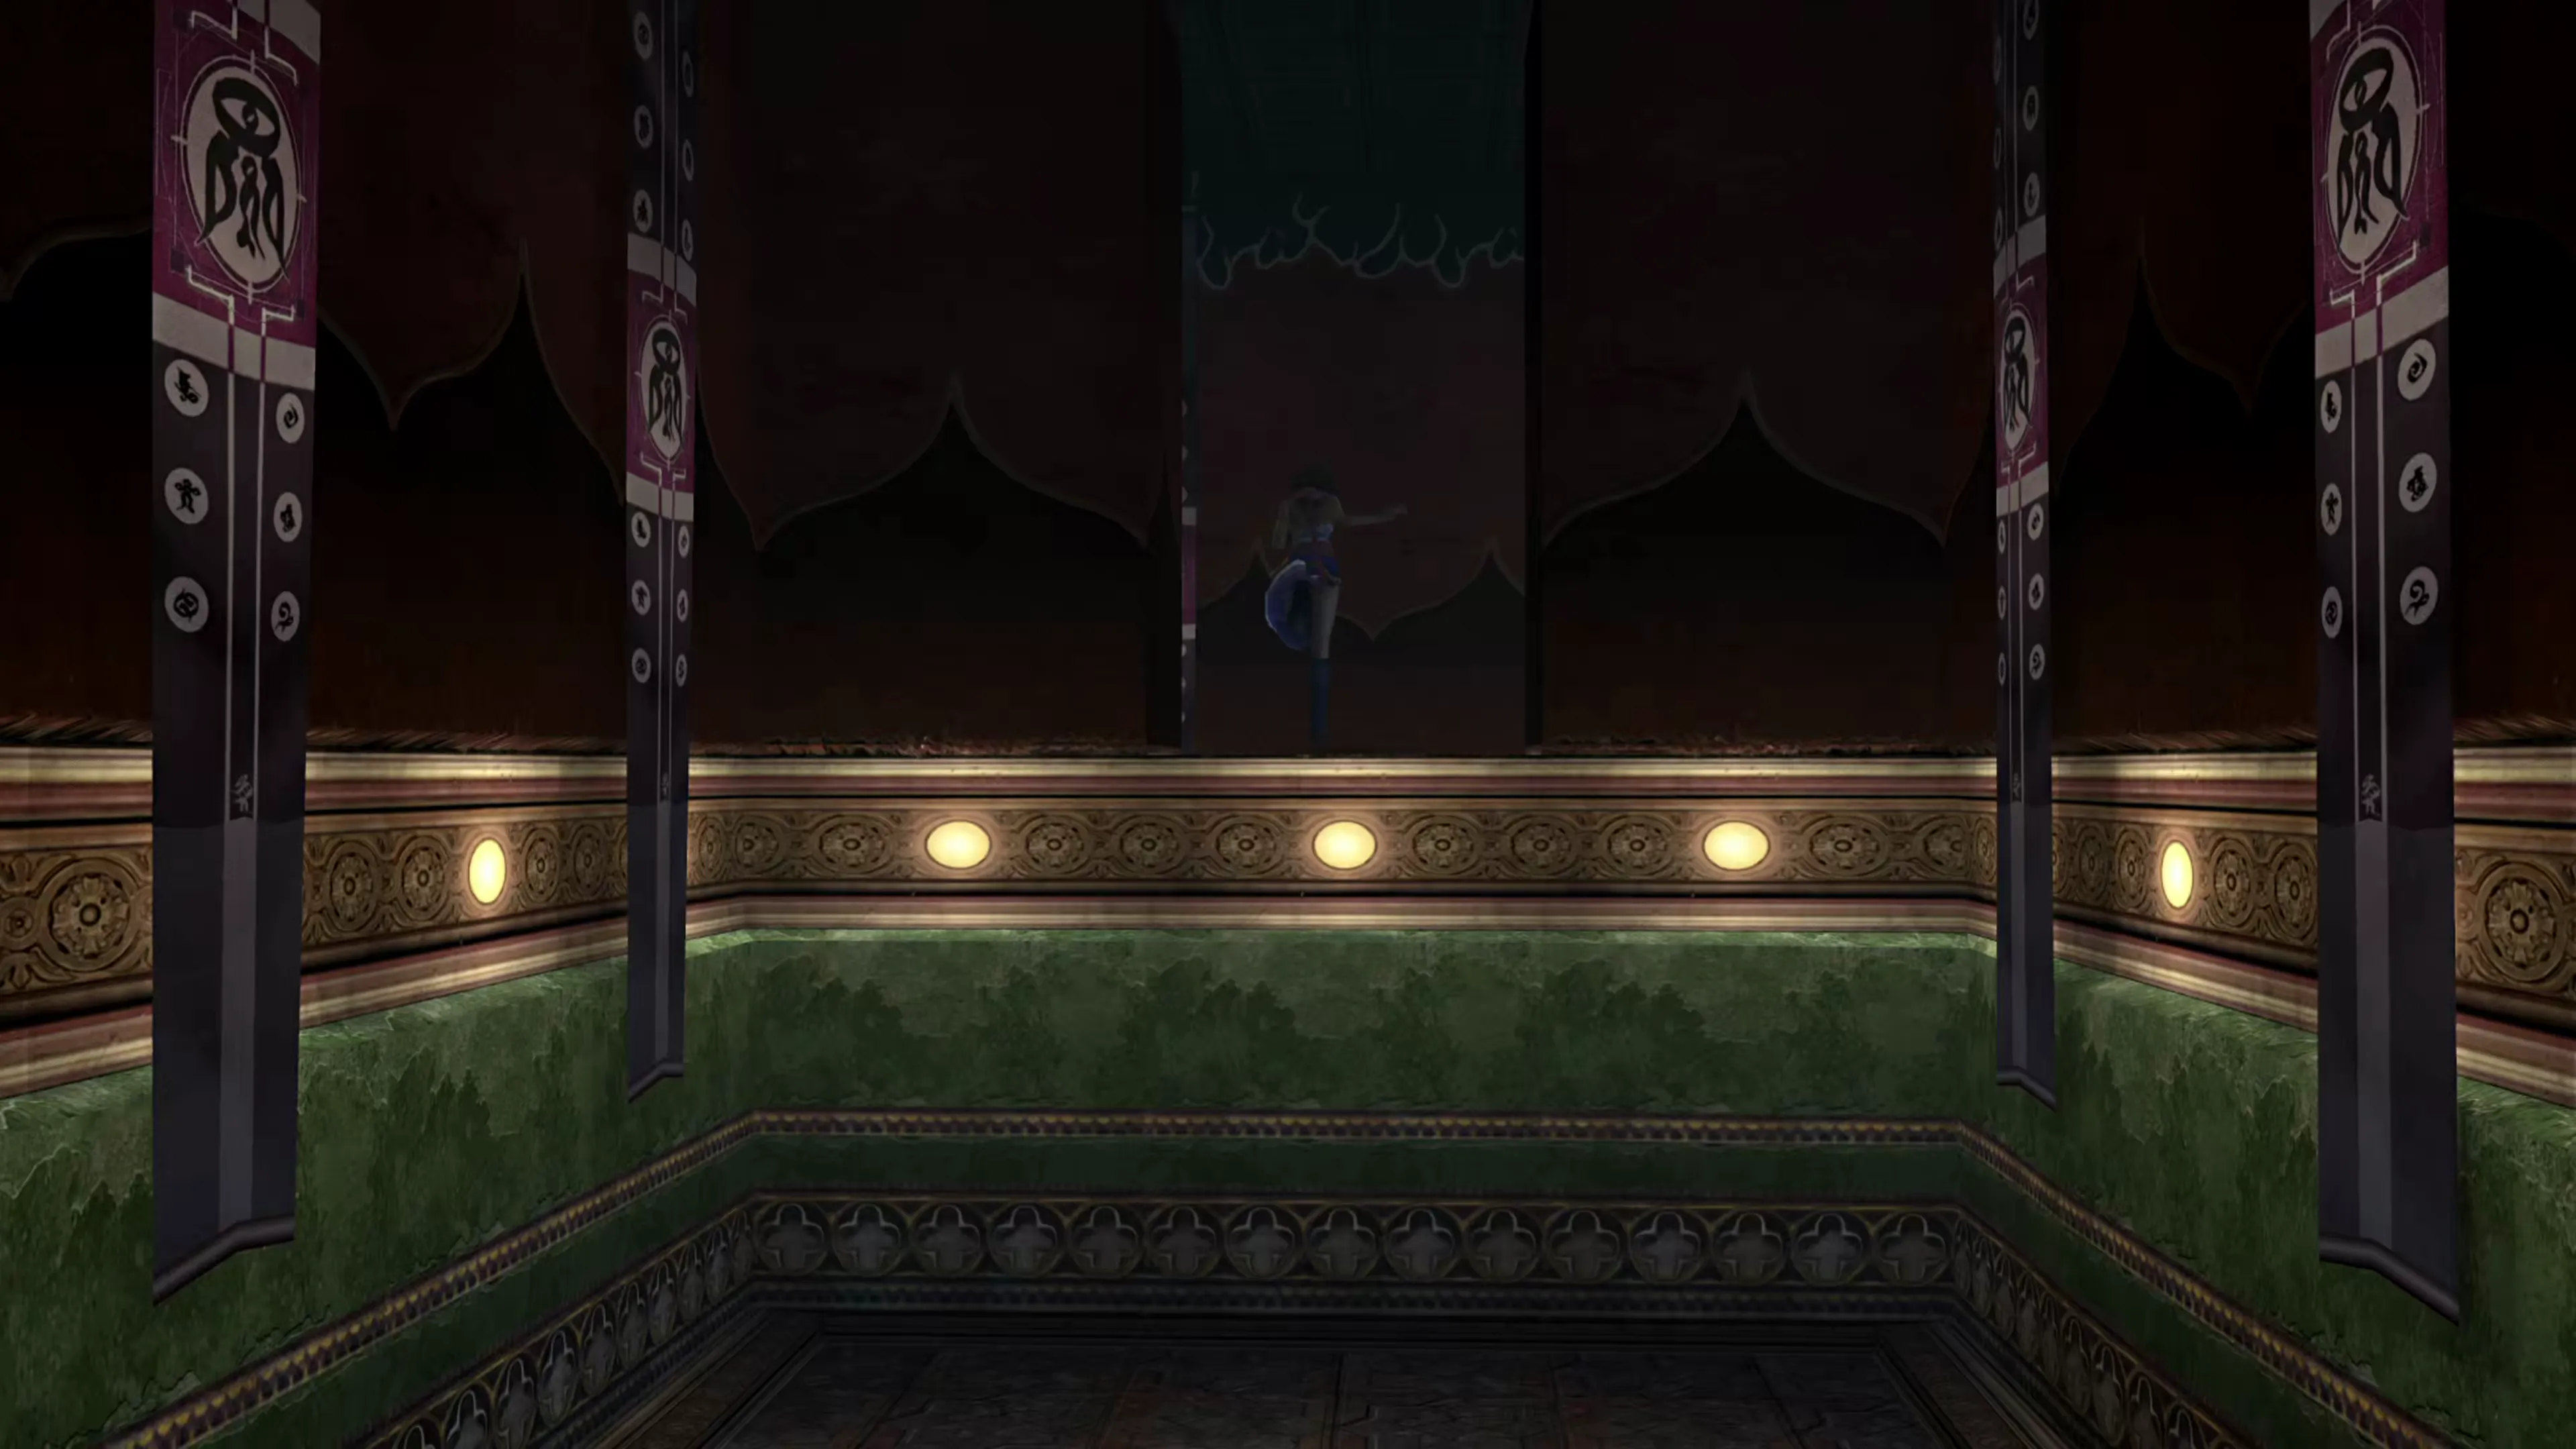
This room has two pedestals with hologram elevators. Examine the one closest to the camera, at the bottom of the screen, and a message will pop up indicating that the “drive settings changed. Central lift destination altered.”
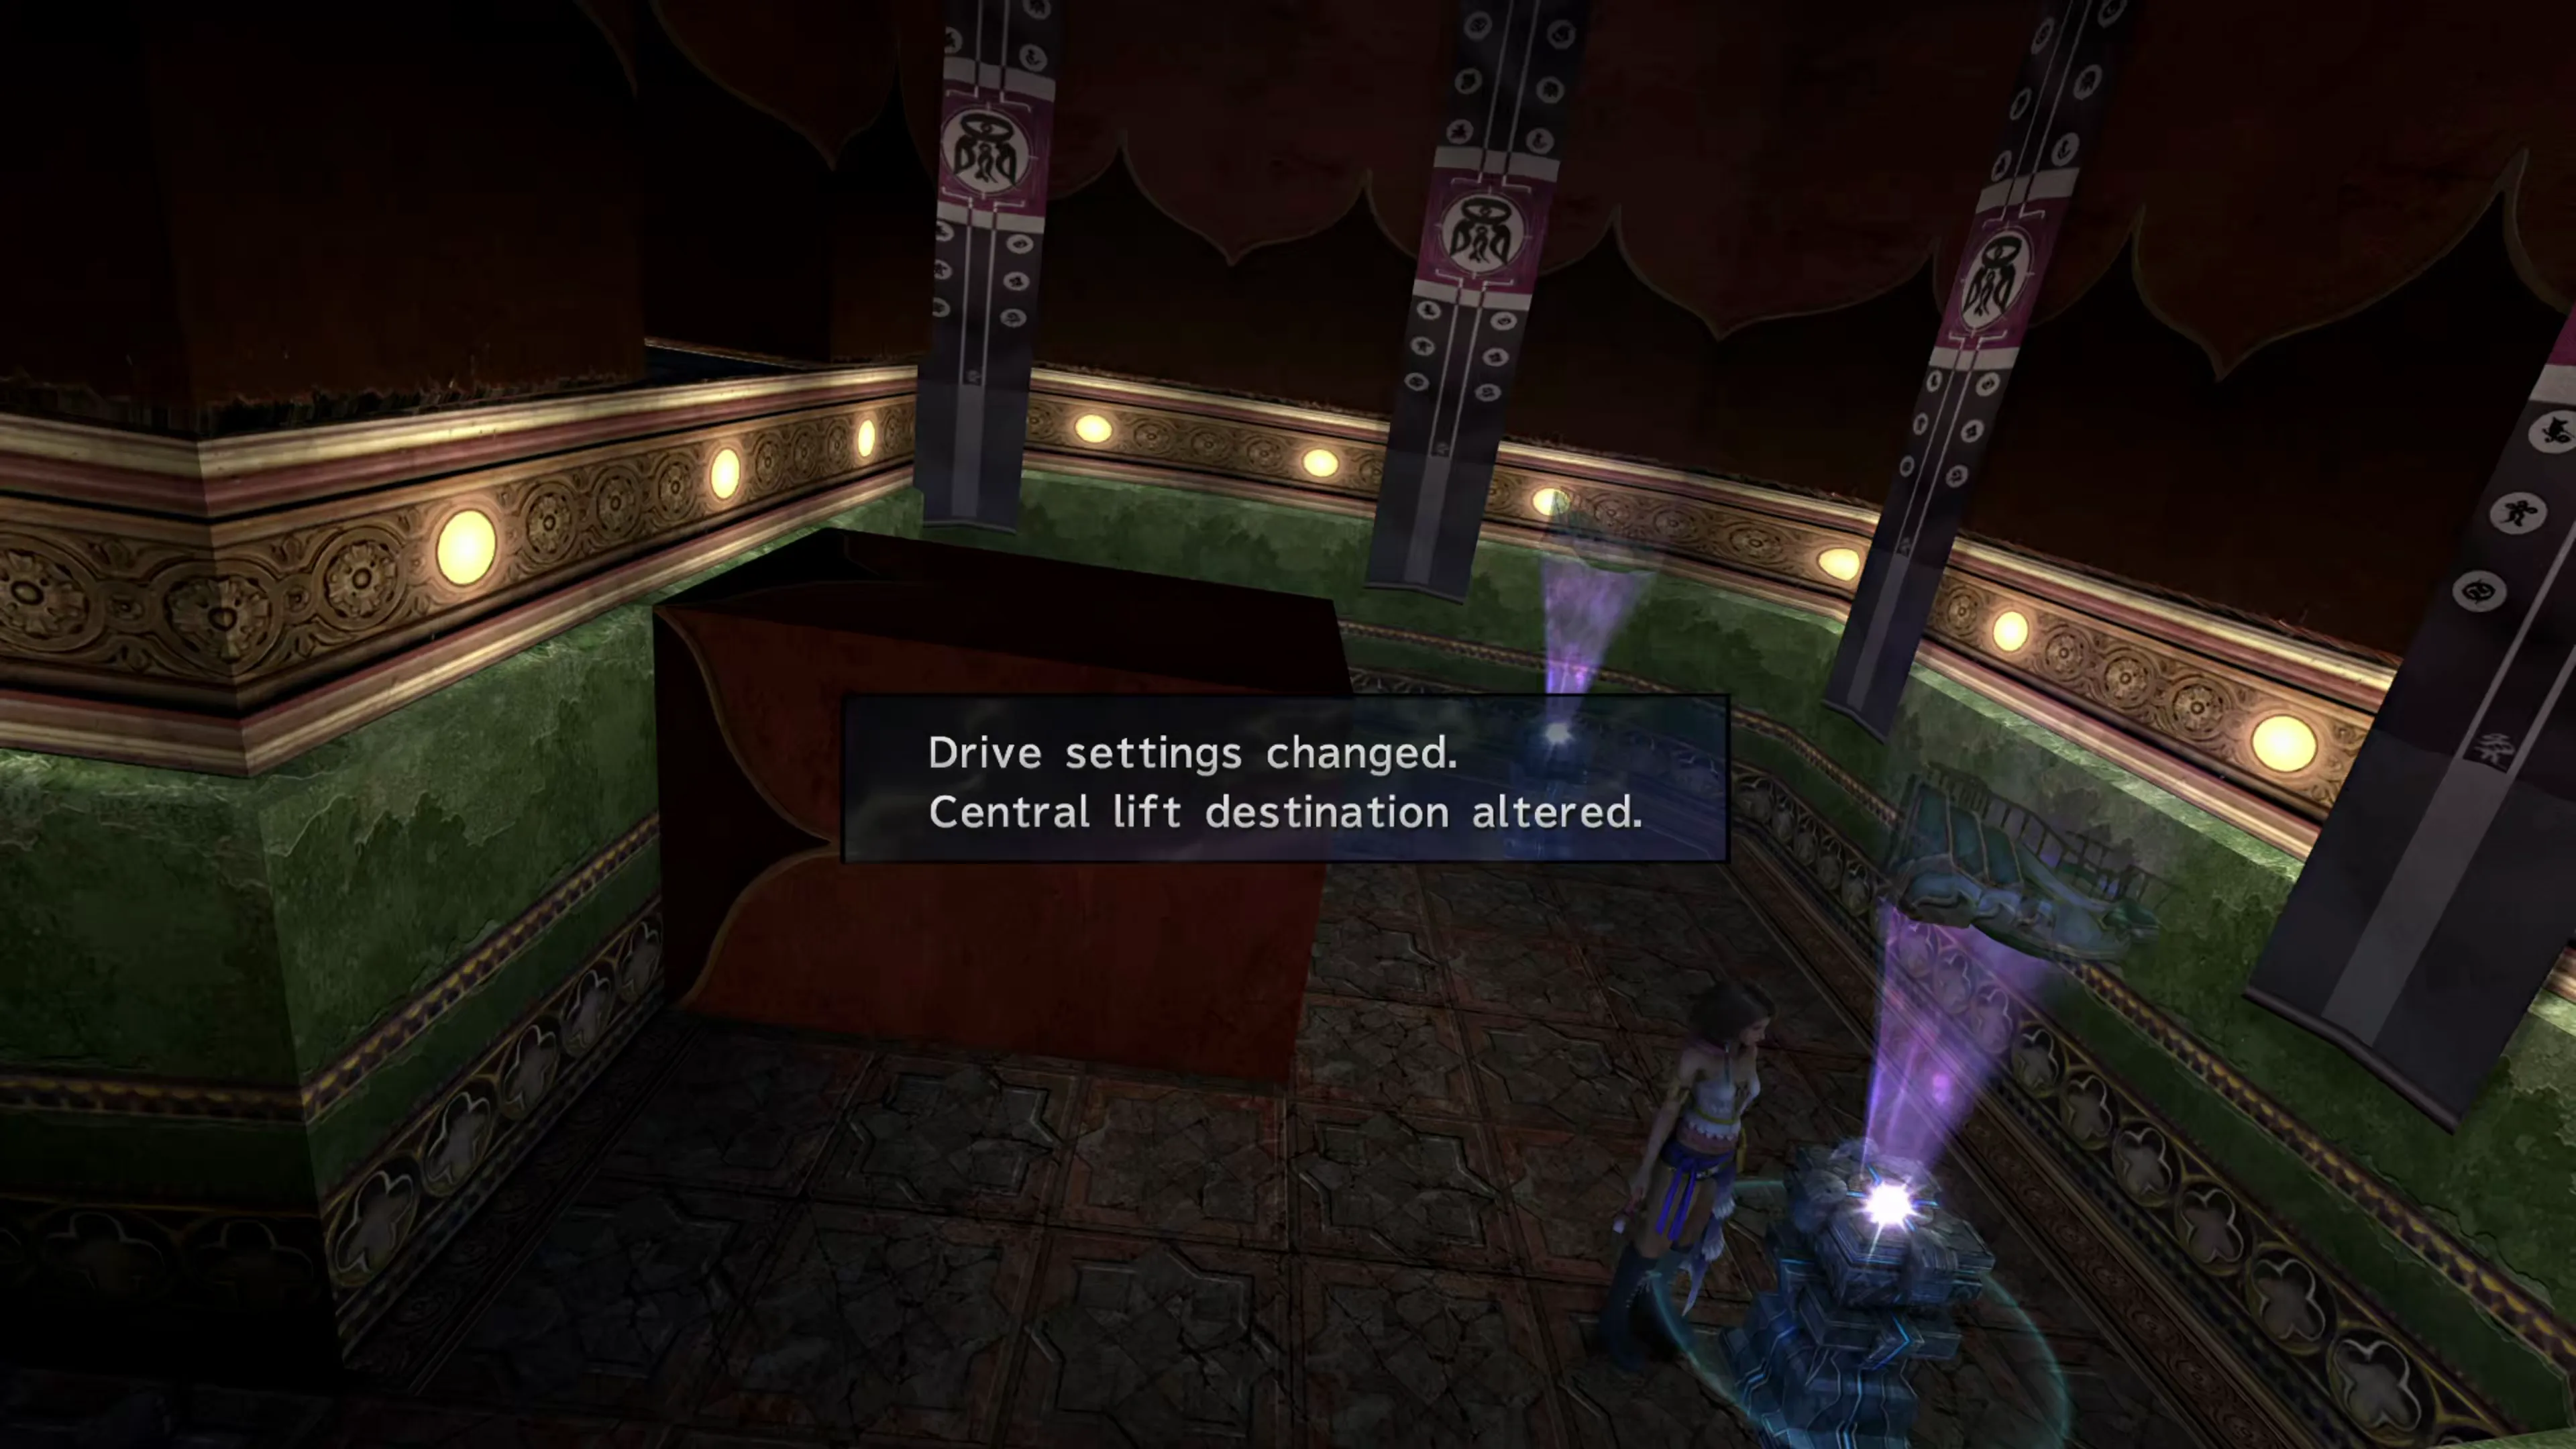
The lift in the center of the headquarters that you used the last time you were here will now head down into the Temple instead of up to the second level. Hop on the elevator and ride it down to the level below.
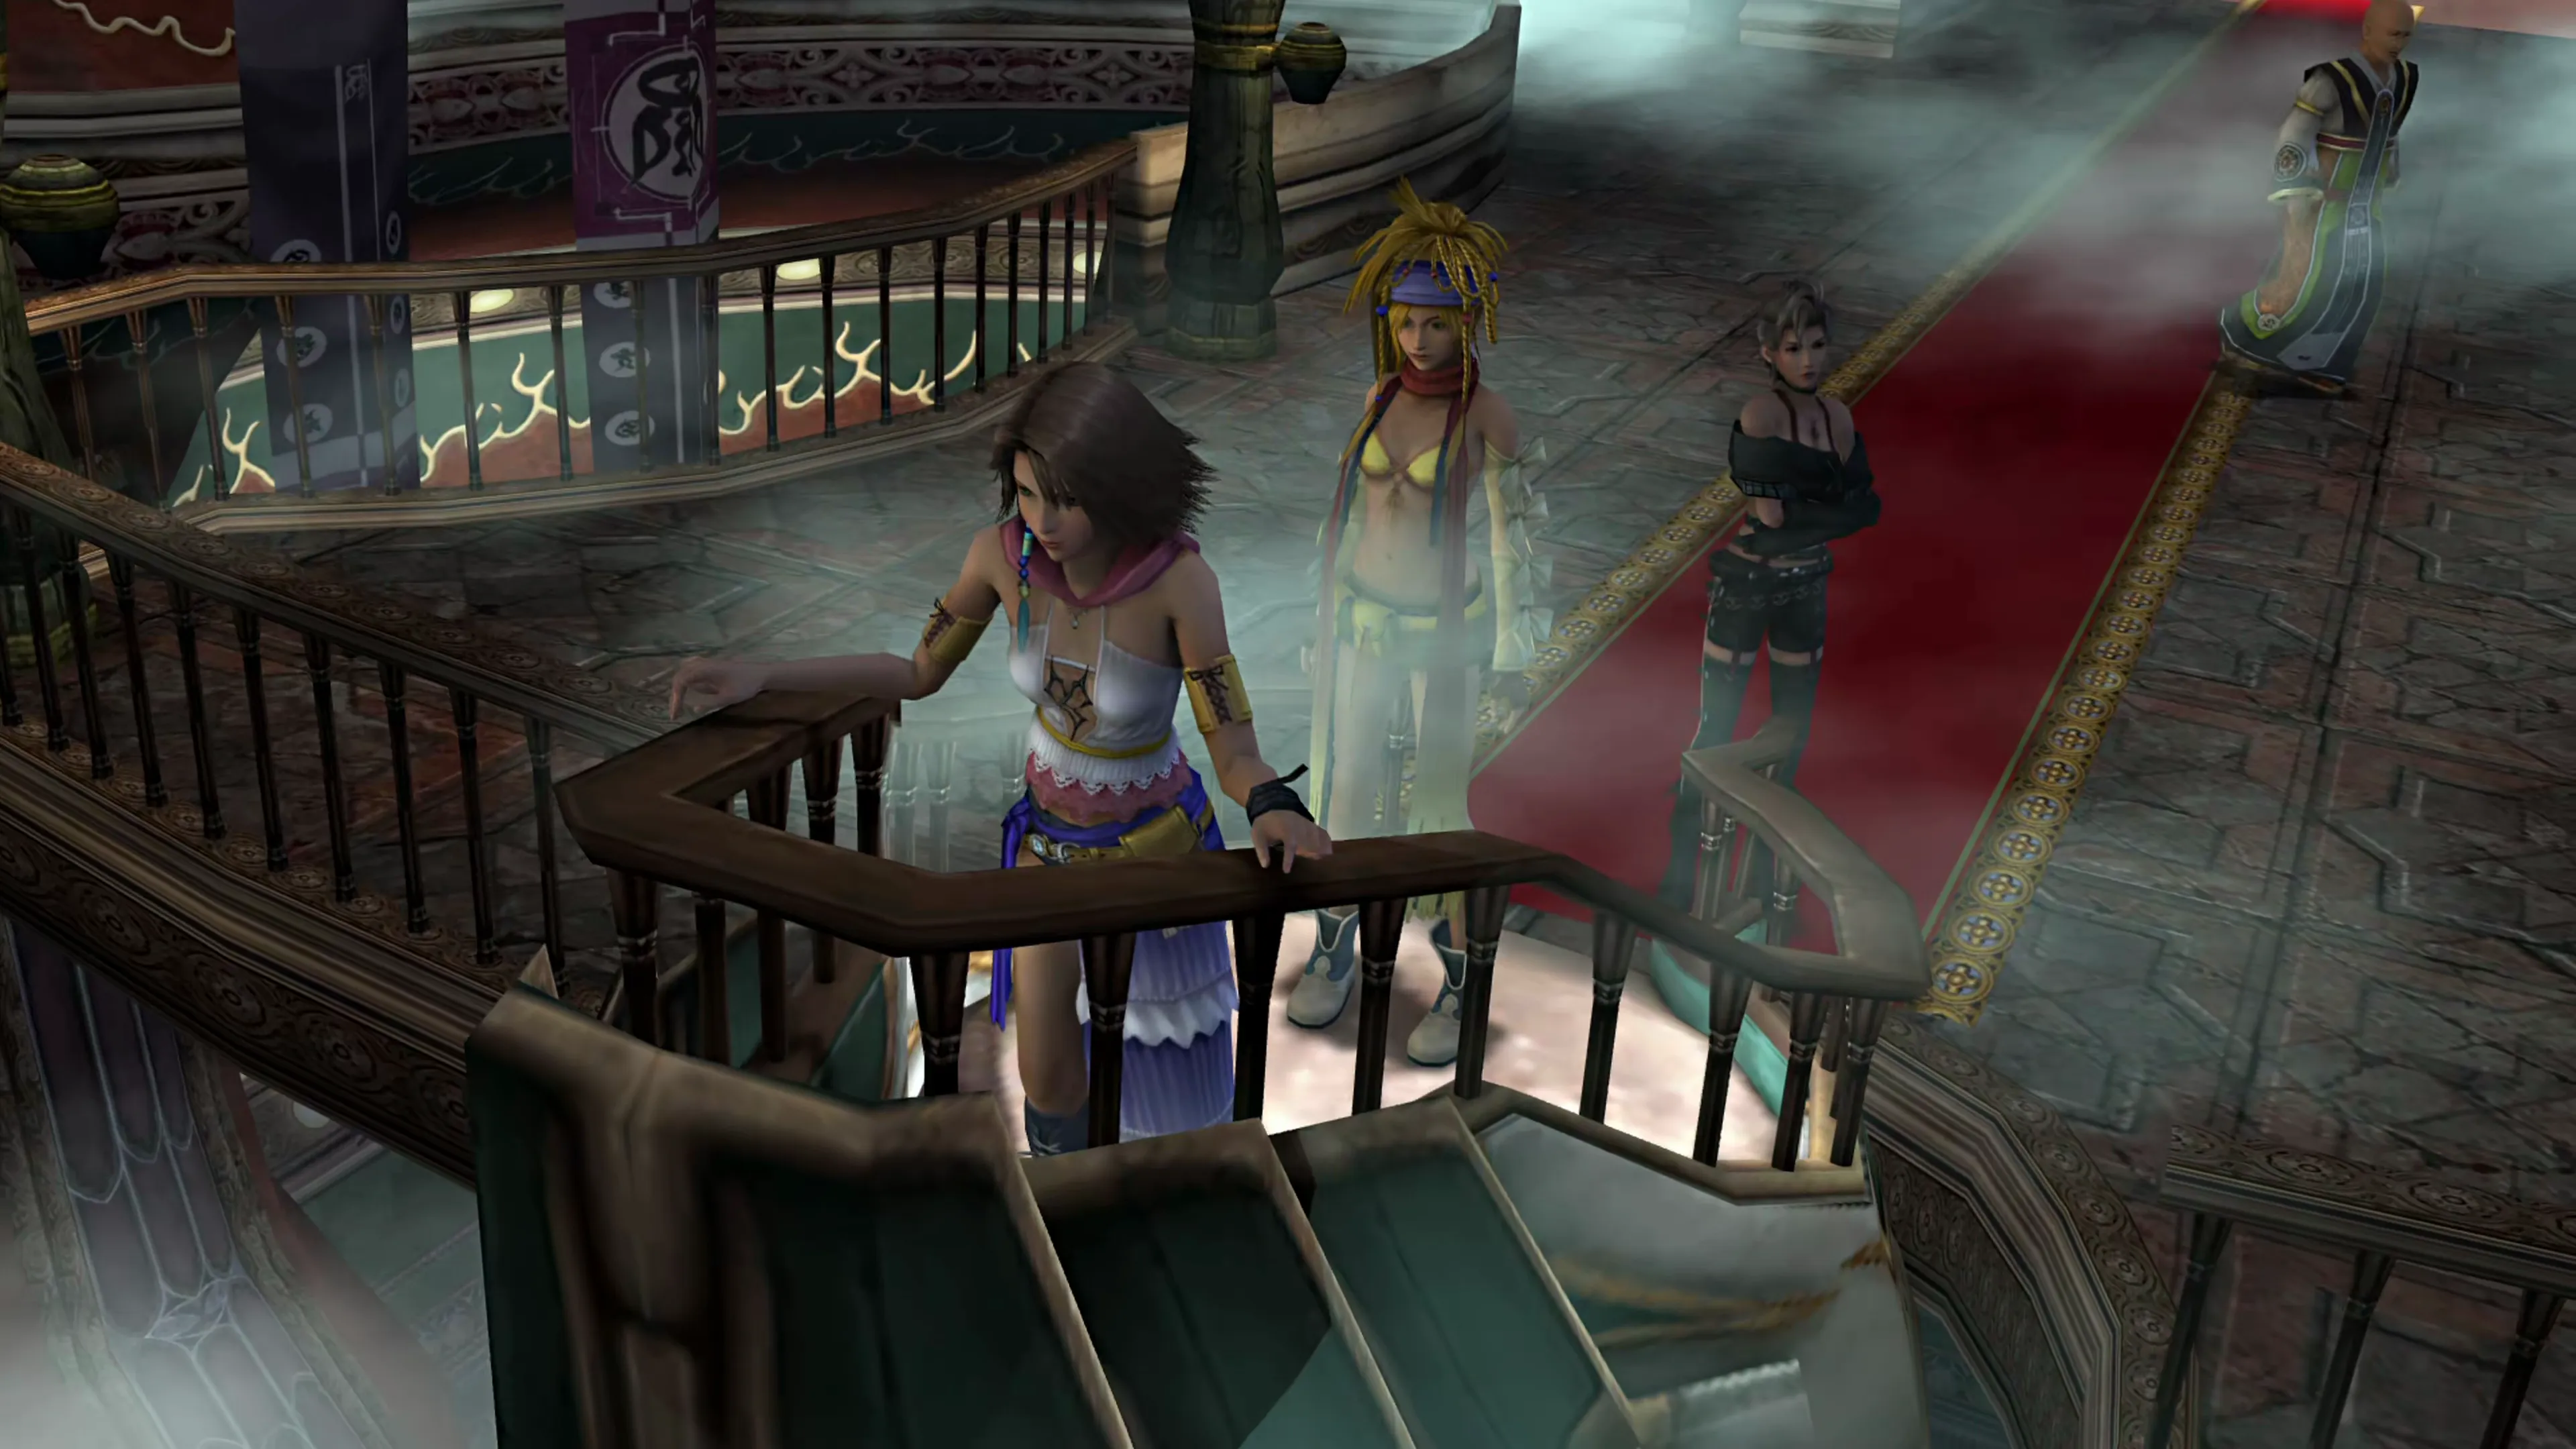
Bevelle Cloister

You may recognize this place from Final Fantasy X, but last time you were here as Tidus, you had to deal with floating platforms and switches. This time, thankfully, the team can walk along the platforms to your destination.
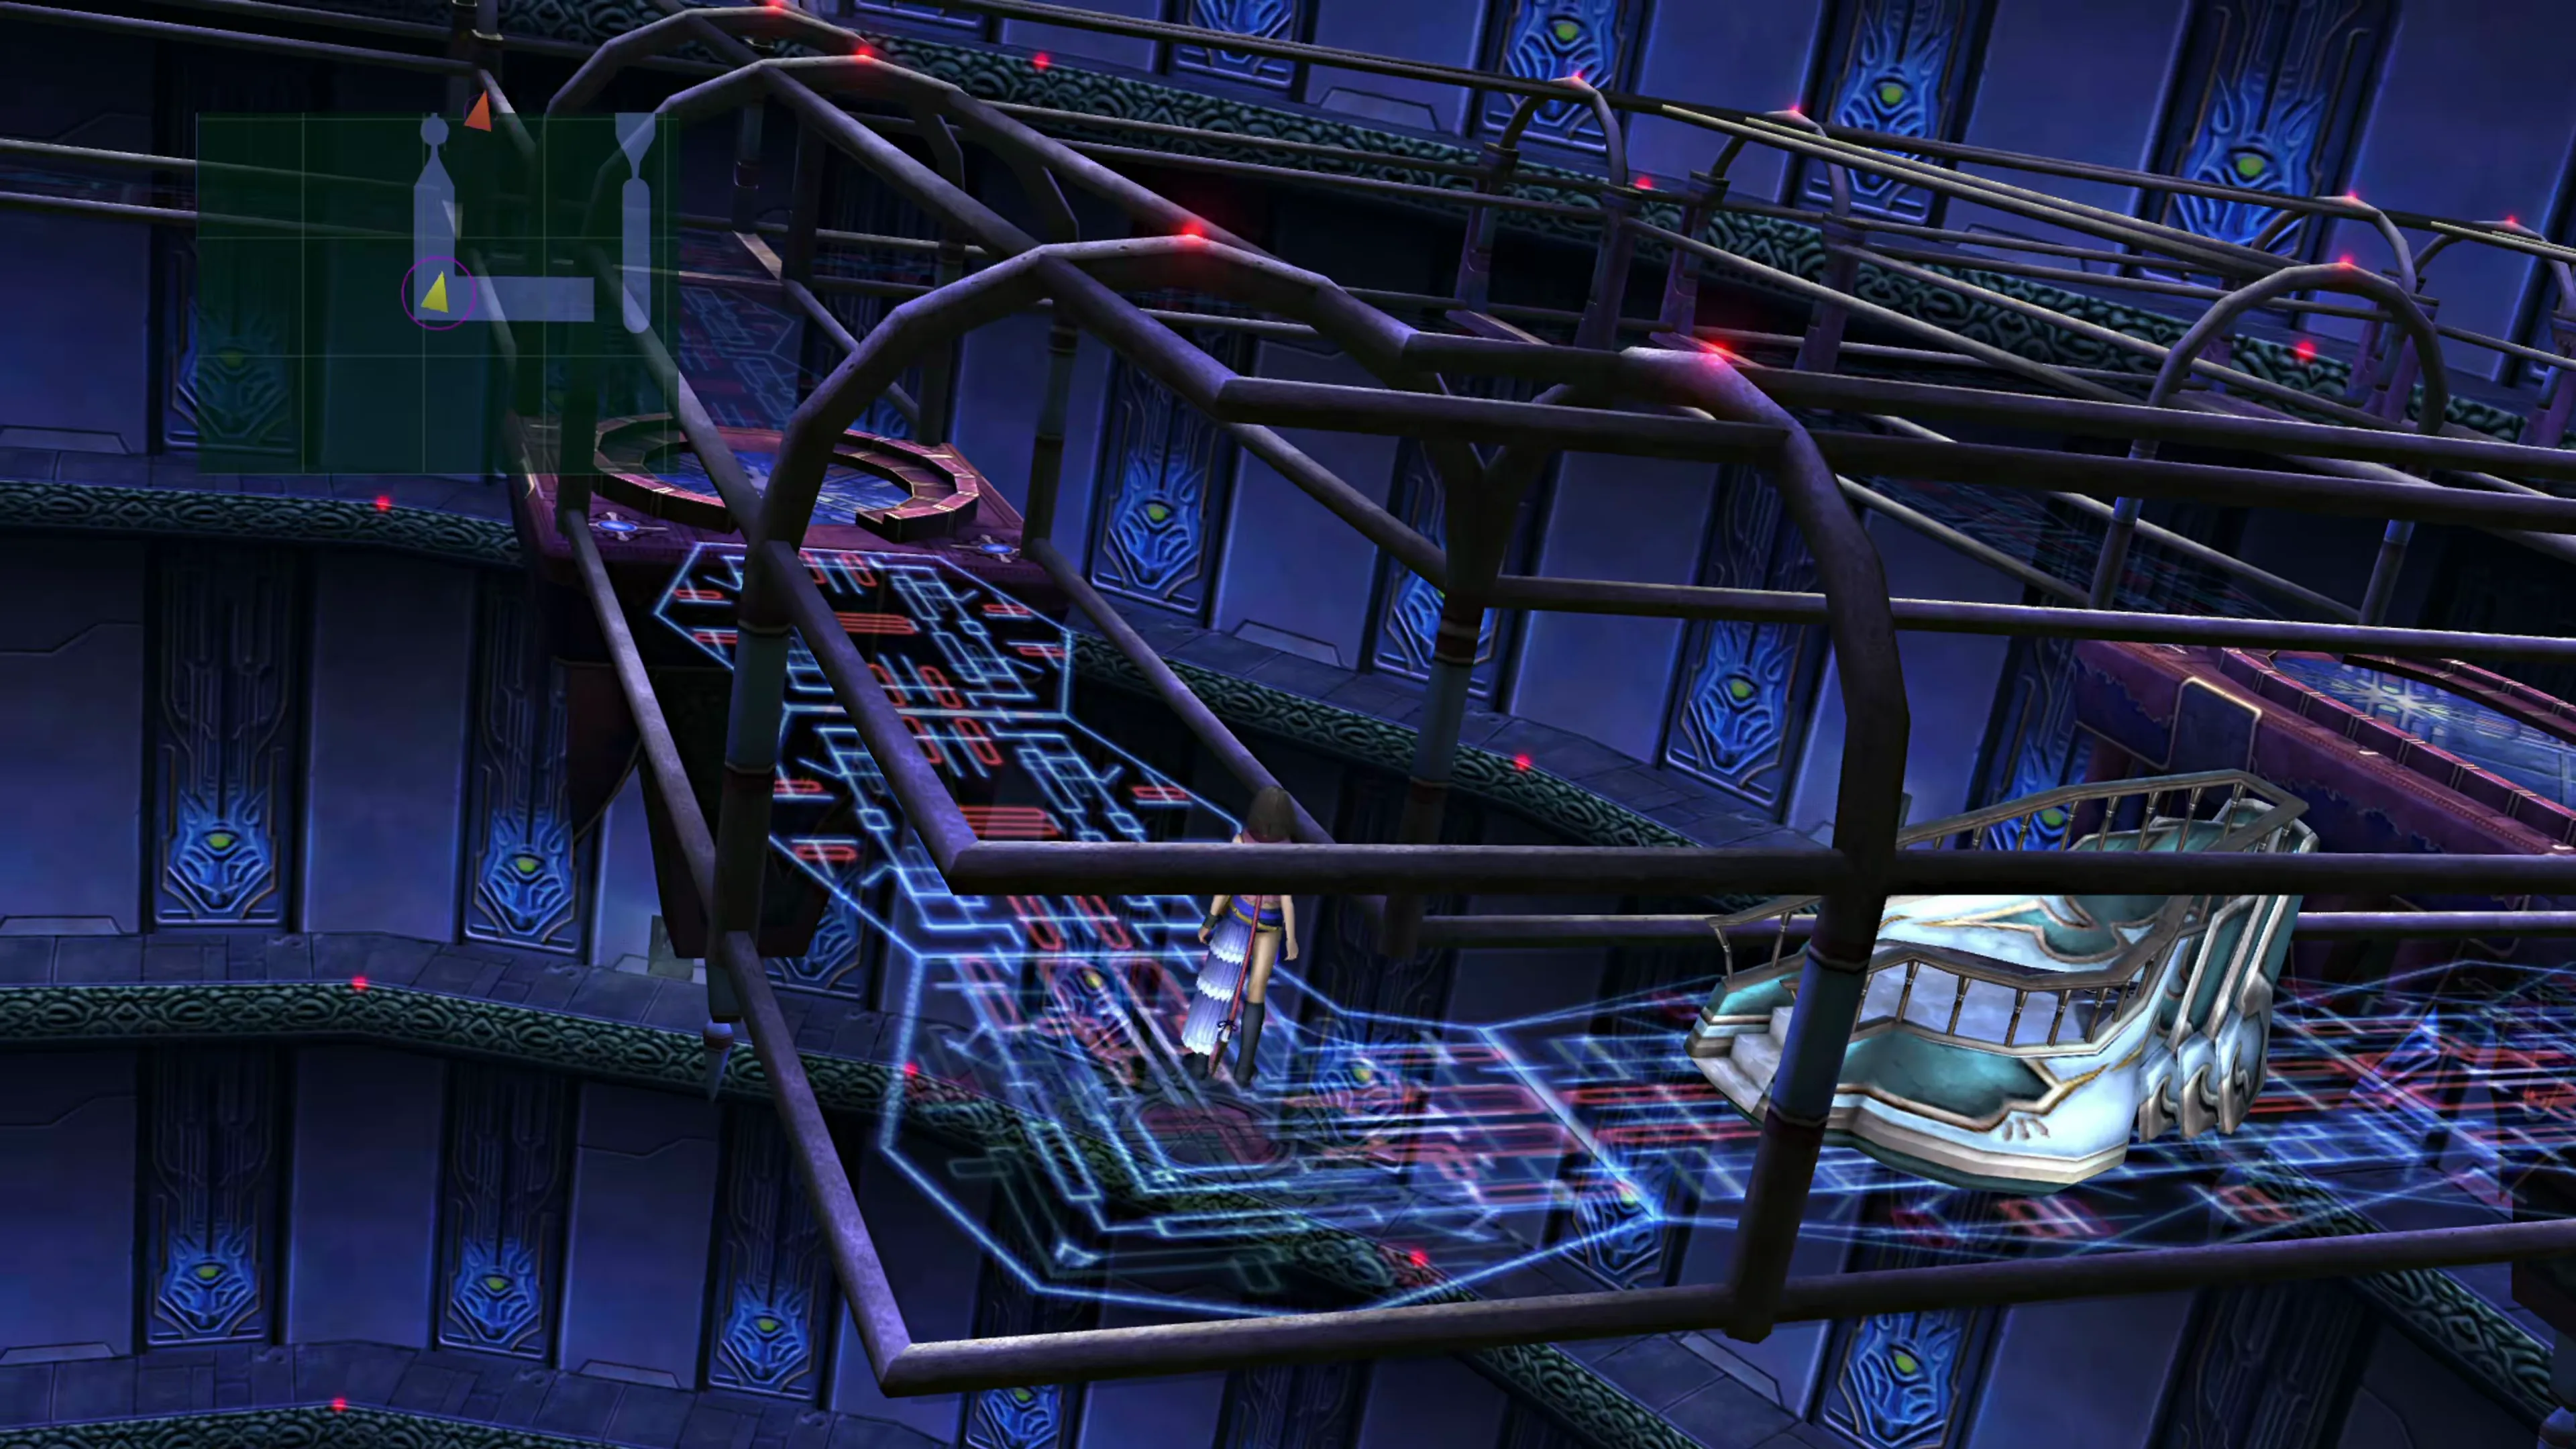
There are lots of treasure chests that you can reach in this area if you’re up for fighting the fiends that block them. None of the treasure chests have any critical items in them, though, so it’s up to you to determine whether it’s worth your time. The map below shows where each treasure chest is located if you do try to gather them.
Bevelle Cloister
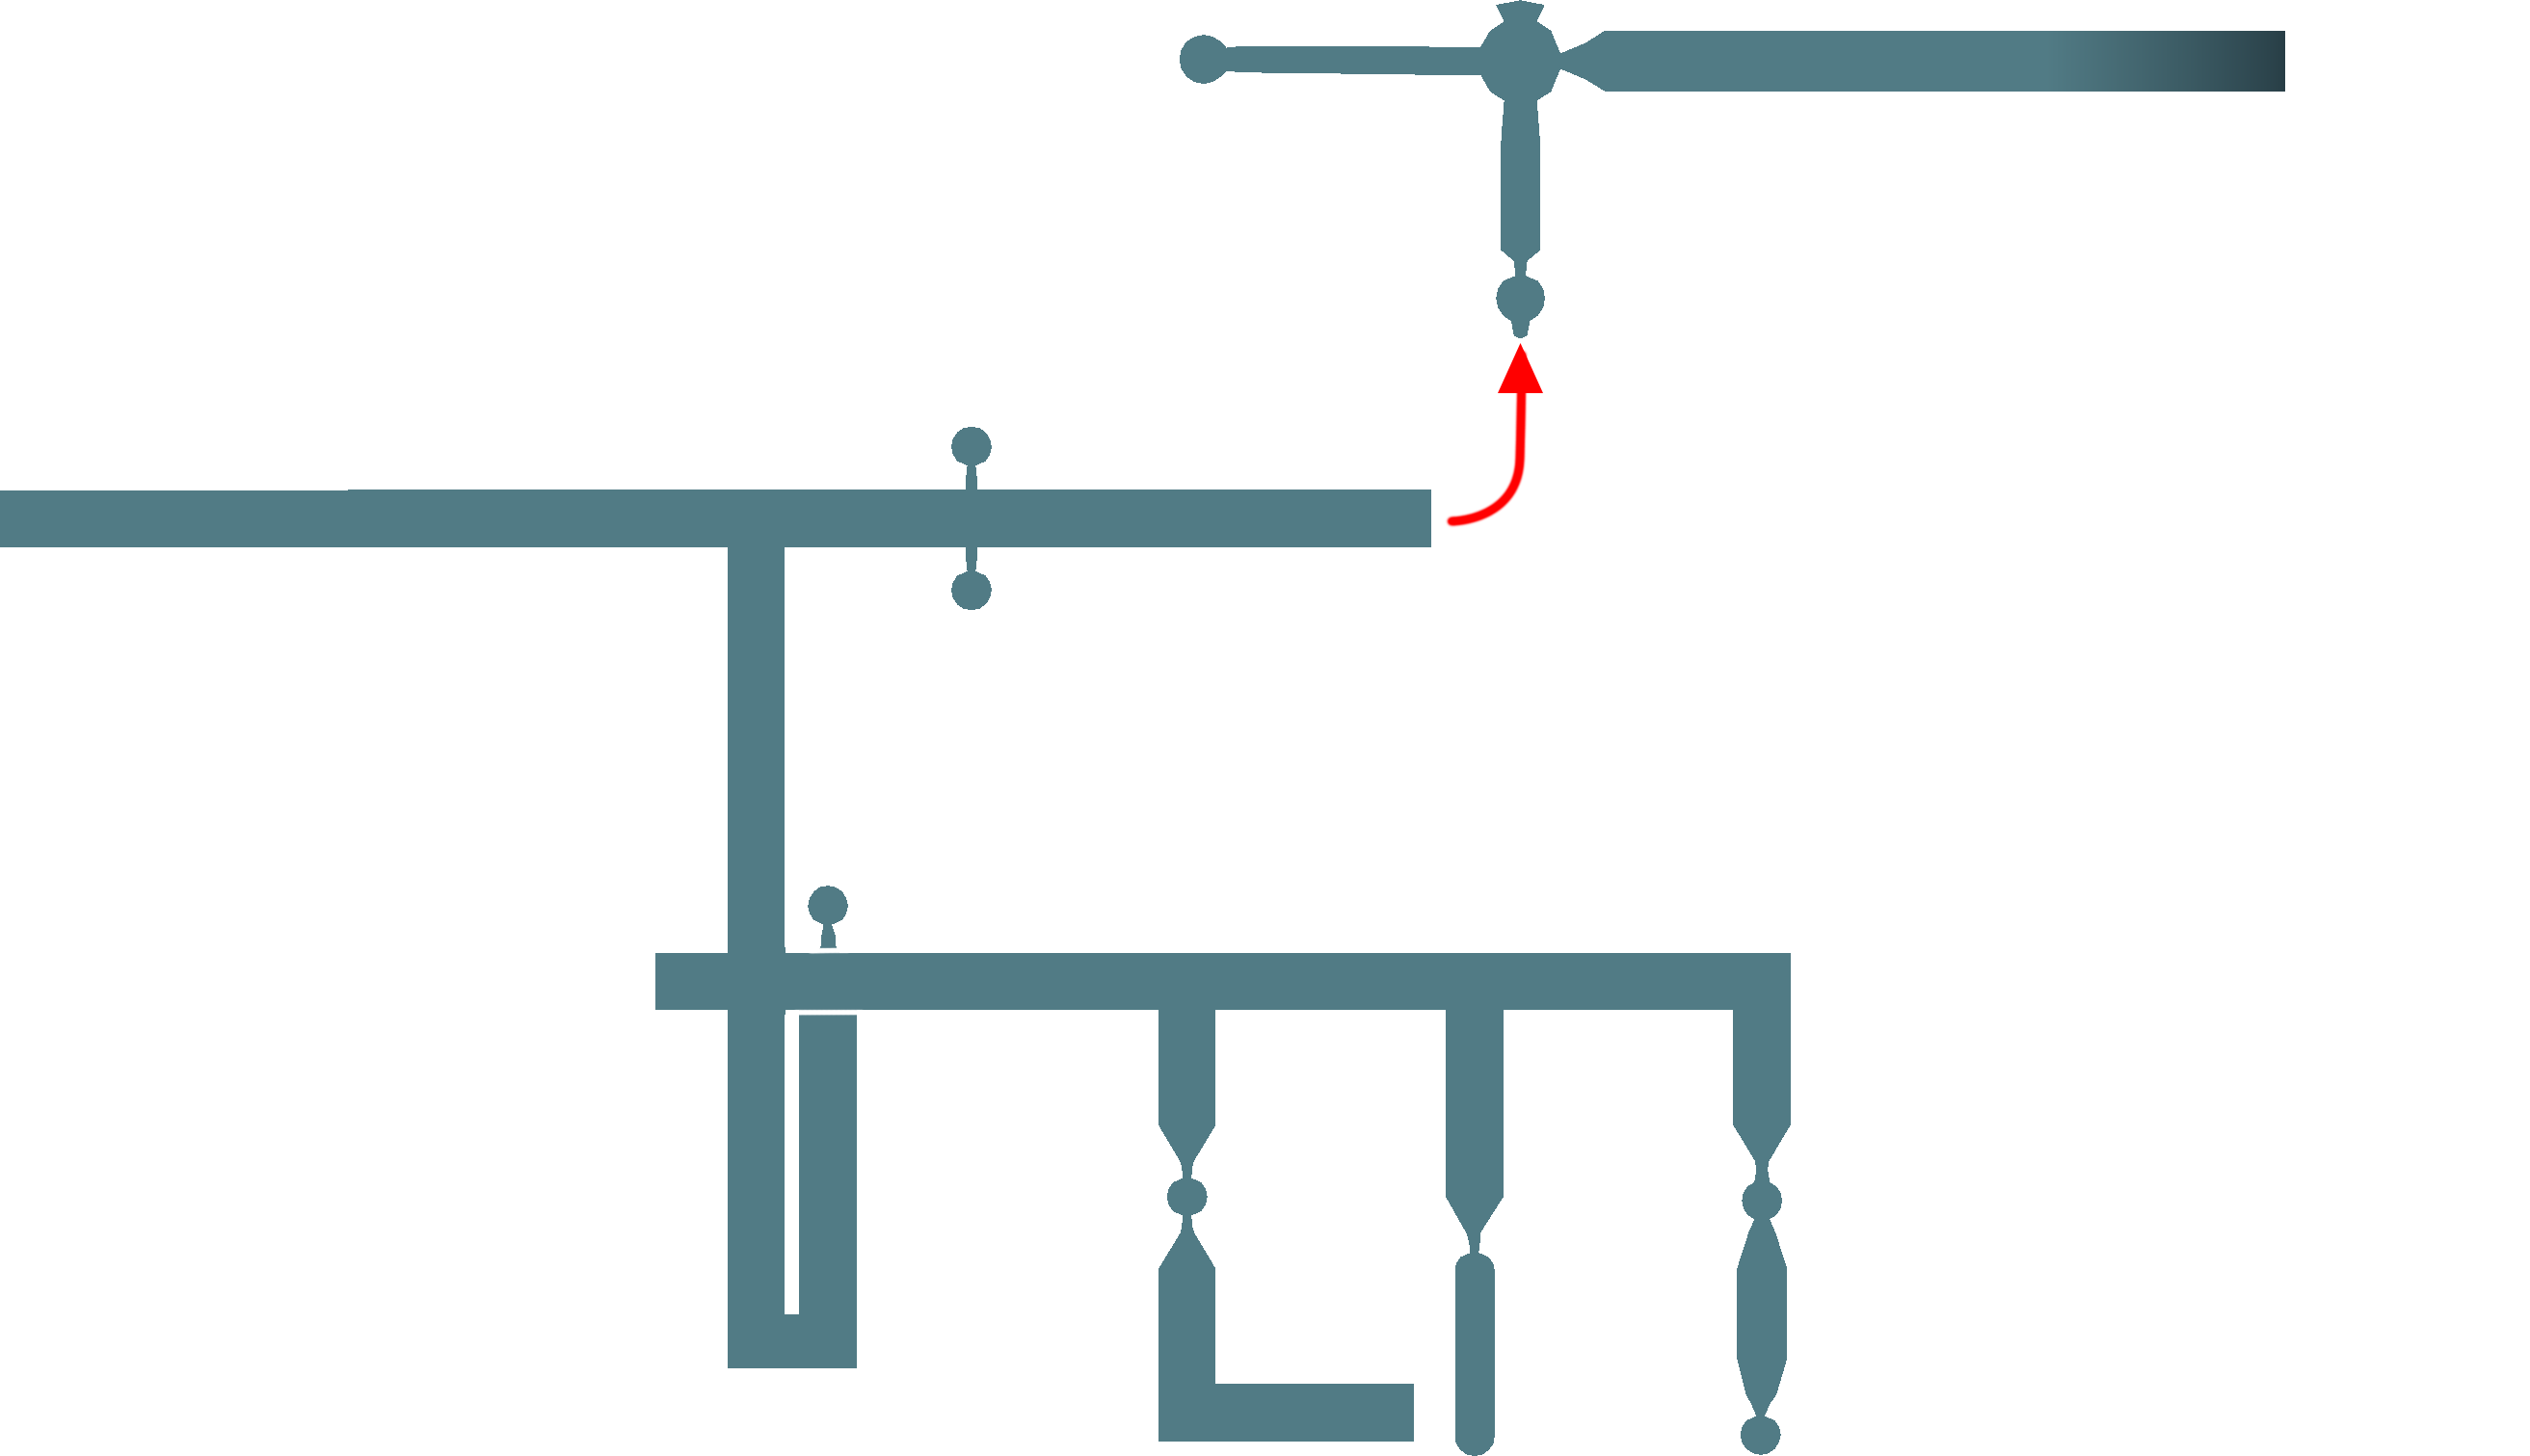
The exit to the Trials area is to the southeast.
Antechamber
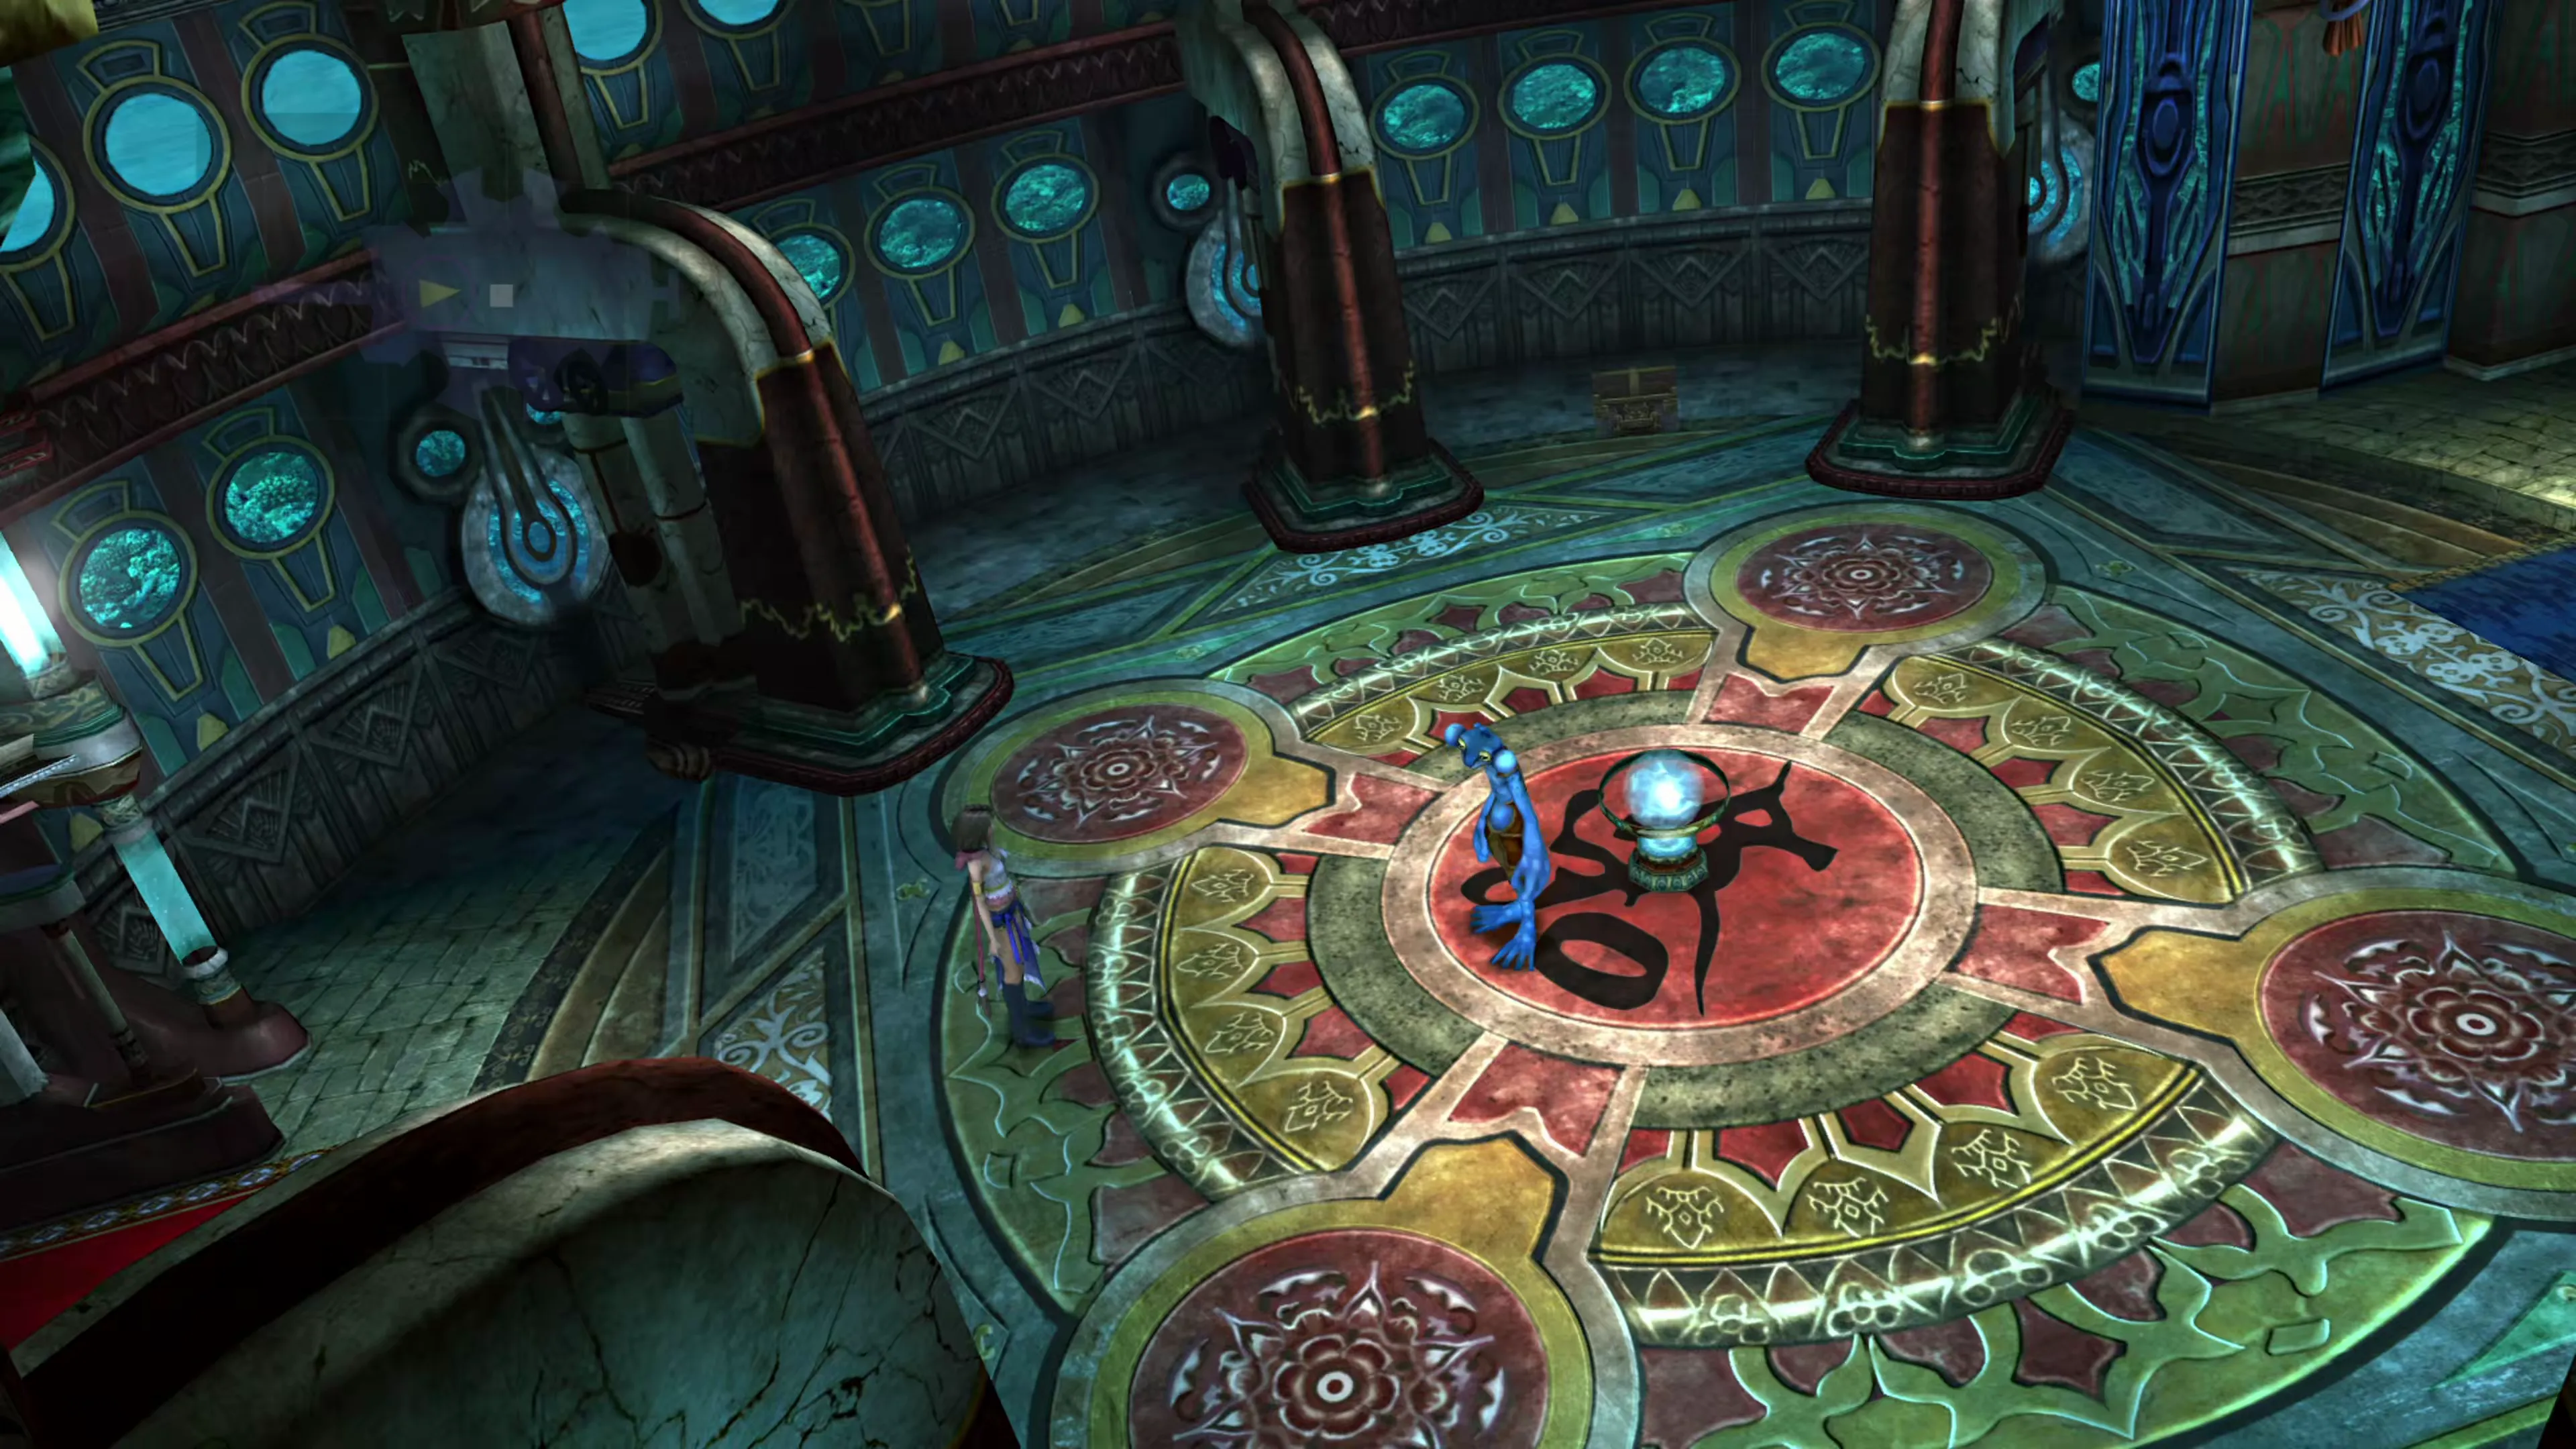
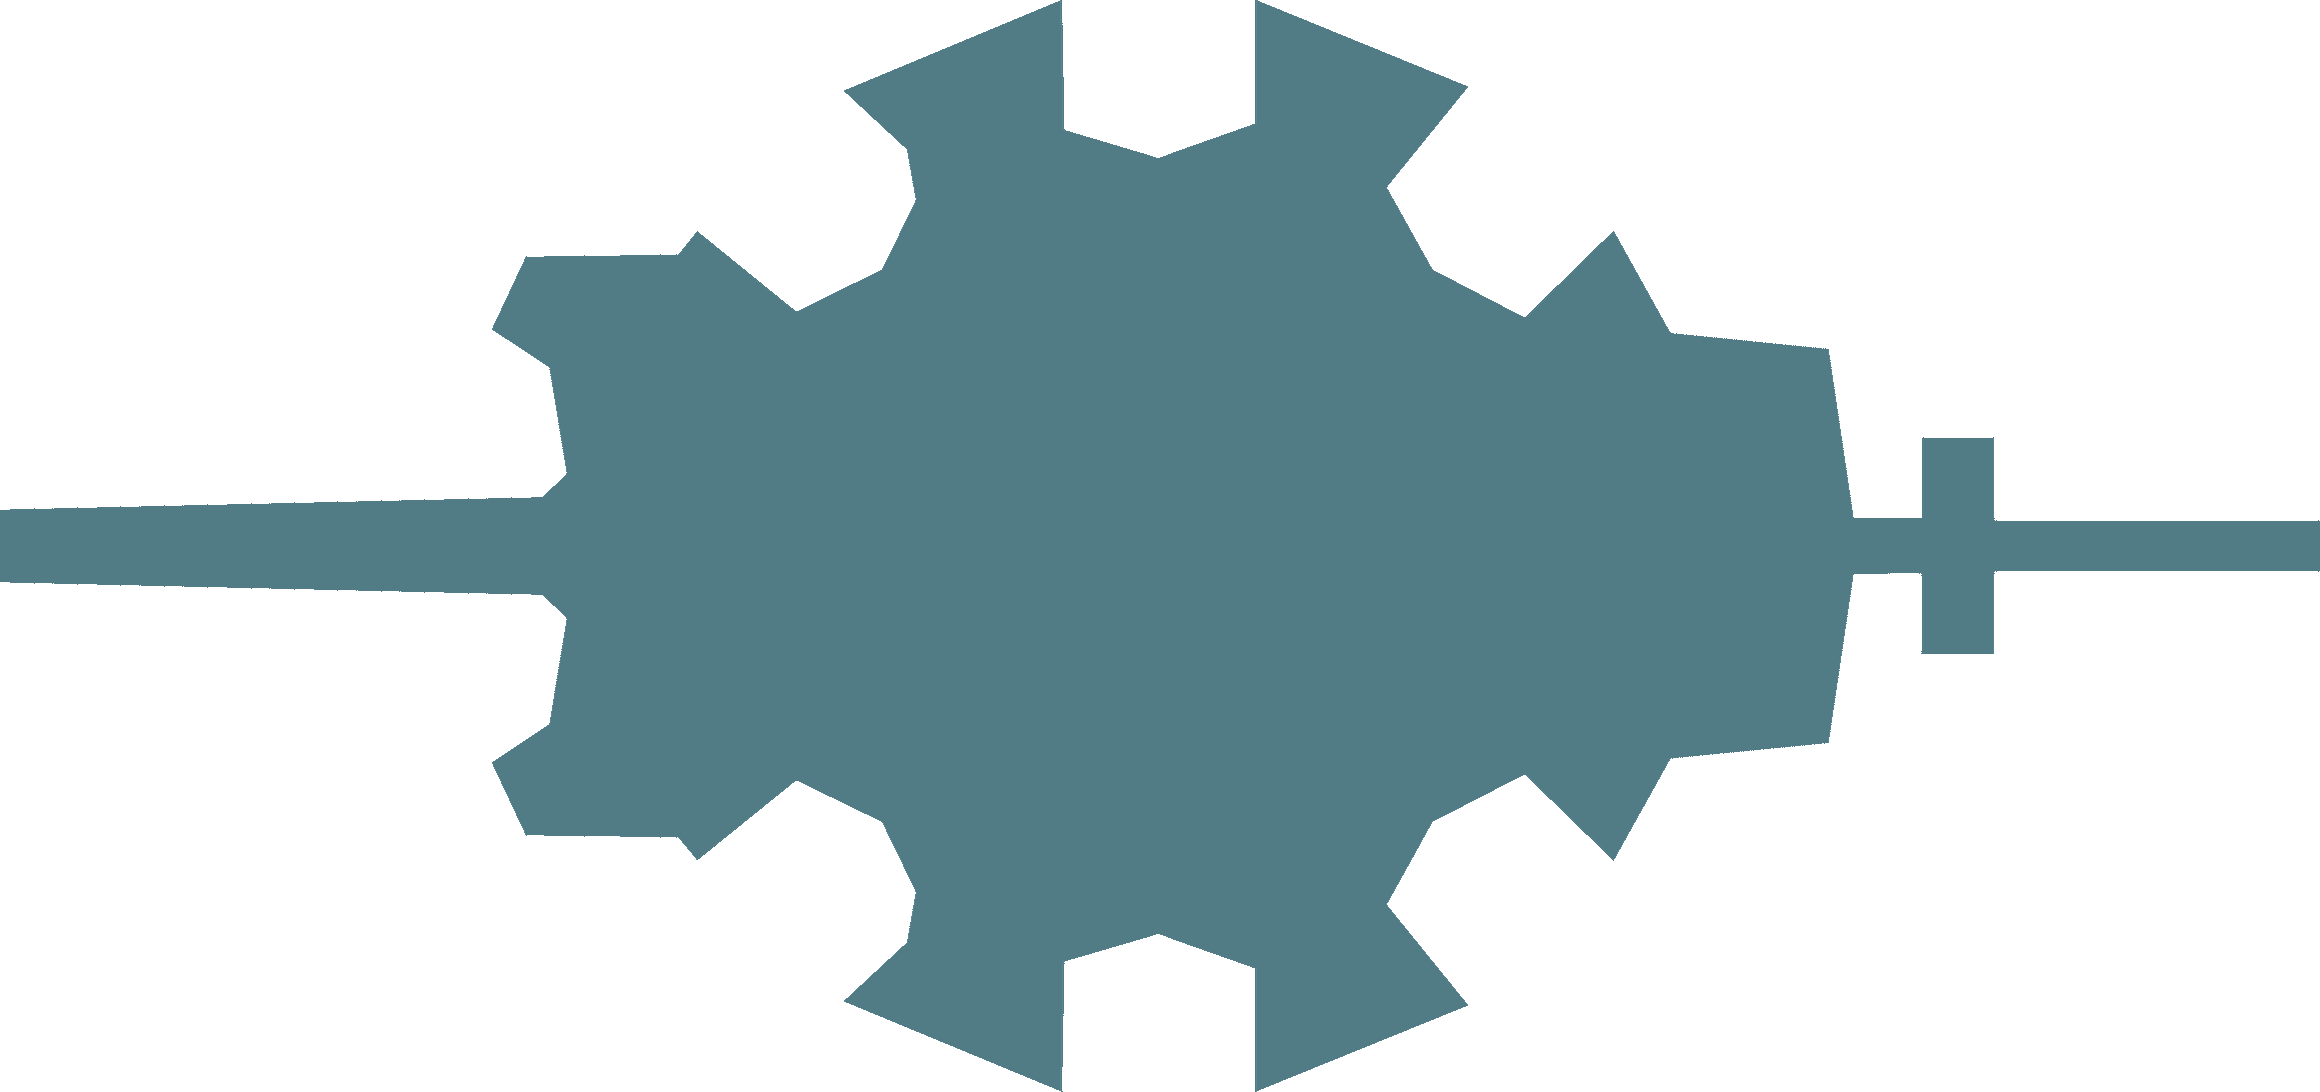
This room has three items worth noting: a Save Sphere in the center, a shop run by Barkeep the Hypello, and a treasure chest that contains a  Chocobo Feather. Travel into the Chamber of the Fayth to move on to the next section of Bevelle.
Antechamber
 1 1 | Chocobo Feather |
Restricted Area
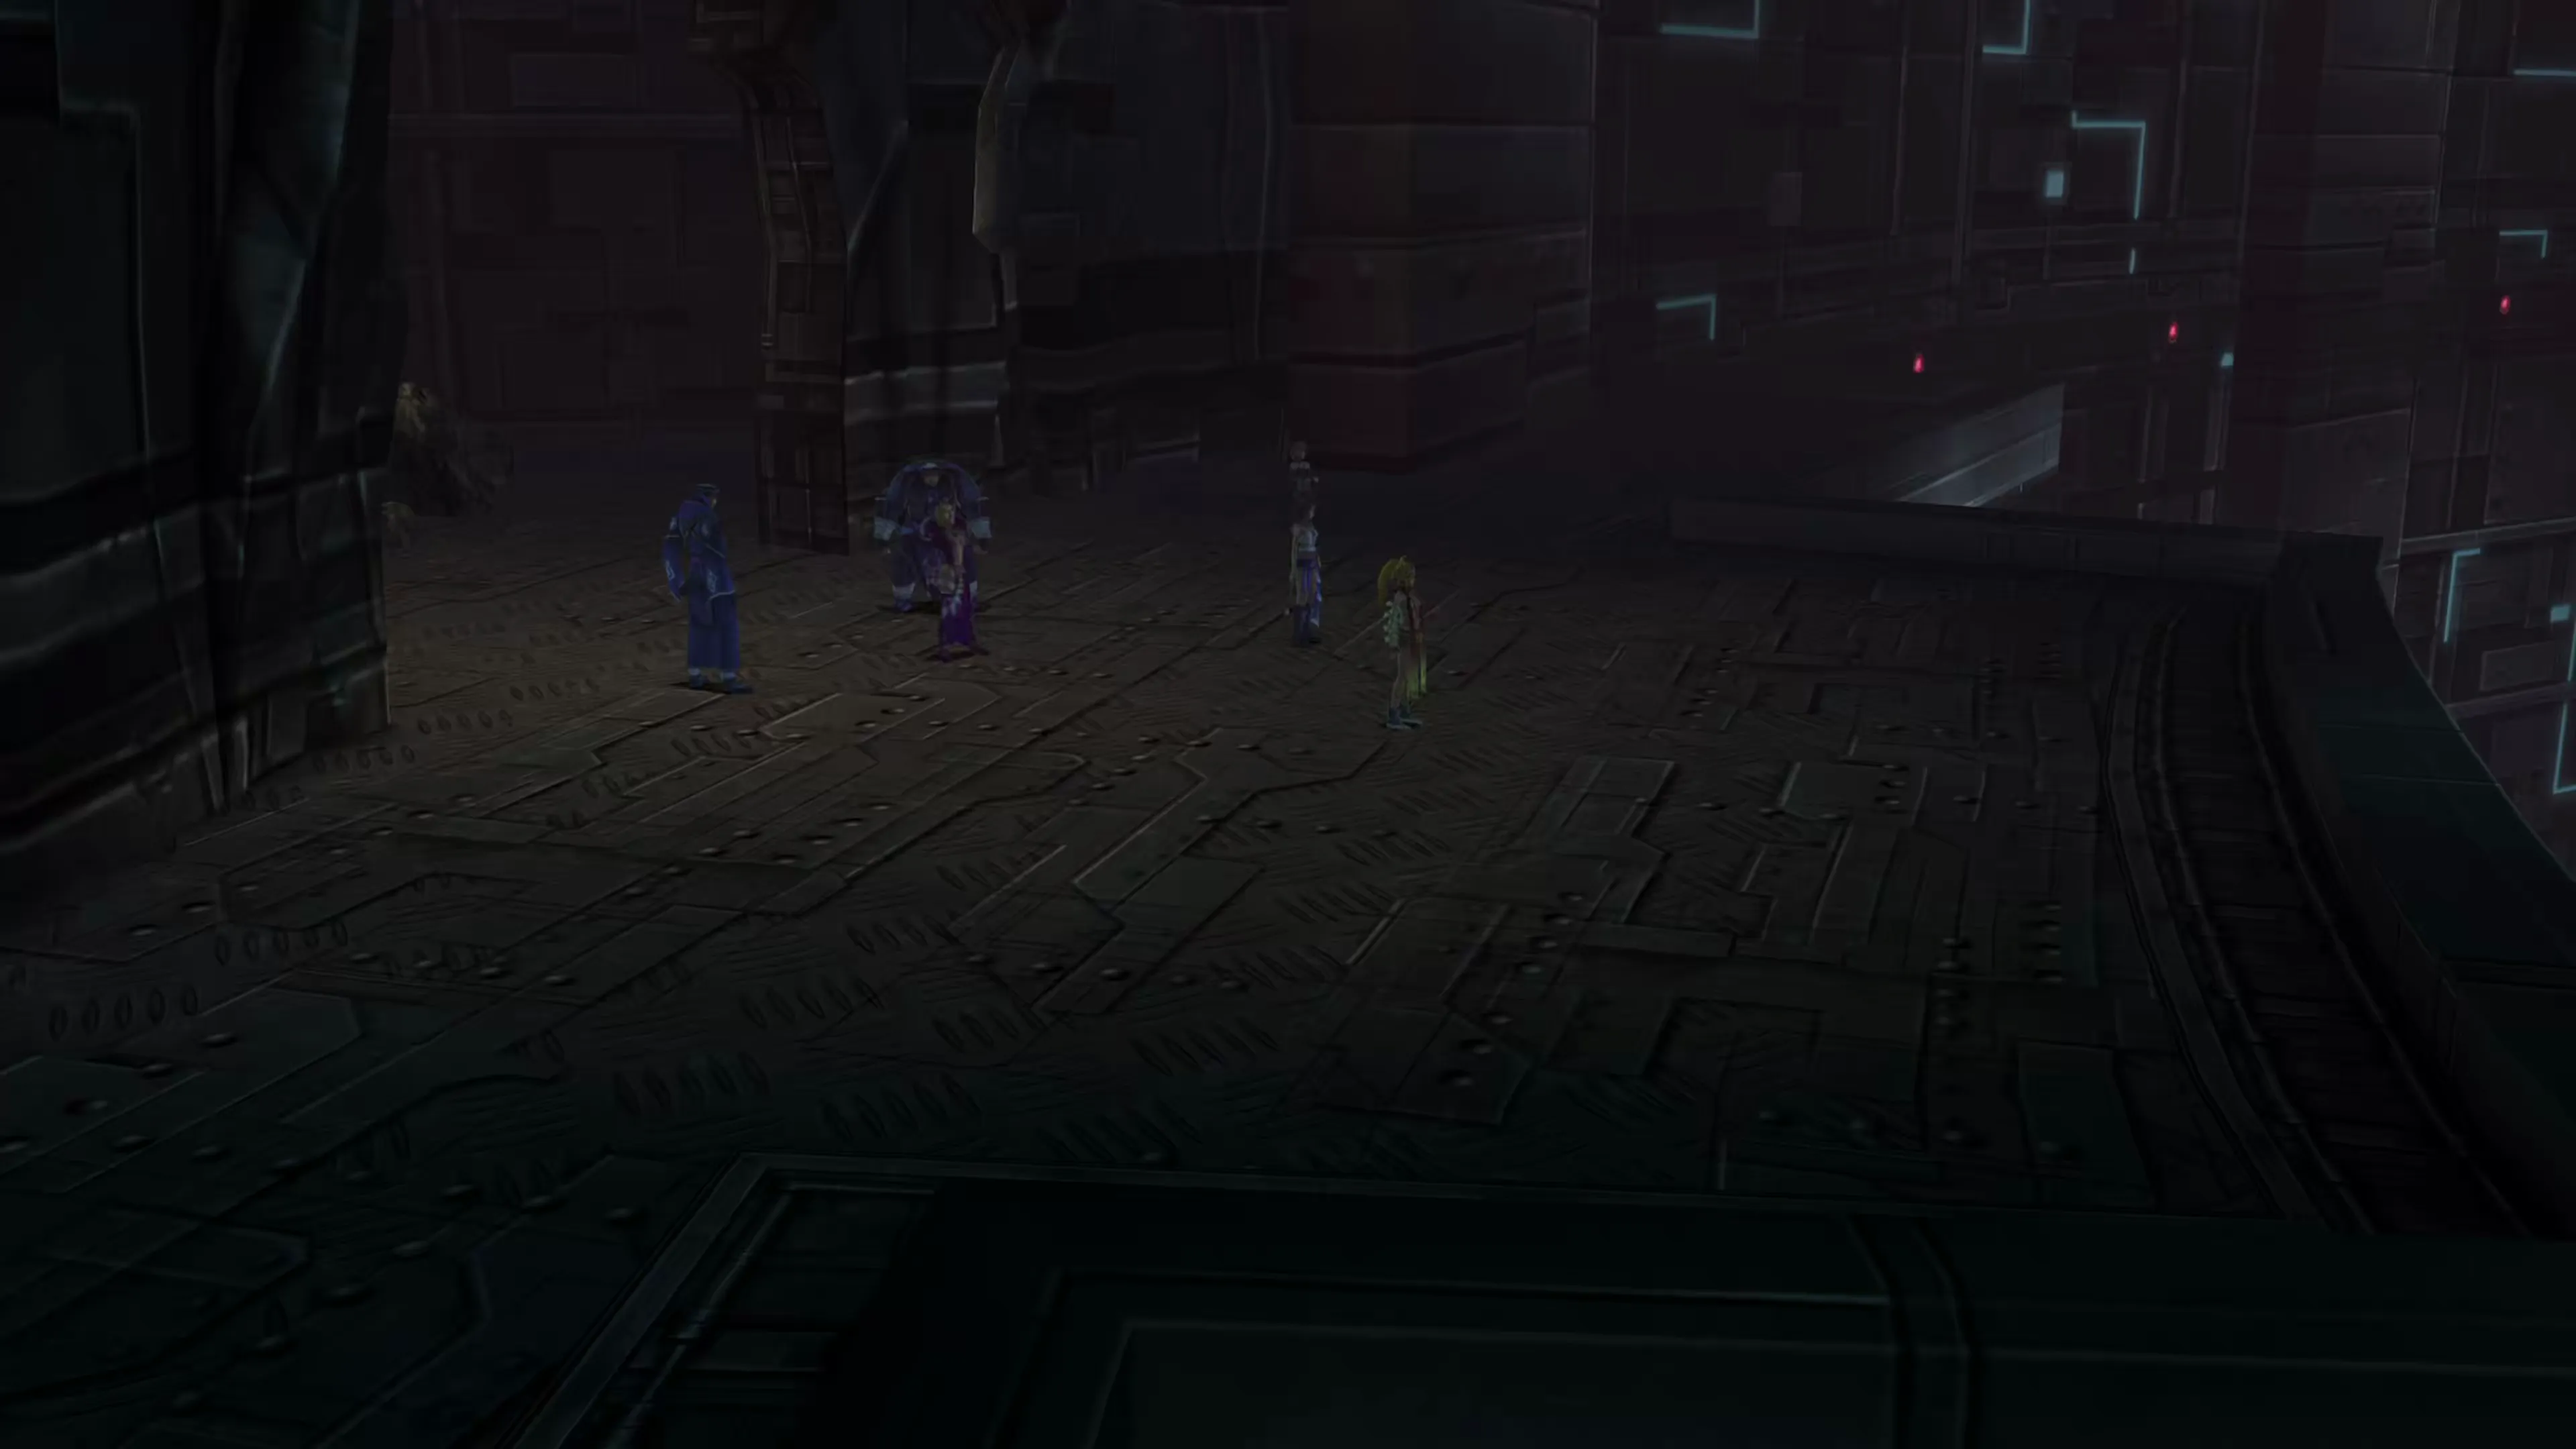
After a short cinematic with the Leblanc Syndicate, you’ll find yourself on a large platform inside the large “Restricted Area” of Bevelle.
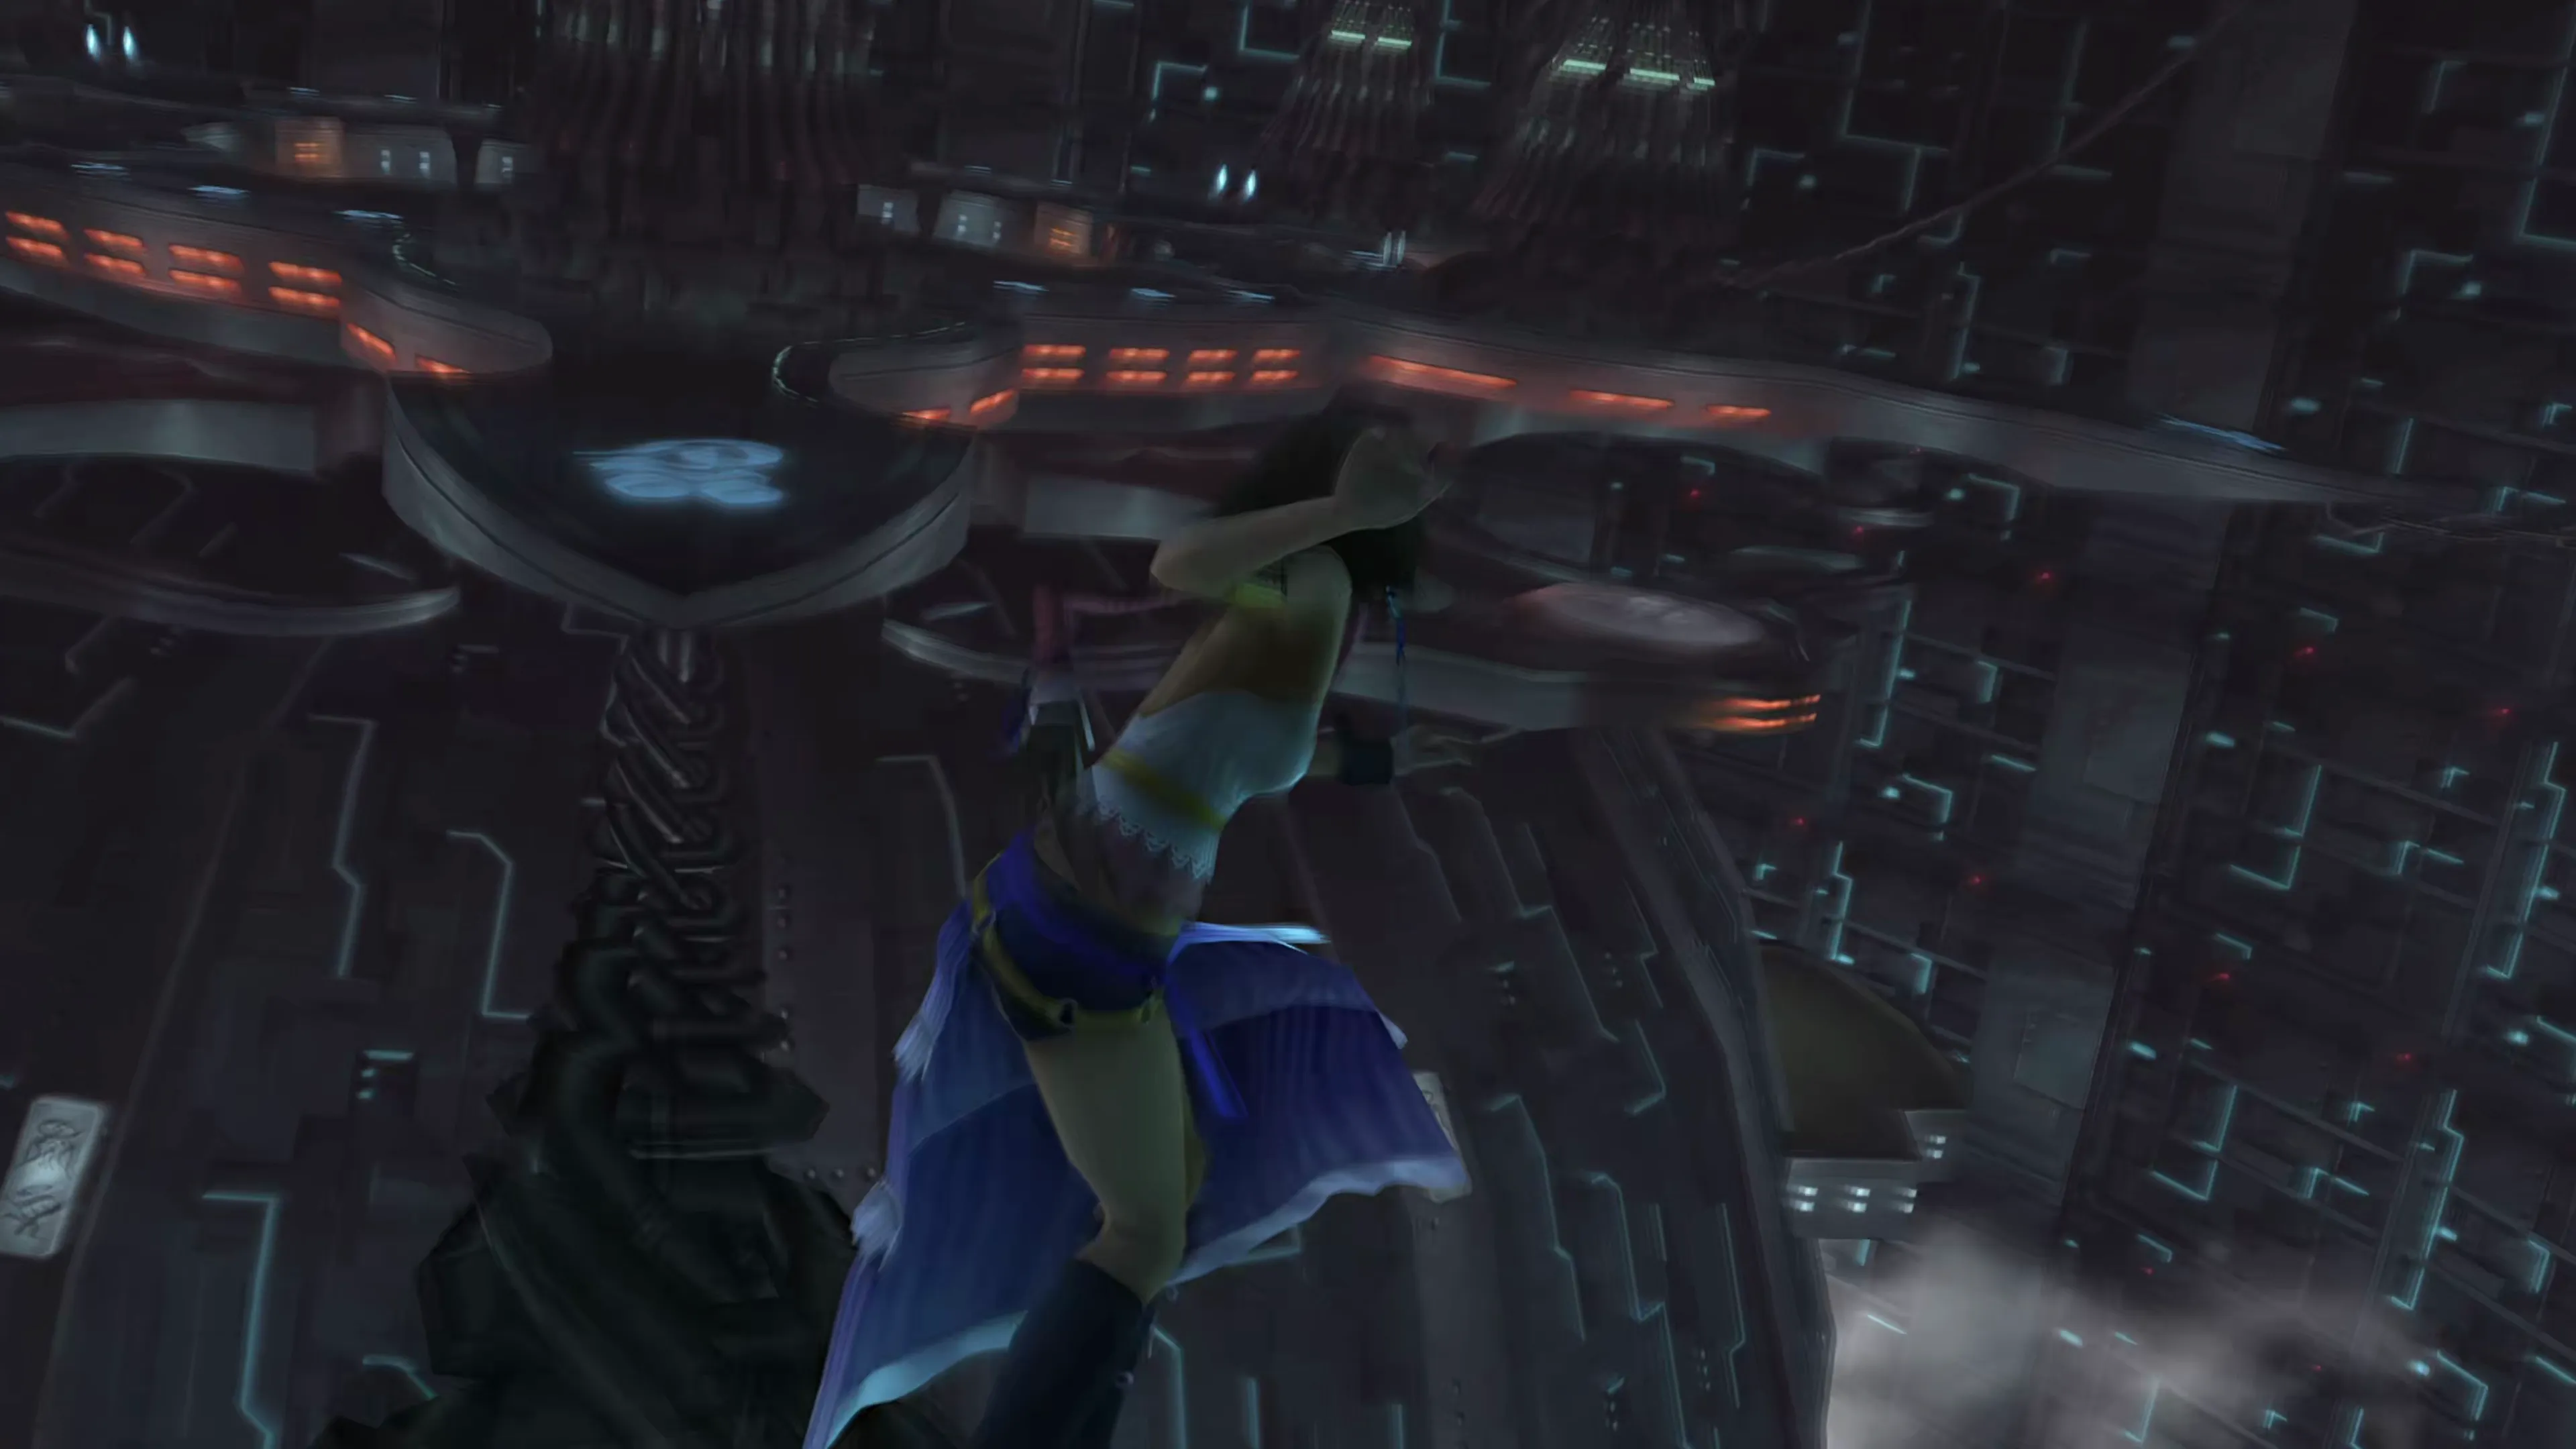
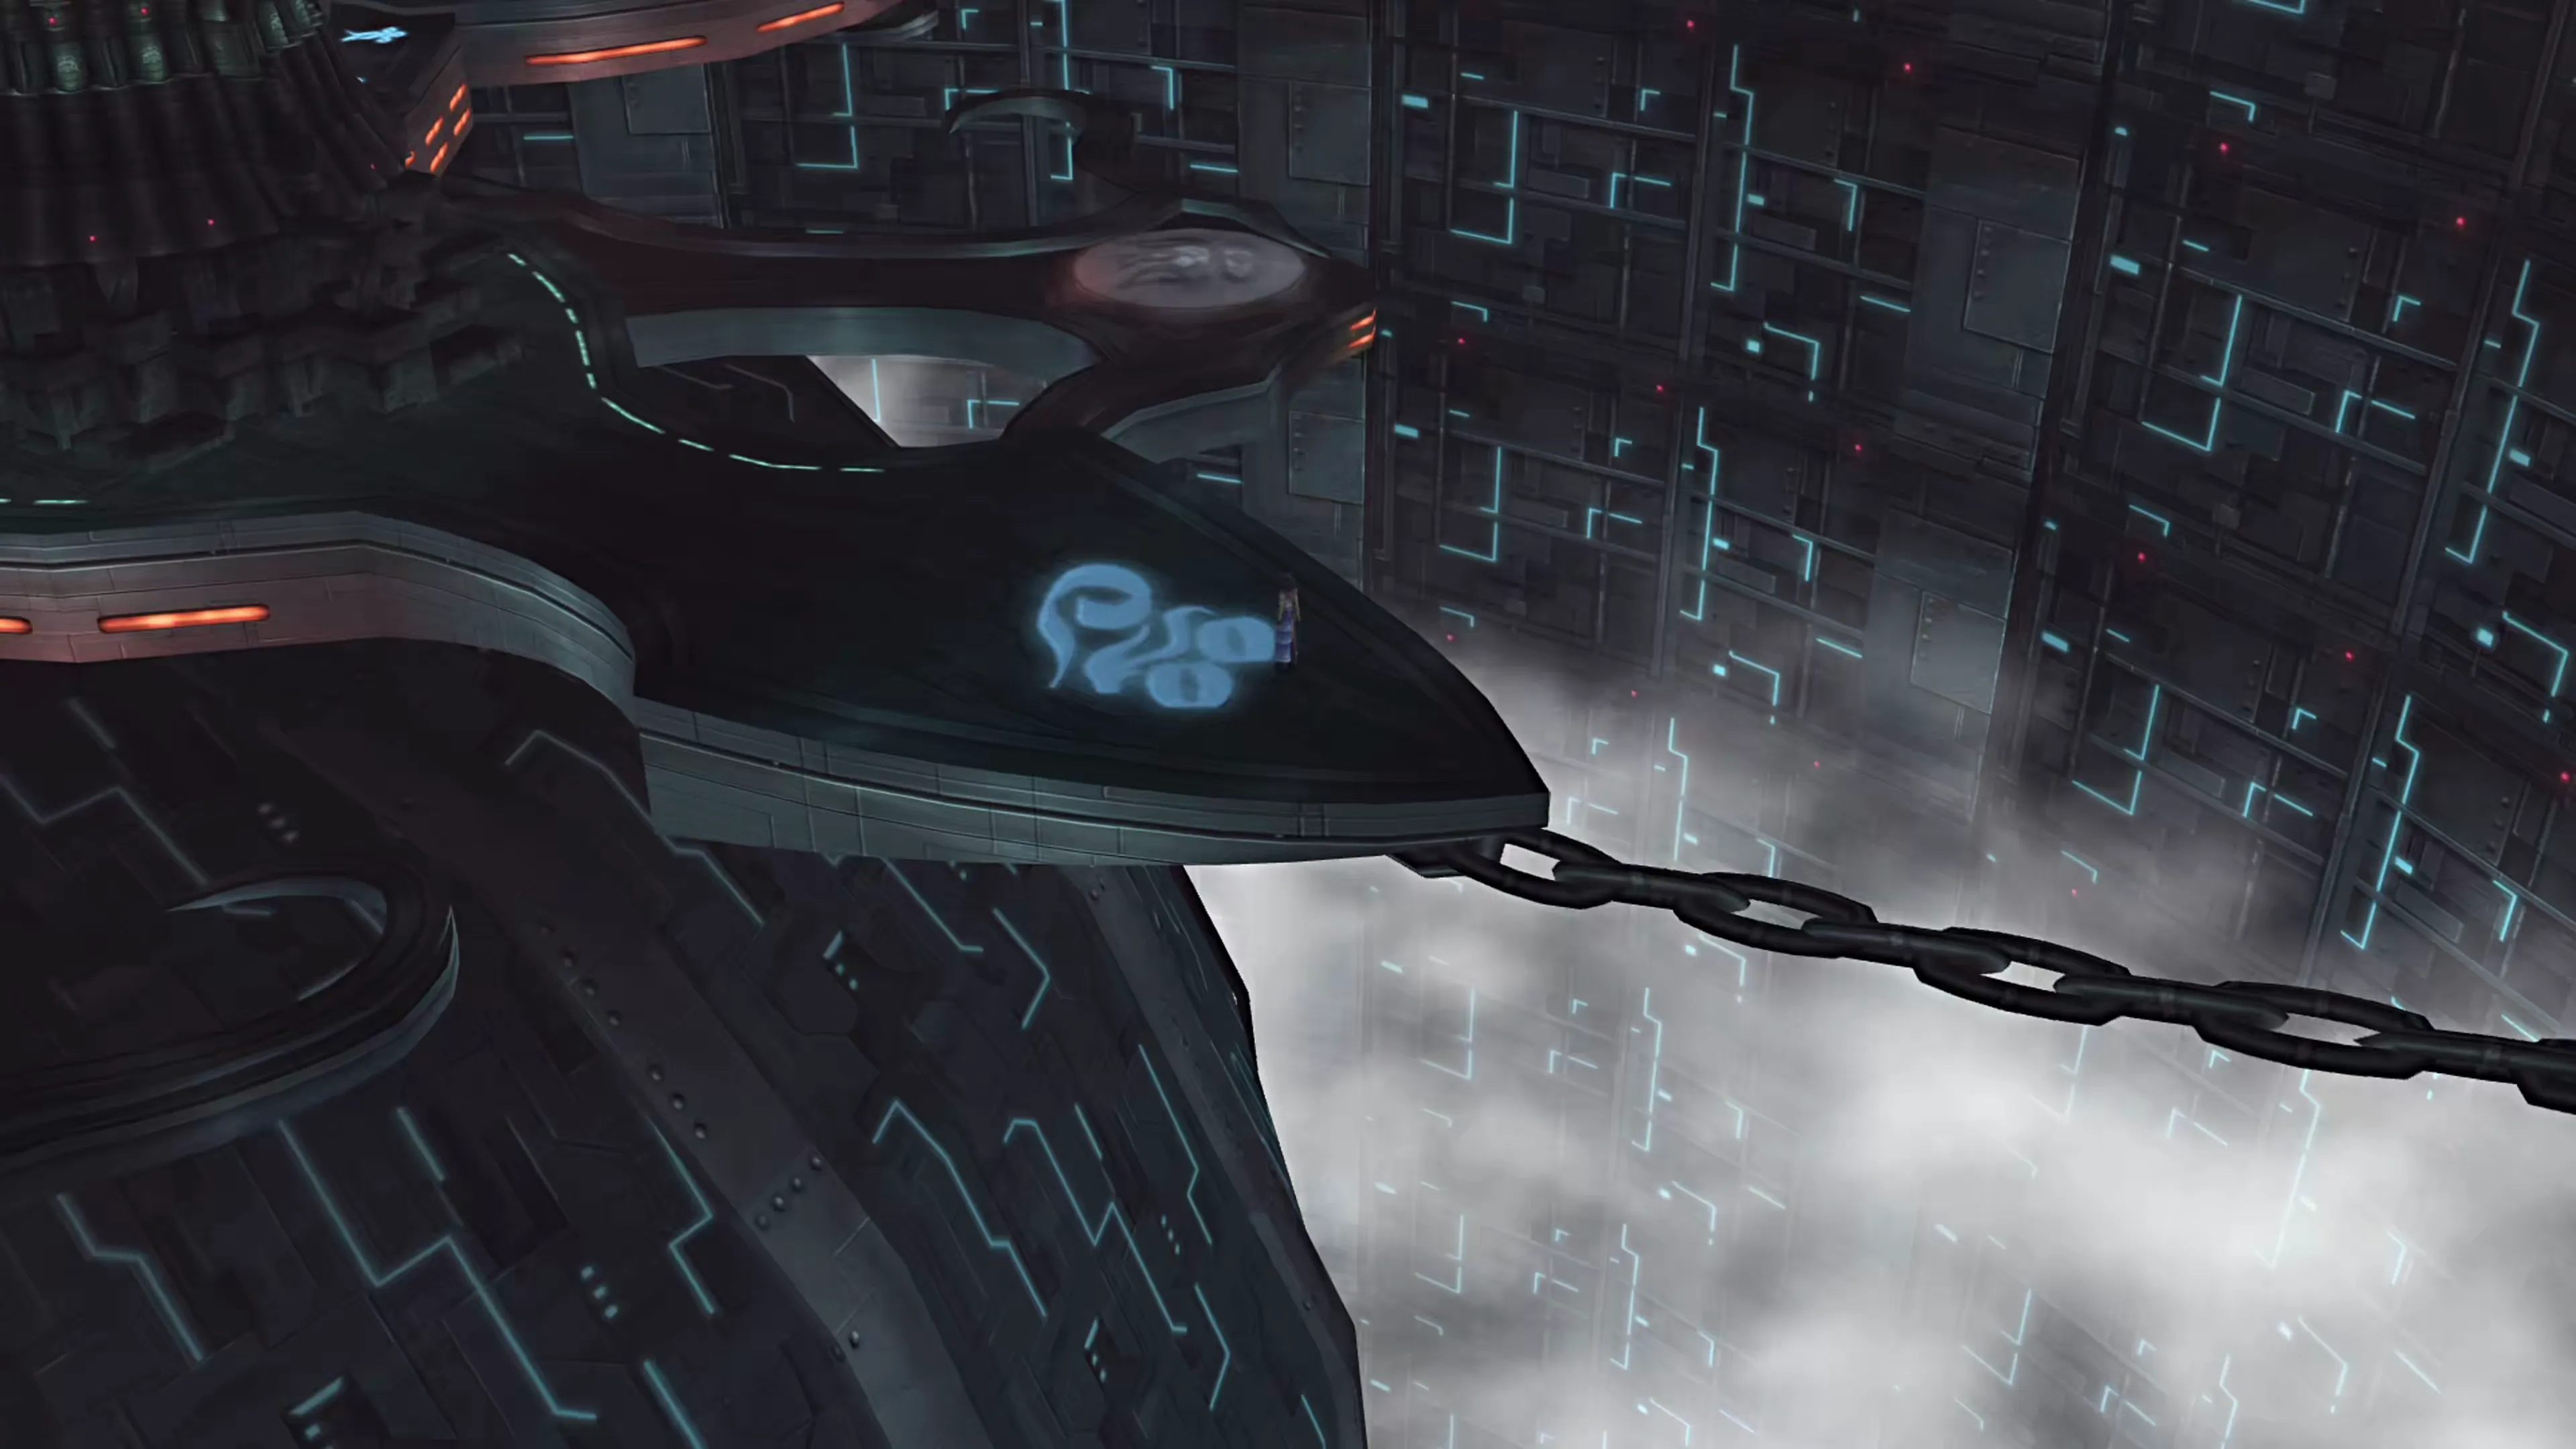
Explore the northeast section of the platform to have Yuna ride the chain down into the middle platform.
Next up is the notorious “Bevelle Tower Floor Puzzle” (definitely not an official name, but it goes by many names). This section of the game can be a little frustrating because most guides present you with a step-by-step solution (go here, touch this, go there), which is fine for most players, but what if you already moved one of the platforms? How do you fix it and get on track without restarting your game?
This guide will present both options: a step-by-step guide you can follow from the start and a full explanation. The full explanation of how this area works comes first; if you’d prefer a step-by-step, scroll down.
Activating the Towers
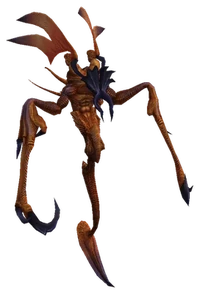
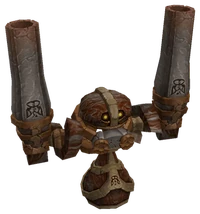
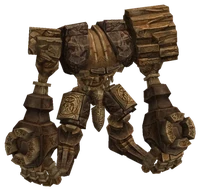
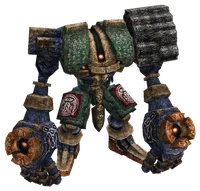
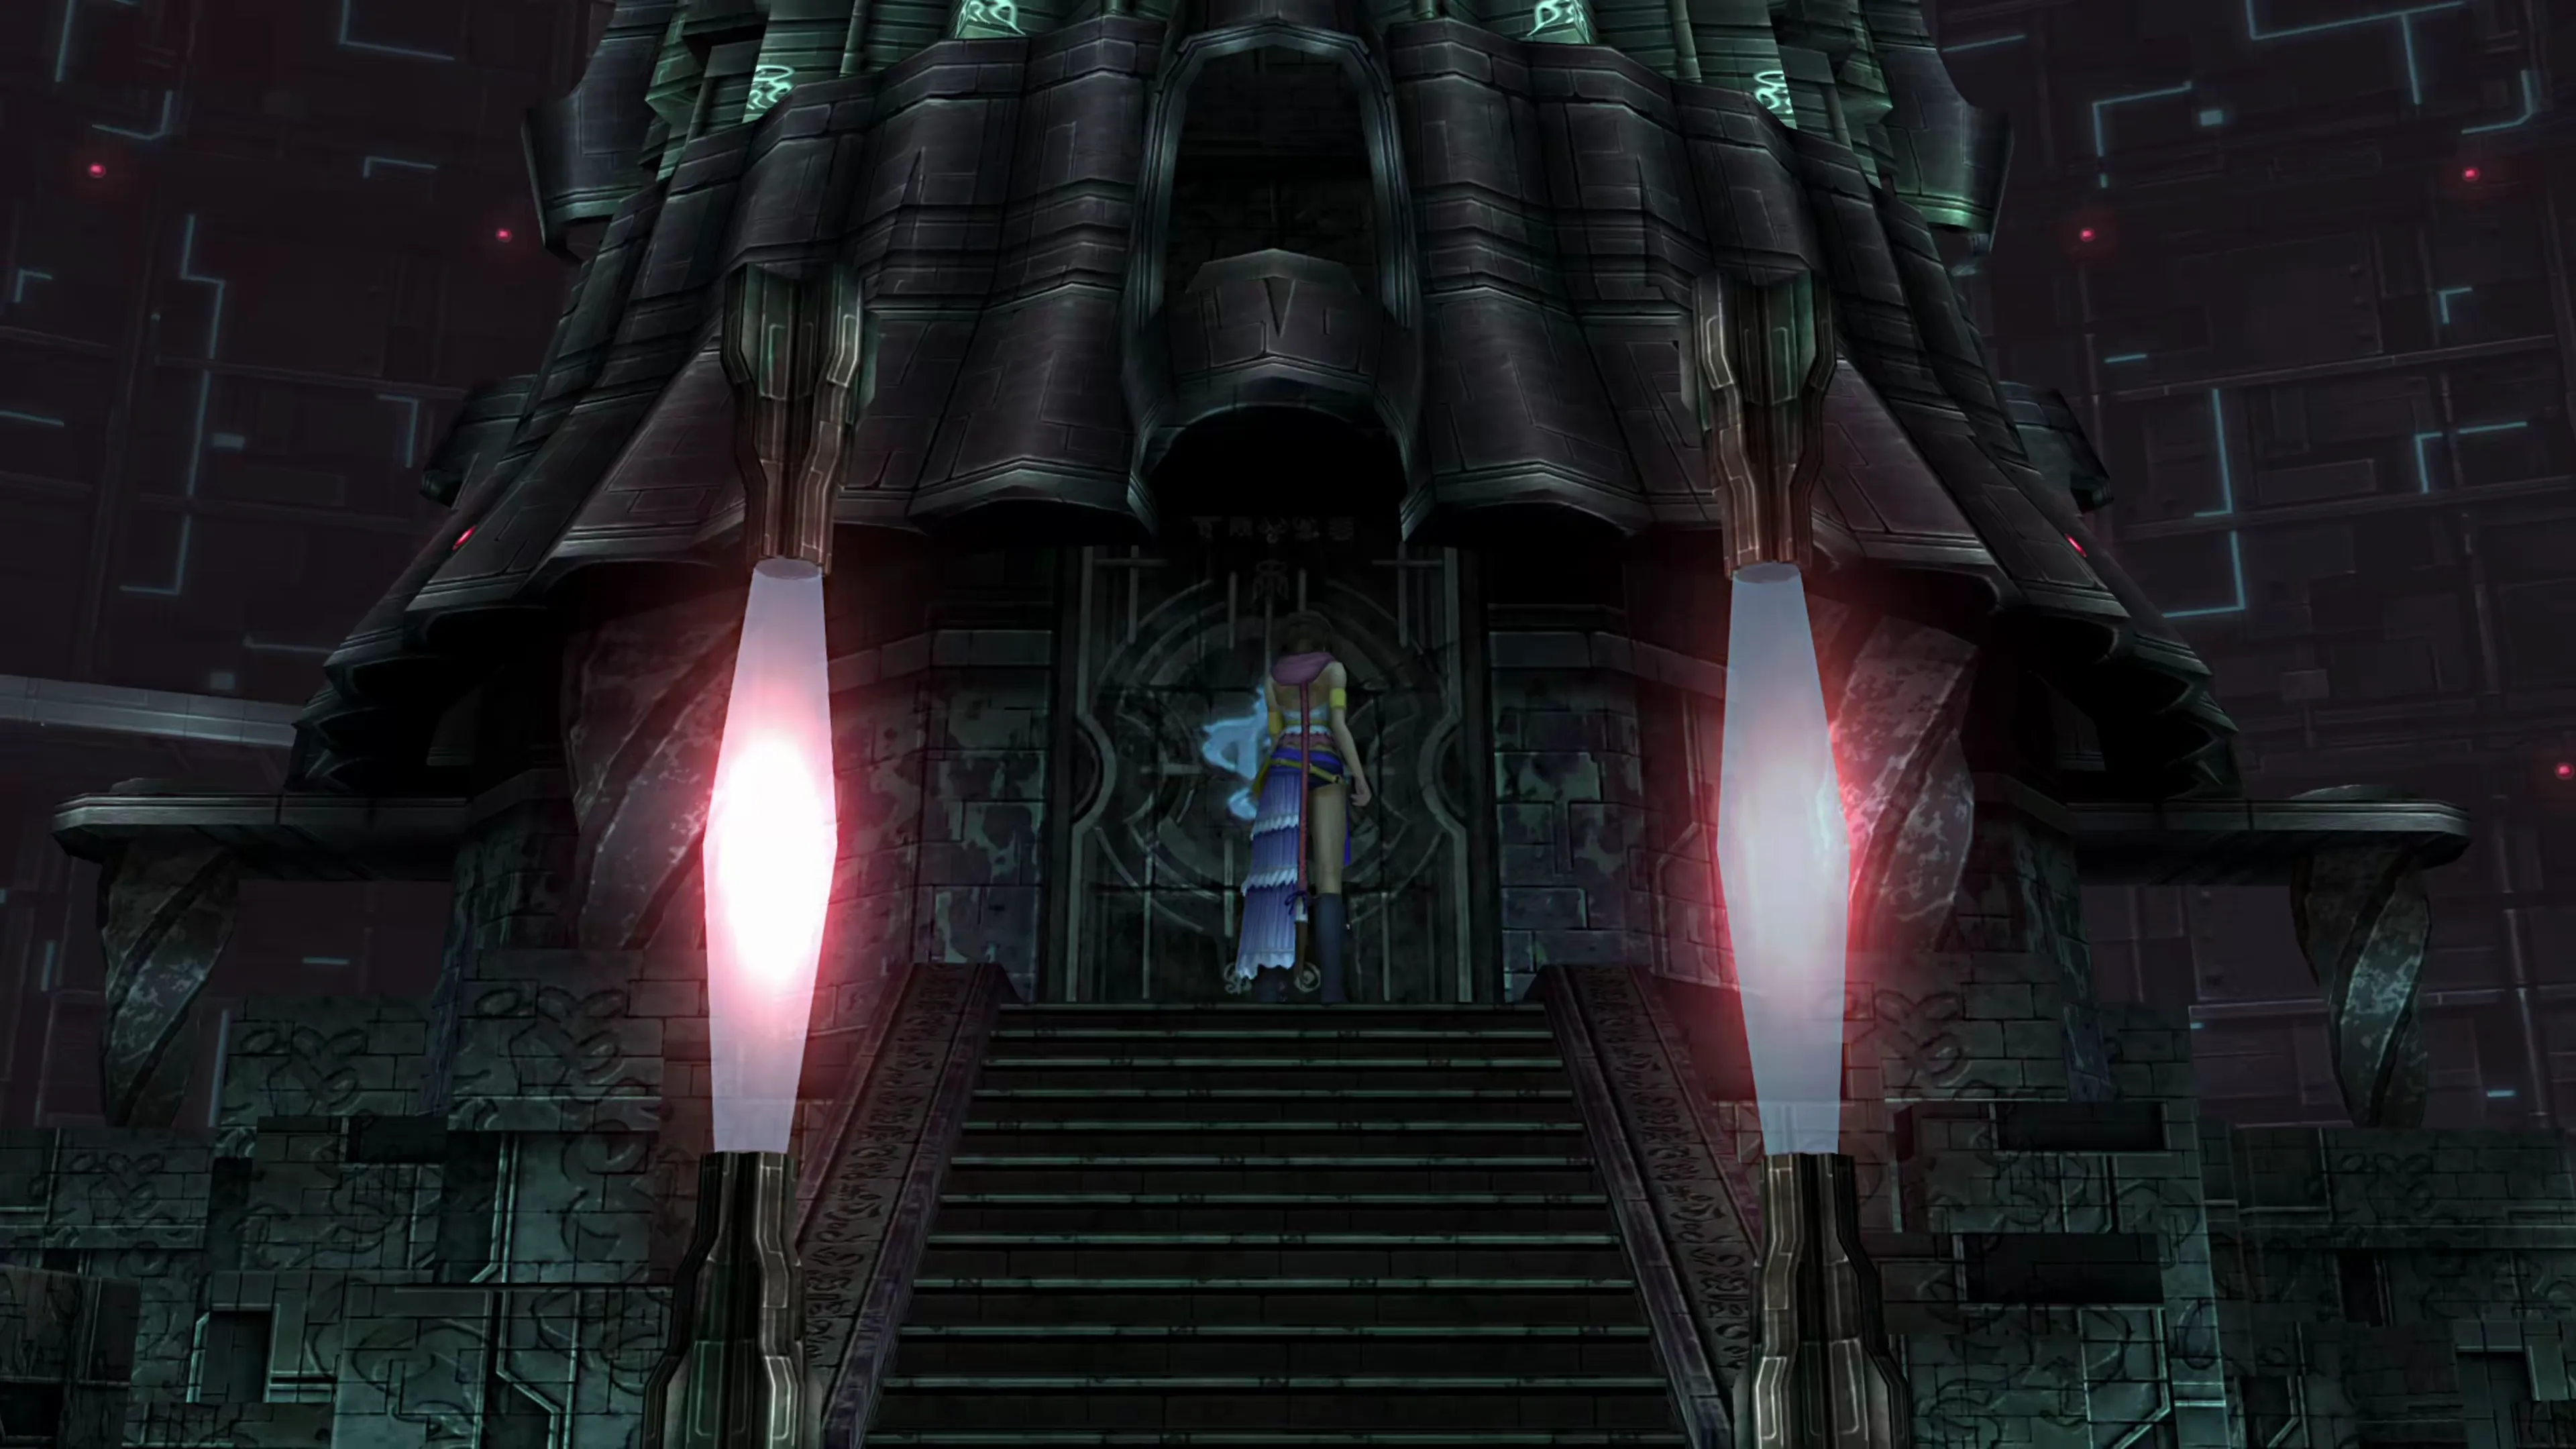
The first step, before you can attempt the puzzle, is to activate the towers. A group of two YAC-13 enemies will ambush the team. After defeating them, you must proceed around the circle and activate each of the towers. Each time you activate a tower, you’ll be thrown into a battle against a YSLS-Zero.
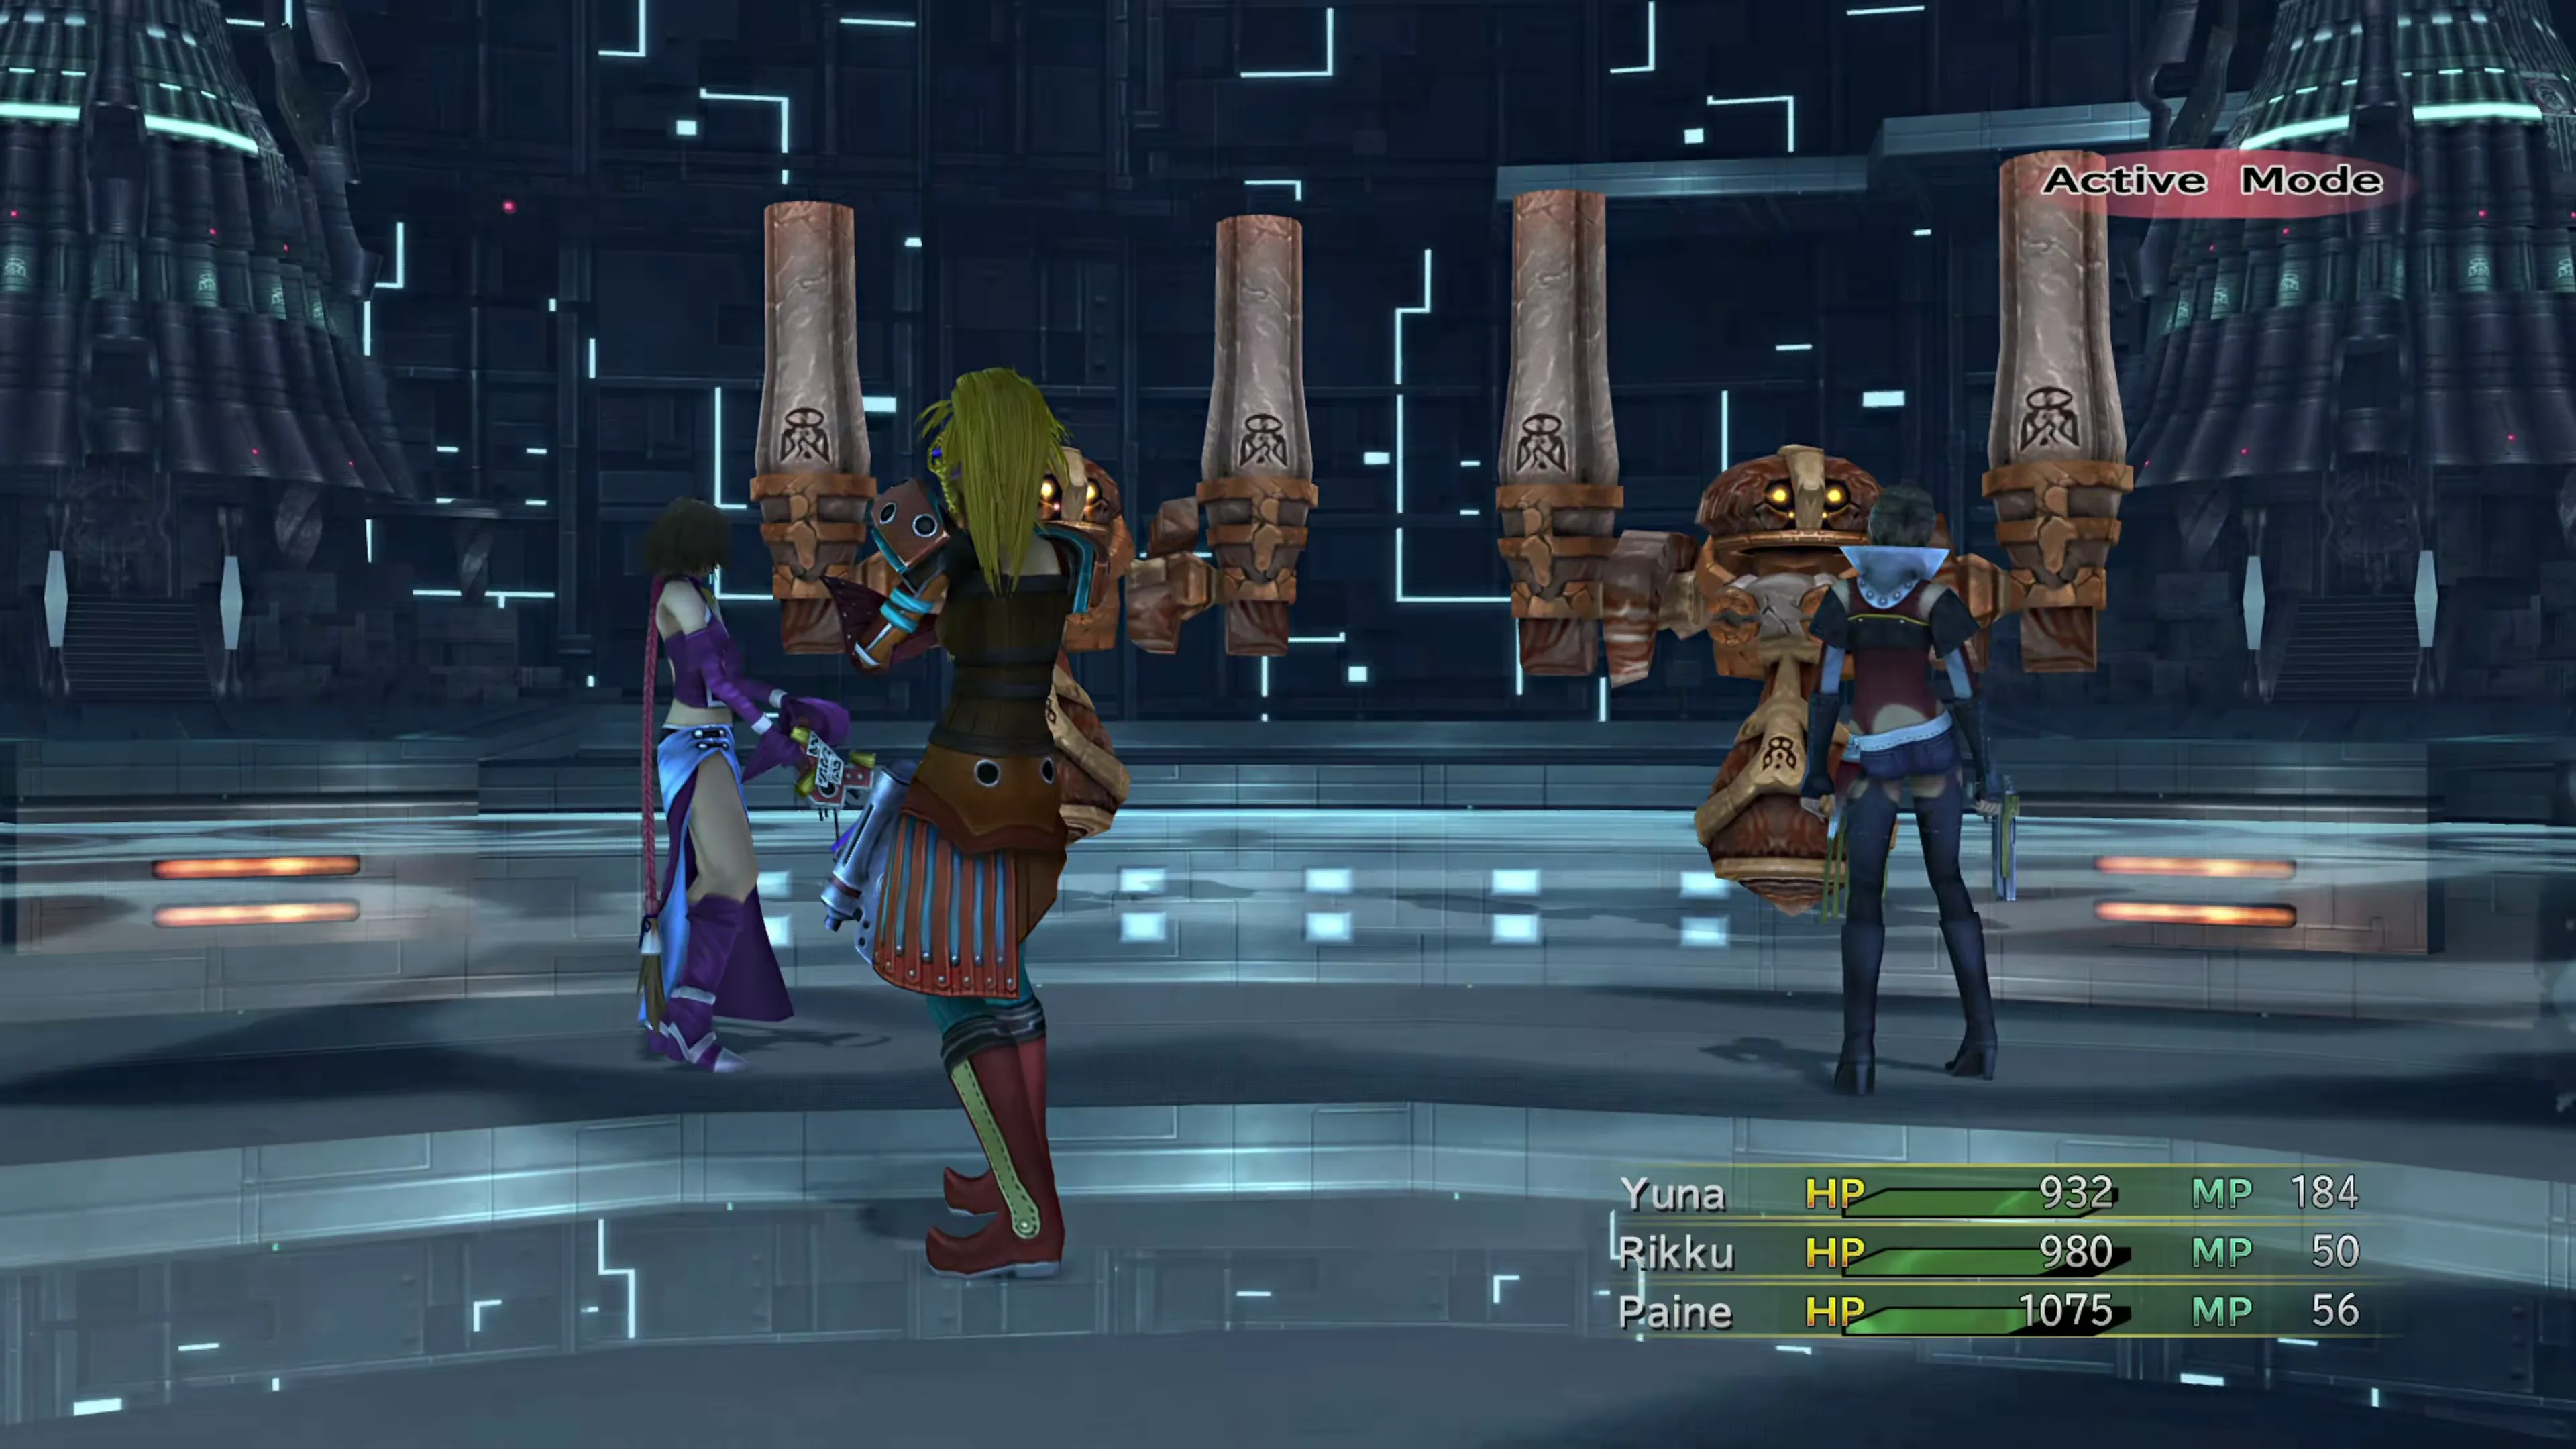
Two lights will illuminate on the towers as you activate them: either blue or red. Once you’ve illuminated all three blue towers, you’ll end up having to fight a Precepts Guard, and after you’ve illuminated the last red tower, you’ll fight a Georapella. You’ll probably recognize these enemies from Final Fantasy X, but neither of them is as difficult as their predecessors.
Activating the three blue towers lowers the first three platforms into the center, while activating the three red towers lowers three more platforms below them. These bottom three platforms are mobile and must be maneuvered to access the room at the bottom of the restricted area.
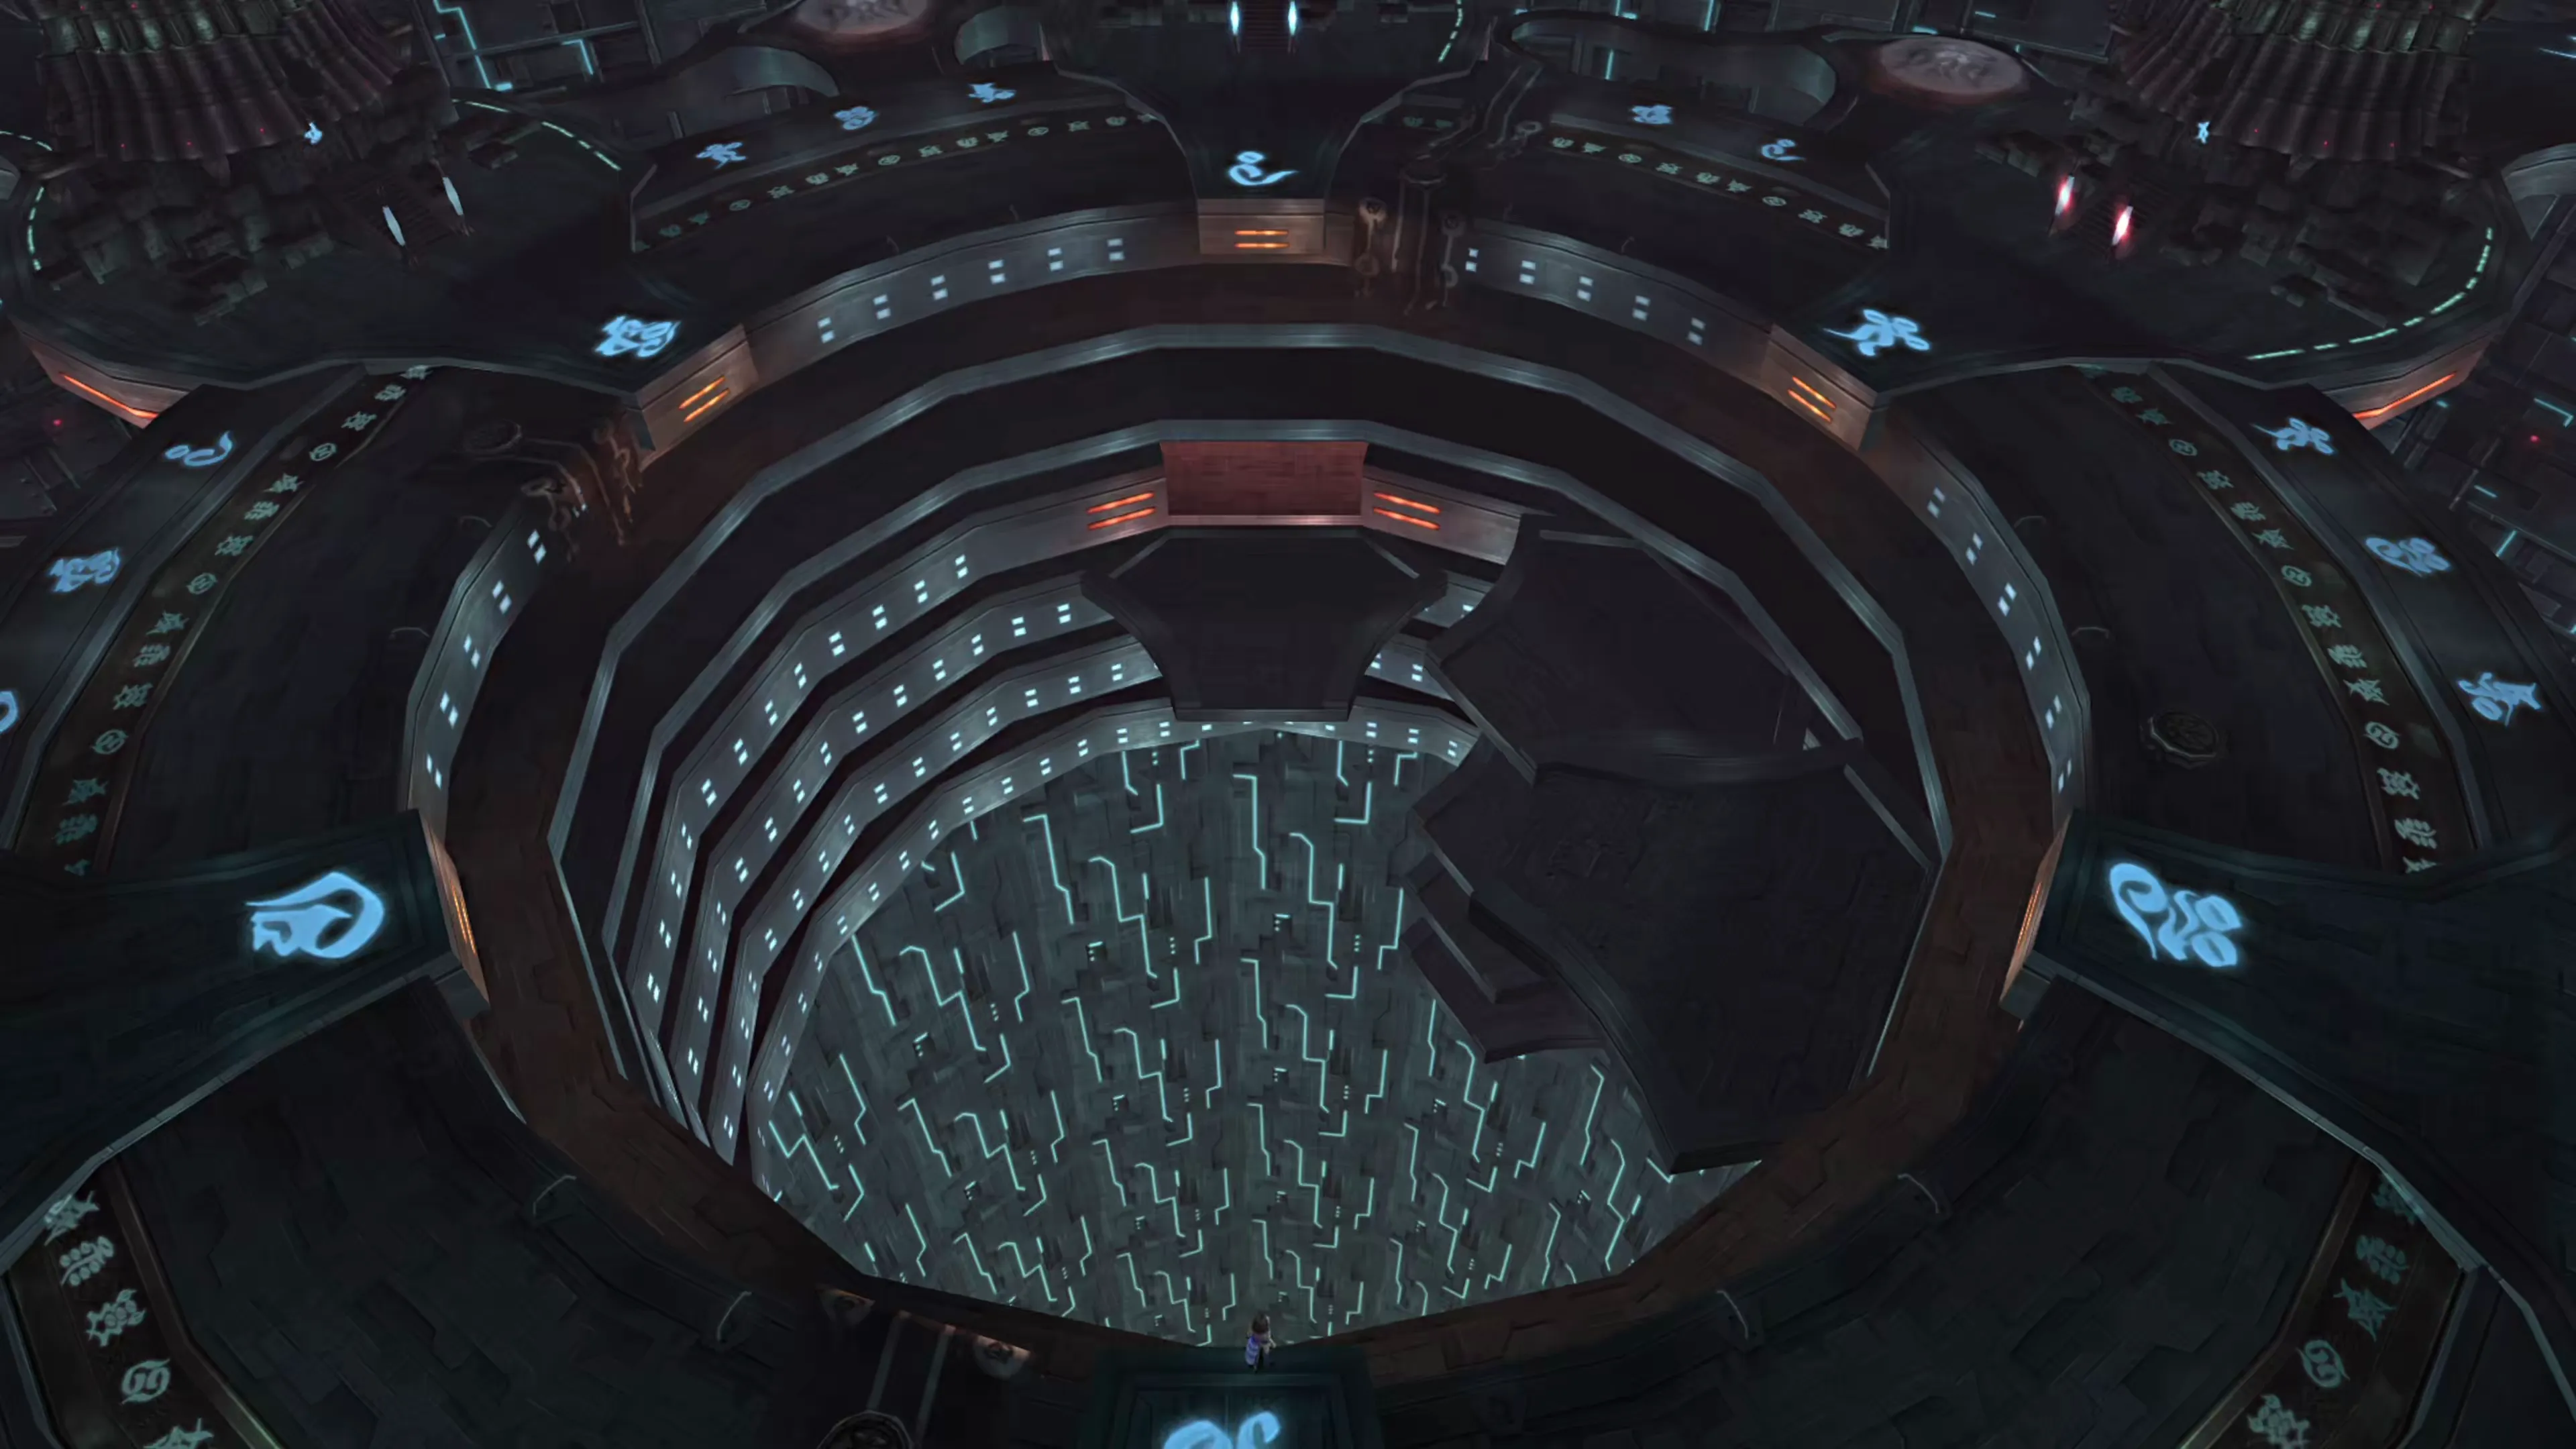
Bevelle Platform Puzzle
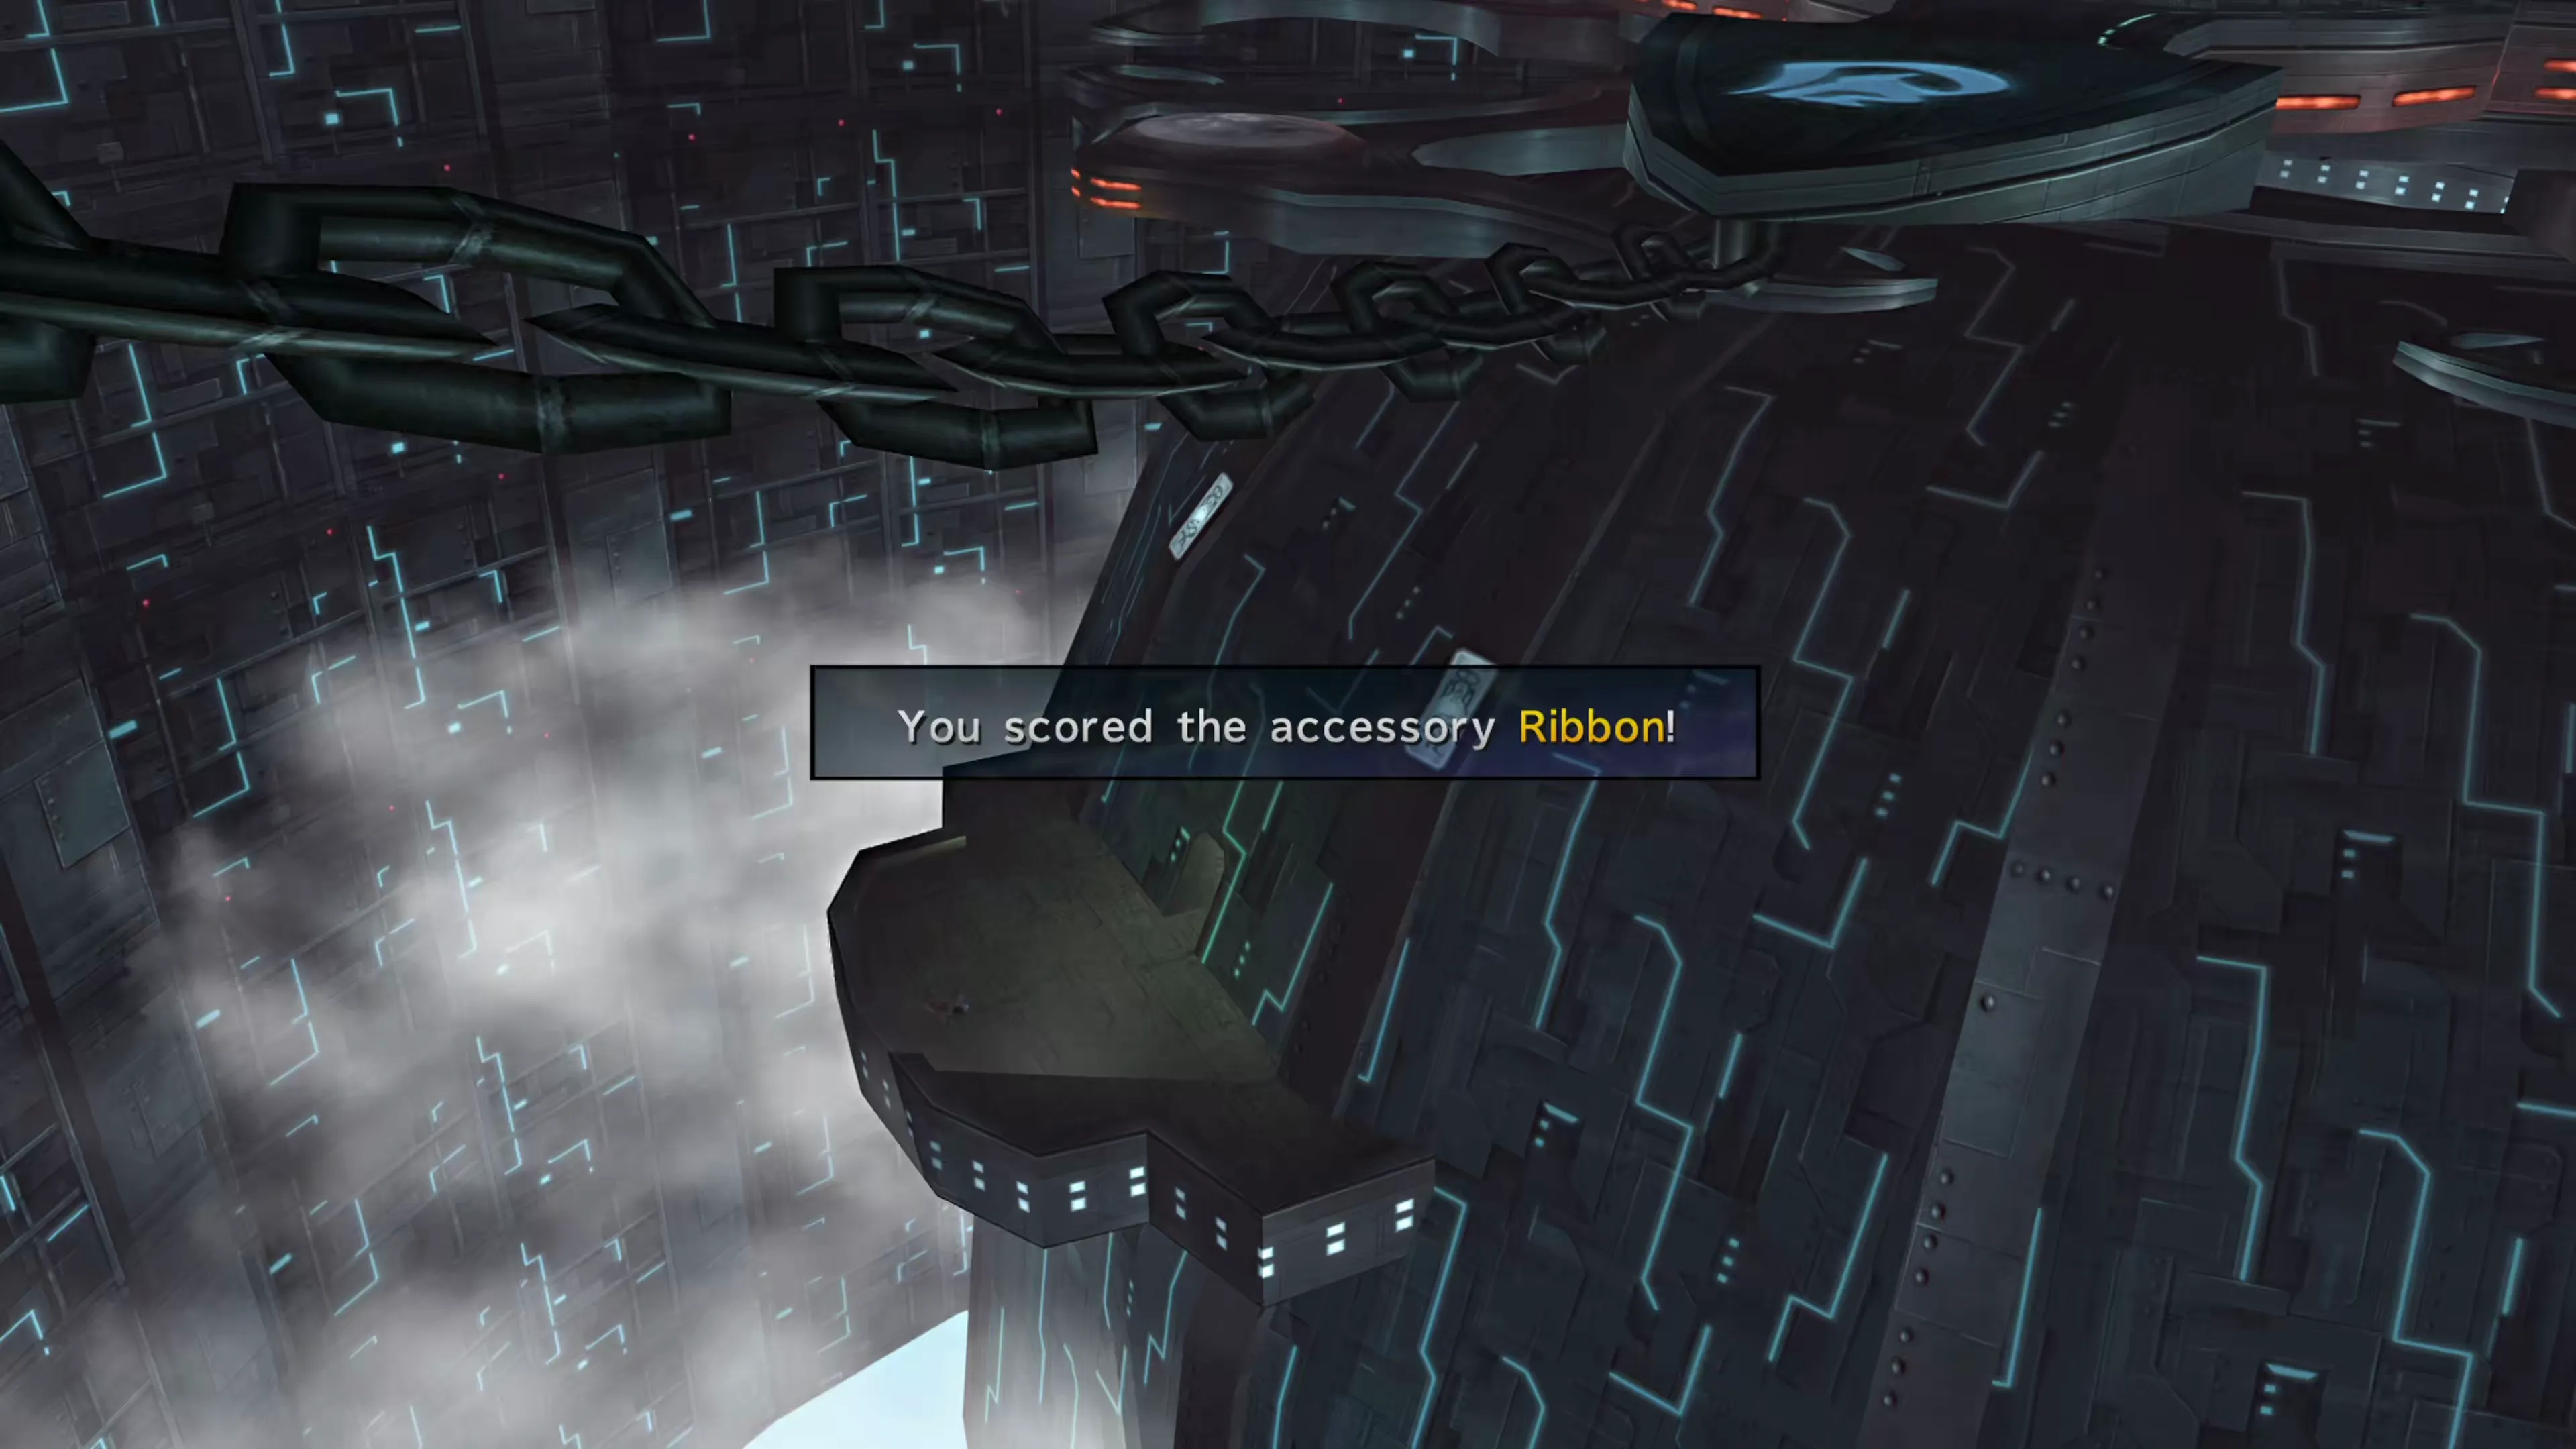
The puzzle involves using the towers to rotate the bottom three platforms into the right position. There are six platforms total, and the first three are already in the right position. You can use them to head right to the next section of the game if you wanted to, but if you correctly position the bottom three platforms, you’ll find a treasure chest with a  Ribbon and earn the
  Treasure Hunter Achievement/Trophy.
So how do you position the bottom 3 platforms? Well, if you’ve just finished defeating the Precepts Guard and Georapella, and want to follow a set of steps, head down to the section below. But here is how the puzzle works…
All you have to do is activate a red tower to select one of the platforms, and then select a blue tower to rotate it into position.
| Letter/Icon | Effect | Battle? |
|---|---|---|
A | Rotate clockwise. | Precepts Guards |
B | Select platform 6. | |
C | Rotate counterclockwise. | Georapella |
D | Select platform 5. | |
E | Flip to the opposite side. | |
F | Select platform 4. |
Restricted Area (Platform Puzzle)

 A
F
E
D
C
B
A
F
E
D
C
B
To simplify things, select each platform and rotate it into the proper position. The first three platforms are already in position at positions A, B, and C. You’ll need to solve for 4, 5, and 6.
- Platform 4 needs to be rotated under Tower D
- Platform 5 needs to be rotated under Tower E
- Platform 6 needs to be rotated under Tower F
Activate the platform you want to move (e.g., Platform 4 to start), then use the blue towers to move it into the correct position. It needs to end up under Tower D. Assuming you haven’t messed with any of the towers yet, you can follow the step-by-step guide below.
Step-by-Step Guide
Alright, so you’ve defeated the Precepts Guard and the Georapella; all of the platforms are activated, but you’re not sure what to do. Here are the steps to follow:
| Step | Effect |
|---|---|
| Examine Tower F | Activate Platform 4 |
| Examine Tower A | Rotate Platform 4 under Tower A Battle against Precepts Guard |
| Examine Tower E | Flip Platform 4 under Tower D |
| Examine Tower D | Activate Platform 5 |
| Examine Tower E | Flip Platform 5 under Tower E |
| Examine Tower B | Activate Platform 6 |
| Examine Tower C | Rotate Platform 6 under Tower C Battle against Georapella |
| Examine Tower E | Flip Platform 6 under Tower F |
All three movable platforms are now in place, and all six platforms collectively create a pathway down to the lowest floor. Jump down all six platforms, go into the room, and open the treasure chest to pick up the Ribbon accessory.
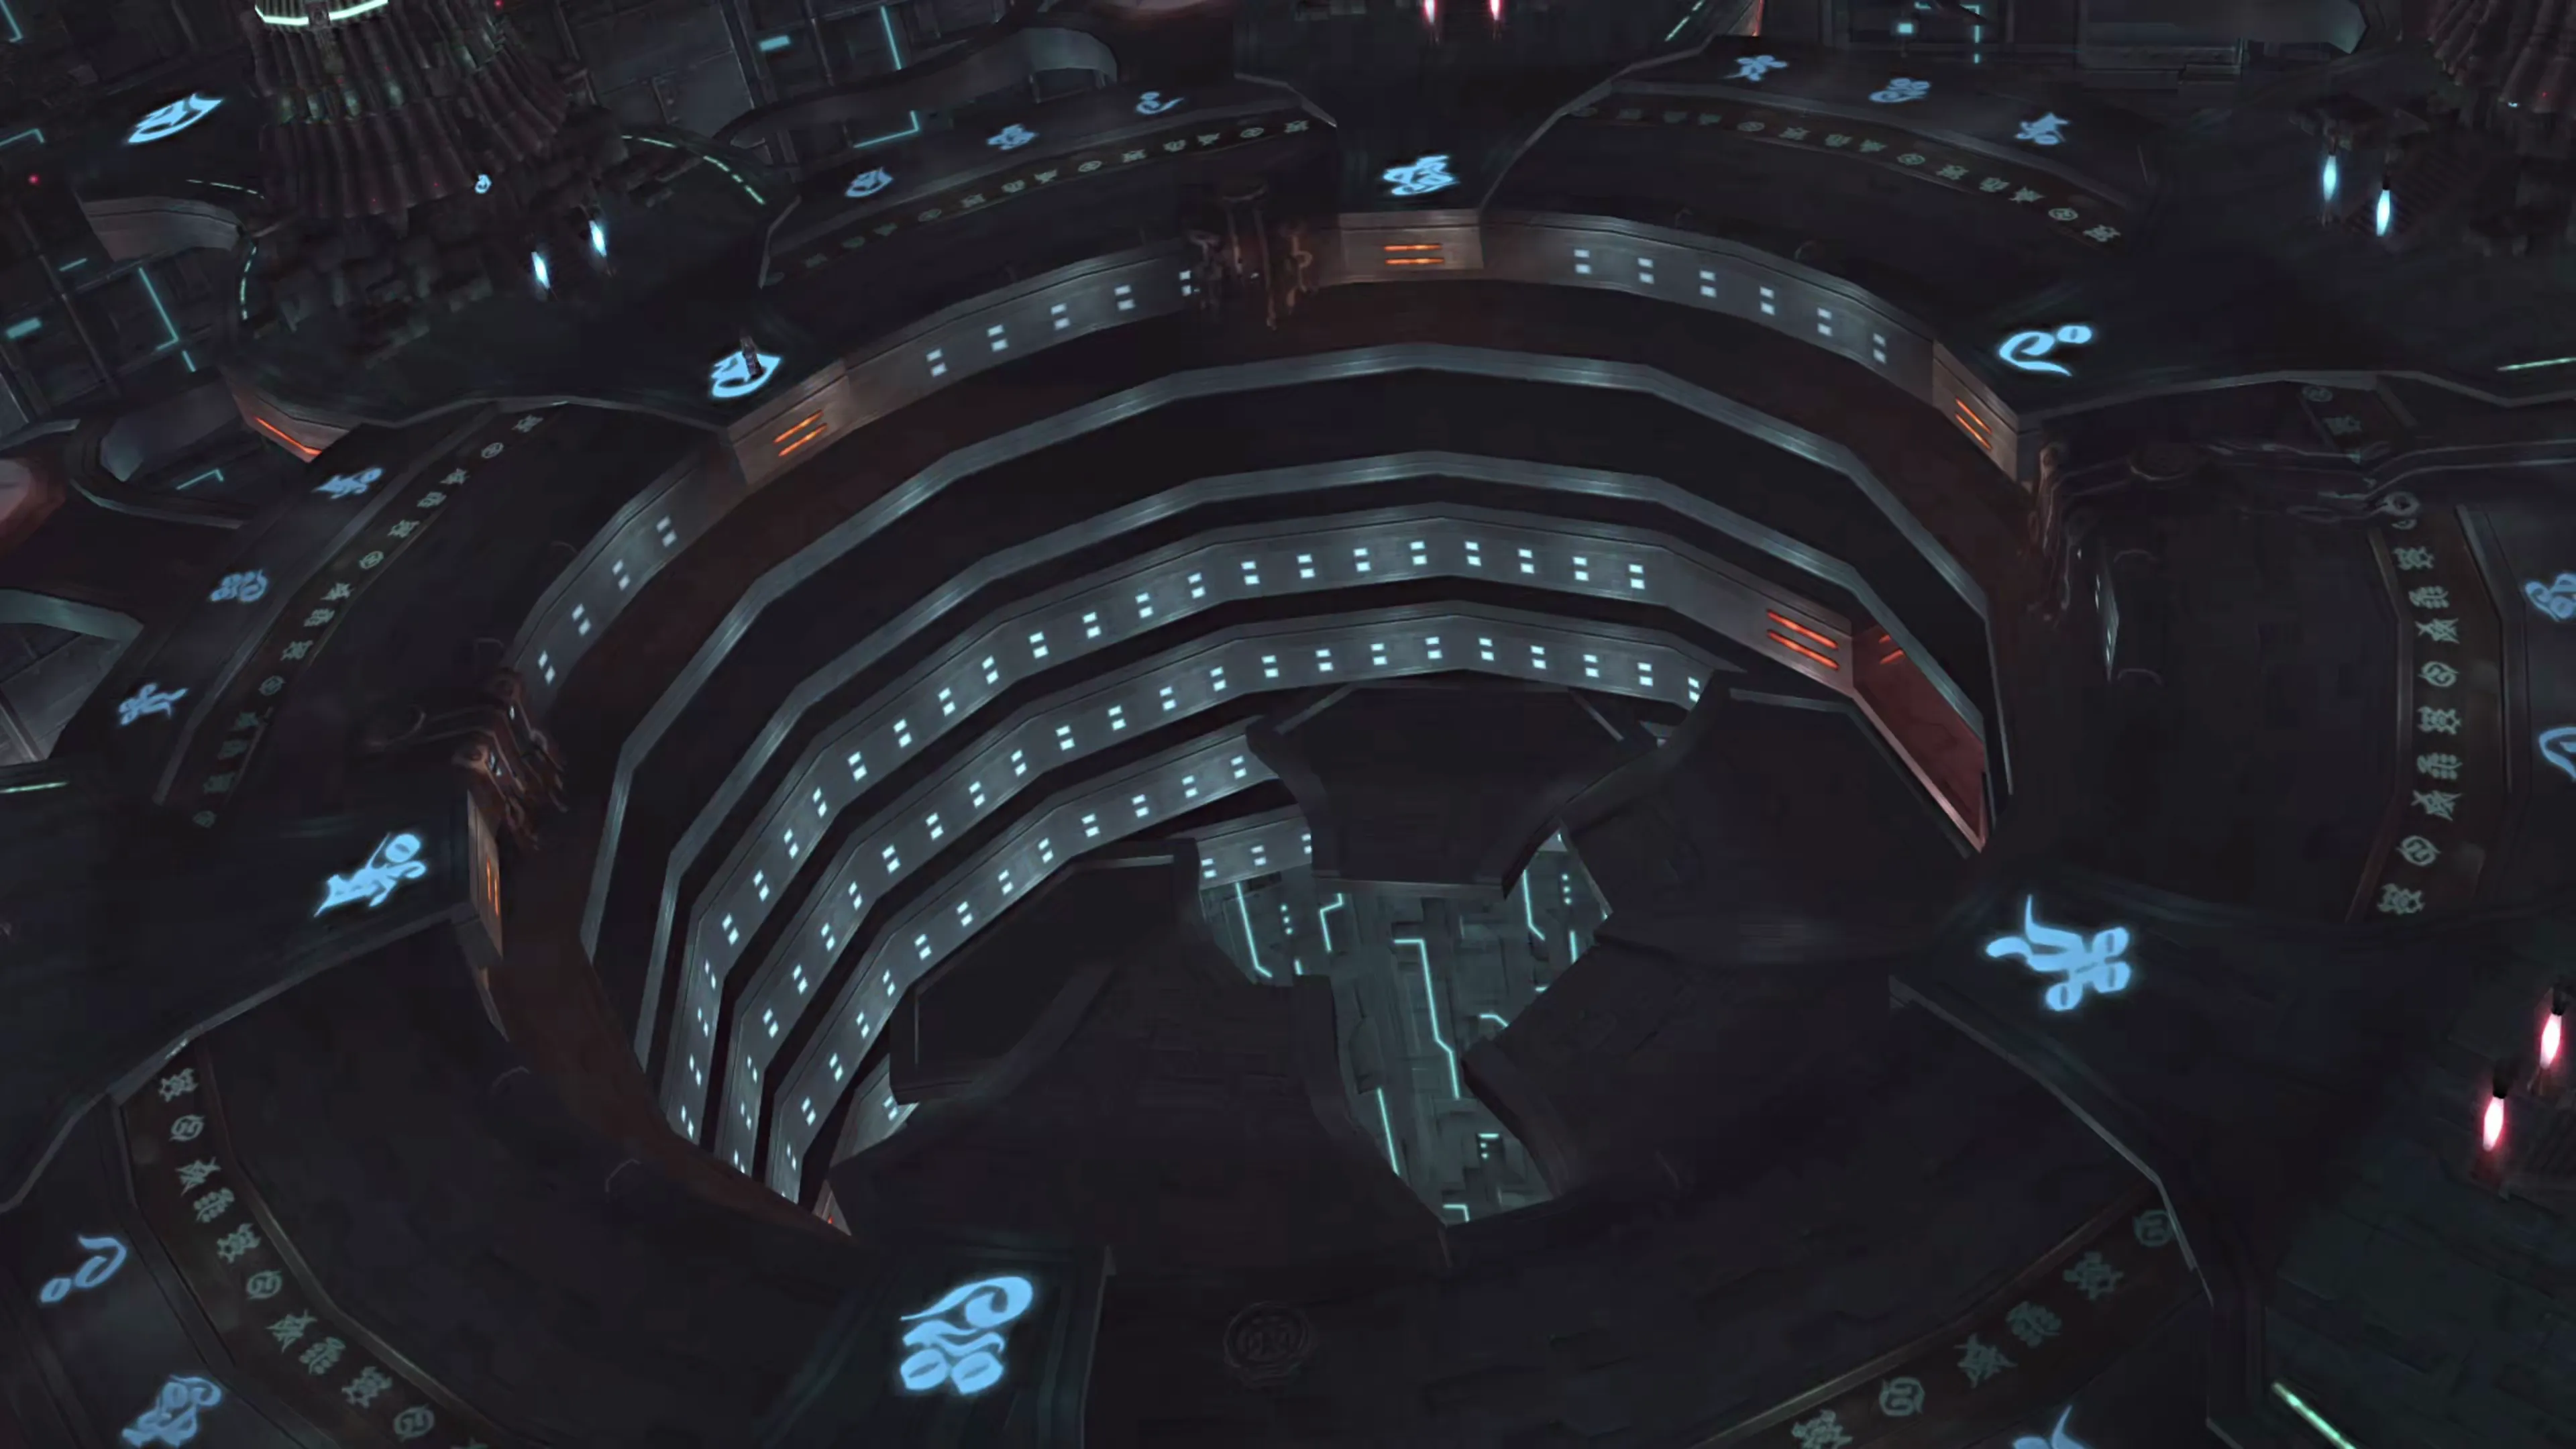
Achievement/Trophy
Completing the Bevelle Puzzle and reaching the bottom floor on Platform 6 will lead you to the room with the treasure chest. Opening the treasure chest and obtaining the Ribbon accessory automatically triggers the Treasure Hunter Achievement/Trophy.
Before you leave the puzzle area, climb back up to the towers. A chain behind Tower B leads to a chest with 500 Gil, and the chains behind Towers C and E lead to a  Glass Buckle and a
  Pearl Necklace, each guarded by a Machina fight.
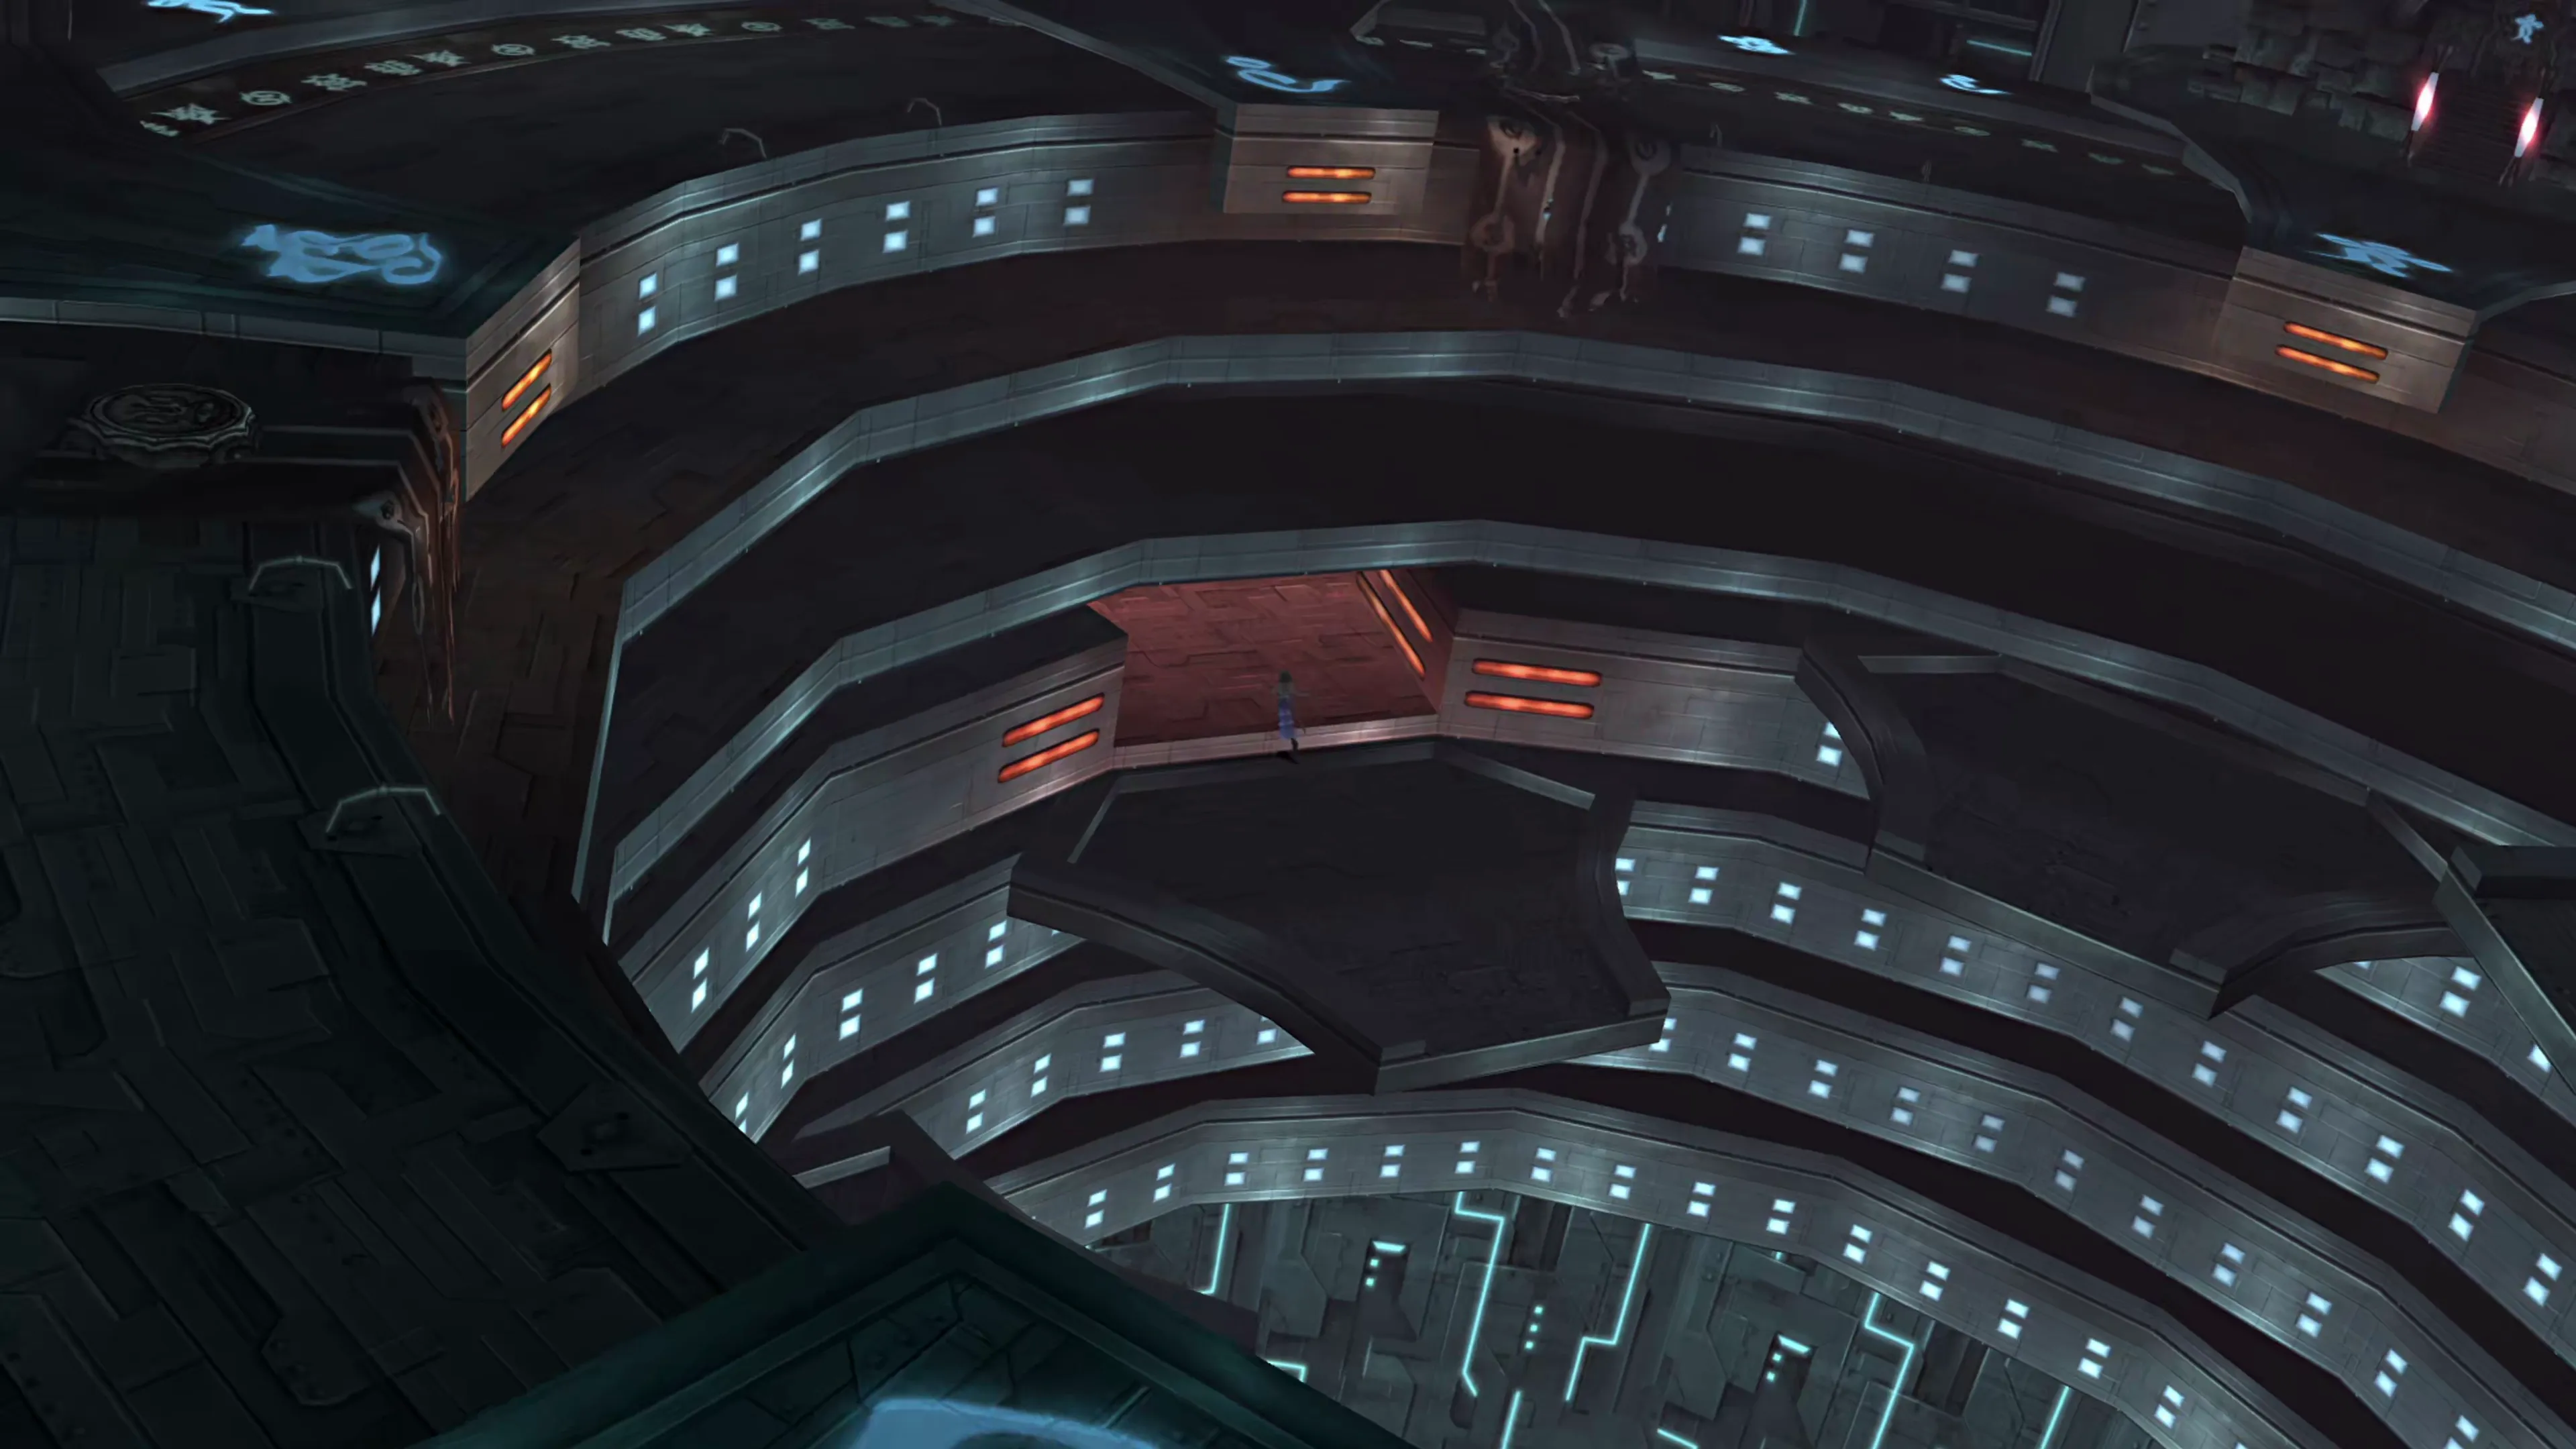
Climb back up from the lowest level up to the pathway on the third level so you can continue navigating your way through Bevelle underground areas.
Labyrinth
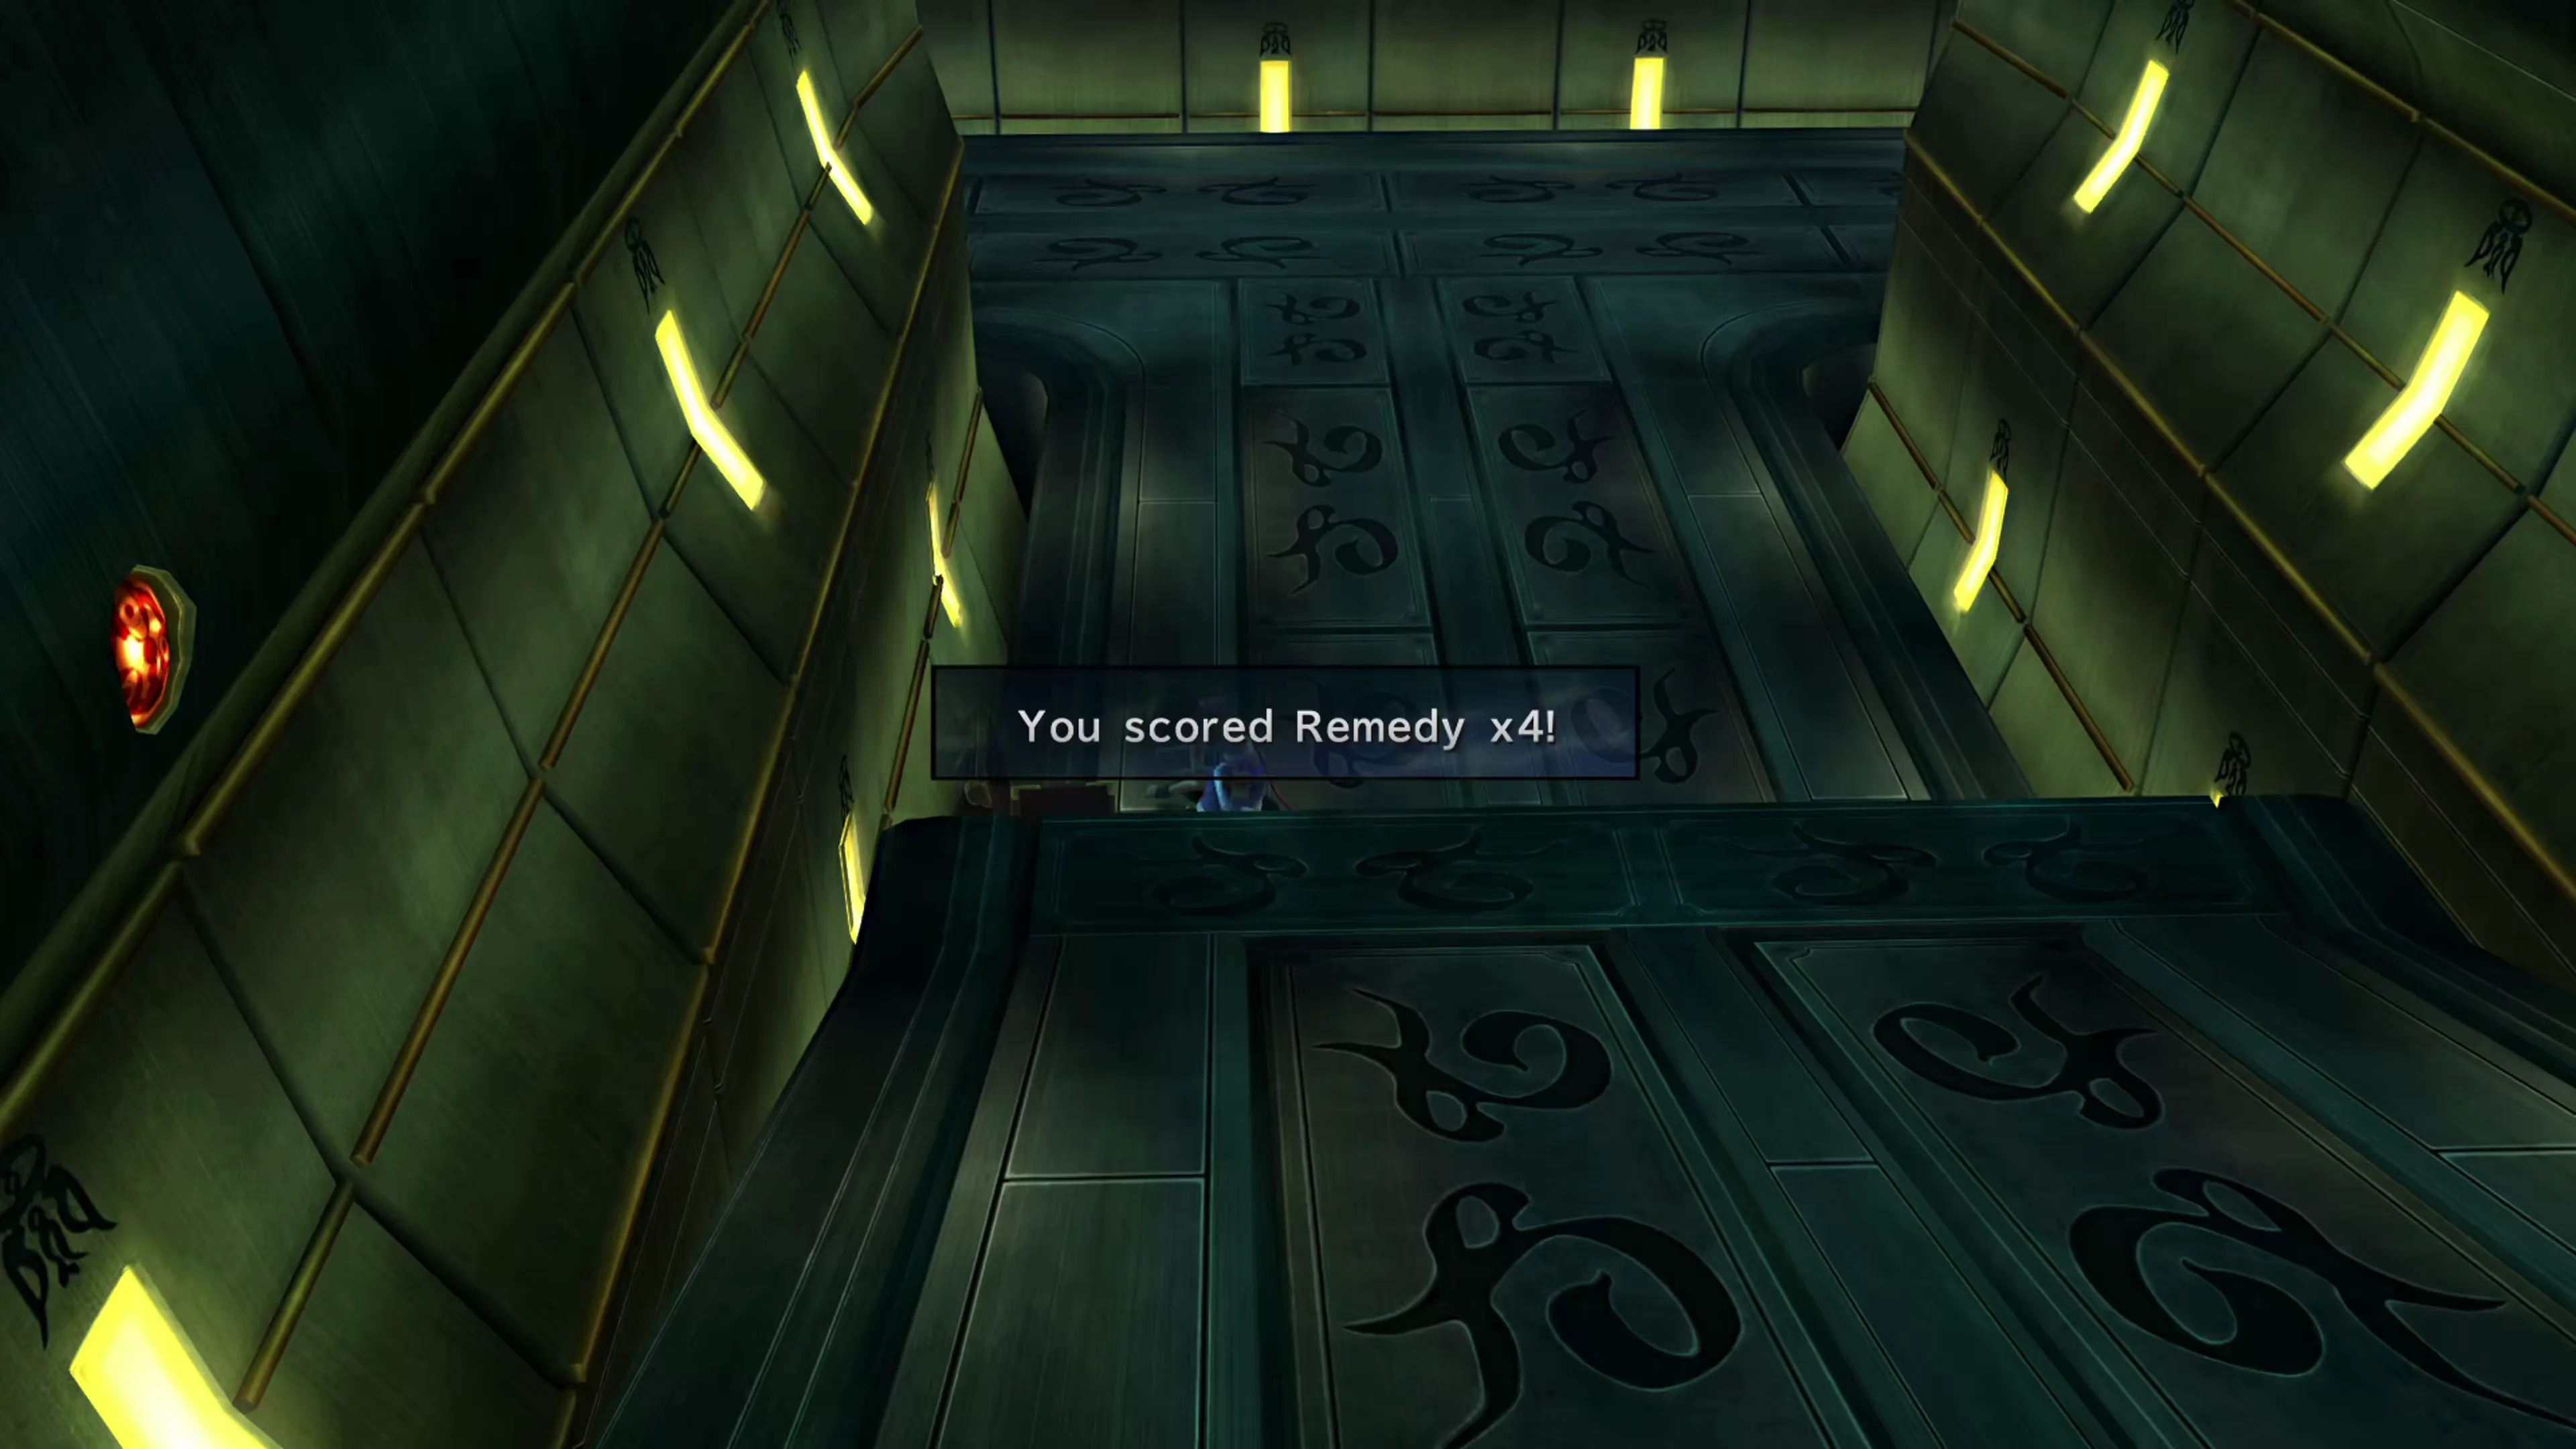
Just up ahead is a treasure chest on a set of platforms that you can jump up to. The treasure chest contains four  Ethers. On the far side of the platform, after you go down the ramp and drop down to the lower level, is another treasure chest that’s hidden on the left side of the screen. It contains four Remedies.
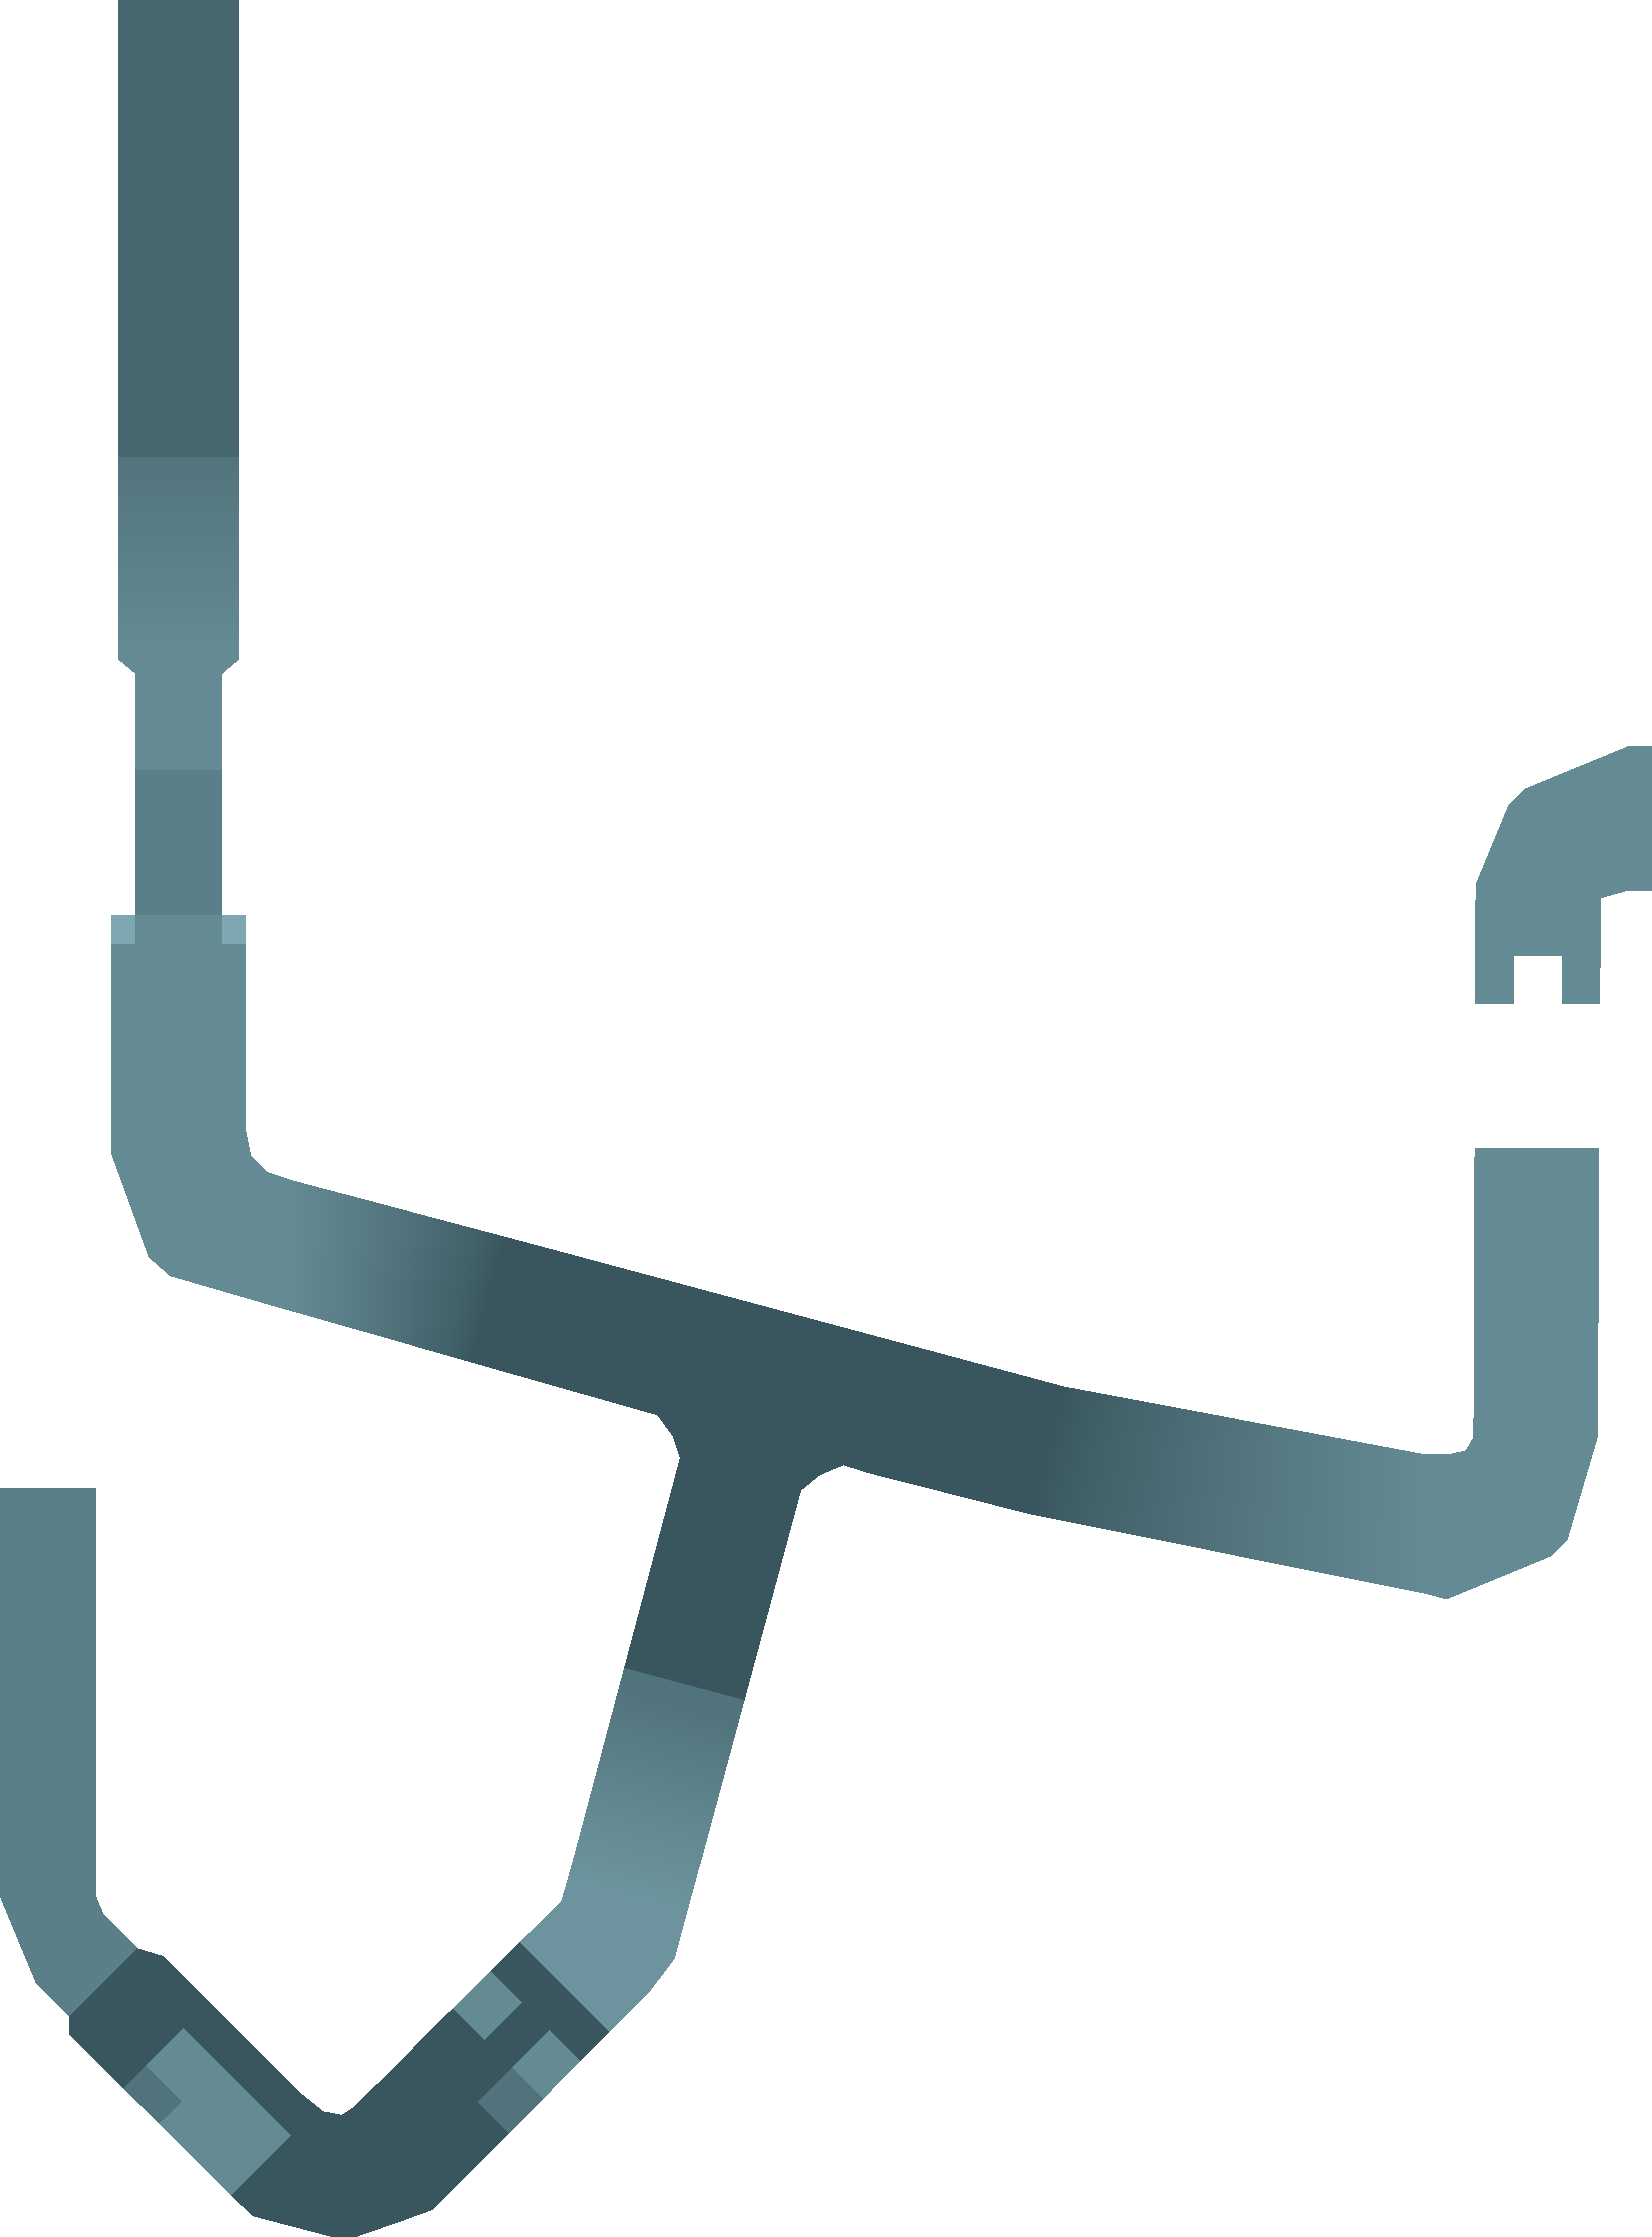
The path splits left and right up ahead. Take the path to the right and use the elevator to reach another area with another treasure chest. This one contains a  Downtrodder Garment Grid.
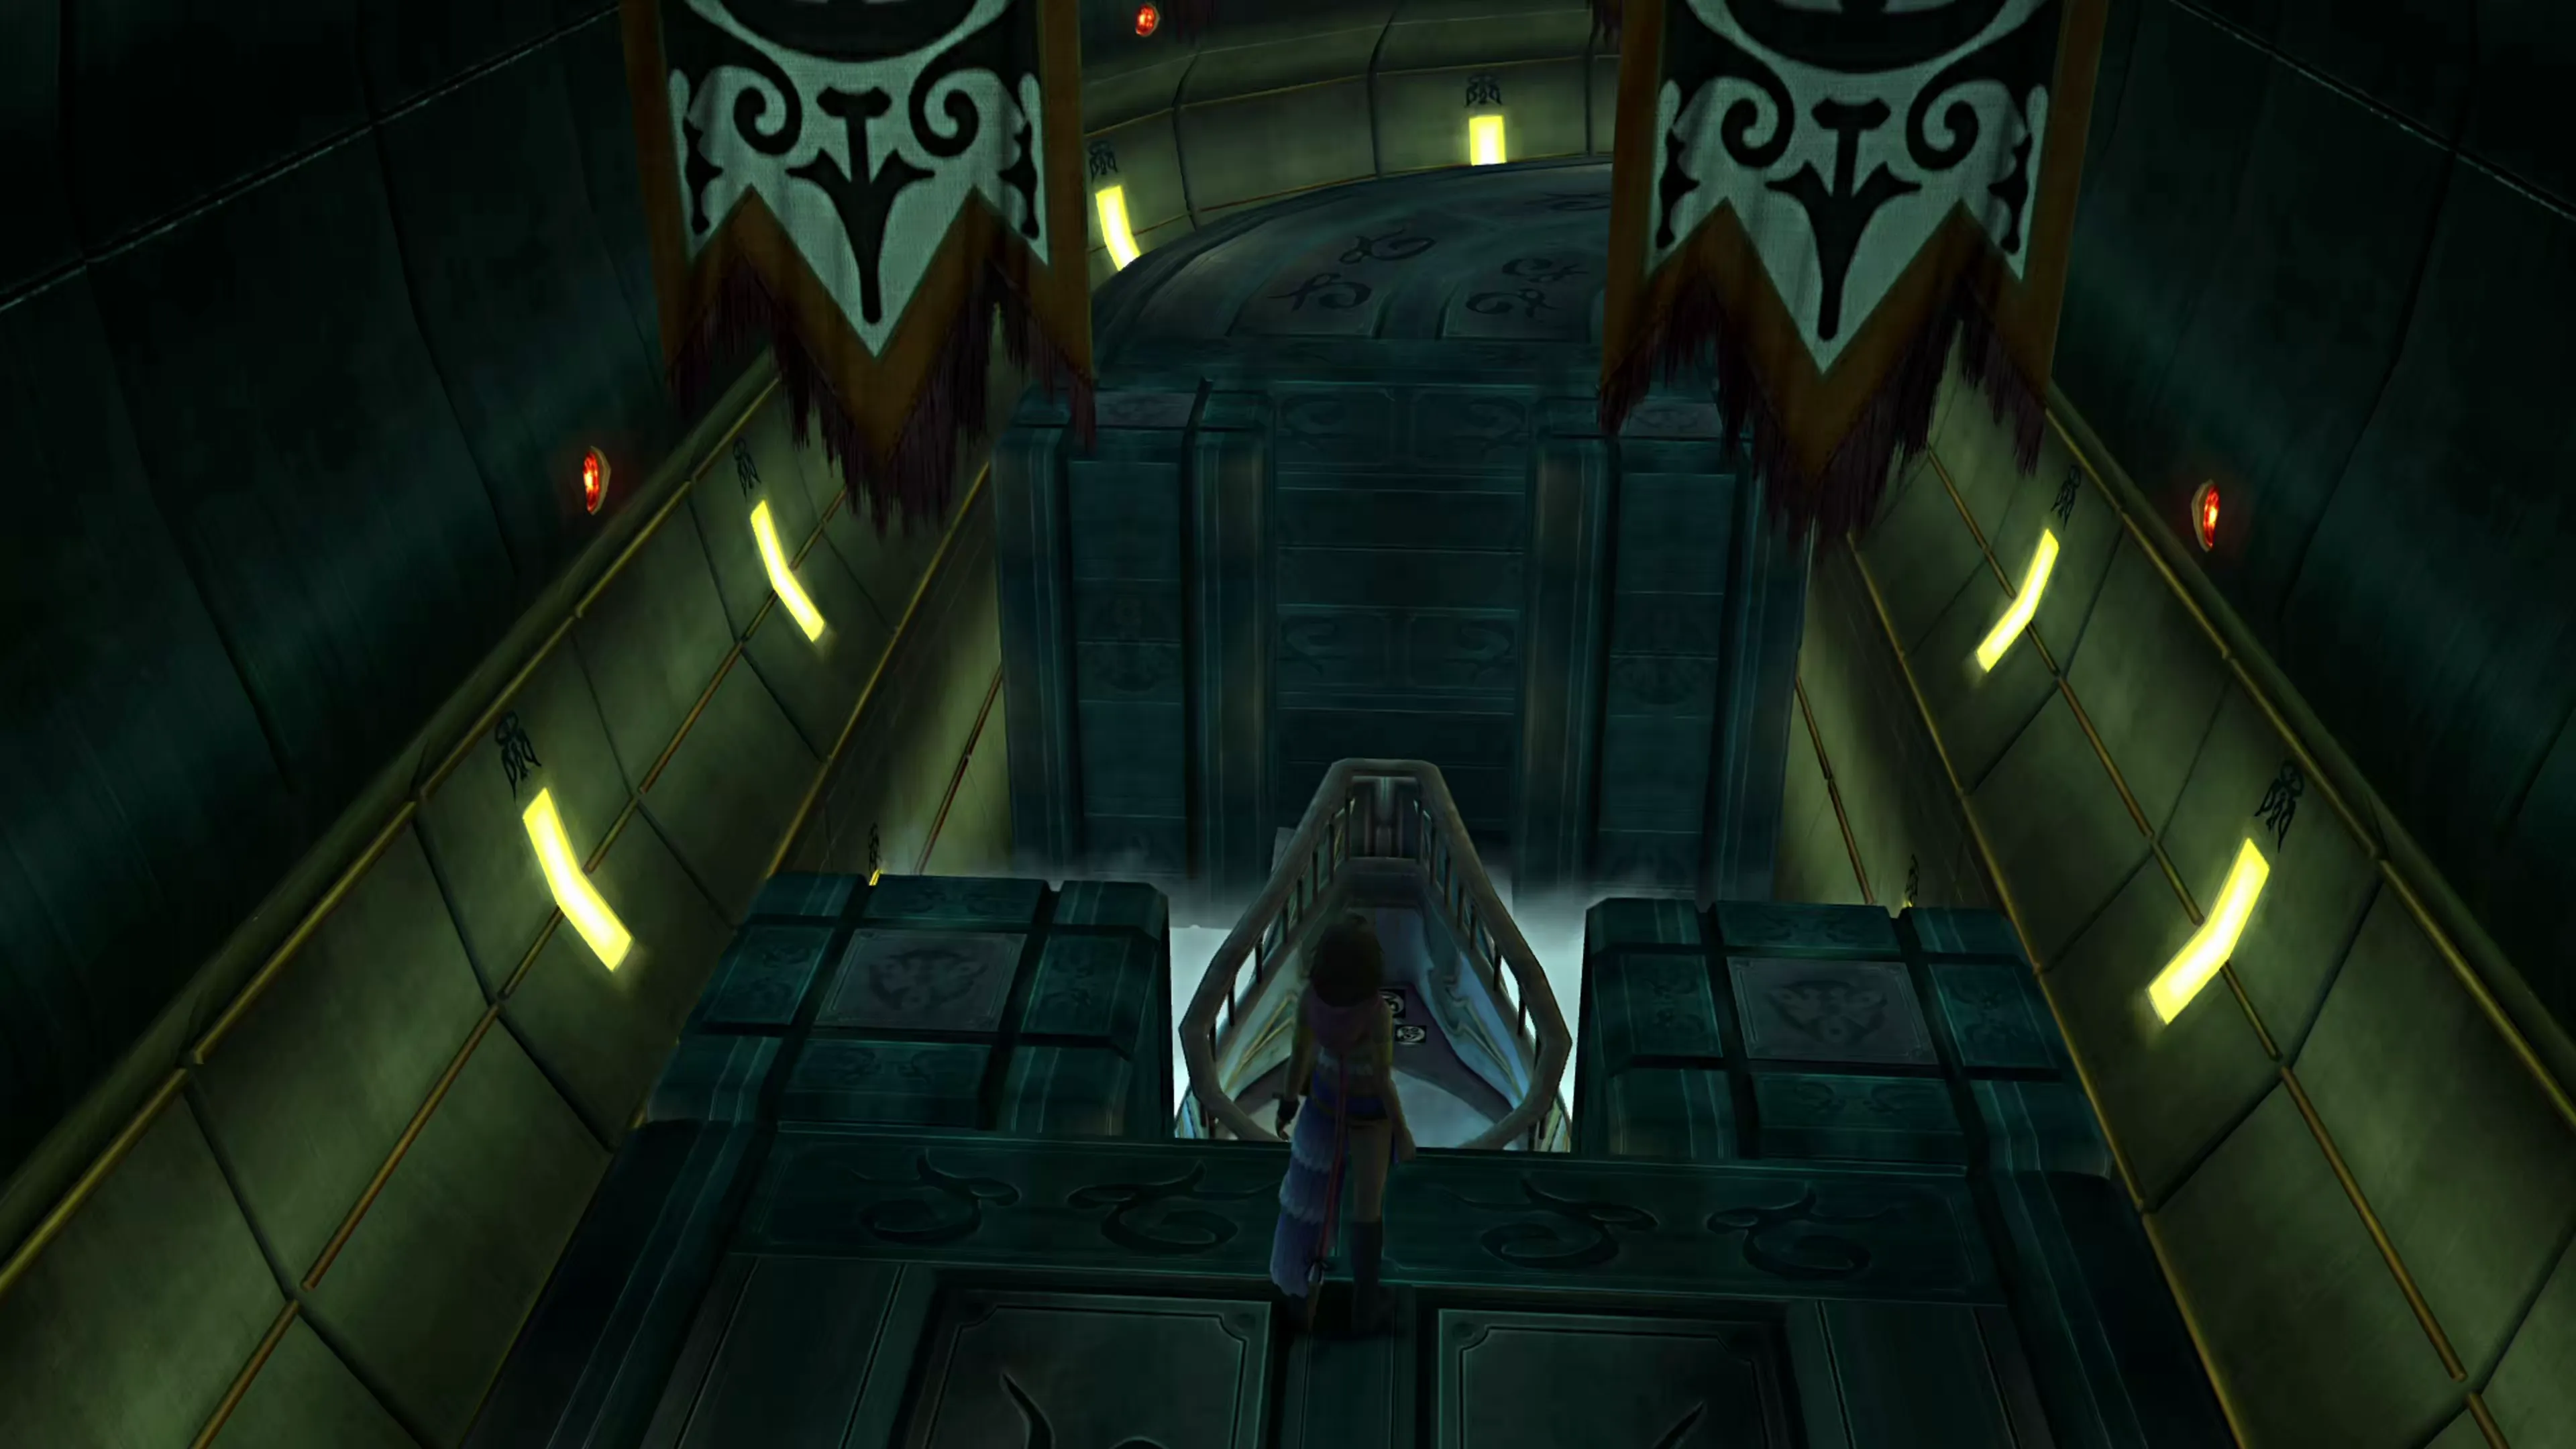
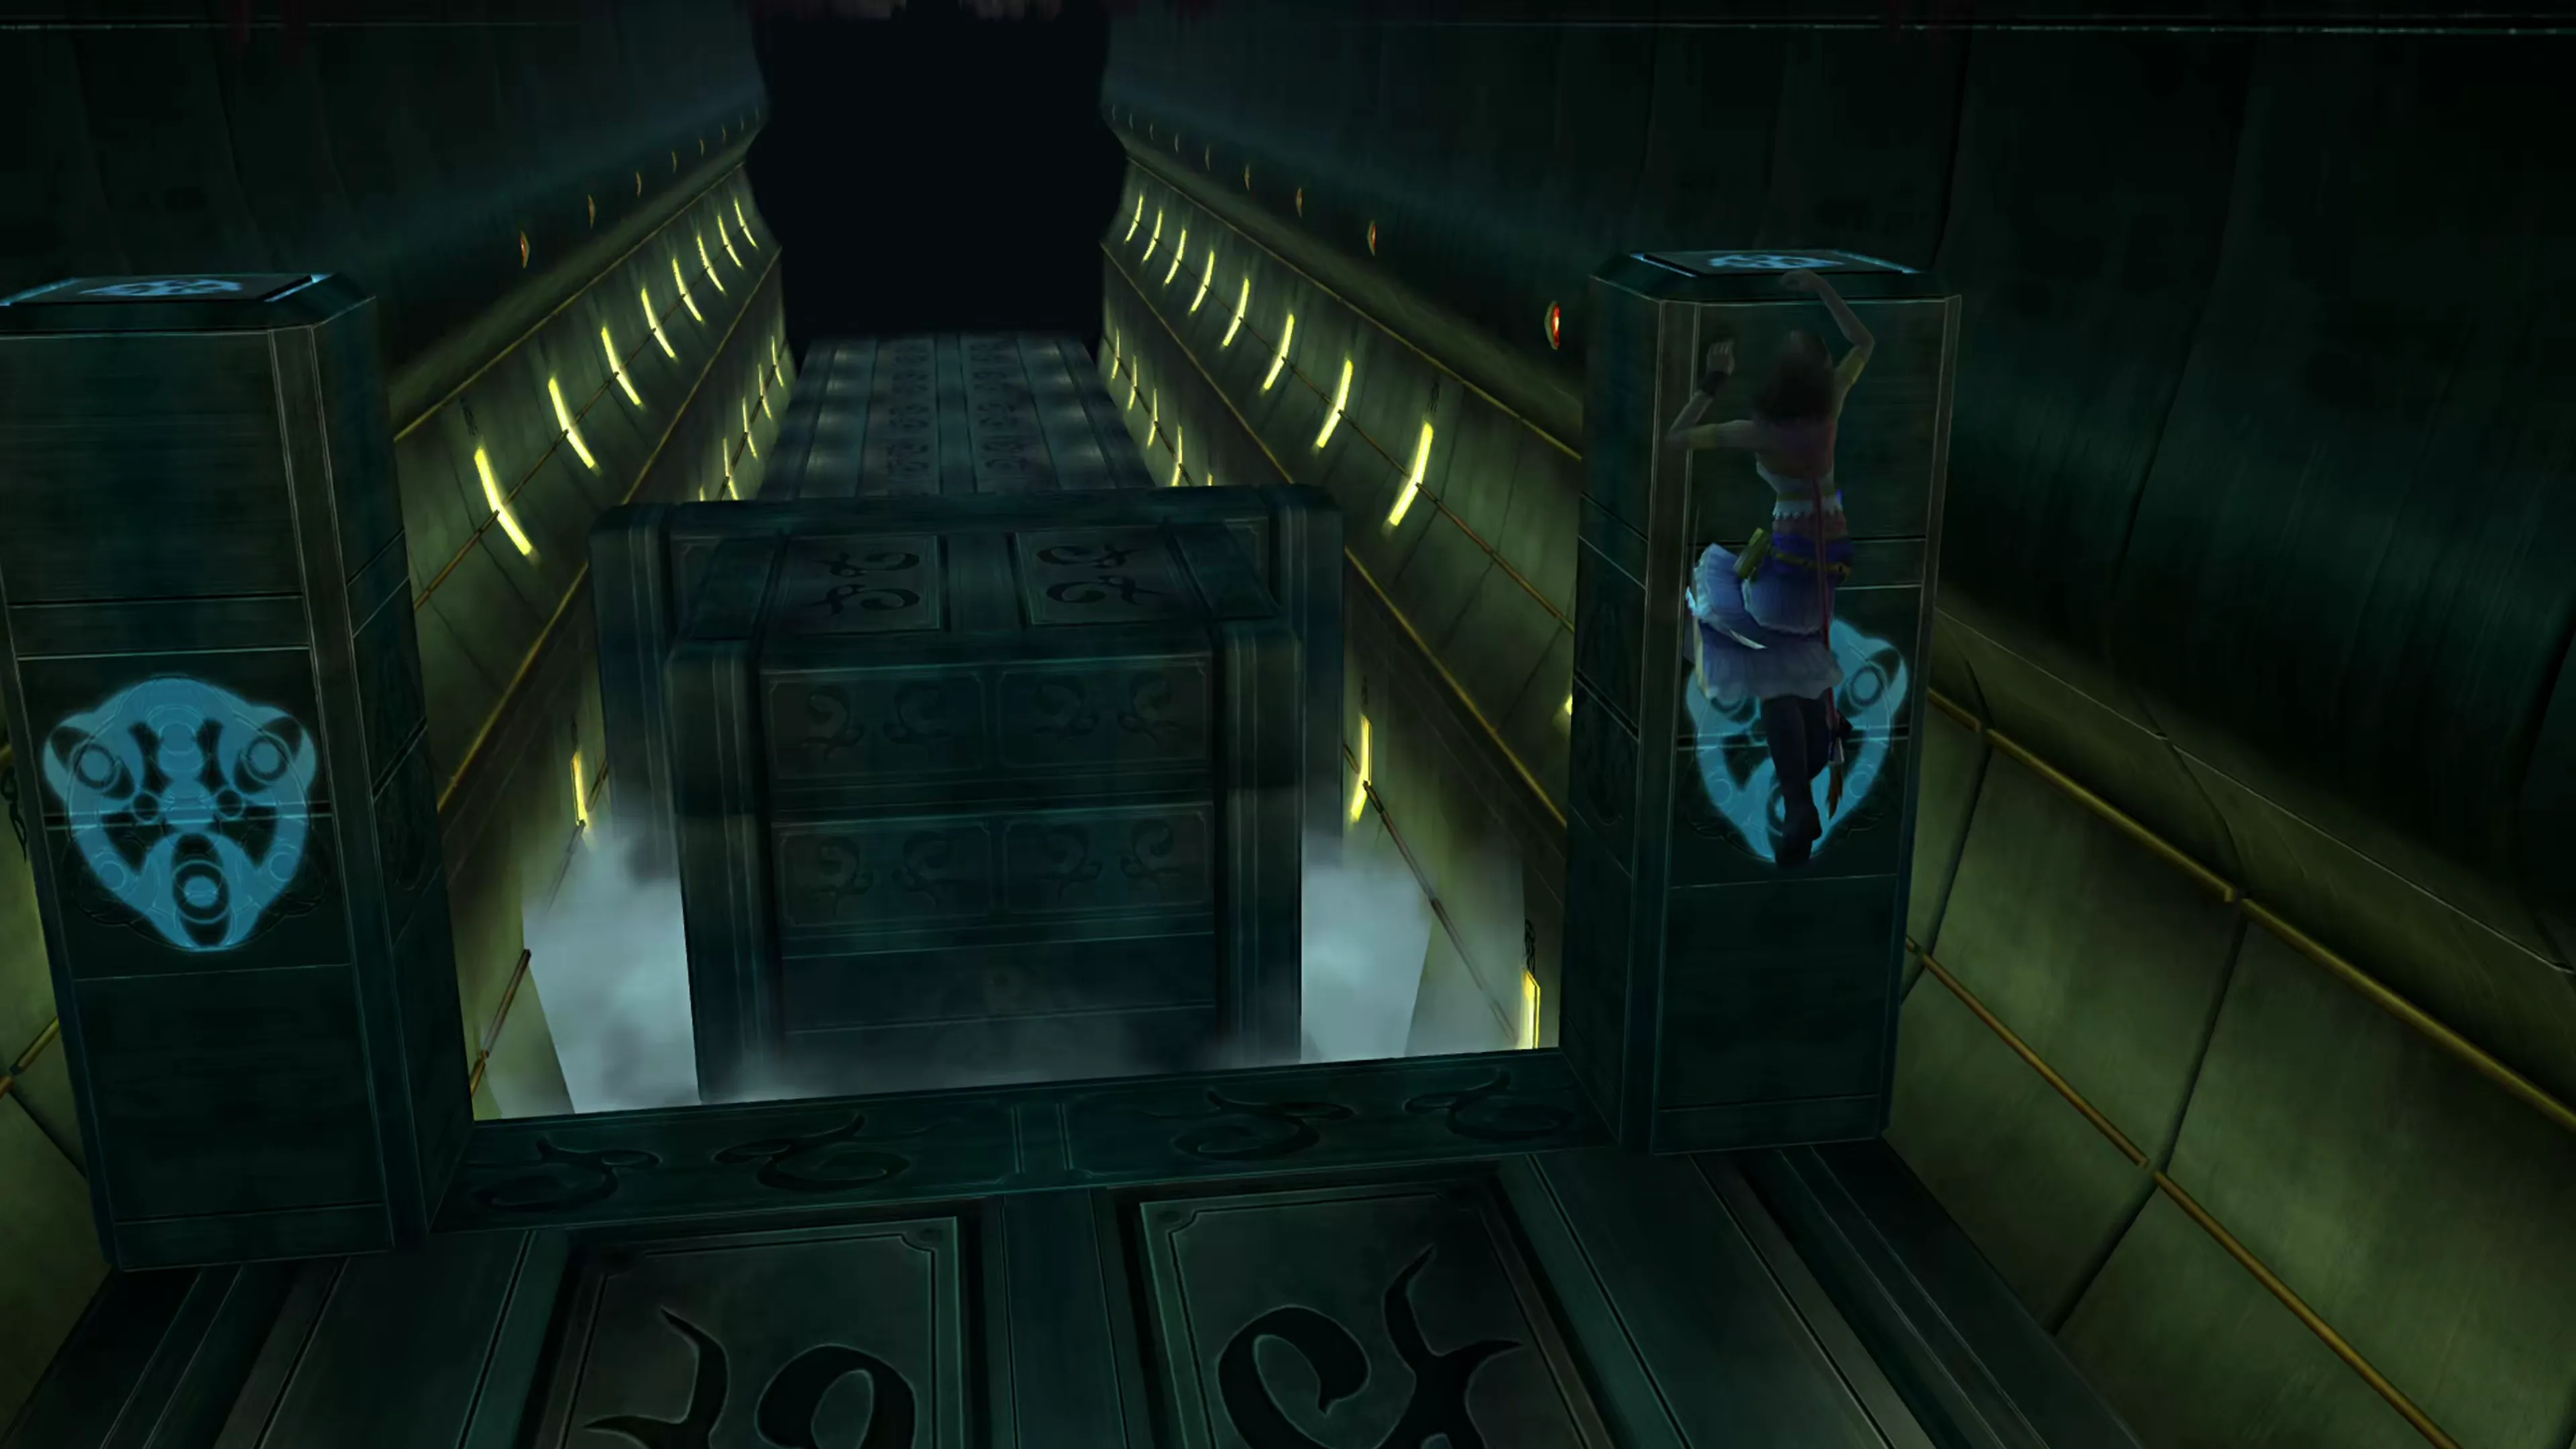
Go back to the spot where the path splits left and right, and this time, take the path leading to the left. You’ll reach another gap in the path with two lit pillars on either side of it. Climb the pillar on the left and the right to activate a mechanical bridge that spans the gap and allows you to walk across.
The Gaol
This massive piece of machinery looks a lot more daunting than it should. At a casual glance, it looks like it’s going to be an overly complex labyrinth of pathways, but it’s actually much more simple than it looks.
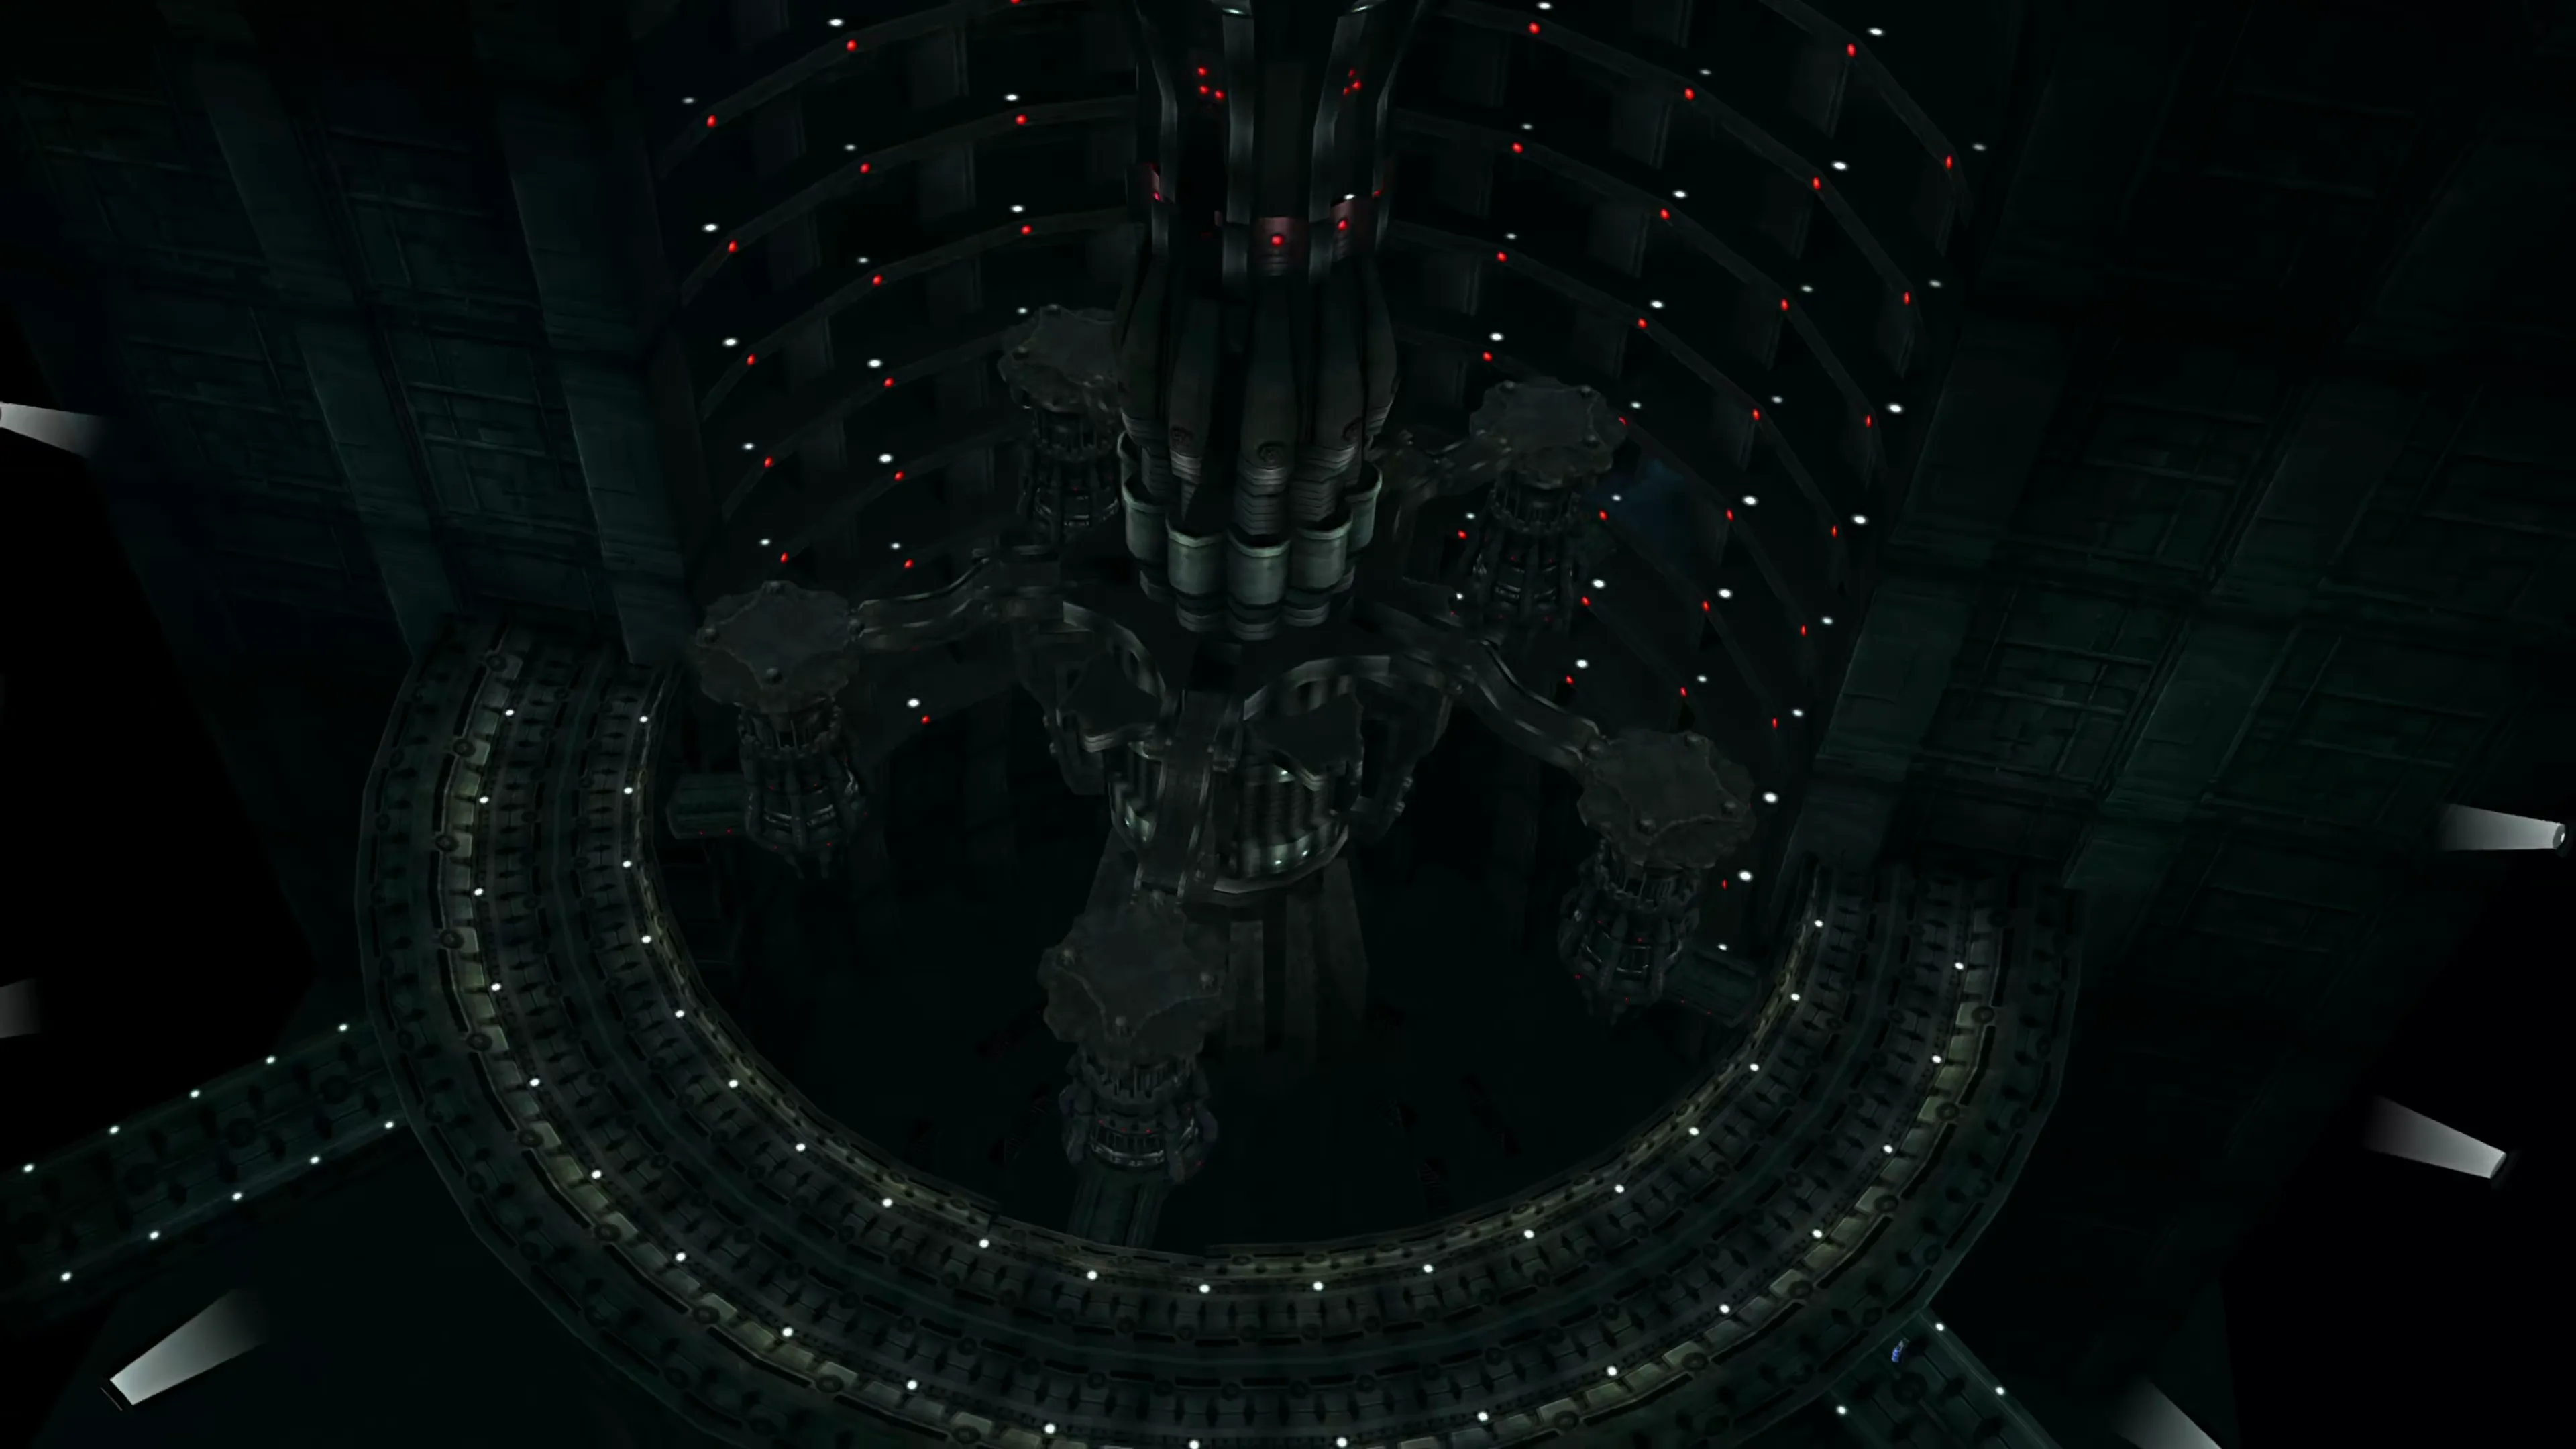
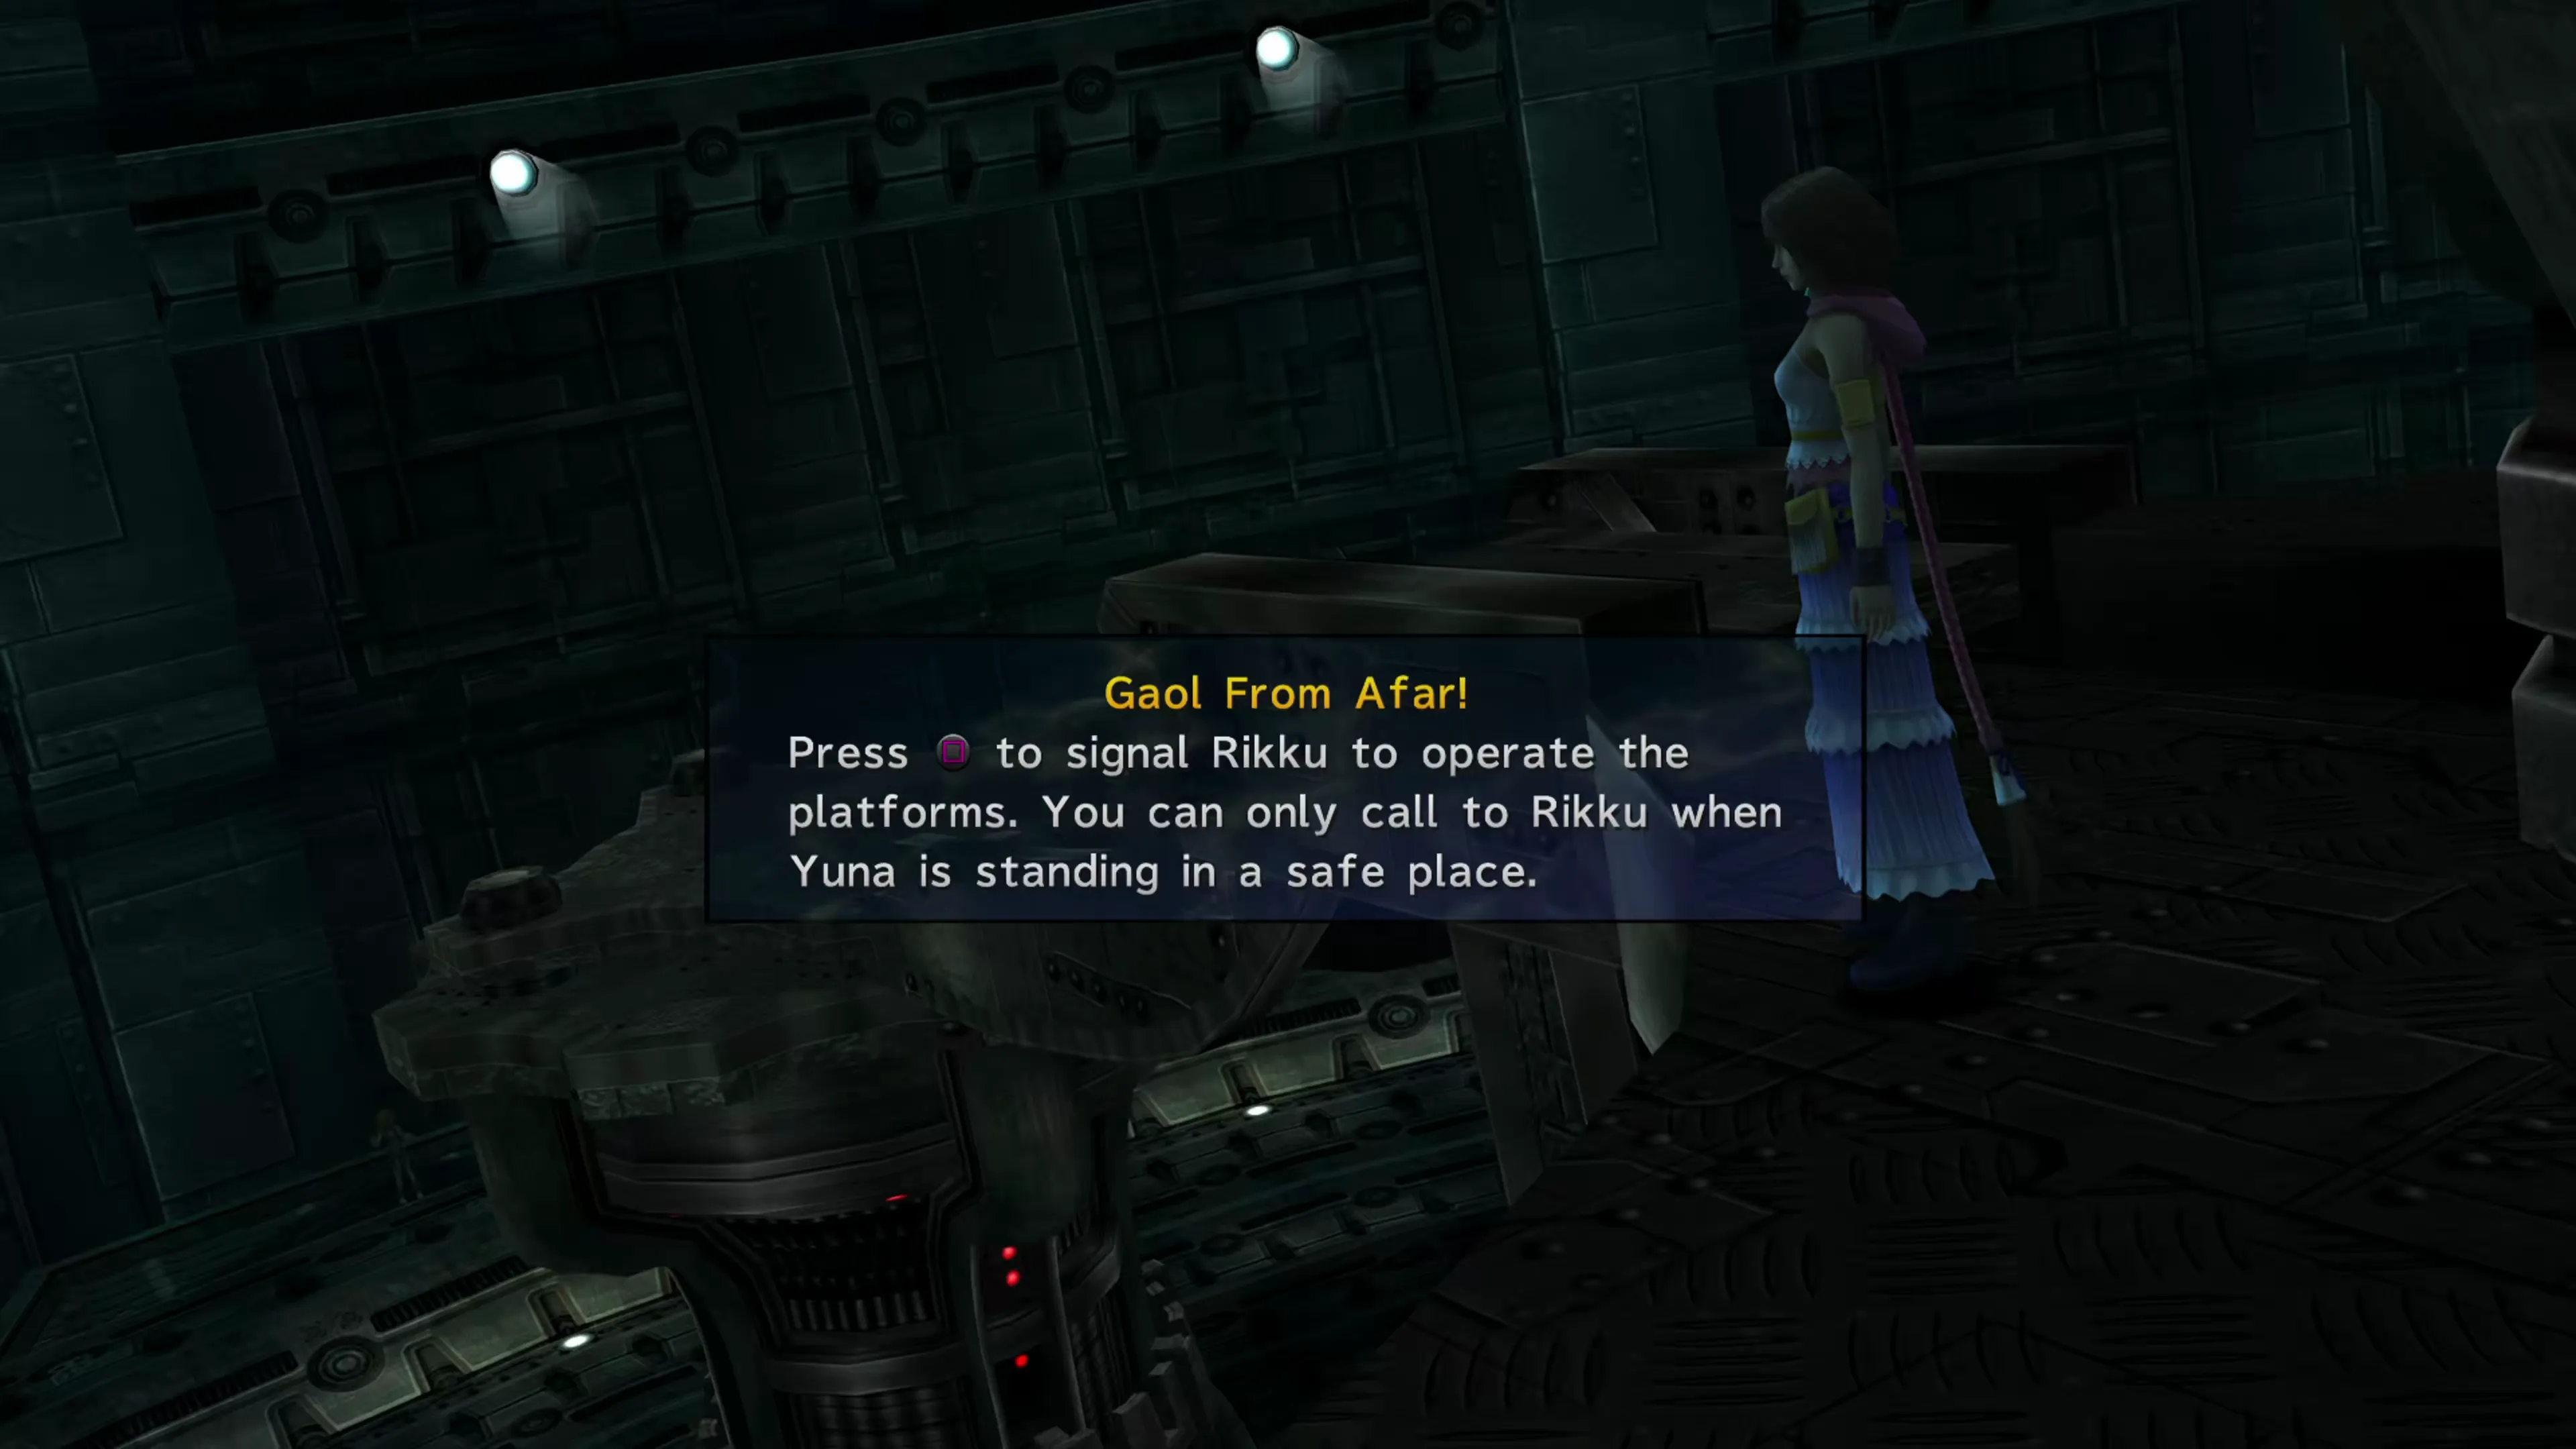
Travel over to the left of the entrance to find Logos and Ormi. A short distance away from them is a switch that you can use to stop and start the large Gaol. Stop the Gaol when one of the pistons is level with the platform so you can run over and jump on. Climb all the way to the top of the machine. A message will pop up letting you know Rikku can now start the device for you from a distance using the 

 button.
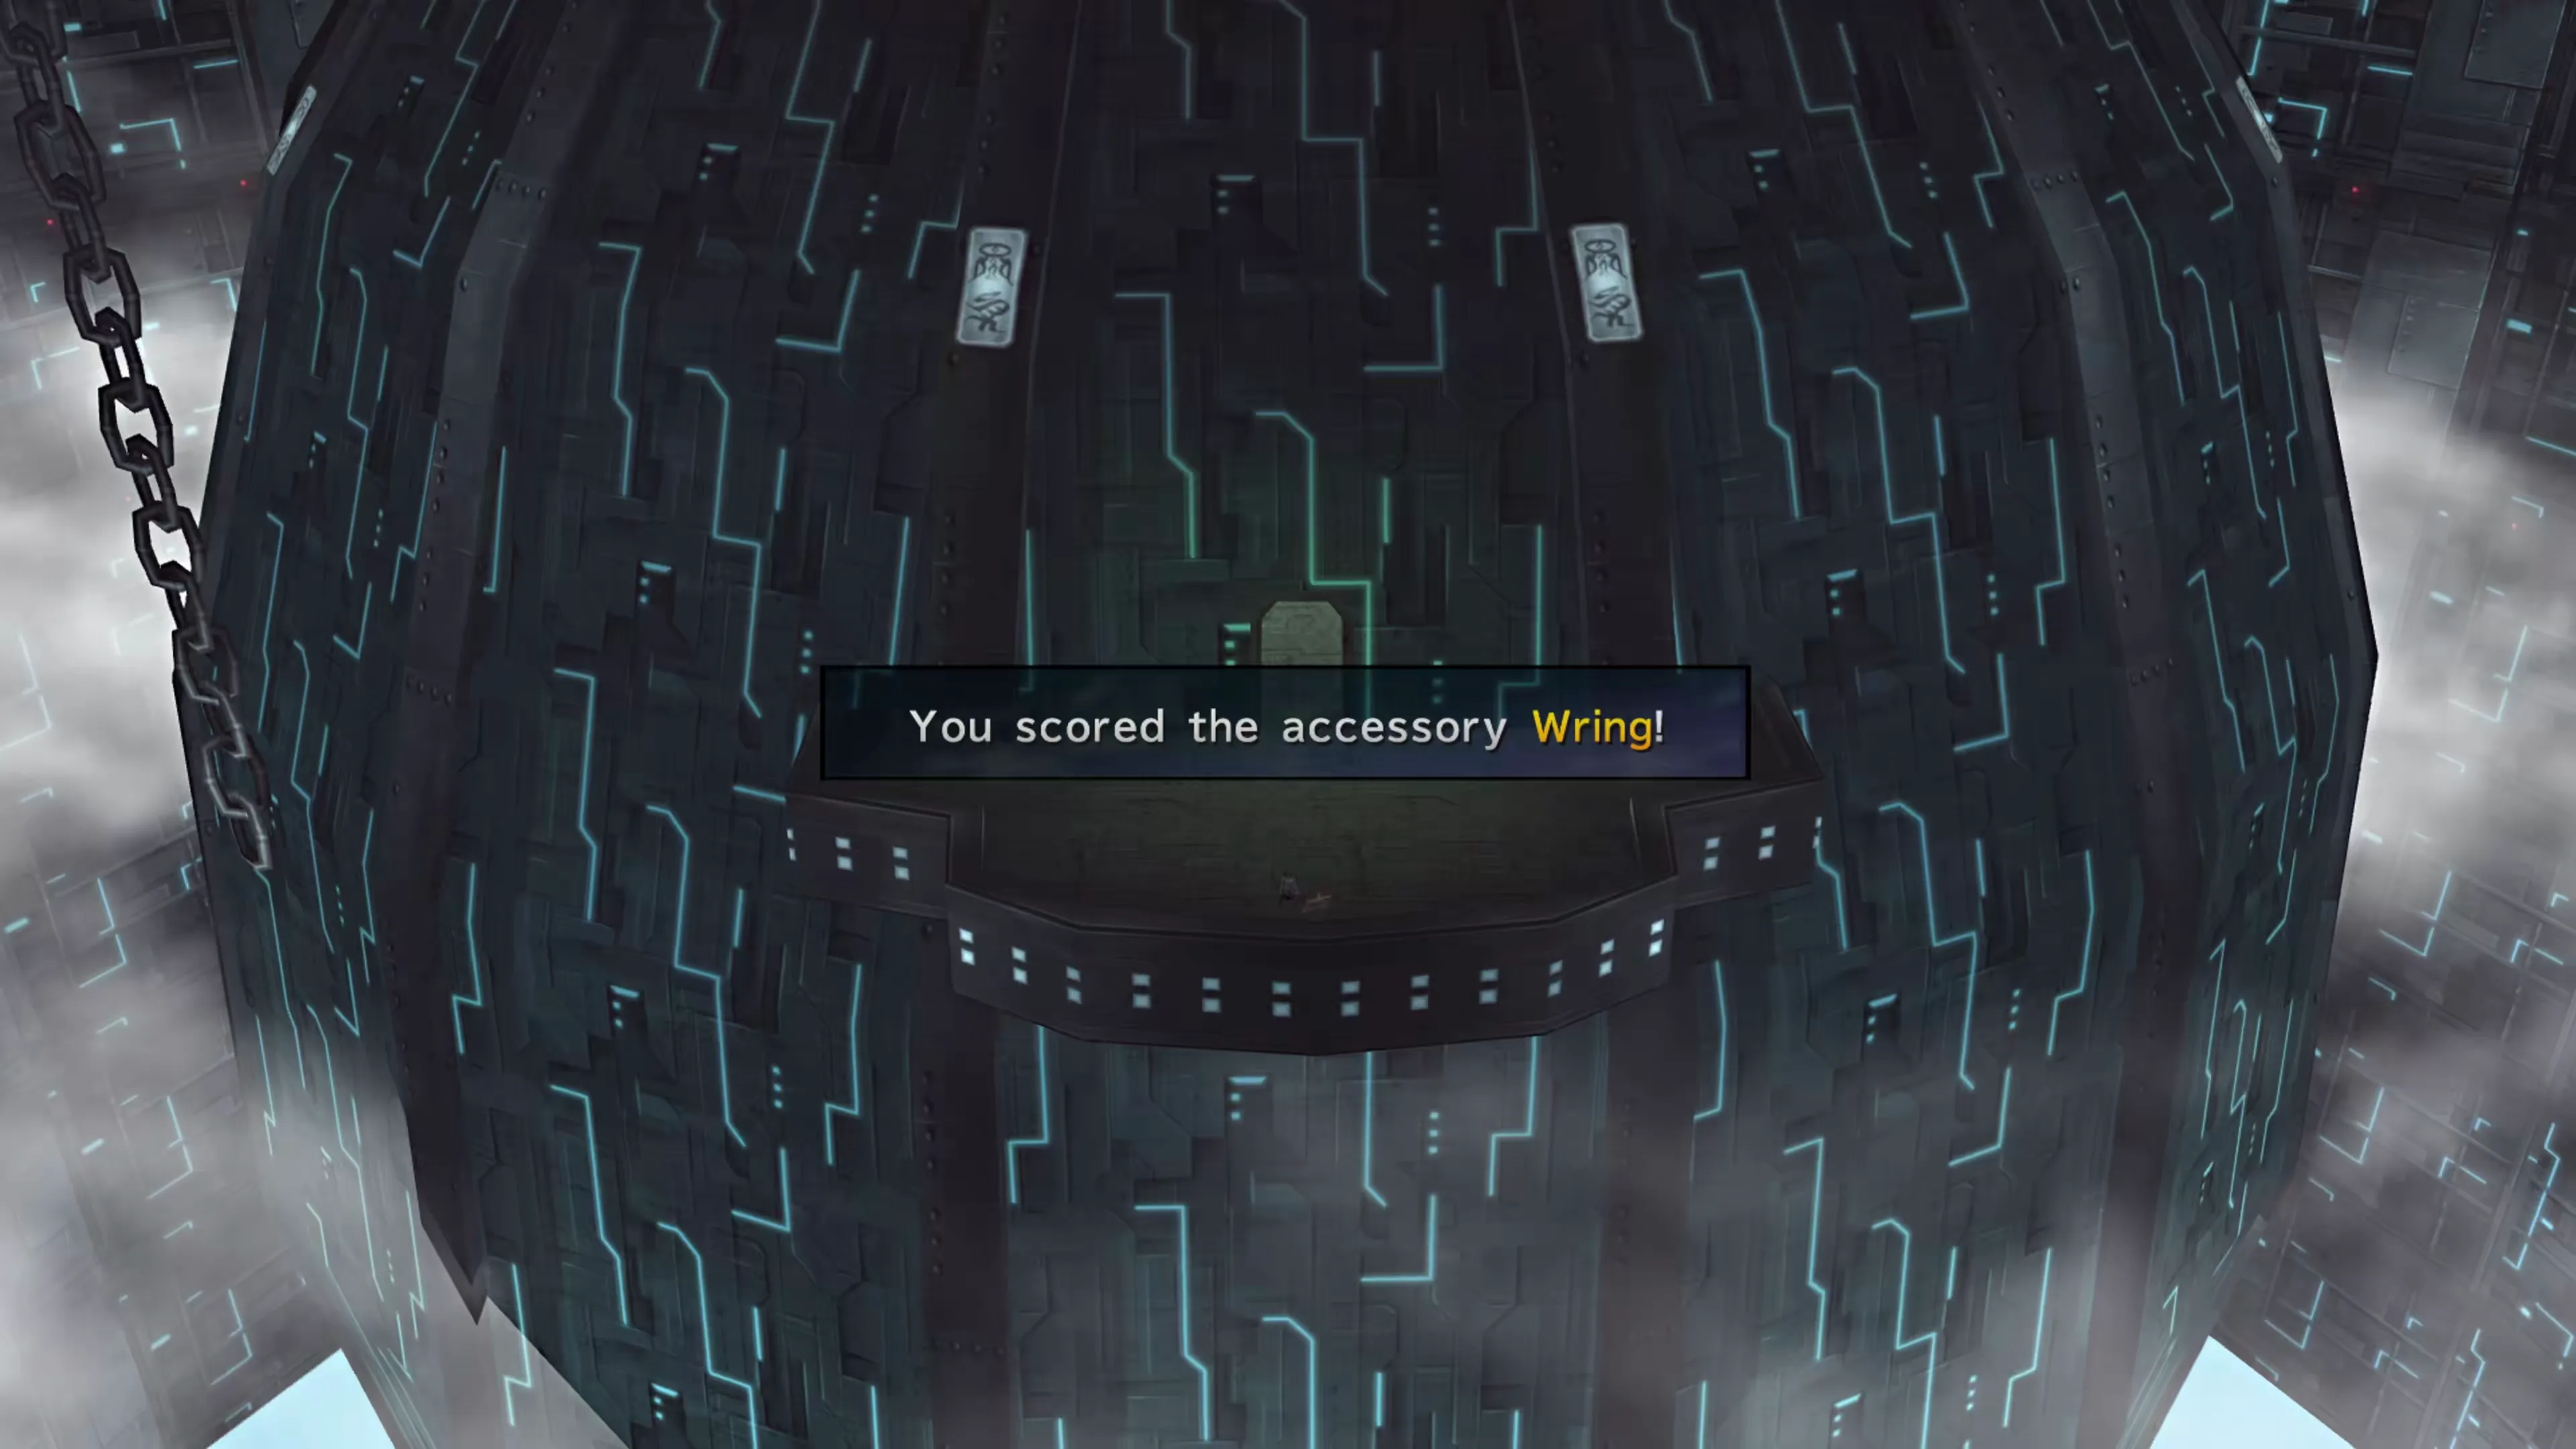
Rotate the Gaol as many times as you need to, but on the far wall, you’re looking to access two different levels and get access to two different treasure chests. One contains a Bloodlust and one contains a Wring accessory. Just keep moving the Gaol repeatedly until you’re able to climb to the right levels. This ‘puzzle,’ if you can call it one, is just trial and error.

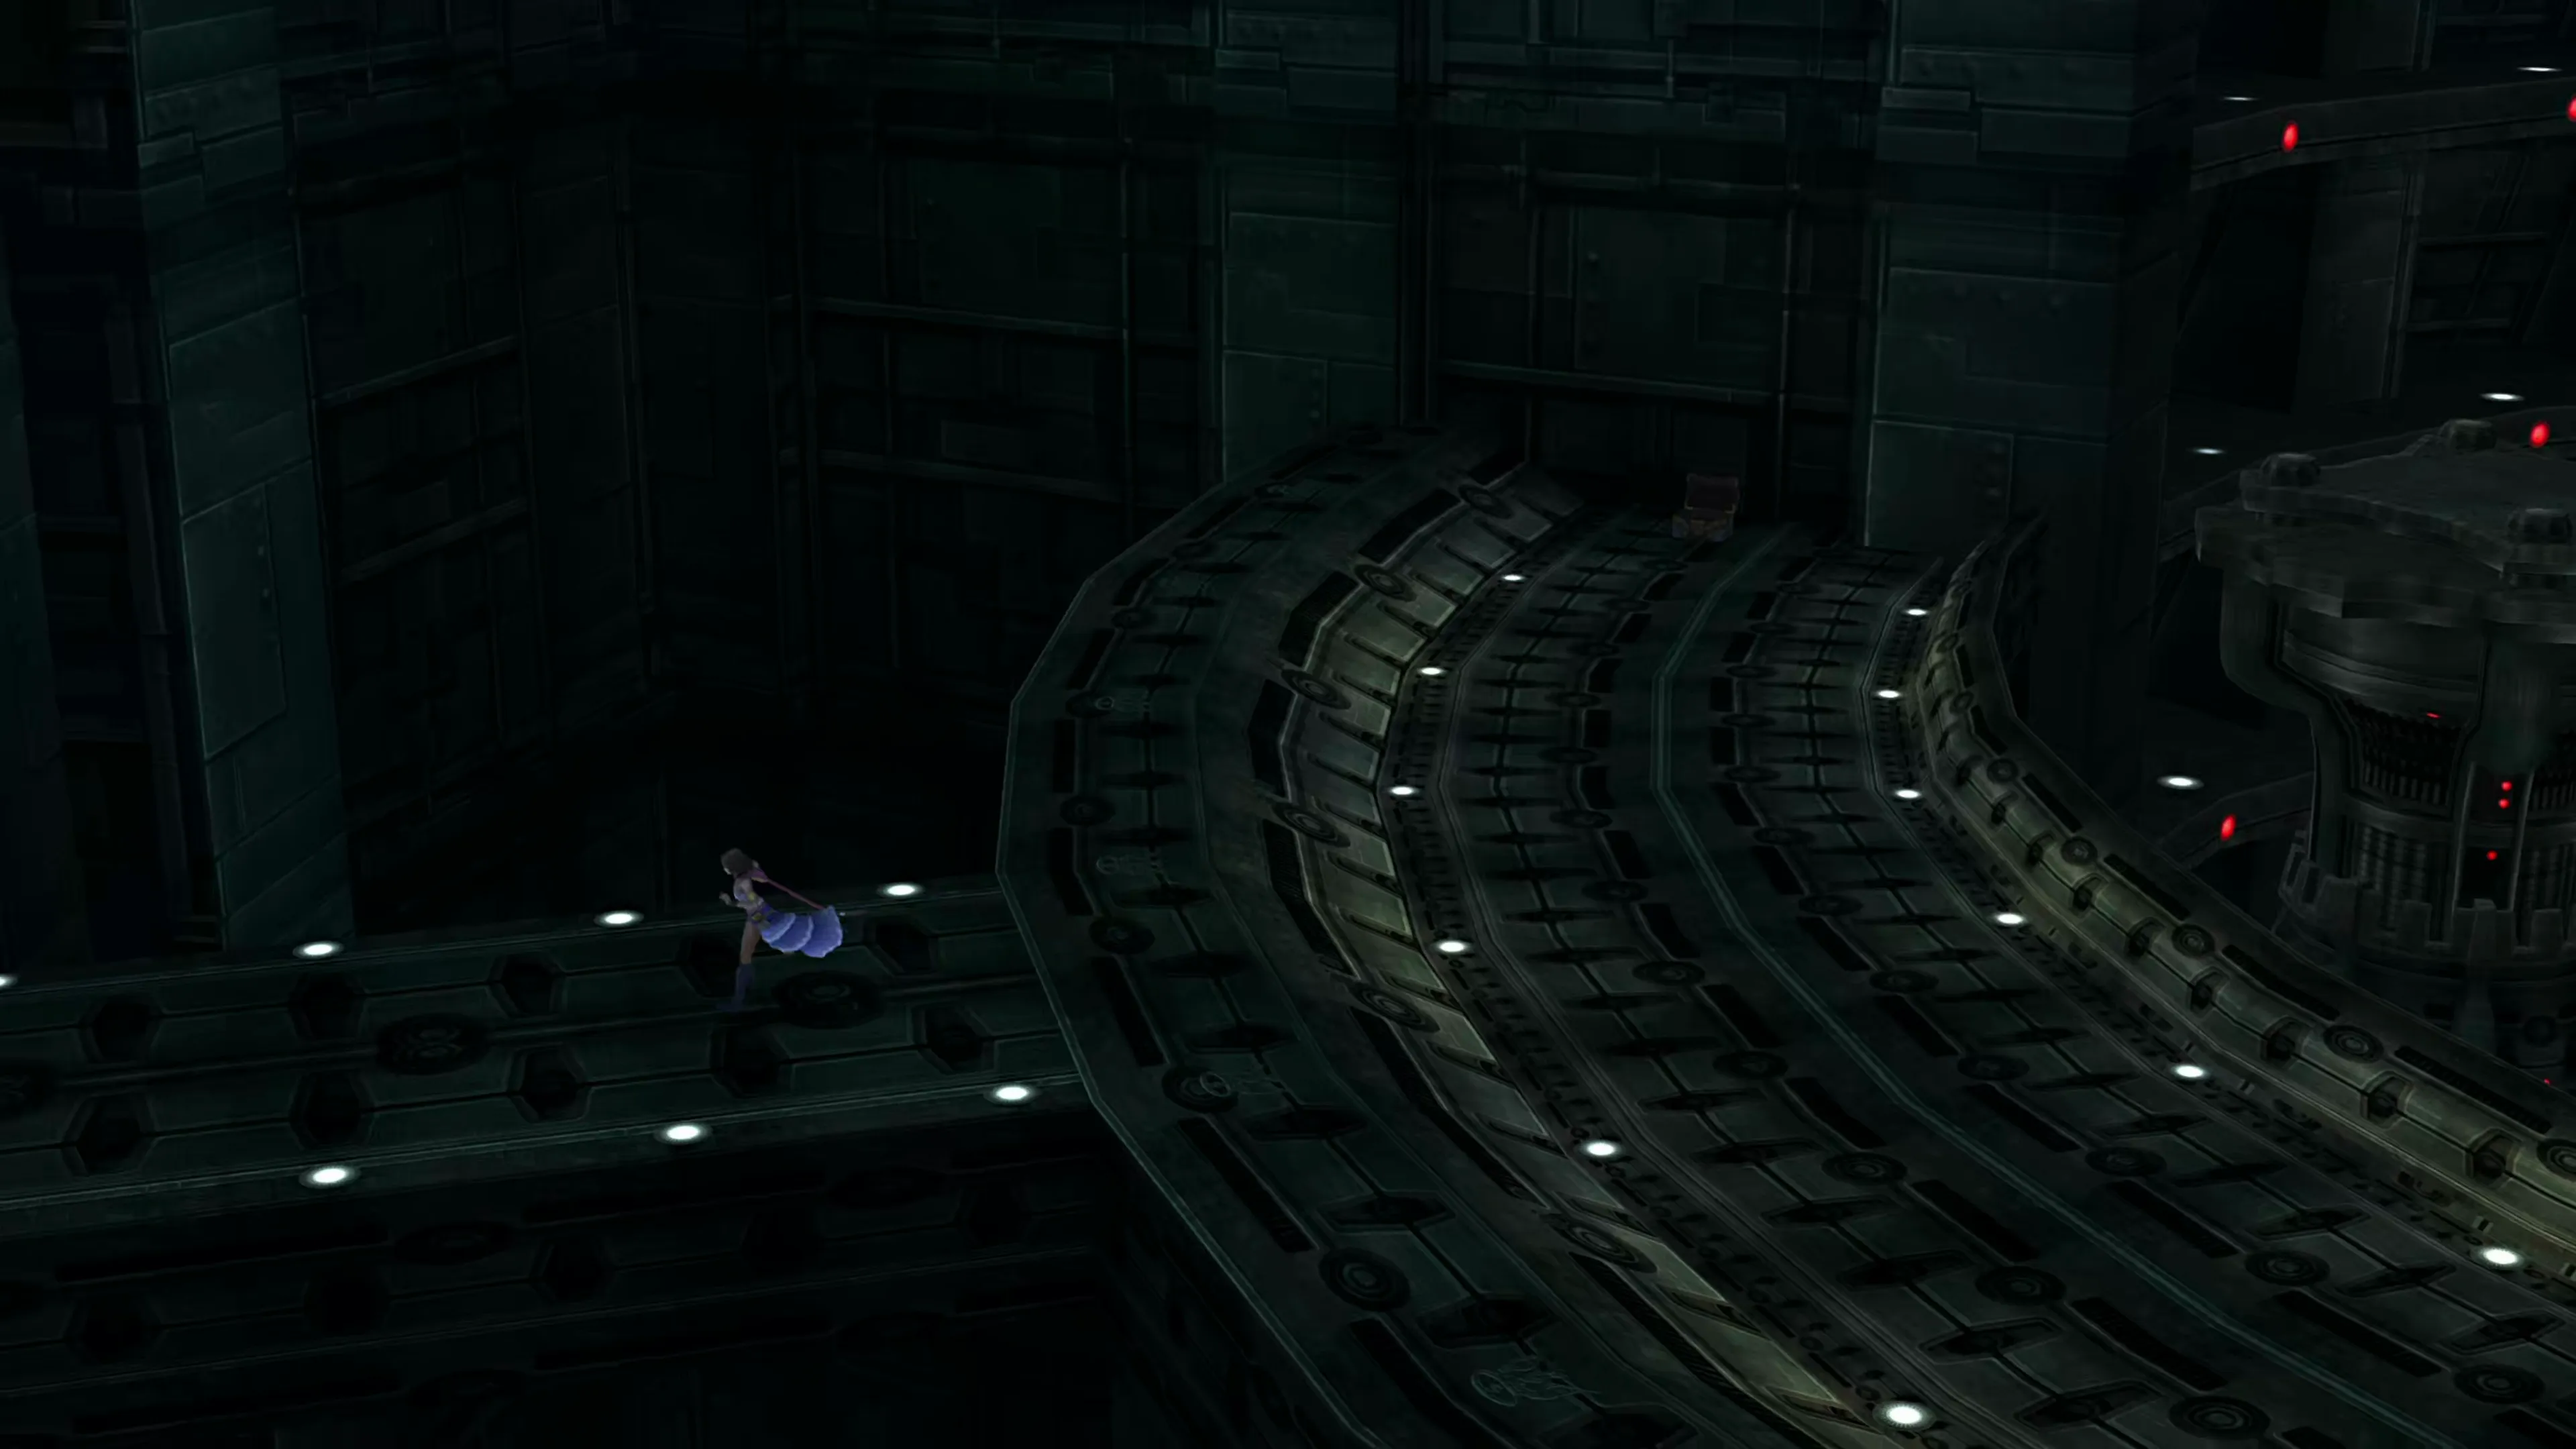
Drop down off the Gaol and make sure you grab the treasure chest on the far left side of the room before you leave. It contains five Phoenix Downs.
Look for a pathway on the left side of the screen that leads into the next area.
Labyrinth
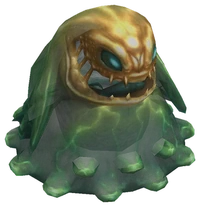
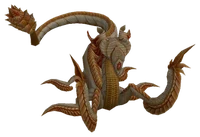
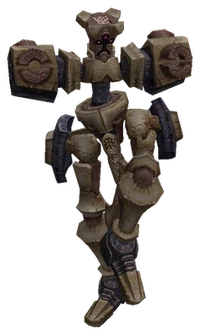
Move forward, and a wall will drop down once you get close enough to it. Behind it, you will find three elevators: one is dark blue, and two are light blue. Getting to the next area of the Labyrinth is pretty easy, but there are some steps you need to take to open up a path to a treasure chest that contains your next Dressphere that involves messing with these elevators.
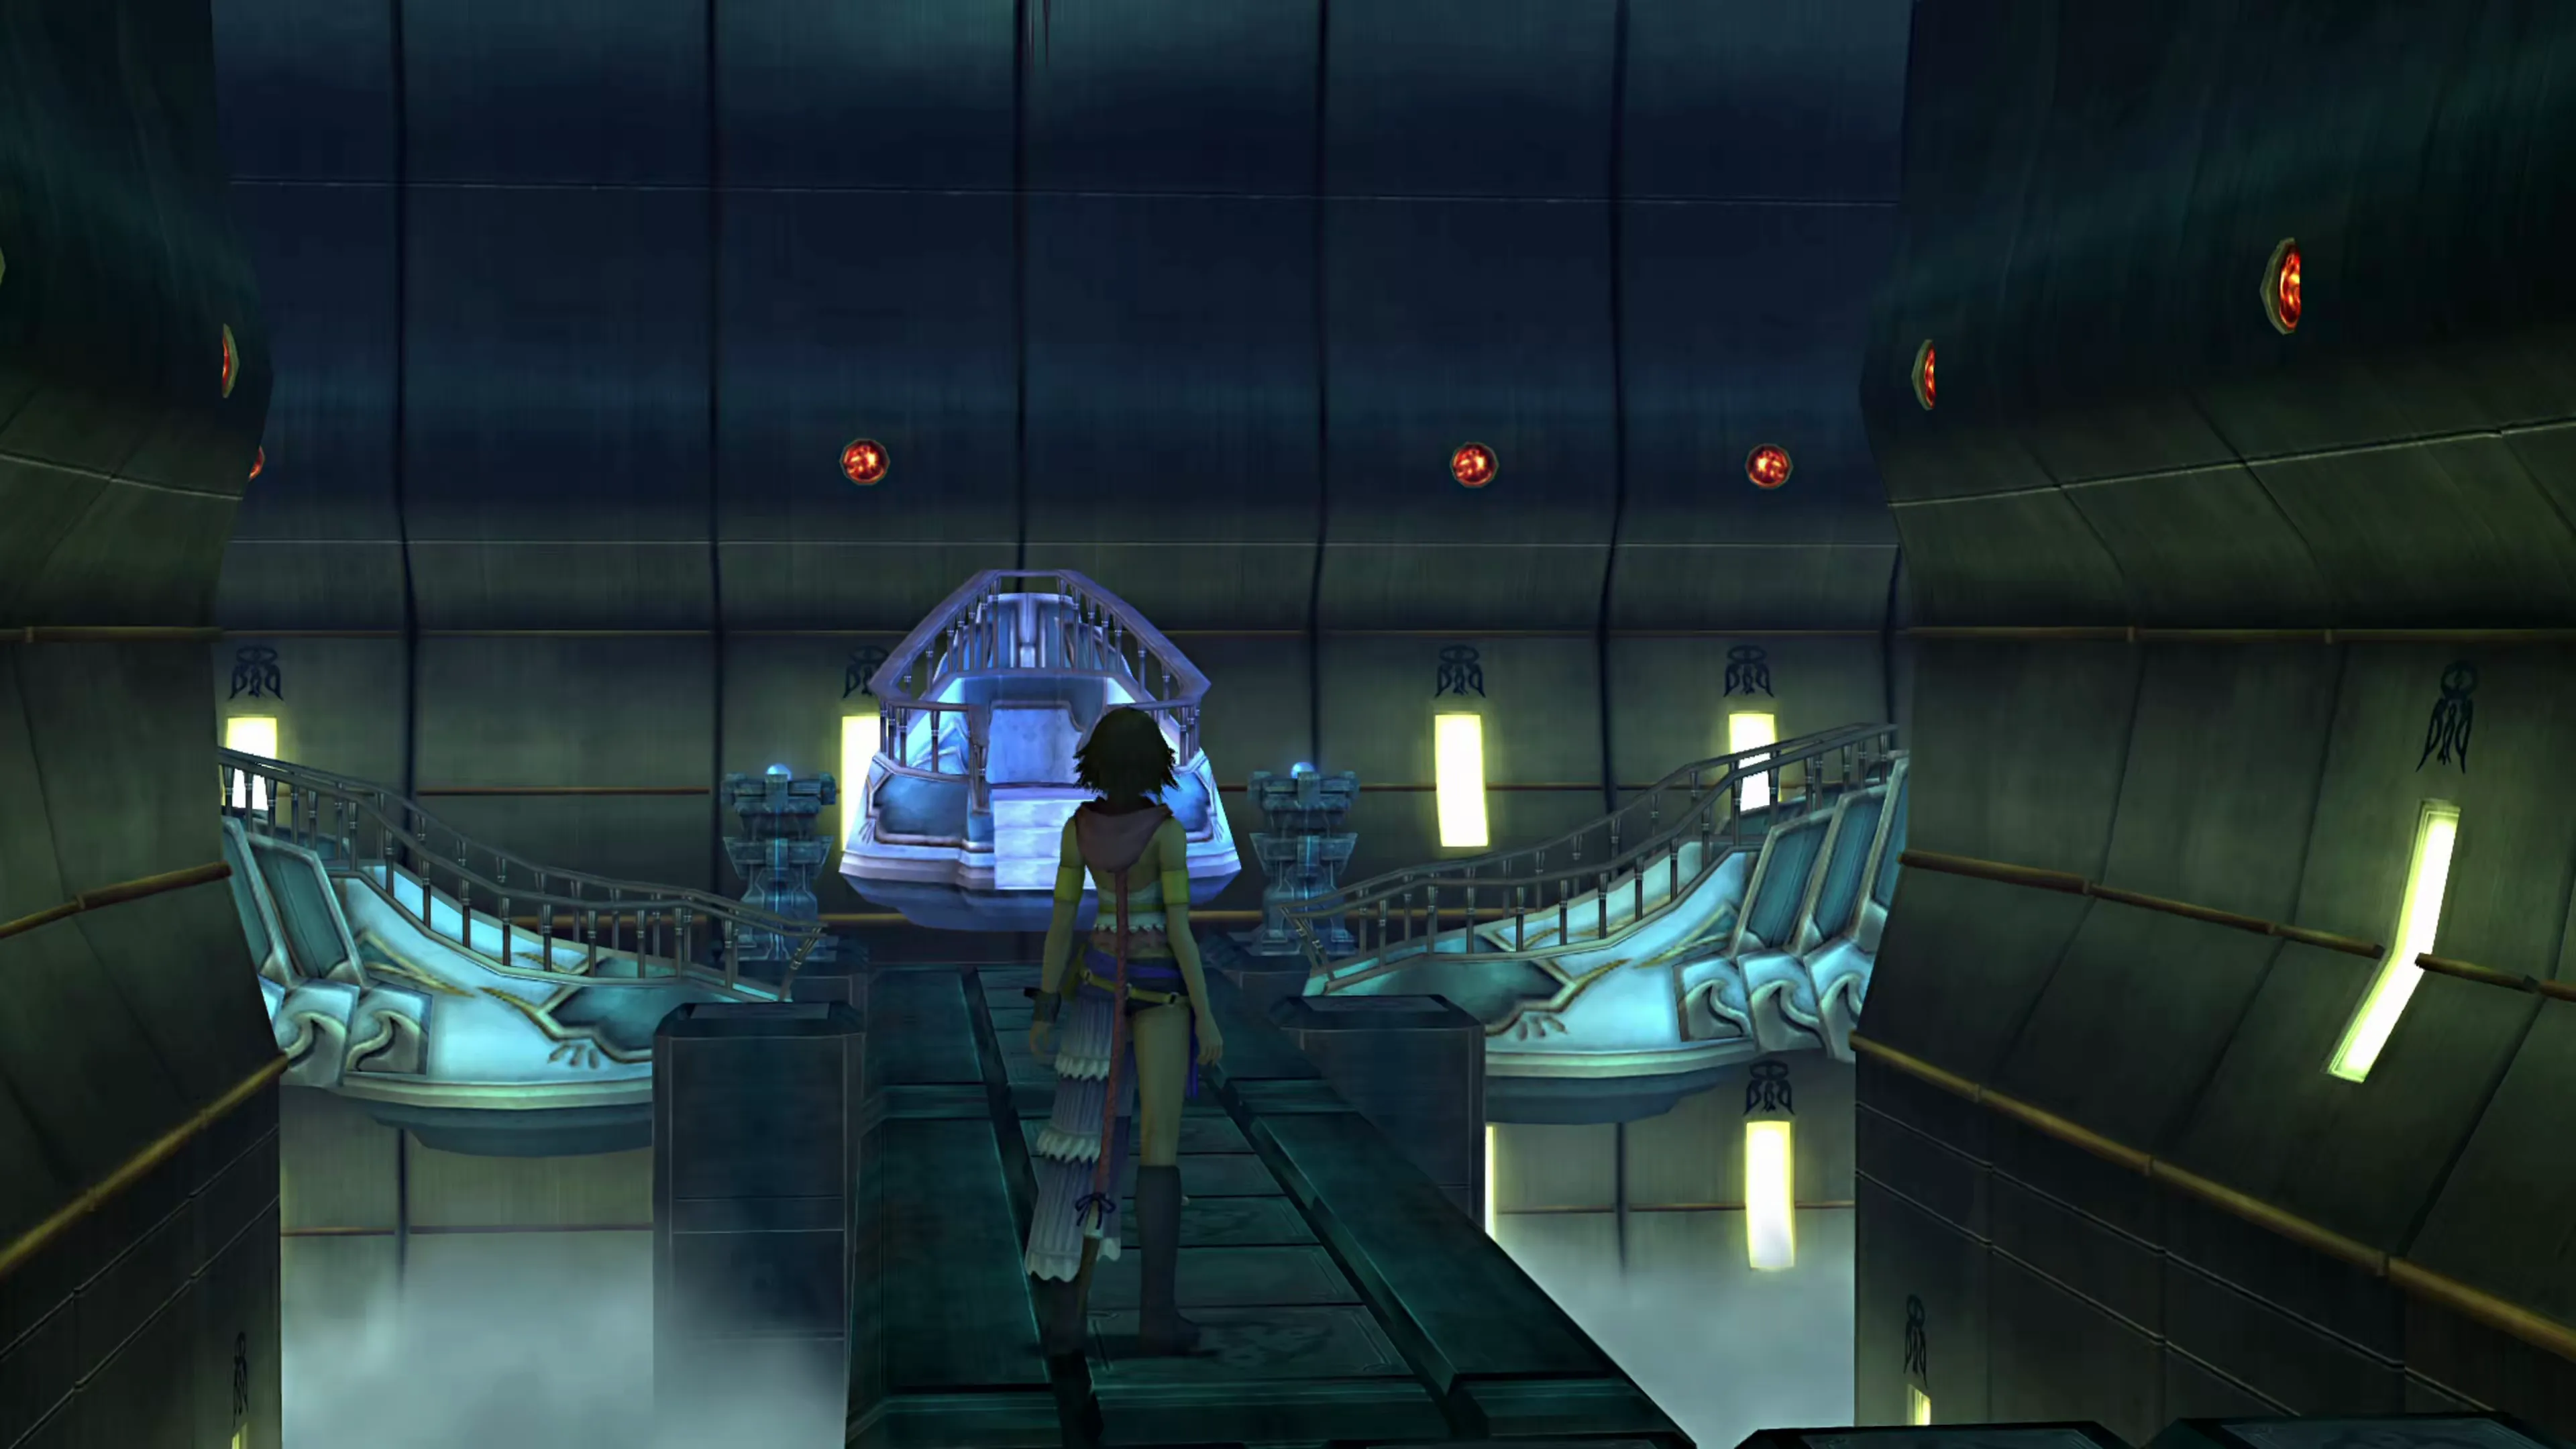
The middle, dark-blue lift doesn’t work while the other two elevators are both beside it, so start by riding either the left or right light-blue lift to the floor above.
Labyrinth 2


| 1 | Hi-Potion |
| 2 |  Dark Knight Dark Knight |
Once you reach the upper floor, begin by opening the treasure chest for a Hi-Potion. Move Yuna towards the screen, heading south, and once you get close enough, she will drop back down a ledge in the lower part of the screen back down to the floor below.
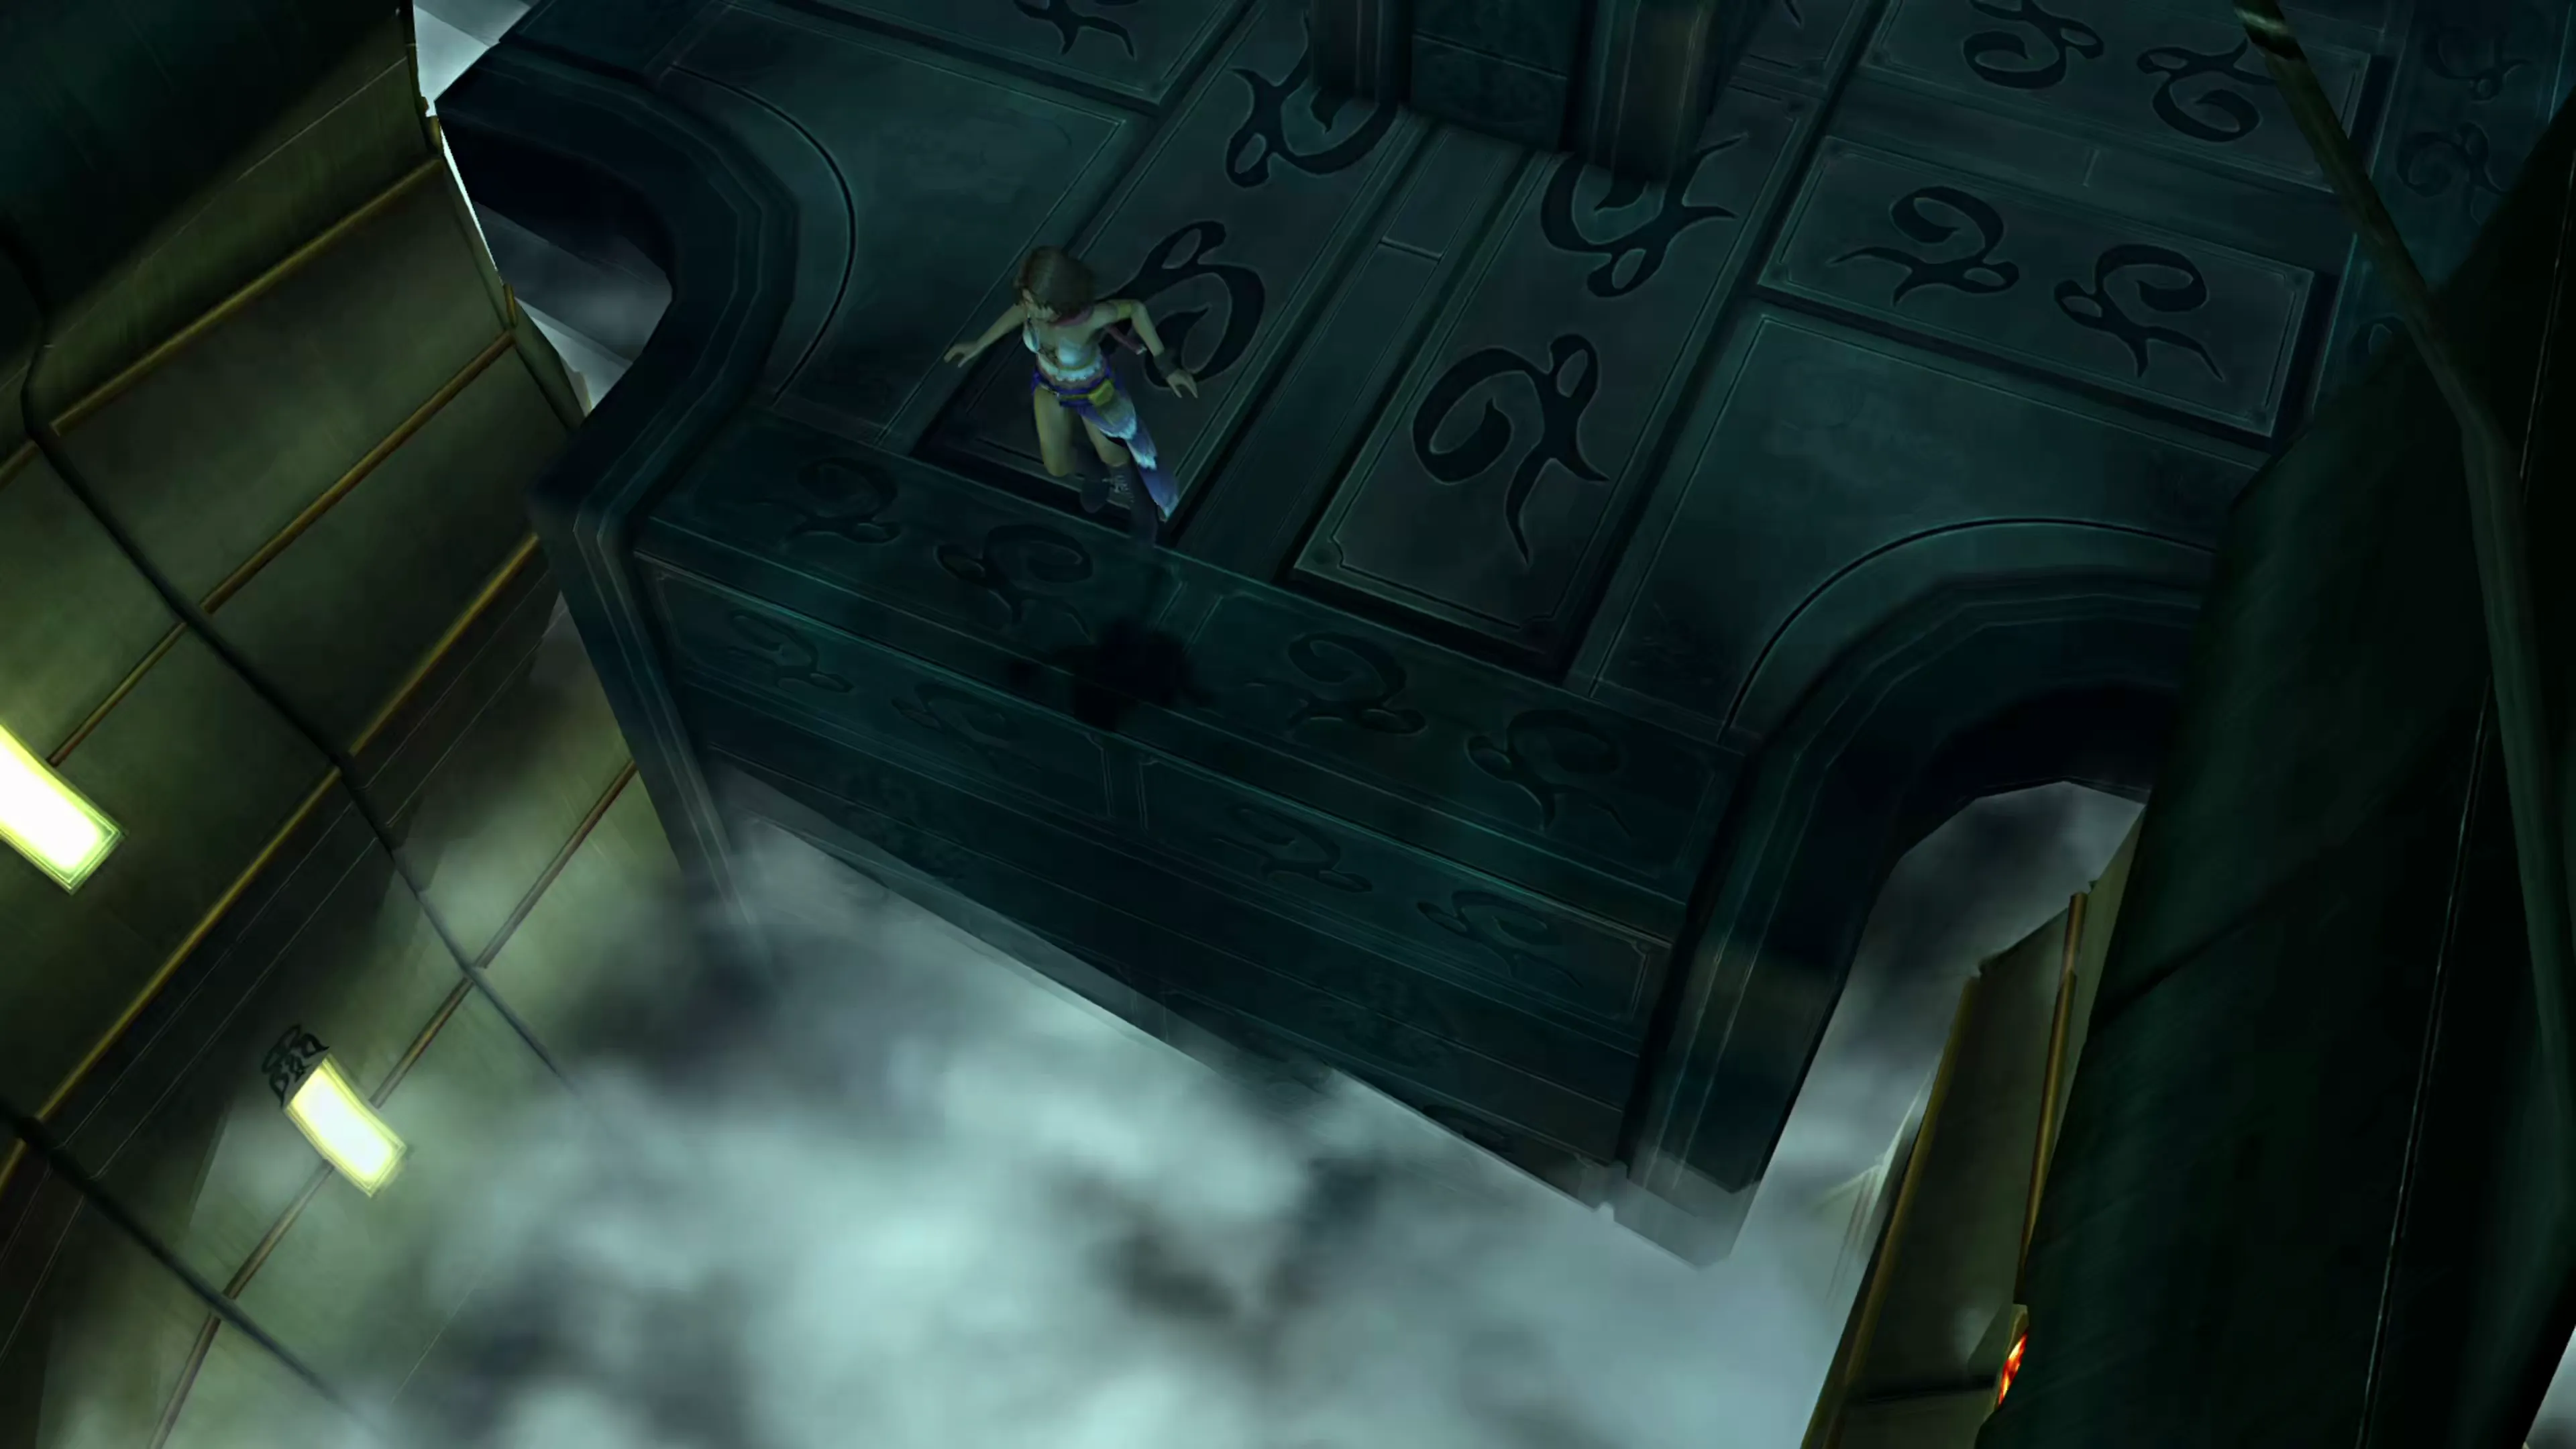
With one of the light blue lifts gone, the dark-blue lift in the middle will now work and take you to a new location, and the location it takes you to depends on which light blue elevator is gone.
Take the middle lift, and it will transport you to a new area where you can climb onto a nearby square block. The square will light up, and you’ll see some platforms pop up near the chest that you need to get to. You still have a bit more to do, though.
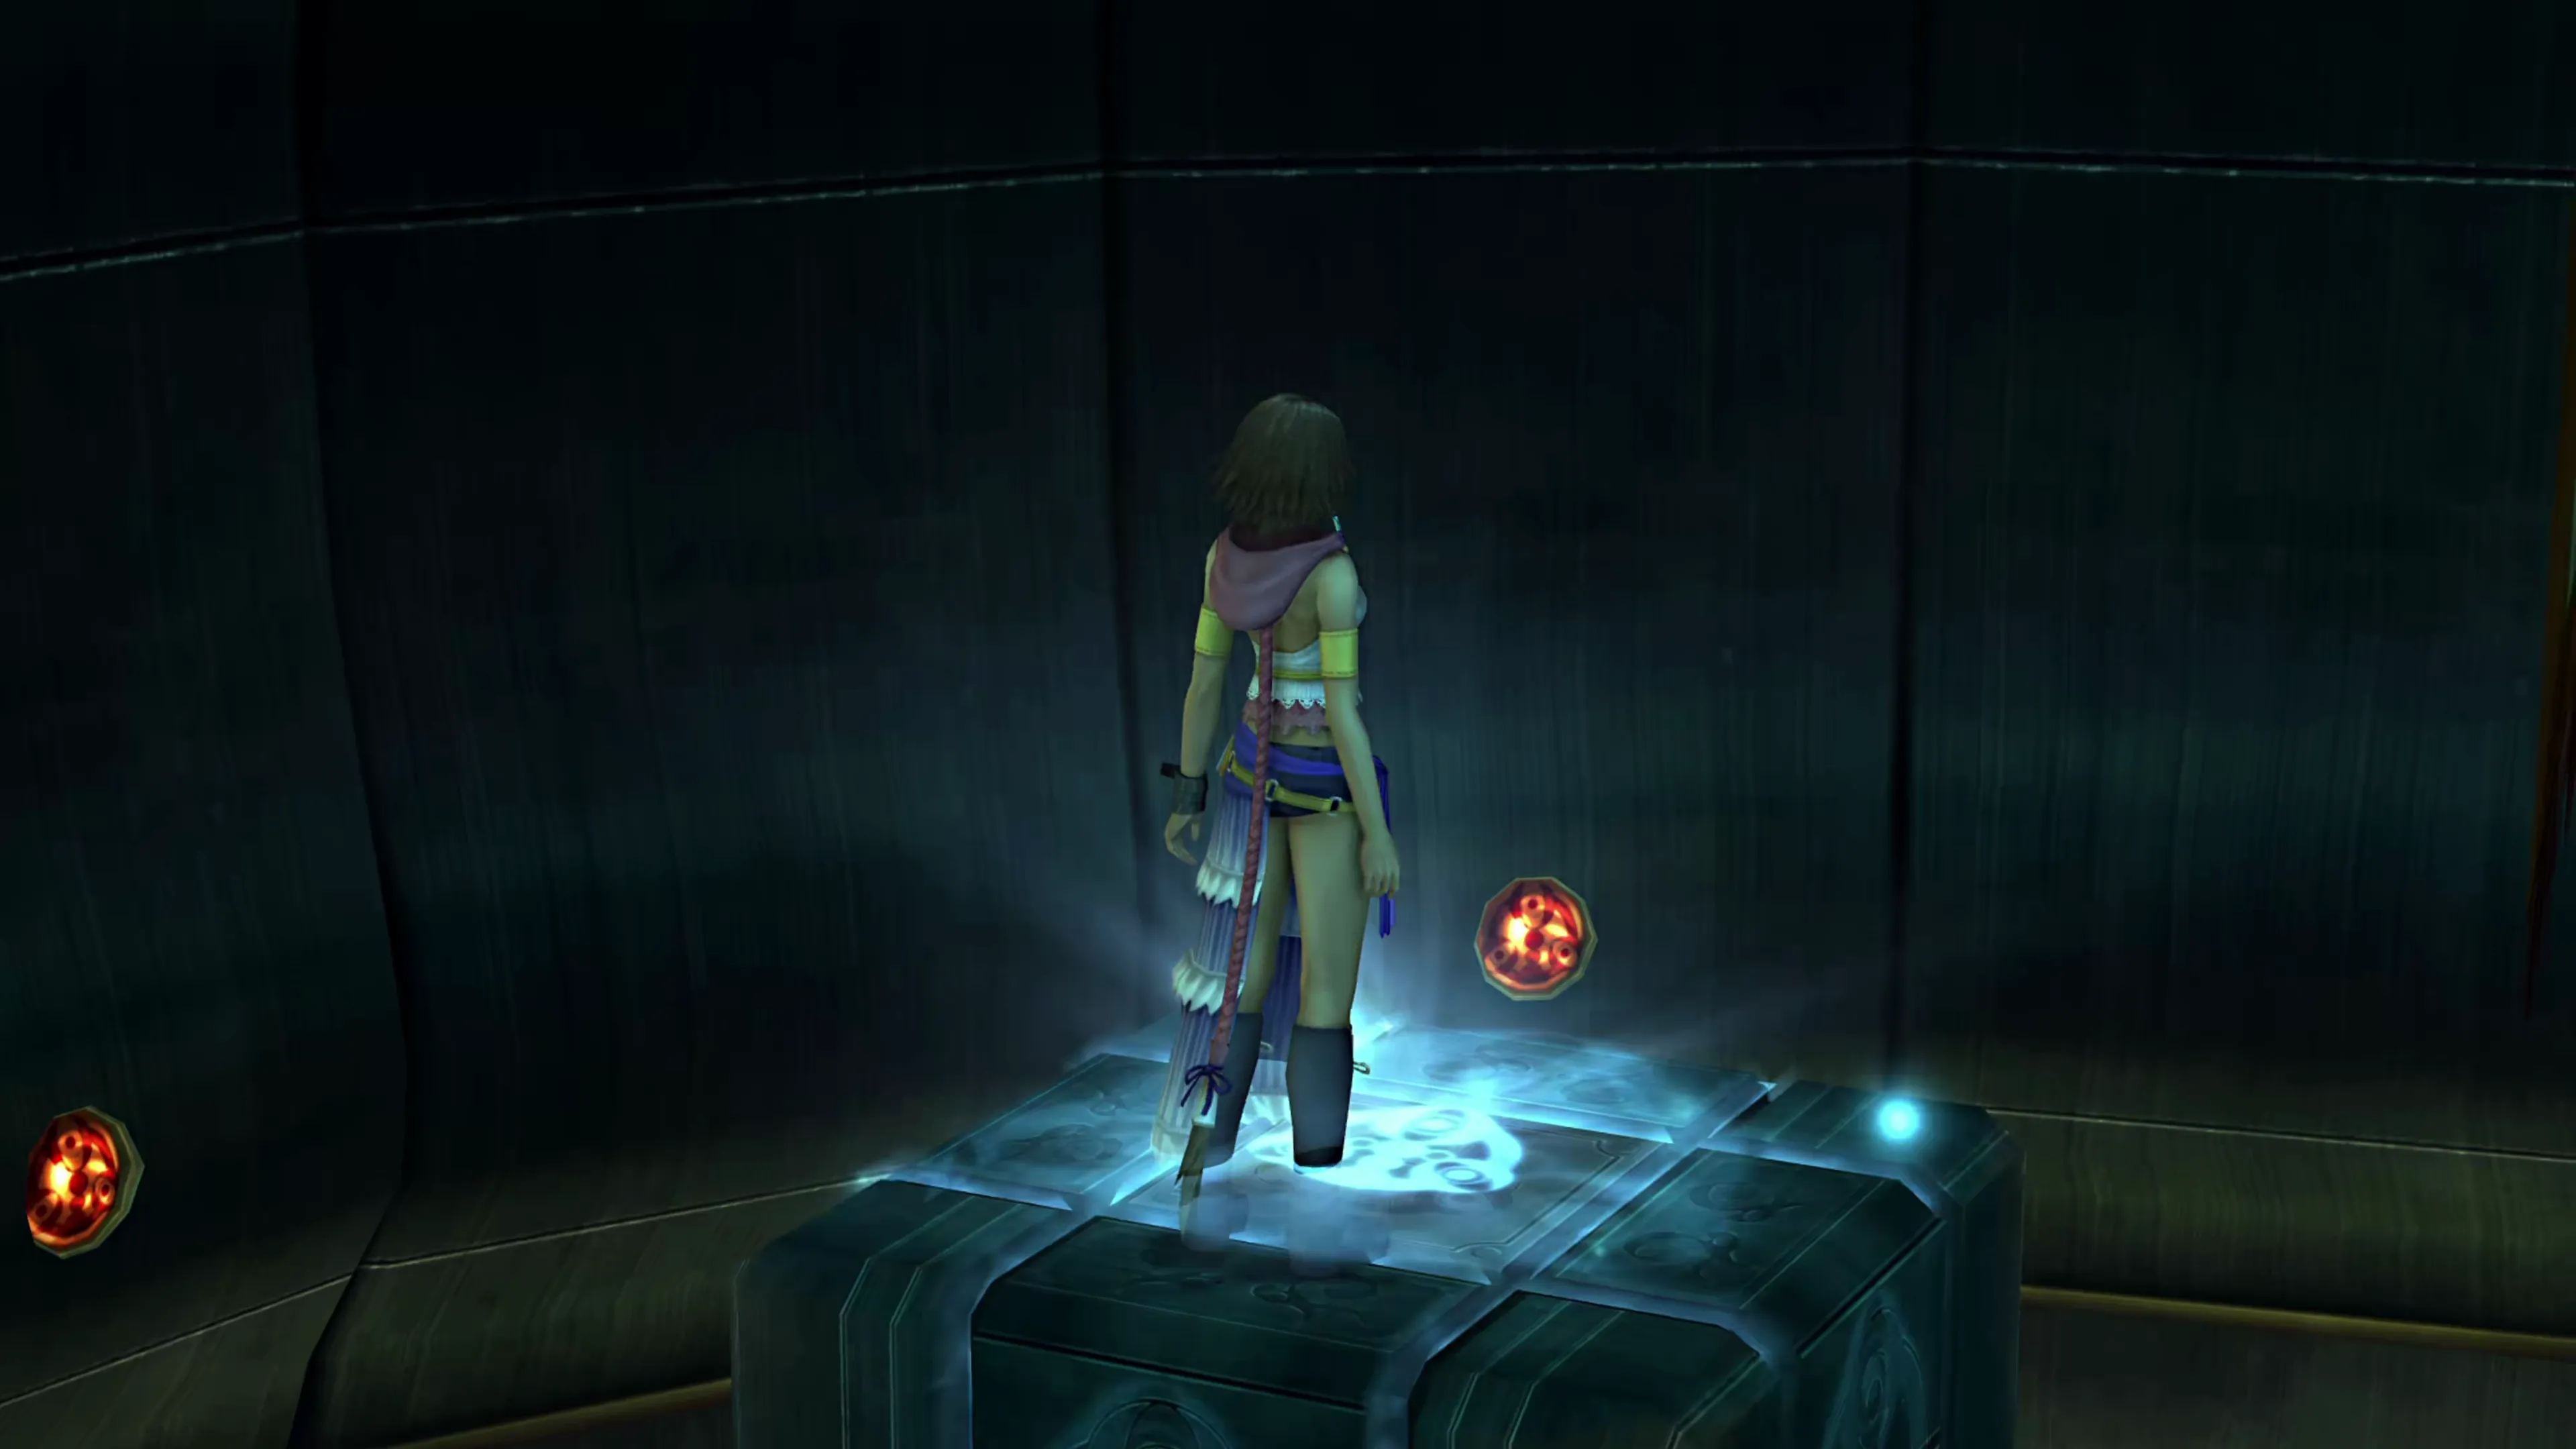
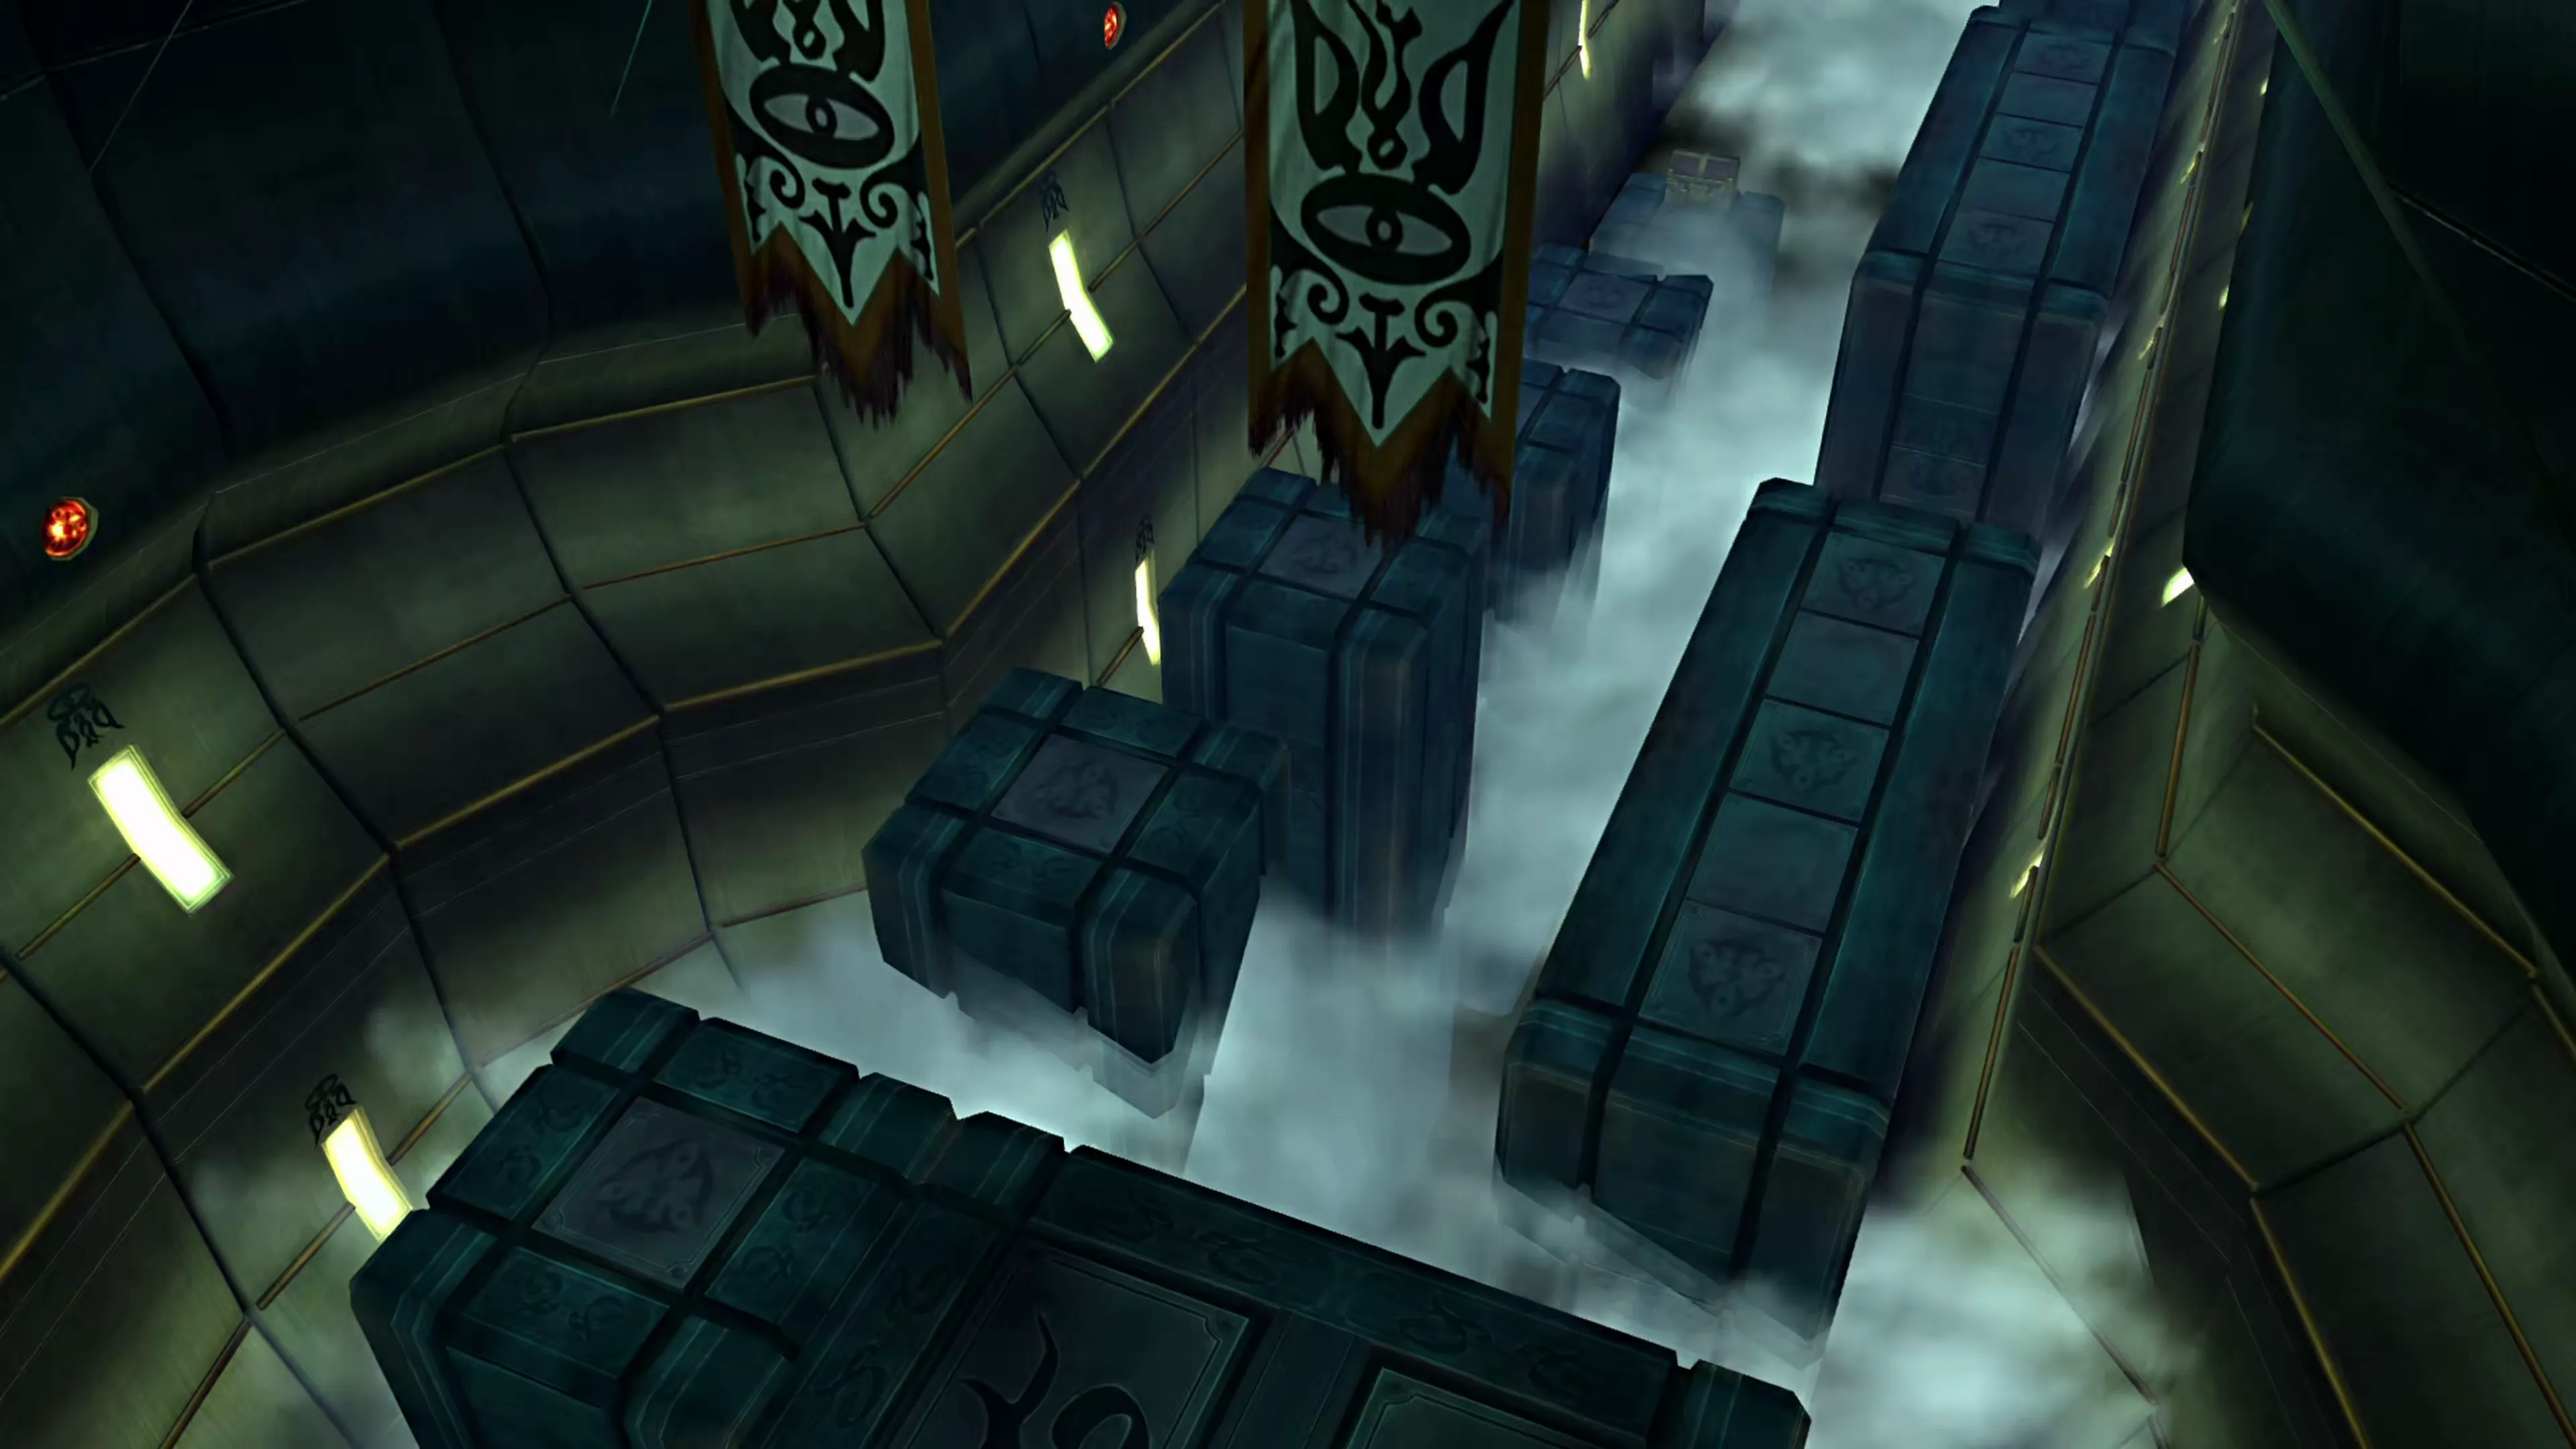
Ride the dark-blue lift back to the previous floor, and this time, take whichever light-blue colored lift is still sitting there up to the floor above. Run across to the other side of this upper floor, take the other lift, and ride it back down (you can’t see the lifts, but they’re there just off-screen).
Helpful Hint
During an upcoming boss battle, you will have your first of two opportunities to have your Gun Mages learn the Drill Shot Blue Bullet ability. Having your Gun Mages learn Blue Bullet abilities is not a requirement for any achievements or trophies, but completionists may want to take advantage of this opportunity.
There will be a battle later on where you can learn Drill Shot, too, because getting the boss to use it takes some work during this next fight. Just make sure that any party members you want to have learn it can access their Gun Mage Dressphere in whichever Garment Grid they have equipped.
Now that the other light-blue lift is gone, the dark-blue elevator will take you to a completely different location. Take the dark-blue elevator again to another area, then follow the same steps until a few more platforms pop up. The path to the treasure chest is now open!
Ride the light-blue lift back to the upper level, then stand on the two raised platforms here. These switches will unlock the elevator along the back wall and create a platform you can jump onto. Ride that elevator to the next floor.
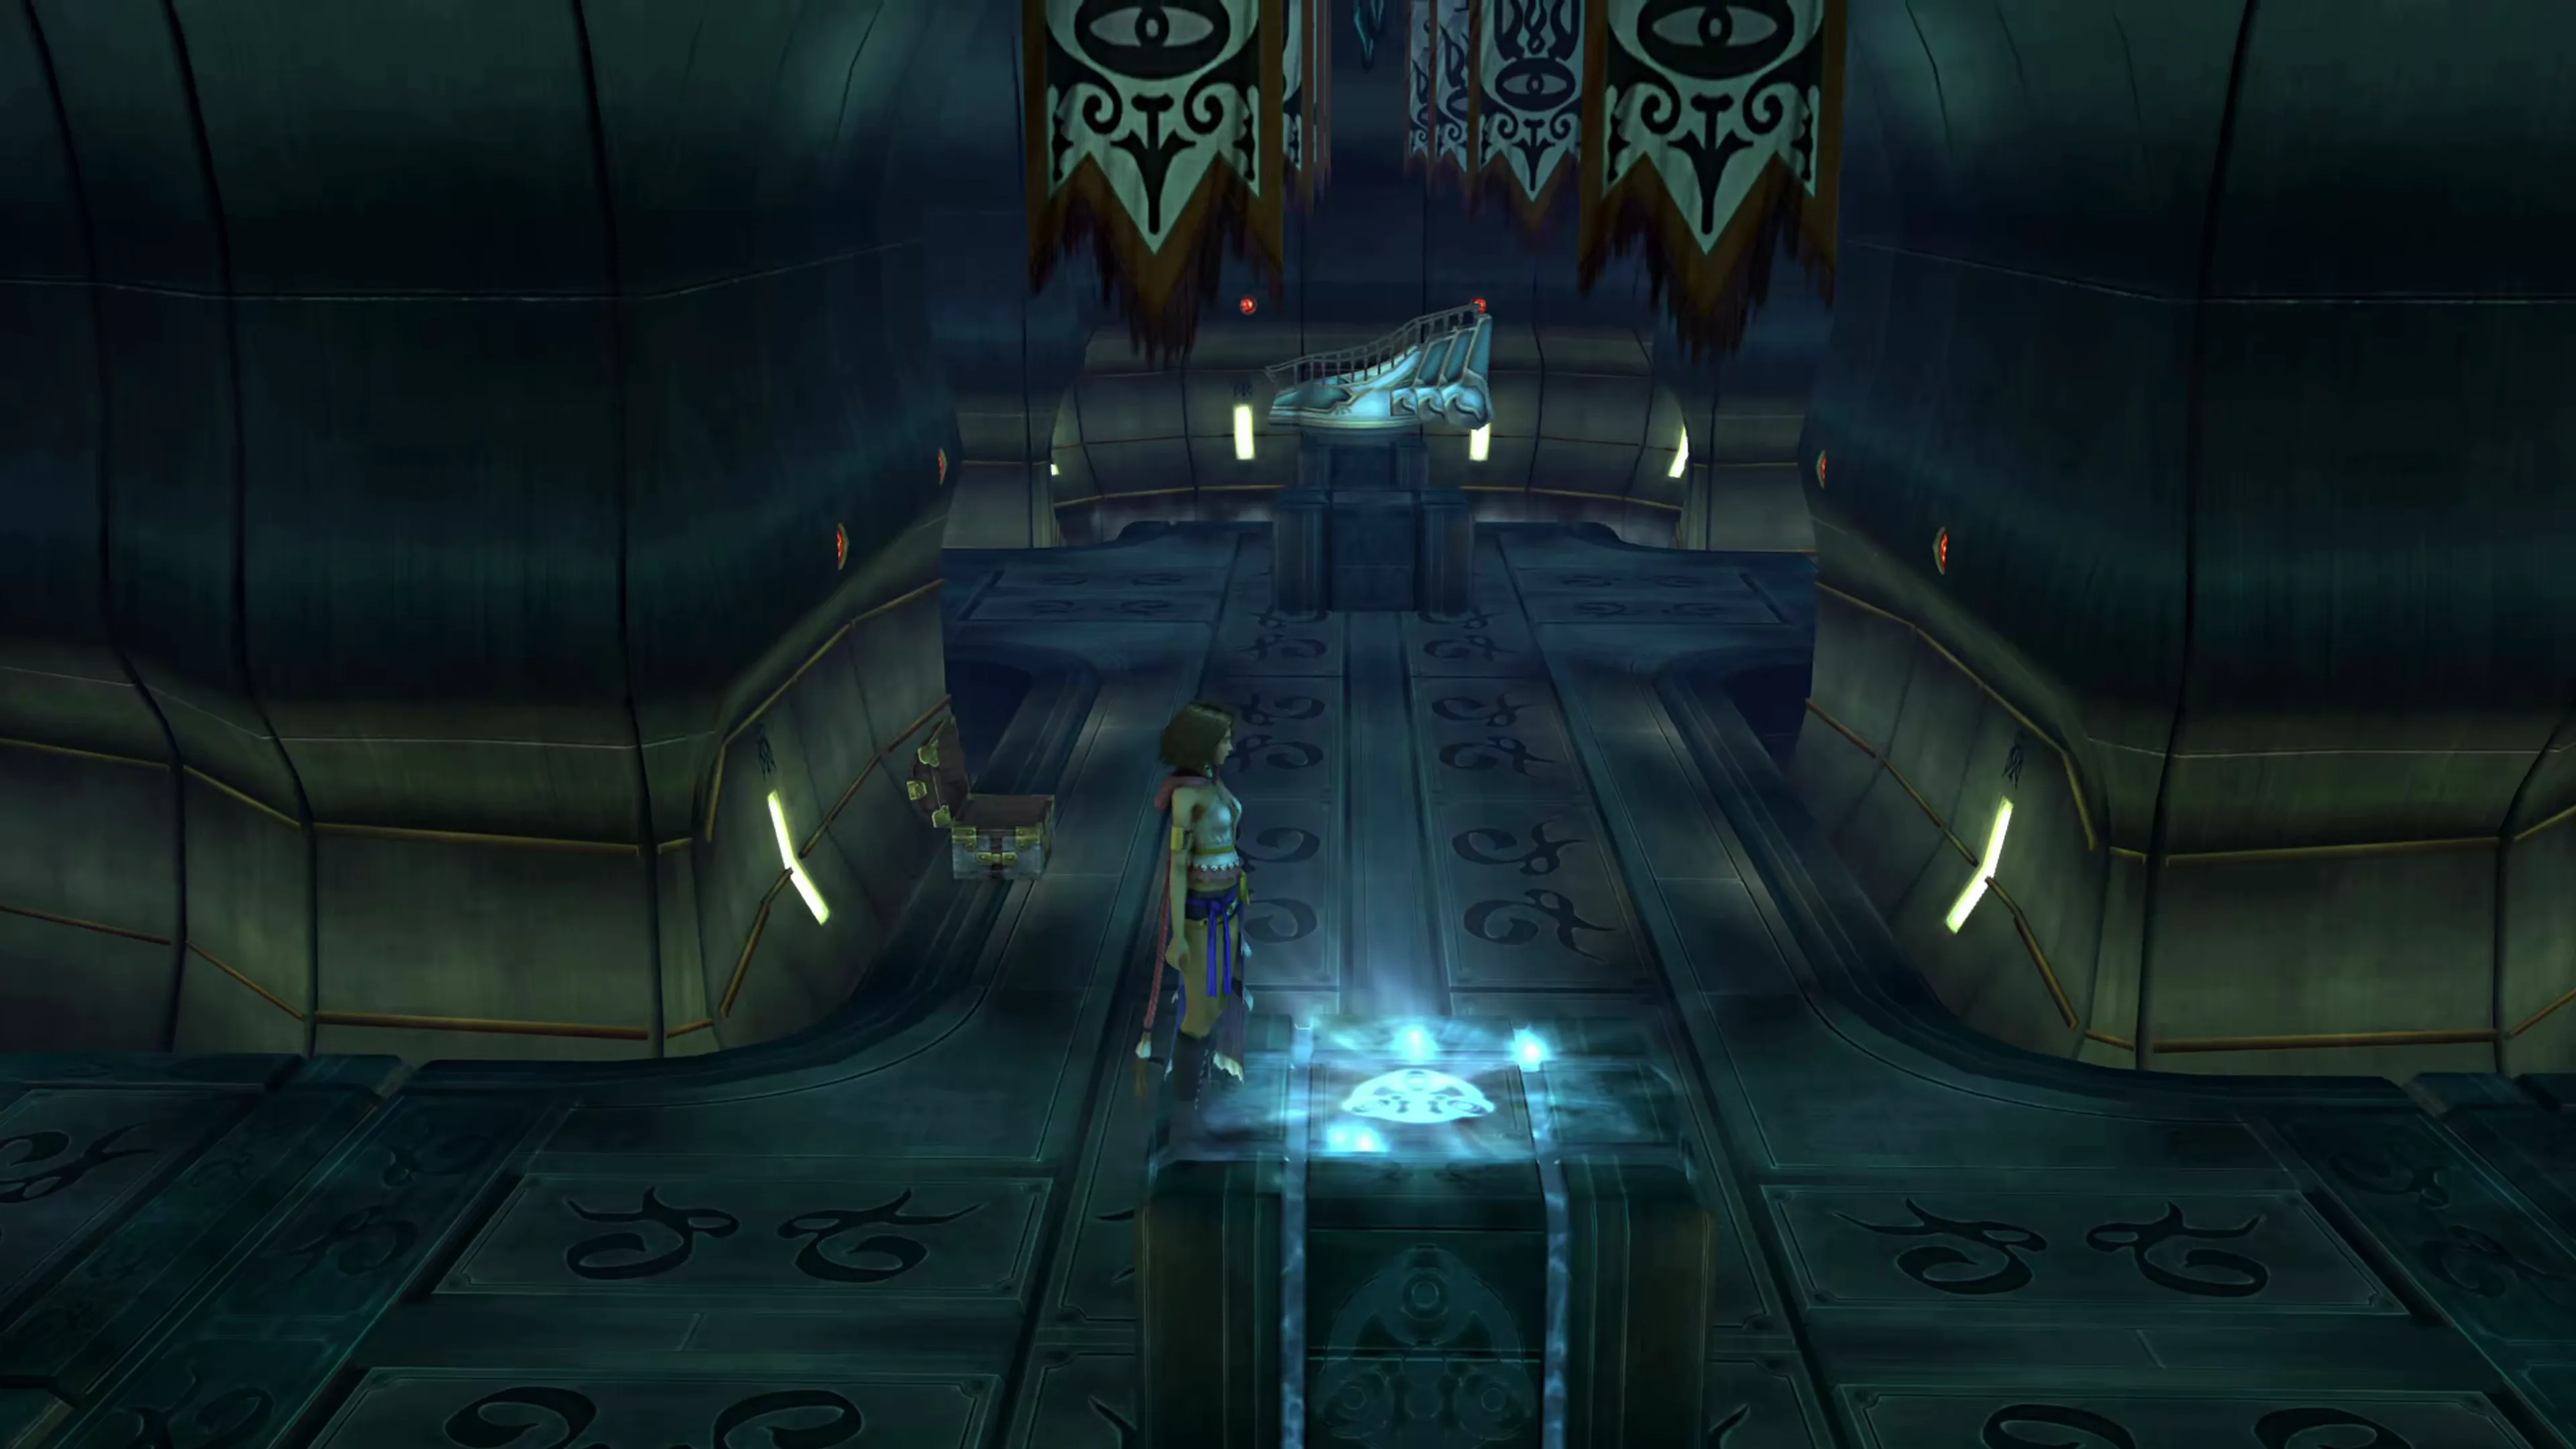
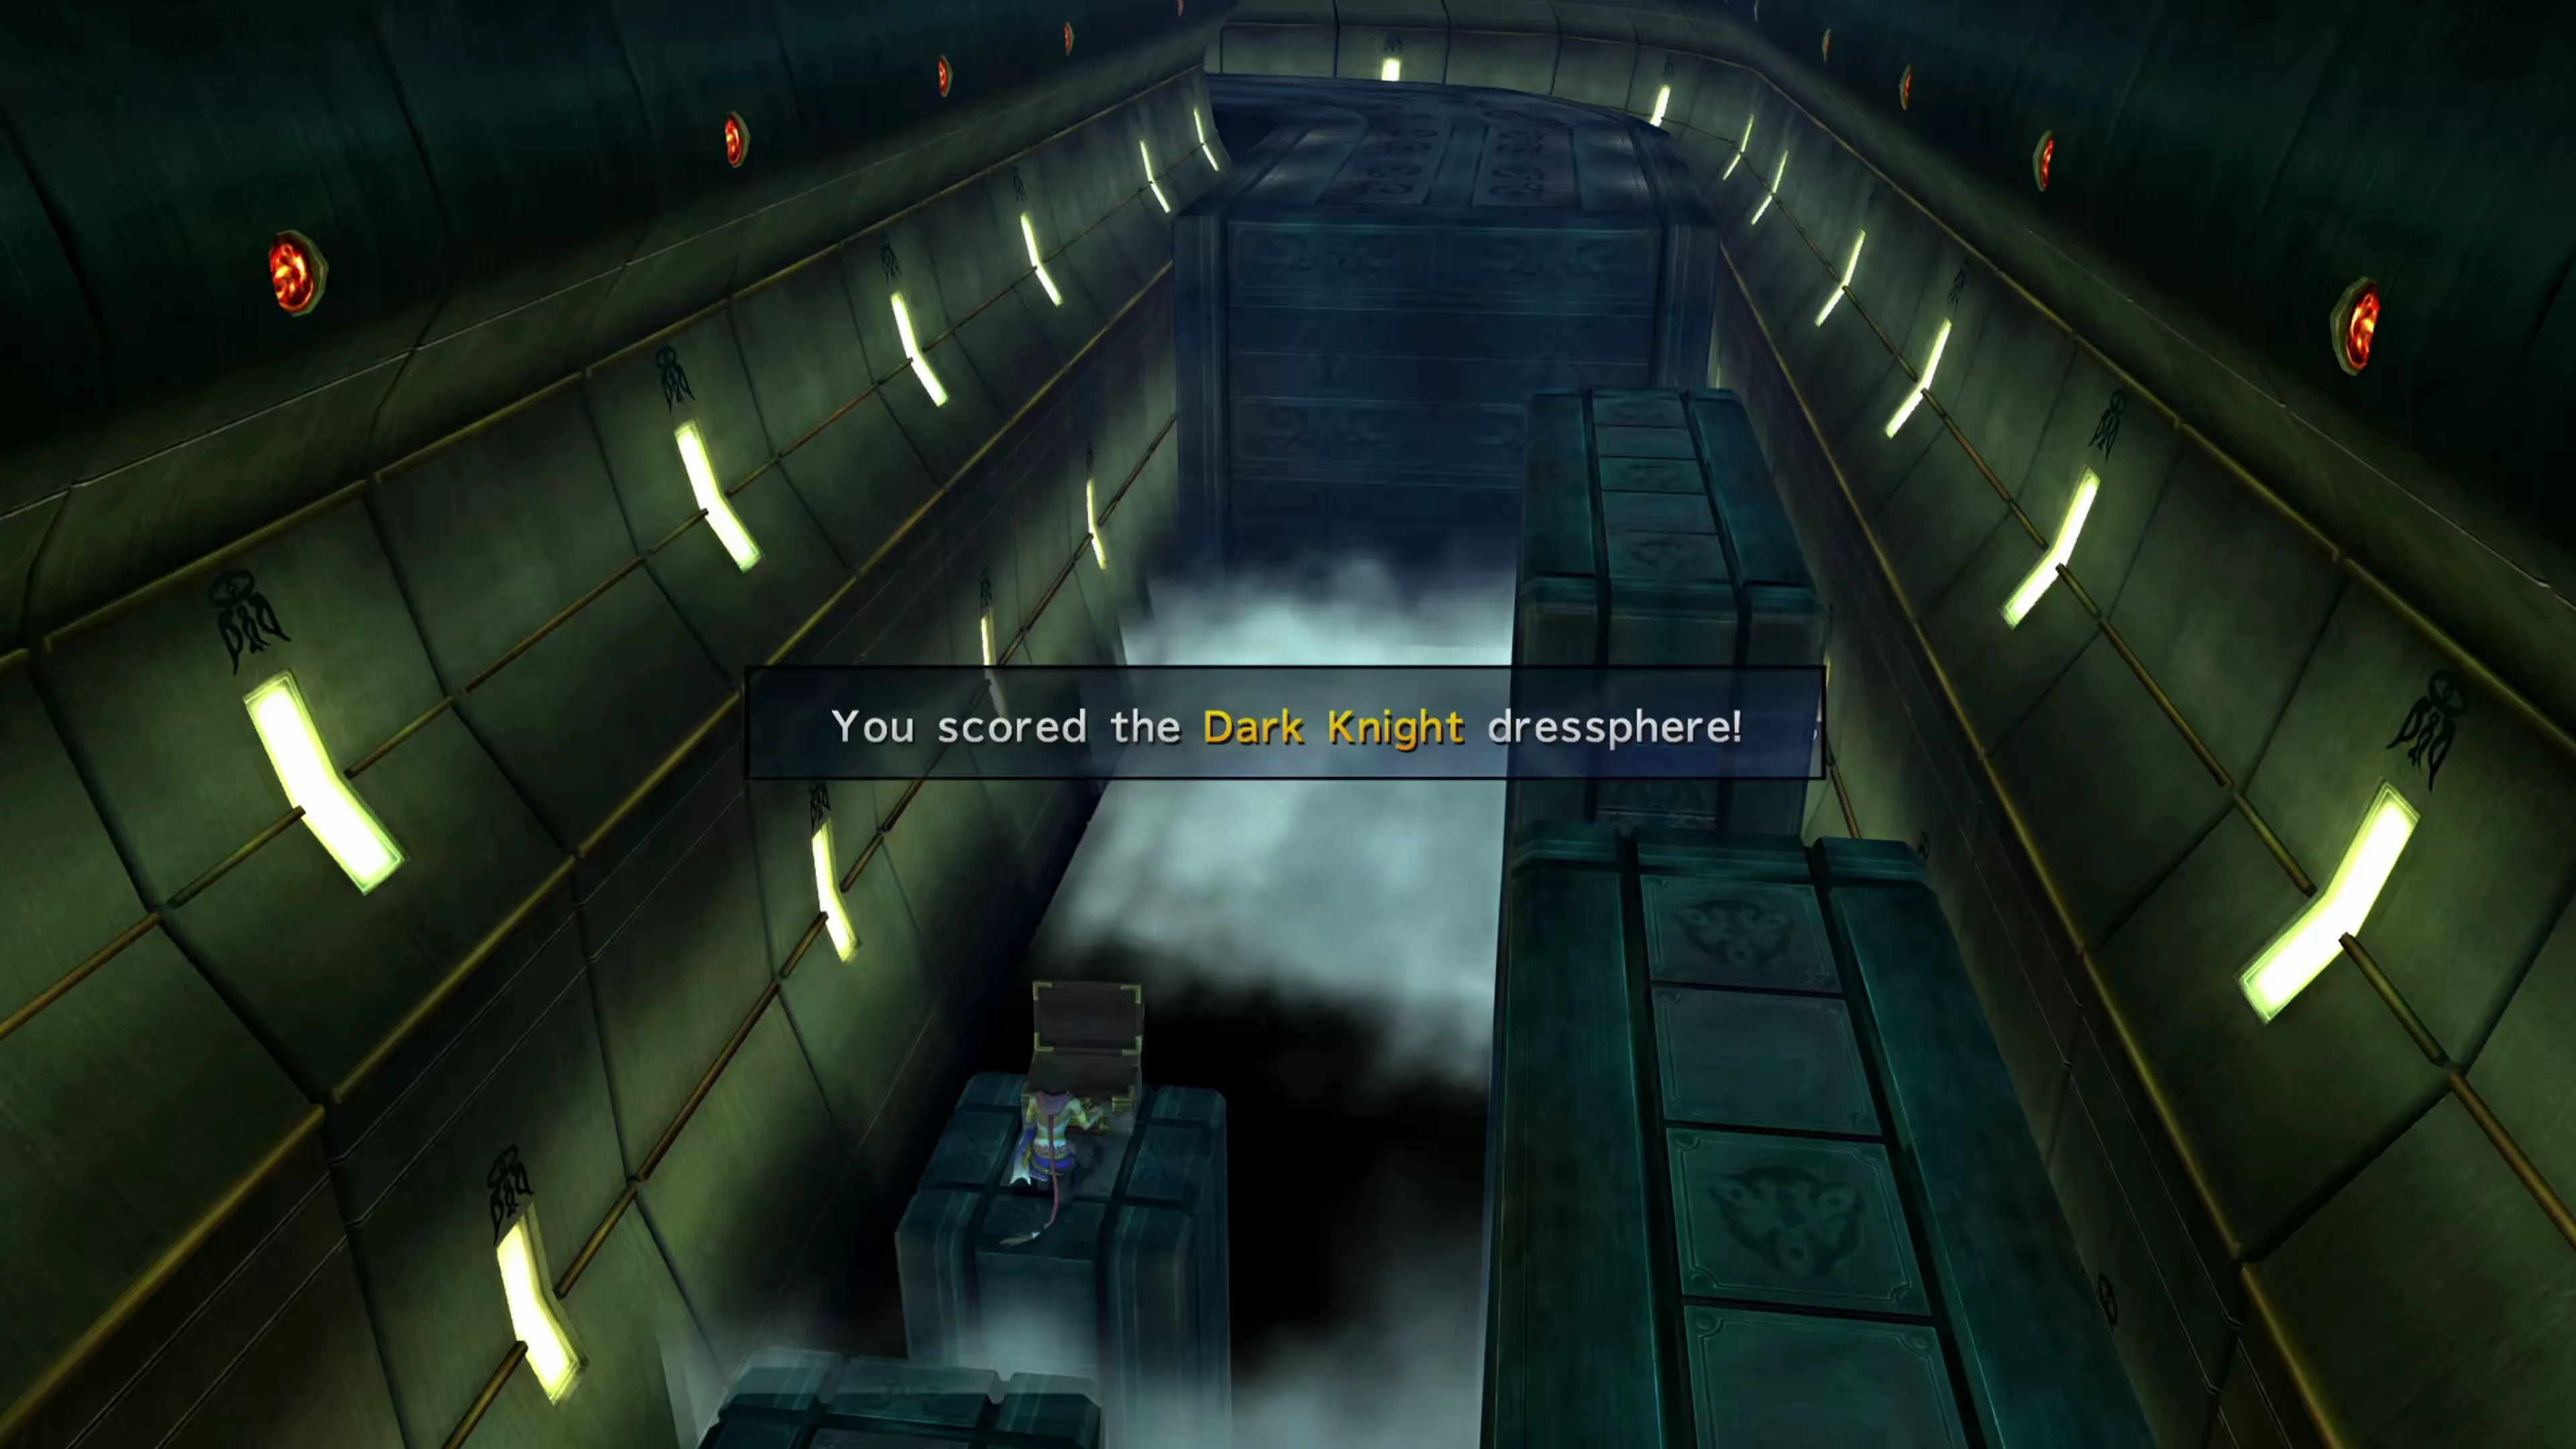
This is the floor with the treasure chest you need to reach. Jump along the platforms on the left side of the screen and open the treasure chest to pick up your next Dressphere, the Dark Knight. This is a fantastic Dressphere, and it’s worth swapping one of your party members into it now. Use the link below if you’d like to learn more.
Dresspheres
One of the most powerful Dresspheres, the Dark Knight has a strong (but slow) attack and high defense. It’s a very effective addition to your party.
The Dark Knight is considered to be one of the better Dresspheres in the game. If you would like a refresher on different Dressphere combinations or rankings, use the link below:
Tips and Tricks
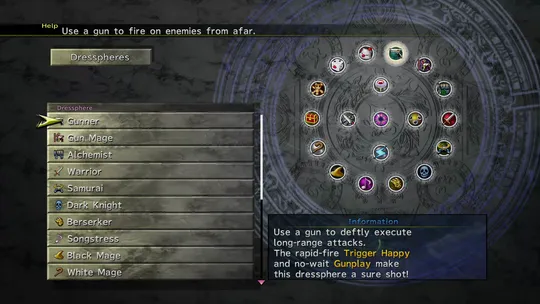
An overview of the best Dresspheres in the game and an outline of which Dresspheres carry the most utility over into later chapters. This section includes a tier list.
Head back up to the Save Sphere and save your game. Use the platforms on the right side to continue across to your next boss battle. Make sure one party member starts in their  Thief Dressphere so they can steal from an upcoming boss. You may also want to equip one party member with the Ribbon you picked up to prevent some nasty status effects.
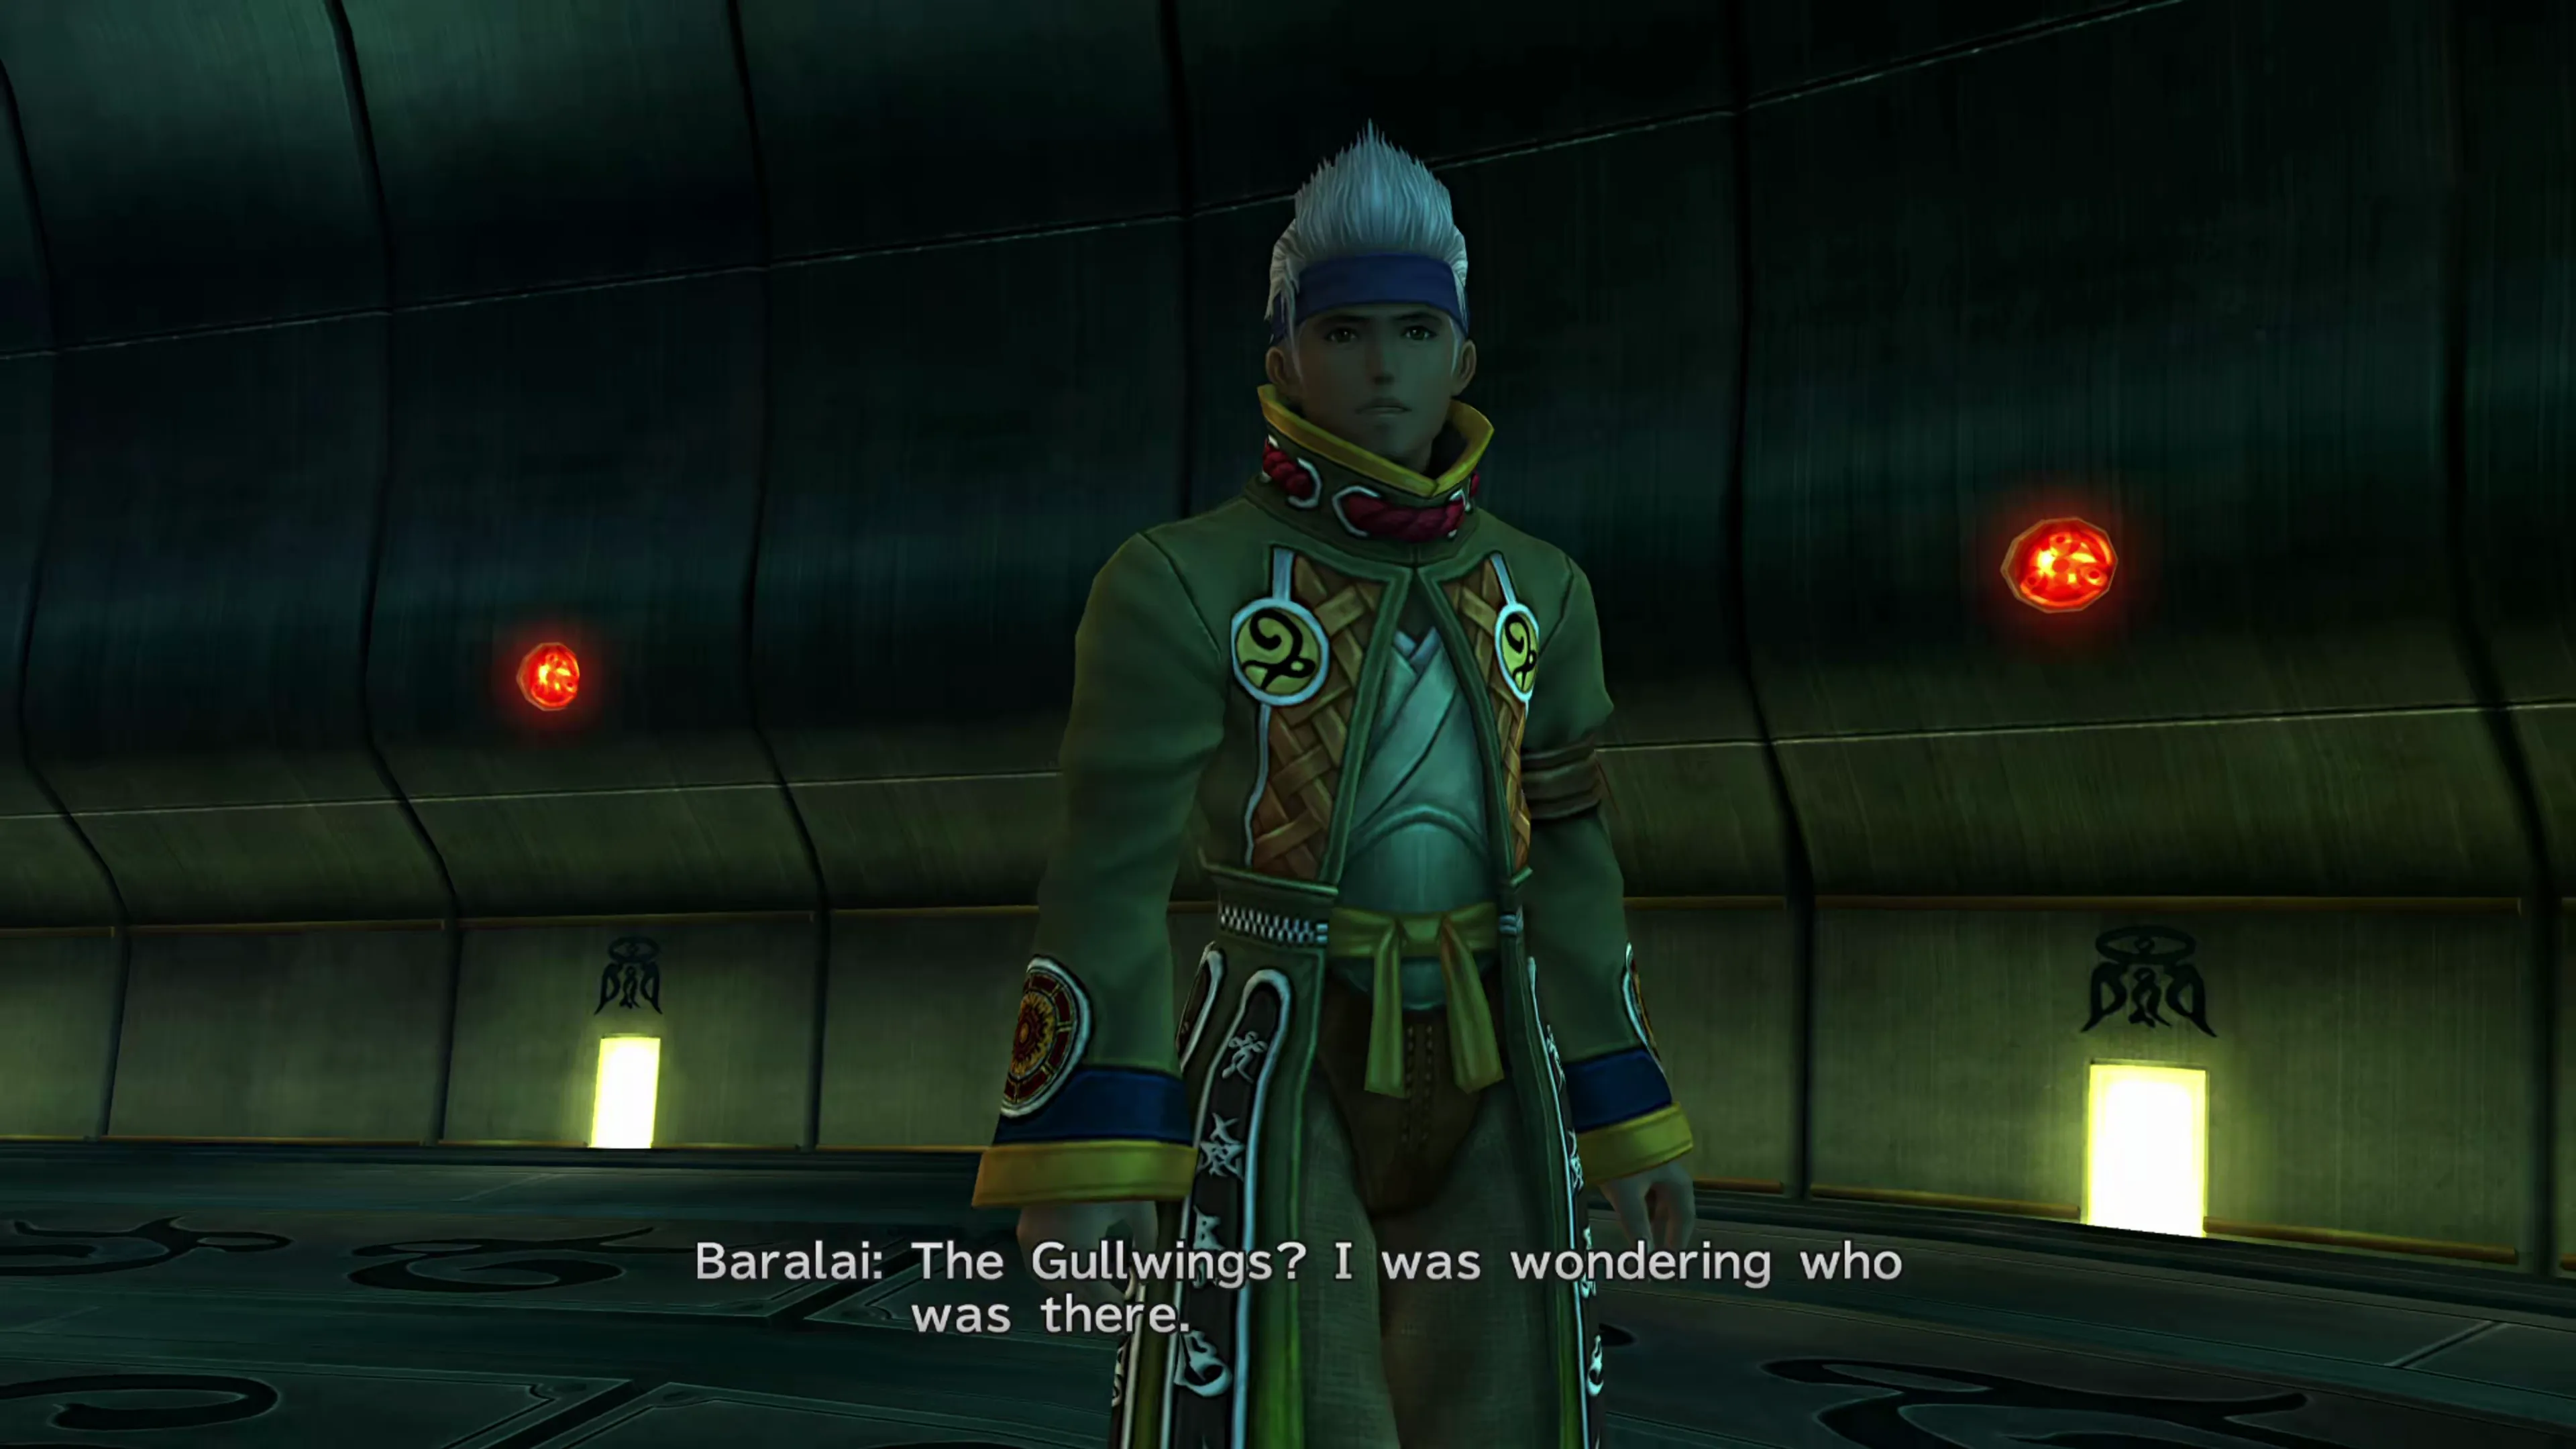
A short cutscene will play after you jump onto the last platform, and then it’s straight into the next boss battle.
Boss Battle
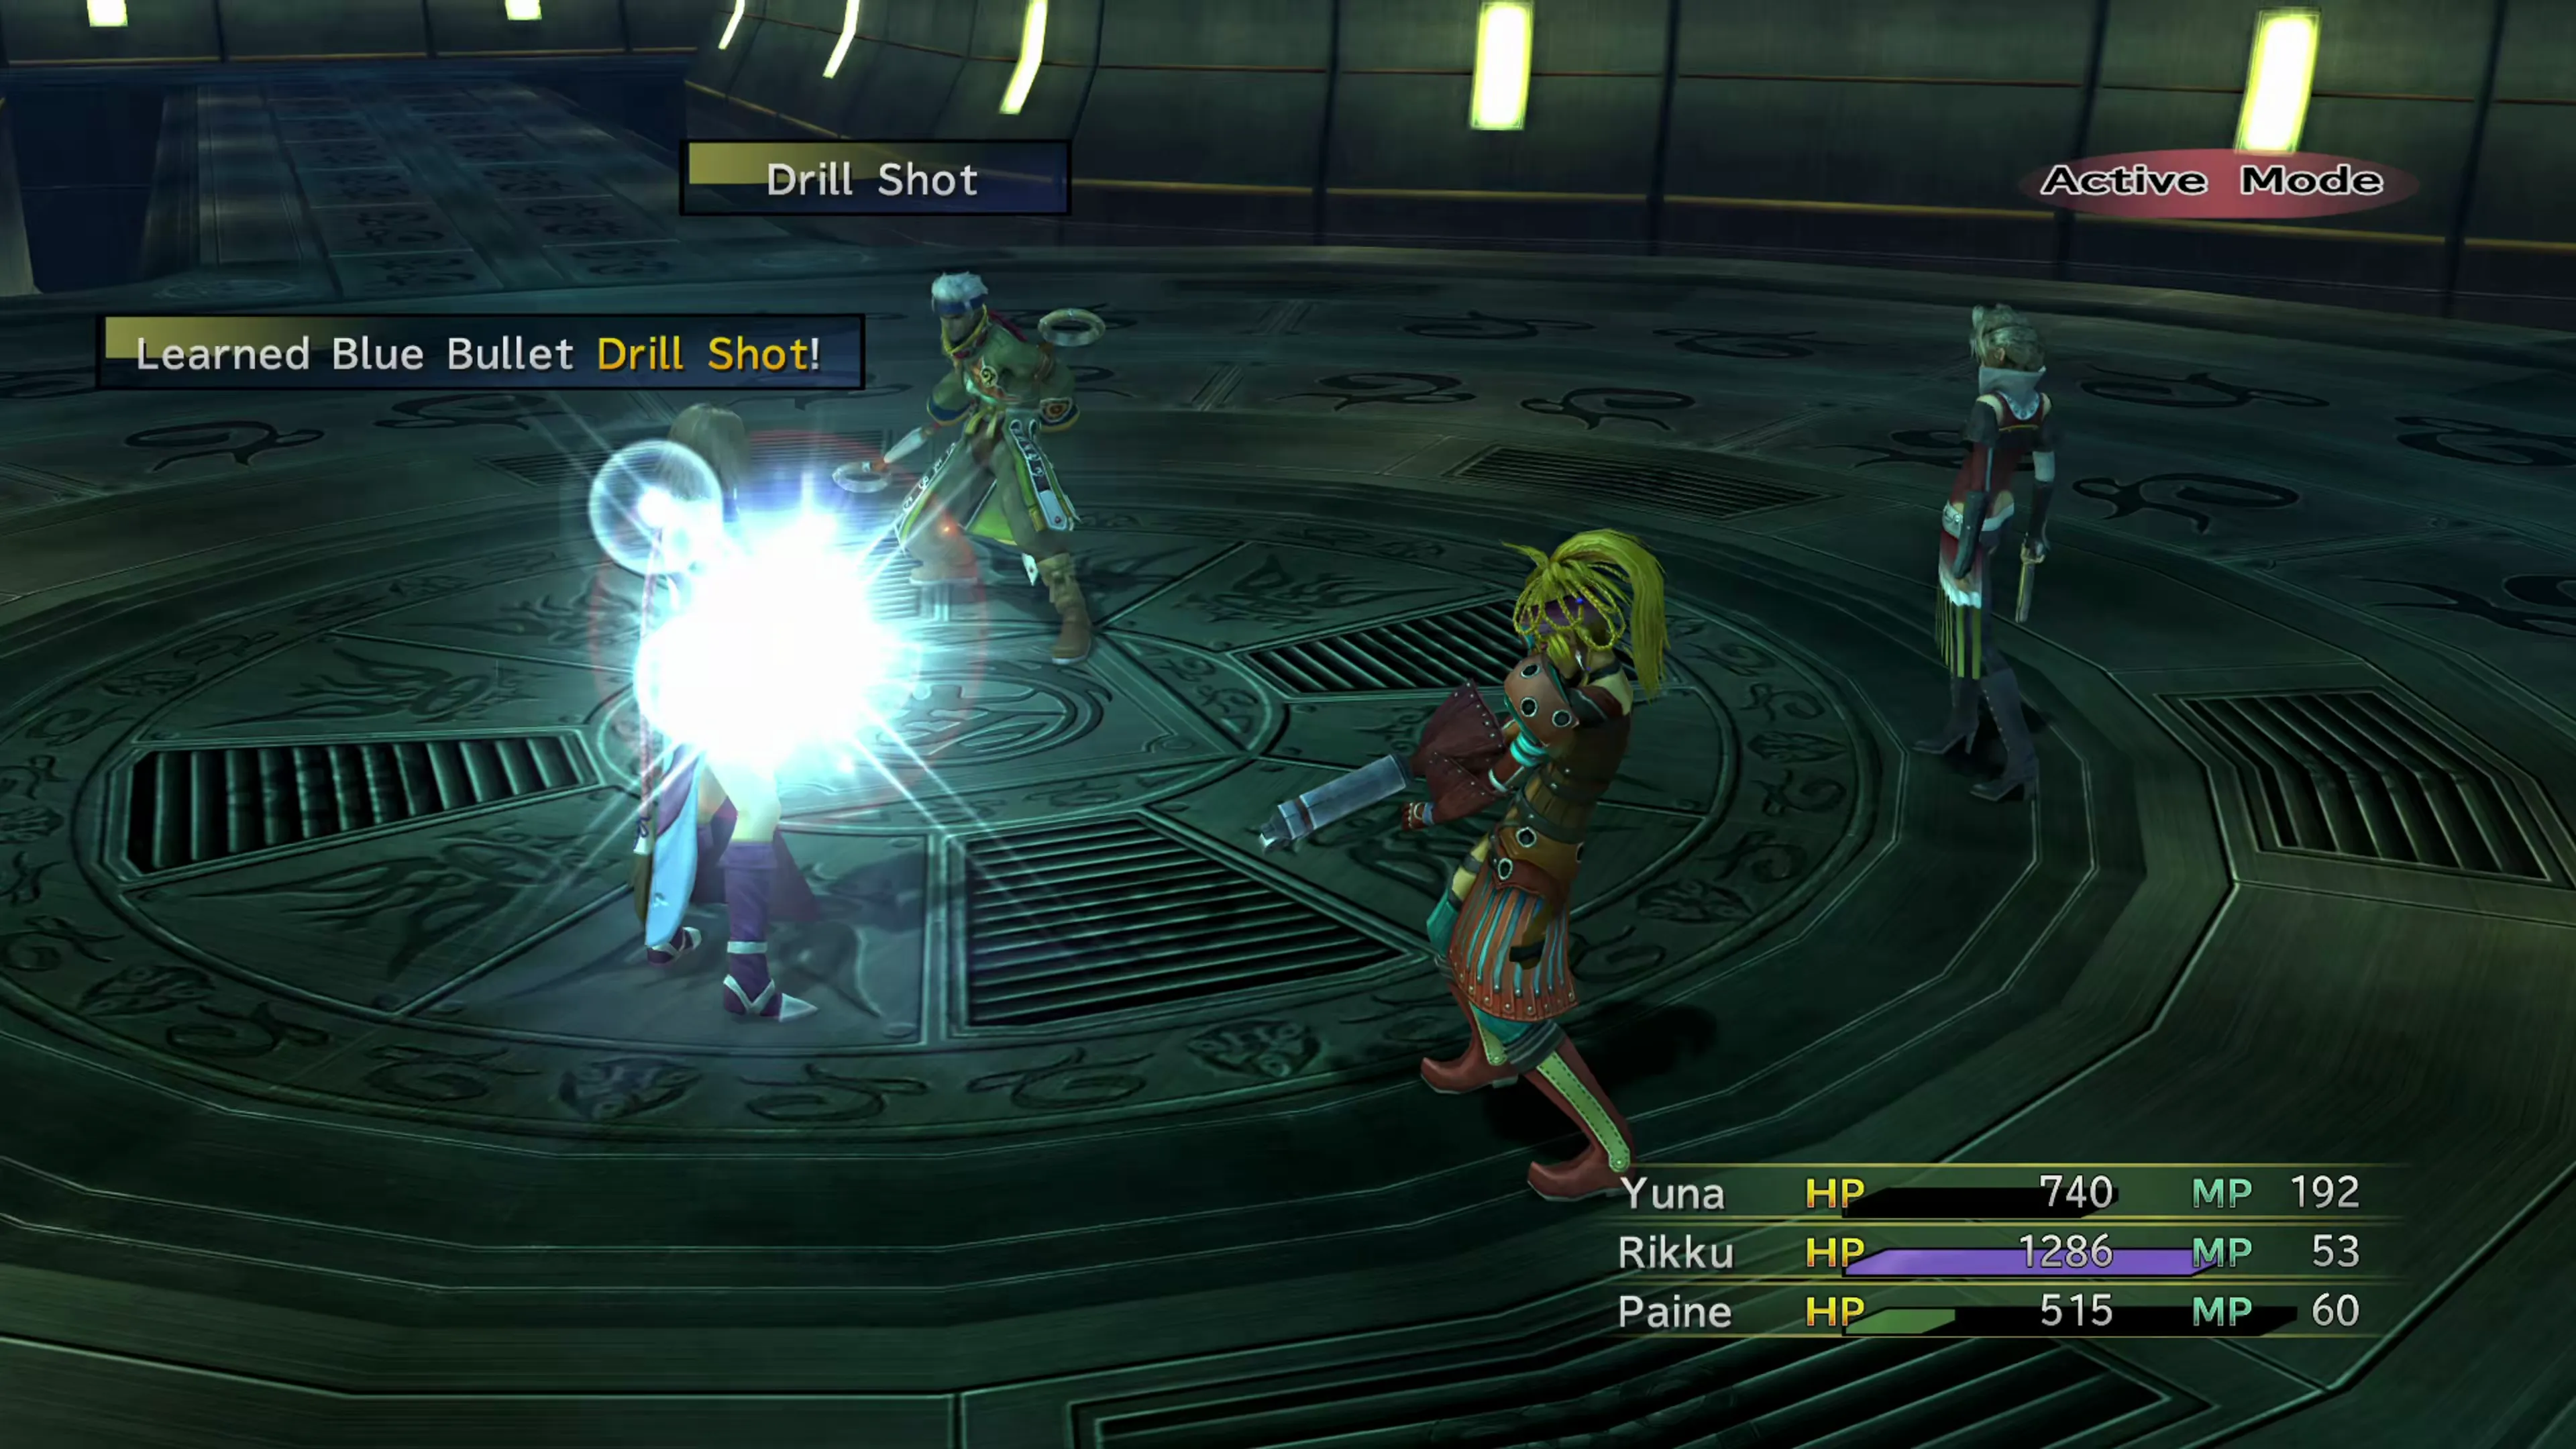
For starters, make sure that your Thief steals the Charm Bangle from Baralai. This critical accessory can prevent random enemy encounters. Now, with that out of the way, it is time to discuss Baralai’s attacks. If your Thief has learned the  Stopproof ability, you may want to leave them in that role even longer…
Baralai will use a move called Drill Shot after his HP has changed 10 times, and healing him counts toward that total. The attack targets whoever caused the tenth change, which is how you can steer it onto a Gun Mage to learn it. This incredibly powerful attack deals 75% damage to whichever party member it hits, so you’ll need to keep your party members healed up throughout this fight, or keep track of how many times you’ve hit Baralai so you can anticipate this attack.
He will also use an attack called “Looming Glacier,” which causes the  Stop status effect. This is where the Ribbon accessory and a Thief’s Stopproof ability can help. This attack also drains a party member’s MP, which means you’re going to be dealing with low MP in this fight constantly. Dark Knights are a good choice since they don’t rely on MP to deal reliable damage.
Having an  Alchemist equipped with a Ribbon and keeping them continually using Mega-Potions can be really helpful in this fight. Using a
  Gunner, who can attack from a distance and spread out a bit more, can also be helpful, because Baralai’s “Glint” attack hits all party members that are in range of the attack.
This is a tough fight, so don’t get discouraged if it takes you a couple of attempts.
| Enemy | HP | Steal | Drop |
|---|---|---|---|
| Baralai | 3380 | Charm Bangle | Pearl Necklace |
If you found that fight challenging, consider retreating to the Save Sphere to save your game so you don’t have to go through it again. You can equip one of your Charm Bangles now if you want so that you can prevent random enemy encounters while you make the trip.
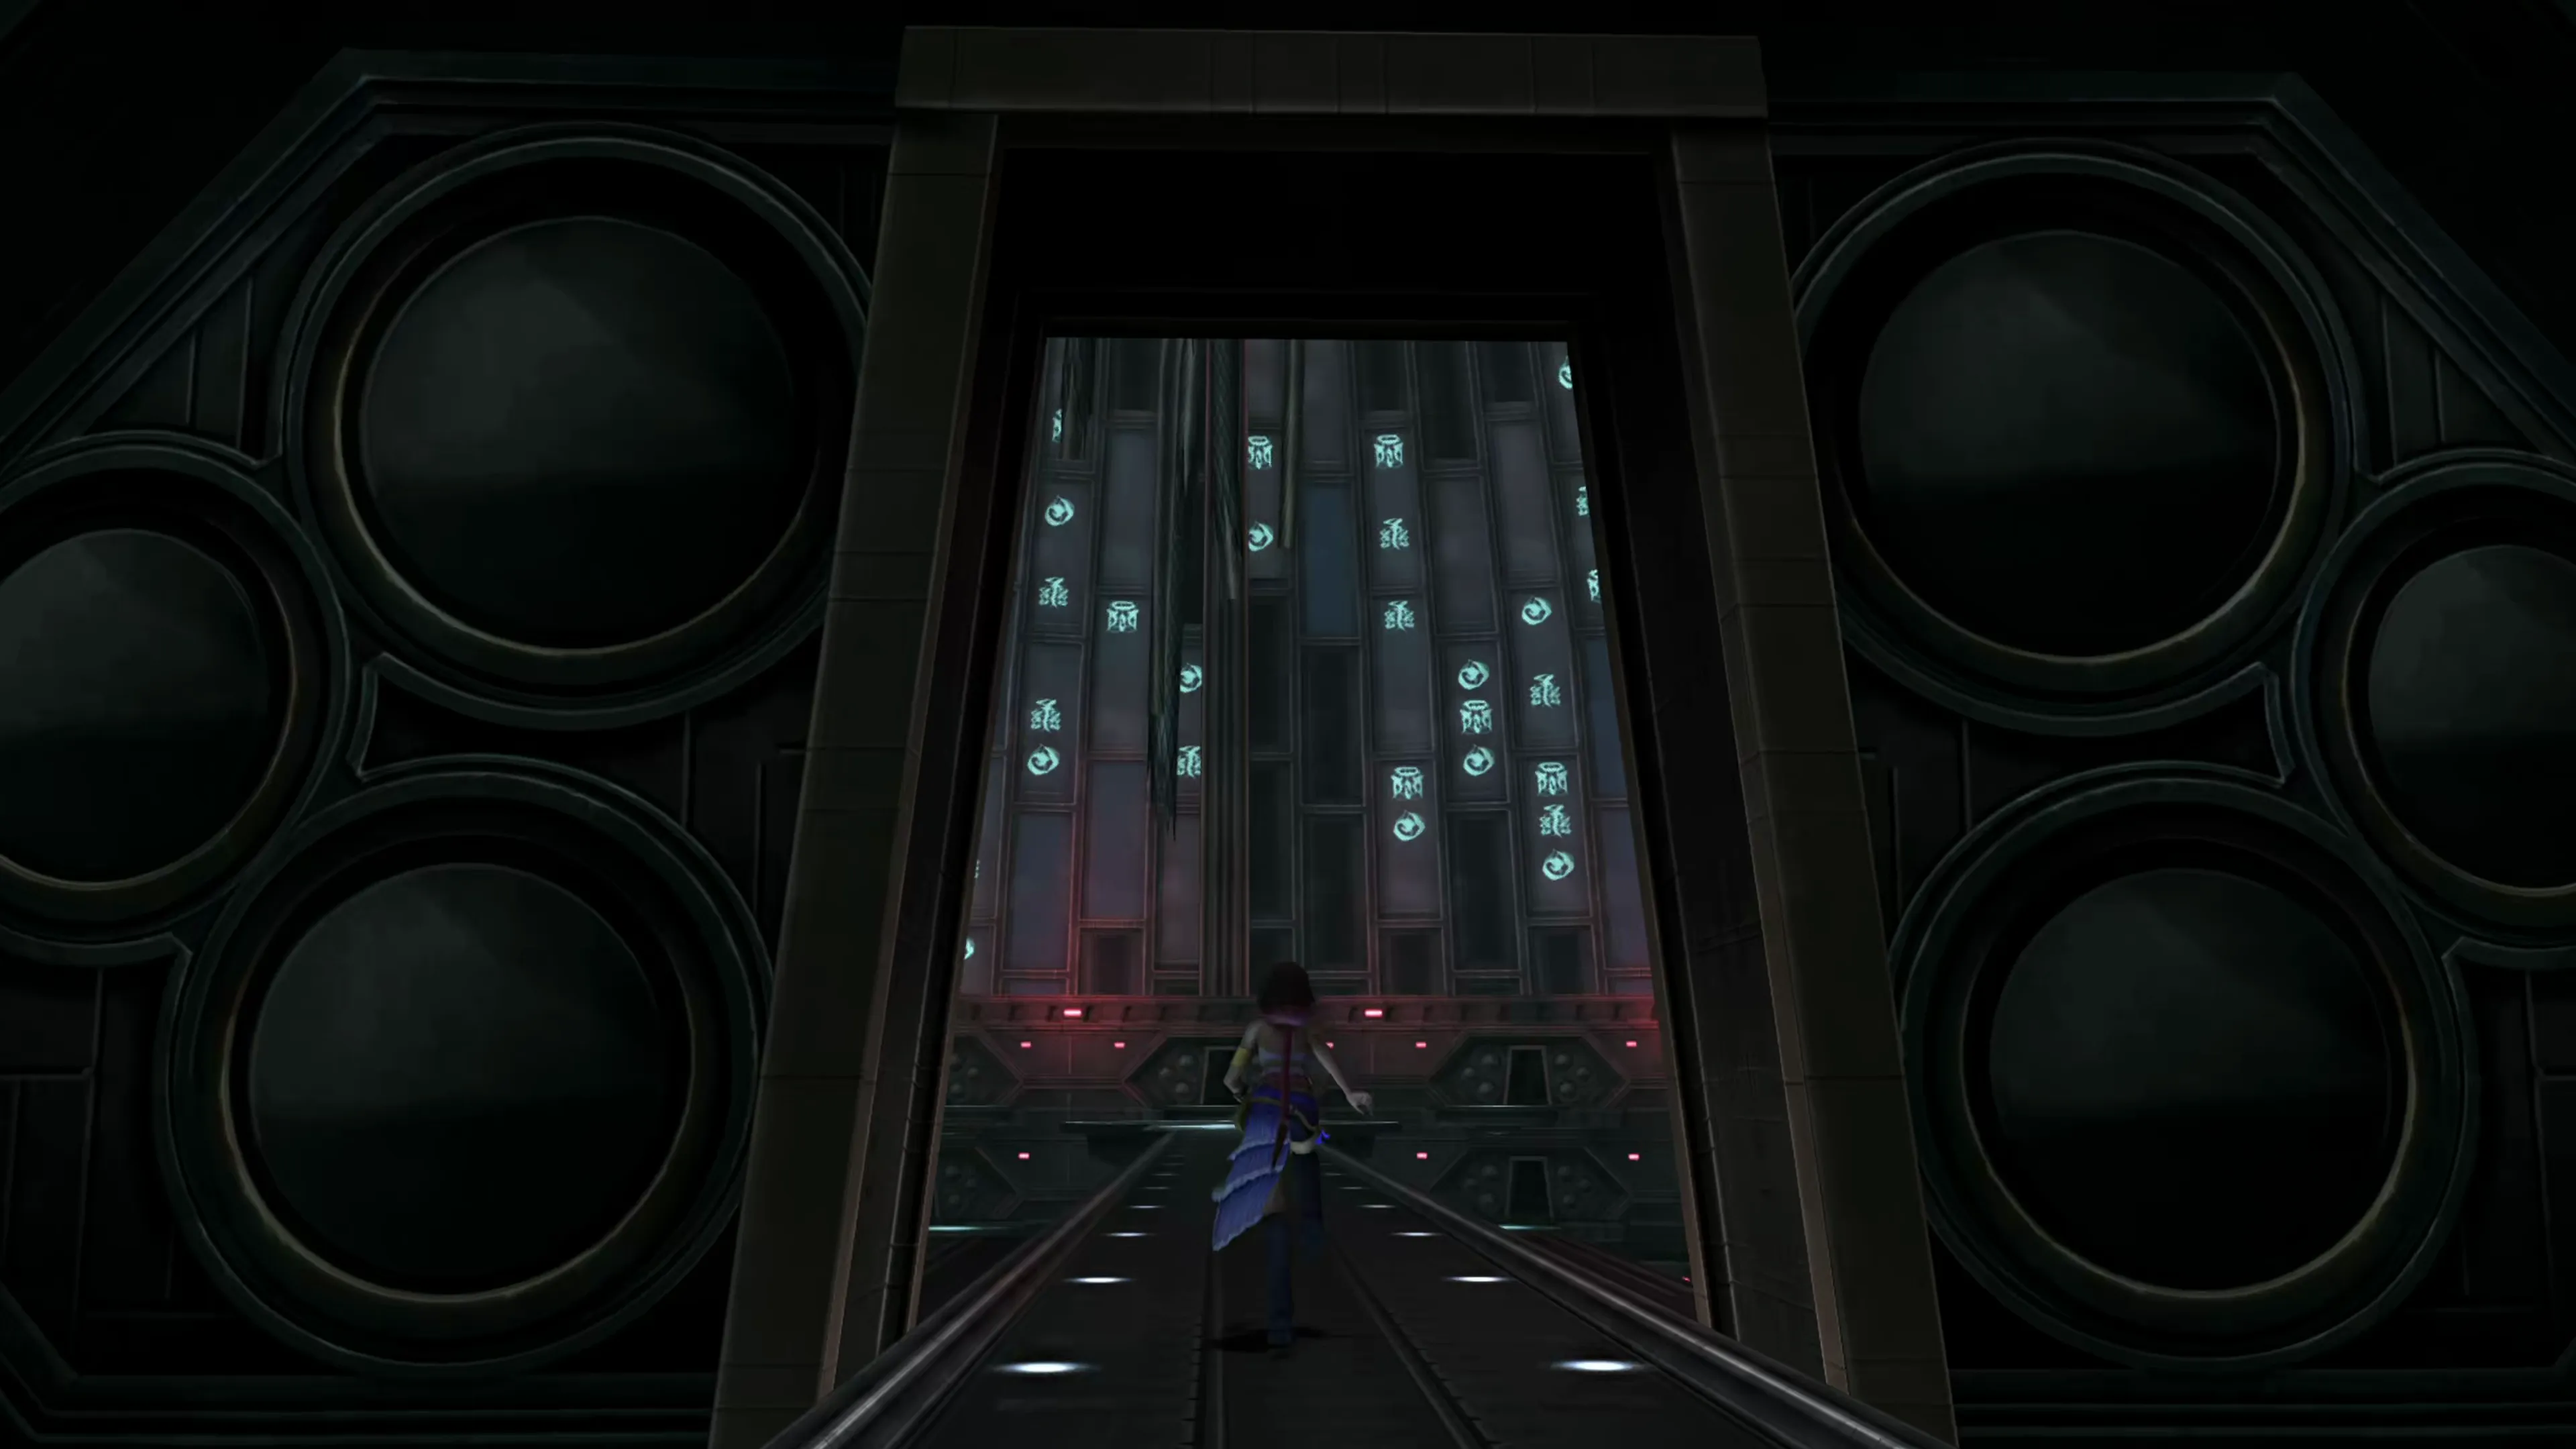
Limbo
 Labyrinth 2
Move forward and into the next room for yet another boss battle.
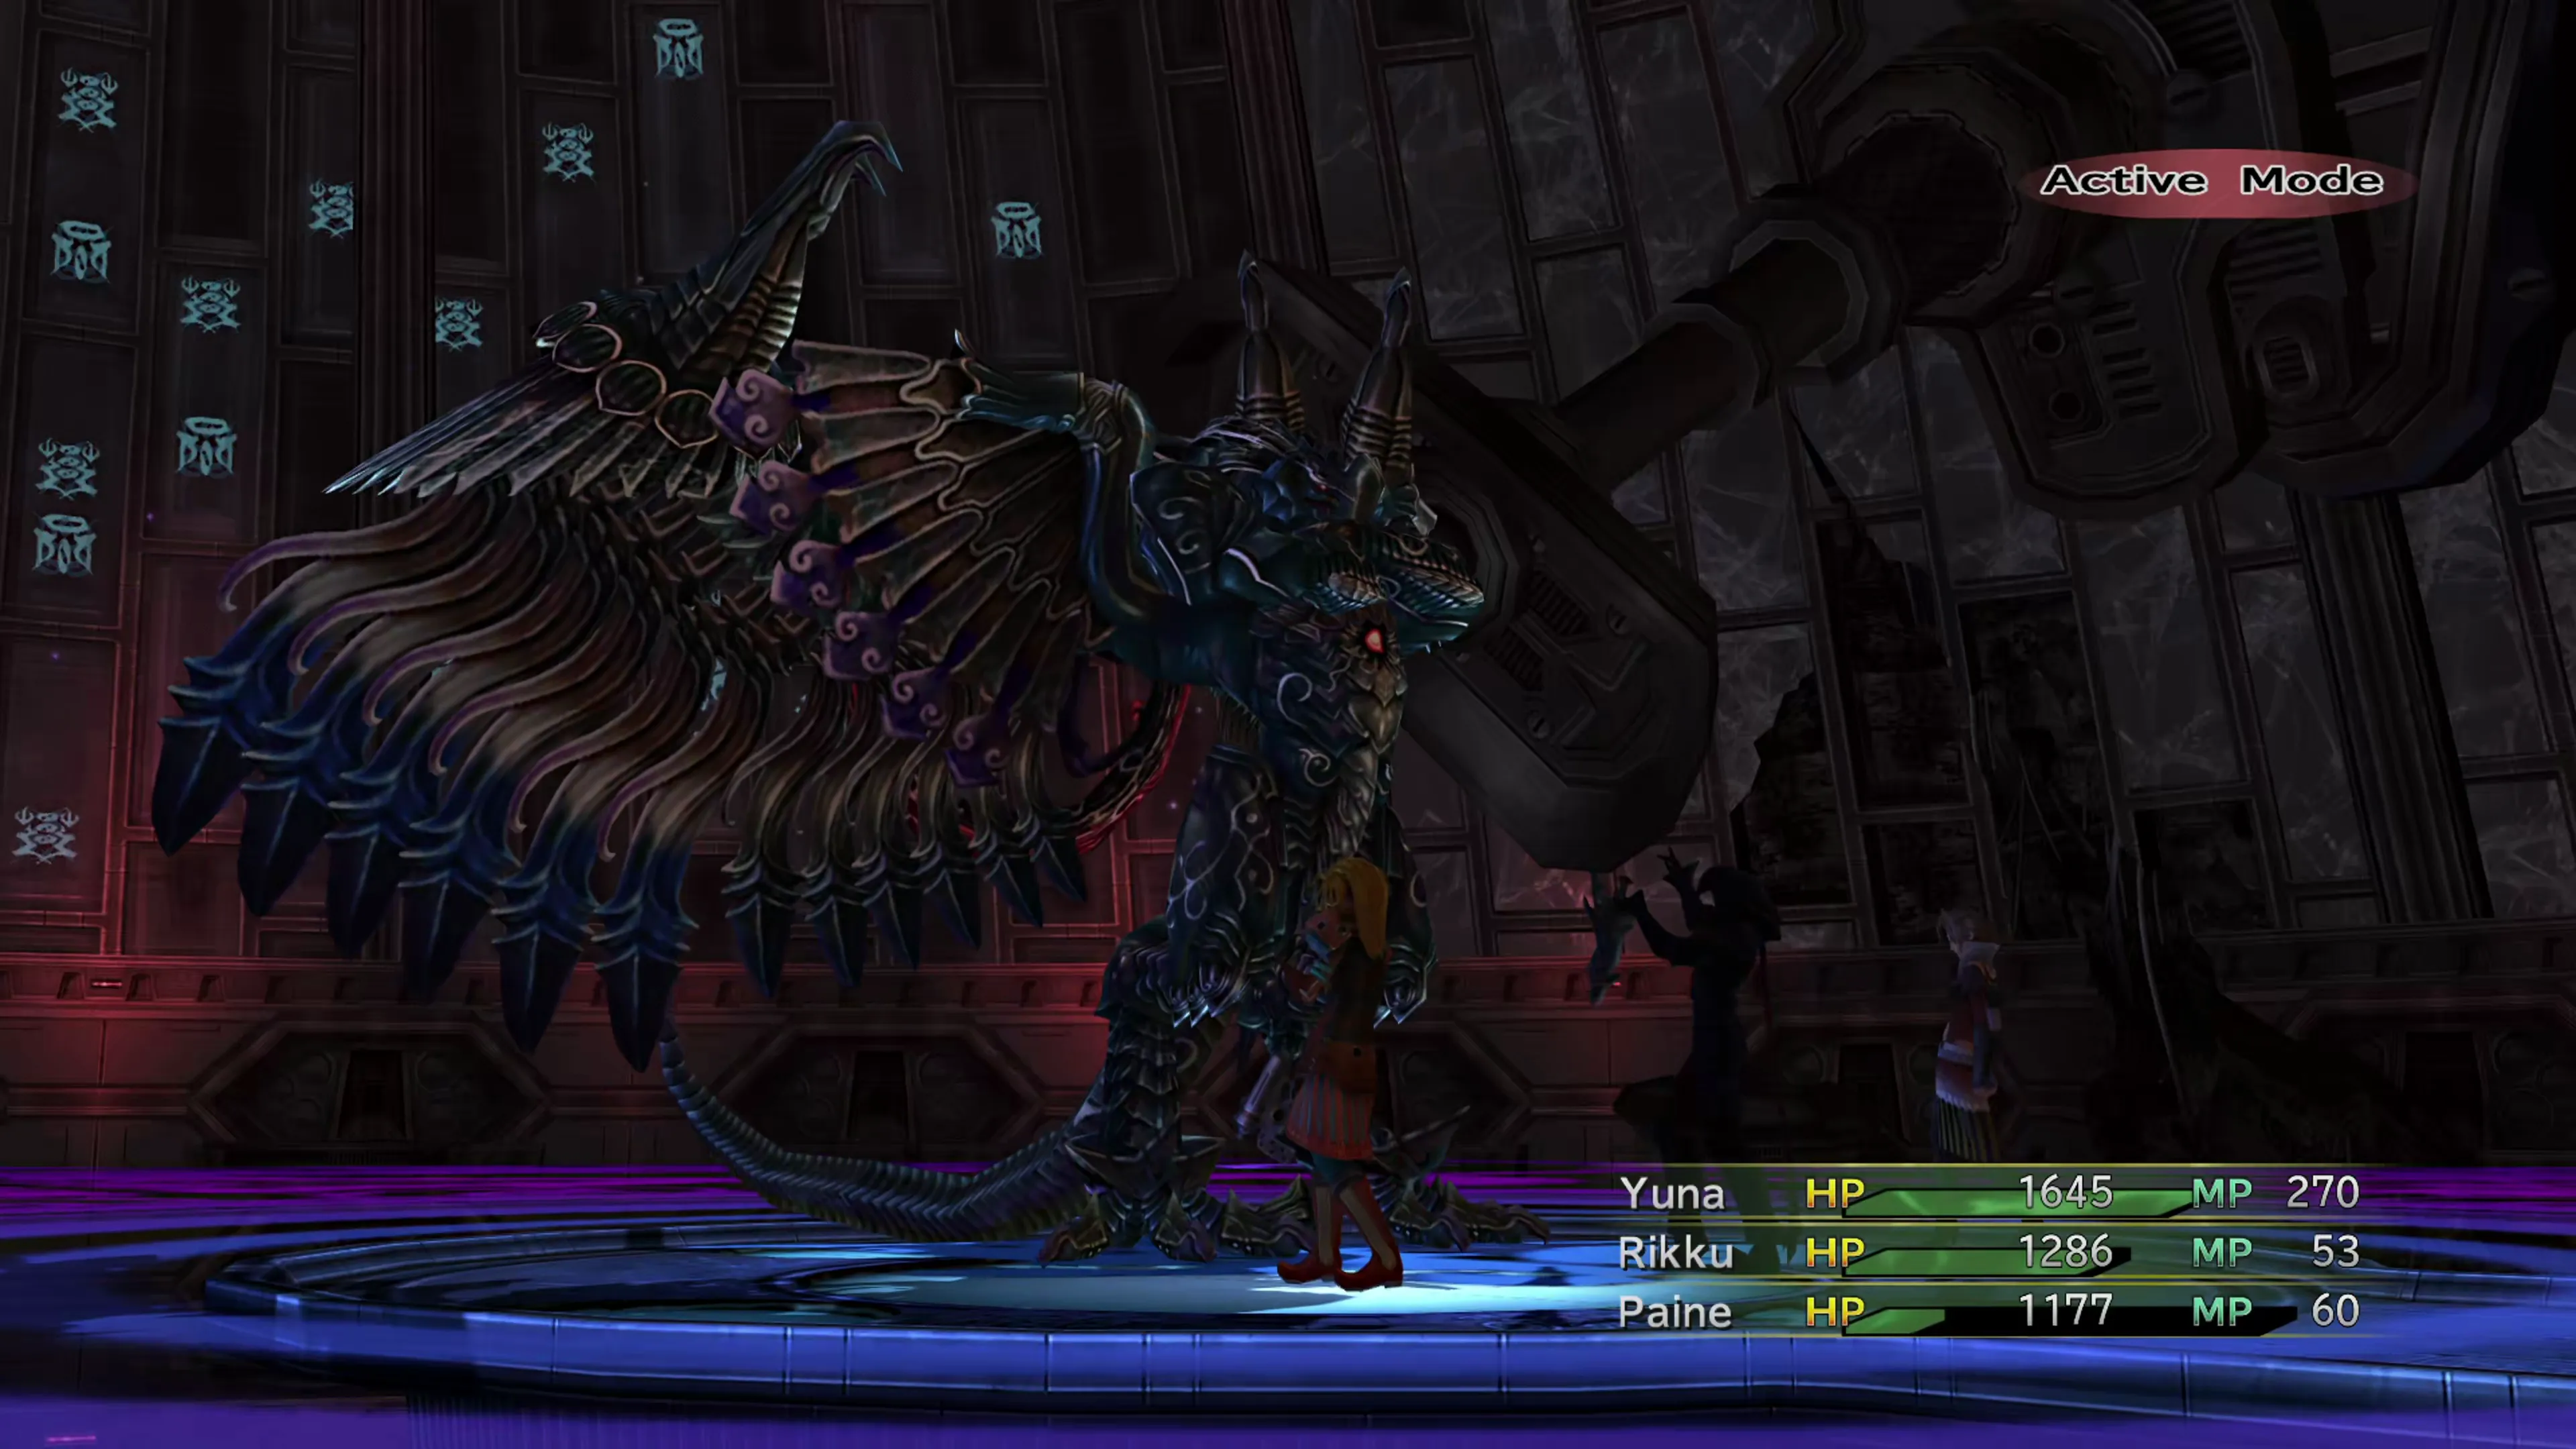
Boss Battle
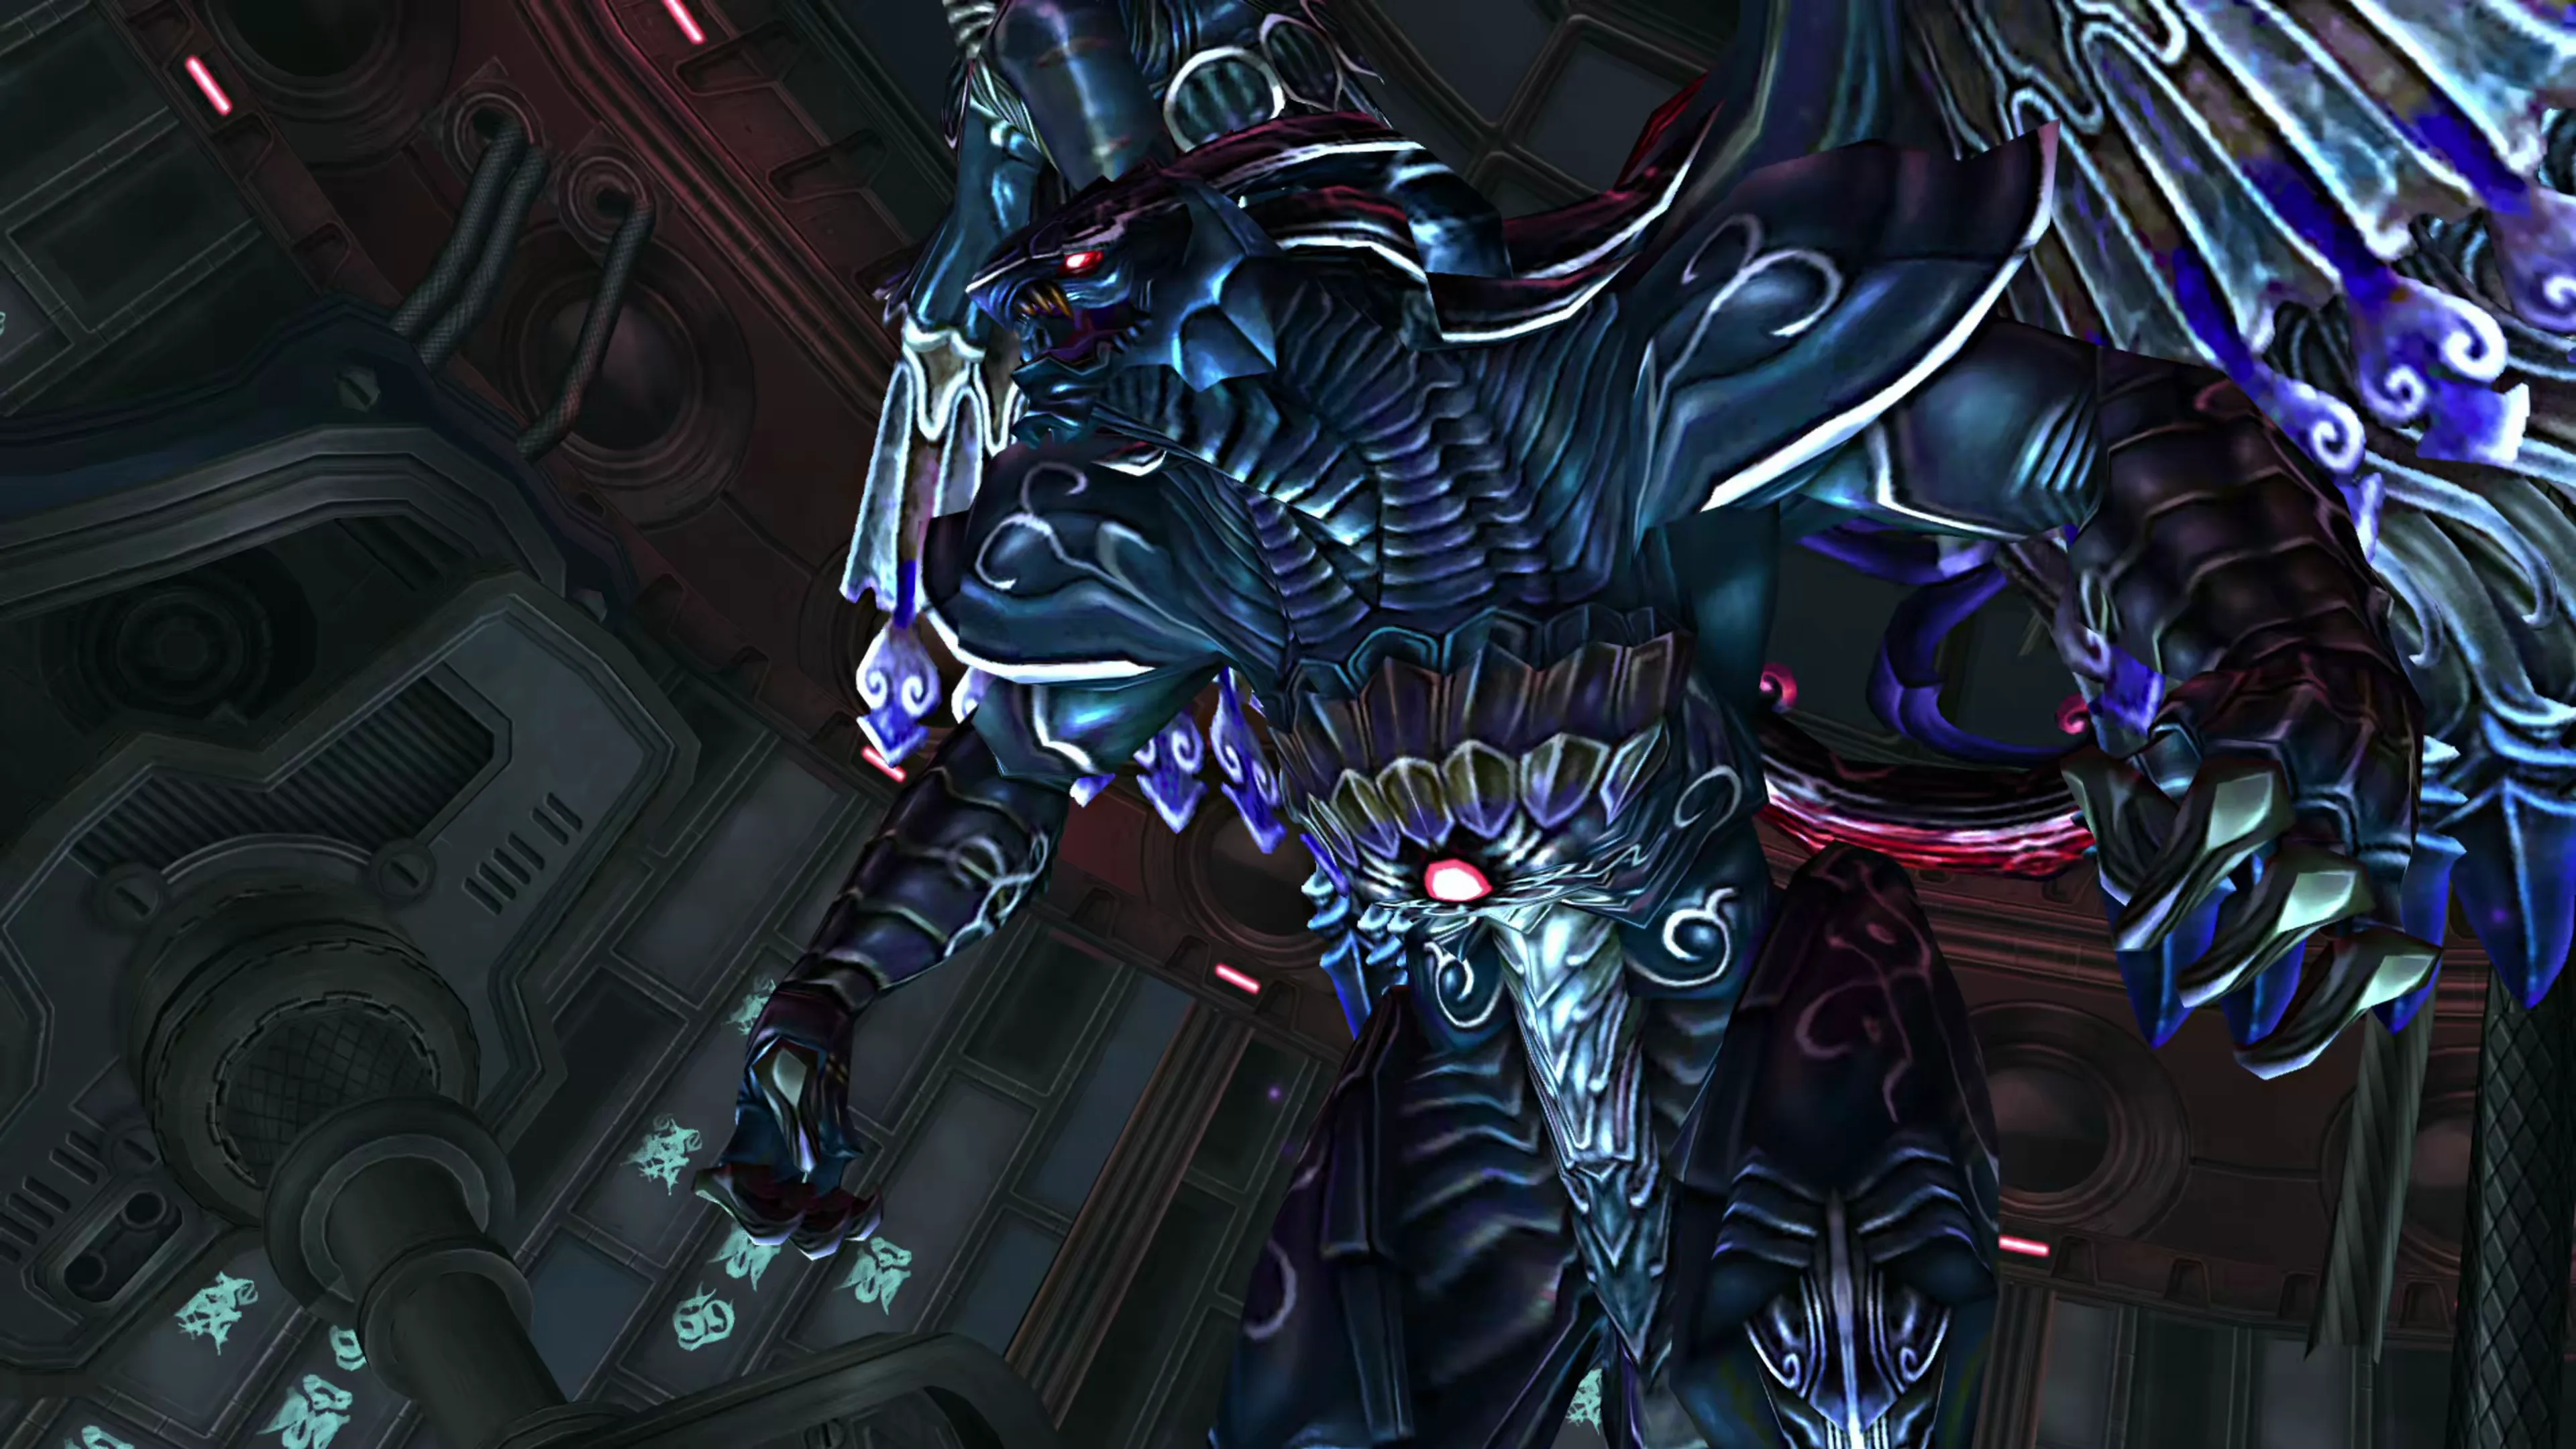
It’s time to fight an Aeon! Once again, make sure you successfully  Steal a Mute Shock from him before the battle concludes.
Bahamut will repeat the same attack pattern. It goes:
- “Curse” (opening move only; “Curse” prevents the character from changing out of their Dressphere)
- Normal physical attack ×3
- “Impulse” (deals 37.5% HP damage)
- “Impulse”
- “Countdown”
- “Mega Flare”
And then it repeats from the normal attacks. Once you see him start using “Impulse,” you know that “Countdown” is coming soon, and “Mega Flare” deals a lot of damage, so you’ll need to make sure that your party members are fully healed up before he casts it. It’s also worth noting that “Impulse” can’t kill your characters; it will always deal a percentage of HP (like “Demi”).
Because of the simplicity of his attack pattern, there isn’t much more in the way of strategy to go over. If you’re having trouble with this fight, consider grinding EXP near the Save Sphere to get your Dark Knights leveled up.
| Enemy | HP | Steal | Drop |
|---|---|---|---|
| Bahamut | 8400 | Mute Shock | Gris-Gris Bag |
After the fight concludes, you’ll reach the end of Chapter 2. You’ll receive another Fiend Tale Bonus as a reward.
Achievement/Trophy
You will earn the Defeating an Old Friend achievement/trophy after defeating Bahamut and concluding Chapter 2.
Checking the “Chapter 2 Complete” box adds the Story Completion Percent for the automatic scenes at the end of Chapter 2.