

Mt. Gagazet and Zanarkand Ruins
You’ll see Shinra placing the next CommSphere off in the corner as soon as you land. Speak to Kimahri, and after a brief discussion, he’ll give you the  Trainer Dressphere. If he doesn’t give you the Trainer Dressphere, it’s because you gave him the wrong answer in Chapter 2 (“You have to figure this out on your own.”).
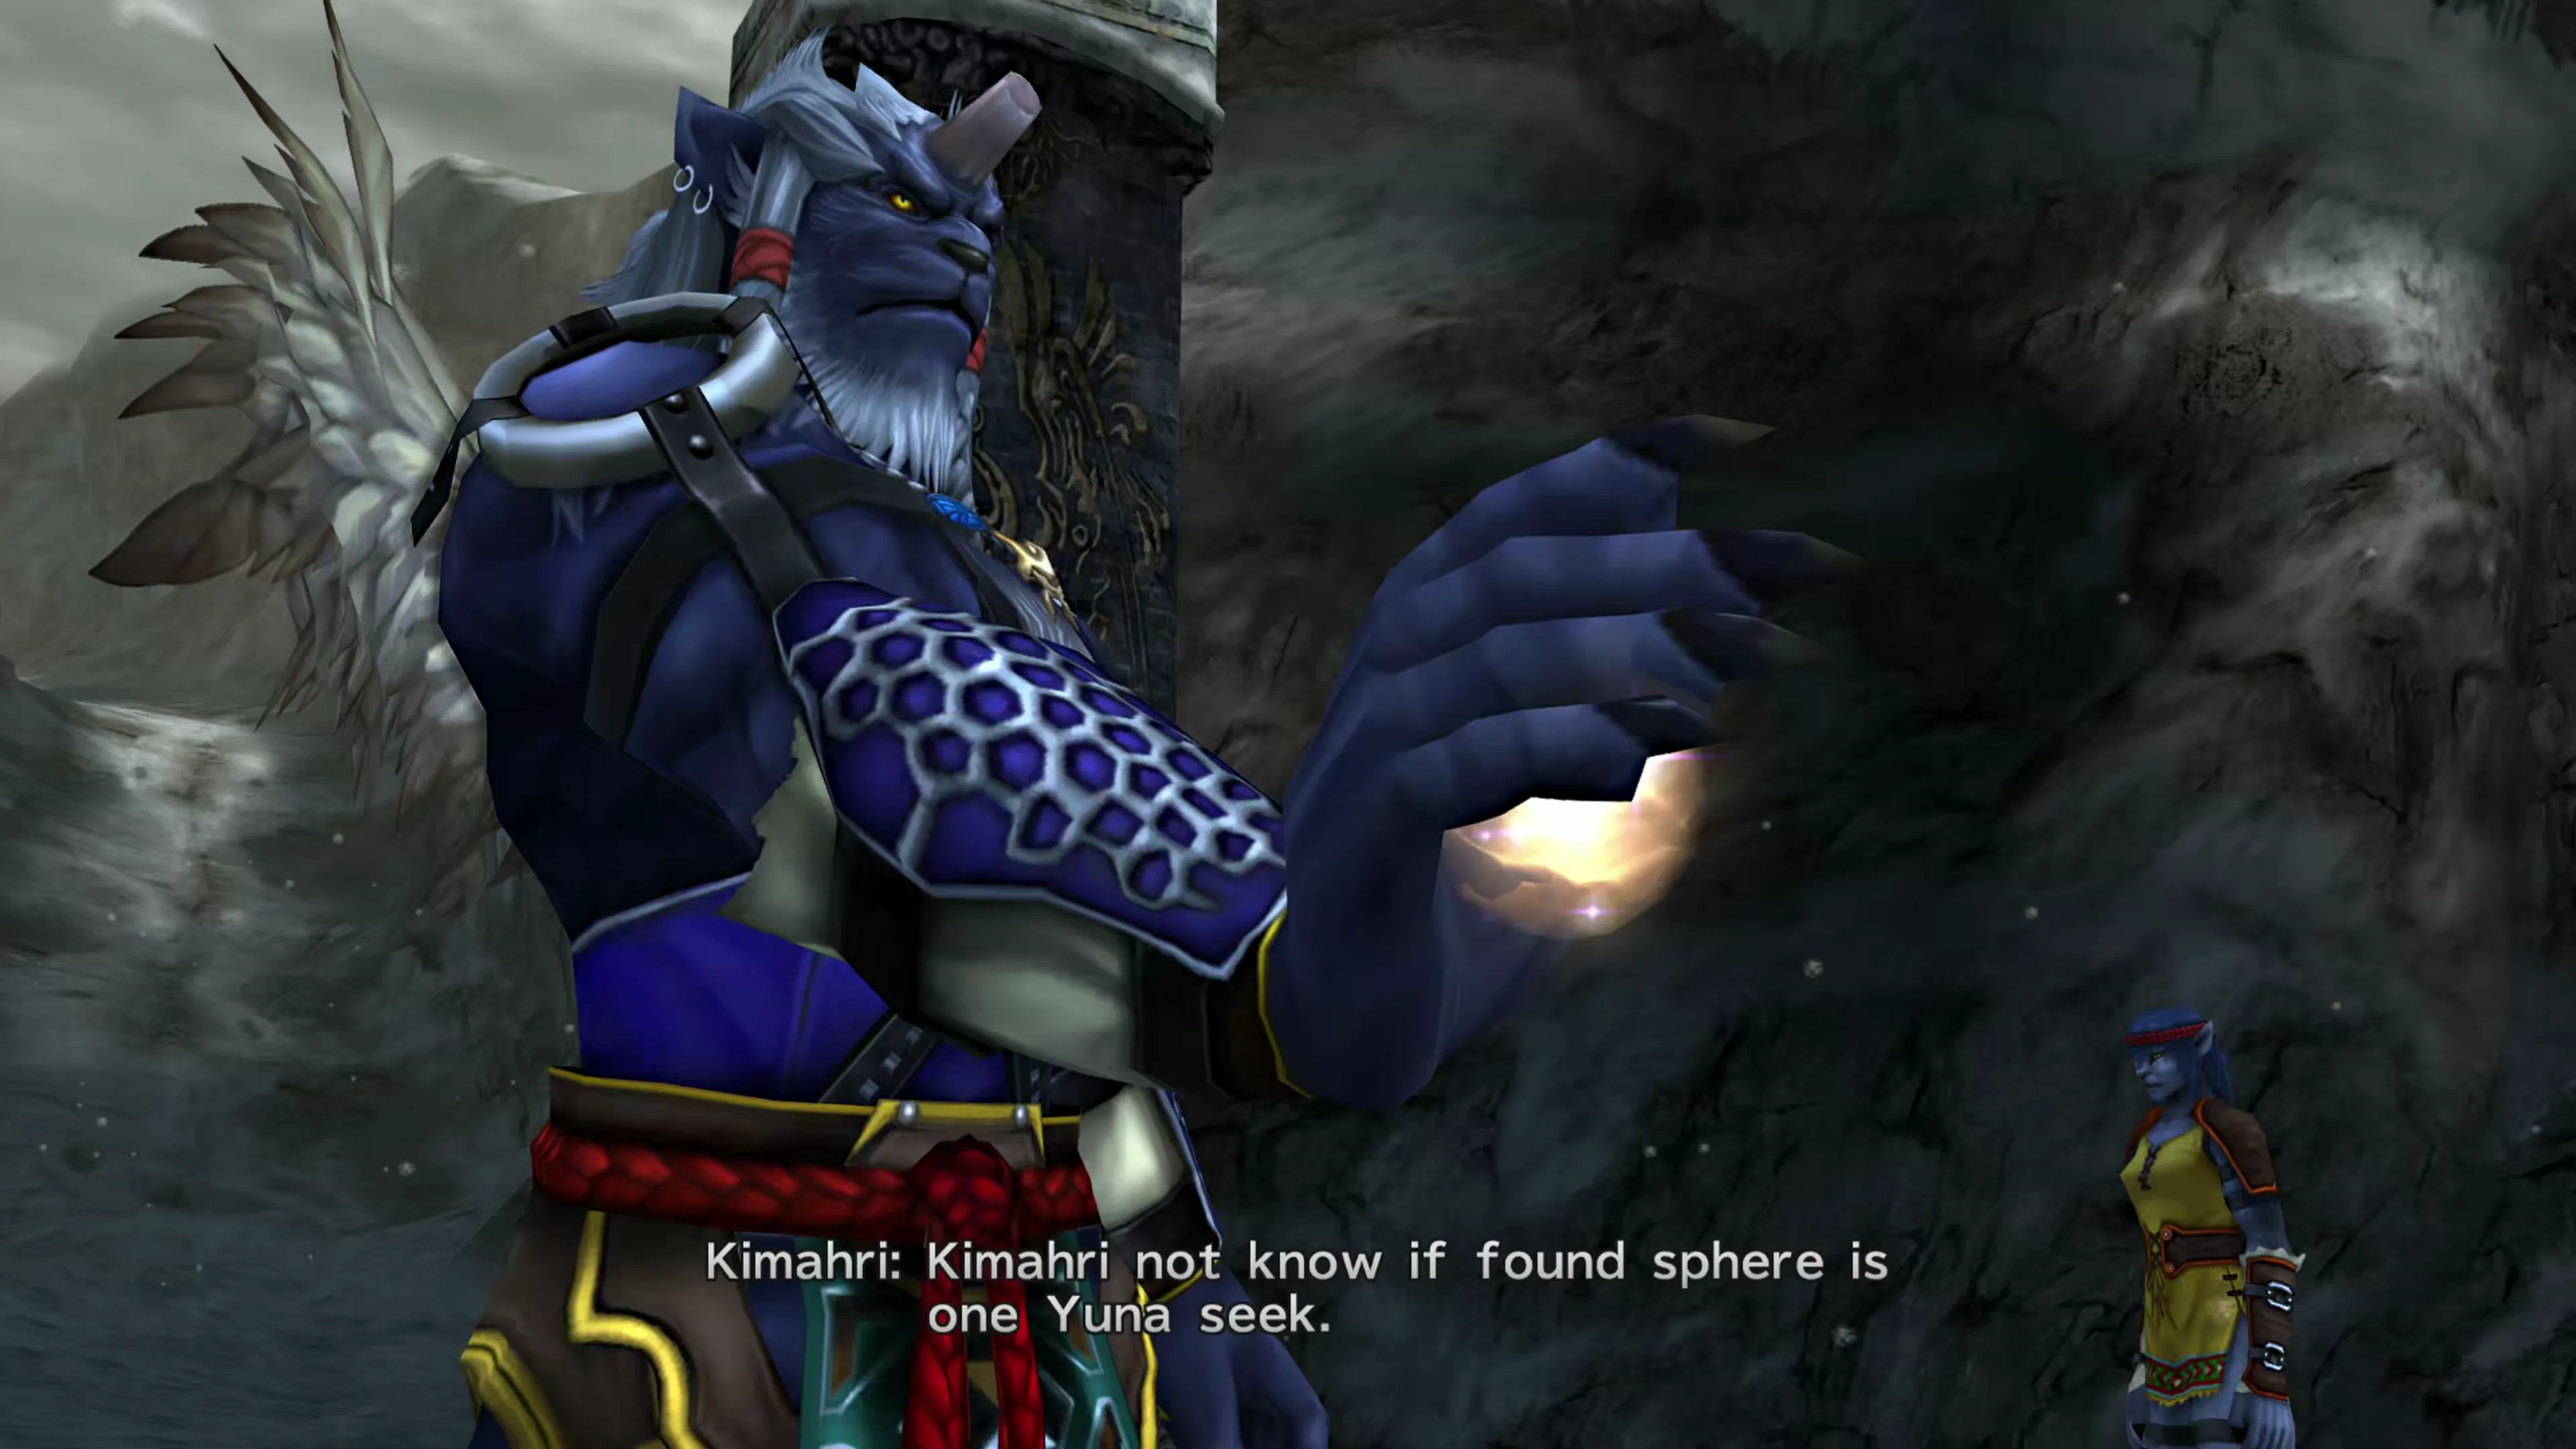
Unfortunately, there’s no way to correct this now. If you answered him wrong in Chapter 2, he won’t hand over the Trainer Dressphere. Final Fantasy X-2 can be unforgiving in that way; your next chance at it is a New Game Plus.
The Trainer Dressphere is pretty mediocre at best, though, so while you’ll want to have it for a complete playthrough, it’s difficult to recommend using it outright (especially when you have other, more powerful roles available). You can read up more about it using the link below:
Dresspheres
The Trainer pairs each character with an animal companion: Kogoro for Yuna, Ghiki for Rikku, and Flurry for Paine. Each pet has its own set of abilities.
Kimahri will also initiate your next Mission, which involves scaling Mt. Gagazet.
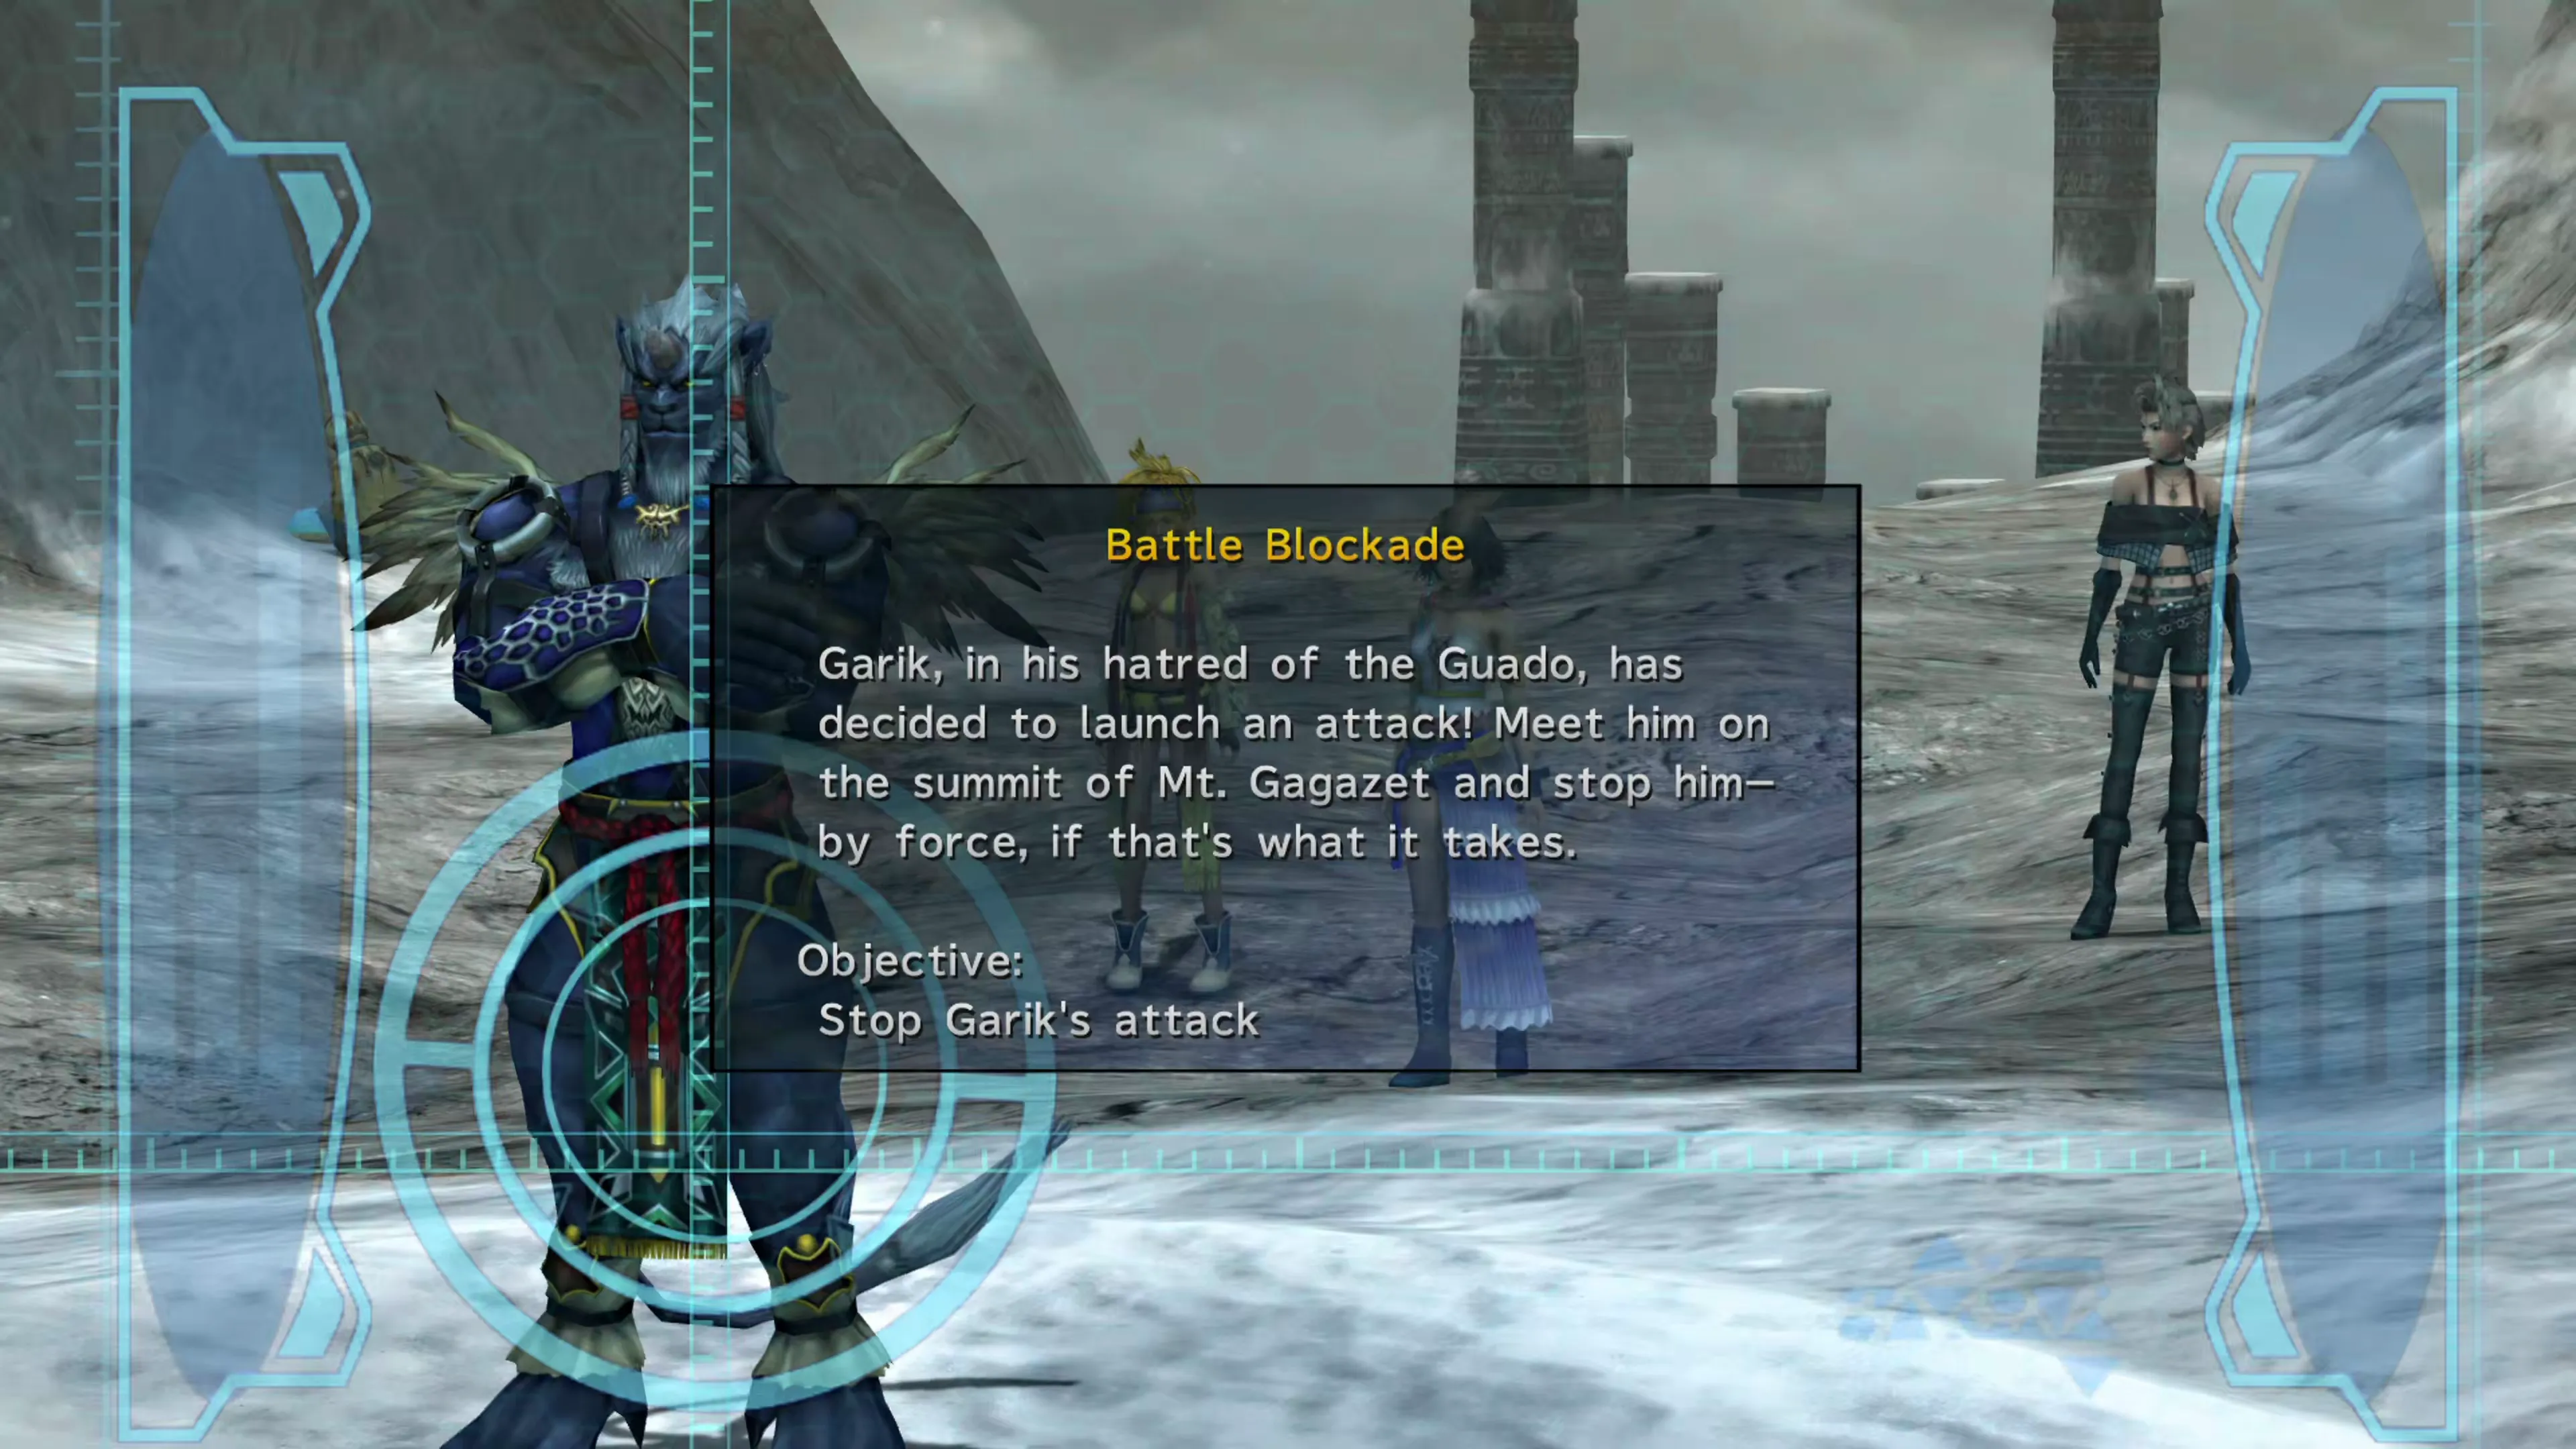
Mission: Battle Blockade
Garik has disabled the teleporters that would allow you to warp up to the top of the mountain easily, so you’ll have to navigate there on foot. This is a good opportunity to level up some of your party members as you wander along the trails. As a quick reminder…
Helpful Hint
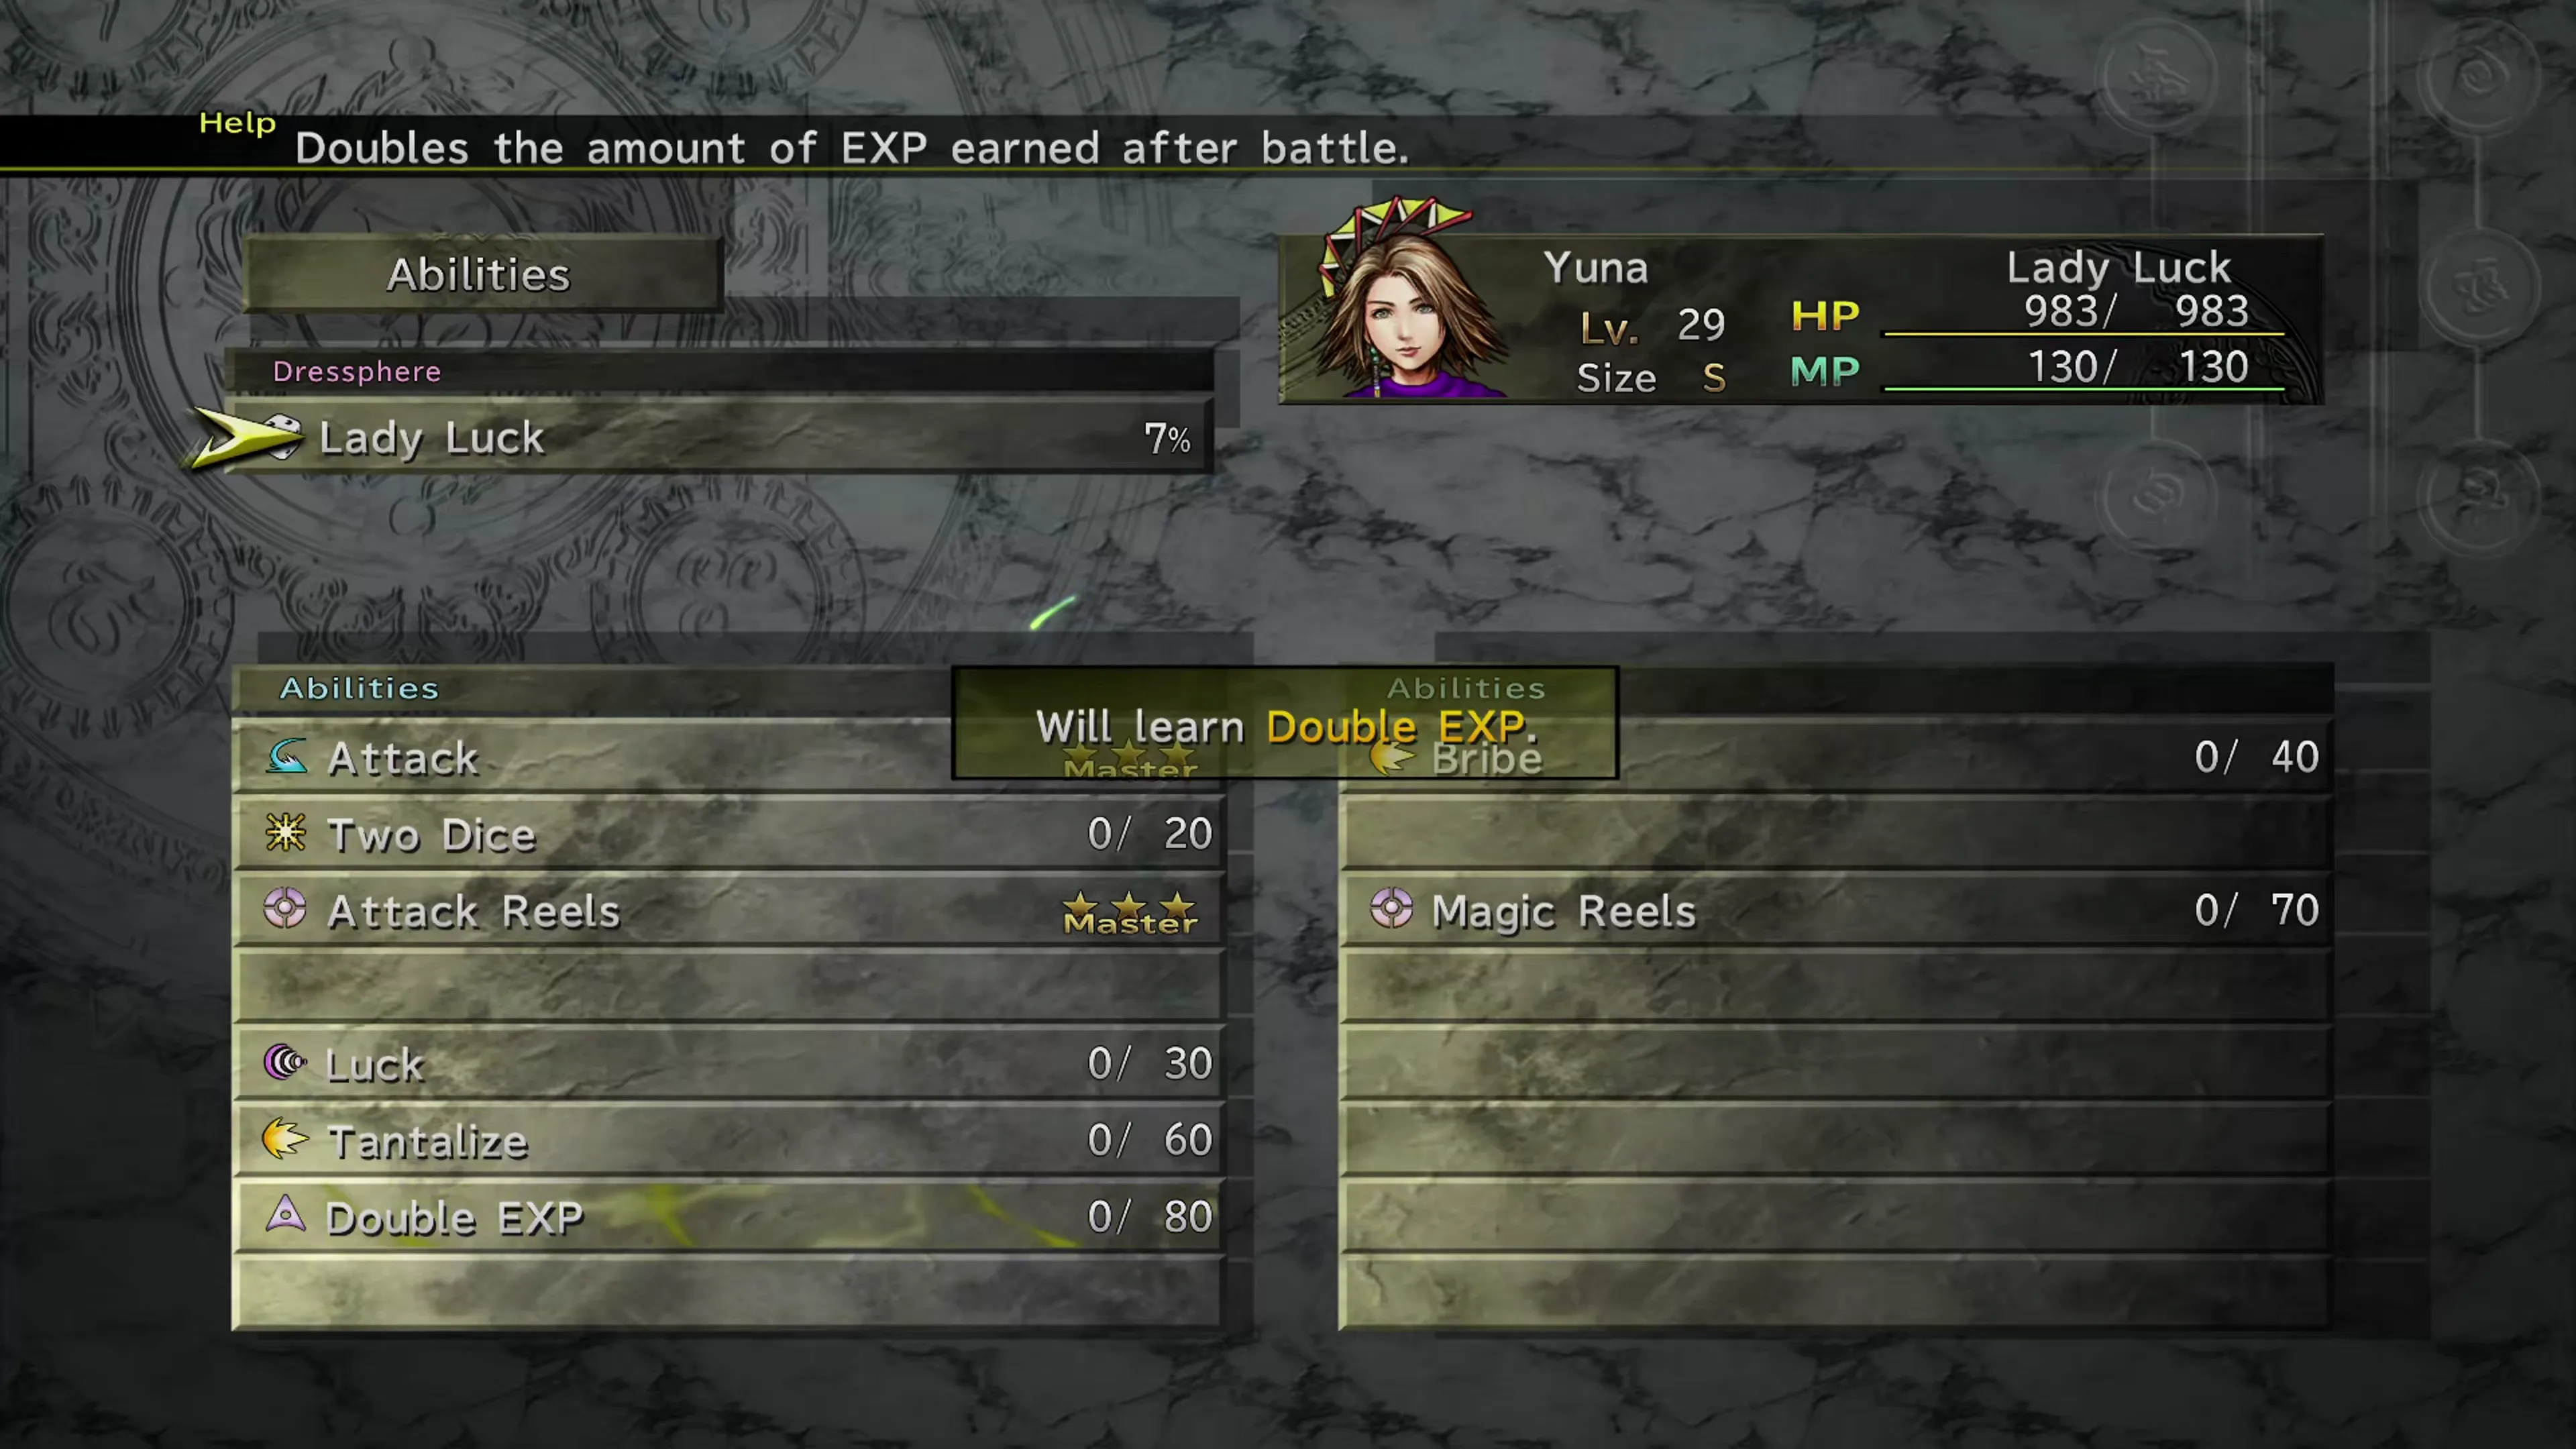
One of the most important abilities that the  Lady Luck Dressphere can learn is the
  Double EXP ability. This is another opportunity to have at least one of Yuna, Rikku, or Paine using or leveling towards this ability so they can start building up EXP quickly.
There is an opportunity towards the end of this sequence for your  Gun Mages to learn a brand new Blue Bullet ability called
  Mighty Guard during an upcoming boss battle. To learn this ability, you’ll have to have a
  Dark Knight use their
  Confuse ability on an enemy, so make sure you have one of your Dark Knights learn this ability before you reach the summit. They’ll need to learn the Demi ability first in order to unlock Confuse.
There’s not much to know about this sequence. You can use the maps below to help you navigate your way to the top of the mountain.
Mountain Trail
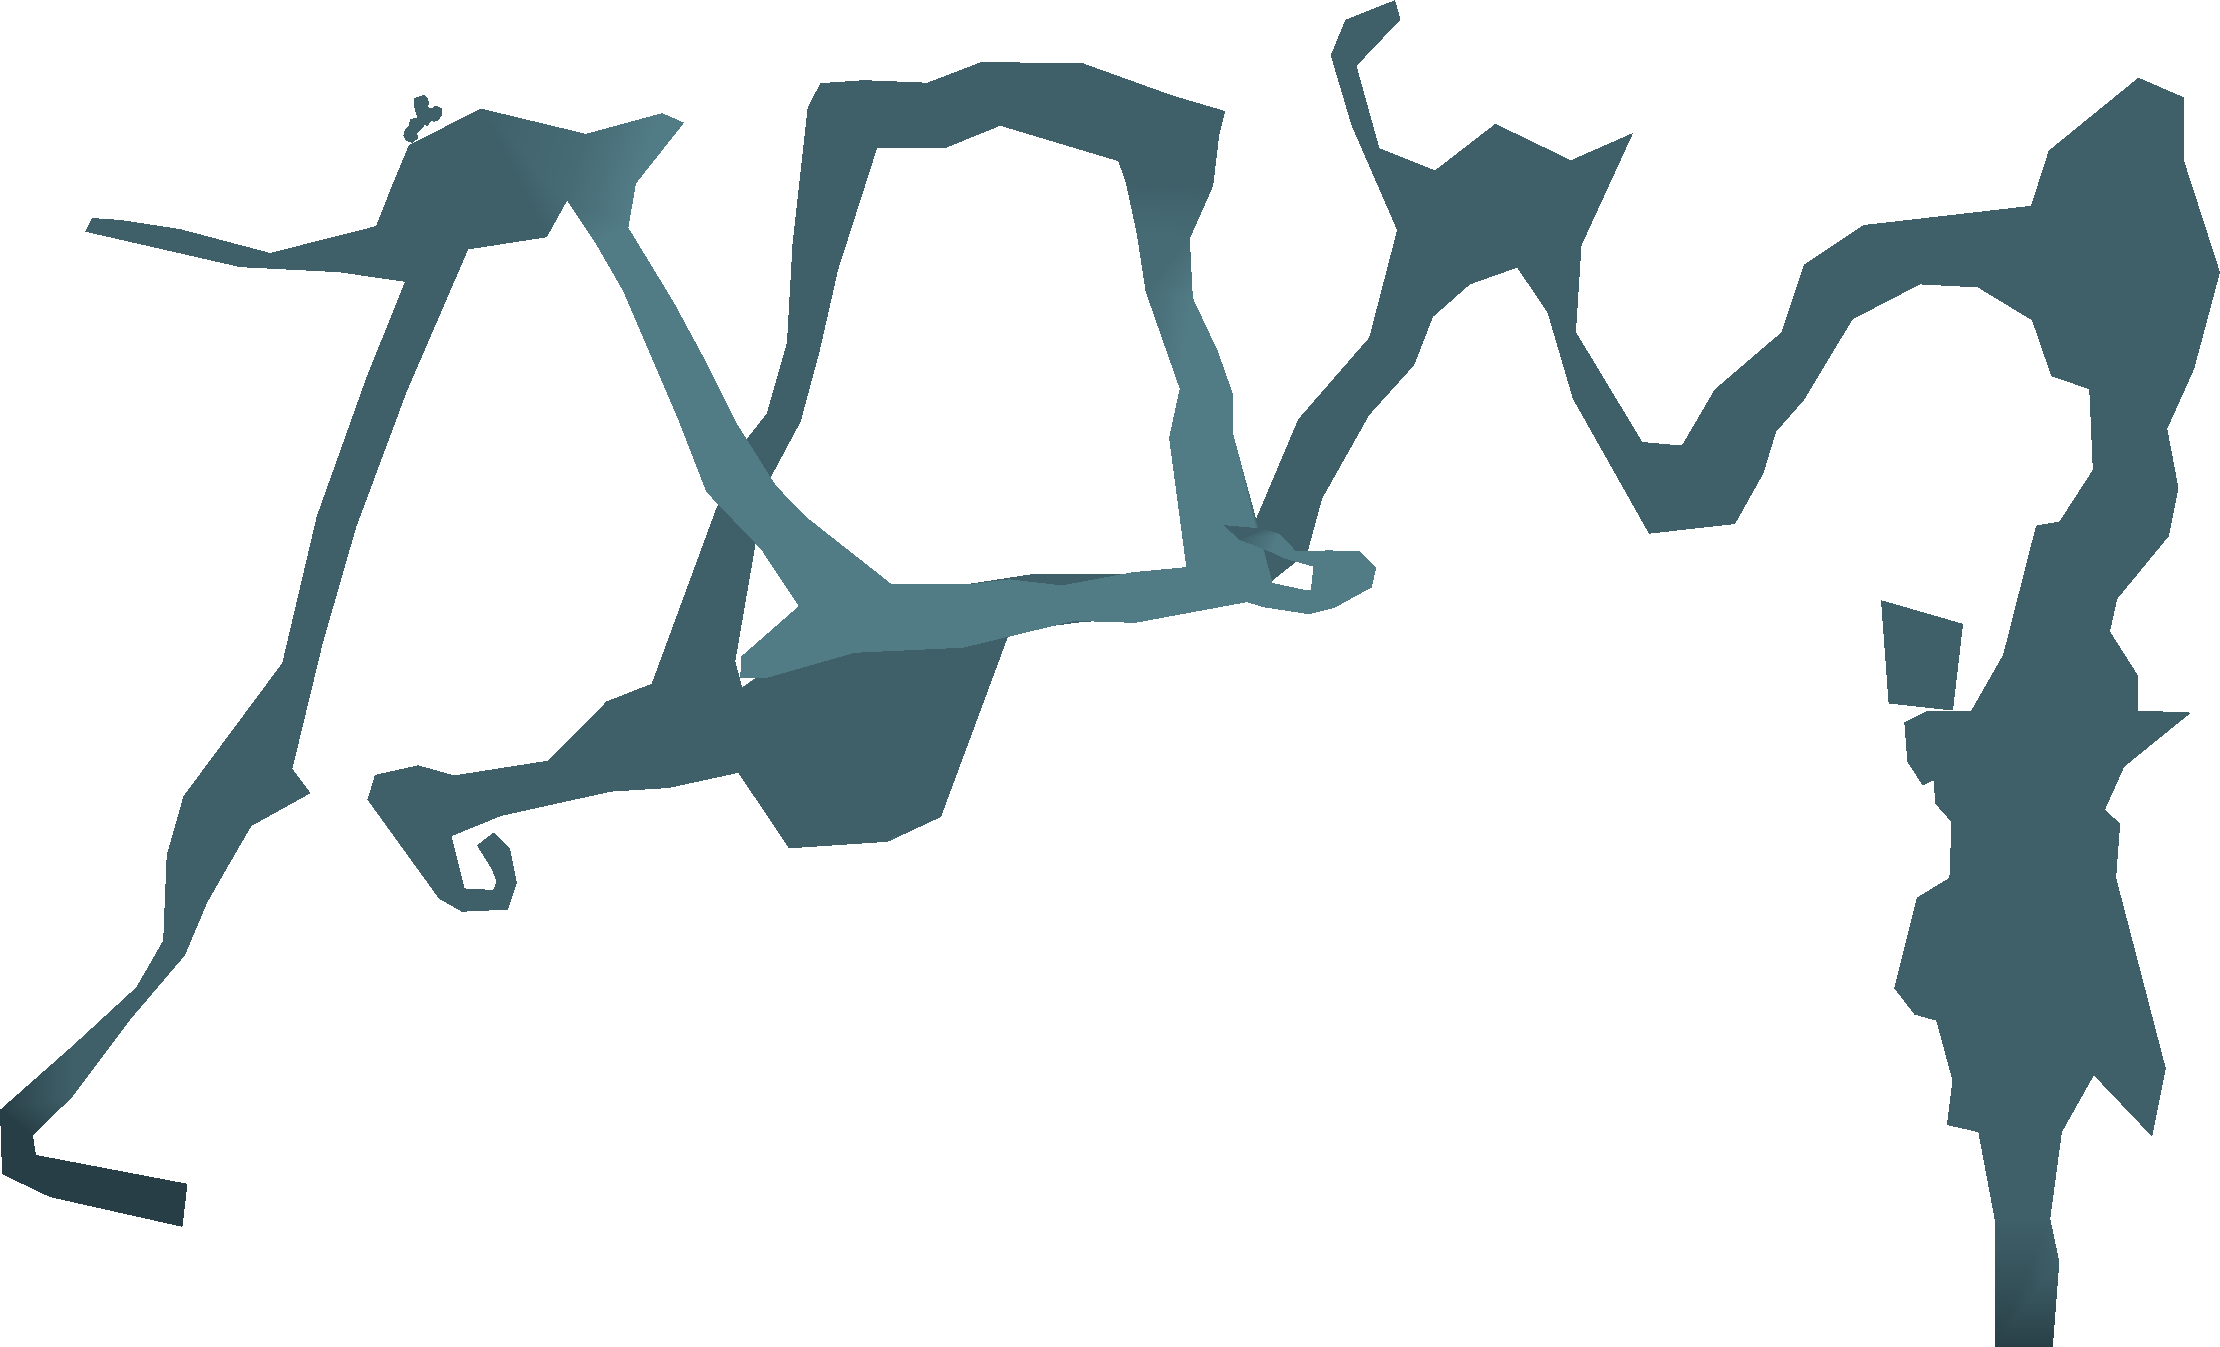
 Entrance
Prominence
Entrance
Prominence


Make sure you reactivate each teleporter as you reach it so you can jump back and forth between sections of the mountain. And when you reach the section of the mountain where you can scale the cliffs (pictured below), instead just run straight past the cliffs.
Prominence
 Mountain
Trail Floating
Ruins
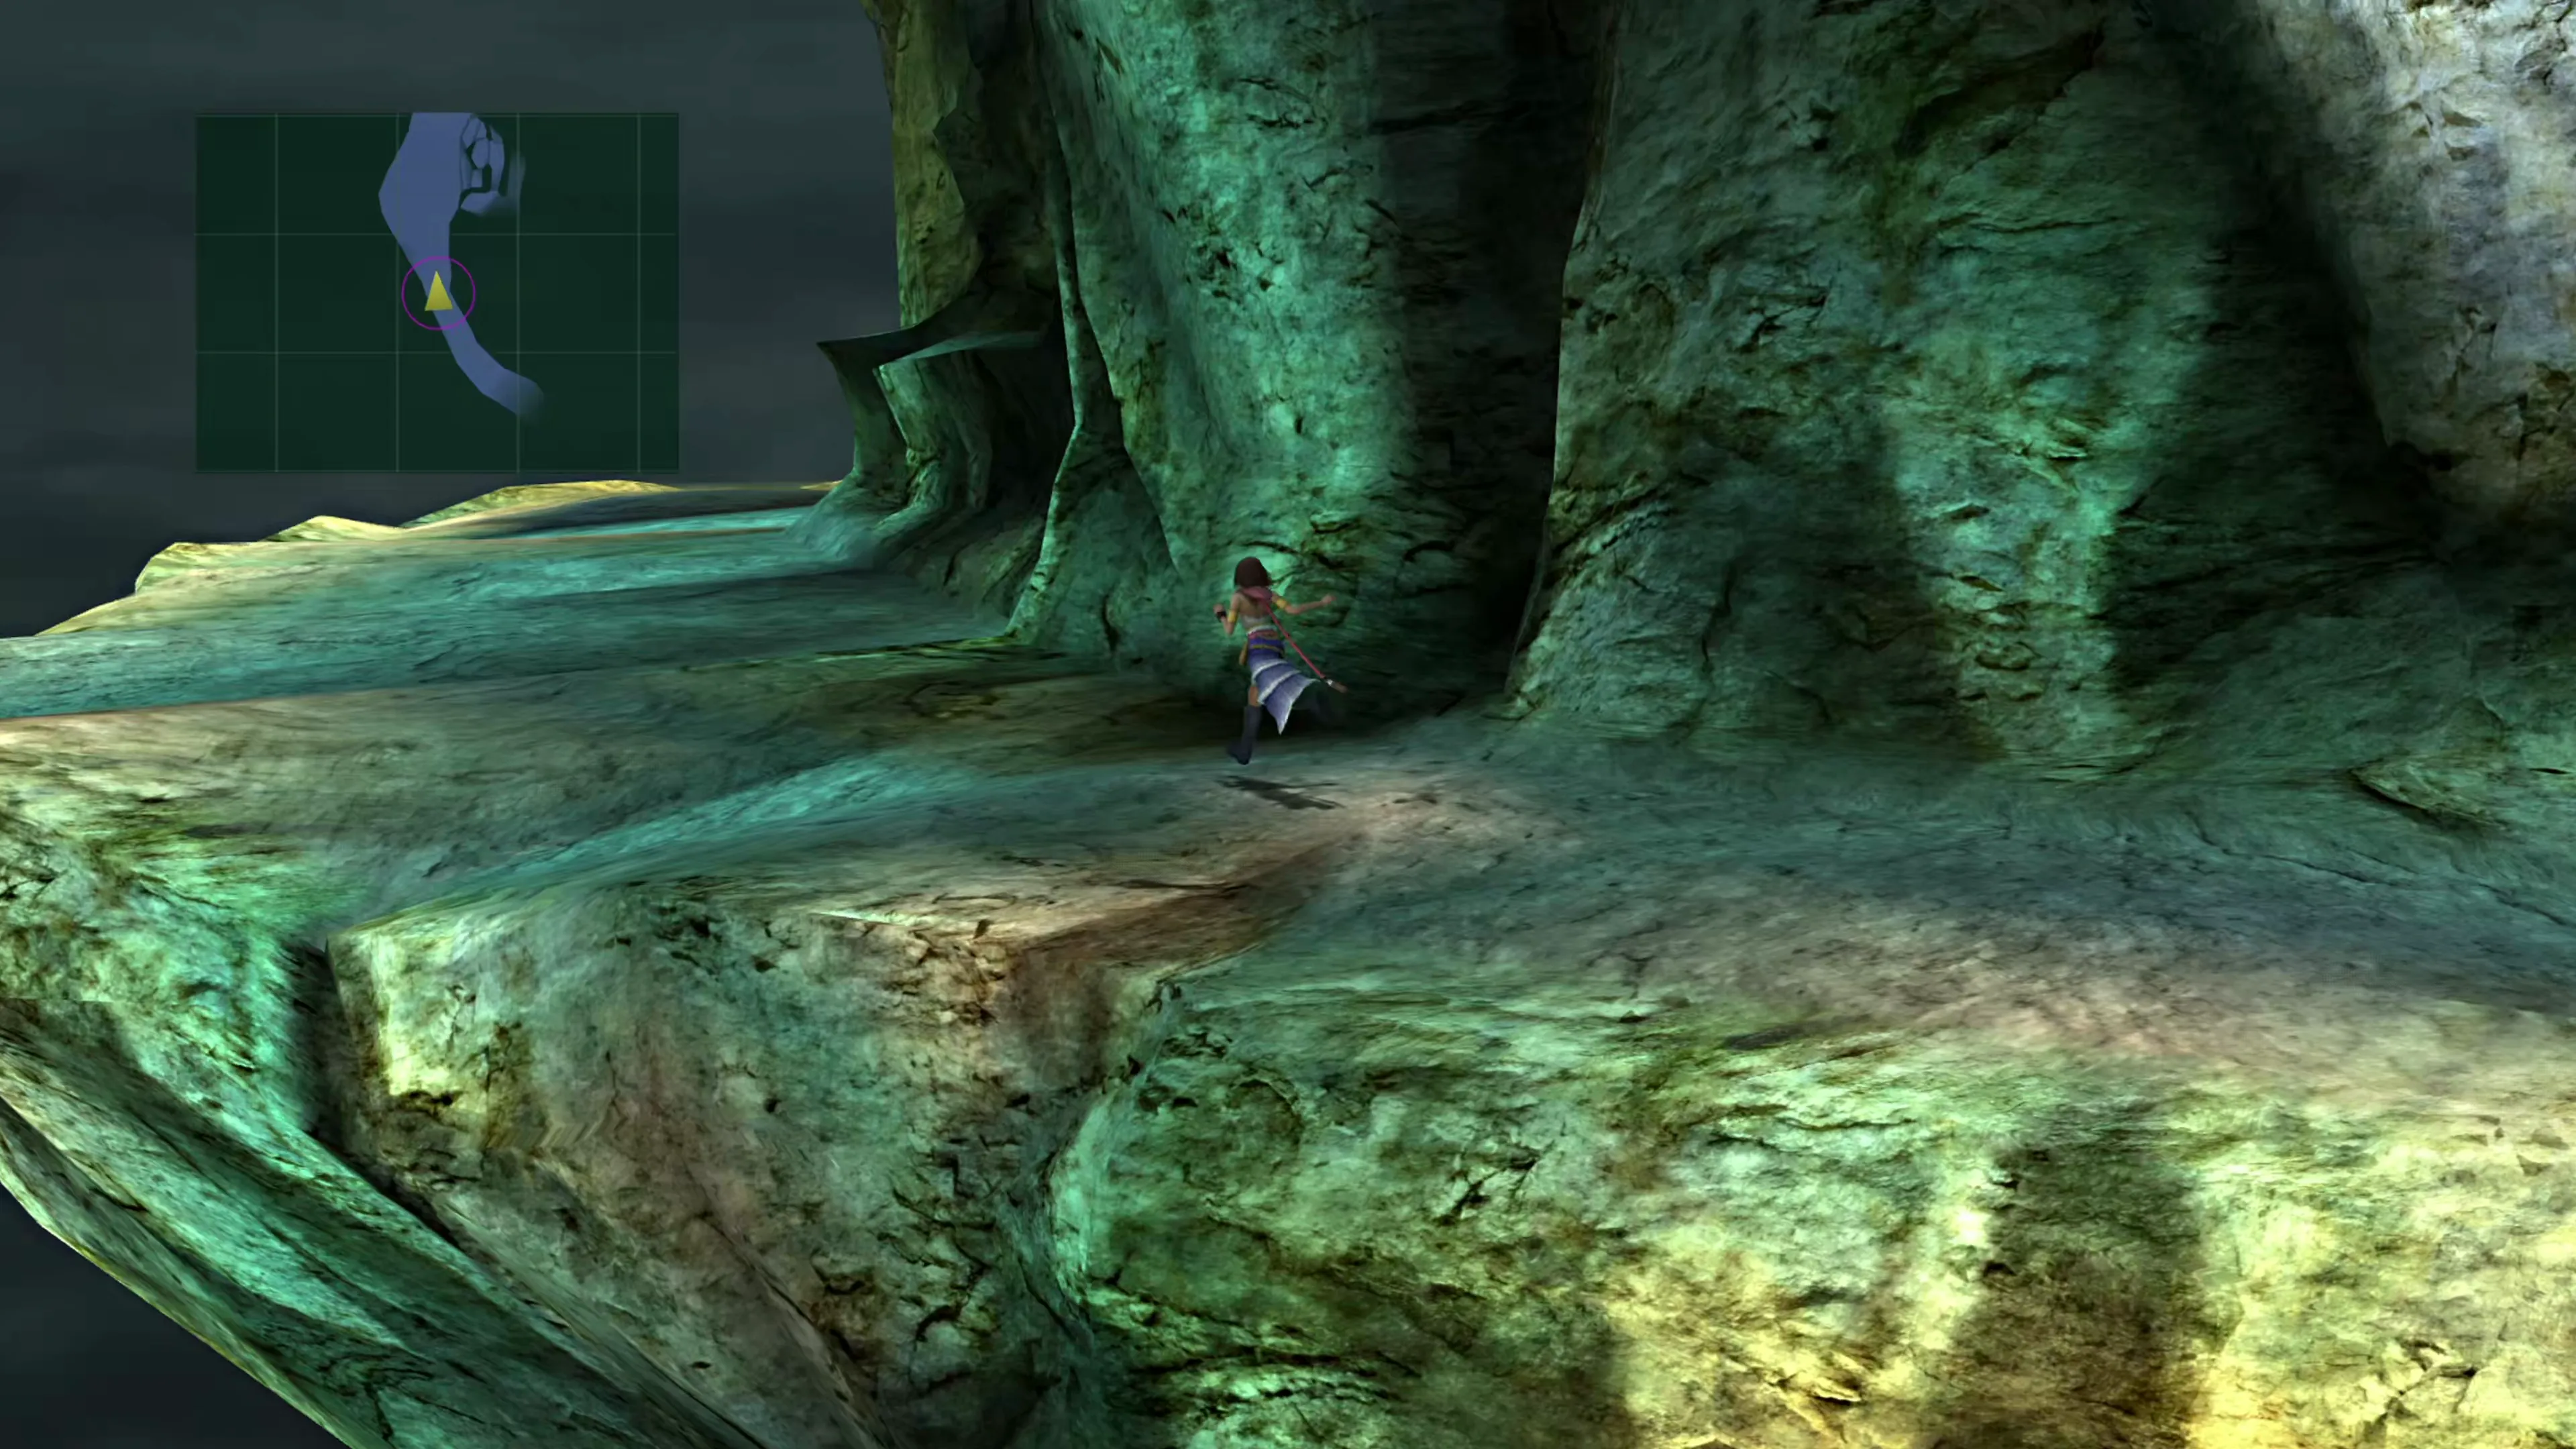
Floating Ruins
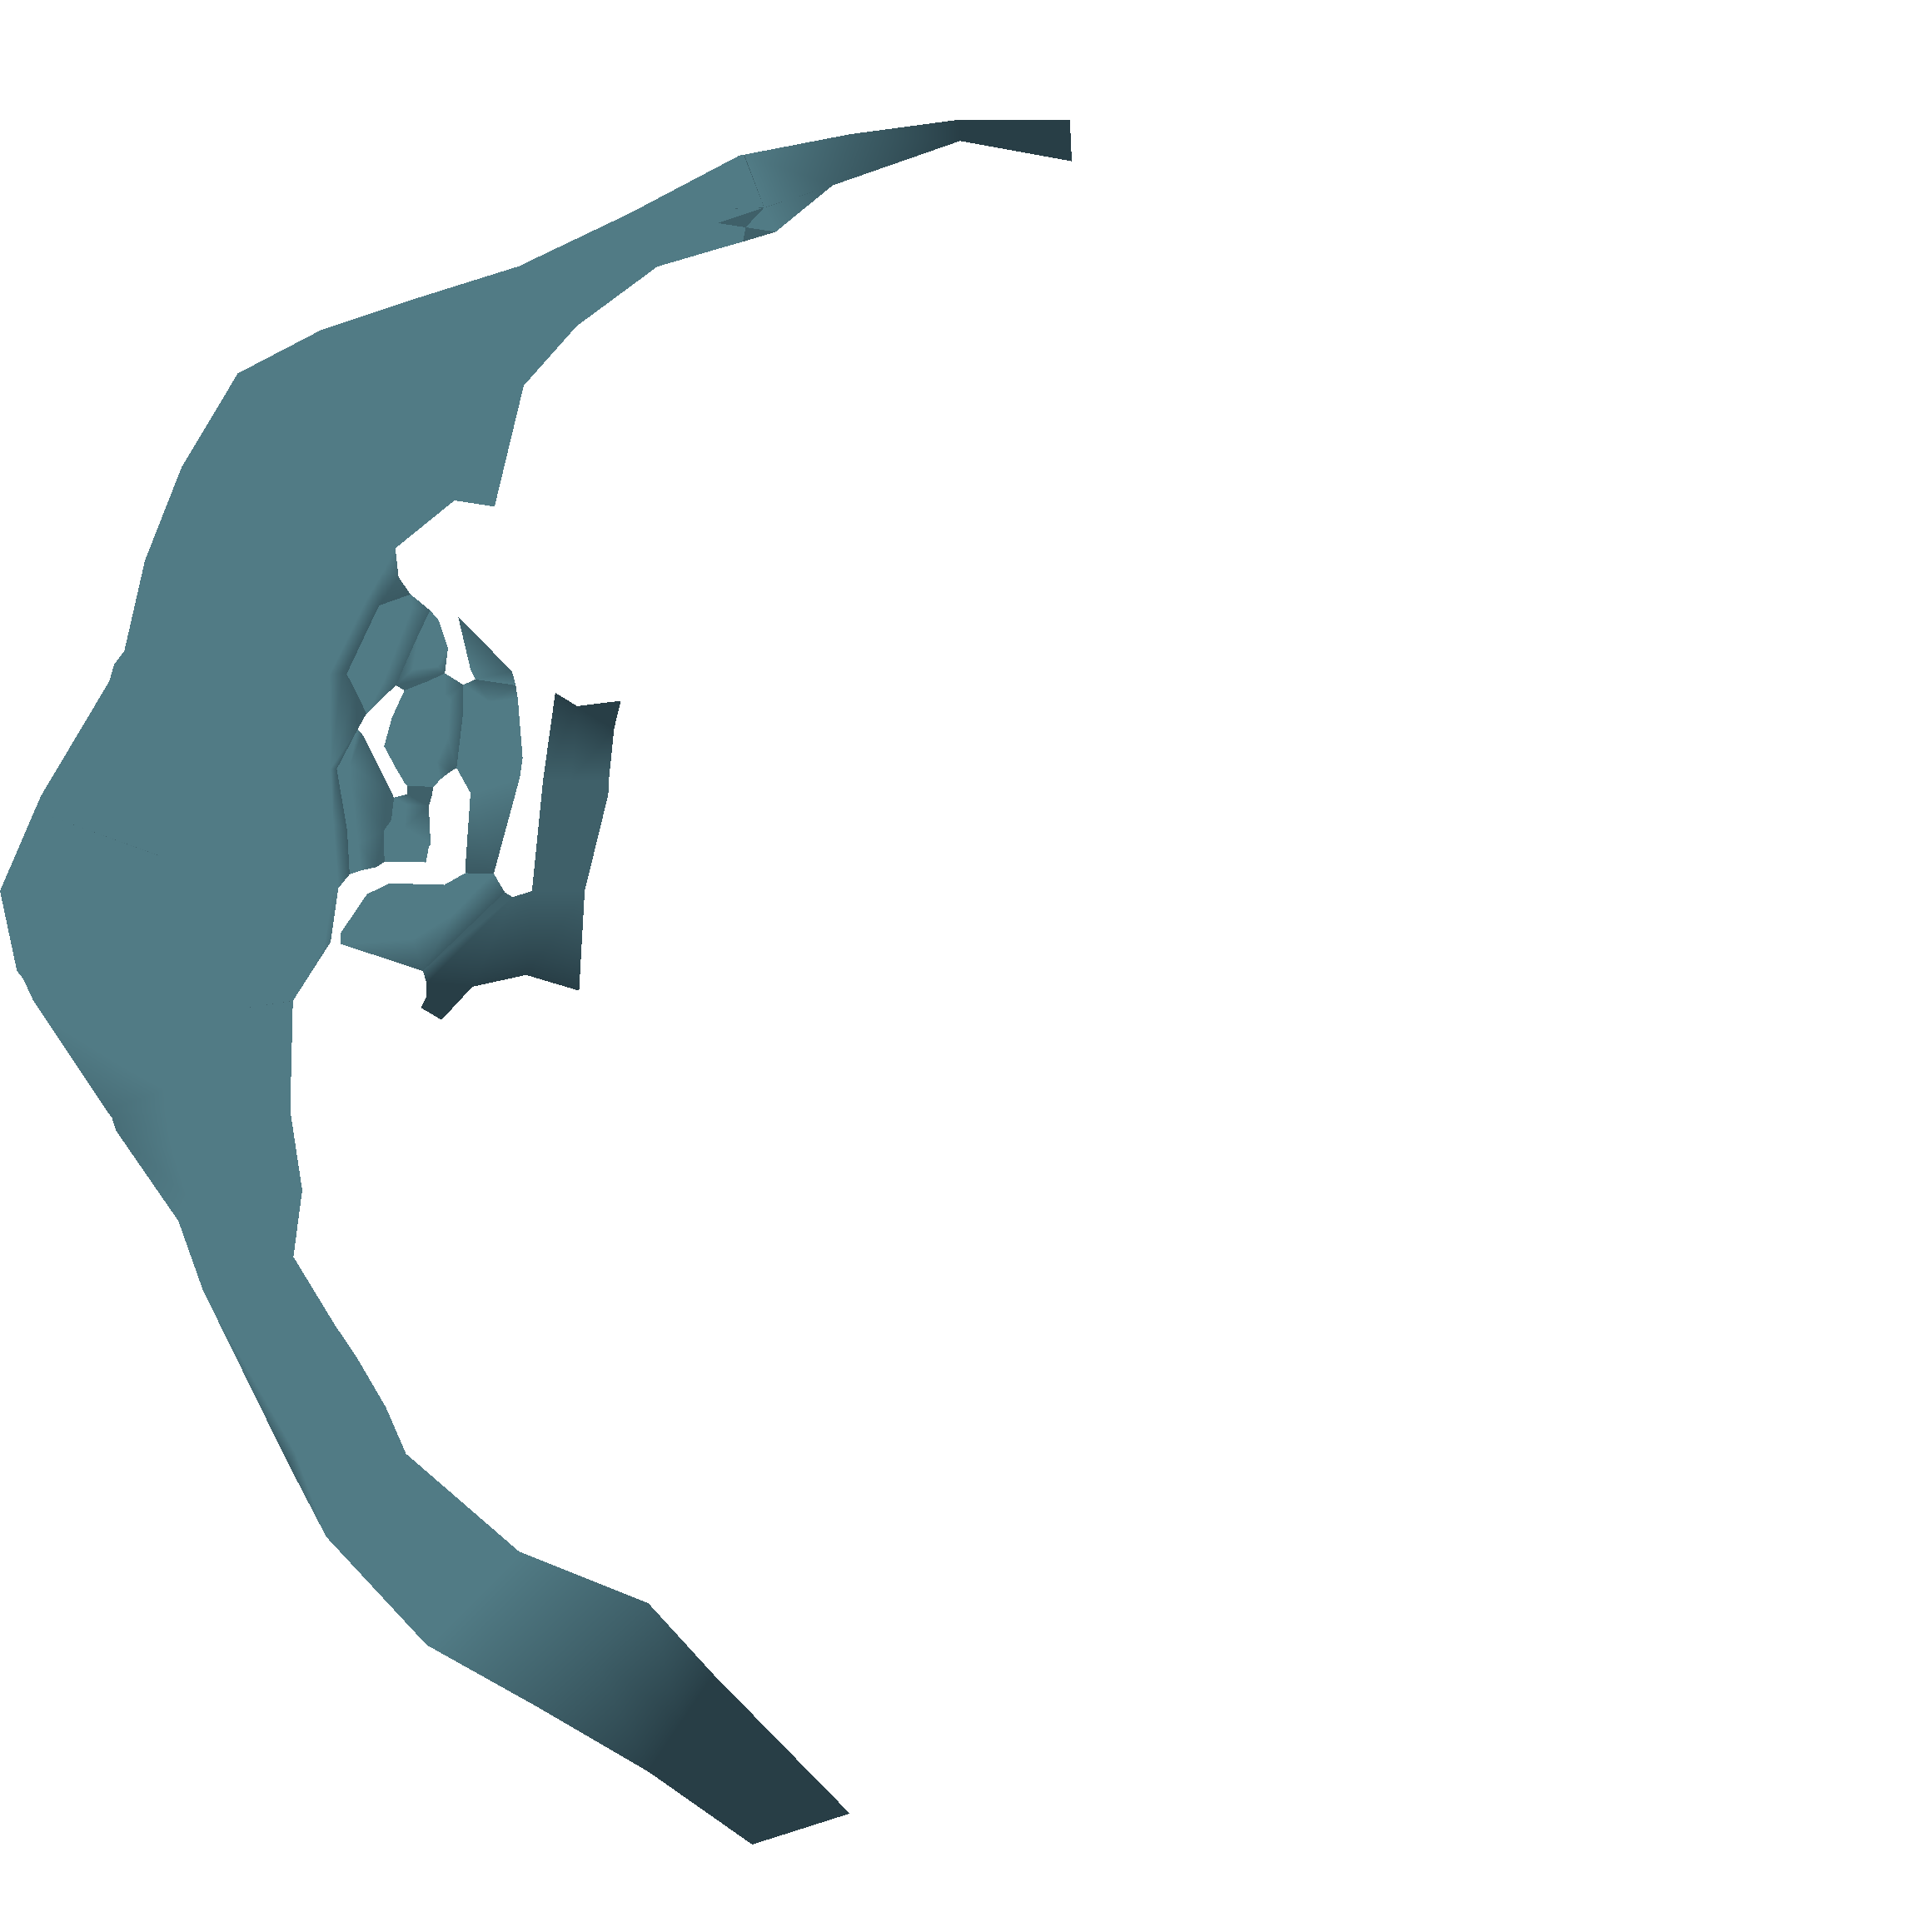 Prominence
Mountain
Prominence
MountainCave
You'll wind up in the Mountain Cave / Fayth Cluster. Follow the trail shown in the map below:
Mountain Cave / Fayth Cluster

 Floating
Ruins
The next boss battle will kick off shortly after you reach this section of the mountain.
Boss Battle
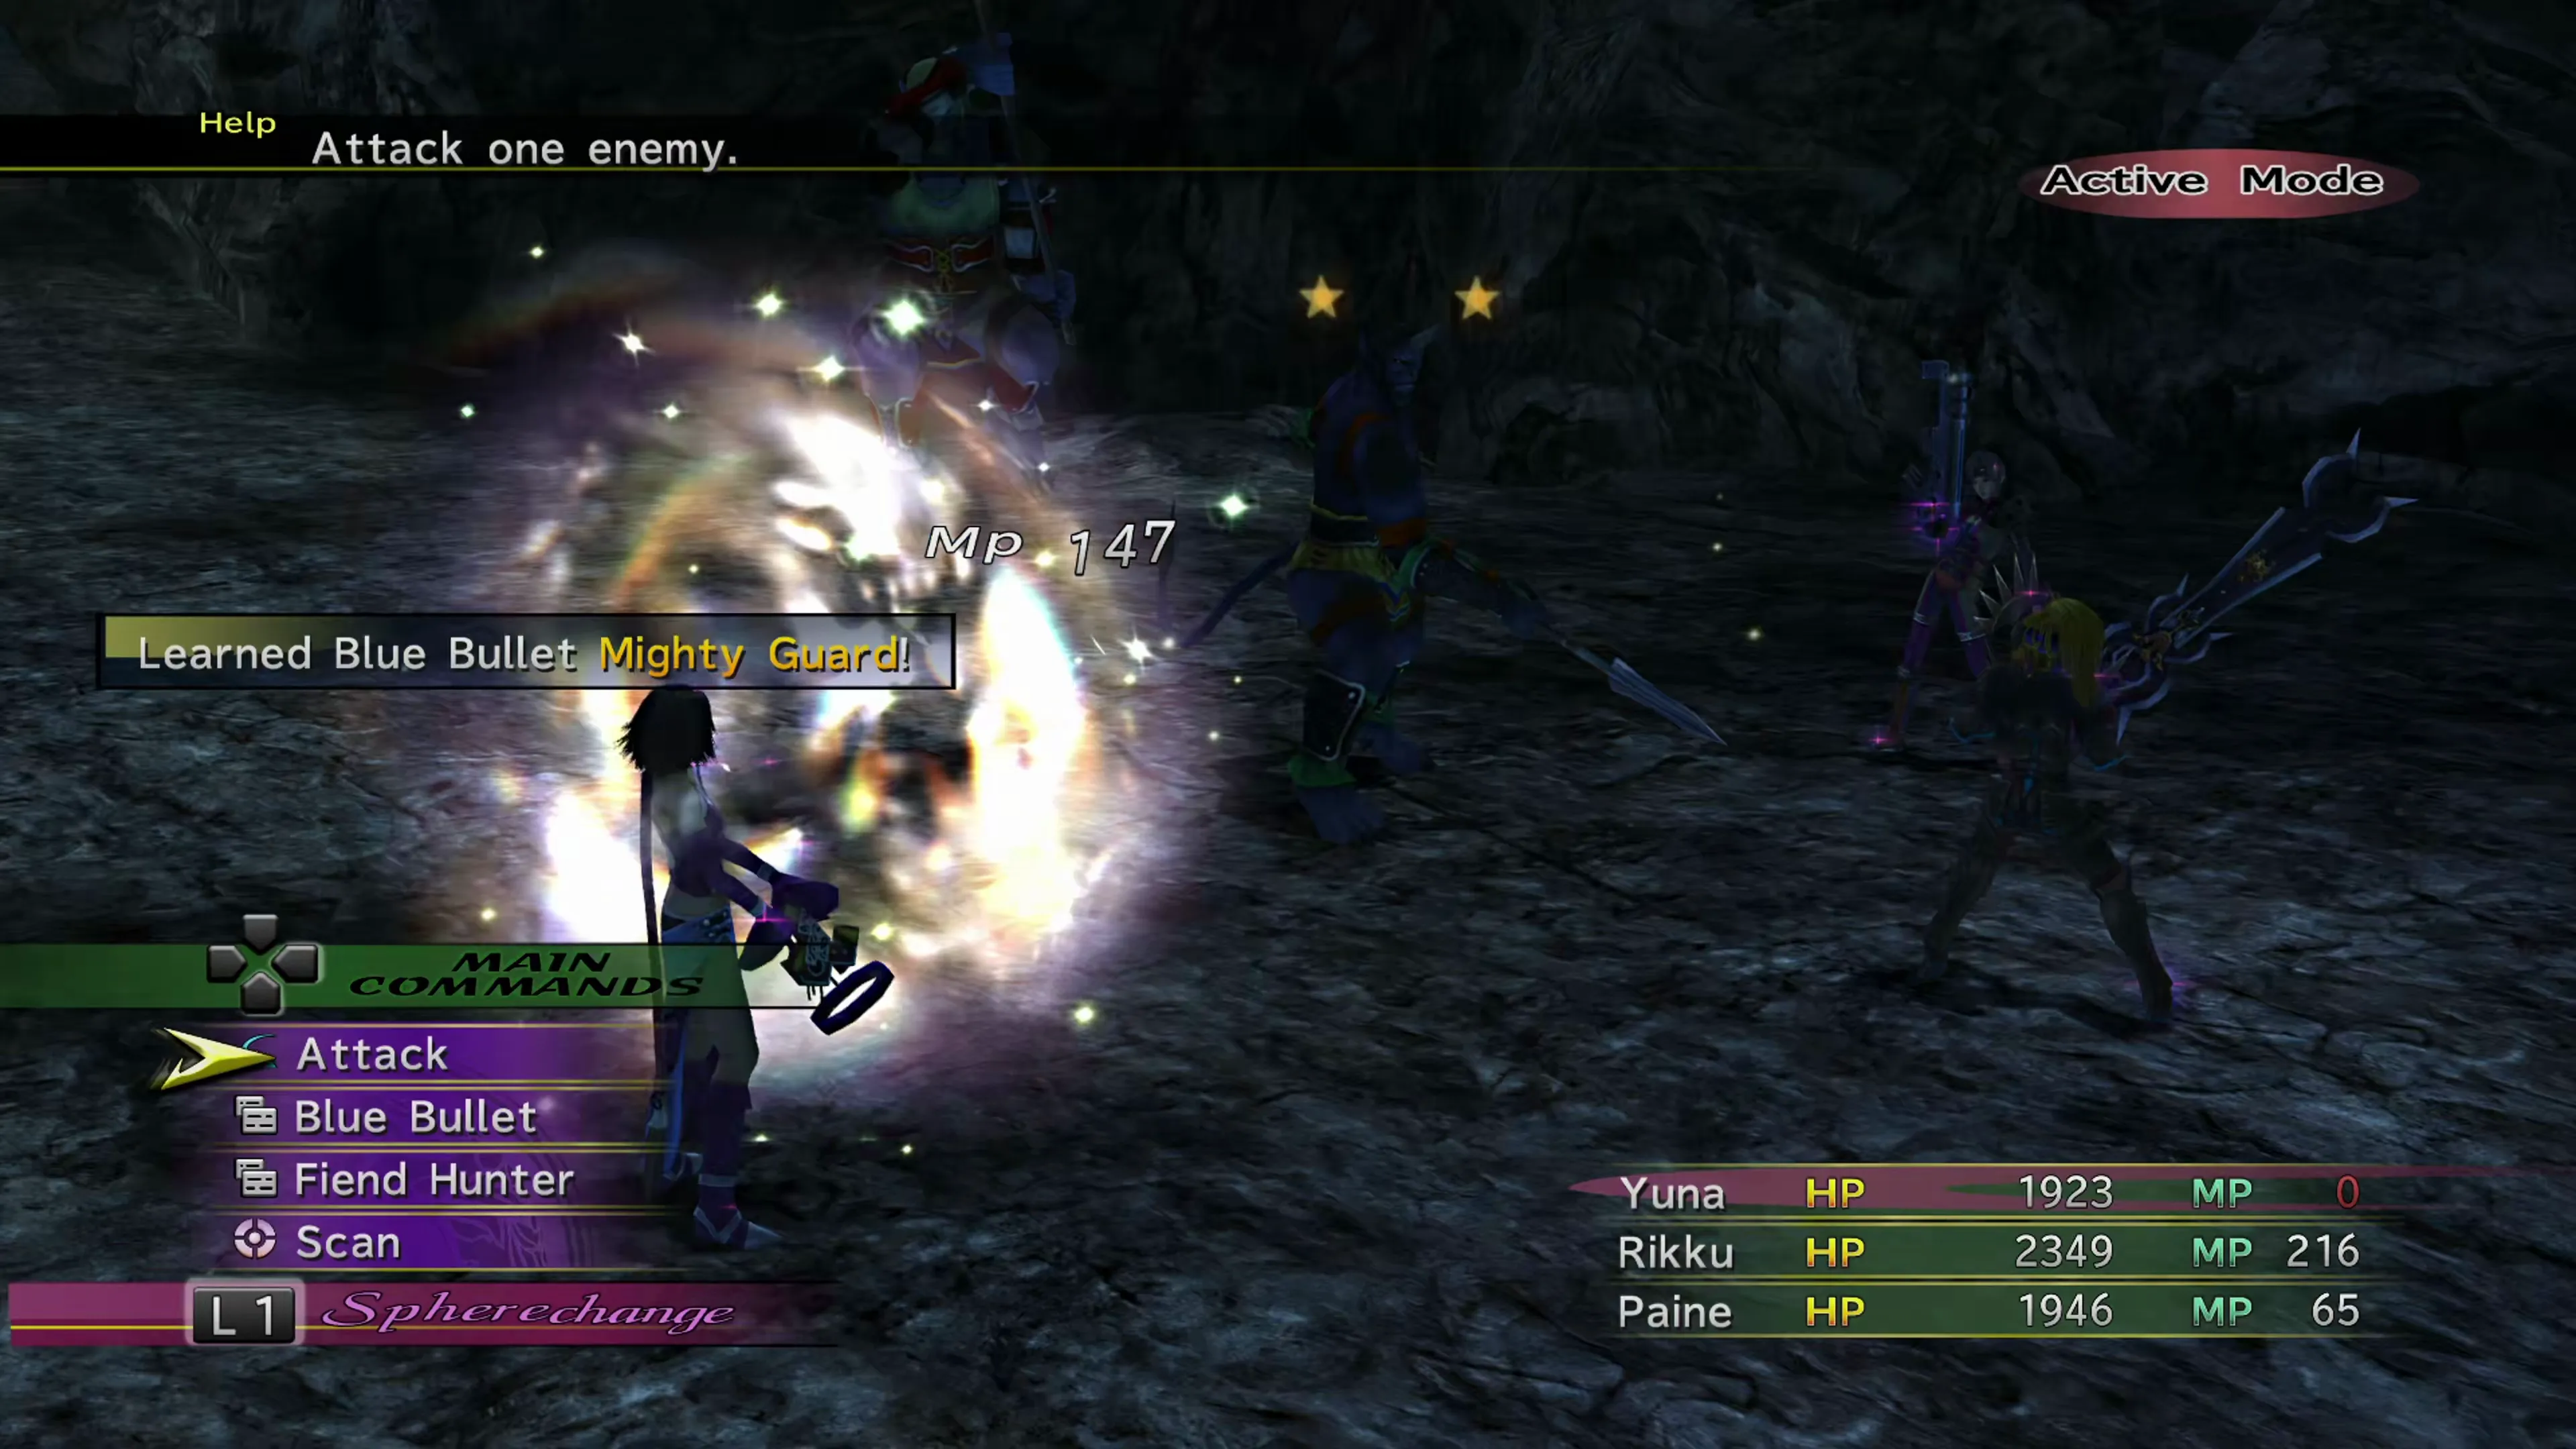
It’s worth mentioning that this fight changes depending on the actions you took on Mt. Gagazet during the chapters. With high Ronso trust, Garik brings one Ronso Youth, and he has a much smaller list of attacks, but with low trust, he brings two Youths and some much tougher attacks. In the easy version of the fight, Garik never uses Mighty Guard on his own. He’ll only cast it after being  Confused, and even then it can take several turns to show up. You’ll have to be patient.
Mighty Guard is both the critical ability you want your Gun Mages to learn and the primary irritant during this fight. Have a Dark Knight cast Confuse on Garik and wait until he uses it on your Gun Mage, and they will learn it automatically. Unfortunately, if he casts it on himself and the Ronso Youth (which he can do even when Confused), it can make the battle a bit more difficult. You’ll have to deal damage through  Shell,
  Protect,
  Regen,
  Haste, and increased Defense, Magic Defense, and Evasion stats.
Garik’s other abilities are not too difficult to deal with. He has a regular physical attack, “Bane Lance,” which inflicts  Curse, and an attack that inflicts
  Darkness. If you got the harder version of the fight, watch out for the Ronso Youths’ “MP Blowout” attack, which empties one character’s MP in a single hit. It’s worth stealing an
  Icy Gleam and a Mythril Bangle from them before you end the fight.
| Enemy | HP | Steal | Drop |
|---|---|---|---|
| Garik Ronso | 6880 | Icy Gleam |  Shining Bracer Shining Bracer |
| Ronso Youth | 4060 | Mythril Bangle (common)Mythril Bangle x2 (rare) |  Remedy (common)Remedy x2 (rare) Remedy (common)Remedy x2 (rare) |
A few more cutscenes play after the fight before the Mission concludes, and you’ll receive the  Wishbringer Garment Grid as your reward. After the game automatically transports you back up to the Celsius, head to the Zanarkand Ruins as your next destination.
Zanarkand Ruins
There isn’t much to do in the Zanarkand Ruins during this chapter. Make your way through the Dome and find Isaaru again. Have another discussion with him to earn some Story Completion Percent, and then you’re done here… or at least you are if you already completed…
Side Quests
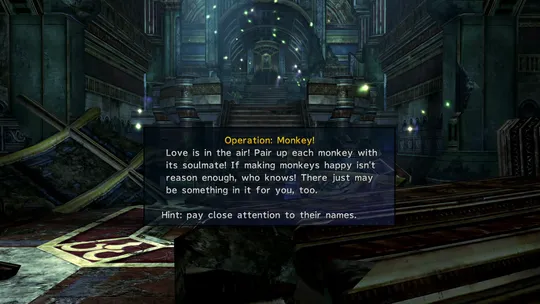
Matching up each of the monkeys that are loitering around the Zanarkand Ruins with their partners.

Completing “Operation: Monkey!” here in Zanarkand doesn’t add any Story Completion Percent on its own, but it does unlock a scene in Chapter 5 that only plays if you’ve matched up all of the monkeys. This is your last chance to complete it.
There are some treasure chests you can pick up, though, if you’re feeling adventurous:
Dome - Interior
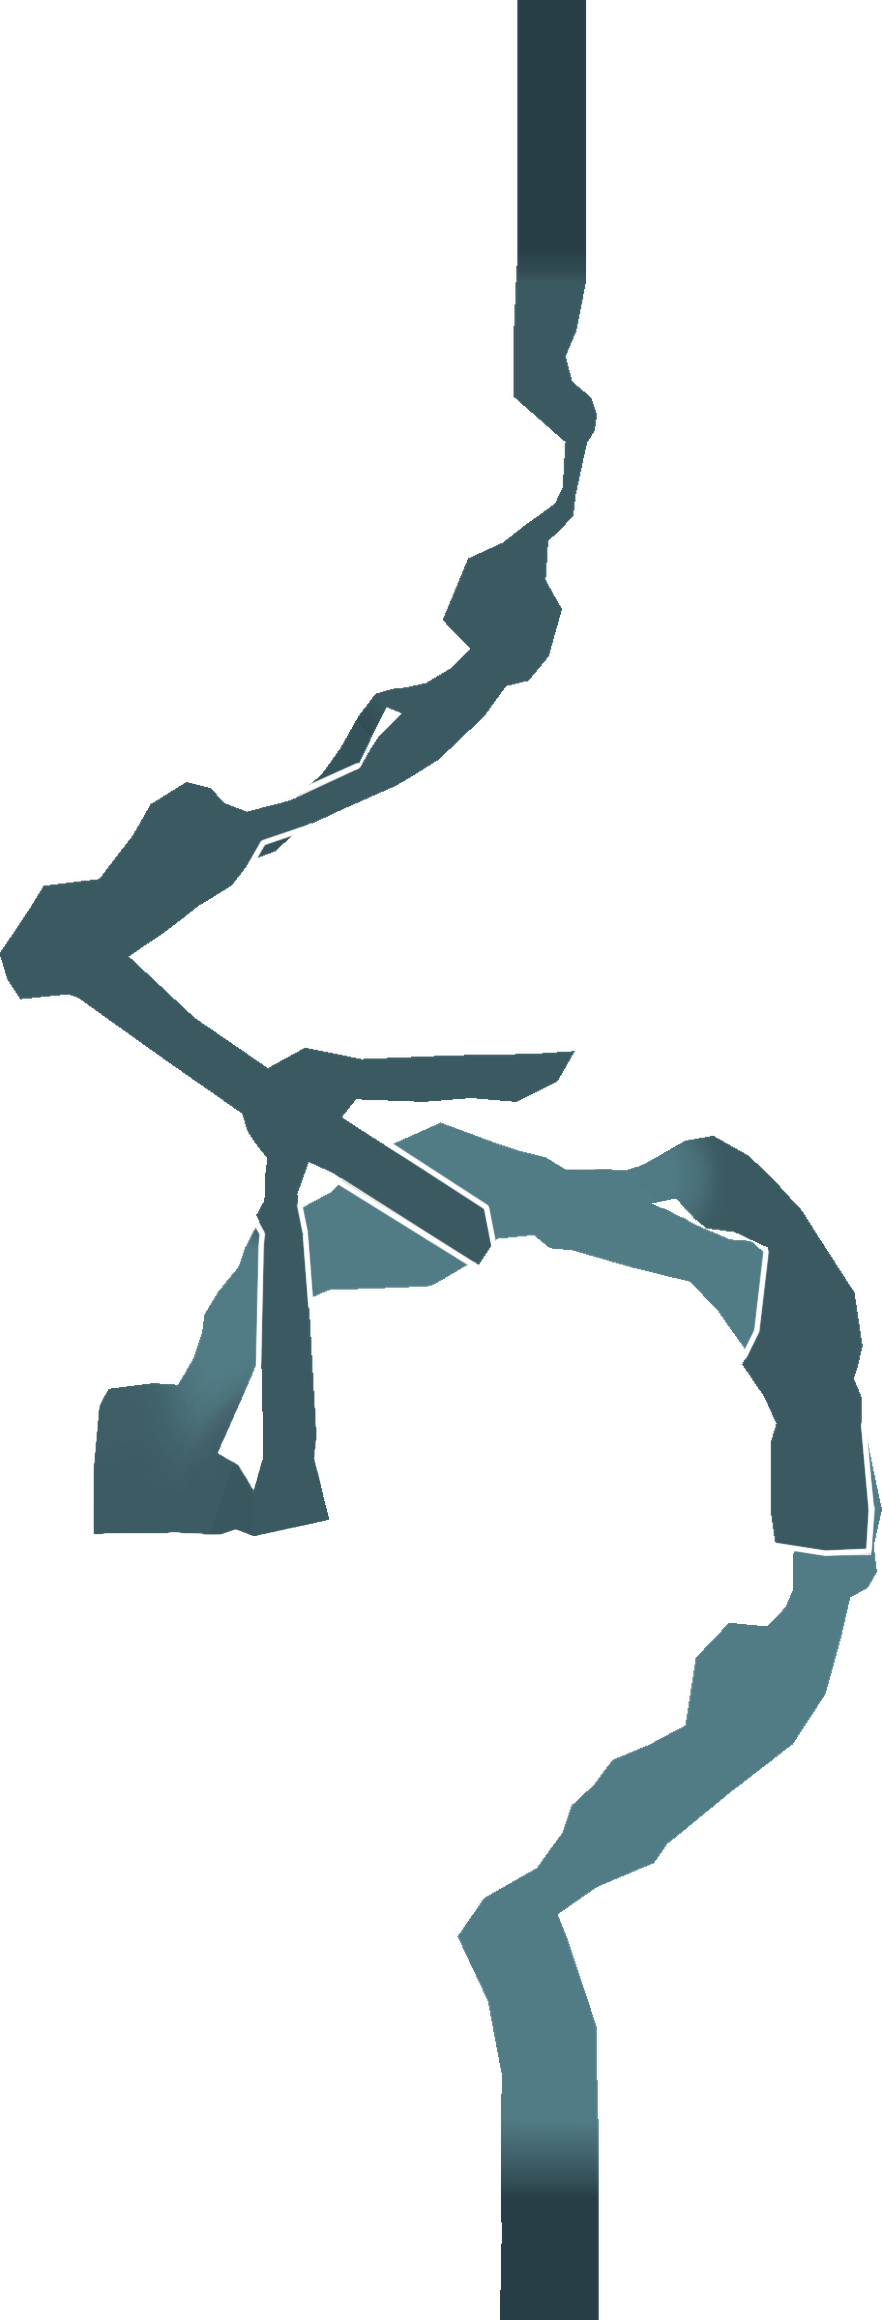
 1 1 |  Dispel Tonic ×2 Dispel Tonic ×2 |
| 2 | Phoenix Down ×3 |

Cloister of Trials

| 1 |  Lunar Curtain ×2 Lunar Curtain ×2 |
| 2 | Mana Spring ×2 |
| 3 | 2,000 Gil |
| 4 | Light Curtain ×2 |
Great Hall

The next destination leads to the conclusion of Chapter 3. As a quick reminder, make sure that you’ve completed the following:
- Spoken to the camera operator in Kilika
- Caught a Chocobo (head to Thunder Plains if you haven’t yet and refer to the Chocobo Ranch page for tips)
- Watched Crimson Records 1 and 4 (and any other Treasure Spheres) by speaking to Shinra in the Celsius
- Completed the Publicity and Marriage Campaigns for Chapter 3
- Slept in the cabin of the Celsius
- Caught the first six Cactuars for the Cactuar Nation Side Quest
- Reached 400 or more Publicity points with your chosen company
Once all of these items have been taken care of, it’s time for you to make your way back to Djose Temple.
Checking the “Mt. Gagazet and Zanarkand Ruins Complete” box adds the Story Completion Percent for the automatic scenes in Mt. Gagazet and Zanarkand Ruins.