

Thunder Plains
There’s a bit more to do in the Thunder Plains than there was at the Moonflow or in Guadosalam. A Mission will begin as soon as you land.
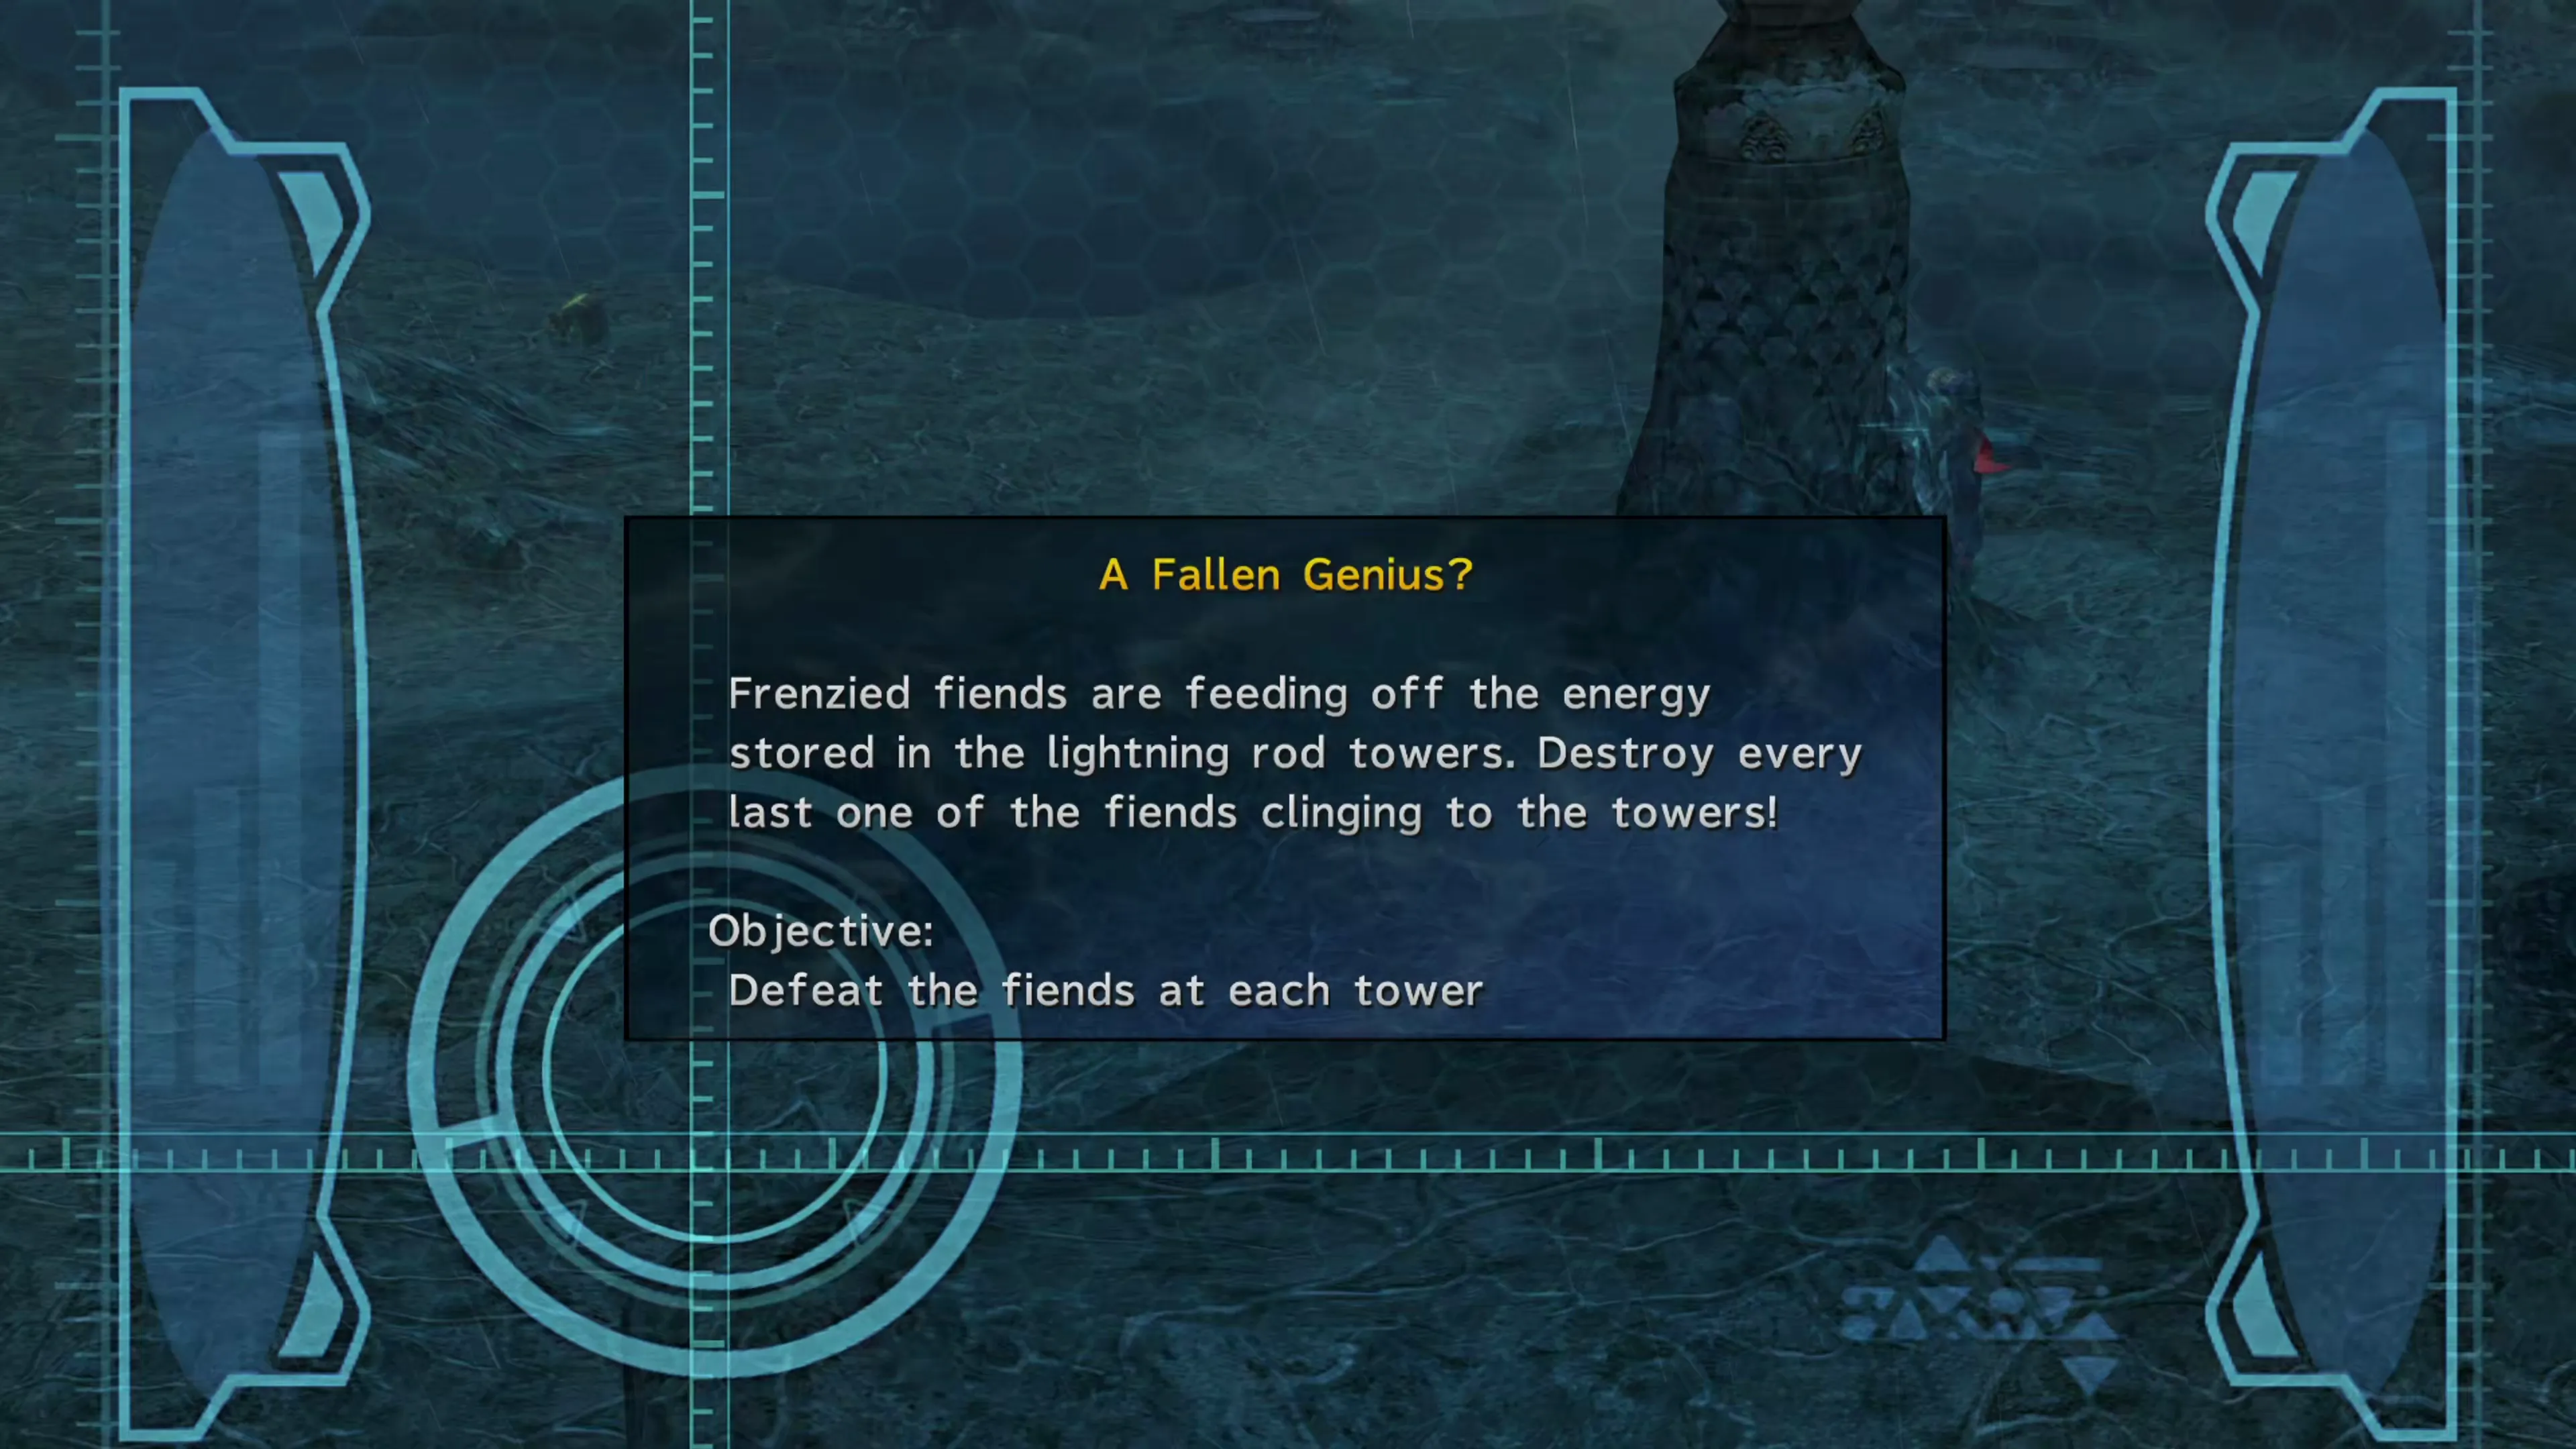
Mission: A Fallen Genius?
This Mission isn’t difficult, but it is a bit more time-consuming than some of the others. You must travel to each of the towers and defeat a Rhyos enemy at each of them. The Rhyos enemies are not difficult to defeat, but there are a lot of them at each of the towers. Use the maps below to help you find them:



Thunder Plains North

 1 1 |  Turbo Ether ×2 Turbo Ether ×2 |
| 2 |  Sleep Grenade ×2 Sleep Grenade ×2 |
Each Rhyos will leave behind a treasure chest after you defeat it. The contents of the treasure chest depend on how well you did on each of the Tower Calibration mini-games. If you want a reminder/refresher as to what these were, check out the link below, but note that it’s too late to complete the mini-games now. You’re stuck with the prizes you get.
 Tetra Bracelet
Side Quests
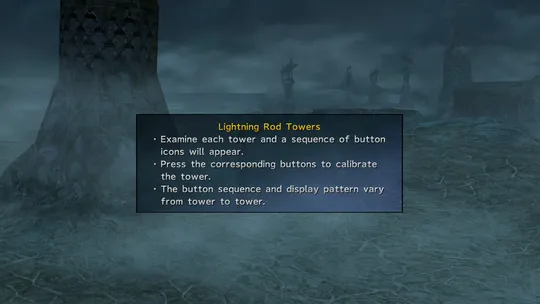
Yuna, Rikku, and Paine all have different tower calibration mini-games to play at each of the 10 lightning towers across the Thunder Plains. This page provides an overview of the games and the rewards you can receive.
Tower 10
You can’t actually walk over to Tower 10, but after you’ve cleared out all of the other towers, a red arrow icon ( ) will appear on your screen showing you where to go to trigger a boss fight. You can make this fight easier if you equip your party members with
  NulShock Rings or other accessories that absorb or nullify lightning damage, if you have any.
Boss Battle
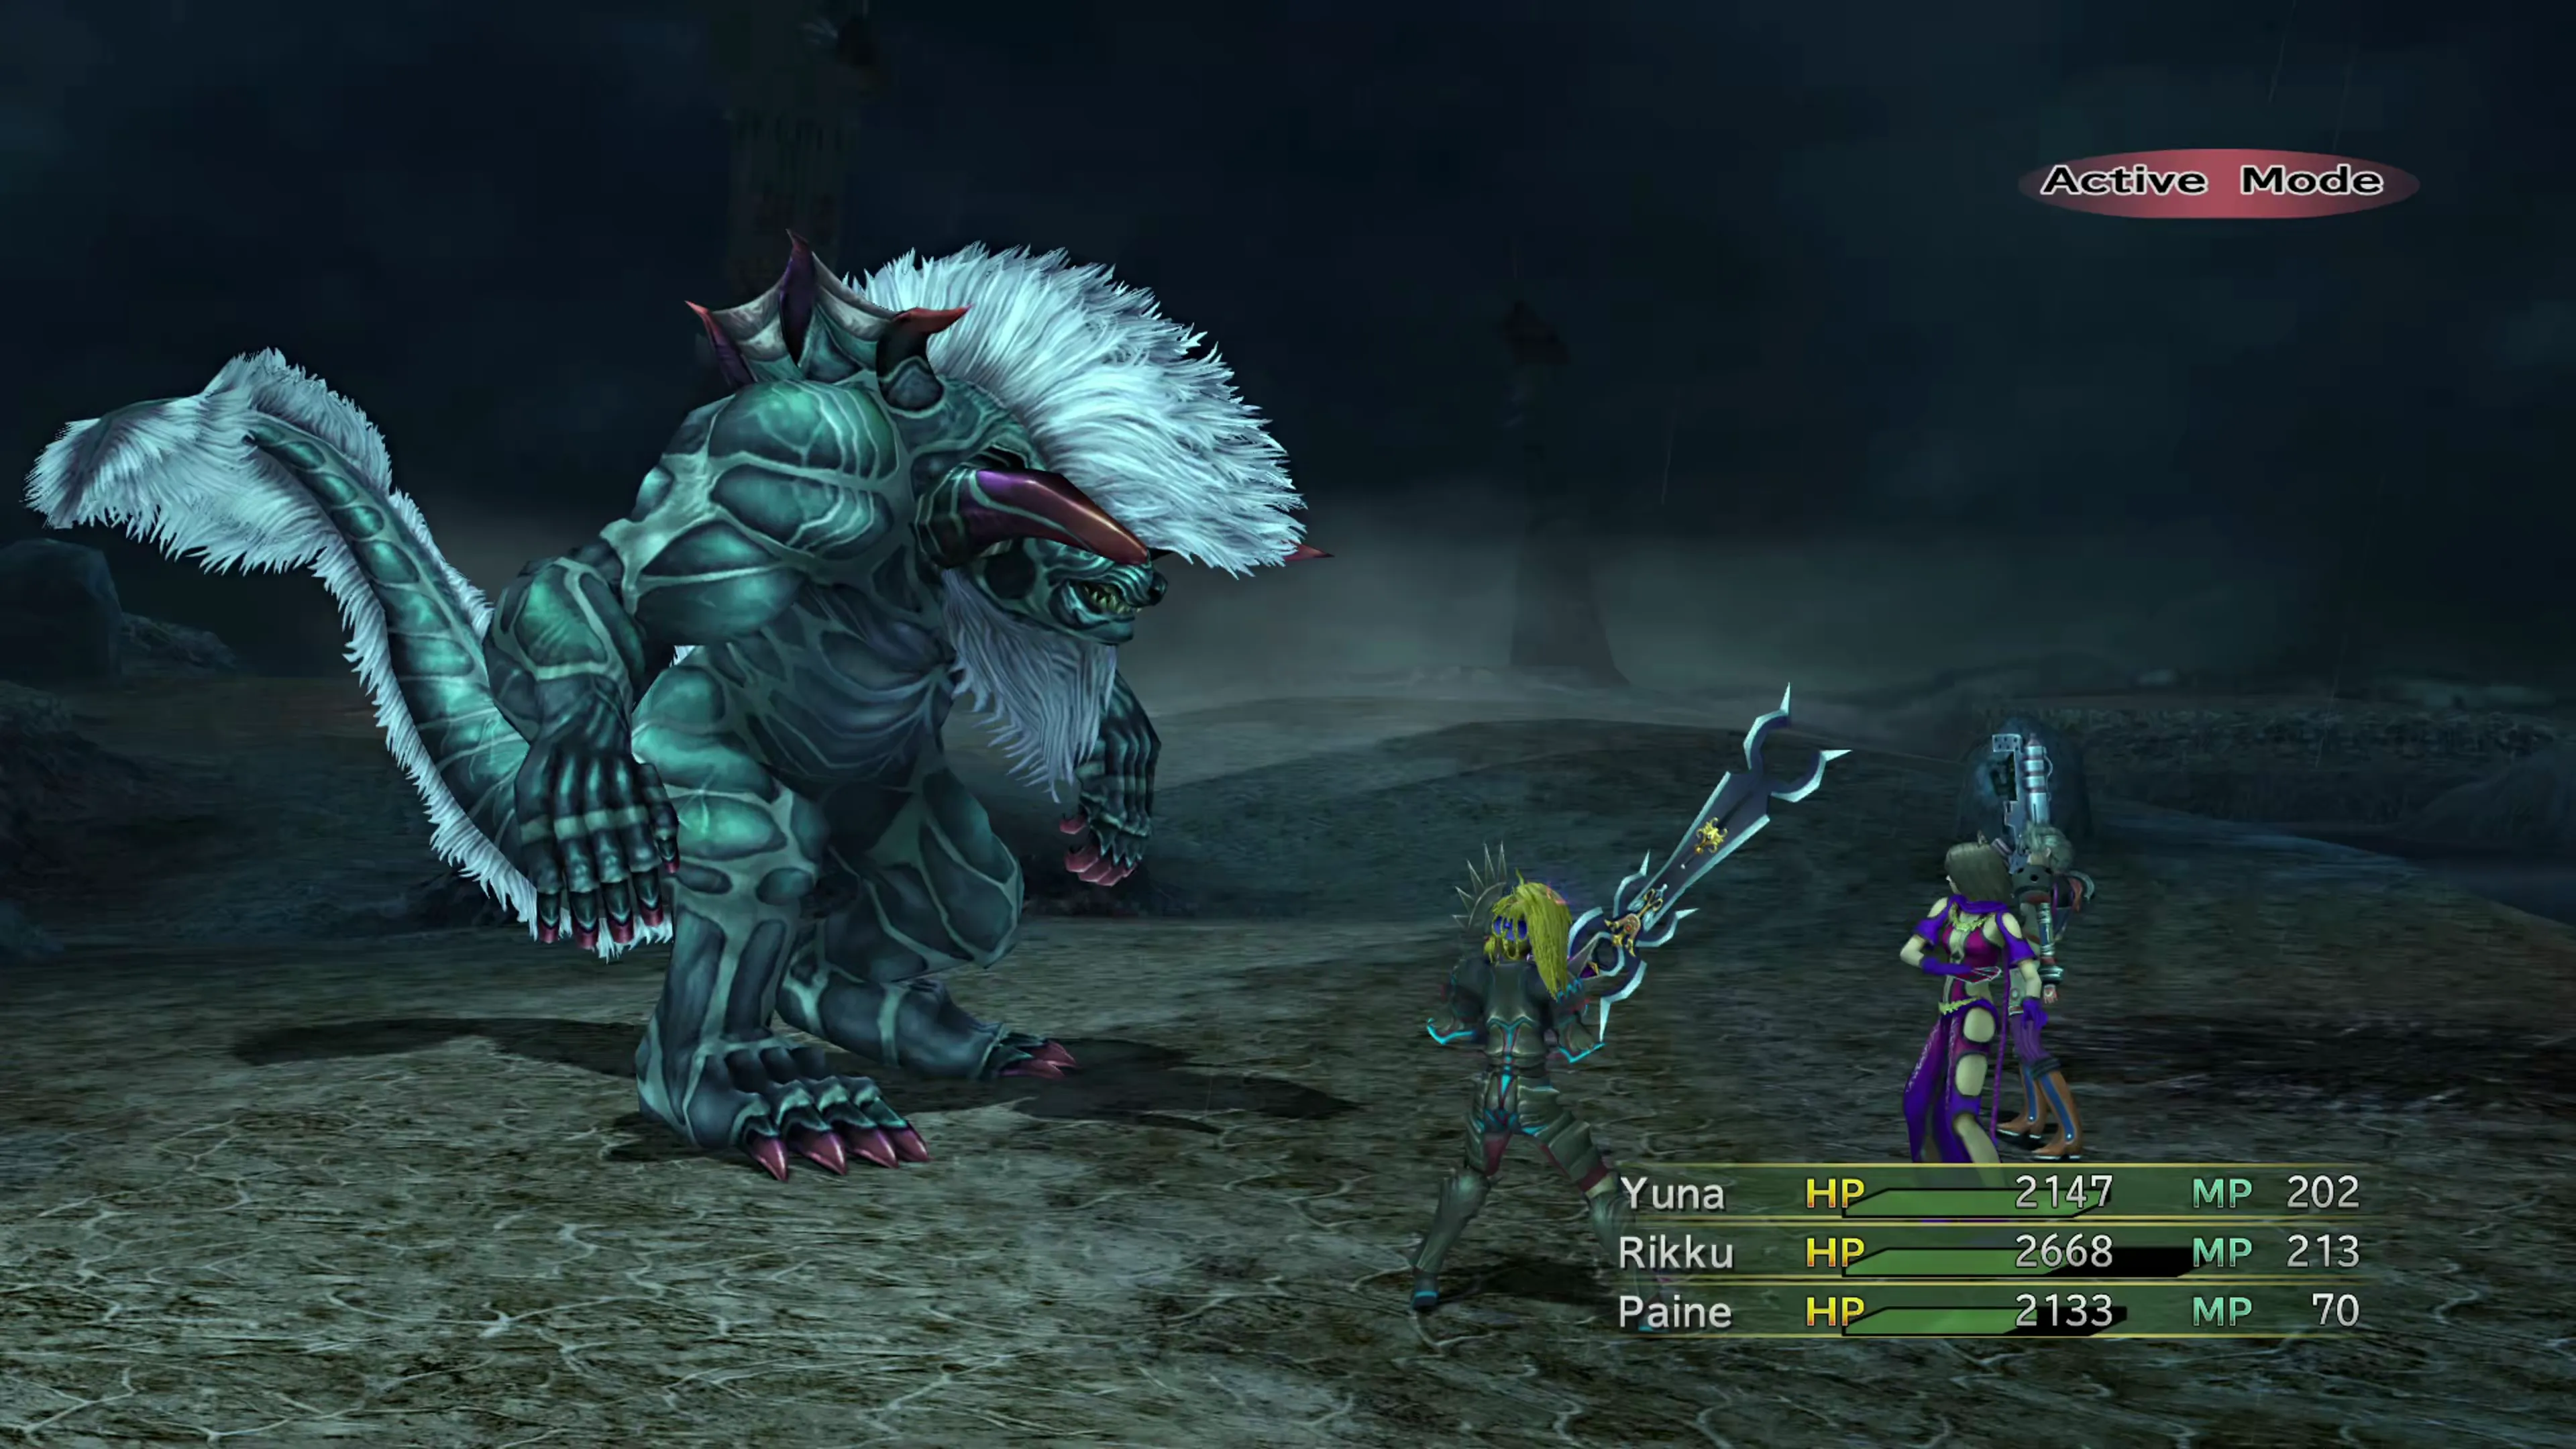
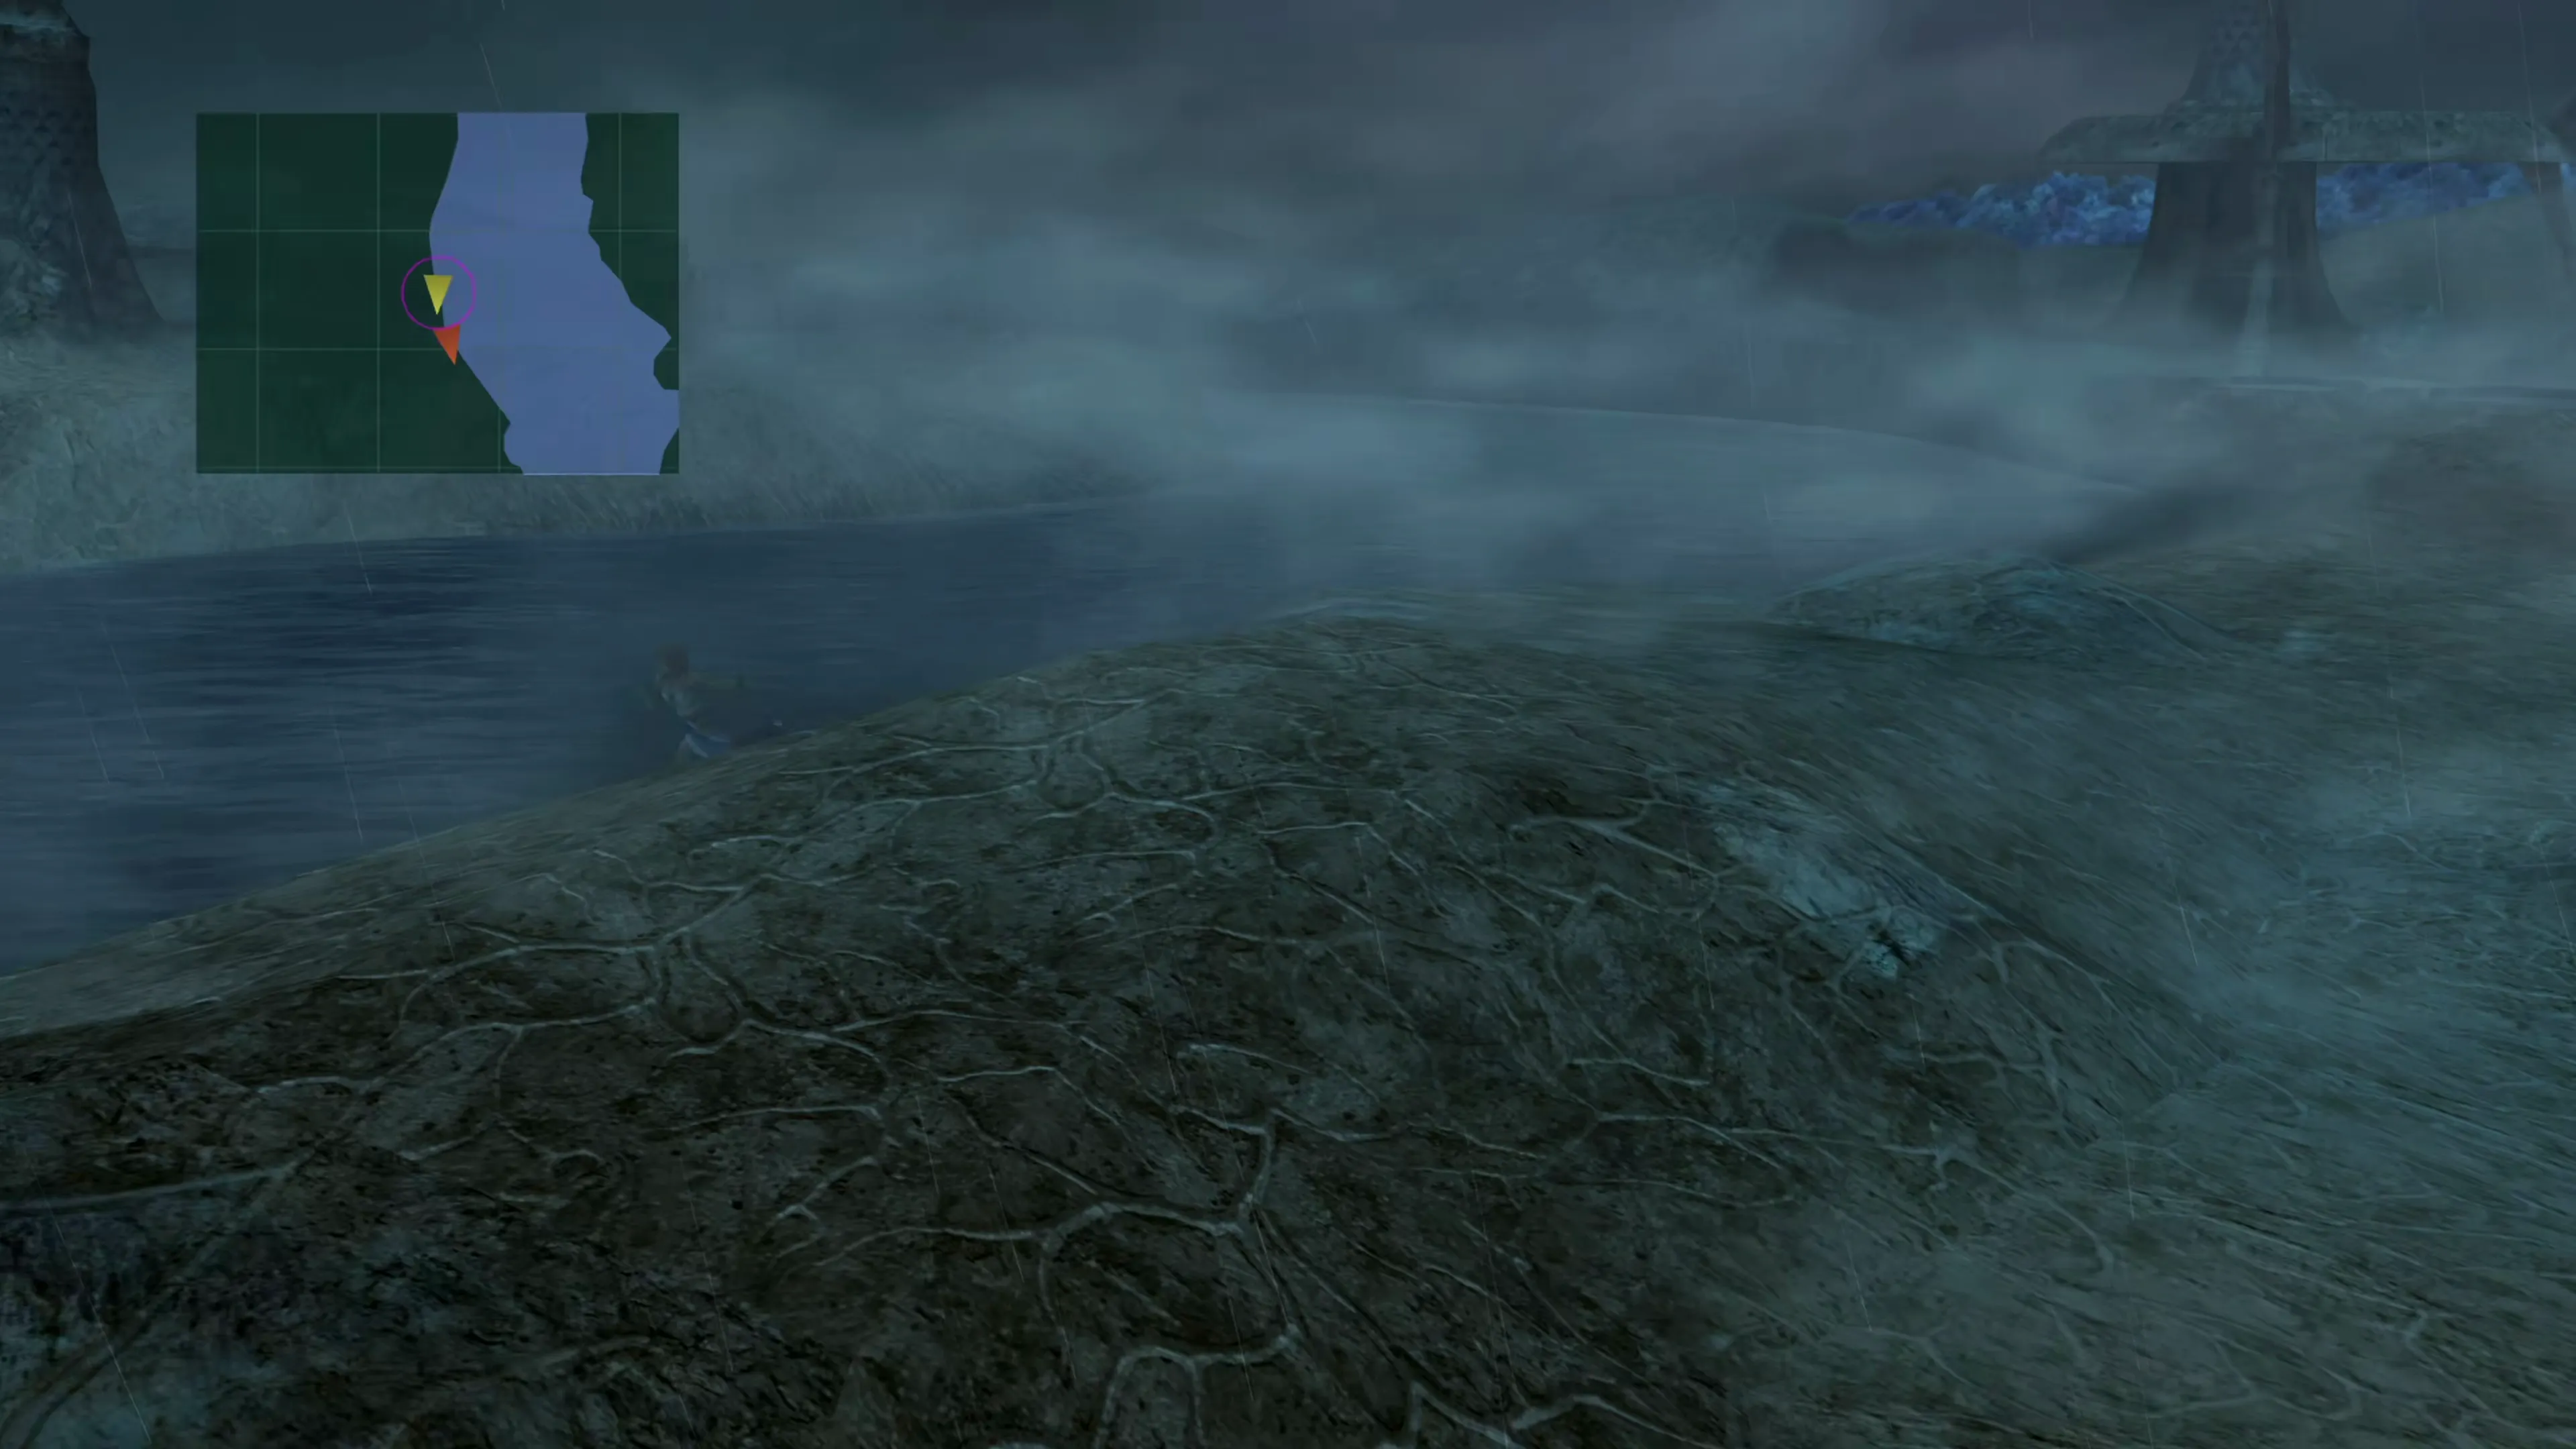
Humbaba can be a tough boss, and it has quite a few tough attacks to deal with:
- “Uppercut” deals heavy damage to one character and delays their next turn significantly
- Its regular physical attack hits one character for moderate damage
- “Thundara” and “Thundaga” are the lightning-based attacks mentioned above
- “Tyrant Tail,” used once its HP drops below a third, deals around 800 damage to all party members and delays their turns
- “Meteor” is non-elemental damage that deals 8 total hits
You can use  Dispel from a
  White Mage or Dispel Tonic from an
  Alchemist to remove many of the “Mighty Guard” effects, which are definitely the most annoying parts of the fight. You can also have a
  Samurai use its
  Fingersnap ability to remove the stat boosts it receives. Leaving “Mighty Guard” active will greatly reduce the amount of damage your characters deal over the course of the fight.
Humbaba is just like other behemoth-type enemies you’ve fought in the Final Fantasy franchise (you’ve almost certainly seen one in Final Fantasy X, at least). It will always cast “Meteor” as its last attack, and this will deal a heavy amount of damage to all party members. Make sure you have a White Mage or an Alchemist keep your party members healed up in preparation for this last attack.
If you’re having trouble dealing enough damage, you can have a  Dark Knight use their
  Darkness ability or have a
  Gunner use their
  Cheap Shot ability to deal damage through any shields and high defense.
| Enemy | HP | Steal | Drop |
|---|---|---|---|
| Humbaba | 27772 | Hi-Potion x2 (common)Ether (rare) | Hi-Potion x4 (common)NulShock Ring (rare) |
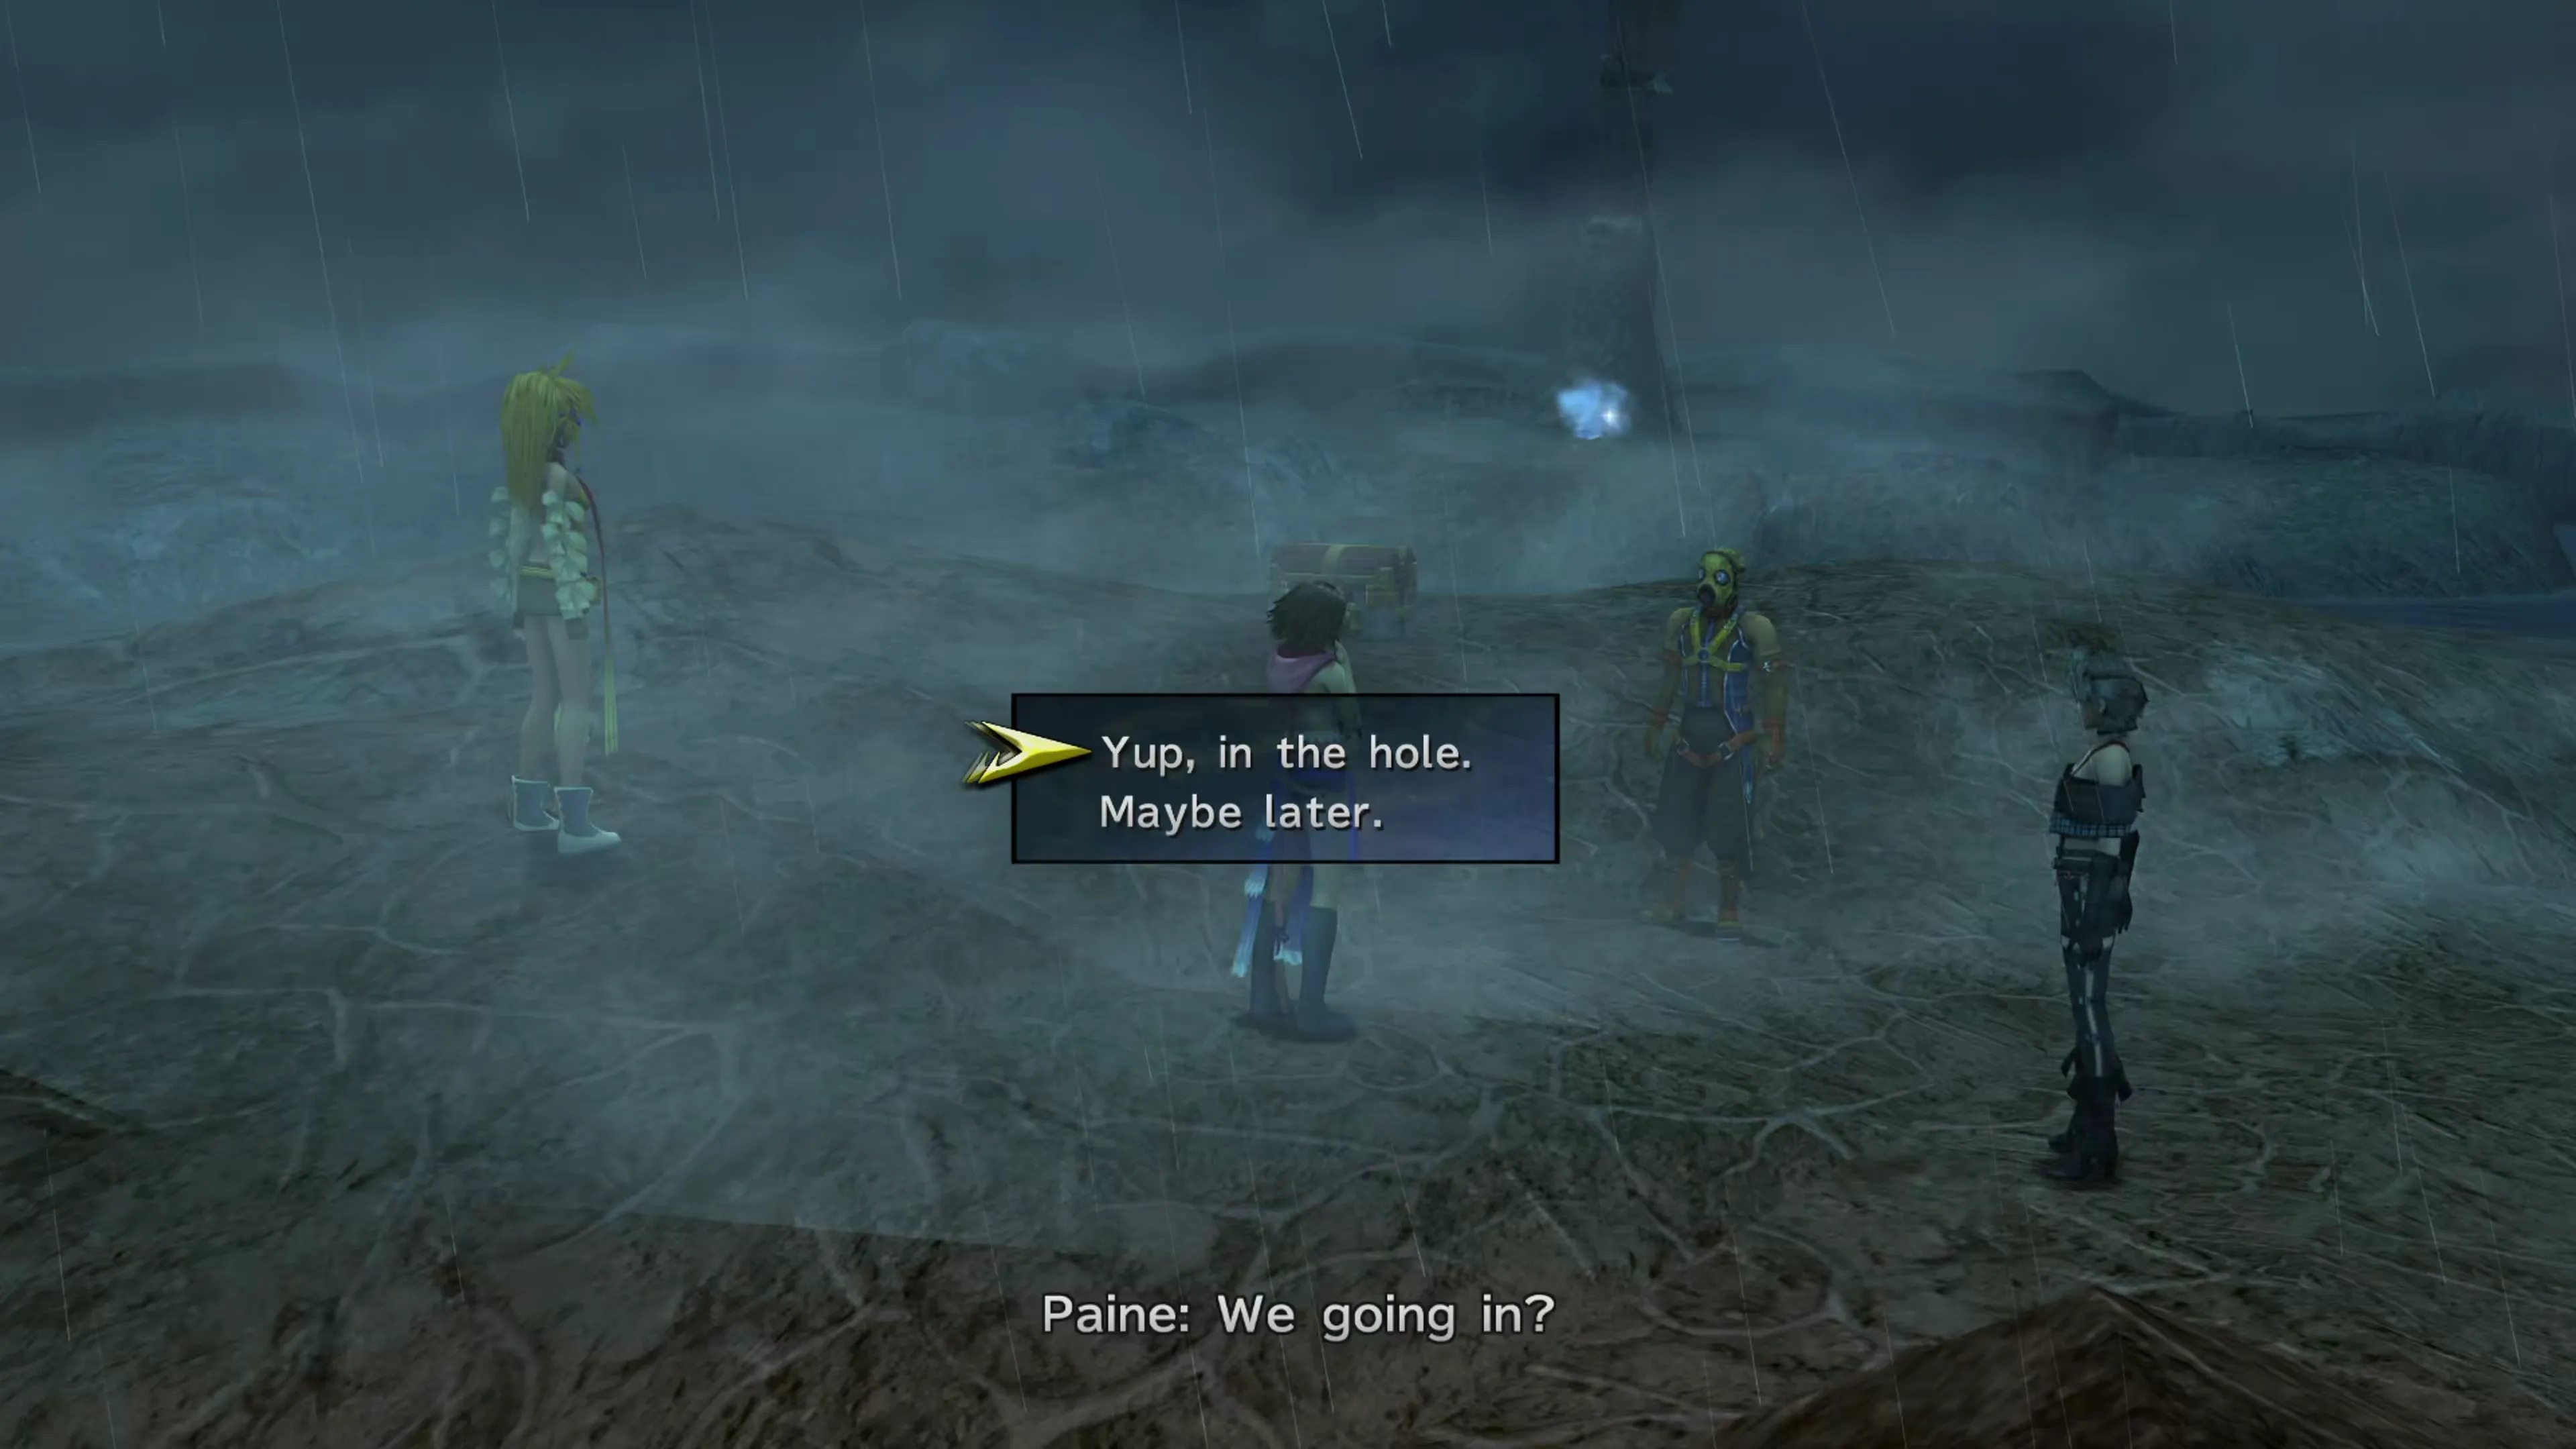
Defeating Humbaba will complete the Mission and earn you the  Valiant Lustre Garment Grid, but not the Episode just yet. The Al Bhed man that was running around when you first entered the Thunder Plains will wander over to where Humbaba was defeated. He will mention that there’s a “strange hole” by the tower. Select “Yep, in the hole” when you see the option.
New Cave
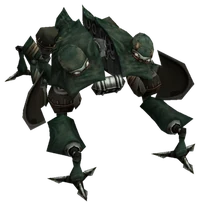
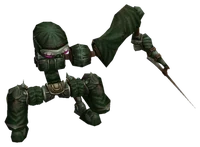

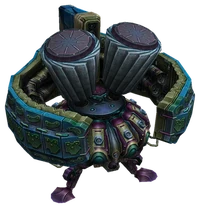
Yes, this place is called “New Cave.” Not a very creative name.
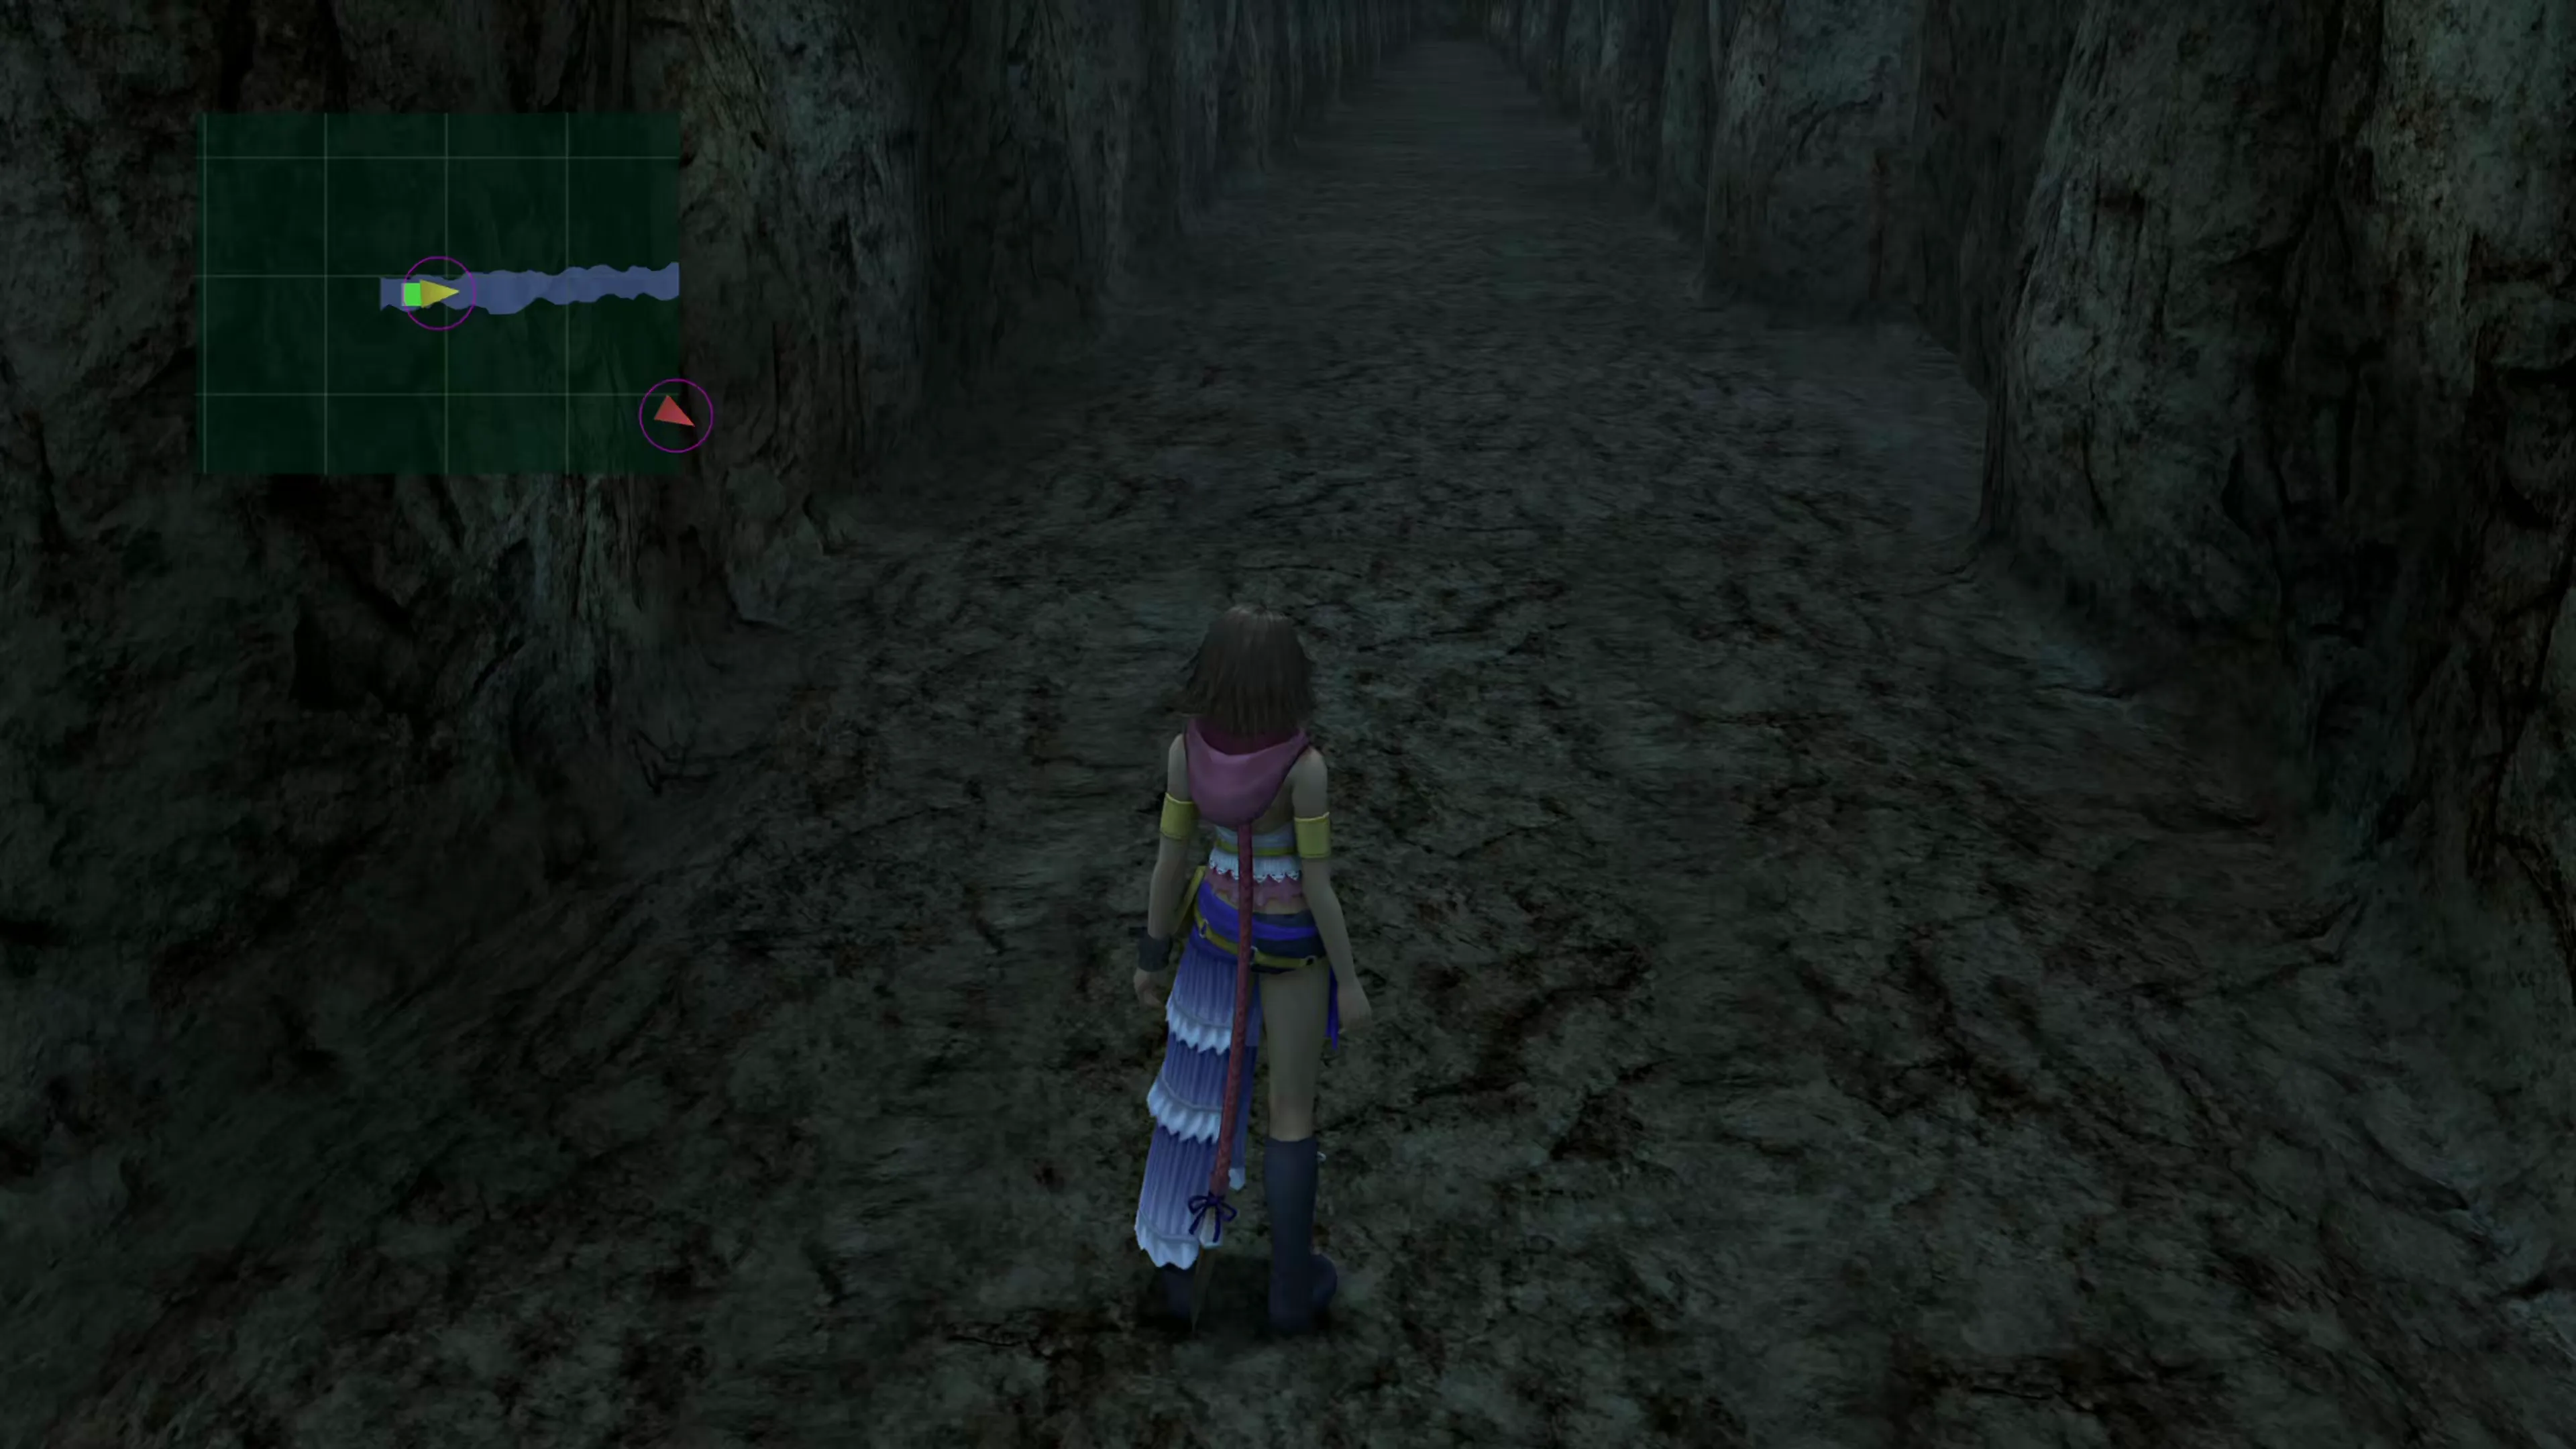
There are two visits you can make to this cave. The first is to complete the Episode here and now, which is just a trip into the first section of the cave to find Cid. The second visit involves completing a lengthy puzzle within the cave.
Finding Cid is the easy part. Just travel to the red arrow on the map. You’ll have to take a path that leads south before eventually returning north, but he’s not difficult to find. Before you get too close, though, make sure you’ve taken off any lightning-related gear from the earlier fight.
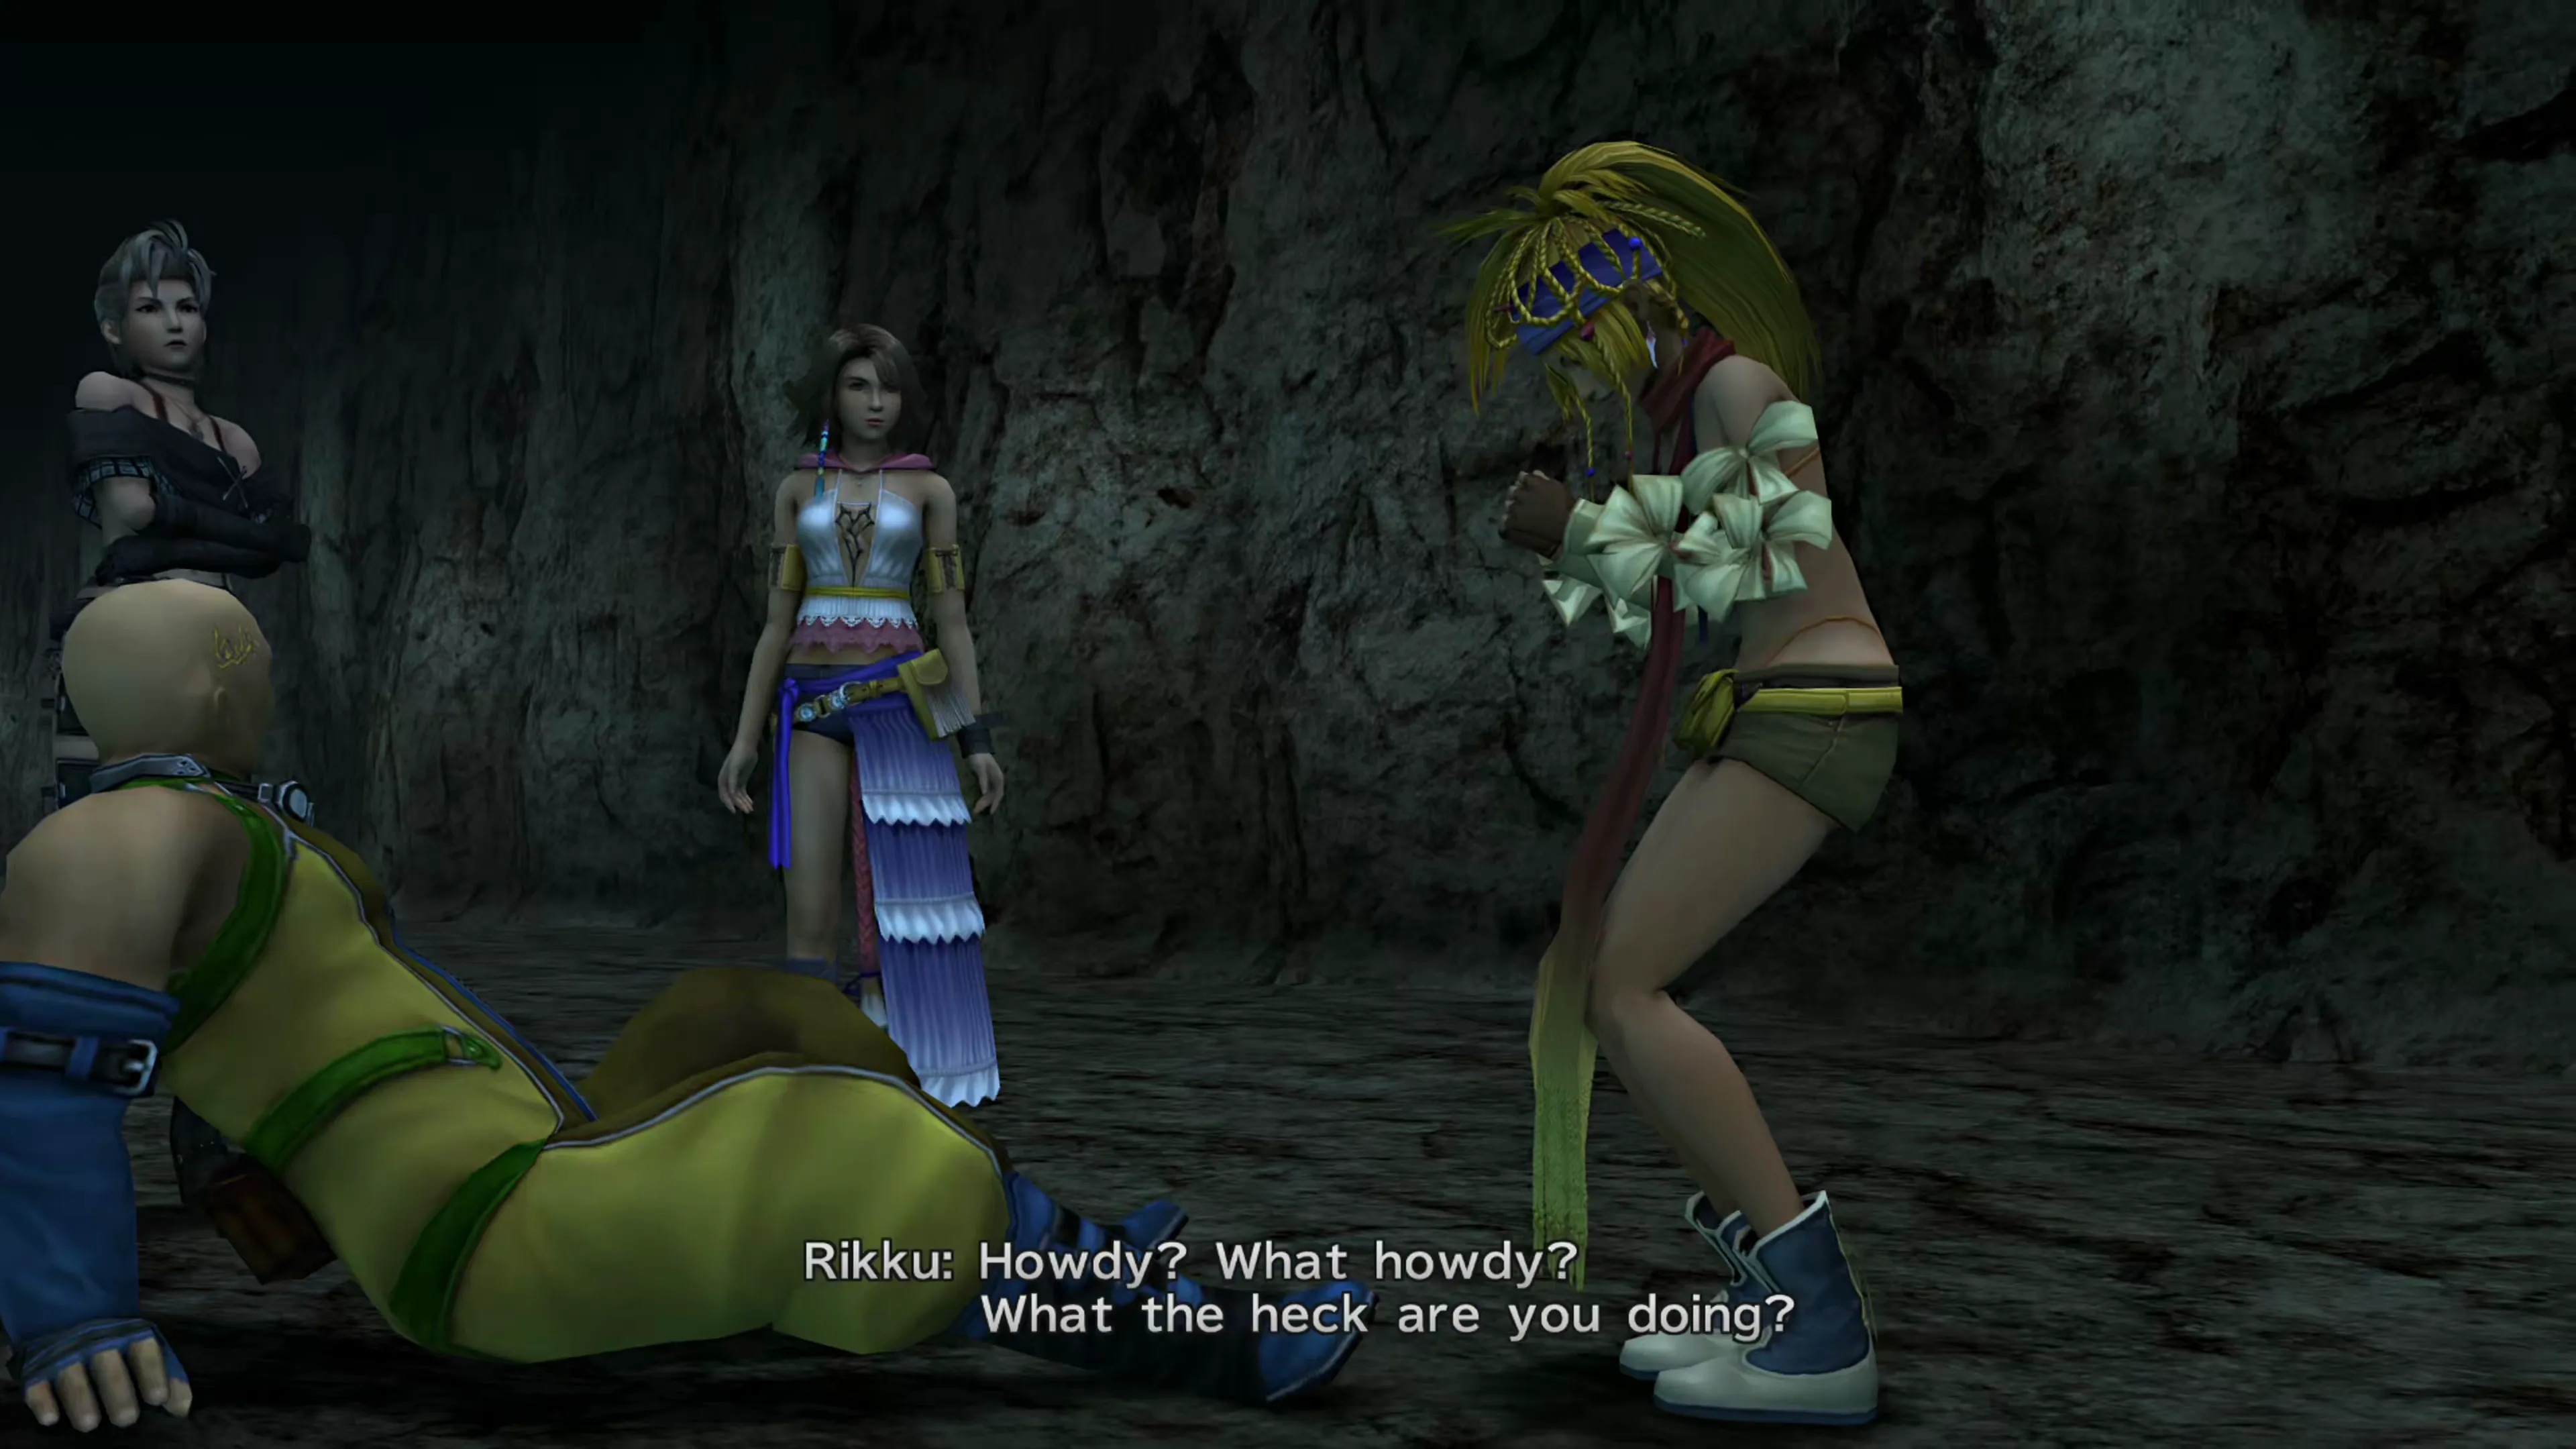
Boss Battle
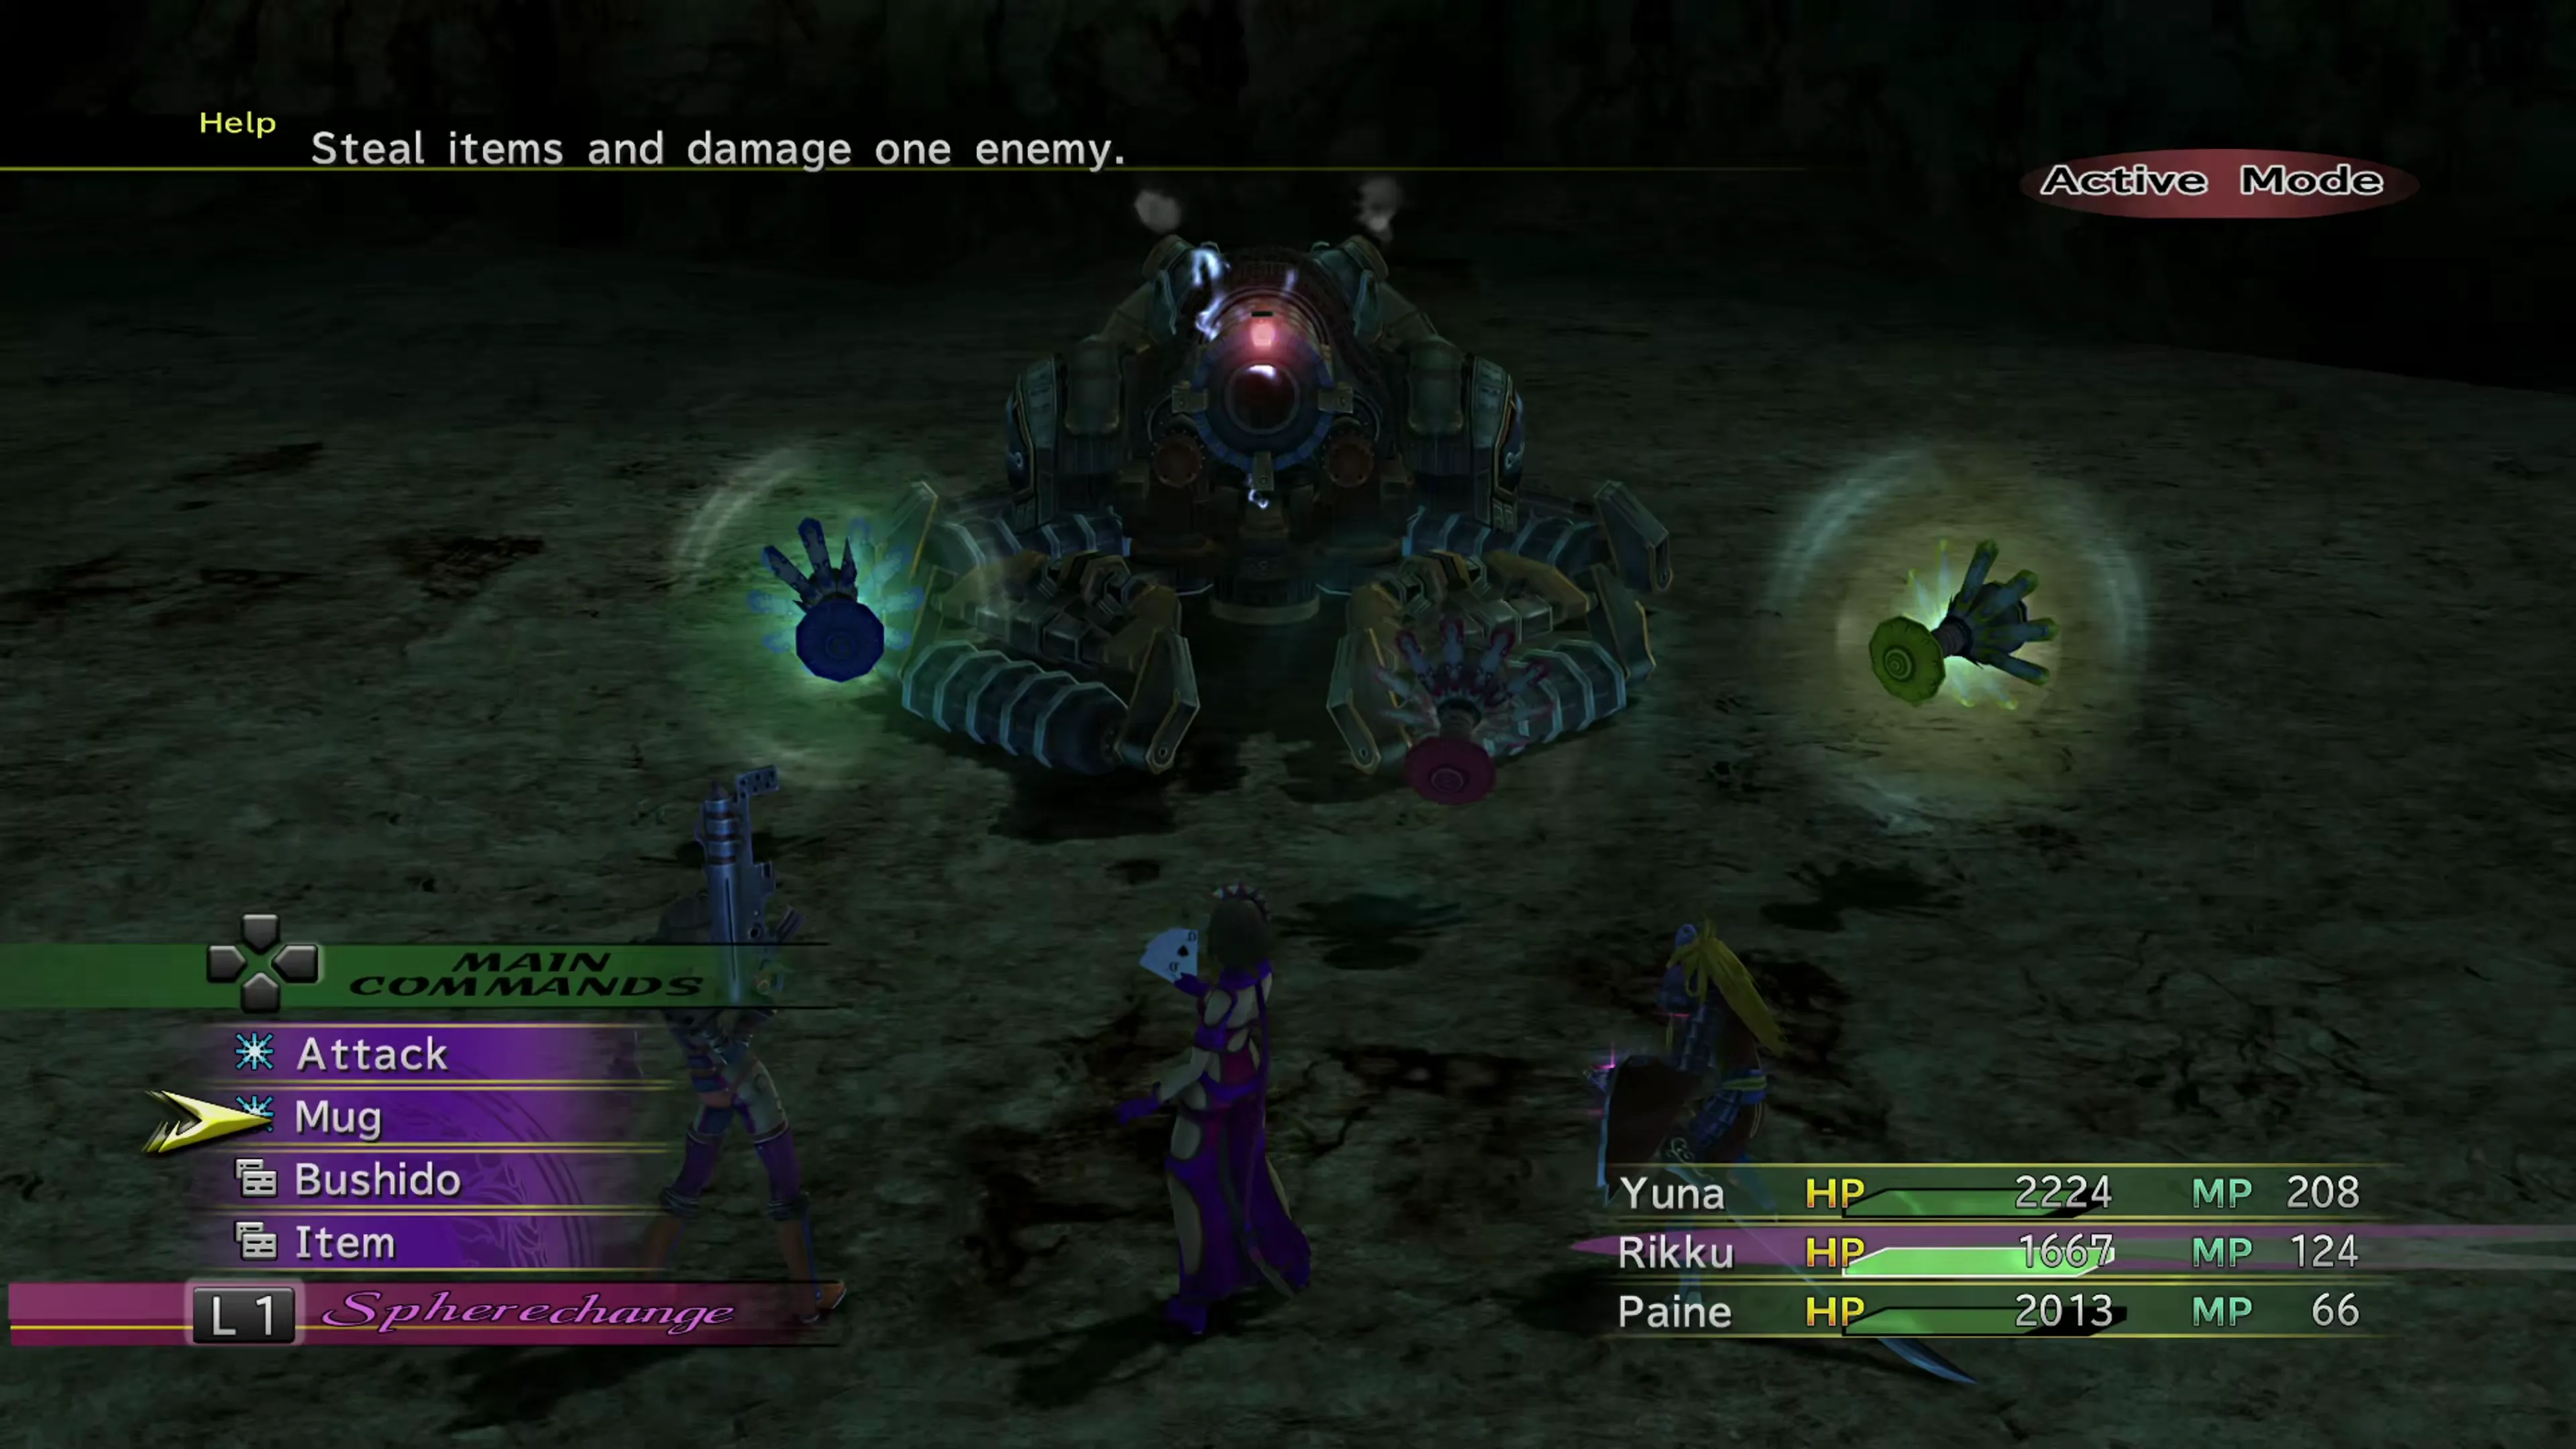
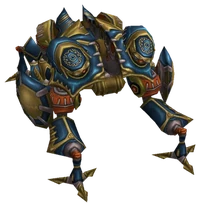
The most notable aspect of this fight is the three Watchers that accompany the Machina Panzer. These are the same three Watchers that have been spawning in random fights over the last few chapters. As a reminder, Watcher-A was recording any attacks you performed, Watcher-R was recording any recovery abilities, and Watcher-S was recording any special abilities.
While the Watchers are active in this battle, they’ll lock out any abilities they watched you perform in the battles they participated in. No matter how many abilities they recorded (hopefully very few because you should have defeated them first), the strategy is the same. Defeat the Watchers as quickly as you can. Start by taking out Watcher-R so you can heal your party members, and then slowly attack your way through the other two. You don’t need to use “Attack Abilities” or “Special Abilities”; regular Attacks will do.
Machina Panzer has the following attacks:
- Its regular attack hits one party member for approximately 400 damage
- “Gatling Gun” hits one or more party members for 24 hits at approximately 50 damage per hit
- “Sorcery Ray” hits all party members for around 1,000 damage
The attack pattern is always the same. Each attack, it has a 75% chance of using its regular attack and a 25% chance of using “Gatling Gun”. It will use “Sorcery Ray” twice during the fight; once when it drops below 50% HP and a second time when it drops below 25% of its HP.
Start by taking out the Watchers with regular attacks, as mentioned above. This is another great opportunity to use your Dark Knight’s Darkness ability, which deals damage to the Dark Knight but also hits every enemy for a pretty high amount of damage. Once you’ve taken out Watcher-R, swap one party member to their White Mage or Alchemist role to start healing up the other party members.
Machina Panzer isn’t immune to a  Warrior’s Power Break, which greatly reduces its damage. You can also use a
  Berserker’s Intimidate or a
  Songstress’s
  Slow Dance ability to reduce the number of turns it gets, which also greatly reduces the amount of incoming damage you’ll have to deal with.
Finally, if you’re having trouble surviving the damage, you can have a White Mage cast their  Shell ability on party members, which will reduce the amount of damage dealt by Machina Panzer’s strongest attack, “Sorcery Ray.”
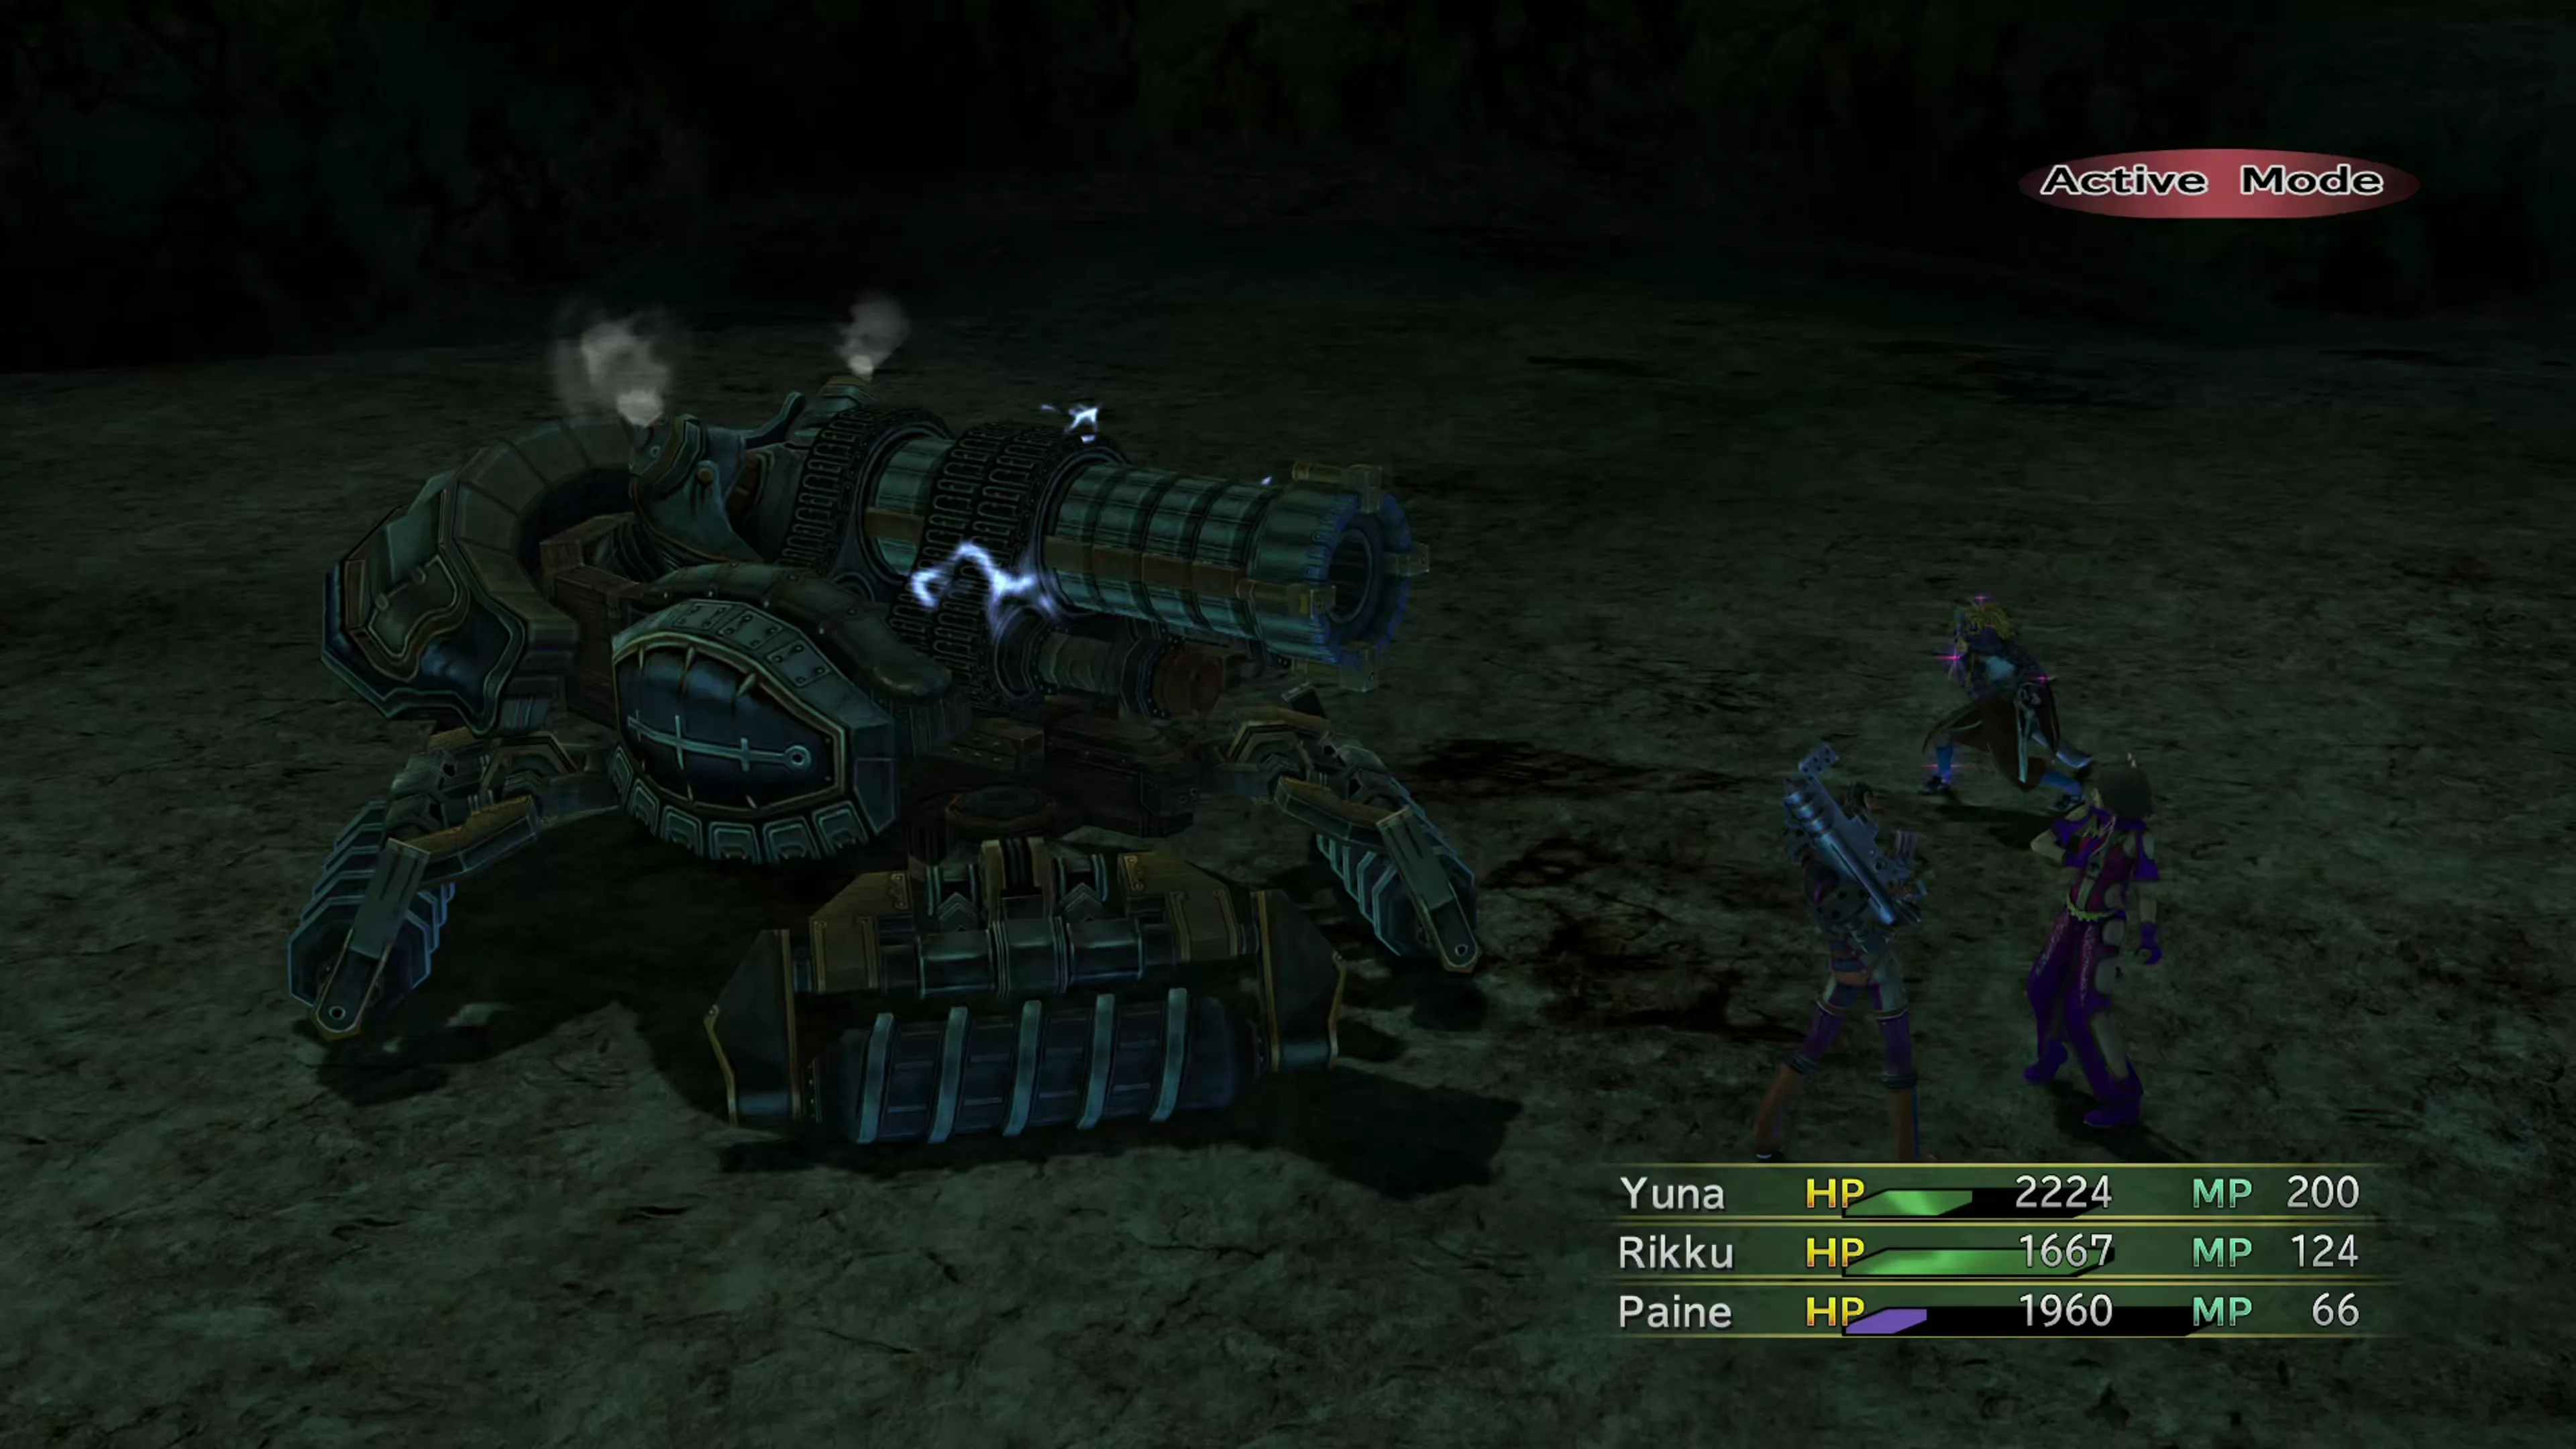
| Enemy | HP | Steal | Drop |
|---|---|---|---|
| Machina Panzer | 30500 |  Oath Veil Oath Veil | Crystal Bangle |
Defeating Machina Panzer will complete the Thunder Plains Episode, and you’ll automatically be transported back up to the Celsius. Cid will give you an  Al Bhed Primer for your trouble, and there is a short scene with him aboard the ship worth Story Completion Percent.

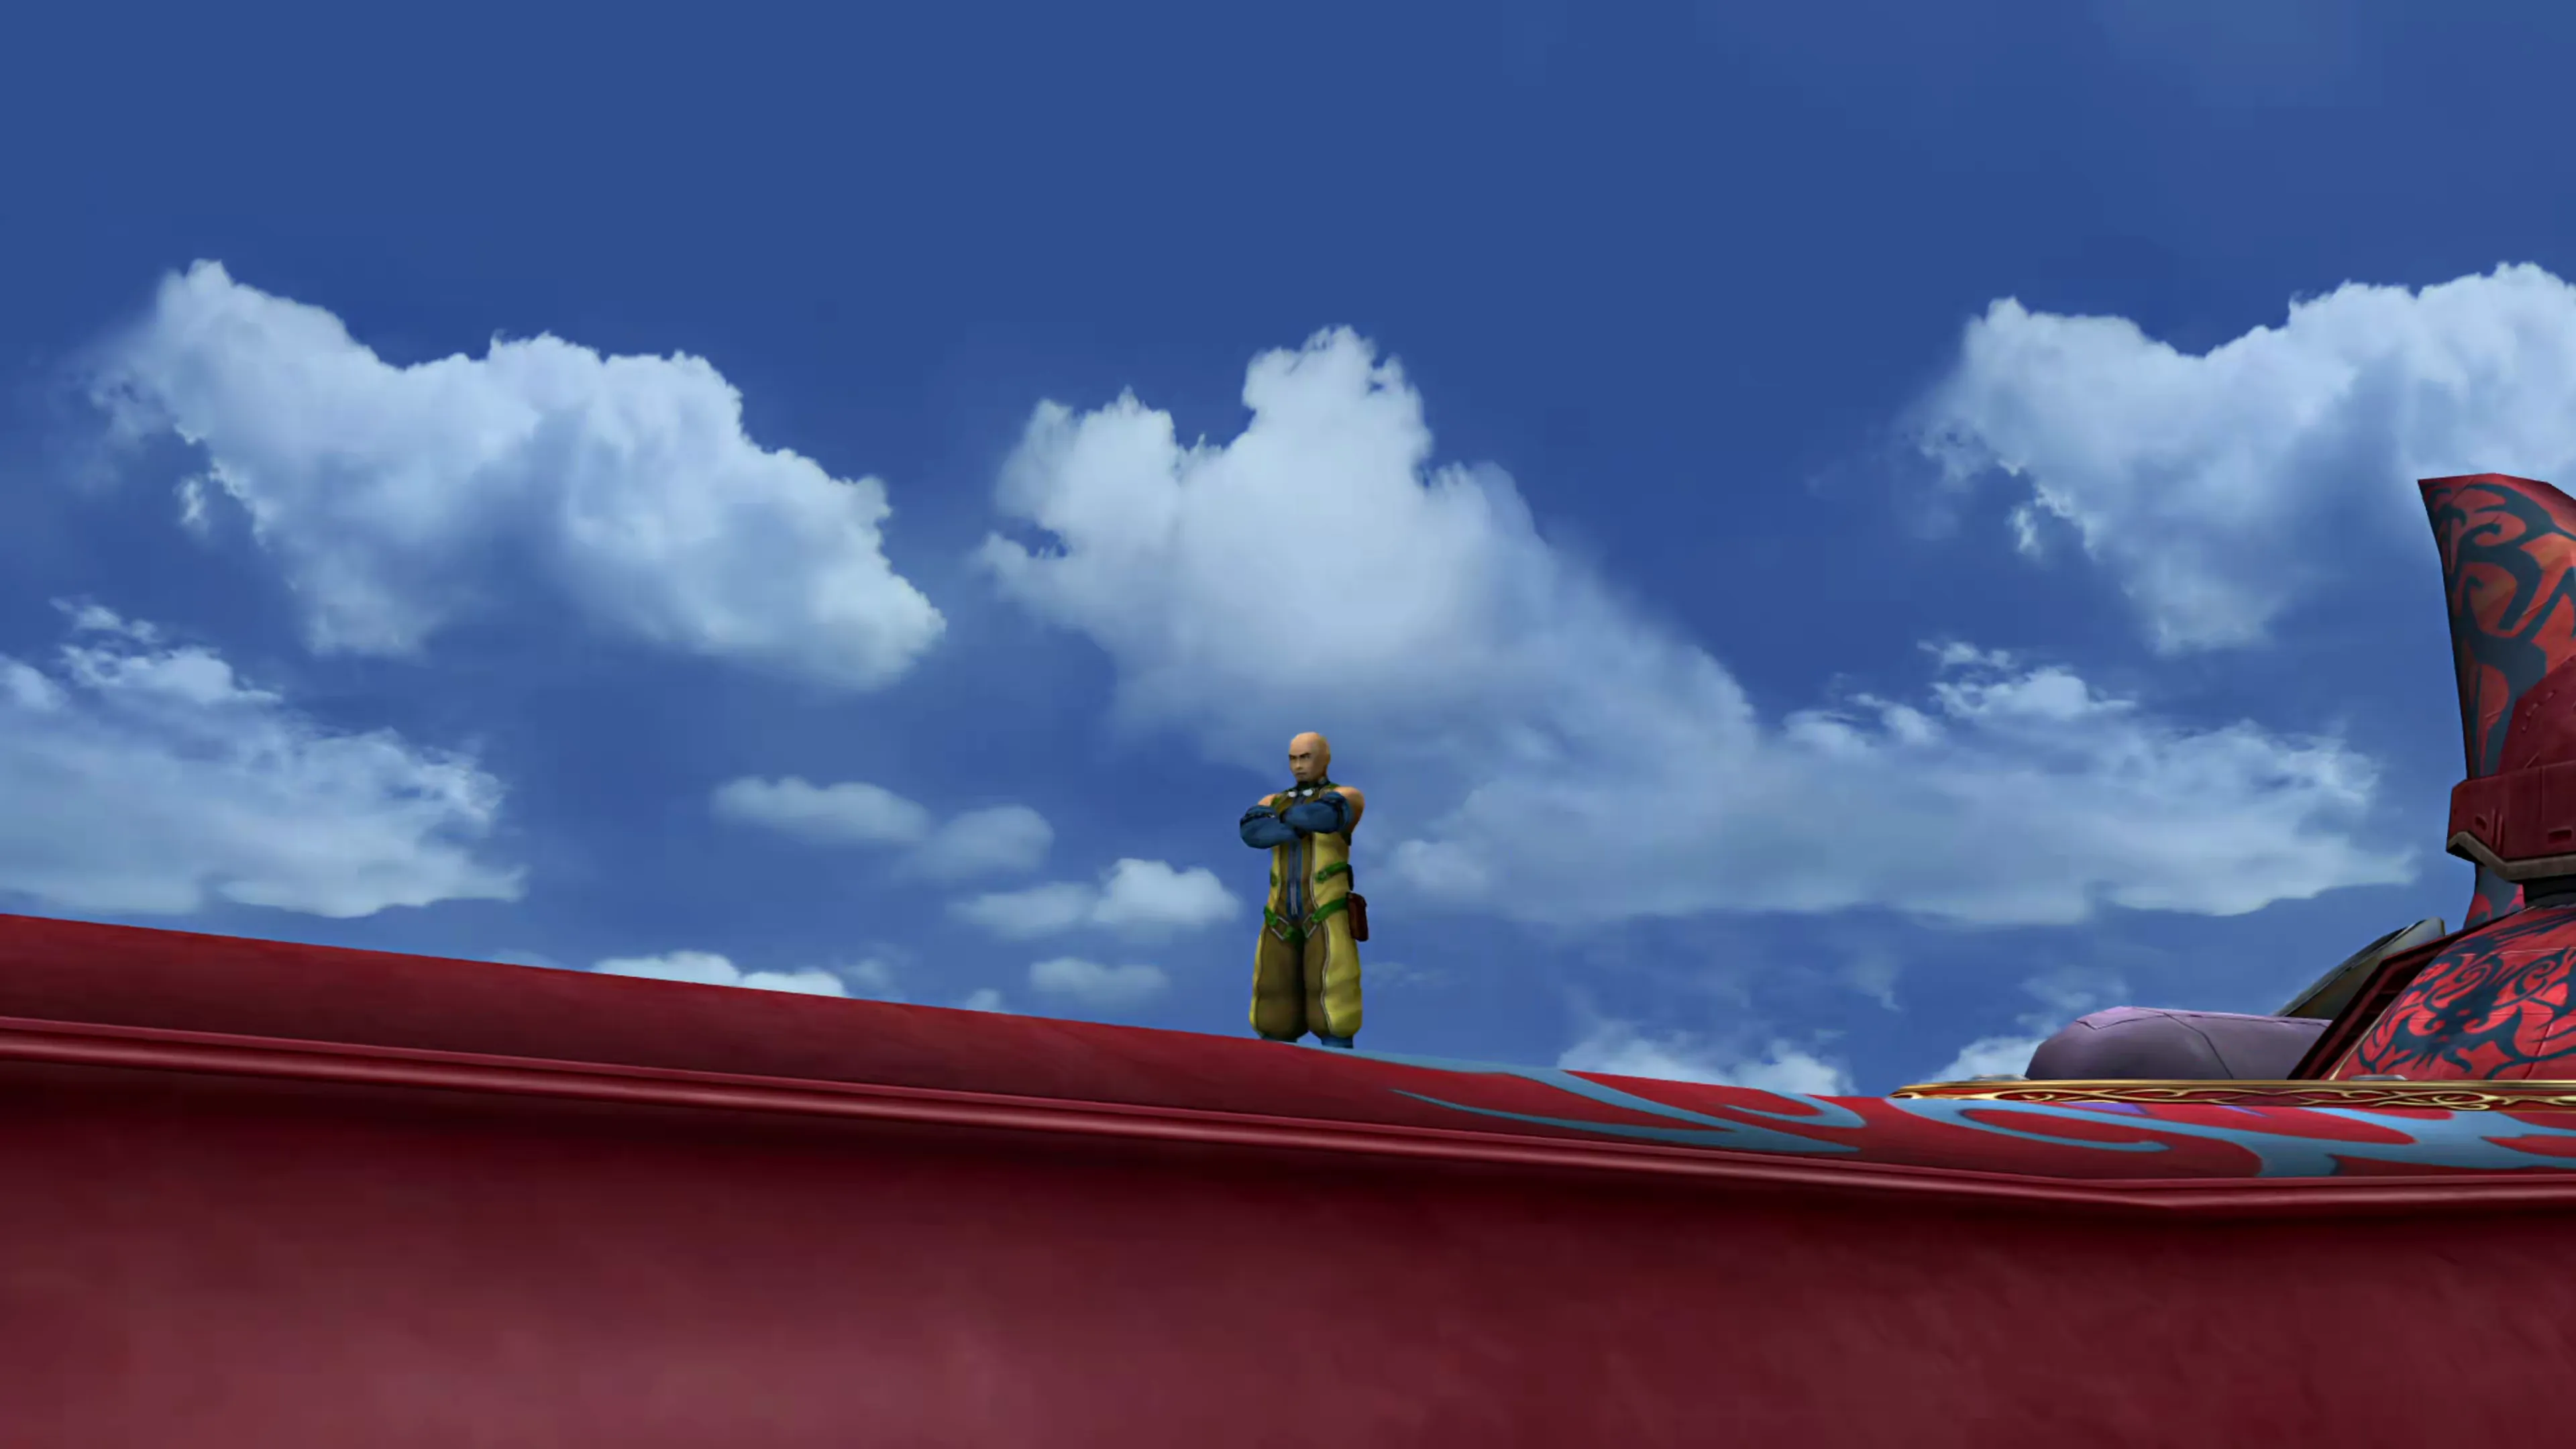
Back on the Celsius after the Thunder Plains Episode, a scene shows Cid out on the deck. Go up and talk to him there, then find him again on the bridge.
As mentioned above, you can also make a second visit to the “New Cave” because there’s an optional puzzle that can be completed there. Check out the following page in the Side Quest section for more information:
Side Quests
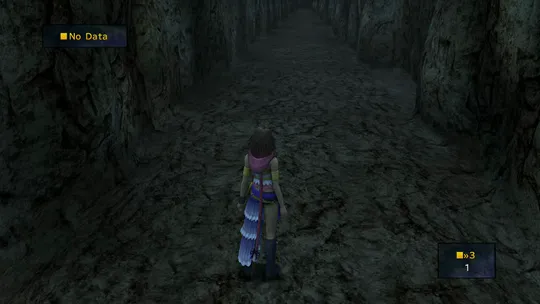
Open the walls that block the pathways in the “New Cave” using various numbers strewn about the cave. There are a few optional treasure chests you can pick up in this area.
And that marks everything you can do in the Thunder Plains for this chapter. Your next destination is Macalania Woods.
Checking the “Thunder Plains Complete” box adds the Story Completion Percent for the automatic scenes in Thunder Plains.